Articles
How To Store Squash Seeds
Modified: September 1, 2024
Discover the best way to store squash seeds in this informative article. Learn proper storage techniques to preserve the viability of your squash seeds for future planting.
(Many of the links in this article redirect to a specific reviewed product. Your purchase of these products through affiliate links helps to generate commission for Storables.com, at no extra cost. Learn more)
Introduction
Welcome to the fascinating world of seed saving! If you are a gardening enthusiast or simply a lover of all things green, you’ve come to the right place. In this article, we are going to delve into the art of storing squash seeds. Whether you want to preserve the seeds from your favorite squash variety or save money by growing your own plants from seed, this guide will equip you with the knowledge you need to successfully store and use squash seeds.
Seeds are not only the starting point of a plant’s life cycle, but they also hold the potential for future growth and abundance. Storing seeds properly ensures their viability and allows you to continue growing healthy and delicious squash for years to come.
Before we dive into the specifics of storing squash seeds, it’s essential to understand the basics of seed saving. Squash seeds, like those of many other plants, are formed within the fruit or vegetable itself. When the squash matures, the seeds develop and can be harvested to be used for future plantings.
When it comes to preserving squash seeds, there are a few key steps to keep in mind. Firstly, selecting the right squash and allowing it to fully ripen is crucial for obtaining high-quality seeds. Secondly, harvesting the seeds at the right time ensures their maturity. Thirdly, cleaning and drying the seeds properly prevent the growth of mold or disease. Finally, storing the seeds in the right conditions will maintain their viability for an extended period of time.
Throughout this guide, we will explore each of these steps in detail, providing you with the knowledge and tips to successfully store and utilize squash seeds. So, roll up your sleeves and get ready to embark on this exciting journey of seed preservation!
Key Takeaways:
- Preserve the genetic diversity of squash varieties by selecting, harvesting, and storing seeds properly. Enjoy the satisfaction of growing healthy and delicious squash while contributing to the sustainability of your garden.
- Save money and continue growing your favorite squash varieties by mastering the art of seed saving. Label, store, and maintain your seeds to ensure viability and share the joy of gardening with fellow enthusiasts.
Read more: How To Plant Squash Seeds
Selecting the Squash
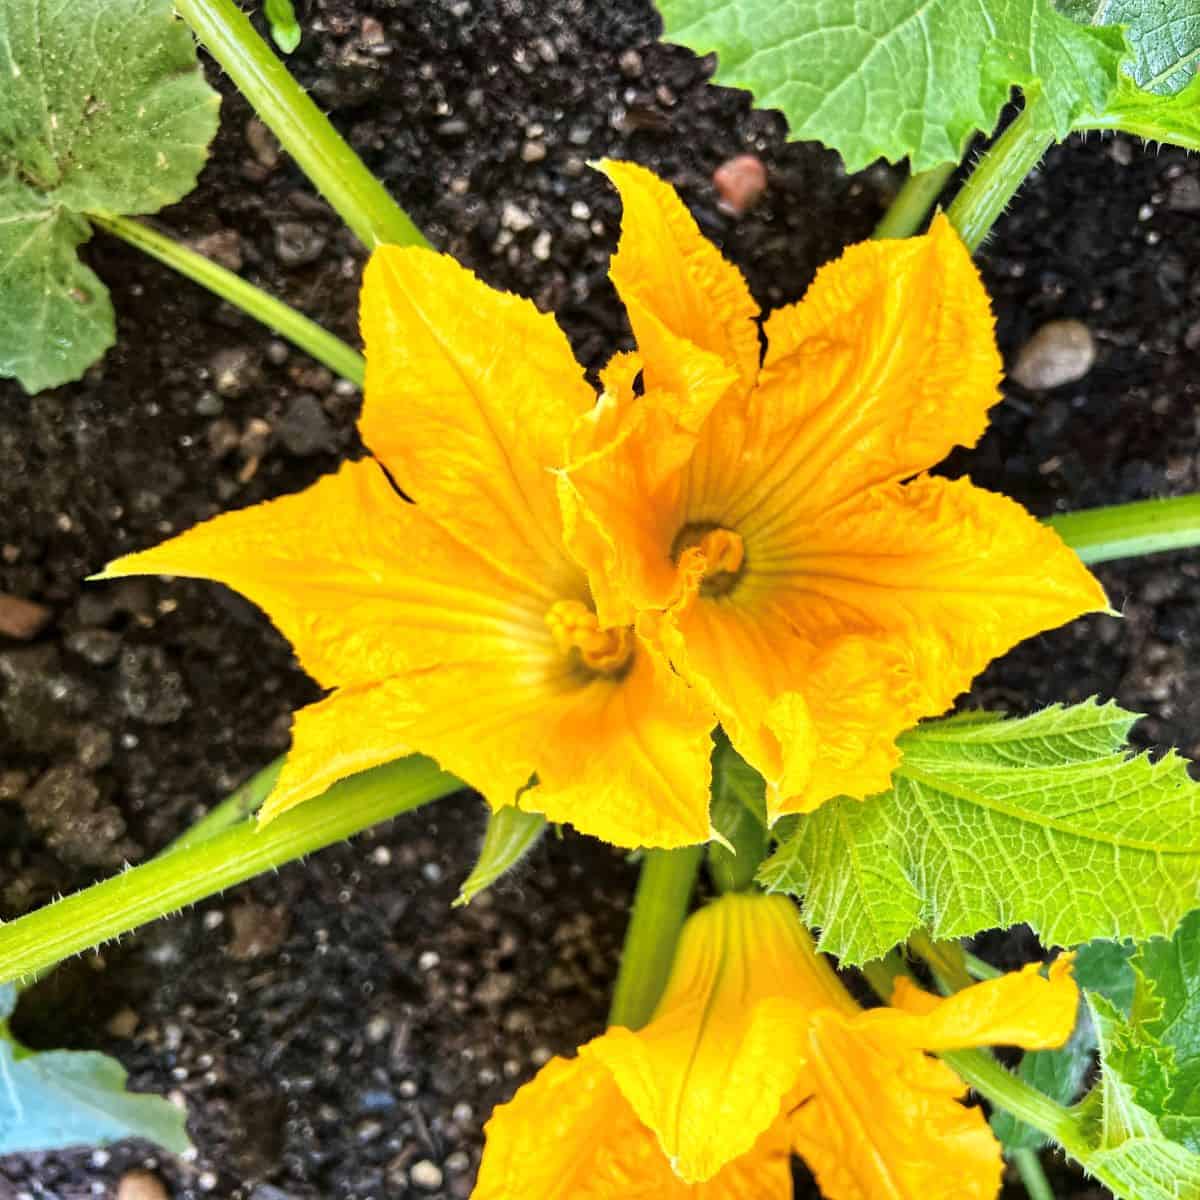
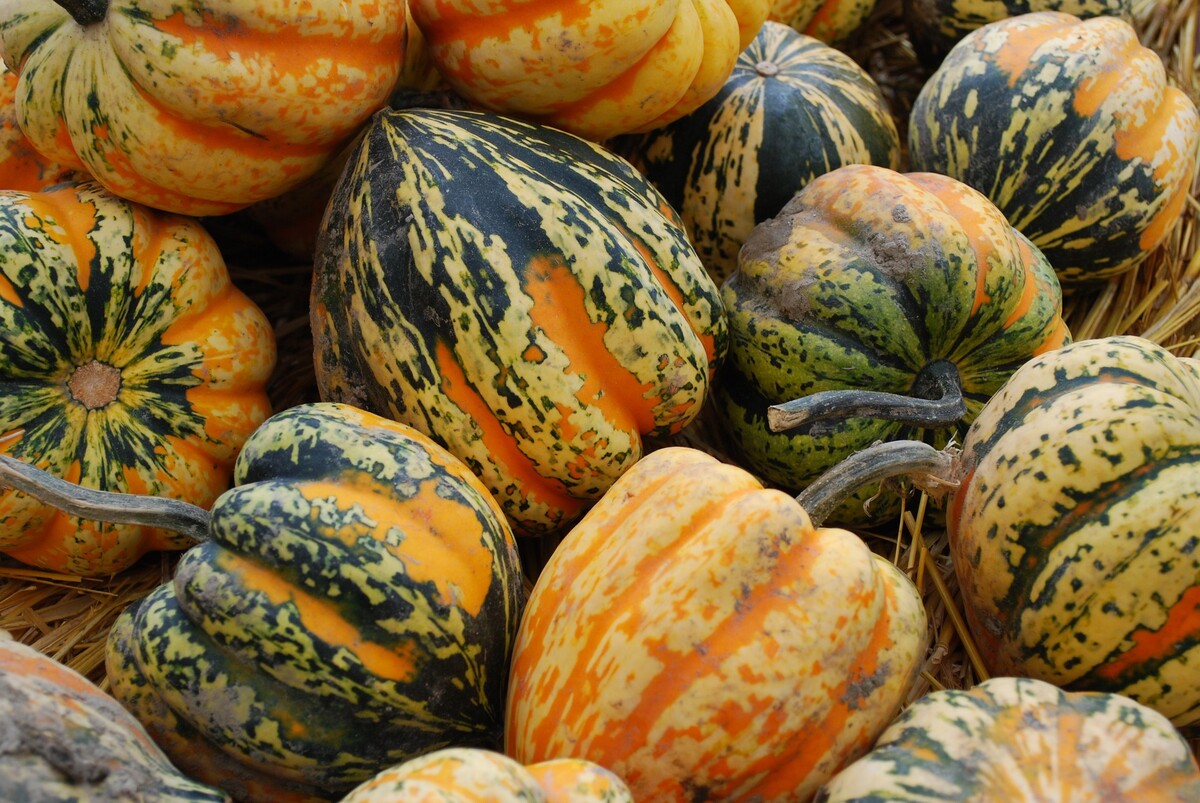
Selecting the right squash variety is the first step towards successfully storing its seeds. While most squash varieties can be saved and stored, there are a few factors to consider when choosing the squash you want to collect seeds from.
Firstly, choose a squash variety that is open-pollinated or heirloom rather than hybrid. Open-pollinated varieties will produce seeds that are true to the parent plant, meaning they will grow into plants with the same characteristics as the squash you harvested the seeds from. Hybrid varieties, on the other hand, are a cross between two different varieties and their seeds may not produce plants with the desired traits.
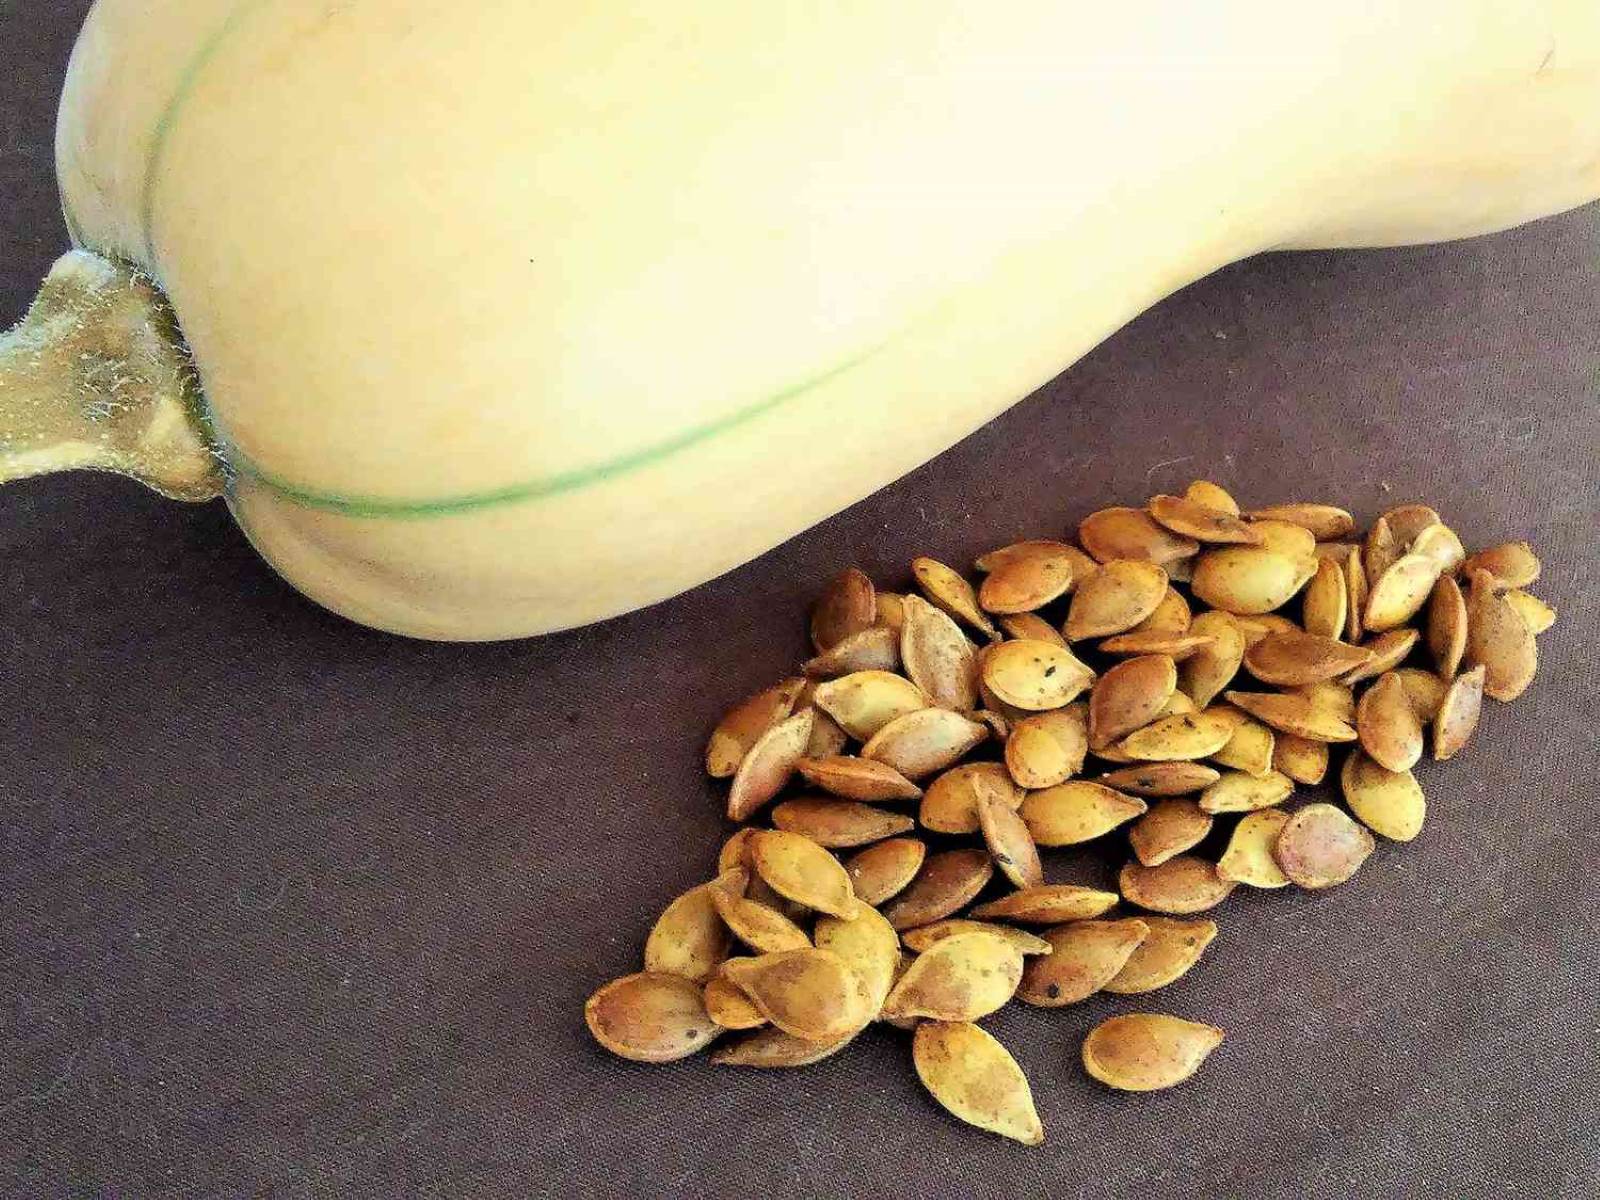
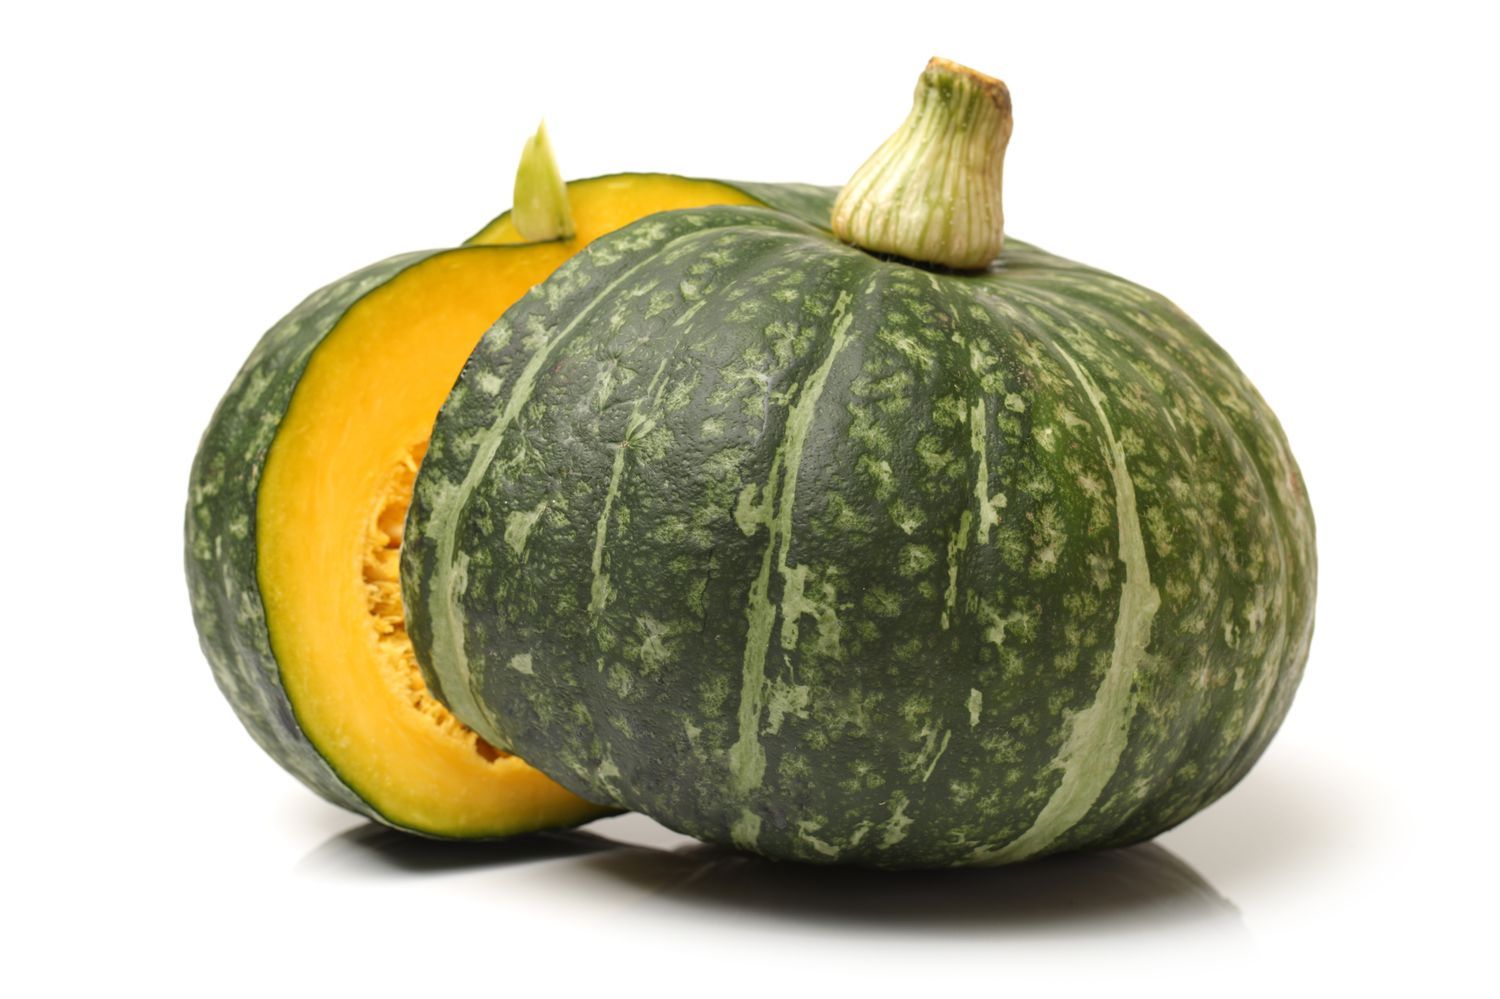
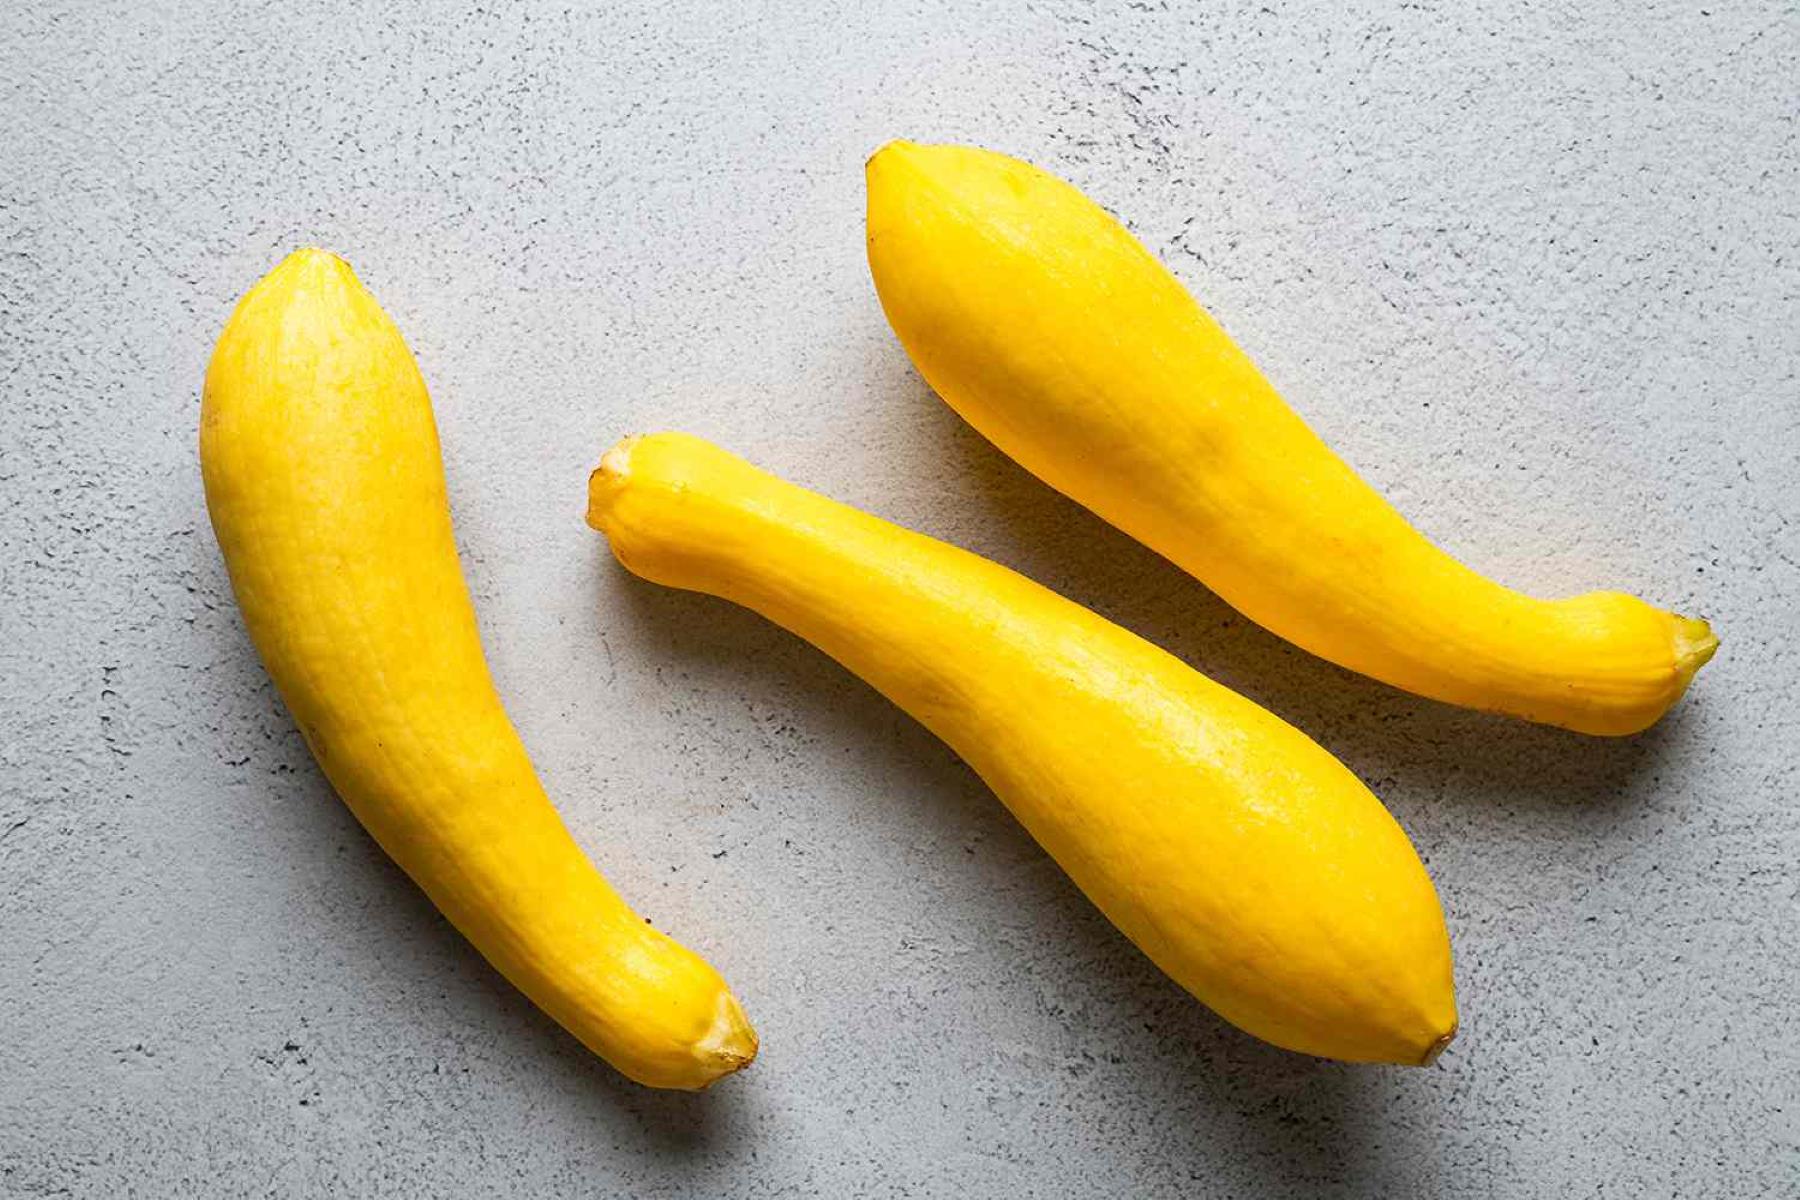
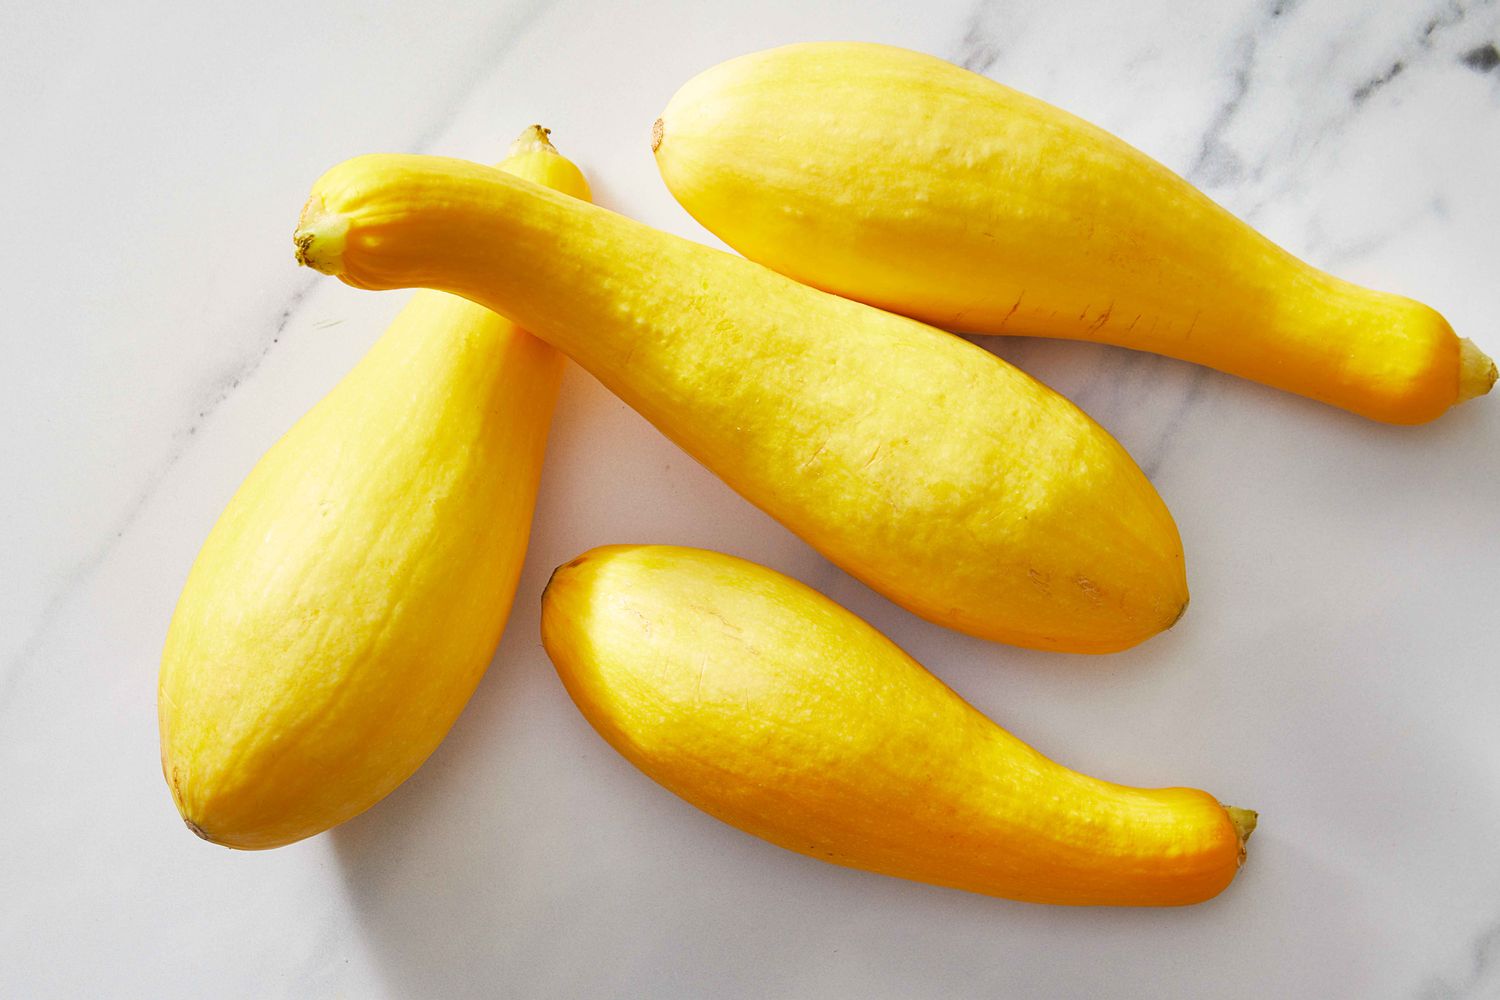
Secondly, pick a squash that exhibits desirable characteristics such as flavor, texture, and disease resistance. This will ensure that the seed you save will yield similar qualities in future plants. Look for healthy and well-developed squash fruits with vibrant color and firm skin. Avoid selecting squash with visible signs of disease or damage as this can affect the quality of the seeds.
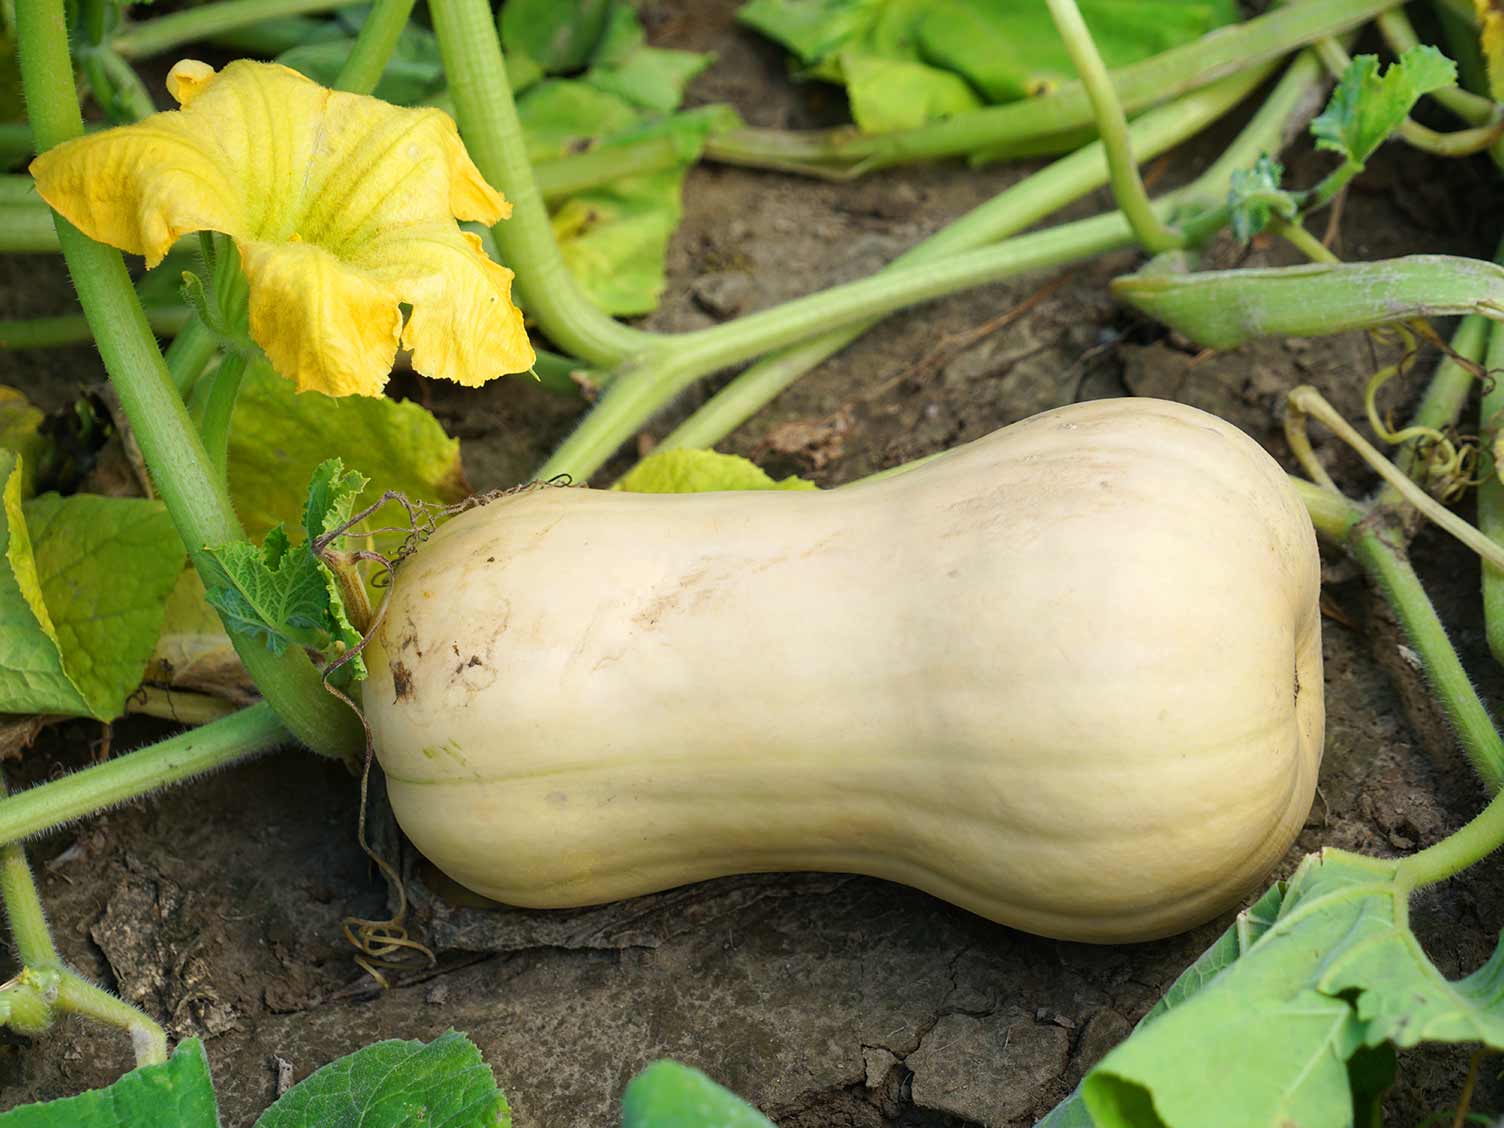
Lastly, consider the maturity of the squash. It is important to allow the squash to fully ripen on the vine before harvesting it for seed saving. This typically means waiting until the squash has reached its full size and the skin has hardened. Fully mature squash will have developed seeds that are ready for harvest.
By selecting the right squash variety, you set the foundation for successful seed saving. Take time to research and choose a variety that suits your preferences and gardening goals. Now that you have selected the perfect squash, let’s move on to the next step: harvesting the seeds!
Harvesting the Seeds
Once you have identified the squash you want to collect seeds from, it’s time to harvest the seeds. Harvesting the seeds at the right time is crucial to ensure their maturity and viability.
Start by allowing the squash to fully ripen on the vine. This means leaving the fruit on the plant until it reaches its optimal size and color. The skin should be firm and the squash should have a mature appearance. This will ensure that the seeds inside have had enough time to fully develop.
Once the squash is ripe, carefully cut it from the vine using a sharp knife or gardening shears. Be sure to leave a few inches of stem attached to the fruit. This will make it easier to handle and dry the squash.
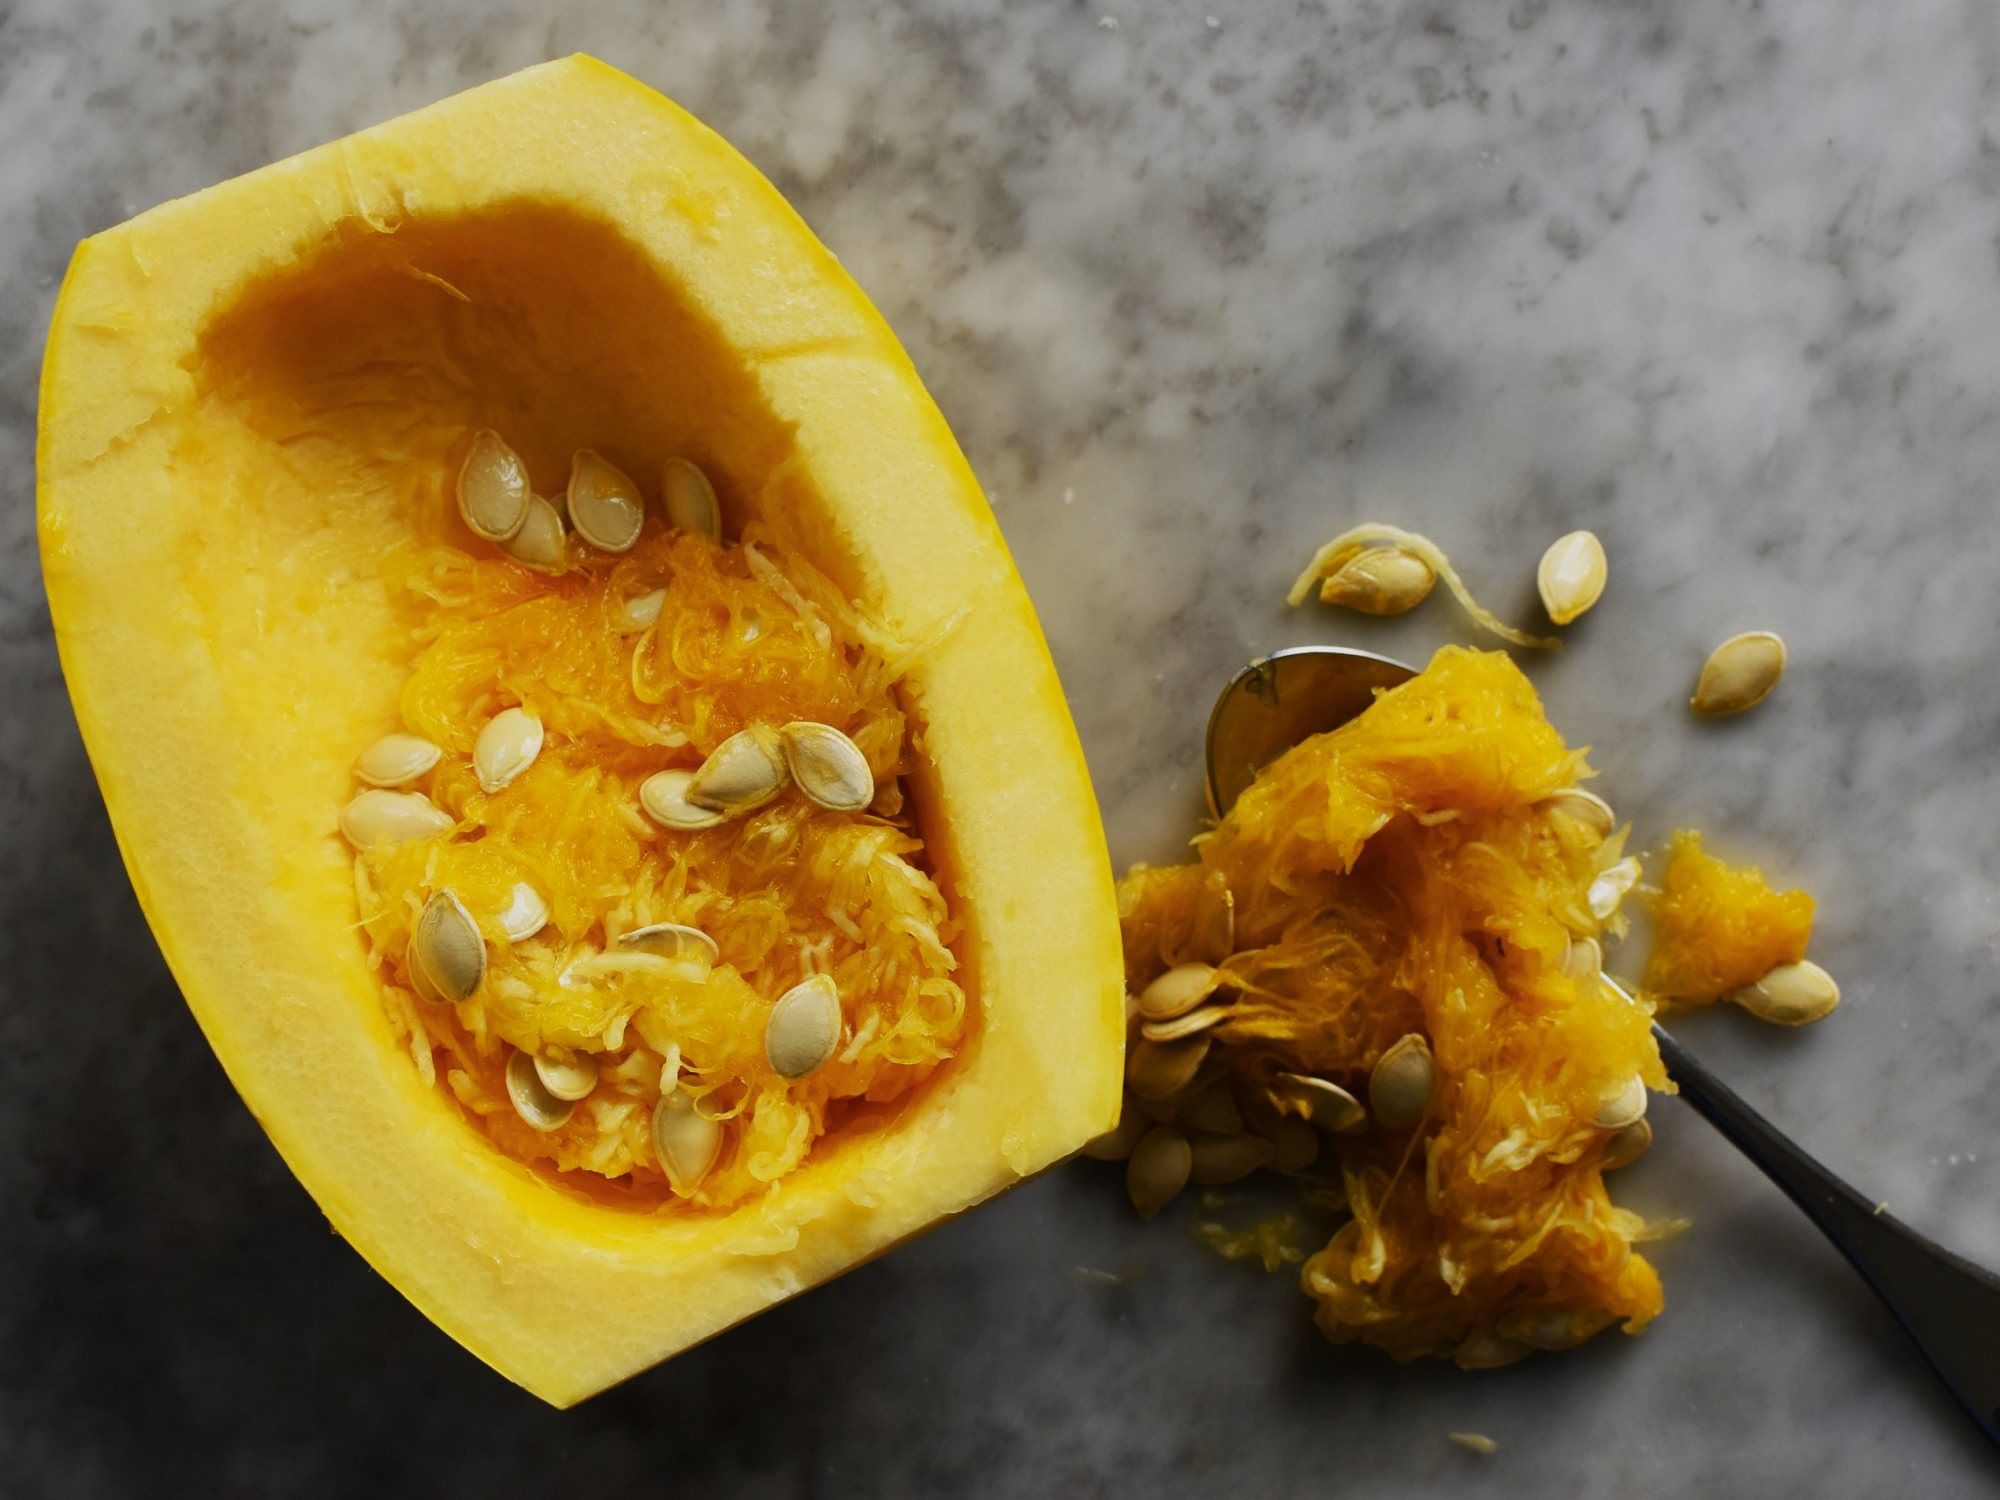
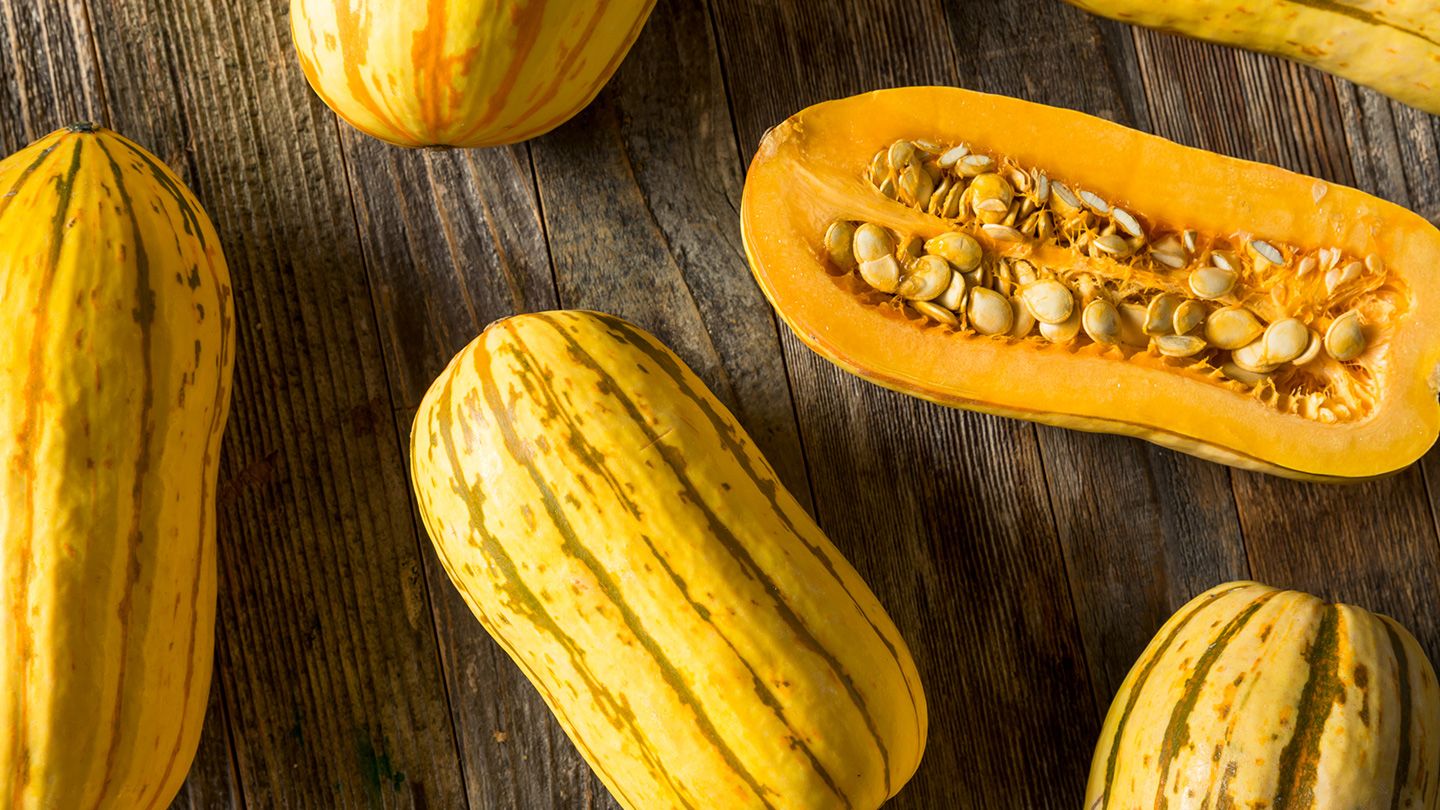
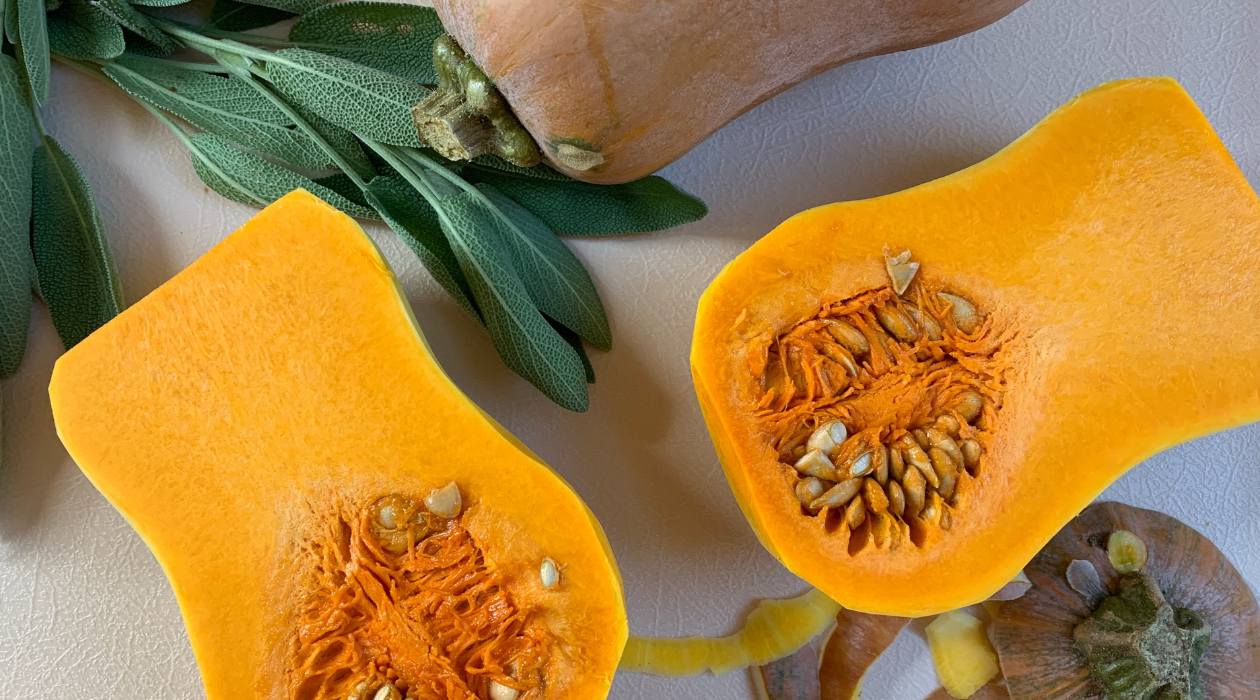
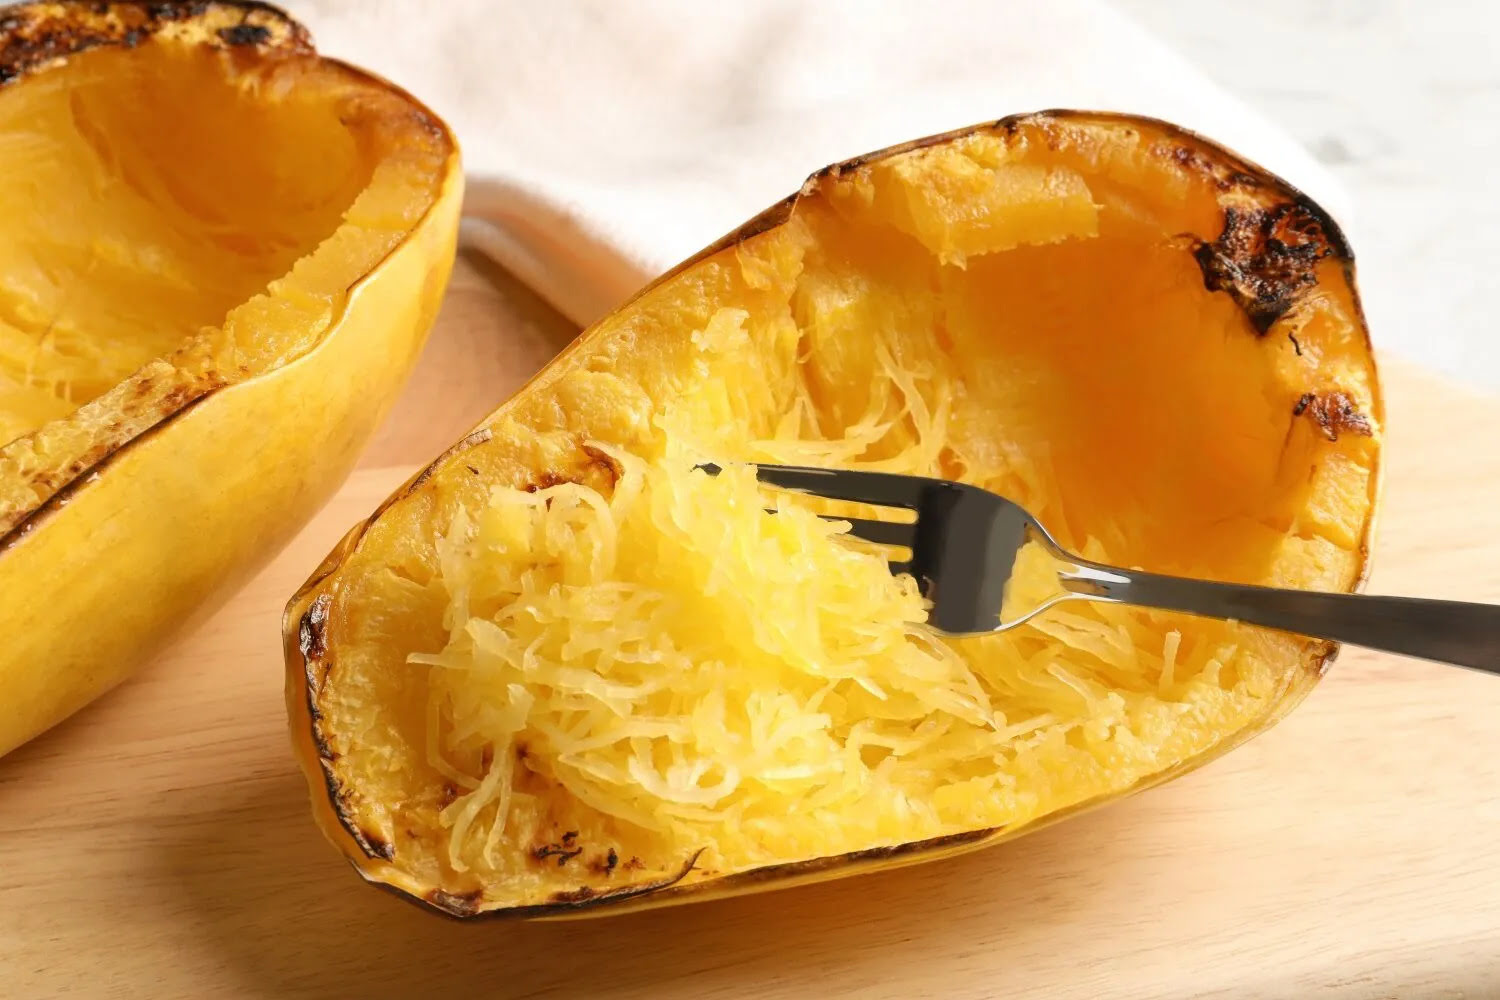
Next, it’s time to open up the squash and extract the seeds. Use a knife to cut the squash in half lengthwise. For larger squash varieties, you may need to cut it into quarters or smaller sections. Be cautious while handling the knife and keep your fingers away from the blade to prevent any accidents.
Take a spoon or your fingers and scoop out the seeds and surrounding pulp from the center of the squash. Place them in a bowl of water and gently rub them between your fingers to separate the seeds from the pulp. The viable seeds will sink to the bottom of the bowl, while the pulp and any undeveloped seeds will float to the top.
Once you have separated the seeds from the pulp, carefully pour the contents of the bowl into a fine-mesh sieve or strainer. Rinse the seeds under running water to remove any remaining pulp or debris. Shake the strainer gently to remove excess water.
Now that you have harvested and cleaned the seeds, it’s time to move on to the next step: cleaning the seeds to ensure their optimal condition.
Cleaning the Seeds
After harvesting and separating the seeds from the squash pulp, it’s important to clean them to remove any residue and ensure their optimal condition for storage. Cleaning the seeds will help prevent the growth of mold or disease and improve their viability for future planting.
To clean the seeds, you will need a container, preferably a glass or ceramic dish, and a sufficient amount of clean water. Place the seeds in the container and cover them with water. Swirl the seeds gently with your fingers, allowing any remaining pulp or debris to float to the surface.
Next, carefully pour out the water, taking care not to lose any of the seeds. You can use a fine-mesh sieve or strainer to help catch the seeds as you pour out the water. Repeat this process of rinsing the seeds with fresh water a few times until the water runs clear and there is no more pulp or debris present.
After you have finished rinsing the seeds, transfer them onto a clean, dry towel or paper towel. Spread the seeds out in a single layer to allow them to air dry. Make sure to space them out to prevent clumping or sticking together during the drying process.
Leave the seeds to air dry for several days, or until they are completely dry. This may take anywhere from a few days to a couple of weeks, depending on the humidity levels in your area. To speed up the drying process, you can place the seeds in a well-ventilated area with good air circulation, such as a sunny windowsill or a dry room.
During the drying process, it’s important to check on the seeds regularly. Look for any signs of mold or mildew, and remove any seeds that appear discolored or damaged. This will help ensure that only healthy, viable seeds are stored for future use.
Once the seeds are fully dry, they are ready for the final step: storing them in an appropriate manner to maintain their viability and longevity.
Drying the Seeds
Drying the seeds is a crucial step in the seed-saving process. Properly dried seeds will have a longer lifespan and better viability for future plantings. The goal is to remove any remaining moisture from the seeds to prevent mold or rot during storage.
After cleaning the seeds, spread them out in a single layer on a clean, dry surface. This could be a paper towel, a screen, or a mesh drying rack. Make sure to space the seeds out evenly to allow for good airflow and prevent them from sticking together.
Choose a well-ventilated area with low humidity to dry the seeds. Ideally, this area should be warm and free from direct sunlight. You can place the seeds in a room with good air circulation or use a fan to facilitate the drying process.
Leave the seeds undisturbed to air dry for about one to two weeks. During this time, check on the seeds regularly to ensure they are drying properly and not showing signs of mold or other damage. If you notice any seeds with mold or discoloration, remove them from the batch to prevent contamination of the other seeds.
When the seeds are fully dry, they should feel hard and brittle, and no moisture should be present. You can test the dryness by gently pressing a seed between your fingers. If it feels firm and does not leave any moisture residue, it is ready for storage.
It’s important to note that some squash seeds have a naturally high moisture content and may take longer to dry. In such cases, you can use a dehydrator or an oven set to a low temperature to speed up the drying process. However, be cautious not to apply too much heat, as this can damage the seeds.
Once the seeds are completely dry, you are ready to move on to the final step: storing the seeds in a way that will maintain their viability and keep them in optimal condition for future use.
Read more: How To Toast Squash Seeds
Storing the Seeds
Proper storage is essential for maintaining the viability and longevity of squash seeds. By taking the necessary precautions, you can ensure that your stored seeds remain viable for many years to come.
Here are some key steps to follow when storing your squash seeds:
1. Labeling:
Before storing the seeds, it’s important to label them with the variety and the date of collection. This will help you keep track of the seeds and ensure that you use the oldest ones first.
2. Storage Container:
Choose a suitable storage container that is airtight and moisture-resistant. Glass jars with tight-fitting lids or plastic containers with sealing capabilities are popular choices. Avoid using paper or plastic bags, as they are not as effective at protecting the seeds from moisture and pests.
3. Desiccant:
Consider adding a desiccant, such as silica gel packets or powdered milk, to the storage container. A desiccant helps absorb any remaining moisture, reducing the risk of mold or rot. Place the desiccant in a small sachet or envelope to prevent direct contact with the seeds.
Read more: How To Save Squash Seeds
4. Cool and Dark Location:
Store the seeds in a cool and dark location to maintain their viability. Ideal storage temperatures range from 32°F to 41°F (0°C to 5°C). A refrigerator or a cool basement are excellent options. It’s important to note that extreme temperature fluctuations should be avoided, as they can reduce seed viability.
5. Moisture Control:
Avoid storing the seeds in an area prone to high humidity. Excess moisture can lead to mold growth and seed deterioration. Additionally, ensure that the seeds are completely dry before storing them, as any remaining moisture can compromise their storage quality.
6. Pest Prevention:
Protect the stored seeds from pests such as insects and rodents. Consider adding a few bay leaves or cotton balls with a few drops of essential oils, such as peppermint or lavender, to deter pests. Check the storage container periodically for any signs of pest activity.
7. Check and Rotate:
Inspect the stored seeds periodically to ensure their viability. Check for any signs of moisture, mold, or pests. Additionally, rotate your seed stock by using the older seeds first to keep them fresh and avoid prolonged storage.
By following these steps, you can ensure that your stored squash seeds remain viable and ready for future plantings. Enjoy the satisfaction of having a continuous supply of high-quality seeds that can be used to grow healthy and delicious squash in your garden.
Read more: How To Start Squash Seeds
Conclusion
Congratulations! You have now learned the essential steps for storing squash seeds and preserving their viability for future plantings. By selecting the right squash, harvesting and cleaning the seeds properly, and ensuring they are thoroughly dried, you have set the foundation for successful seed storage.
Remember, storing squash seeds is not only a practical way to save money on purchasing seeds each year but also a way to continue growing your favorite squash varieties that may be hard to find elsewhere. By following the proper techniques and precautions, you can preserve the genetic diversity of squash varieties and contribute to the sustainability of your garden.
As you embark on your seed-saving journey, don’t forget to label and organize your seeds for easy identification and use. Store them in a cool, dark, and moisture-controlled environment to maximize their longevity and integrity. Regularly check on your stored seeds to ensure they are in optimal condition and rotate your seed stock to maintain freshness.
Now that you have the knowledge and confidence to store squash seeds, you can expand your gardening possibilities and share your seeds with fellow gardeners. With each successful seed saving endeavor, you contribute to the preservation and cultivation of our horticultural heritage.
So, grab your gardening gloves and get ready to embark on a rewarding journey of saving, storing, and sowing squash seeds. Happy seed saving!
Frequently Asked Questions about How To Store Squash Seeds
Was this page helpful?
At Storables.com, we guarantee accurate and reliable information. Our content, validated by Expert Board Contributors, is crafted following stringent Editorial Policies. We're committed to providing you with well-researched, expert-backed insights for all your informational needs.

0 thoughts on “How To Store Squash Seeds”