Articles
How To Strip Your Pillows
Modified: August 27, 2024
Discover the best techniques and products to effectively strip your pillows in this informative article. Take the first step towards a cleaner and healthier sleep.
(Many of the links in this article redirect to a specific reviewed product. Your purchase of these products through affiliate links helps to generate commission for Storables.com, at no extra cost. Learn more)
Introduction
When it comes to keeping your pillows clean and fresh, one important step in the process is stripping them. Stripping your pillows involves removing the pillowcases, pillow protectors (if applicable), and cleaning the pillows themselves. This routine maintenance not only helps to maintain the cleanliness and comfort of your pillows but also contributes to better sleep hygiene.
In this article, we will guide you on how to strip your pillows effectively. Whether your pillows are filled with down, feathers, or synthetic material, these steps will help you keep them in optimal condition. By following these simple and straightforward instructions, you can ensure that your pillows stay clean, hygienic, and comfortable for a longer period of time.
Key Takeaways:
- Regularly stripping, laundering, and fluffing your pillows not only maintains their cleanliness and comfort but also contributes to better sleep hygiene and a more inviting bedroom environment.
- By following the step-by-step guide to stripping your pillows, you can ensure that your pillows stay fresh, clean, and rejuvenated, ultimately leading to a restful and comfortable night’s sleep.
Read more: How To Install LED Strips In Your Car
Gathering the necessary supplies
Before you begin the process of stripping your pillows, it is essential to gather all the necessary supplies. Having everything prepared in advance will make the process smoother and more efficient. Here are the supplies you will need:
- Pillowcases: Prepare clean pillowcases to replace the ones you will be removing.
- Pillow protectors (if applicable): If your pillows have protective covers, you will need to replace them as well.
- Laundry detergent: Choose a mild detergent suitable for your pillow material. Avoid using bleach or harsh chemicals, as they may damage the pillows.
- Stain remover (optional): If there are any visible stains on your pillows, consider using a stain remover that is safe for the pillow material.
- Washing machine: Make sure your washing machine is in working condition and has enough capacity to accommodate your pillows.
- Dryer or drying rack: Decide whether you will be using a dryer or air-drying your pillows. Ensure that you have the necessary equipment for either method.
- Fluffing tools: To restore the shape and fluffiness of your pillows, have tools like a tennis ball or dryer balls on hand.
By having these supplies ready, you can proceed with confidence and complete the stripping process efficiently. Now that you have everything prepared, let’s move on to the next step: removing the pillowcase.
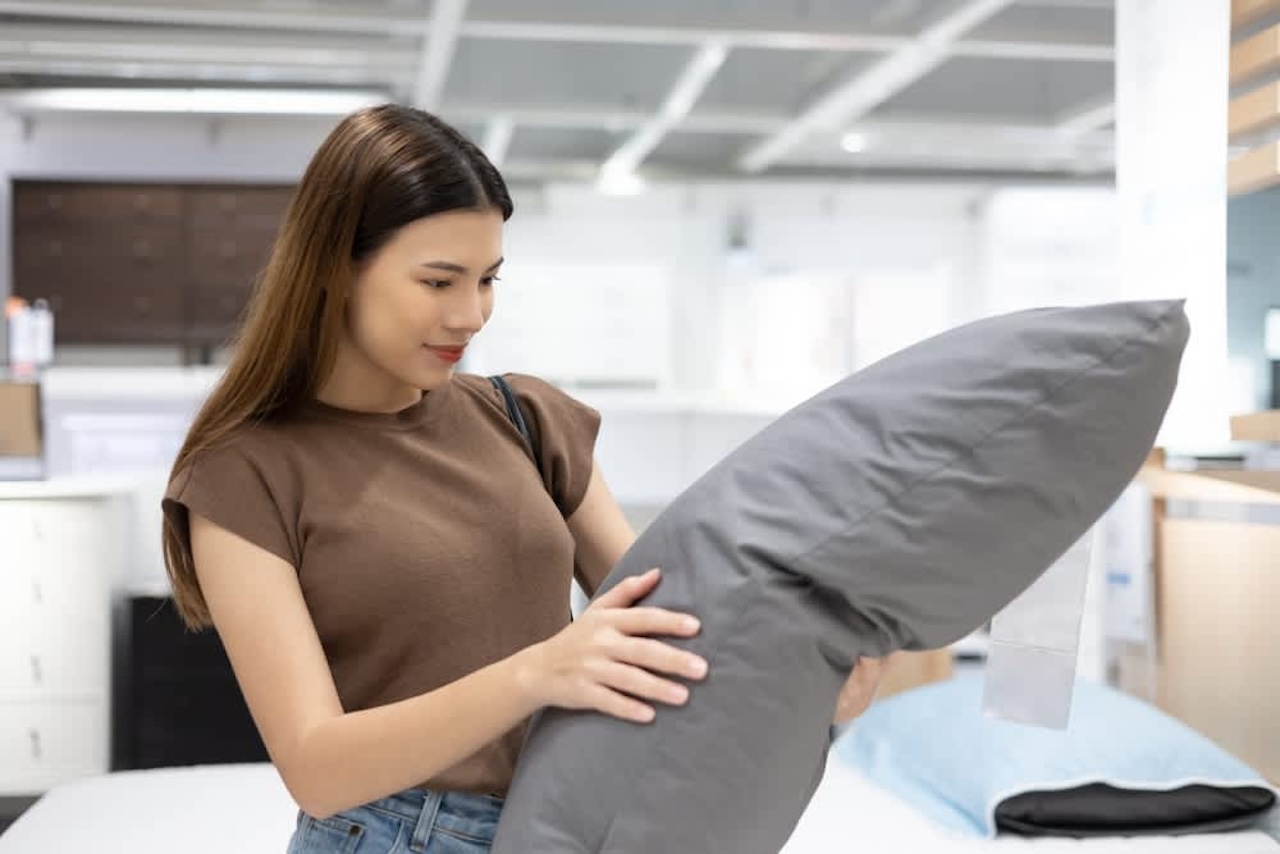
Step 1: Remove the pillowcase
The first step in stripping your pillows is to remove the pillowcase. Start by locating the opening of the pillowcase where the end is tucked in. Gently pull the pillowcase away from the pillow, gripping it near the opening.
If the pillowcase is snug or difficult to remove, use your other hand to hold the pillow in place. This will prevent it from sliding or shifting as you pull off the pillowcase.
Once you have loosened the pillowcase, continue to peel it off, turning it inside out as you go. Be mindful of any zippers or buttons that may be on the pillowcase. Carefully navigate around these closures to avoid damaging the fabric.
Once the pillowcase is completely removed, set it aside for laundering. If it has any visible stains, treat them with a stain remover before adding the pillowcase to your laundry load.
Repeat this step for all of your pillows, ensuring that all the pillowcases are removed and ready for washing. With the pillowcases removed, you can now move on to the next step: unzipping the pillow protector (if applicable).
Step 2: Unzip the pillow protector (if applicable)
If your pillows have protective covers or pillow protectors, it’s important to remove them before proceeding. Pillow protectors are often made of a more durable and water-resistant material than pillowcases, providing an extra layer of protection for your pillows.
Start by locating the zipper or closure of the pillow protector. This can usually be found on one end of the pillow. If there is a zipper, gently slide it open in one smooth motion. If there is a button or snap closure, carefully unfasten it to release the pillow protector.
Once the closure is undone, gently peel back the pillow protector from the pillow, taking care not to pull too forcefully or abruptly. The pillow protector should come off easily without any resistance.
If the pillow protector is stained or soiled, you may want to spot clean it or throw it in the wash along with the pillowcases. Check the care instructions on the pillow protector for specific washing and drying recommendations.
Remember to keep the pillow protector separate from the pillowcases while laundering to prevent tangling or damage during the washing process.
If your pillows do not have protective covers or if you have already removed them, you can skip this step and proceed to the next step, which is inspecting the pillow for special care instructions.
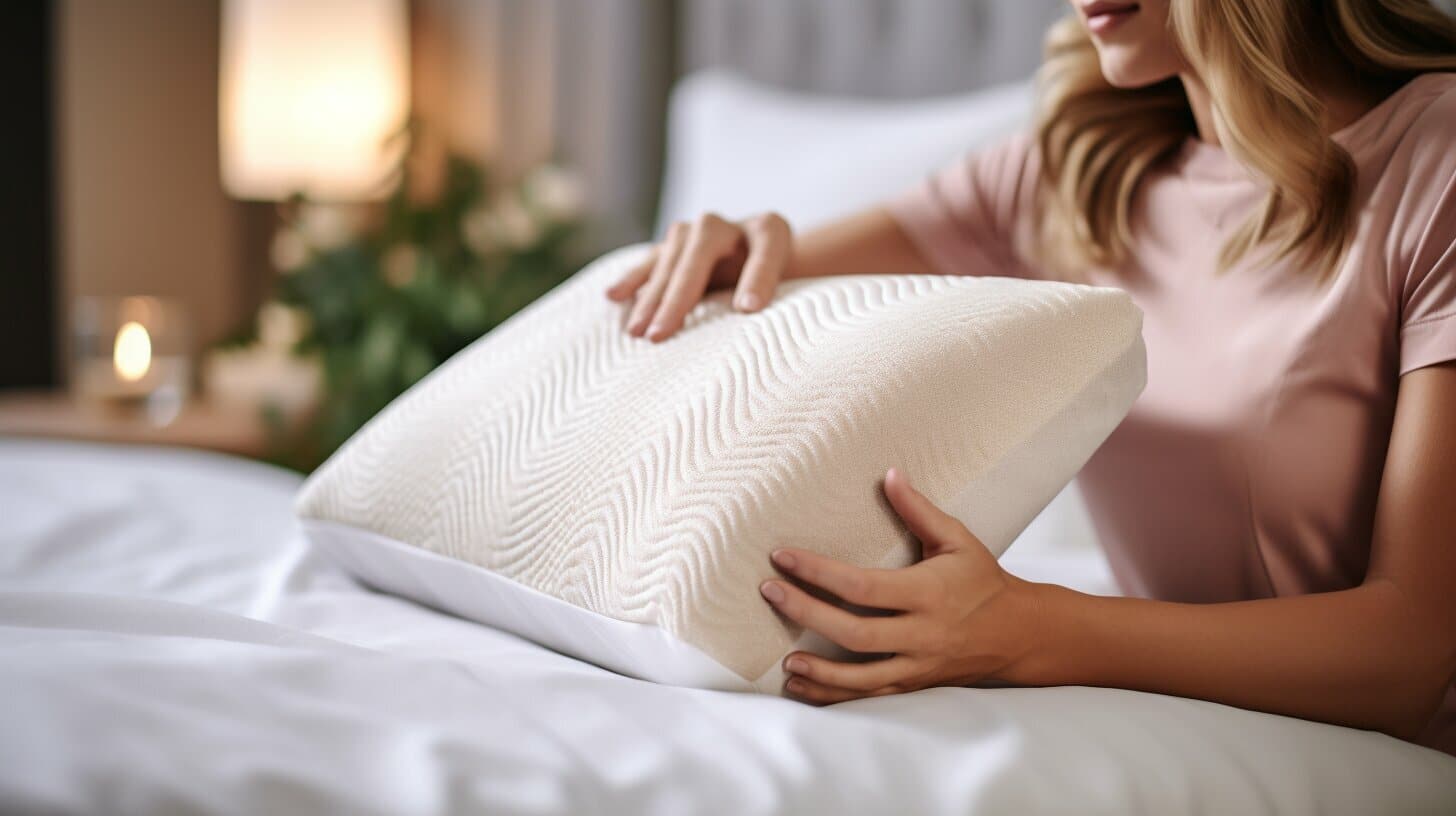
Step 3: Inspect the pillow for special care instructions
Before proceeding with cleaning your pillows, it is important to inspect them for any special care instructions. Different types of pillows may require specific cleaning methods or have limitations on the amount of water they can be exposed to.
Start by checking the tag or label on the pillow. Manufacturers often provide care instructions on these tags to guide you in cleaning and maintaining your pillows. Look for symbols or text that indicate whether the pillow is machine washable, dry clean only, or requires special care.
If the tag indicates that the pillow is machine washable, you can proceed with the cleaning process outlined in the next steps. However, if the tag advises against machine washing or recommends professional cleaning, you may need to take your pillows to a professional cleaner or follow the specific care instructions provided.
In addition to the care instructions on the tag, consider the material and construction of your pillows. Memory foam pillows, for example, typically cannot be machine washed and may require spot cleaning instead. Feather or down pillows may require additional care to maintain their loft and shape.
By understanding the special care requirements of your pillows, you can ensure that they are cleaned in a manner that preserves their quality and extends their lifespan. If in doubt, consult the manufacturer’s website or contact their customer support for further guidance on caring for your specific pillows.
Once you have reviewed the care instructions, you can move on to the next step: deciding on the cleaning method for your pillows.
Step 4: Decide the cleaning method
After inspecting your pillows for special care instructions, it’s time to decide on the most appropriate cleaning method. The cleaning method you choose will depend on factors such as the pillow material, the presence of stains, and any specific care instructions given by the manufacturer.
If your pillows are machine washable and do not have any stains or special requirements, using a washing machine is often the easiest and most effective method. However, some pillows may require alternative cleaning methods to ensure their longevity and maintain their quality.
Here are a few common cleaning methods for different types of pillows:
- Machine washing: This method is suitable for most synthetic-filled and down-filled pillows. Use a mild detergent and select a gentle cycle with warm water. Avoid using bleach or harsh chemicals, as they can damage the filling. Make sure to check the care label for specific washing instructions.
- Spot cleaning: Some pillows, such as memory foam or latex pillows, cannot be submerged in water or machine washed. For these pillows, spot cleaning is recommended. Use a mild detergent mixed with water and a clean cloth to gently blot the stained area. Allow the pillow to air dry thoroughly.
- Dry cleaning: If your pillows are labeled as “dry clean only,” take them to a professional cleaner. Dry cleaning is suitable for delicate materials or specialty pillows that cannot be washed using traditional methods.
It’s important to note that not all pillows are machine washable, and some may require professional cleaning to maintain their structure and quality. Always follow the care instructions provided by the manufacturer to avoid damaging your pillows.
Once you have determined the appropriate cleaning method for your pillows, you can proceed to the next step: machine washing the pillows (if applicable) or spot cleaning them as needed.
To strip your pillows, remove the pillowcases and pillow protectors, then wash them according to the care instructions. For the pillows themselves, check the care label and wash or spot clean as directed. Allow them to air dry completely before putting them back together.
Step 5: Machine wash the pillows
If your pillows are machine washable and you have chosen this method for cleaning, follow these steps to ensure a thorough and effective cleaning process:
- Check the care label and make sure your pillows are suitable for machine washing. If the label advises against machine washing or provides specific instructions, follow those instead.
- Remove any residual pillow protectors or coverings from the pillows, as well as any loose debris or dirt.
- If you have two pillows, it’s recommended to wash them together to maintain a balanced load in your washing machine. This will help prevent the pillows from getting lopsided or causing strain on the machine during the spin cycle.
- Place the pillows in the washing machine, making sure not to overstuff the machine. It’s important to give the pillows enough space to move around and get properly cleaned.
- Add a mild detergent suitable for the pillow material. Avoid using bleach or harsh chemicals as they can damage the pillows.
- Select a gentle or delicate cycle with warm water. Use the appropriate water level setting for your machine to ensure optimal cleaning.
- Once the cycle is complete, remove the pillows from the washing machine.
It is important to note that some pillows, such as memory foam or specialty pillows, may not be suitable for machine washing. Always refer to the care label before attempting to machine wash your pillows.
After machine washing the pillows, it’s time to properly dry them to ensure they maintain their shape and freshness. Proceed to the next step to learn how to dry your pillows correctly.
Step 6: Dry the pillows properly
After machine washing your pillows, it’s crucial to dry them properly to prevent moisture buildup and ensure they maintain their shape and freshness. Here’s how to dry your pillows effectively:
- Check the care label for specific drying instructions. Some pillows may be suitable for machine drying, while others may require air drying.
- If machine drying is recommended, place the pillows in the dryer and add dryer balls or a clean tennis ball to help fluff and distribute the filling. Set the dryer to a low or gentle cycle to prevent excessive heat that could damage the pillows.
- Alternatively, if air drying is advised, find a well-ventilated area where you can lay the pillows flat. Ensure they are placed in a position where air can circulate around them.
- Rotate the pillows occasionally while they are drying to ensure even airflow and to prevent them from becoming lumpy.
- Drying time will vary depending on the pillow material and size. Feather or down pillows may take longer to dry than synthetic-filled pillows. It’s important to be patient and allow the pillows to dry completely.
- Check for any damp spots or moisture before considering the pillows completely dry. If there are any lingering dampness, continue with the drying process until they are fully dry.
Avoid exposing the pillows to direct sunlight or excessive heat, as this can cause damage and affect the quality of the filling. It’s always best to follow the care label’s instructions for the recommended drying method.
Once your pillows are thoroughly dry, it’s time to fluff and reshape them before putting them back on your bed. Proceed to the next step to learn how to restore their loft and comfort.
Step 7: Fluff and reshape the pillows
After drying your pillows, it’s important to fluff and reshape them to restore their loft, comfort, and overall appearance. Here’s how to fluff and reshape your pillows effectively:
- Gently massage and knead the pillows with your hands to break up any clumps and redistribute the filling evenly.
- If you have feather or down pillows, give them a good shake to help separate the feathers and regain their fluffy appearance.
- For synthetic-filled pillows, use your hands to pull and fluff the filling, allowing it to expand and regain its shape.
- If your pillows feel flat or lacking in volume, consider using a clean tennis ball or dryer balls. Place them in the dryer with the pillows on a no-heat or air-fluff cycle. The balls will help to agitate and fluff the pillows as they tumble.
- Another method to fluff your pillows is to manually hand-fluff them. Grab the corners or edges of the pillow and give them a few quick snaps or flaps to help restore their shape.
- Continue to fluff and reshape the pillows until they appear plump, evenly distributed, and comfortable.
Fluffing and reshaping your pillows not only improves their aesthetics but also helps to maintain proper support and comfort while you sleep. By following these steps, your pillows will feel fresh and comfortable when you place them back on your bed.
With your pillows fluffed and reshaped, it’s time to replace the pillow protector and pillowcase. Read on to the next step to learn how to complete the final step of the process.
Read more: What To Do If Your LED Strips Won’t Stick
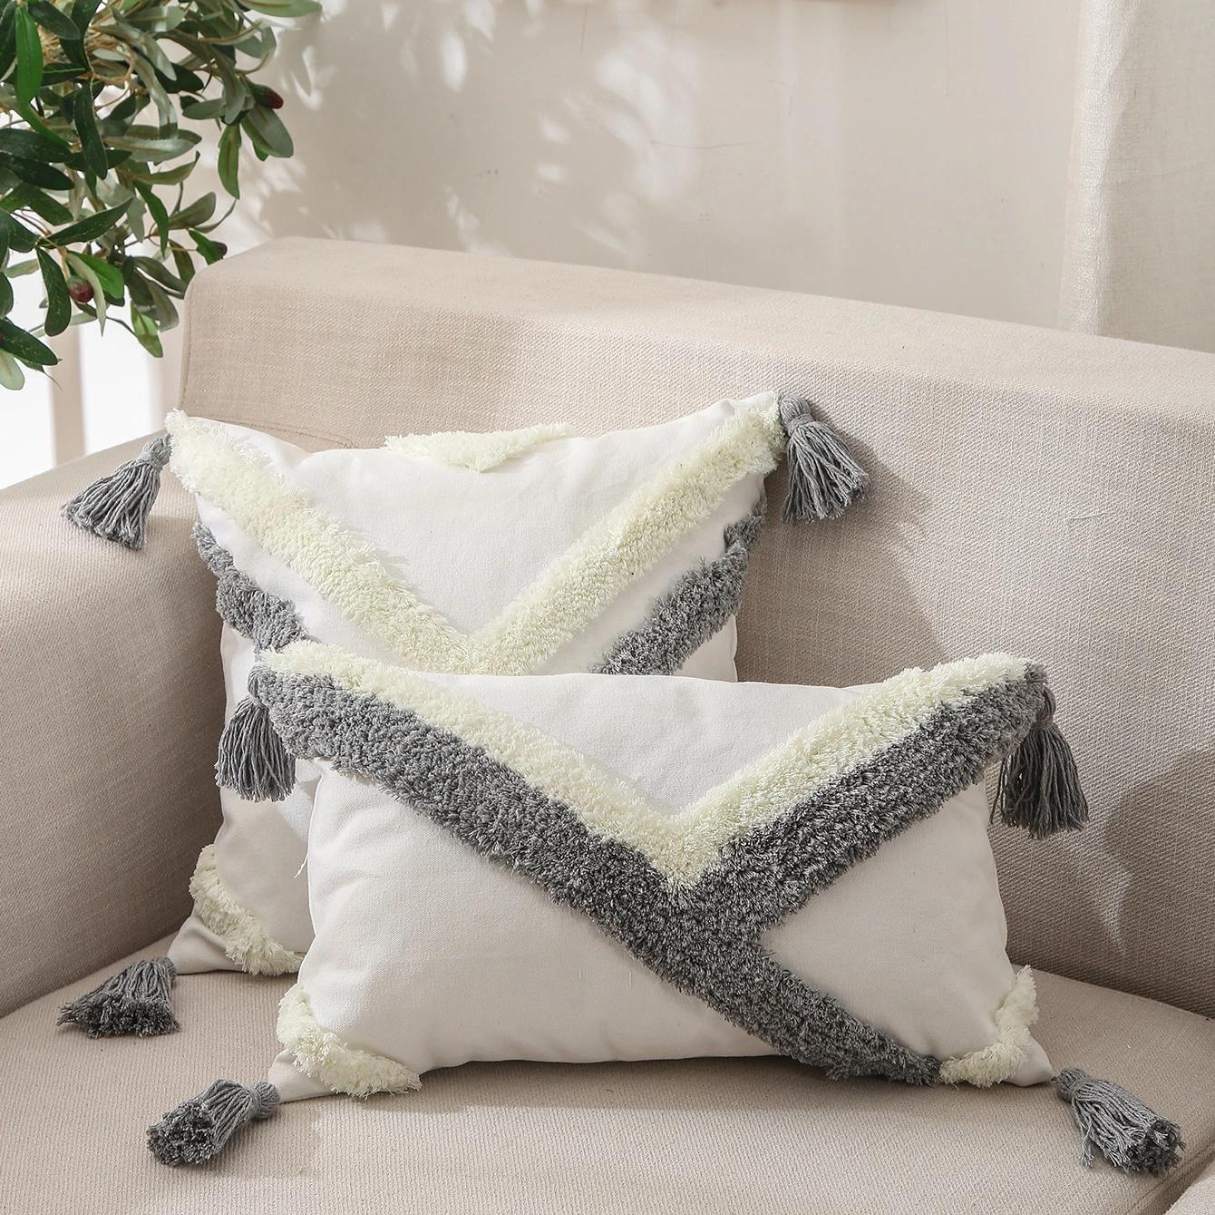
Step 8: Replace the pillow protector and pillowcase
Once you have cleaned, dried, and fluffed your pillows, the final step is to replace the pillow protector and pillowcase. This step not only adds a layer of protection but also enhances the aesthetic appeal of your pillows. Here’s how to properly replace the pillow protector and pillowcase:
- If you had a pillow protector on your pillows, slide it back onto the pillow. Make sure the protector covers the entire pillow and is secured properly.
- Next, take a clean pillowcase and turn it inside out, keeping the open end towards you.
- Place your hands inside the turned-out pillowcase and hold the top corners. Hold the pillow with your other hand and align the top corners of the pillow with the corners of the pillowcase.
- With one quick motion, pull the pillowcase down over the pillow, ensuring that the entire pillow is covered.
- Hold the pillowcase open end and give it a firm shake to settle the pillow inside and distribute the filling evenly.
- Smooth out any wrinkles or creases in the pillowcase, ensuring a neat and tidy appearance.
- Repeat this process for all of your pillows, replacing the pillow protector and pillowcase on each one.
By replacing the pillow protector and pillowcase, you not only keep your pillows clean but also maintain a fresh and inviting bedroom. The combination of a clean pillow and a crisp pillowcase will contribute to a more comfortable and hygienic sleep environment.
Congratulations! You have successfully completed the process of stripping your pillows. With clean and rejuvenated pillows, you can now enjoy a restful night’s sleep on fresh, comfortable bedding.
Remember to periodically repeat this process to keep your pillows in optimal condition. Regular maintenance and cleaning will help extend the lifespan and enjoyment of your pillows for as long as possible.
Thank you for following this guide, and we hope your newly stripped pillows bring you ultimate comfort and relaxation.
Conclusion
Keeping your pillows clean and fresh is essential for maintaining a healthy sleep environment and maximizing your comfort. Stripping your pillows is a simple yet effective process that helps remove dirt, oils, and allergens, ensuring that your pillows stay hygienic and inviting.
In this article, we have provided a step-by-step guide on how to strip your pillows. From gathering the necessary supplies to replacing the pillow protector and pillowcase, each step is crucial in maintaining the cleanliness and longevity of your pillows.
By following these steps, you can effectively remove the pillowcase and, if applicable, the pillow protector. You have also learned how to inspect your pillows for special care instructions, determine the appropriate cleaning method, and machine wash or spot clean them accordingly. Additionally, we’ve covered the importance of properly drying your pillows and the techniques to fluff and reshape them. Finally, we discussed the final step of replacing the pillow protector and pillowcase to complete the process.
Remember to consult the care instructions provided by the manufacturer for any specific requirements or restrictions regarding your pillows. Different types of pillows may have varying cleaning methods, so it’s important to follow the recommended guidelines to preserve their quality.
Regularly stripping your pillows and maintaining their cleanliness not only enhances your sleep experience but also promotes better hygiene and can help extend the lifespan of your pillows. It’s a simple task that can have a significant impact on your sleep quality and overall well-being.
So, don’t neglect the maintenance of your pillows. Dedicate some time to strip them, launder and dry them properly, and replace the protective covers. Your efforts will be rewarded with cleaner, fresher, and more comfortable pillows that contribute to a peaceful and restorative sleep.
Thank you for reading this comprehensive guide on how to strip your pillows. Sleep well!
Frequently Asked Questions about How To Strip Your Pillows
Was this page helpful?
At Storables.com, we guarantee accurate and reliable information. Our content, validated by Expert Board Contributors, is crafted following stringent Editorial Policies. We're committed to providing you with well-researched, expert-backed insights for all your informational needs.

0 thoughts on “How To Strip Your Pillows”