Home>Home Appliances>Lighting Appliances>How To Install LED Strips In Your Car
Lighting Appliances
How To Install LED Strips In Your Car
Modified: August 17, 2024
Learn how to easily install LED light strips in your car for enhanced lighting and style. Follow our step-by-step guide to upgrade your car's lighting appliances.
(Many of the links in this article redirect to a specific reviewed product. Your purchase of these products through affiliate links helps to generate commission for Storables.com, at no extra cost. Learn more)
Introduction
Are you looking to add a touch of style and ambiance to your car's interior? Installing LED light strips can be an excellent way to achieve this goal. Not only do LED strips enhance the aesthetics of your vehicle, but they also provide practical illumination for various purposes, such as accent lighting, footwell lighting, and more.
In this comprehensive guide, we will walk you through the step-by-step process of installing LED strips in your car. Whether you're a car enthusiast or a DIY novice, this tutorial will equip you with the knowledge and confidence to undertake this project. From gathering the necessary materials to testing the LED strips, we've got you covered.
So, buckle up and get ready to transform your car's interior with mesmerizing LED lighting!
Key Takeaways:
- Elevate your car’s interior ambiance with mesmerizing LED light strips. Follow the comprehensive guide to transform your vehicle and showcase your unique style and creativity.
- By meticulously preparing, installing, and testing LED light strips, you can achieve a visually stunning and personalized car interior upgrade. Enjoy the captivating glow and elevate your driving experience.
Read more: How To Install LED Strips Around Corners
Step 1: Gather the Necessary Materials
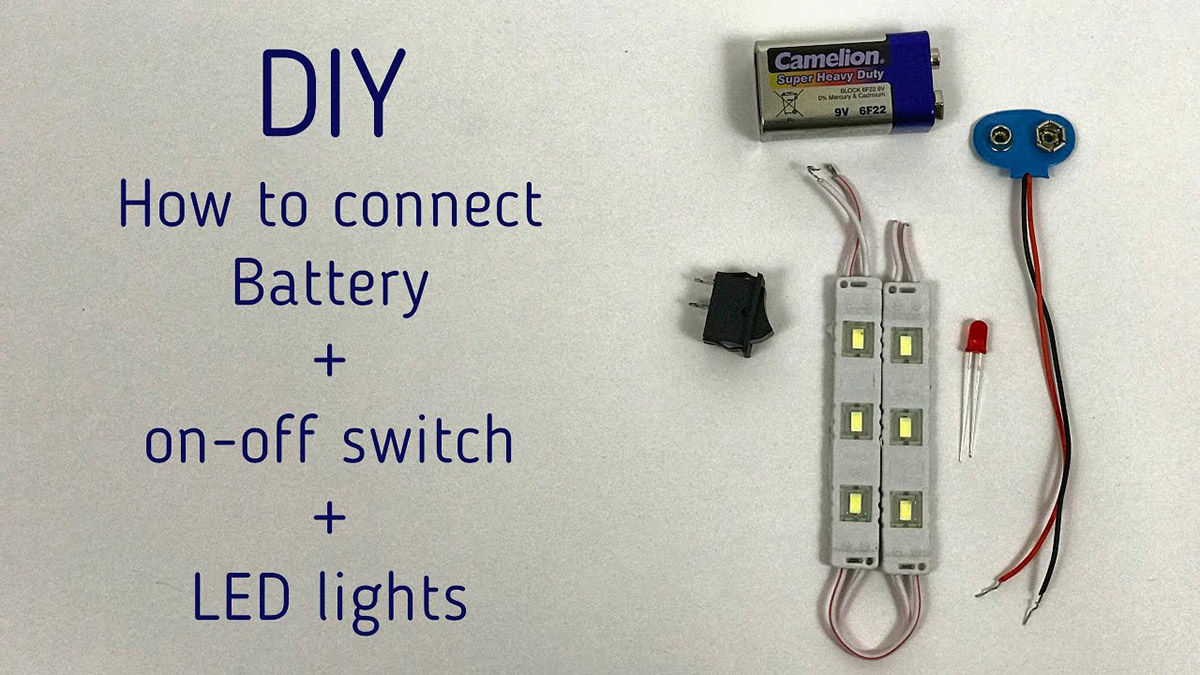
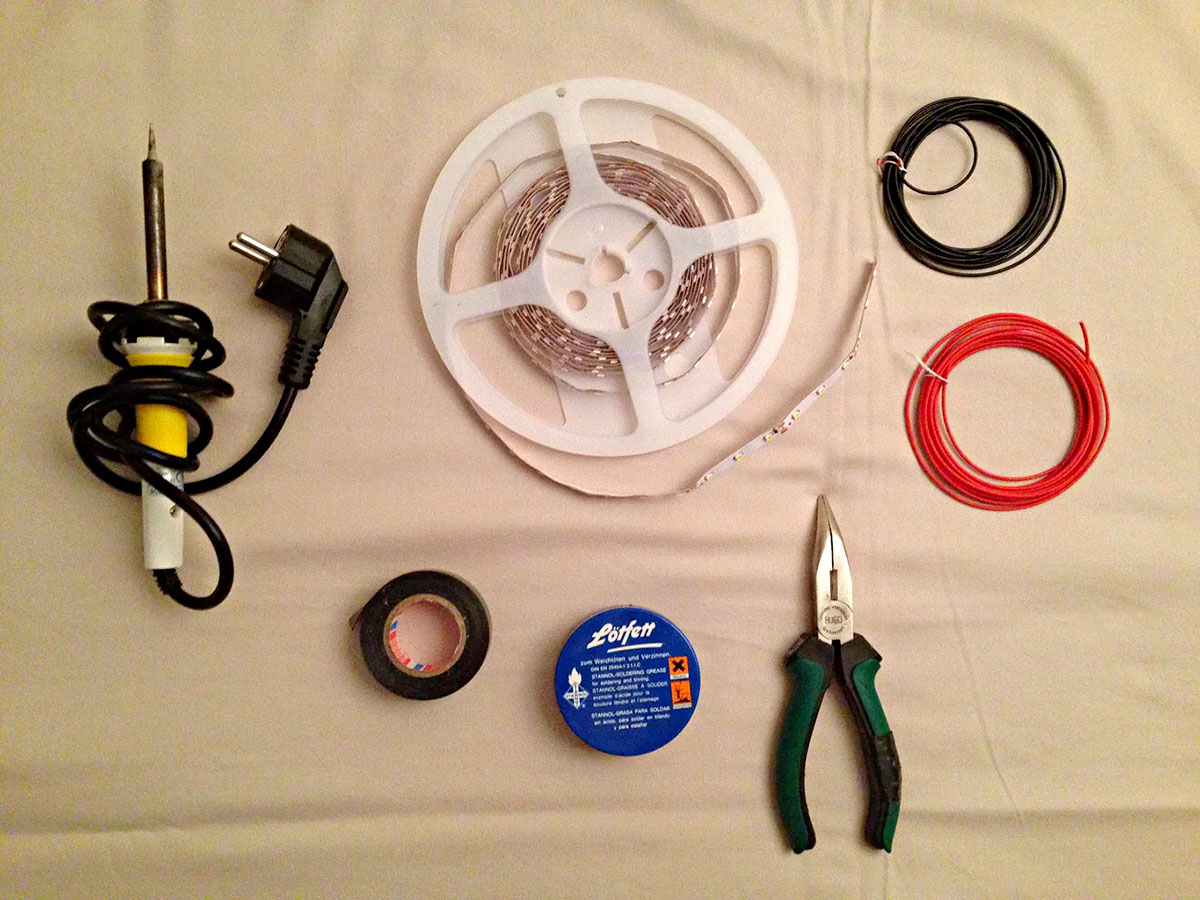
Before diving into the installation process, it’s crucial to gather all the essential materials and tools. Here’s a comprehensive list of what you’ll need:
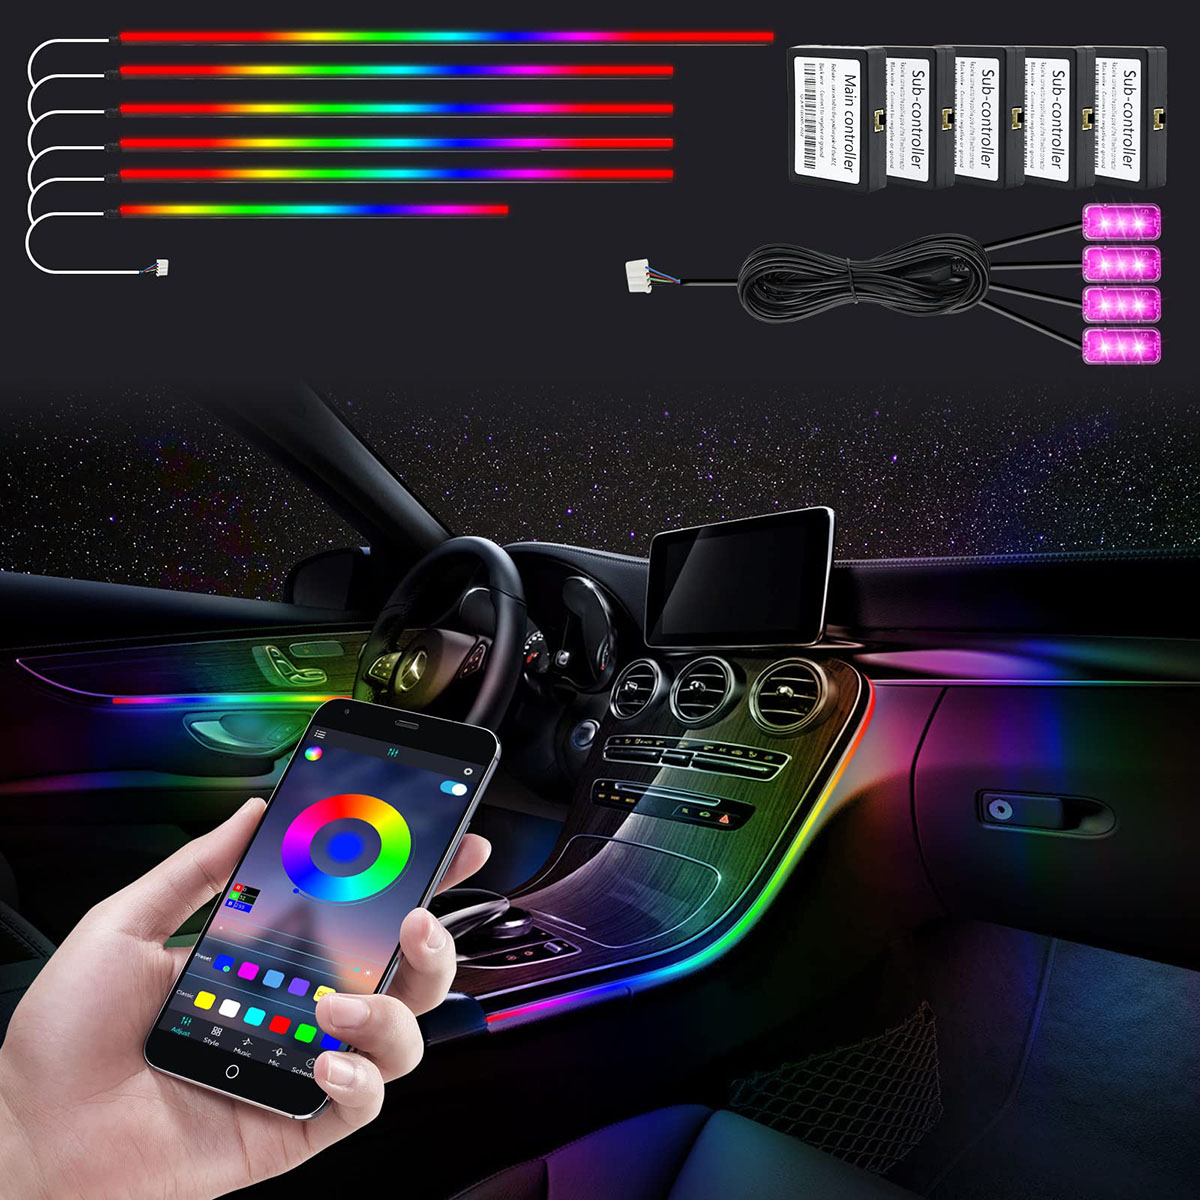
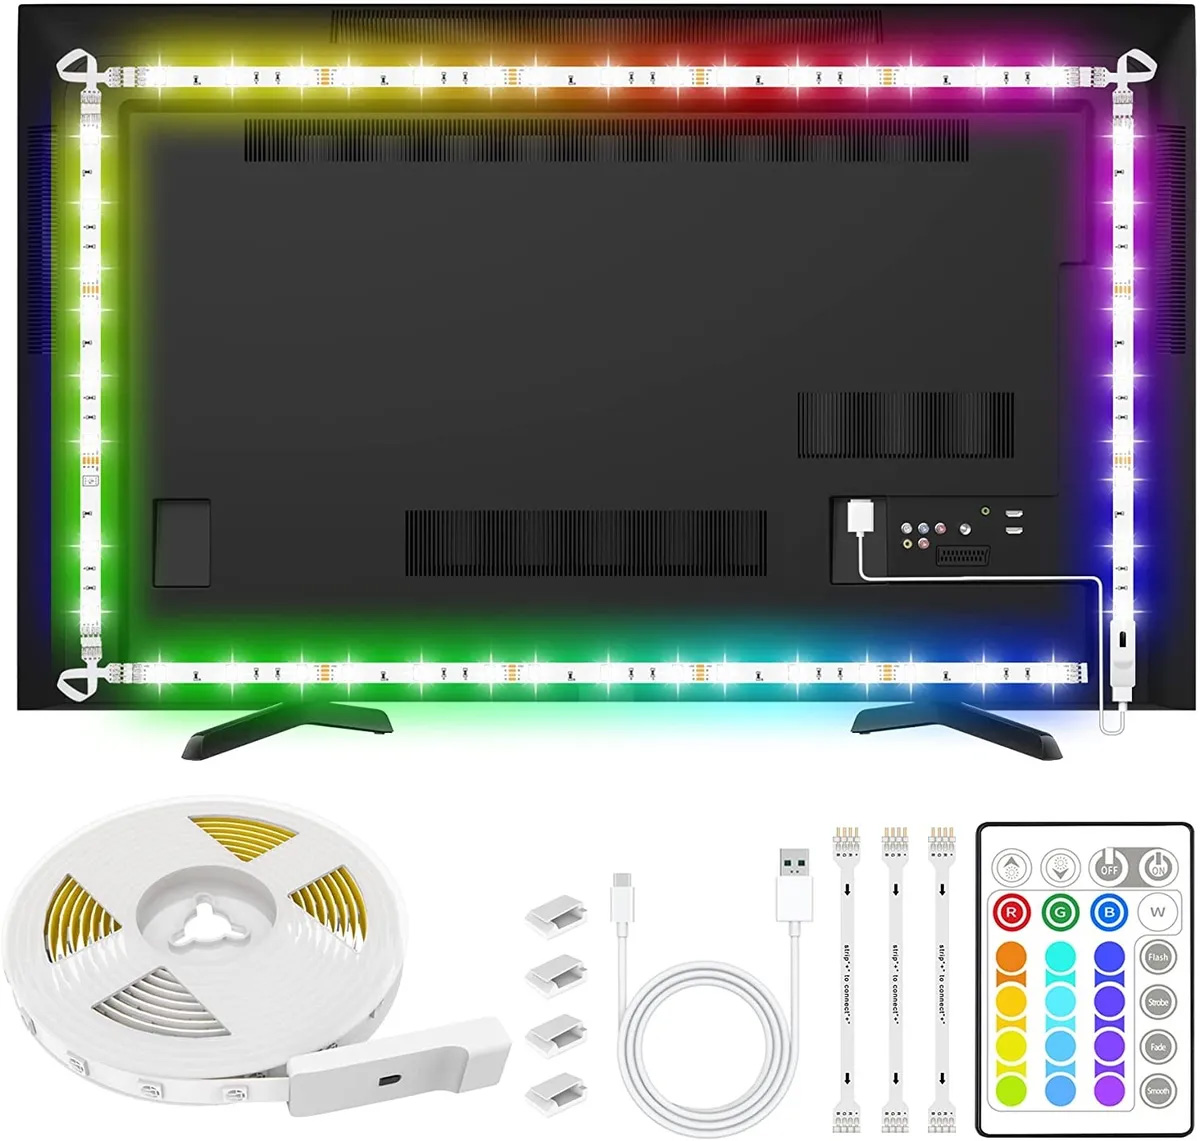
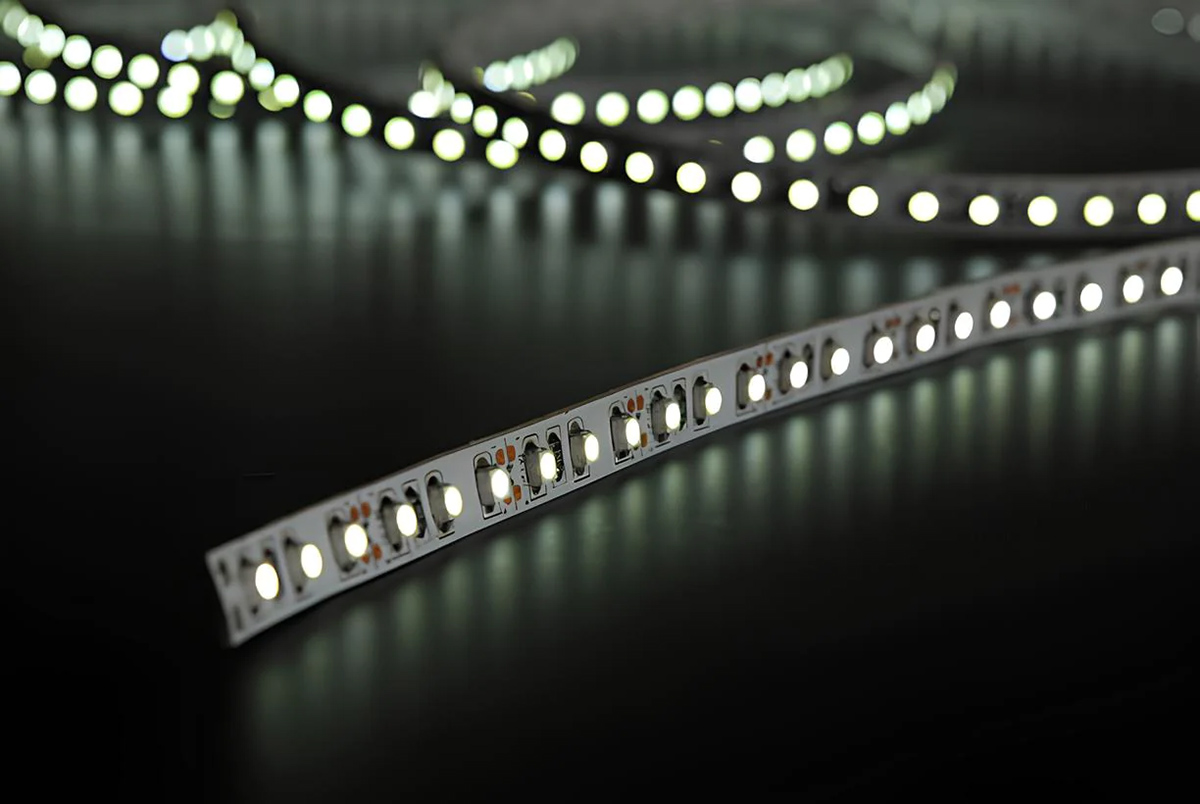
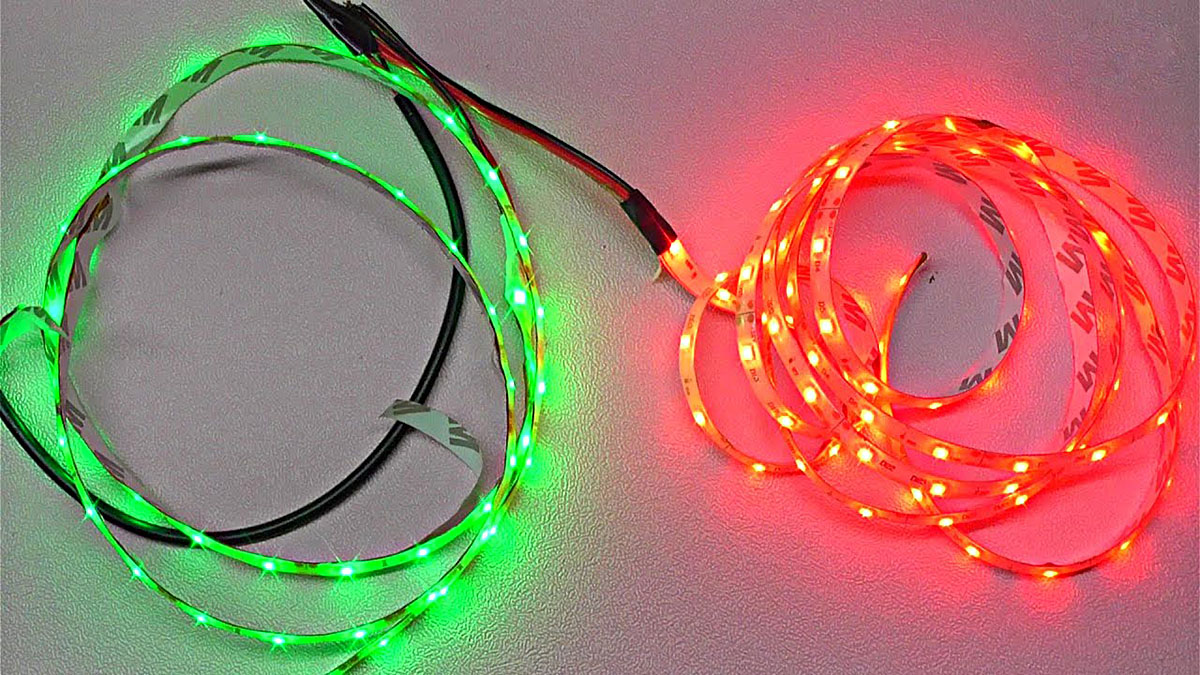
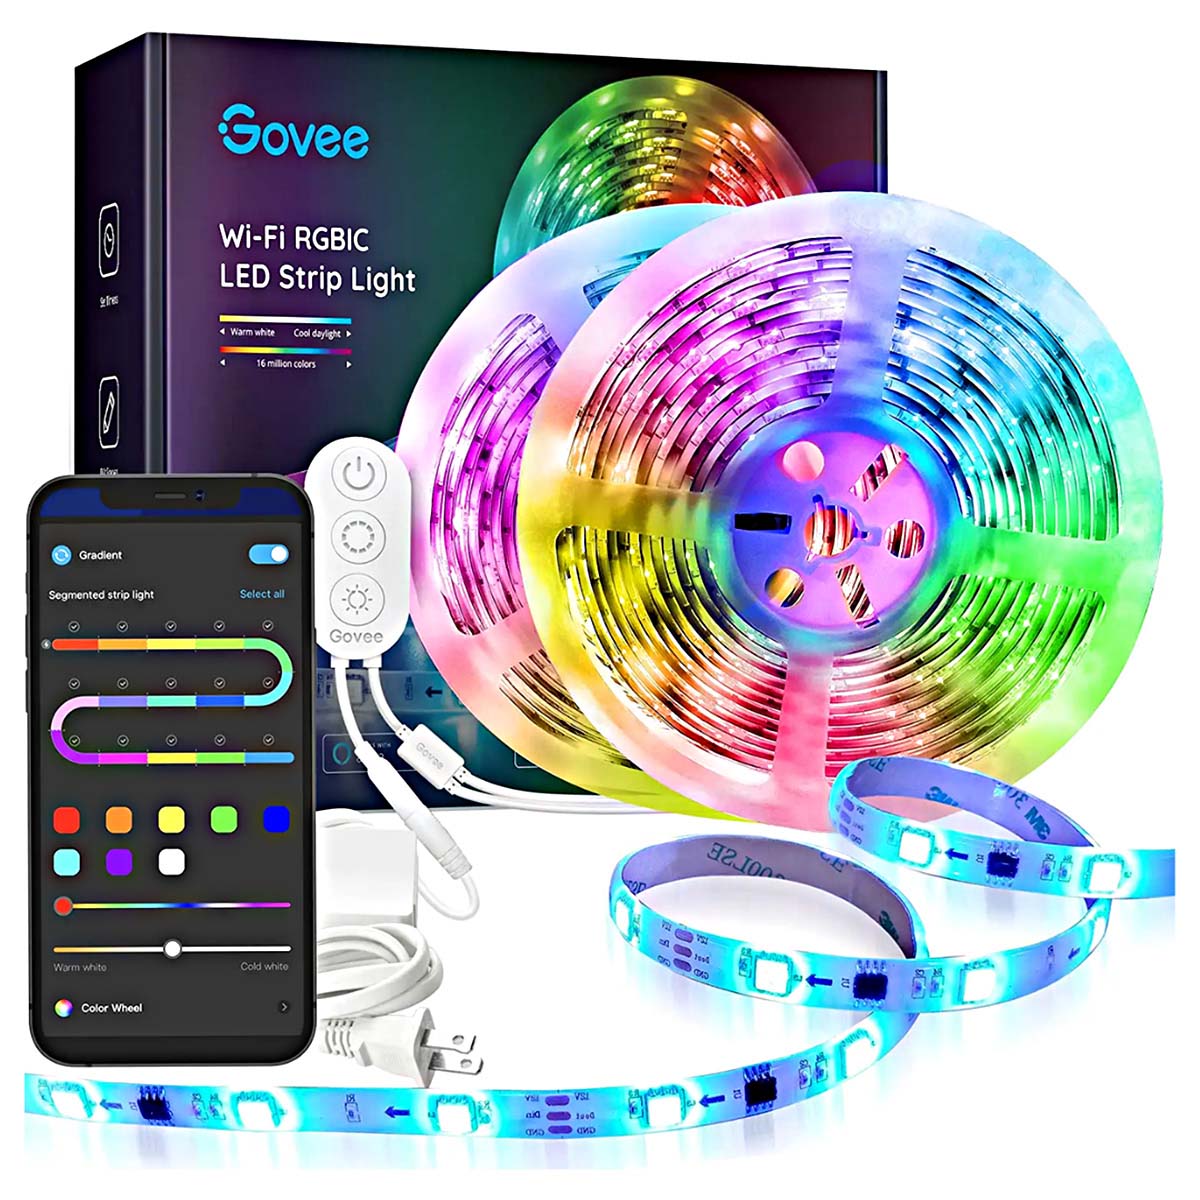
- LED light strips: Choose high-quality, waterproof LED strips that are suitable for automotive use. Opt for a color that complements your car’s interior or select RGB strips for customizable color options.
- Power supply: Depending on the type of LED strips you select, you may need a suitable power supply. This could be a 12-volt car adapter or a dedicated LED power supply.
- Wire connectors: Ensure you have the necessary connectors for joining the LED strips and wiring.
- Wire strippers and cutters: These tools will be essential for preparing the wiring and achieving clean, precise cuts.
- Adhesive tape: Look for strong adhesive tape or mounting clips to securely attach the LED strips to your car’s interior surfaces.
- Cleaning supplies: Before installation, thoroughly clean the areas where the LED strips will be placed to ensure optimal adhesion.
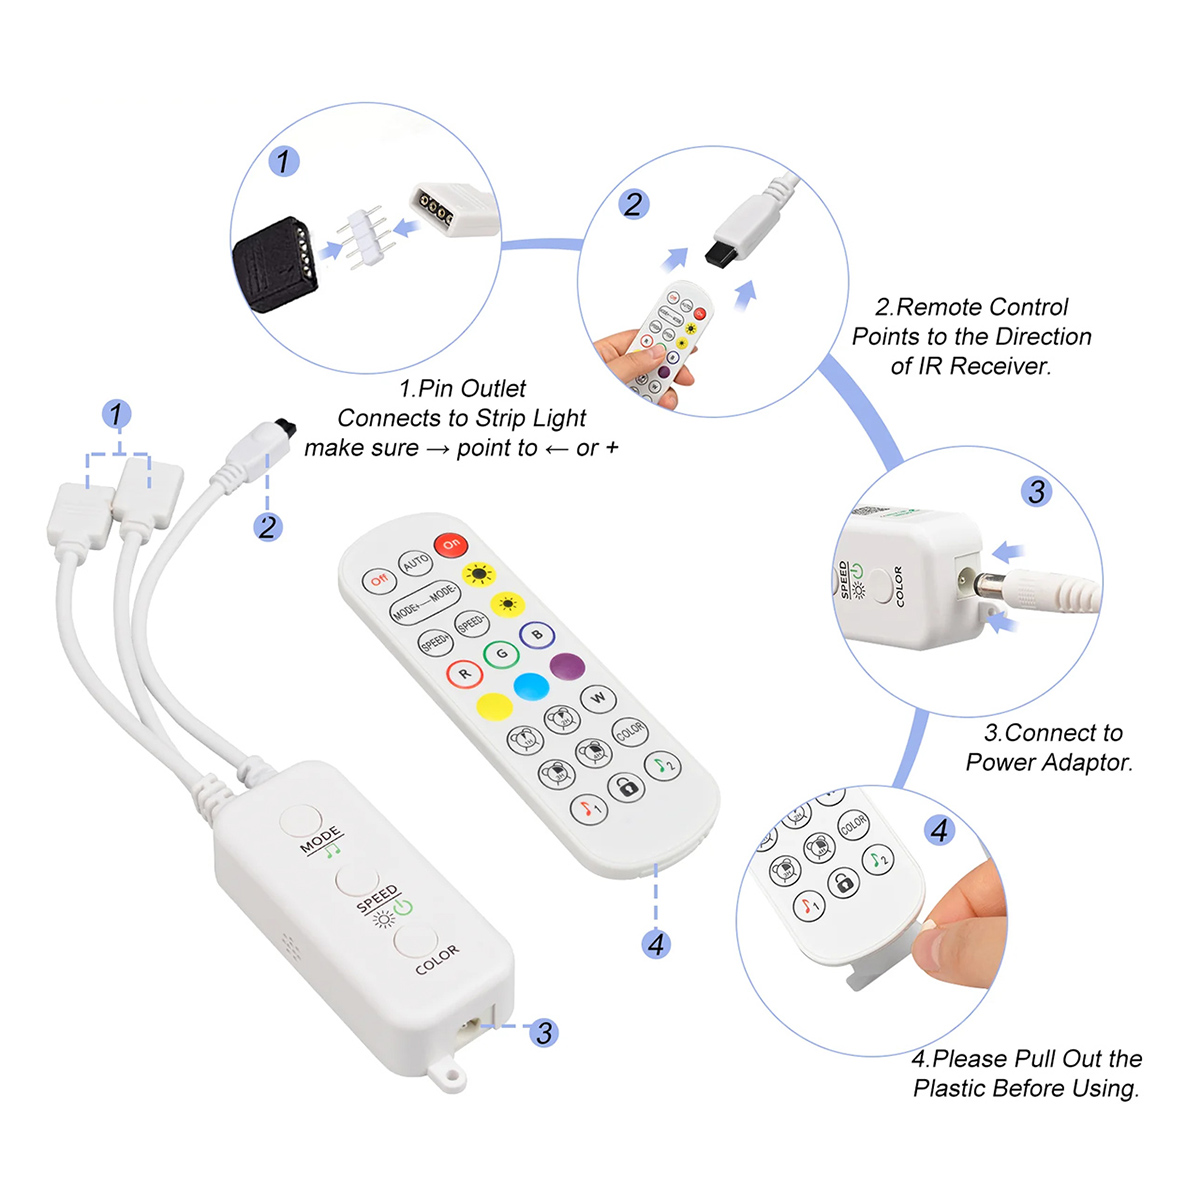
- Remote control (if applicable): If you opt for RGB LED strips, a remote control will allow you to adjust the colors and lighting effects.
- Zip ties: These can be handy for organizing and securing excess wiring to prevent clutter.
- Scissors and electrical tape: These basic tools will come in handy during the installation process.
- Owner’s manual: Familiarize yourself with the LED strip manufacturer’s instructions and recommendations.
By gathering these materials beforehand, you’ll be well-prepared to proceed with the installation without any interruptions. Remember to prioritize safety and quality when selecting your materials, as this will contribute to a successful and visually stunning LED lighting upgrade for your car.
Step 2: Prepare the Car
Before installing the LED light strips, it’s essential to prepare your car’s interior to ensure a smooth and effective installation process. Here are the key steps to prepare your vehicle:
- Clean the Installation Areas: Thoroughly clean the areas where you plan to mount the LED light strips. Use a mild cleaning solution and a microfiber cloth to remove any dust, dirt, or residue. Clean and dry surfaces will promote better adhesion and ensure a professional-looking installation.
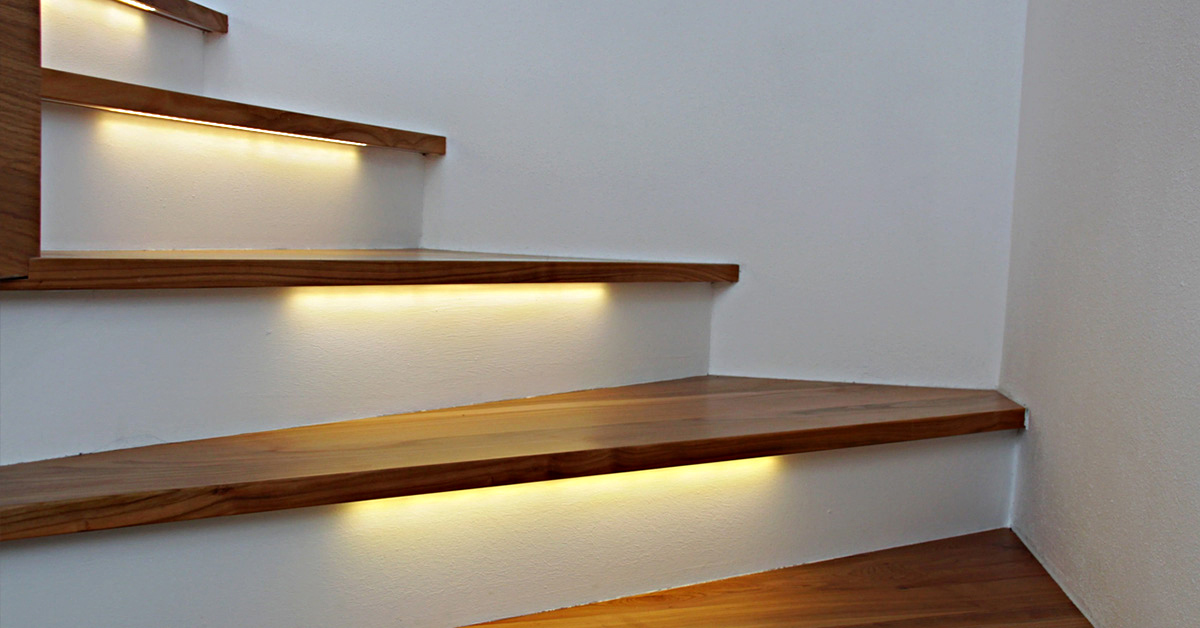
- Plan the Placement: Determine the placement of the LED strips in your car’s interior. Consider factors such as the desired lighting effects, visibility, and wiring accessibility. Common placement areas include the footwells, under the dashboard, along the door sills, and in storage compartments.
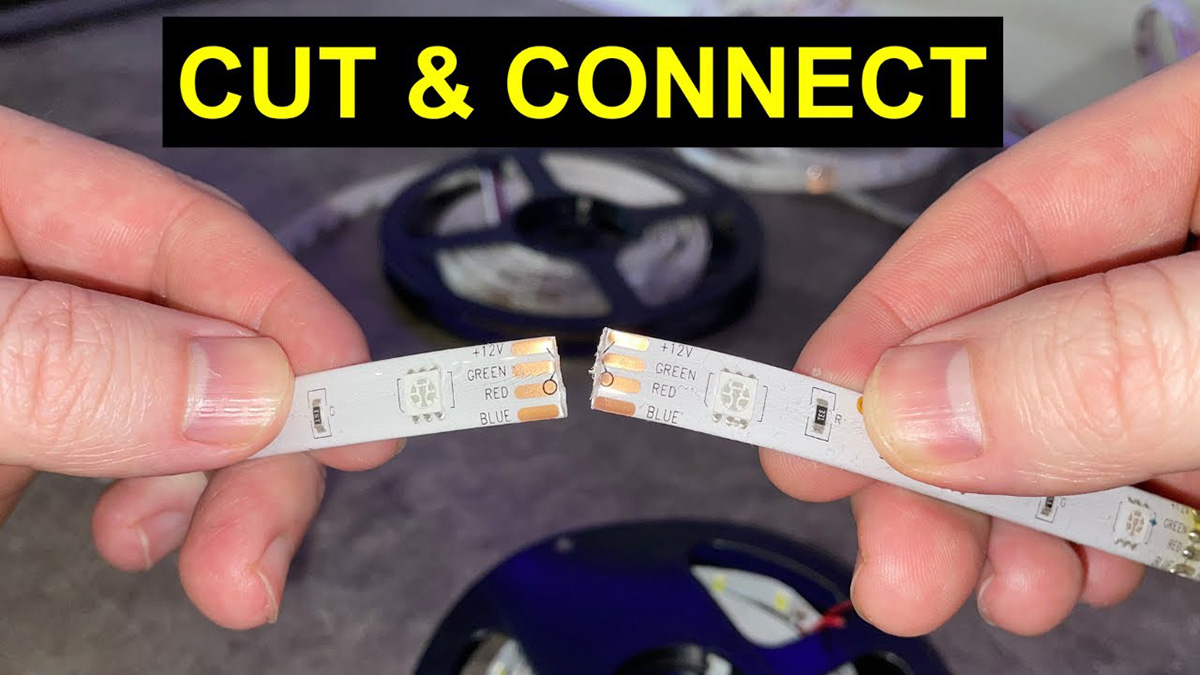
- Measure and Cut: If your LED light strips are customizable in length, carefully measure and cut them according to the predetermined placement areas. Most LED strips have designated cut points, allowing you to achieve the perfect fit for your car’s interior.
- Test Fit: Before proceeding with the installation, perform a test fit of the LED strips in the chosen locations. This step will help you confirm the fit and make any necessary adjustments before securing the strips in place.
- Plan the Wiring Route: Consider the most discreet and practical route for running the wiring from the LED strips to the power source. Concealing the wiring as much as possible will result in a cleaner and more professional-looking installation.
By meticulously preparing your car’s interior, you’ll set the stage for a successful LED strip installation. Taking the time to clean, plan, measure, and test fit the LED strips will contribute to a seamless and visually appealing outcome.
Step 3: Install the LED Strips
With your car prepared and the necessary materials at hand, it’s time to proceed with the installation of the LED light strips. Follow these steps to ensure a precise and secure installation:
- Peel Off the Adhesive Backing: Carefully peel off the adhesive backing from the LED light strips, exposing the sticky surface that will adhere to your car’s interior. Take caution not to damage the strips during this process.
- Position the LED Strips: Align the LED strips with the previously determined placement areas in your car’s interior. Ensure that the strips are positioned evenly and securely adhered to the surfaces. Apply firm and consistent pressure to promote strong adhesion.
- Secure the Strips: If necessary, use additional adhesive tape or mounting clips to reinforce the attachment of the LED strips. This step is especially important for areas prone to vibration or movement.
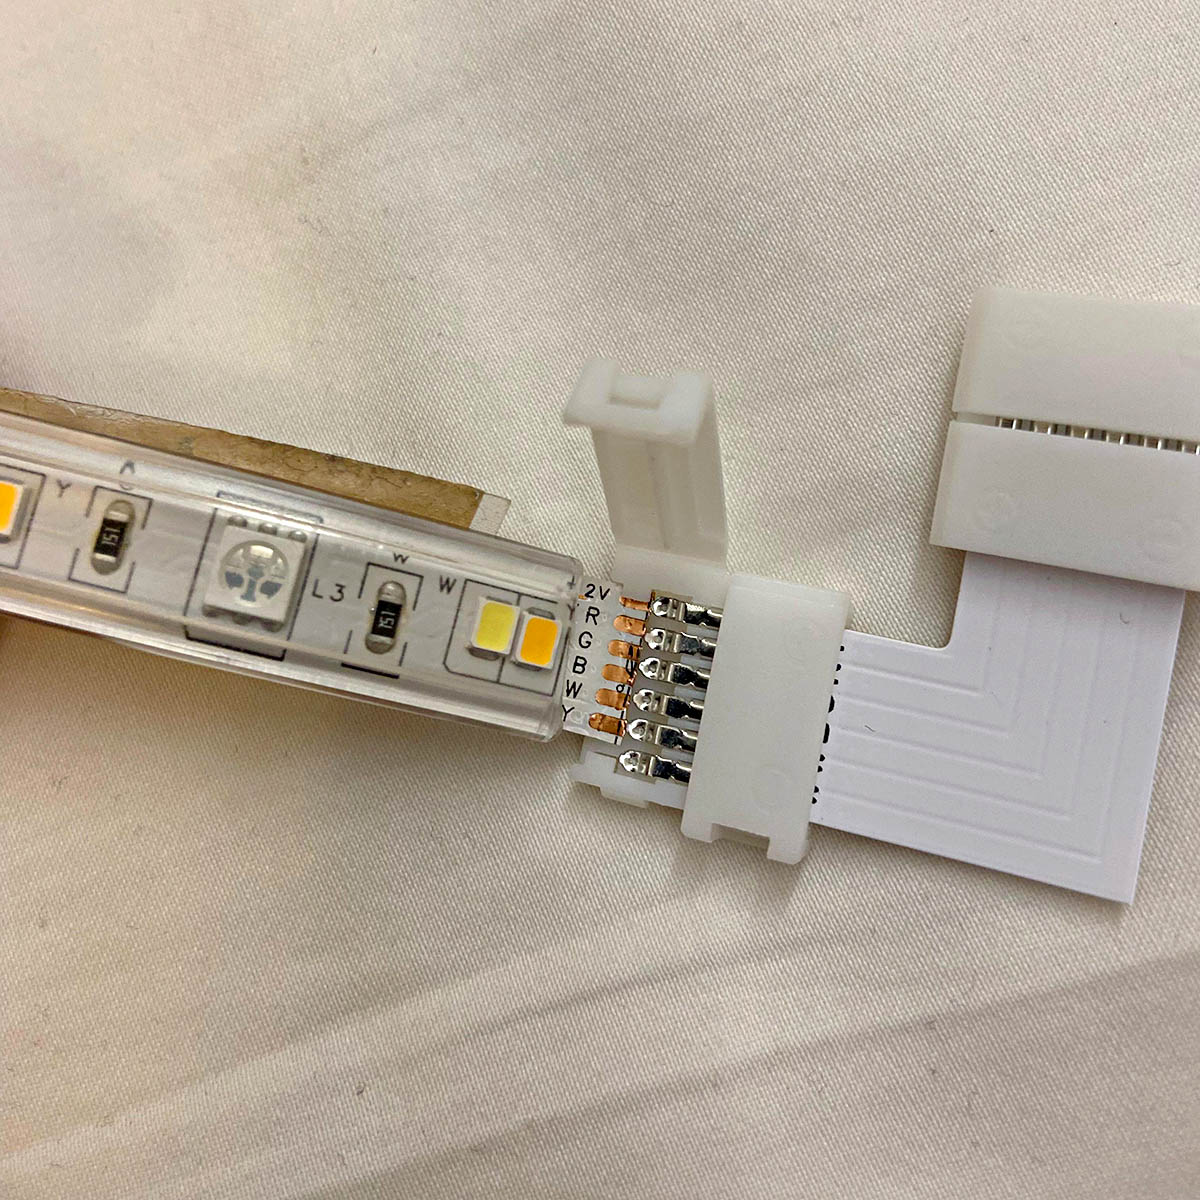
- Connect Multiple Strips (if applicable): If you are installing multiple LED strips that need to be connected, carefully join them using the appropriate connectors. Follow the manufacturer’s instructions to ensure a reliable and durable connection.
- Conceal Excess Wiring: Tuck and secure any excess wiring to maintain a tidy and professional appearance. Utilize zip ties or cable management solutions to organize the wiring and prevent it from becoming a visual distraction.
By meticulously following these steps, you can achieve a clean and precise installation of the LED light strips in your car. Attention to detail and careful positioning will contribute to a visually stunning result that enhances your car’s interior ambiance.
When installing LED strips in your car, make sure to clean the surface where you will be placing the strips with rubbing alcohol. This will ensure a strong and long-lasting adhesion.
Step 4: Connect the Wiring
Once the LED light strips are securely installed in your car’s interior, the next crucial step is to connect the wiring. Properly connecting the wiring ensures that the LED strips receive power and function as intended. Follow these steps to connect the wiring effectively:
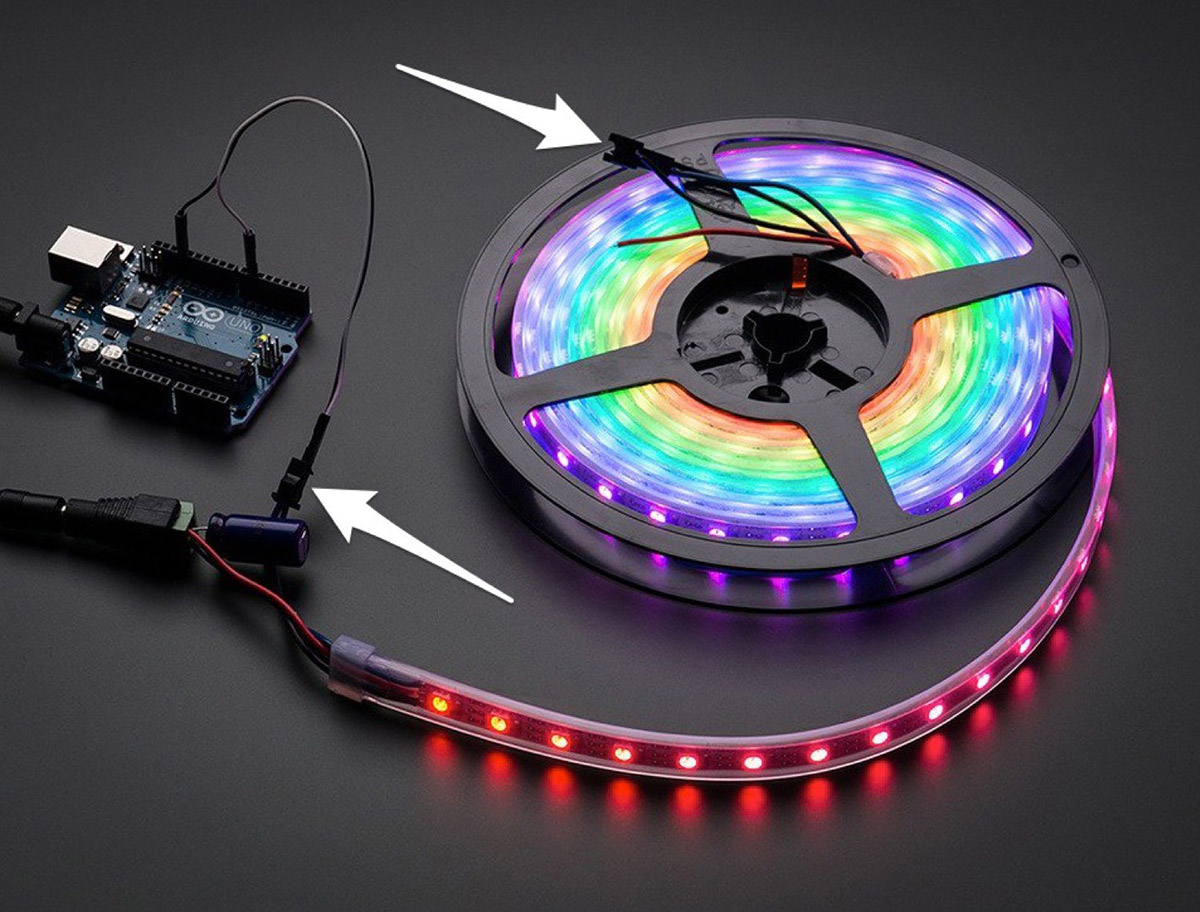
- Locate the Power Source: Identify a suitable power source for the LED light strips. This may involve accessing the car’s fuse box or connecting to an existing power outlet.
- Prepare the Wiring: If necessary, strip the wire ends to expose the conductive metal and ensure a clean connection. Use wire strippers to remove the insulation carefully without damaging the underlying conductors.
- Connect the Power Supply: Carefully connect the wiring from the LED light strips to the designated power supply. Ensure that the positive (+) and negative (-) terminals are correctly matched to avoid any electrical issues.
- Insulate the Connections: Once the wiring is connected, use electrical tape or heat-shrink tubing to insulate and protect the connections. This step is essential for safety and to prevent any potential short circuits.
- Route the Wiring Neatly: Organize and route the wiring neatly along the predetermined path, ensuring that it is discreetly concealed and does not obstruct any moving parts or controls within the car.
By carefully connecting the wiring according to these steps, you can ensure that the LED light strips receive a reliable power supply and operate flawlessly. Attention to detail and precision during the wiring process will contribute to a safe and visually appealing installation.
Read more: What To Do If Your LED Strips Won’t Stick
Step 5: Test the LED Strips
Before finalizing the installation of the LED light strips in your car, it’s crucial to conduct a thorough testing process to ensure proper functionality and performance. Follow these steps to test the LED strips:
- Power On the System: Activate the power source for the LED light strips, whether it’s through the car’s electrical system or an external power supply. Ensure that the power is flowing to the LED strips.
- Verify Illumination: Observe the LED light strips to confirm that they illuminate as expected. Check for consistent brightness and uniform lighting across all installed strips.
- Test Color Options (if applicable): If you have chosen RGB LED strips with color-changing capabilities, use the remote control or designated controls to cycle through the color options. Verify that the color transitions and effects function correctly.
- Check for Remote Functionality (if applicable): If your LED strips are equipped with a remote control, ensure that the remote functions as intended and accurately controls the lighting features.
- Inspect Wiring and Connections: While the LED strips are illuminated, inspect the wiring and connections to confirm that they remain secure and free from any signs of overheating or malfunction.
By meticulously testing the LED light strips and their associated components, you can identify any potential issues or discrepancies before finalizing the installation. This proactive approach ensures that your car’s LED lighting system operates reliably and delivers the desired visual impact.
Conclusion
Congratulations! You’ve successfully embarked on the journey of enhancing your car’s interior with captivating LED light strips. By following the comprehensive steps outlined in this guide, you’ve gained the knowledge and confidence to transform your vehicle’s ambiance with stunning and practical lighting.
Through meticulous preparation, precise installation, and thorough testing, you’ve not only elevated the visual appeal of your car but also added a personalized touch that reflects your unique style and creativity. The installation of LED light strips serves as a testament to your dedication to enhancing the driving experience and creating a welcoming environment within your vehicle.
As you enjoy the mesmerizing glow of the LED strips illuminating your car’s interior, take pride in the craftsmanship and attention to detail that went into this project. Whether it’s the subtle accent lighting or the vibrant color transitions, the LED light strips have undoubtedly elevated the ambiance and made your car a standout presence on the road.
Remember to refer to the manufacturer’s instructions and safety guidelines throughout the installation process, and always prioritize safety when working with electrical components in your car. With your newfound expertise in LED strip installation, you’re well-equipped to explore further customization options and continue enhancing your car’s interior to reflect your unique personality and style.
So, buckle up, hit the road, and bask in the captivating glow of your newly installed LED light strips, knowing that you’ve successfully elevated your car’s interior to new heights of style and sophistication.
Frequently Asked Questions about How To Install LED Strips In Your Car
Was this page helpful?
At Storables.com, we guarantee accurate and reliable information. Our content, validated by Expert Board Contributors, is crafted following stringent Editorial Policies. We're committed to providing you with well-researched, expert-backed insights for all your informational needs.


0 thoughts on “How To Install LED Strips In Your Car”