Home>Home Appliances>Lighting Appliances>What To Do If Your LED Strips Won’t Stick
Lighting Appliances
What To Do If Your LED Strips Won’t Stick
Modified: December 21, 2023
Find solutions for LED strips that won't stick with our helpful tips and tricks. Enhance your lighting-appliances effortlessly and hassle-free.
(Many of the links in this article redirect to a specific reviewed product. Your purchase of these products through affiliate links helps to generate commission for Storables.com, at no extra cost. Learn more)
Introduction
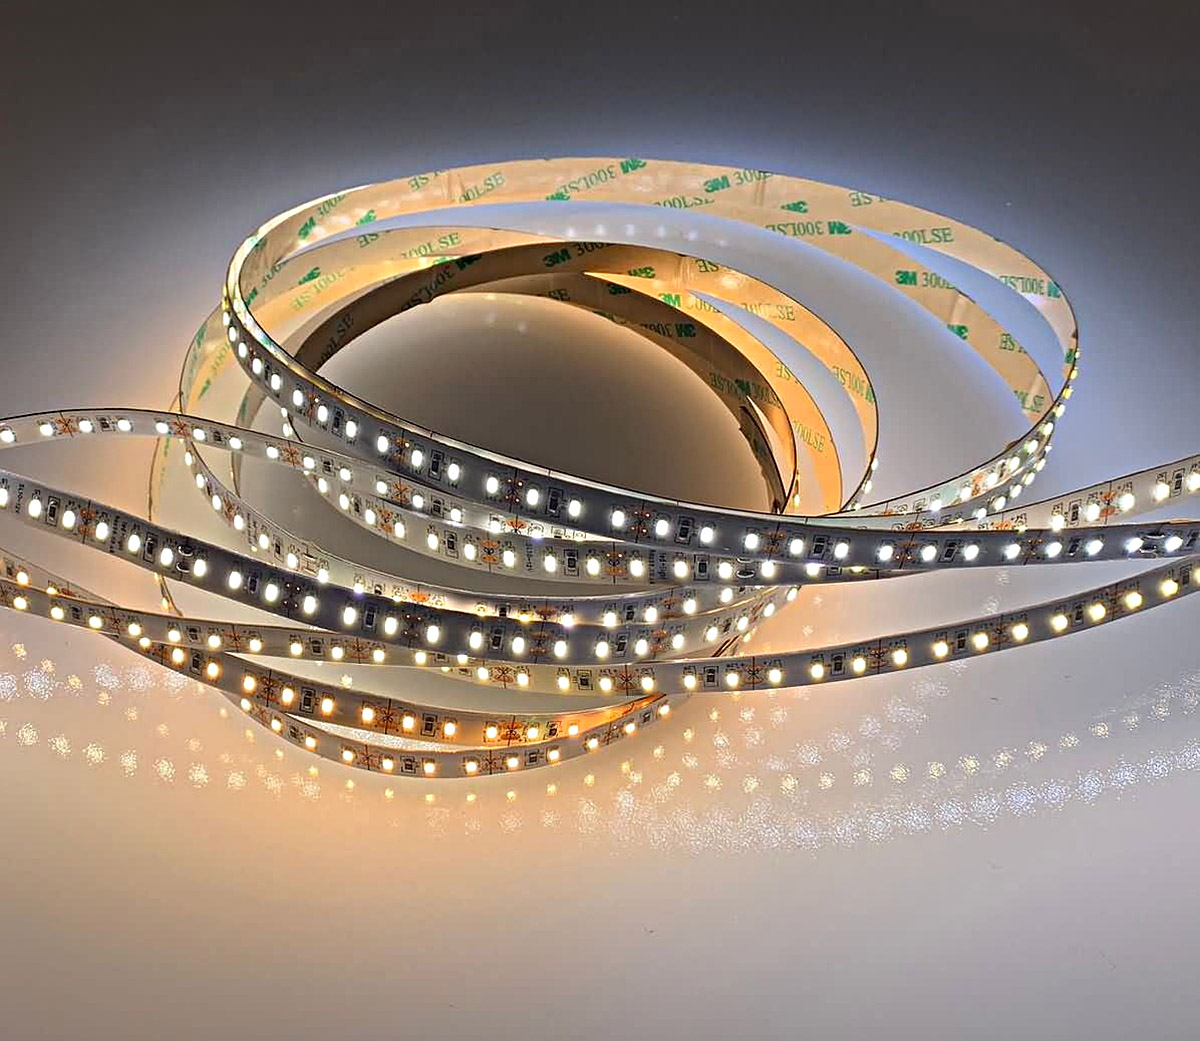
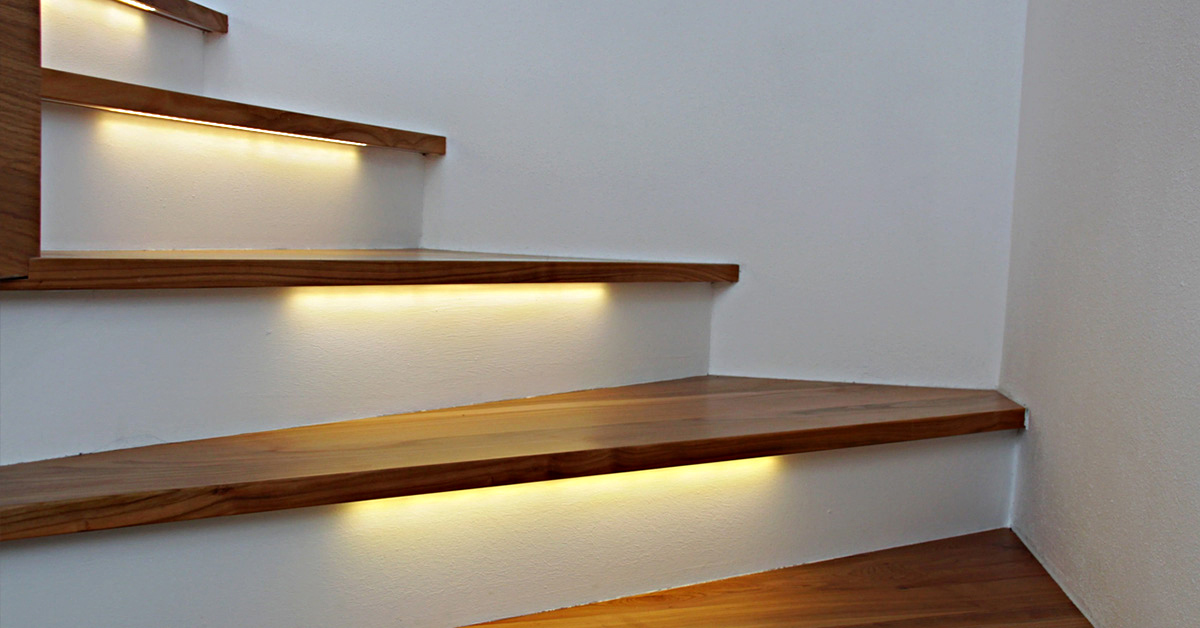
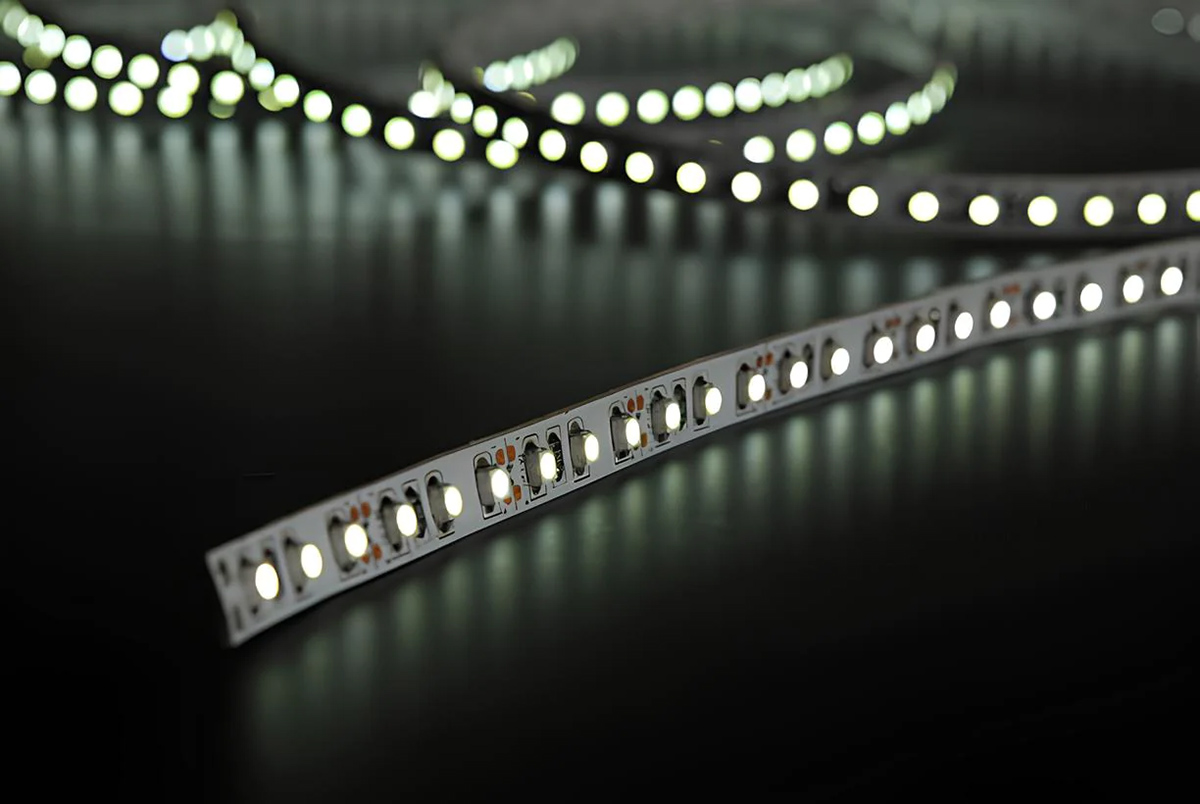
LED strips have become increasingly popular in the lighting industry due to their versatility and energy efficiency. Whether you’re using LED strips for decorative accents, task lighting, or ambient illumination, one common challenge you might encounter is getting them to stay in place. There’s nothing more frustrating than spending time and effort installing LED strips, only to have them start peeling off or falling down shortly after.
Fortunately, there are several reasons why LED strips may not stick properly and various solutions to ensure they stay firmly in place. In this article, we will explore common reasons why LED strips won’t stick and provide helpful tips and techniques to address the issue effectively.
Key Takeaways:
- Ensure LED strip adhesion by cleaning surfaces thoroughly, using proper adhesive, and exploring alternative mounting options. Troubleshoot with heat application and zip ties for added support.
- Prepare surfaces meticulously, choose the right adhesive, and consider alternative mounting options to ensure LED strips stick securely. Troubleshoot with heat application and silicone adhesive for challenging environments.
Read more: How To Install LED Strips In Your Car
Common Reasons LED Strips Won’t Stick
Before diving into the solutions, let’s first examine some common reasons why LED strips may have trouble adhering to surfaces:
- Unsuitable surface: LED strips require a clean, smooth, and non-porous surface to adhere properly. Surfaces with dust, moisture, or uneven textures can hinder the adhesive’s grip.
- Excessive heat: LED strips generate heat during operation, which can weaken the adhesive backing over time. If the strips are installed in an environment with high temperatures, the adhesive may start to deteriorate.
- Poor quality adhesive: Sometimes, LED strips come with low-quality adhesive that lacks the necessary bonding strength to stick properly. This can result in premature detachment.
- Incorrect application: If the LED strips are not applied evenly or with sufficient pressure, the adhesive may not make full contact with the surface, compromising its ability to stick securely.
- Mismatched surfaces: Certain surfaces, such as fabrics or rough wood, may not provide a suitable bonding surface for most adhesive backings. Different materials require different adhesive types for proper adhesion.
Understanding these common reasons can help us troubleshoot and find the most appropriate solutions to ensure the LED strips stick effectively. In the following sections, we will discuss steps and techniques to overcome these challenges and make your LED strips stay in place.
Preparing the Surface
Before applying LED strips, it’s crucial to prepare the surface properly to ensure optimal adhesion. Here are some steps to follow:
- Clean the surface: Use a mild household detergent or isopropyl alcohol to clean the surface thoroughly. Remove any dirt, dust, grease, or debris that may hinder the strips from adhering properly. Be sure to let the surface dry completely before proceeding to the next step.
- Smooth out rough surfaces: If the surface is rough or uneven, consider sanding it lightly to create a smoother and more even texture. This will provide a better bonding surface for the adhesive. Make sure to clean away any sanding residue before moving on.
- Remove old adhesive: If you are replacing existing LED strips or adhesive, make sure to remove any remnants of the old adhesive. Use a scraper or adhesive remover to gently remove the residue without damaging the surface.
- Apply primer (if necessary): In some cases, using a primer can improve the adhesion of LED strips, especially on challenging surfaces such as metal or plastic. Follow the manufacturer’s instructions on how to apply the primer, and make sure it is fully dry before proceeding.
By properly preparing the surface, you create an ideal foundation for the LED strip adhesive, increasing the likelihood of a strong and long-lasting bond. With a clean and smooth surface, you are now ready to apply the LED strips.
Cleaning the Surface
One of the key factors in ensuring proper adhesion of LED strips is cleaning the surface thoroughly. A clean surface removes any dirt, oils, or other contaminants that can interfere with the adhesive’s ability to bond effectively. Here are some tips for cleaning the surface before applying LED strips:
- Use a mild detergent: Start by mixing a small amount of mild detergent with water. Dip a clean cloth or sponge into the solution, then gently scrub the surface to remove any dirt or grime. Rinse the surface with clean water and allow it to dry completely.
- Isopropyl alcohol: For surfaces that require a deeper clean or have grease or oil residue, isopropyl alcohol (rubbing alcohol) can be used. Apply a small amount of alcohol to a clean cloth and gently wipe the surface. This will help remove any oils and provide a clean bonding surface.
- Avoid harsh chemicals: While it may be tempting to use strong chemicals or solvents to clean the surface, it’s best to avoid them as they can damage the surface or weaken the adhesive. Stick to mild detergents or isopropyl alcohol for safe and effective cleaning.
- Dry thoroughly: After cleaning, make sure to allow the surface to dry completely before applying the LED strips. Moisture can interfere with the adhesive’s ability to bond properly, so it’s important to ensure the surface is dry to the touch.
By taking the time to clean the surface properly, you remove any potential barriers to adhesive bonding. This will significantly increase the chances of the LED strips sticking securely and staying in place for the long term.
Clean the surface thoroughly before applying the adhesive backing of the LED strips. Use rubbing alcohol to remove any dirt, oil, or residue that may prevent the strips from sticking properly.
Applying Proper Adhesive
Choosing the right adhesive for your LED strips is crucial to ensure proper adhesion and longevity. While most LED strips come with adhesive backing pre-applied, there are instances where the provided adhesive may not be sufficient. Here are some tips for applying proper adhesive to enhance the grip of your LED strips:
- Double-sided adhesive tape: If the LED strip’s adhesive is weak or you need additional support, consider using double-sided adhesive tape. Choose a tape specifically designed for mounting purposes, ensuring it has a strong adhesive backing.
- Positioning the tape: Cut the double-sided adhesive tape into lengths matching your LED strips. Carefully position the tape along the backside of the LED strip, ensuring it covers most of the surface area. Press it firmly onto the strip, making sure it adheres securely.
- Peeling off the backing: Once the tape is applied, carefully peel off the protective backing, exposing the adhesive side. Be cautious and take your time to avoid damaging the adhesive or getting it dirty.
- Position and press: Align the LED strip with the desired location on the surface and firmly press it down. Apply even pressure along the entire length of the strip to ensure proper adhesion. Use a roller or a clean cloth to help apply consistent pressure and remove any air bubbles.
It’s essential to note that different surfaces may require different types of adhesive or mounting methods. For example, if you’re installing LED strips on a vertical surface, such as a wall, consider using adhesive clips or brackets to provide additional support and prevent sagging.
Remember, the goal is to ensure a strong and secure bond between the LED strip and the surface. By using proper adhesive techniques, you can significantly improve the longevity of your LED strip installation and prevent any issues with adhesion.
Read more: How To Remove LED Strips From The Wall
Using Alternative Mounting Options
If adhesive alone isn’t providing the desired results or if you’re working with a surface that is not suitable for adhesive, there are alternative mounting options you can explore to ensure your LED strips stay in place. Here are a few options:
- Mounting brackets: Mounting brackets provide a secure and versatile solution for installing LED strips. They can be easily attached to surfaces using screws or adhesive, and the LED strips simply slide into the brackets, creating a sturdy hold.
- Clips or clamps: LED strip clips or clamps can be mounted onto surfaces and hold the LED strips in place. These clips or clamps are adjustable and can be easily positioned and tightened as needed, ensuring a secure fit.
- Magnetic strips: If the surface you’re working with is magnetic or can support magnets, magnetic strips can be a convenient solution. These adhesive-backed strips have magnets embedded within them, allowing the LED strips to attach securely.
- Velcro tape: Velcro tape provides a flexible and reusable option for mounting LED strips. One side of the tape adheres to the LED strip while the other side sticks to the surface. This allows for easy removal and repositioning, making it ideal for temporary installations.
When using alternative mounting options, it’s important to ensure that the chosen method can support the weight of the LED strips and is compatible with the surface material. Test the compatibility and stability before fully securing the LED strips to avoid any damage or inconvenience.
By exploring these alternative options, you can find a suitable solution for mounting LED strips that ensures durability and stability, even in challenging or unsuitable surfaces.
Additional Tips and Troubleshooting
While taking proper steps to prepare the surface and use the right adhesive or mounting options can greatly improve the adhesion of your LED strips, sometimes additional tips and troubleshooting techniques are necessary. Here are a few extra suggestions to help you get the best results:
- Apply heat: If the ambient temperature is cold or if you’re working with a surface that is difficult to adhere to, gently heating the surface with a heat gun or hairdryer can help activate the adhesive and improve bonding.
- Use zip ties: In cases where the LED strips need extra support, especially on vertical surfaces, you can use zip ties to secure the strips in place. Attach the zip ties tightly around the LED strips and anchor them to stationary objects or mounting points for added stability.
- Consider silicone adhesive: If you’re working with surfaces that are prone to extreme temperatures or moisture, consider using a silicone-based adhesive. Silicone adhesives are more resistant to these conditions and provide a stronger bond.
- Check for adequate power supply: LED strips may not stick properly if they are not receiving the correct power supply. Ensure that the power source is compatible with the LED strips and can provide the necessary voltage.
- Inspect the LED strips: Before installation, check the LED strips for any manufacturing defects or damage. If there are physical issues, such as uneven adhesive or weak connections, contact the manufacturer for a replacement.
If you’re still experiencing issues with the LED strips not sticking, don’t hesitate to seek assistance from a professional or contact the manufacturer for further guidance. They may have additional recommendations or specific solutions tailored to your situation.
Remember, each installation may have unique challenges, so it’s important to be patient and try different methods until you find the one that works best for your specific needs.
Conclusion
Getting LED strips to stay in place and stick securely is crucial for achieving a successful and long-lasting lighting installation. By understanding the common reasons why LED strips won’t stick and following the appropriate steps, you can overcome these challenges and ensure your LED strips stay firmly adhered.
Start by preparing the surface properly, ensuring it is clean, smooth, and suitable for adhesive bonding. Cleaning the surface removes any dirt or contaminants that can hinder adhesion. Applying proper adhesive, whether it’s the provided adhesive backing or using alternative options like double-sided tape, mounting brackets, or magnetic strips, can significantly enhance the grip of your LED strips.
Additionally, exploring alternative mounting options and troubleshooting techniques can provide alternative solutions and help address any issues you may encounter. Techniques such as applying heat, using zip ties for added support, and considering silicone adhesive for challenging environments can assist in achieving a secure and durable installation.
Remember to check the power supply and inspect the LED strips for any defects before installation. If you’re still facing difficulties, don’t hesitate to seek professional assistance or contact the manufacturer for further guidance.
By combining proper surface preparation, choosing suitable adhesive or mounting options, and implementing additional tips and troubleshooting techniques, you can ensure that your LED strips stick effectively, providing you with beautiful and reliable lighting for years to come.
Frequently Asked Questions about What To Do If Your LED Strips Won't Stick
Was this page helpful?
At Storables.com, we guarantee accurate and reliable information. Our content, validated by Expert Board Contributors, is crafted following stringent Editorial Policies. We're committed to providing you with well-researched, expert-backed insights for all your informational needs.


0 thoughts on “What To Do If Your LED Strips Won’t Stick”