Home>Storage Ideas>Kitchen Storage>The Best Methods To Cleaning Appliances, Step By Step
Kitchen Storage
The Best Methods To Cleaning Appliances, Step By Step
Modified: October 20, 2024
Discover the best step-by-step methods for cleaning your appliances! Improve kitchen storage with our collection of innovative ideas.
(Many of the links in this article redirect to a specific reviewed product. Your purchase of these products through affiliate links helps to generate commission for Storables.com, at no extra cost. Learn more)
Introduction
Welcome to the world of kitchen storage ideas! If you’re someone who loves cooking up a storm or enjoys spending time in the kitchen, then you probably know the importance of having an organized and efficient storage system. A cluttered kitchen not only makes it difficult to find what you need when you need it, but it can also take away the joy of cooking.
Thankfully, with the right kitchen storage ideas, you can transform your chaotic kitchen into a functional and stylish space. From maximizing cabinet space to utilizing wall and pantry organizers, there are countless ways to optimize your kitchen storage and make it a seamless and enjoyable experience.
Whether you have a small kitchen with limited storage or a spacious kitchen with ample room, this article will provide you with a comprehensive guide on the best kitchen storage ideas. We’ll explore various methods, tips, and tricks to help you make the most of your kitchen space while keeping it organized and visually appealing.
Not only will these ideas help you find a place for everything in your kitchen, but they will also make it easier for you to access and retrieve items when you need them. No more rummaging through cluttered drawers or digging through piles of pots and pans – with these kitchen storage ideas, you’ll have everything at your fingertips.
Whether you’re a professional chef or a passionate home cook, having an organized and efficient kitchen storage system is essential. It will not only save you time and frustration but also make your cooking experience more enjoyable and seamless. So, let’s dive into the world of kitchen storage ideas and transform your kitchen into a functional and aesthetically pleasing space!
Key Takeaways:
- Transform your kitchen into a functional and visually appealing space by implementing the best kitchen storage ideas and cleaning methods discussed in this comprehensive guide.
- Regular maintenance and preventative measures will prolong the lifespan of your kitchen appliances, creating a healthier and more enjoyable cooking environment while reducing the need for frequent deep cleanings.
Preparing for Cleaning
Before diving into the cleaning process, it’s important to prepare your kitchen appliances for the task at hand. Taking a few minutes to properly prepare will ensure that you have the necessary tools and products, as well as create a clean and safe environment for the cleaning process.
Here are some steps to take when preparing to clean your kitchen appliances:
- Gather the Necessary Supplies: Before starting the cleaning process, gather all the cleaning supplies you’ll need. This typically includes microfiber cloths, mild dish soap, white vinegar, baking soda, and a soft scrub brush. Having everything ready and within reach will save you time and keep you organized throughout the cleaning process.
- Read the Appliance Manuals: Each kitchen appliance is unique and may require specific cleaning instructions. Take a moment to read the appliance manuals or look up the manufacturer’s recommendations online. This will ensure that you clean your appliances in the most effective and safe way, avoiding any potential damage.
- Unplug Electrical Appliances: For safety reasons, always unplug electrical appliances before cleaning them. This will prevent any accidents or damage that could occur from water or cleaning products coming into contact with electrical components.
- Remove and Wash Removable Parts: Many kitchen appliances have removable parts that can be easily cleaned separately. This includes items like oven racks, refrigerator shelves, and blender blades. Remove these parts and wash them using warm, soapy water or place them in the dishwasher if they are dishwasher-safe.
- Clear the Surrounding Area: Clear the area around the appliance that you’re cleaning. This will give you ample space to maneuver and prevent any accidents or unnecessary messes. Remove any items from the countertops or nearby surfaces to ensure a thorough and efficient cleaning process.
By taking the time to properly prepare for cleaning, you’ll set yourself up for success. Gathering the necessary supplies, reading the appliance manuals, unplugging electrical appliances, and clearing the surrounding area will create a clean and safe environment for the cleaning process. Now that you’re prepared, it’s time to dive into cleaning the exterior of your kitchen appliances.
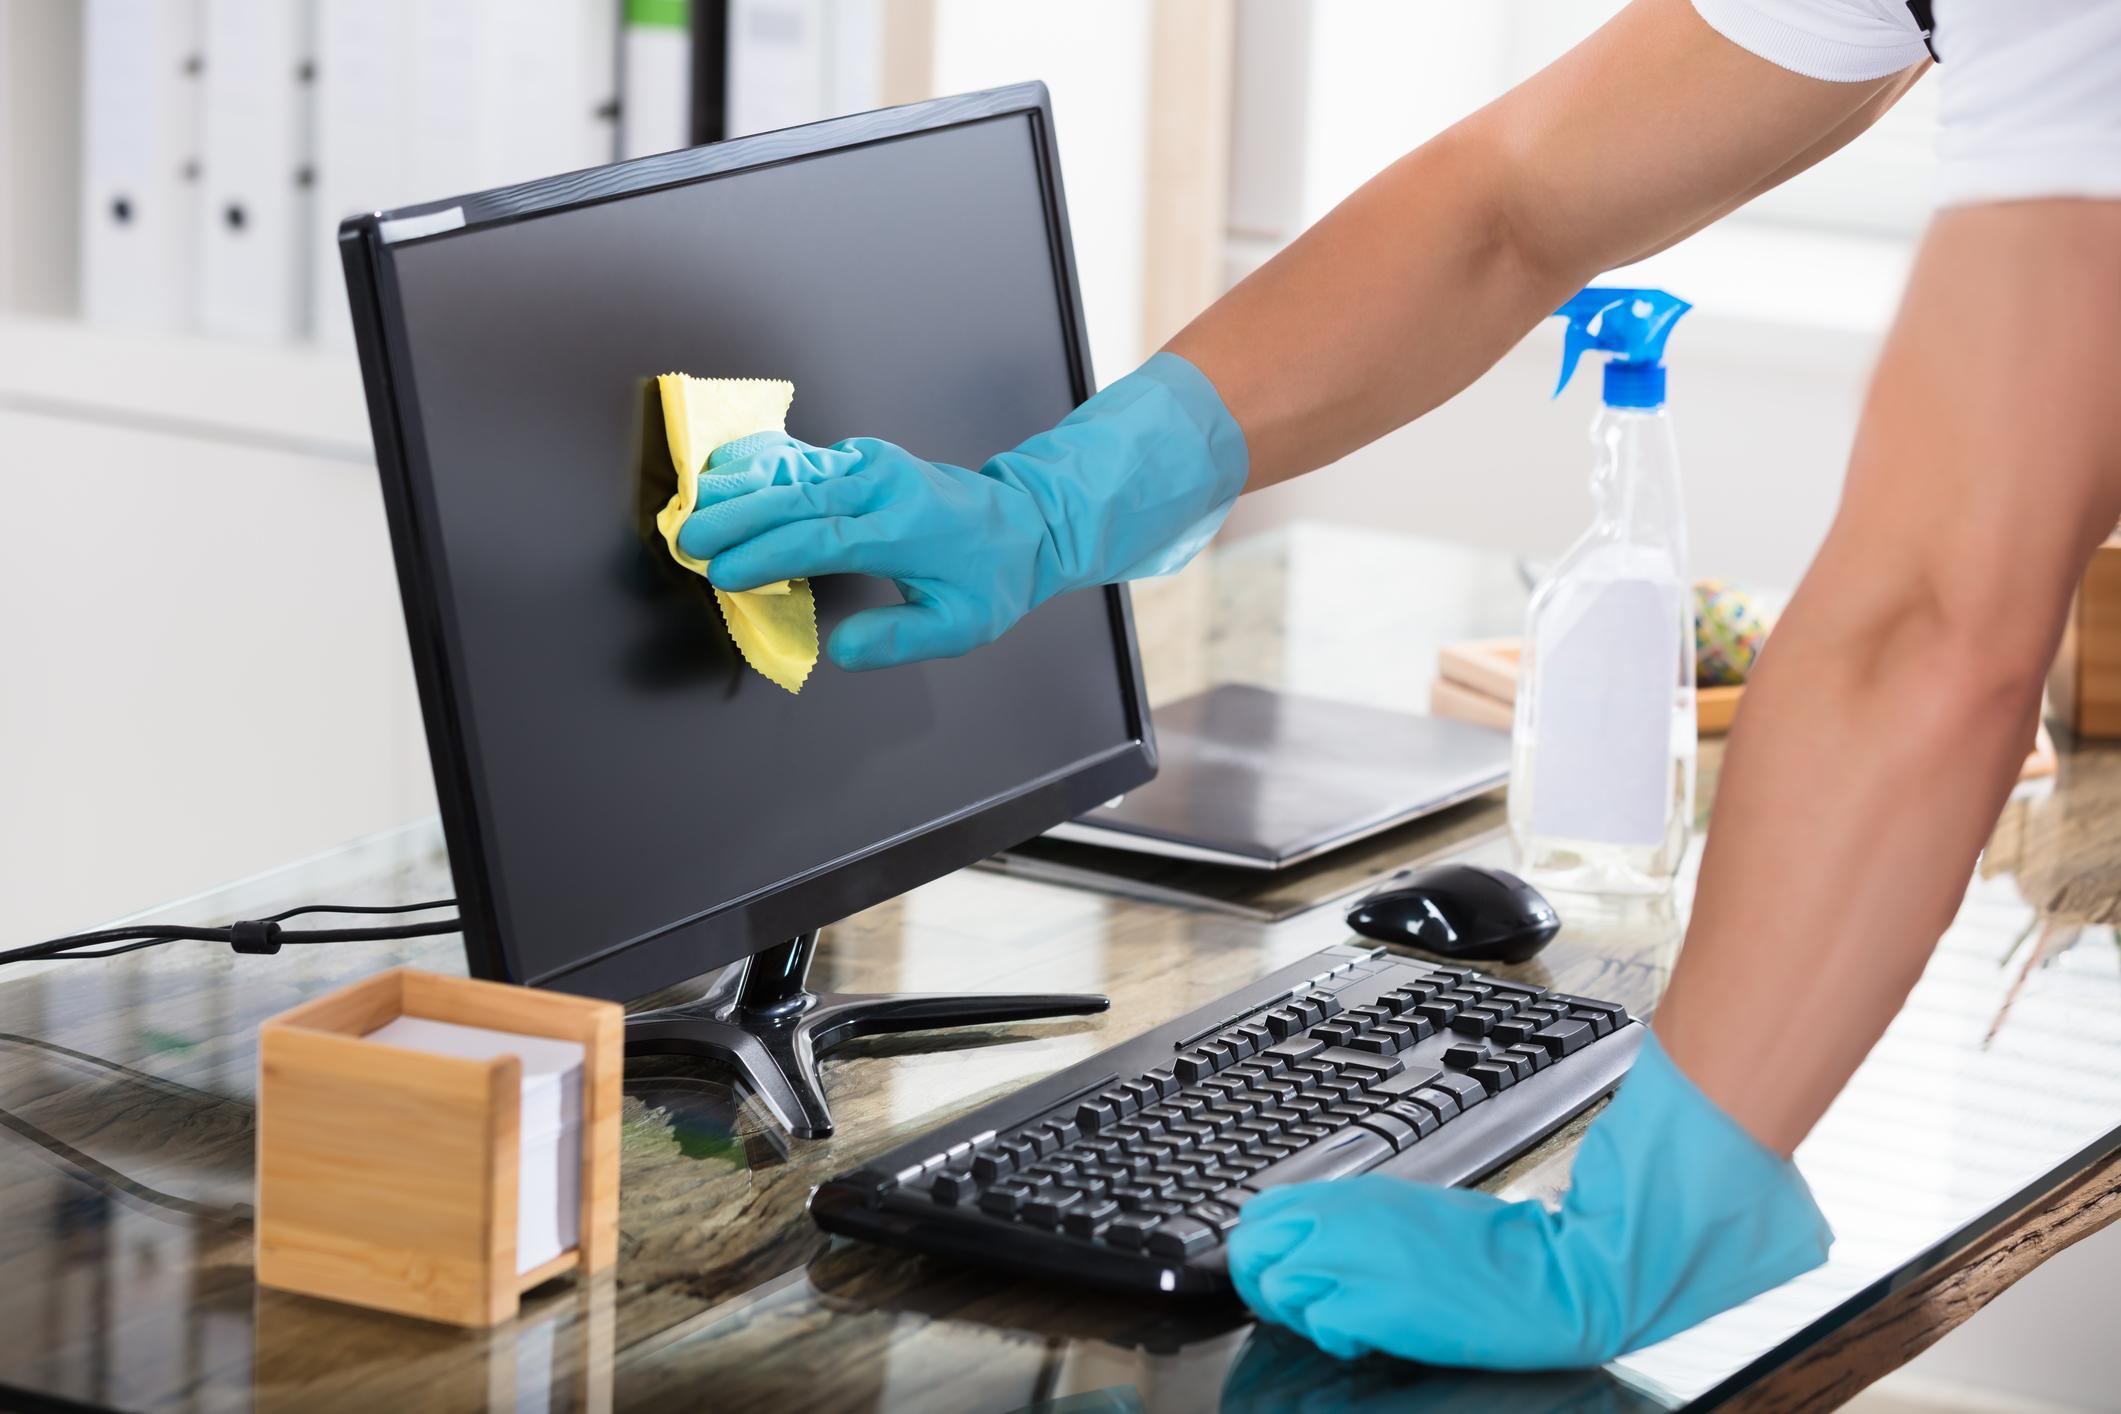
Cleaning the Exterior
The exterior of your kitchen appliances plays a significant role in the overall cleanliness and appearance of your kitchen. To keep them looking their best, it’s important to regularly clean and maintain the exteriors. Here are some steps to follow when cleaning the exterior of your kitchen appliances:
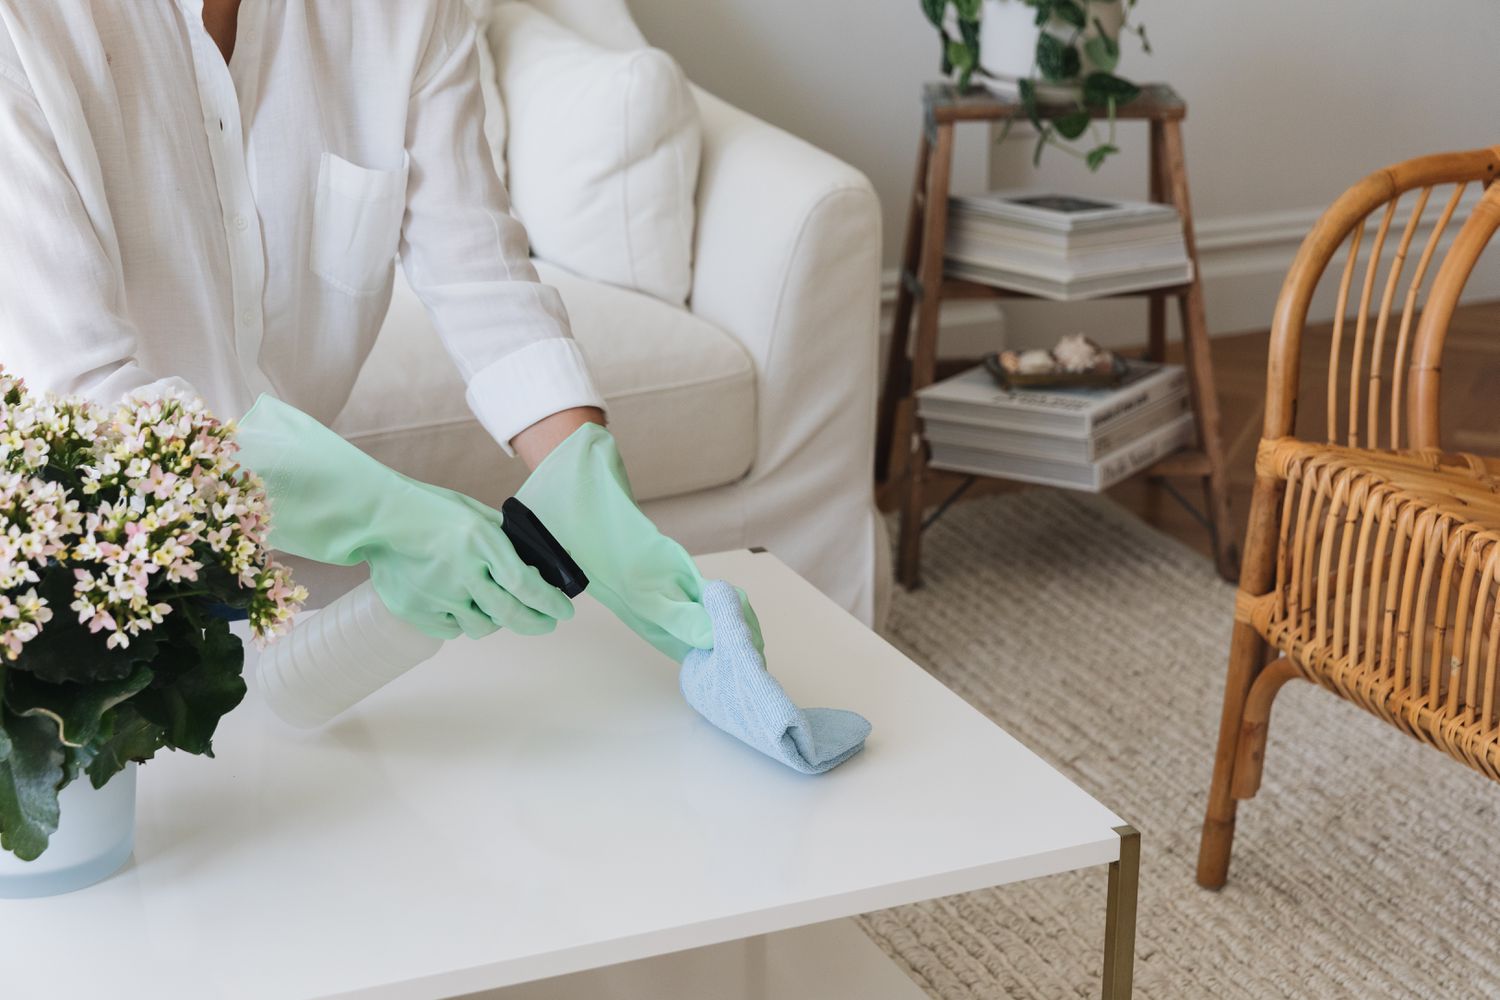
- Start with a Gentle Cleaning Solution: Begin by mixing a mild dish soap with warm water to create a gentle cleaning solution. This solution is safe to use on most appliance surfaces and will help remove grease and grime.
- Wipe Down the Surfaces: Dip a soft microfiber cloth or sponge into the cleaning solution and wring out any excess liquid. Gently wipe down the exterior surfaces of your appliances, paying close attention to handles, knobs, and buttons. For stubborn stains or sticky residue, apply a bit of the cleaning solution directly to the affected area and let it sit for a few minutes before wiping it away.
- Use Vinegar for Stainless Steel Appliances: If you have stainless steel appliances, you can use white vinegar to remove smudges and restore their shine. Apply a small amount of vinegar onto a cloth and wipe the stainless steel surfaces in the direction of the grain. Rinse the cloth in warm water as needed and continue until the entire surface is clean.
- Don’t Forget the Glass Surfaces: If your appliances have glass surfaces, such as oven doors or refrigerator shelves, use a glass cleaner to remove fingerprints and smudges. Spray the glass cleaner directly onto the surface or onto a cloth and wipe until the glass is clean and streak-free.
- Pay Attention to Detail: Take a closer look at the nooks and crannies of your appliances, as dirt and grime can accumulate in these areas. Use a soft scrub brush or an old toothbrush to gently scrub hard-to-reach spots, such as crevices and corners. This will ensure a thorough and deep cleaning of your appliances.
- Dry and Polish: After cleaning, use a dry microfiber cloth to wipe down the surfaces and remove any excess moisture. This will prevent water spots and give your appliances a polished finish. For stainless steel appliances, you can also use a stainless steel polish to enhance their shine and protect against future smudges.
By following these steps, you can keep the exterior of your kitchen appliances clean and looking their best. Regular cleaning not only improves the overall aesthetics of your kitchen, but it also helps maintain the longevity of your appliances. Now that the exteriors are sparkling clean, let’s move on to cleaning the interior of your kitchen appliances.
Cleaning the Interior
Now that you’ve tackled the exterior of your kitchen appliances, it’s time to turn your attention to the interior. Cleaning the interior of your appliances is essential for maintaining their functionality and ensuring food safety. Here’s how to clean the interior of some common kitchen appliances:
Refrigerator
- Empty and Organize: Start by removing all the items from your refrigerator. Discard any expired or spoiled food and organize the remaining items.
- Remove Shelves and Drawers: Take out the shelves and drawers from your refrigerator and wash them with warm, soapy water. Rinse them thoroughly and let them air dry.
- Clean with Vinegar: Use a mixture of equal parts water and white vinegar to clean the interior walls and surfaces of your refrigerator. Dip a cloth or sponge into the solution and wipe down all the surfaces, including the door seals. This will help remove any stains or odors, leaving your refrigerator fresh and clean.
- Wipe Down the Door: Don’t forget to clean the exterior surfaces of your refrigerator door, including the handles. Use the same vinegar solution or a mild dish soap to wipe away any dirt or fingerprints.
- Reassemble and Restock: Once everything is dry, reassemble the shelves and drawers back into your refrigerator. Restock it with the remaining food, making sure to place items in a way that maximizes storage space and allows for proper air circulation.
Read also: 11 Best Step Ladder for 2025
Oven
- Remove Oven Racks: Start by removing the oven racks and soaking them in warm, soapy water. Scrub them with a sponge or a soft brush to remove any grease or food residue. Rinse them thoroughly and let them air dry.
- Clean the Oven Interior: Use a commercial oven cleaner or a mixture of baking soda and water to clean the interior of your oven. Apply the cleaner according to the manufacturer’s instructions and let it sit for the recommended amount of time. Wipe away the cleaner and any loosened grime using a sponge or cloth.
- Wipe Down the Oven Door: Clean the oven door, both inside and out, using a mild dish soap or a vinegar solution. Wipe away any stains or grease, paying close attention to the glass window, which can accumulate unsightly residue.
- Reinstall Oven Racks: Once the oven interior is clean and dry, reinsert the oven racks back into their original positions.
Dishwasher
- Clear and Wipe Down the Interior: Remove any food debris or residue from the dishwasher interior. Use a damp cloth or sponge to wipe down the walls, racks, and door of the dishwasher.
- Clean the Filter: Locate and remove the dishwasher filter. Rinse it under warm water to remove any built-up debris or residue. If necessary, use a soft brush to scrub away stubborn dirt. Once clean, reinstall the filter.
- Run a Cleaning Cycle: To deep clean your dishwasher, run a cleaning cycle using a dishwasher cleaner or a mixture of vinegar and baking soda. Follow the instructions provided on the cleaner packaging or run a normal cycle with a cup of vinegar placed in the top rack of the dishwasher.
- Wipe Down the Exterior: Finally, clean the exterior surfaces of your dishwasher using a cloth or sponge and a mild dish soap. Pay attention to handles, buttons, and control panels.
By following these steps, you can ensure that the interior of your kitchen appliances is clean and free from any food residue or odors. Regular cleaning will keep your appliances working efficiently and help maintain a hygienic cooking environment. Now that you’ve cleaned the interior, let’s move on to cleaning specific parts of your kitchen appliances.
Cleaning Specific Parts
When it comes to kitchen appliances, there are certain parts that require special attention during the cleaning process. By addressing these specific parts, you can ensure that your appliances are thoroughly cleaned and maintained. Here’s how to clean specific parts of some common kitchen appliances:
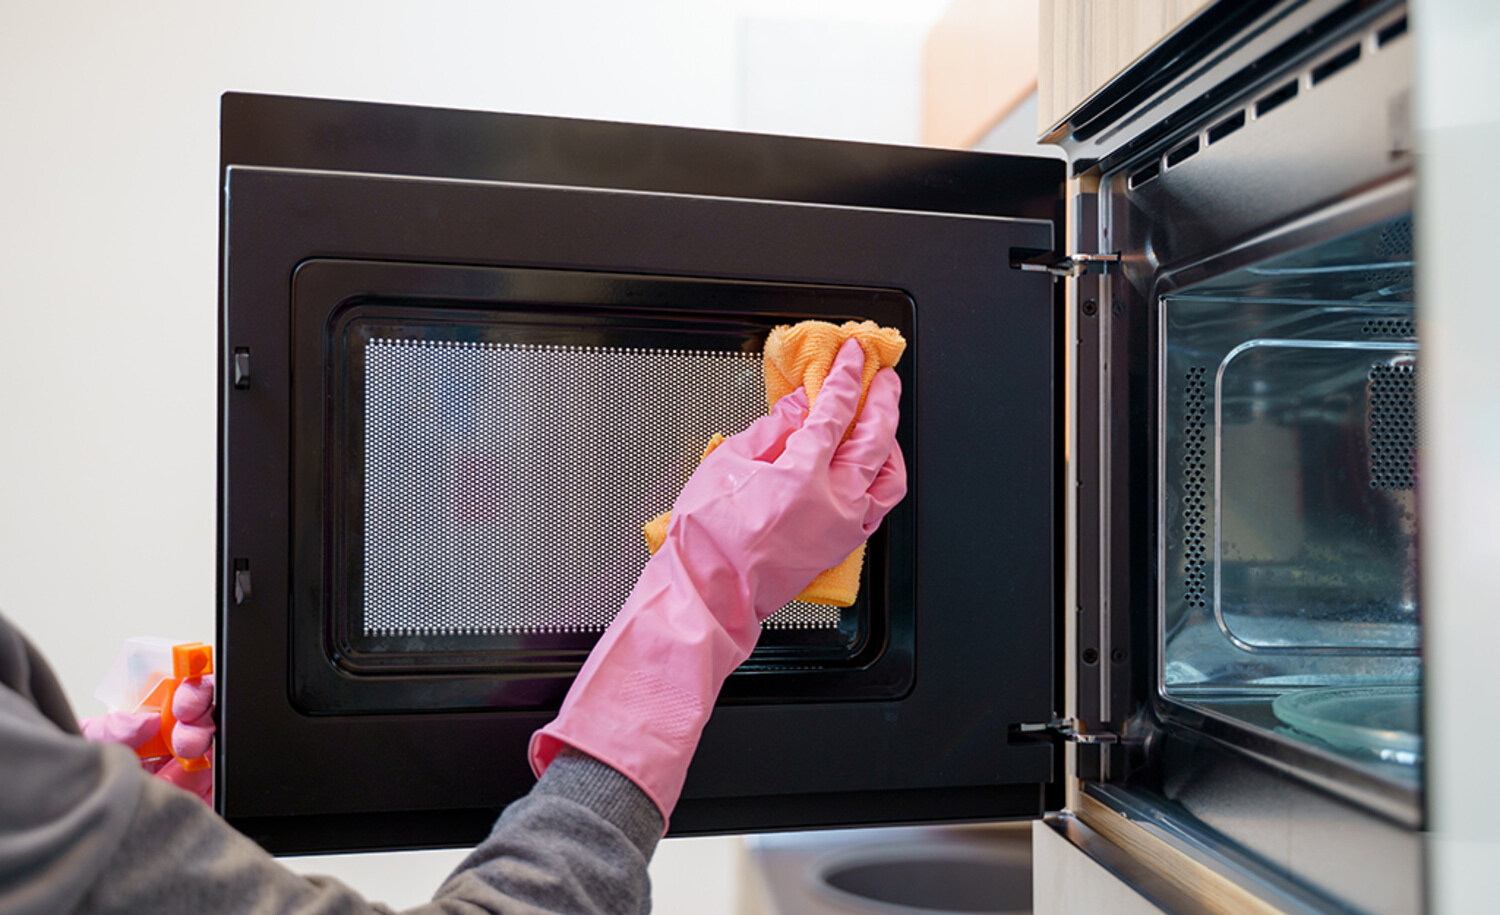
Microwave
- Clean the Interior: Start by cleaning the interior of the microwave. Place a microwave-safe bowl filled with water and a few slices of lemon or a tablespoon of vinegar inside the microwave. Heat it on high for a couple of minutes until the water boils and creates steam. This will help loosen any food splatters or stains. Carefully remove the bowl and wipe down the interior with a cloth or sponge.
- Clean the Exterior and Control Panel: Use a mild dish soap or a vinegar solution to wipe down the exterior surfaces of the microwave, including the control panel. Pay attention to any stains or fingerprints and ensure that all buttons and knobs are clean and functioning properly.
- Remove and Clean the Turntable: Take out the turntable and any other removable parts from the microwave and wash them with warm, soapy water. Rinse them thoroughly and let them air dry before placing them back into the microwave.
Read more: What Is The Best 3 Step Ladder
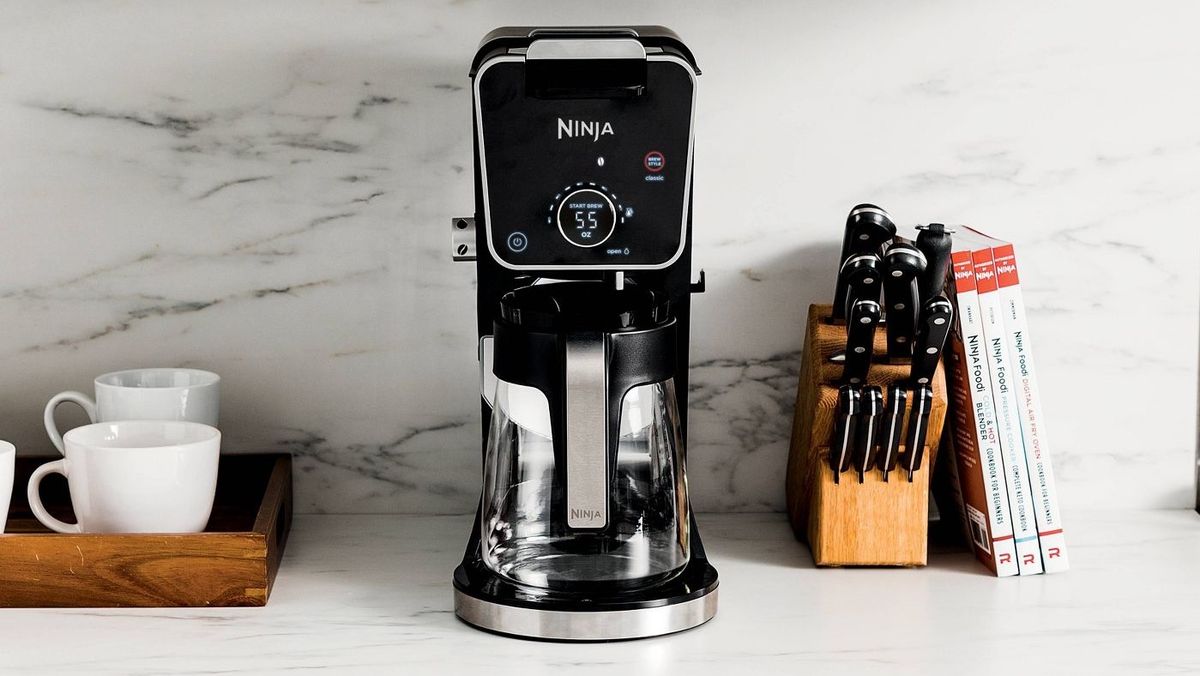
Coffee Maker
- Clean the Coffee Pot and Reservoir: Empty any remaining coffee from the pot and wash it with warm, soapy water. Rinse it thoroughly and let it air dry. For the coffee reservoir, follow the manufacturer’s instructions to clean and descale it using a vinegar solution or a commercial coffee maker cleaner.
- Clean the Filter Basket: Remove the filter basket and rinse it with warm water. If it’s dishwasher safe, you can place it in the dishwasher. Otherwise, clean it with warm, soapy water and a gentle brush to remove coffee residues.
- Clean the Exterior: Wipe down the exterior surfaces of the coffee maker, including the control panel and buttons, using a damp cloth. For any stubborn stains or dried coffee spills, use a mild dish soap or a vinegar solution to clean the affected areas.
Toaster or Toaster Oven
- Clean the Crumb Tray: Most toasters and toaster ovens have a removable crumb tray. Take out the crumb tray and empty it over a sink or trash can. Wash it with warm, soapy water, rinse it thoroughly, and let it dry before placing it back into the toaster or toaster oven.
- Clean the Interior and Exterior: Use a soft brush or a cloth to remove any crumbs or debris from the interior of the toaster or toaster oven. Wipe down the exterior surfaces with a damp cloth and a mild dish soap. Pay attention to any knobs, buttons, or control panels.
- Remove Stuck-on Food: If there are any stubborn, stuck-on food particles on the grates or heating elements, use a soft brush or a toothbrush to gently scrub them away. Be careful not to damage the delicate heating elements.
By focusing on these specific parts of your kitchen appliances, you’ll ensure that they are thoroughly cleaned and maintained. Clean the interior of your microwave and wipe down the exterior and control panel. For coffee makers, clean the pot, reservoir, and filter basket. And don’t forget to remove and clean the crumb tray of your toaster or toaster oven. Now that you’ve cleaned these specific parts, let’s explore how to maintain and implement preventative measures for your appliances.
Maintaining and Preventative Measures
Cleaning your kitchen appliances is just one part of the equation. To ensure their longevity and optimal performance, it’s important to implement proper maintenance and preventive measures. By following these guidelines, you can keep your appliances running smoothly and minimize the need for frequent deep cleanings. Here are some tips for maintaining and implementing preventative measures for your kitchen appliances:
Regular Maintenance
- Follow Manufacturer’s Instructions: Always refer to the manufacturer’s instructions for specific maintenance guidelines for each appliance. This includes cleaning schedules, recommended cleaning products, and any maintenance tasks unique to the appliance. Following these instructions will help keep your appliances in good working condition.
- Check Seals and Gaskets: Periodically inspect the seals and gaskets of your appliances, such as the refrigerator door seal or oven door gasket. Clean them with a mild solution of water and vinegar to remove any dirt or debris that could compromise their effectiveness.
- Clear Ice and Food Buildup: If you have a refrigerator with an ice maker or a freezer, regularly check for any ice or food buildup that could obstruct the proper functioning of the appliance. Remove any ice or food debris and wipe down the interior to maintain optimal cooling and freezing performance.
- Keep Appliances Ventilated: Ensure that your appliances, such as the refrigerator or oven, have proper ventilation. Keep the air vents clear of any obstructions to prevent overheating and maintain efficient operation.
- Inspect and Replace Filters: If your appliances have filters, such as in the range hood or dishwasher, regularly inspect and clean them according to the manufacturer’s instructions. It’s also essential to replace these filters when they become clogged or no longer effective.
Read more: How To Grout Tiles: Step-by-step
Preventative Measures
- Use Splatter Guards: To prevent food splatters and stains on your microwave or stove, use splatter guards when heating or cooking messy foods. These guards help contain any splatters and make cleaning up easier.
- Line Baking Sheets and Pans: When baking or roasting, line your baking sheets and pans with parchment paper or aluminum foil. This will help prevent baked-on food residues, making cleanup a breeze.
- Avoid Overloading: Avoid overloading your dishwasher, as this can prevent proper cleaning and potentially damage the appliance. Follow the manufacturer’s guidelines for loading capacities and ensure that dishes are properly spaced.
- Wipe Spills Immediately: It’s important to wipe up any spills or food residues as soon as possible. This prevents them from drying or becoming sticky, making them harder to clean later on.
- Practice Proper Food Storage: Store food properly in airtight containers to prevent spills and odors from affecting your refrigerator or pantry. Label and organize your food items to easily locate them and avoid clutter.
By implementing these maintenance and preventative measures, you can prolong the lifespan of your kitchen appliances and reduce the frequency of deep cleanings. Regular maintenance tasks such as checking seals and gaskets, clearing ice buildup, and keeping appliances well-ventilated will ensure optimal performance. Additionally, taking preventative measures like using splatter guards, lining baking sheets, and practicing proper food storage will help keep your appliances clean and functional. Now that you’ve learned how to maintain and prevent issues with your appliances, let’s wrap up this article.
Conclusion
Having a well-organized and clean kitchen is a delight for any cooking enthusiast. By implementing the kitchen storage ideas and cleaning methods discussed in this article, you can transform your kitchen into a functional and visually appealing space.
From preparing for cleaning by gathering the necessary supplies and reading appliance manuals to cleaning the exterior and interior of your kitchen appliances, we’ve covered a comprehensive set of steps to ensure that your appliances are sparkling clean. We’ve also explored how to clean specific parts of appliances and discussed the importance of regular maintenance and preventative measures to keep your appliances in optimal condition.
By regularly cleaning and maintaining your appliances, you not only improve their longevity and performance but also create a healthier and more enjoyable cooking environment. A clean and organized kitchen makes it easier to find what you need, reduces the risk of cross-contamination, and enhances your overall cooking experience.
Remember to follow the manufacturer’s instructions for cleaning and maintenance specific to each appliance. These guidelines will ensure that you clean your appliances safely and effectively.
So, embrace these kitchen storage ideas and cleaning methods to create a kitchen that is both functional and aesthetically pleasing. Say goodbye to cluttered countertops, sticky surfaces, and unreliable performance, and say hello to a kitchen that inspires creativity and makes cooking a joyous activity.
With a little effort and consistency, you can transform your kitchen into a space that not only reflects your personal style but also supports your culinary adventures. Happy cleaning and organizing!
Frequently Asked Questions about The Best Methods To Cleaning Appliances, Step By Step
Was this page helpful?
At Storables.com, we guarantee accurate and reliable information. Our content, validated by Expert Board Contributors, is crafted following stringent Editorial Policies. We're committed to providing you with well-researched, expert-backed insights for all your informational needs.


0 thoughts on “The Best Methods To Cleaning Appliances, Step By Step”