Articles
How To Use Kitchenaid Stand Mixer Bowl Lift
Modified: August 17, 2024
Discover the best techniques for utilizing your Kitchenaid Stand Mixer with a bowl lift. Find helpful articles and tips on how to make the most of this versatile kitchen appliance.
(Many of the links in this article redirect to a specific reviewed product. Your purchase of these products through affiliate links helps to generate commission for Storables.com, at no extra cost. Learn more)
Introduction
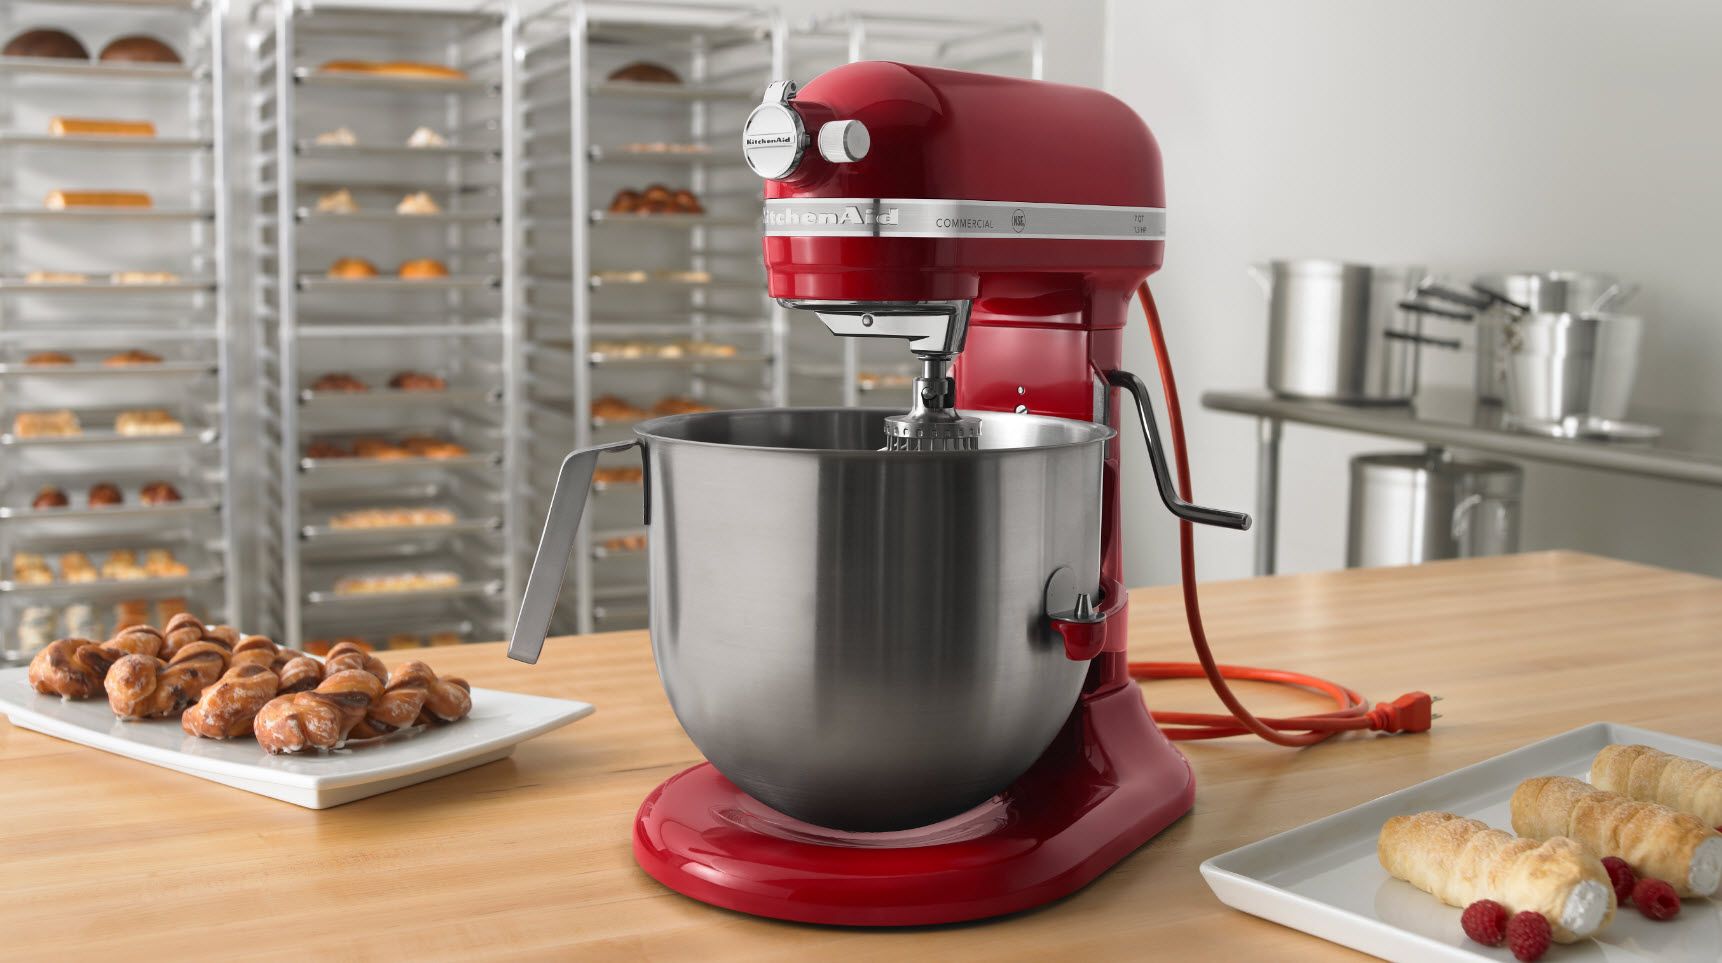
The KitchenAid Stand Mixer Bowl Lift is a versatile and powerful appliance that can revolutionize your cooking and baking experience. With its sturdy construction and wide variety of attachments, this stand mixer is a must-have for any home cook or professional chef.
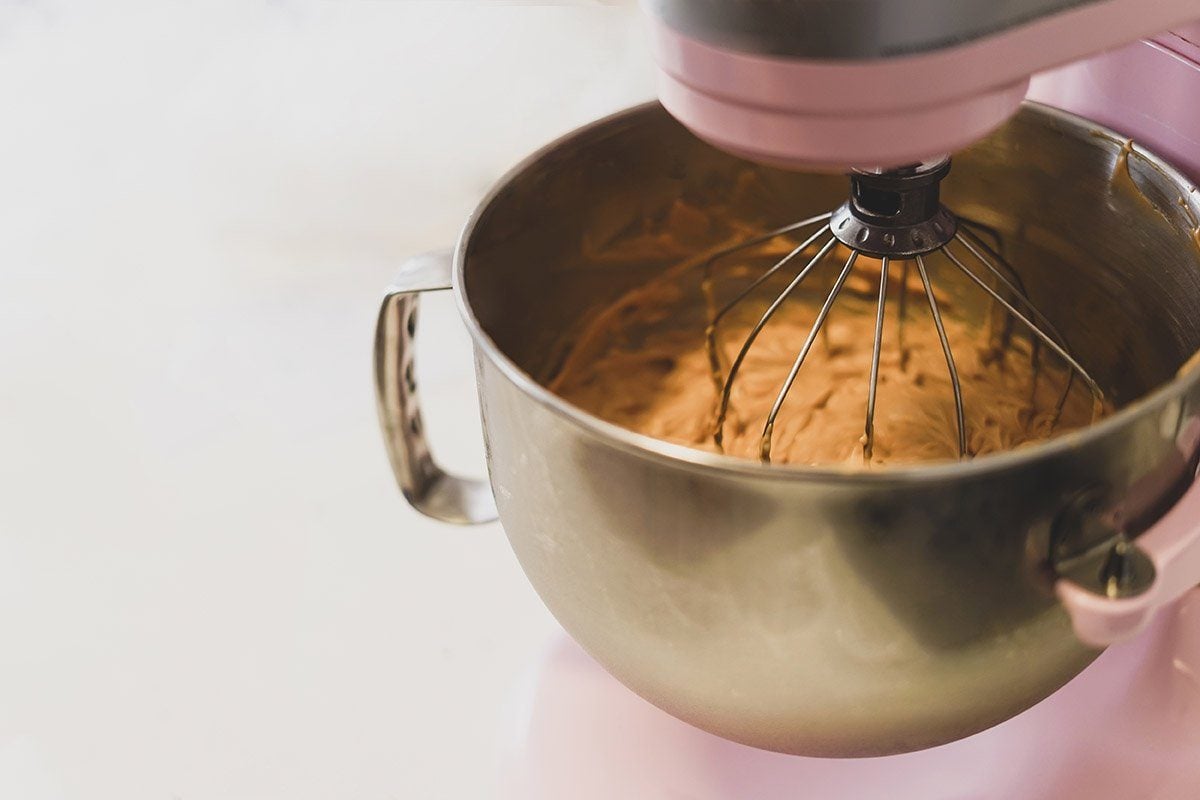
Whether you’re whipping up a batch of cookies, kneading dough for homemade bread, or creating silky-smooth cake batter, the KitchenAid Stand Mixer Bowl Lift can handle it all. Its powerful motor and unique bowl lift design ensure consistent and efficient mixing, making your culinary creations come to life with ease.
In this article, we will walk you through the various features and functions of the KitchenAid Stand Mixer Bowl Lift, as well as guide you on the proper assembly, usage, cleaning, and troubleshooting techniques. By the end of this article, you will have all the knowledge you need to make the most out of your KitchenAid stand mixer.
So let’s dive in and unlock the full potential of your KitchenAid Stand Mixer Bowl Lift!
Key Takeaways:
- Elevate your cooking and baking experience with the versatile and stable KitchenAid Stand Mixer Bowl Lift, offering large capacity, various attachments, and precise speed control for efficient and consistent mixing results.
- Master the assembly, usage, and maintenance of your KitchenAid Stand Mixer Bowl Lift to unleash its full potential in the kitchen, while troubleshooting common issues to keep it running smoothly for years to come.
Understanding the KitchenAid Stand Mixer Bowl Lift
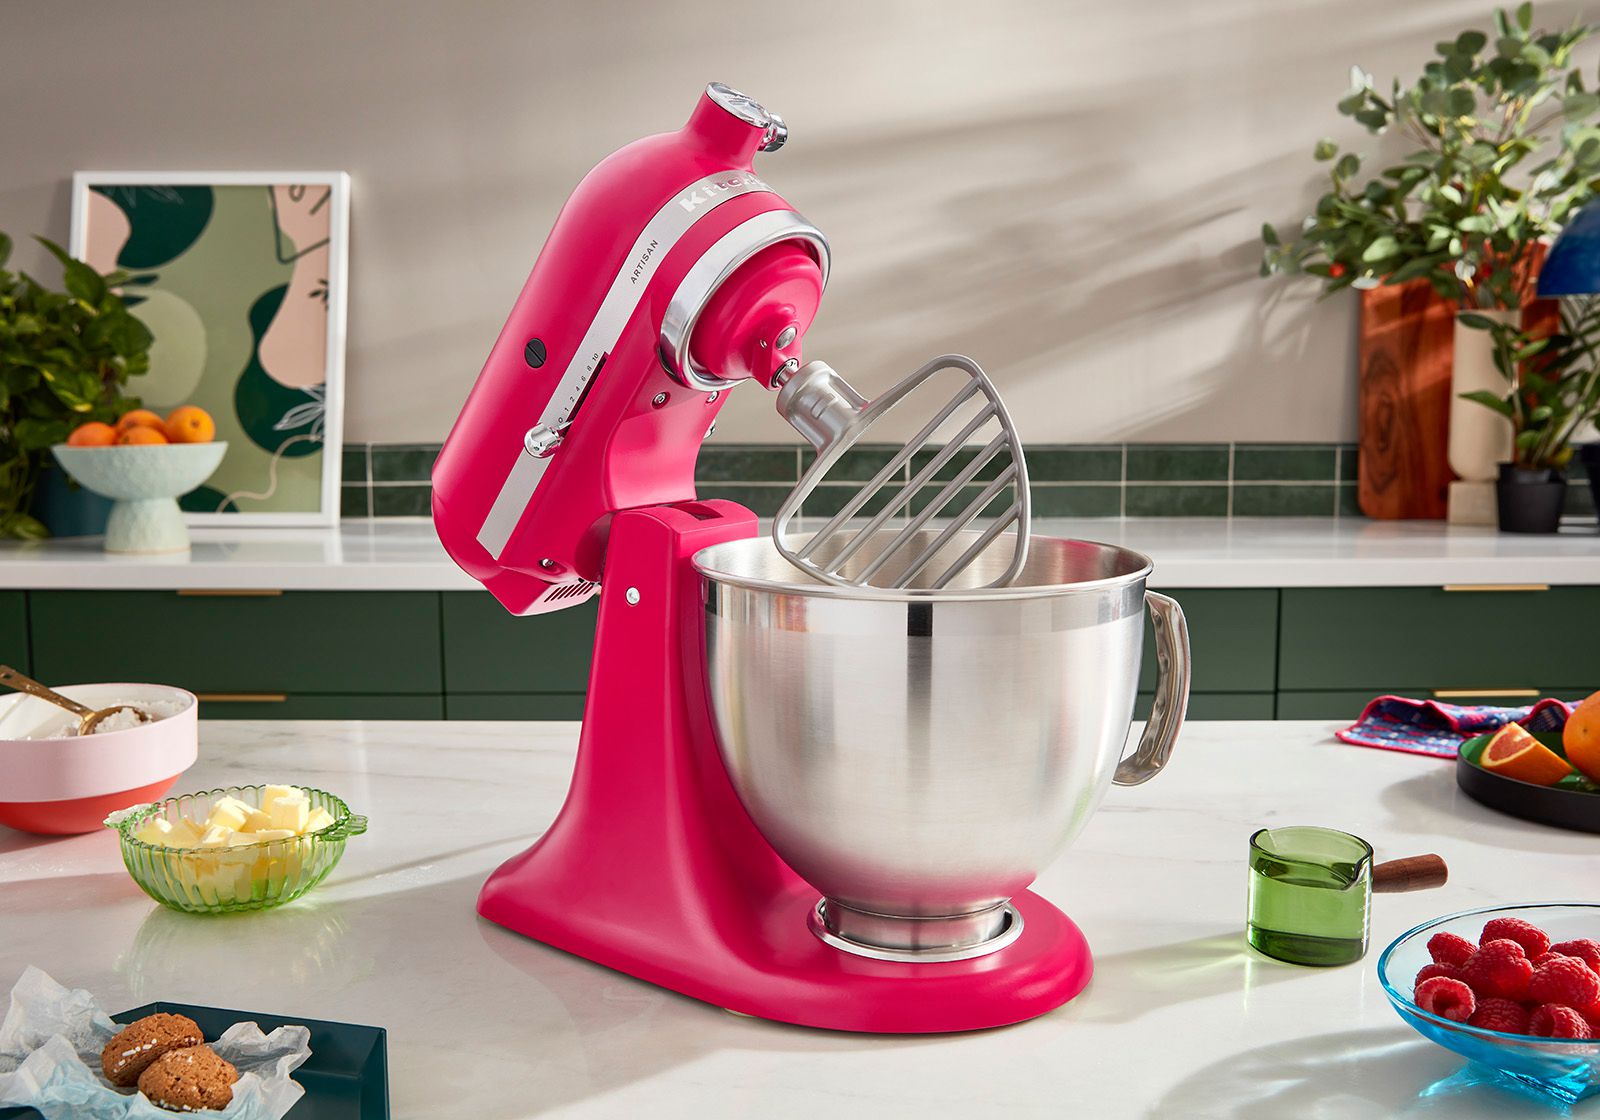
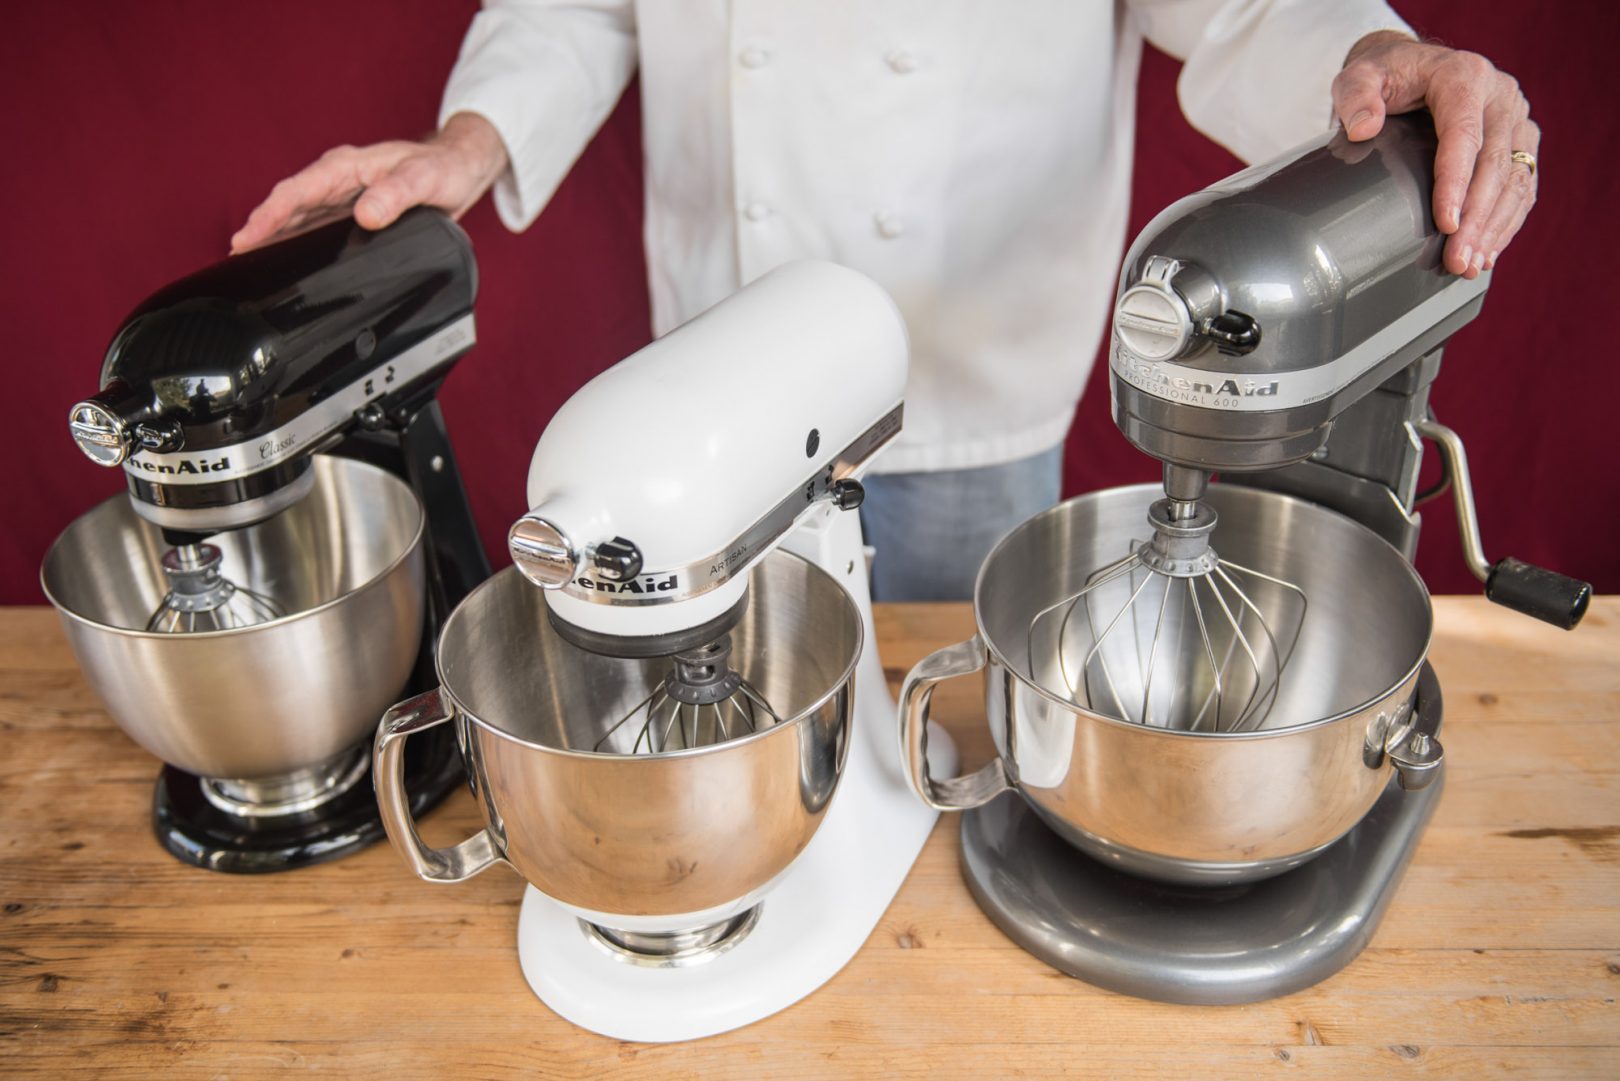
The KitchenAid Stand Mixer Bowl Lift is specifically designed to provide stability and power while mixing ingredients. Unlike the tilt-head design, where the motor head tilts back for bowl access, the bowl lift design features a stationary motor head and a lever mechanism that lifts the mixing bowl up to the beaters.
This design offers several advantages. Firstly, it provides increased stability during heavy-duty mixing tasks. The bowl is securely locked in place, minimizing movement and ensuring thorough mixing without the risk of the bowl wobbling or the ingredients splattering out. This is particularly beneficial when working with large batches or heavy dough.
Secondly, the bowl lift design allows for a larger capacity. The stand mixer can accommodate larger bowls, making it ideal for bulk baking or cooking projects. With the bowl lift design, you have the flexibility to mix large volumes of ingredients without worrying about overflow or inefficiency.
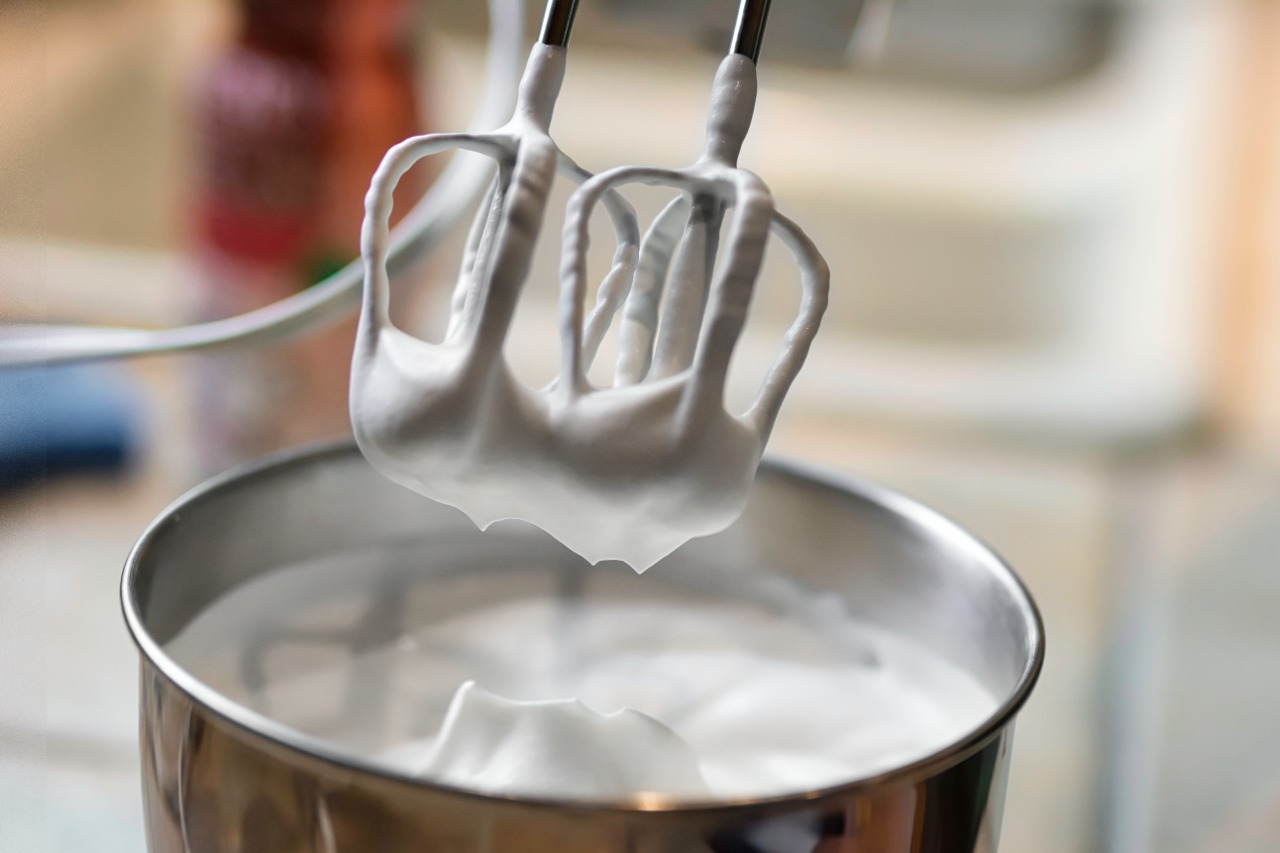
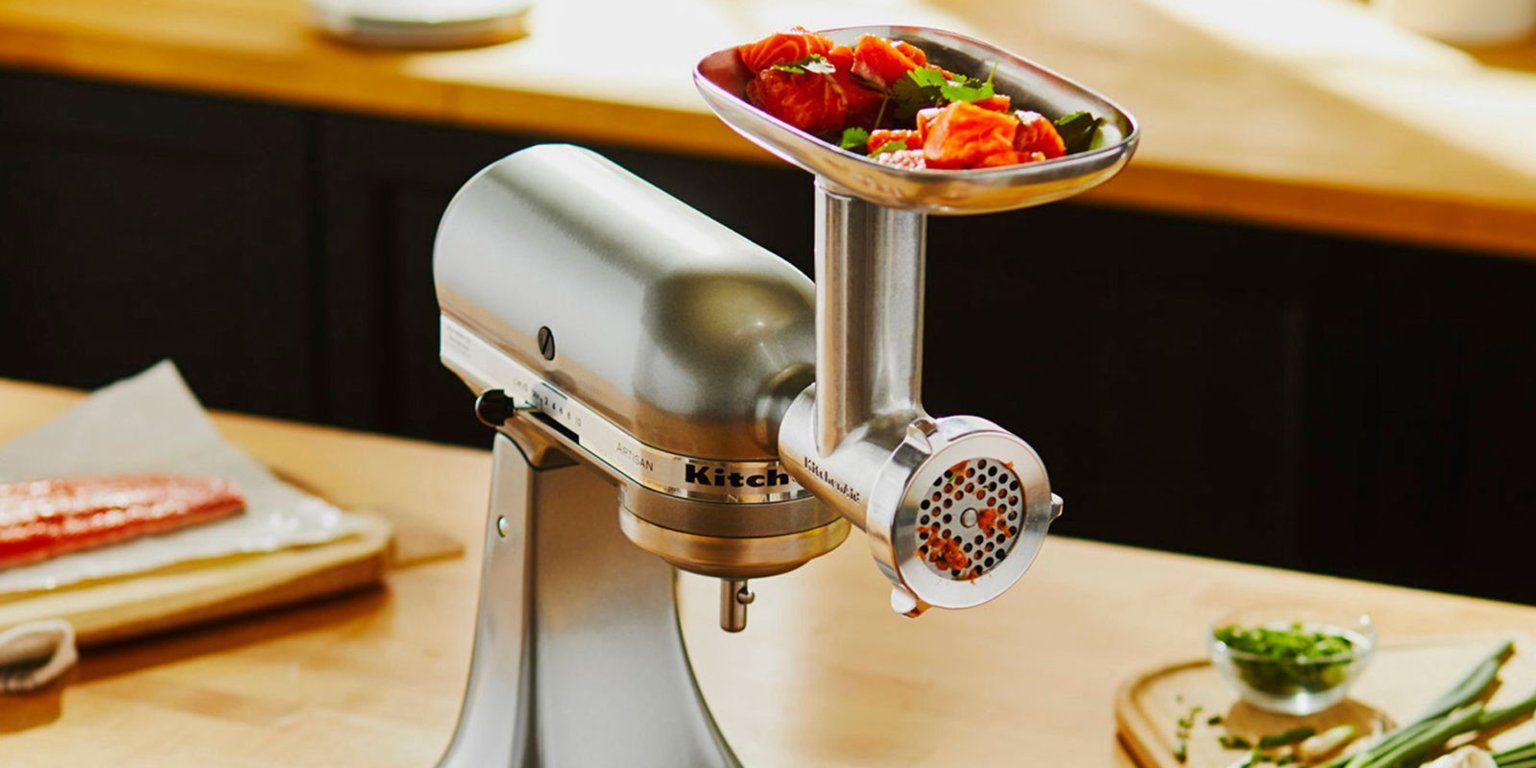
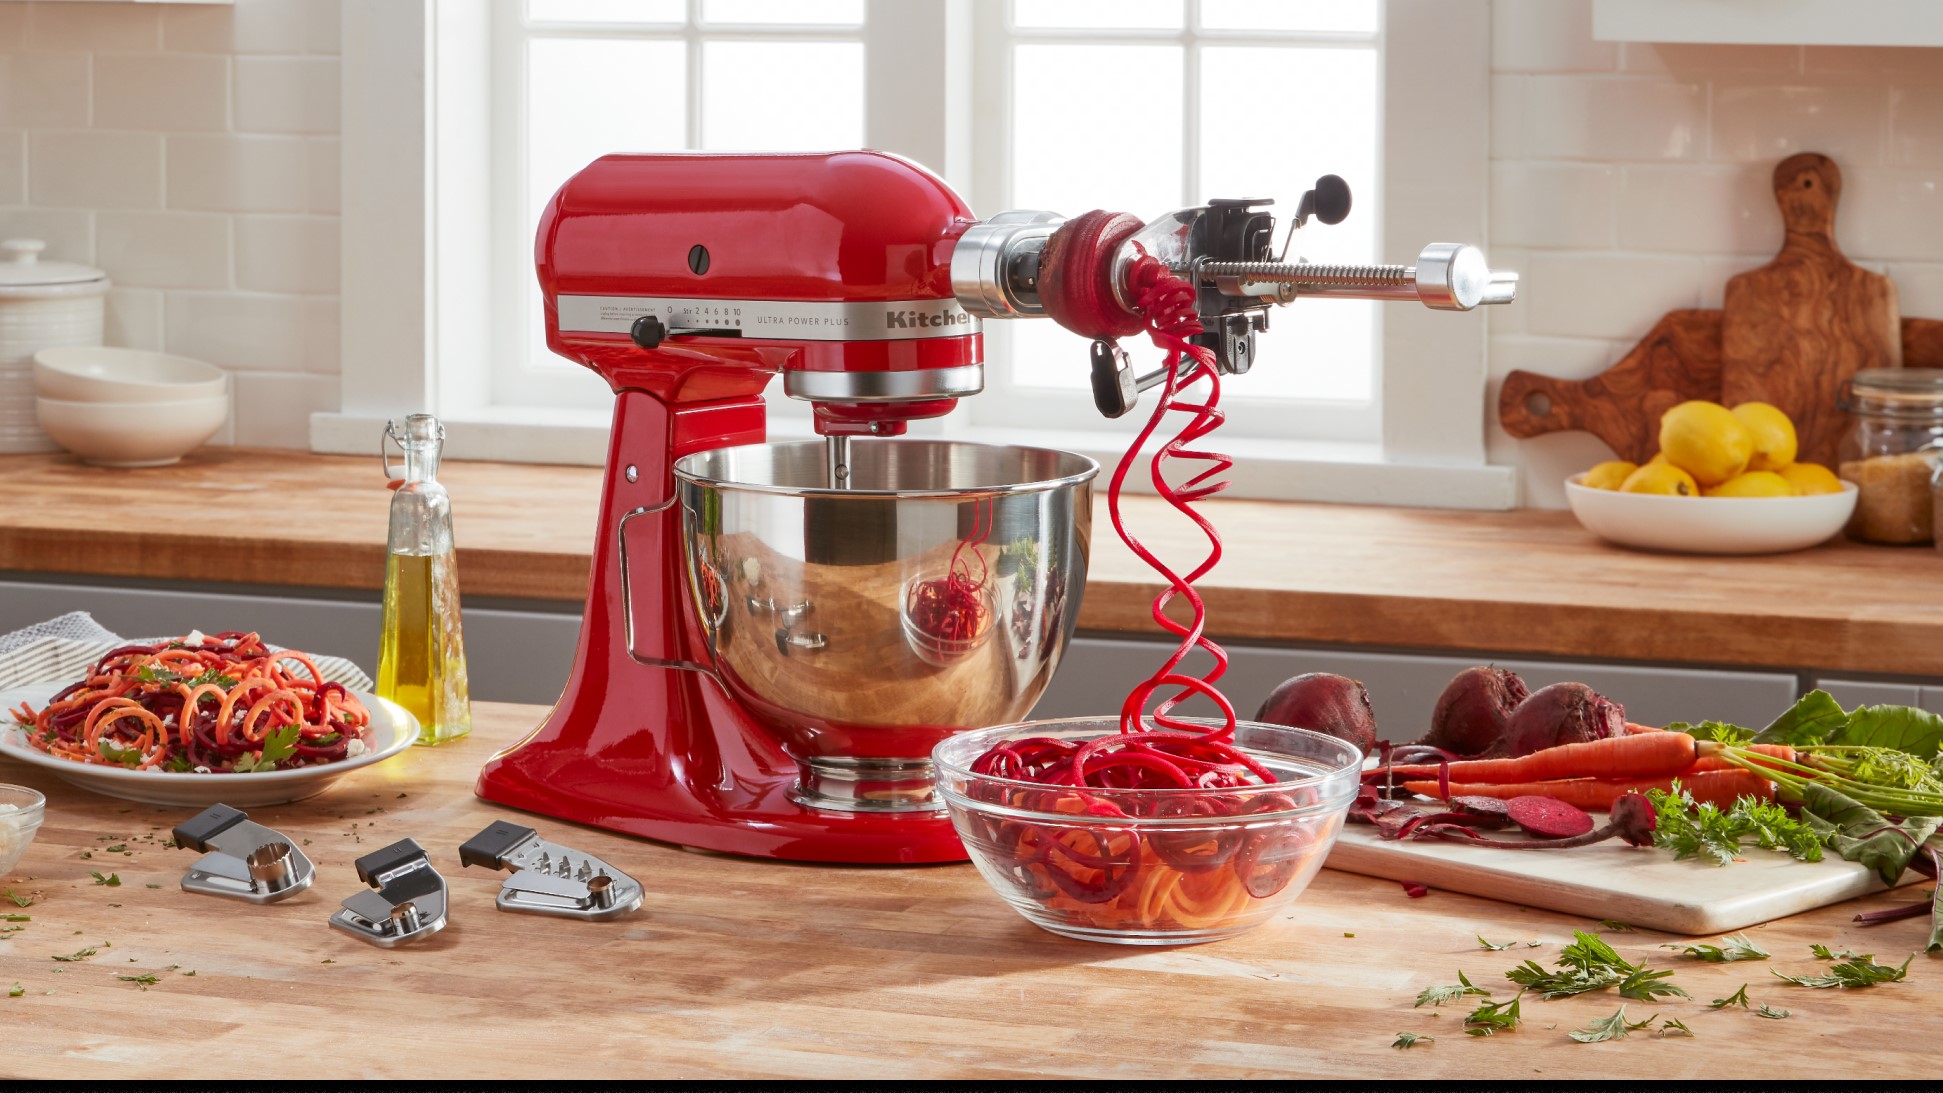
The KitchenAid Stand Mixer Bowl Lift also offers a wide range of attachments to expand its functionality. From dough hooks for kneading to wire whips for whipping cream, there are various attachments available to suit your specific needs. These attachments easily attach to the power hub located on the front of the stand mixer, allowing you to effortlessly switch between different mixing tasks.
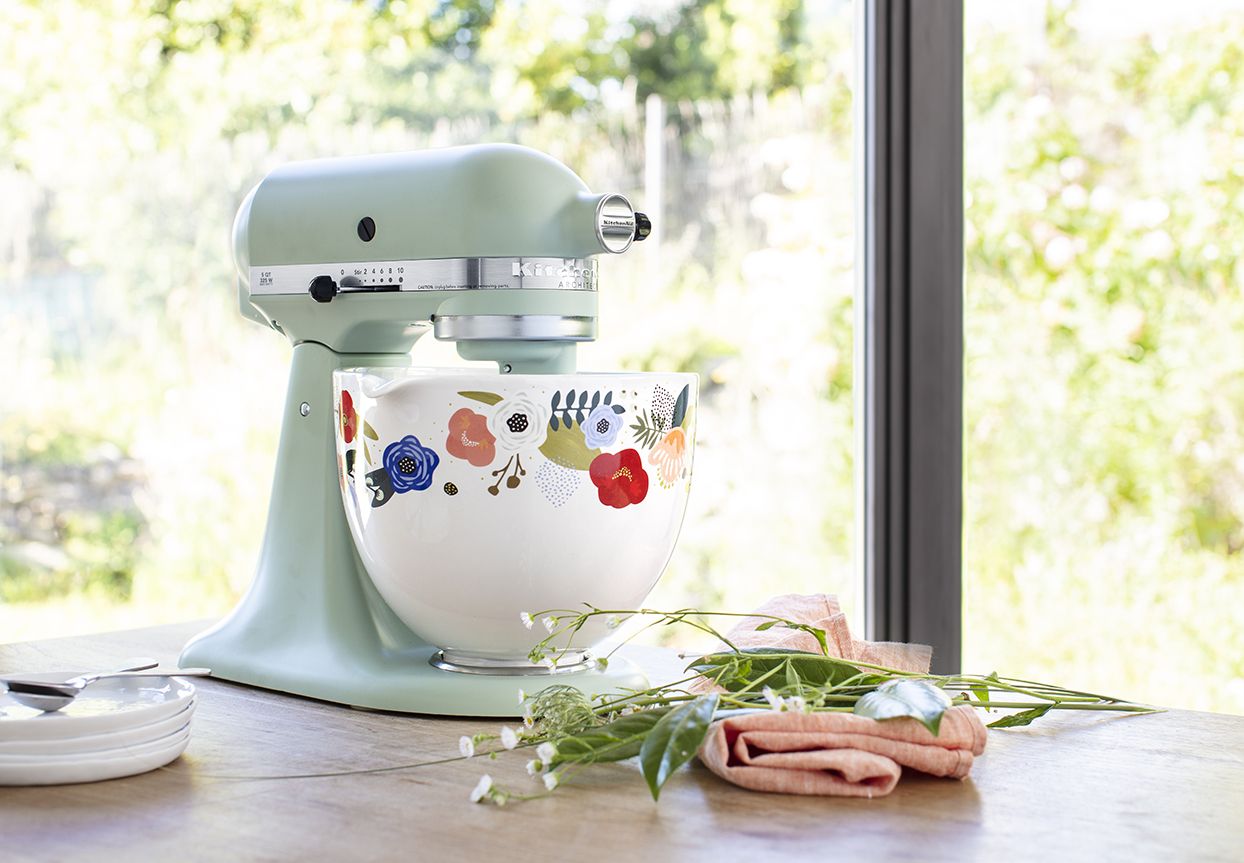
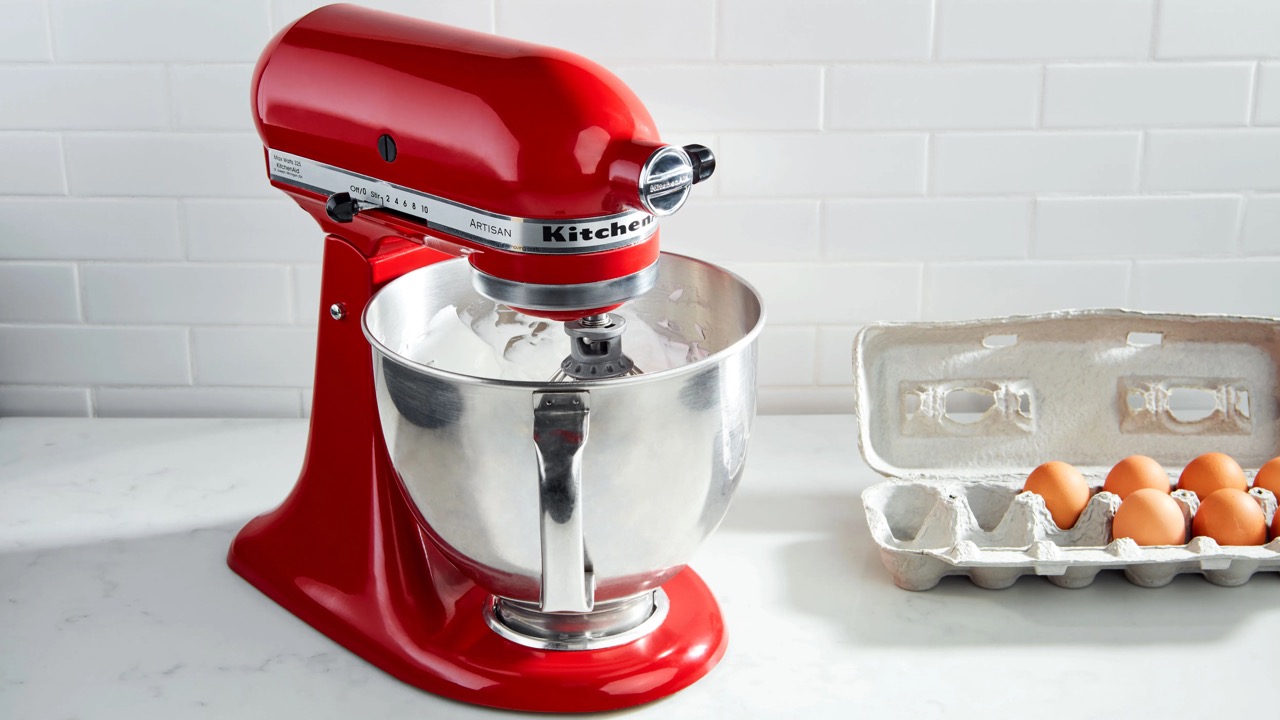
Additionally, the KitchenAid Stand Mixer Bowl Lift comes with multiple speed settings, allowing you to control the mixing process with precision. Whether you need a gentle stir or a high-speed whip, you can adjust the speed according to your recipe requirements. The speed control lever is conveniently located on the side of the stand mixer for easy access and manipulation.
Understanding the features and benefits of the KitchenAid Stand Mixer Bowl Lift is crucial for maximizing its potential in the kitchen. With its stability, larger capacity, and versatile attachments, this stand mixer is a game-changer for any cooking or baking enthusiast.
Assembling the KitchenAid Stand Mixer Bowl Lift
Assembling the KitchenAid Stand Mixer Bowl Lift is a straightforward process. Follow these steps to ensure proper assembly:
- Start by locating the base of the stand mixer. This is the sturdy foundation that supports the entire appliance.
- Place the mixing bowl into the bowl lift arms. The bowl should fit snugly and securely into place.
- Attach the desired attachment to the power hub located on the front of the stand mixer. Whether you’re using the dough hook or the wire whip, make sure it is firmly inserted.
- Next, lower the motor head by turning the speed control lever to the “0” position.
- Align the mixer head with the bowl lift arms and gently lower it onto the bowl. Make sure it is properly seated.
- Once the motor head is securely in place, you can adjust the beater height as needed. This will ensure that the attachment is properly reaching the ingredients in the mixing bowl.
- Finally, plug in the stand mixer and it’s ready to use!
It’s important to note that before assembling, always make sure the stand mixer is turned off and unplugged for safety. Take your time to carefully follow the manufacturer’s instructions for assembly, as each model may have slight variations.
By properly assembling the KitchenAid Stand Mixer Bowl Lift, you can ensure that it operates smoothly and efficiently, providing you with superior mixing results.
Attaching and Removing the Mixing Bowl
Attaching and removing the mixing bowl of the KitchenAid Stand Mixer Bowl Lift is a simple process. Follow these steps for easy and hassle-free handling of the bowl:
- Before attaching or removing the mixing bowl, make sure the stand mixer is turned off and unplugged for safety.
- To attach the mixing bowl, align the bowl lift arms with the notches on the sides of the bowl. Insert the arms into the notches and lift the bowl until it locks into place. You should feel a click or snap when the bowl is securely attached.
- If you need to remove the mixing bowl, ensure the stand mixer is turned off and unplugged. Locate the release lever or button on the side of the stand mixer near the bowl lift arms.
- Press or slide the release lever or button to unlock the bowl lift arms. This will allow you to lower the mixing bowl and safely remove it from the stand mixer.
- Once the bowl has been removed, you can clean or fill it with ingredients as needed.
- To reattach the mixing bowl, simply lift it up and align the bowl lift arms with the notches. Gently push the bowl up until it clicks into place and is securely attached.
It’s worth noting that the KitchenAid Stand Mixer Bowl Lift may have a safety feature that prevents it from operating if the bowl is not properly attached. This is designed to protect against accidents and ensure proper functioning of the mixer.
By following these steps, you can easily attach and remove the mixing bowl of the KitchenAid Stand Mixer Bowl Lift, allowing you to seamlessly transition between different recipes and mixing tasks.
Adjusting the Beater Height
Adjusting the beater height on your KitchenAid Stand Mixer Bowl Lift is essential to ensure proper mixing and prevent the attachment from hitting the bottom of the bowl or not reaching the ingredients effectively. Follow these steps to adjust the beater height:
- Start by turning off and unplugging the stand mixer to ensure your safety during the adjustment process.
- Locate the beater height adjustment screw on the back of the stand mixer head.
- Using a flathead screwdriver, carefully turn the adjustment screw counterclockwise to lower the beater or clockwise to raise the beater. Make small adjustments at a time and observe until the desired height is achieved.
- Once you’ve made the necessary adjustments, turn on the stand mixer and let it run for a few seconds. This will allow you to check if the beater is at the appropriate height, ensuring it reaches the ingredients in the bowl without scraping the bottom.
- If needed, you can further fine-tune the beater height by repeating the adjustment process and making slight changes to the screw position.
It’s important to note that the beater height may need to be adjusted depending on the recipe and the attachment you are using. For example, a lower height might be appropriate for dough hook attachments, while a higher height may be necessary for wire whip attachments.
Regularly checking and adjusting the beater height will ensure optimal performance and prevent damage to both the stand mixer and the mixing bowl. It’s also a good idea to consult the instruction manual provided by KitchenAid for specific guidelines and recommendations.
By taking the time to adjust the beater height properly, you can achieve consistent and thorough mixing results with your KitchenAid Stand Mixer Bowl Lift.
When using a KitchenAid stand mixer with a bowl lift, always make sure to securely lock the bowl into place before starting the mixer. This will prevent any accidents or spills while mixing ingredients.
Read more: How To Put Bowl In Kitchenaid Mixer
Using the KitchenAid Stand Mixer Bowl Lift
Using the KitchenAid Stand Mixer Bowl Lift is a breeze once you’re familiar with its features and functions. Here’s a step-by-step guide to help you get started:
- Assemble the stand mixer by following the instructions provided in the manufacturer’s manual. Make sure the mixing bowl is securely attached and the desired attachment is properly installed on the power hub.
- Place the ingredients you want to mix into the mixing bowl. It’s always a good idea to start with the wet ingredients first, followed by the dry ones. This will ensure even incorporation.
- Adjust the beater height to ensure it is at the appropriate level. This will prevent the attachment from hitting the sides or bottom of the bowl.
- Turn on the stand mixer using the speed control lever. Start at a low speed and gradually increase to the desired speed setting for your recipe. Be mindful of the recommended speed for specific ingredients or attachments.
- Allow the stand mixer to work its magic. You can use the time to prepare other ingredients or clean up the workspace.
- Monitor the mixing process to ensure even mixing. Occasionally stop the machine and use a spatula to scrape down the sides of the bowl if needed. This will help incorporate any stray ingredients into the mixture.
- Once the mixing is complete, turn off the stand mixer and unplug it from the power source. Carefully remove the mixing bowl from the stand mixer, making sure to use oven mitts or protective gloves if the bowl is hot.
- Clean the attachments and the mixing bowl according to the manufacturer’s instructions. Some attachments and bowls may be dishwasher safe, while others require hand washing.
- Store your KitchenAid Stand Mixer Bowl Lift in a safe and dry place to protect it from damage and ensure its longevity.
Using the KitchenAid Stand Mixer Bowl Lift can significantly simplify your mixing tasks and help you achieve consistent and professional results in the kitchen. Explore the various speed settings and attachments to unleash your creativity and experiment with different recipes and techniques.
Remember to always refer to the manufacturer’s manual for specific guidelines and recommendations when using your KitchenAid Stand Mixer Bowl Lift.
Cleaning and Maintenance
Proper cleaning and maintenance of your KitchenAid Stand Mixer Bowl Lift are vital for its longevity and optimal performance. Here are some essential tips to keep your stand mixer in top shape:
- Always turn off and unplug the stand mixer before cleaning to ensure your safety.
- Detach the mixing bowl and attachments from the stand mixer. Most attachments and bowls are dishwasher safe, but refer to the manufacturer’s instructions to confirm. If hand washing, use warm soapy water and a non-abrasive sponge or cloth to clean them thoroughly.
- If any dried-on batter or dough is difficult to remove, soak the attachment or bowl in warm water to loosen it before cleaning.
- Wipe the stand mixer body with a damp cloth to remove any splatters or residue. Avoid using abrasive cleaners or harsh chemicals, as they can damage the finish.
- Periodically inspect the stand mixer for any signs of wear or damage. Check the power cord for fraying or cracks, and ensure that all buttons and levers are functioning properly.
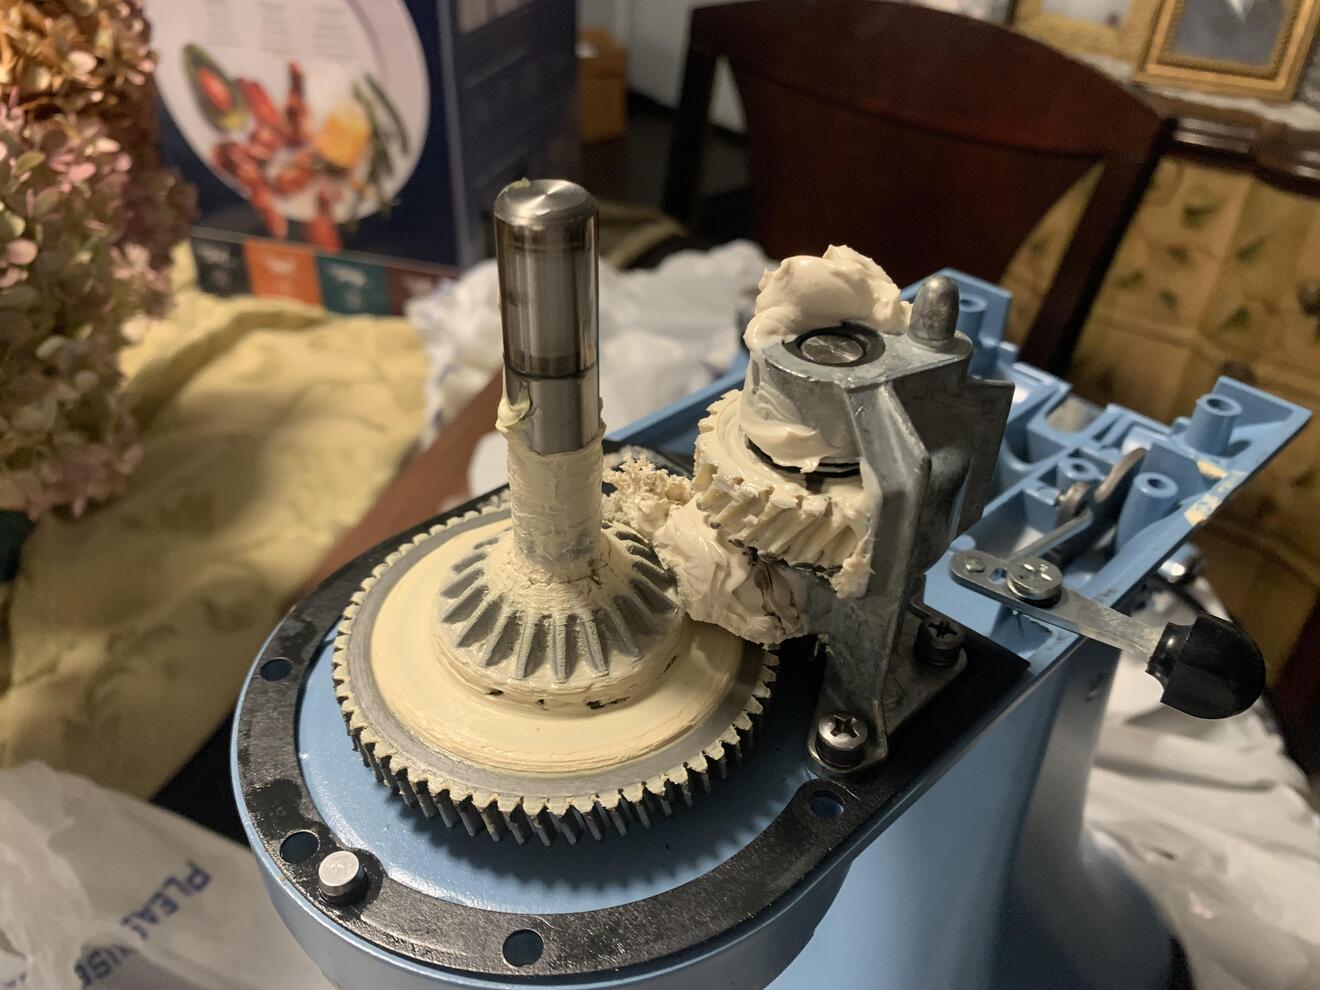
- Regularly lubricate the stand mixer’s moving parts, such as the beater height adjustment screw, with food-grade lubricant. This will help maintain smooth operation.
- Store the stand mixer in a cool, dry place away from direct sunlight and moisture. Avoid storing it with heavy items placed on top, as it can cause damage.
- Perform regular maintenance tasks as recommended by the manufacturer. This might include motor maintenance or the replacement of specific parts after a certain period of use.
By following these cleaning and maintenance practices, you can ensure that your KitchenAid Stand Mixer Bowl Lift remains in excellent condition and continues to provide reliable performance for many years.
Remember to always refer to the manufacturer’s instructions and recommendations for the specific cleaning and maintenance requirements of your model.
Troubleshooting Common Issues
While the KitchenAid Stand Mixer Bowl Lift is a reliable and durable appliance, like any machine, it may encounter some common issues from time to time. Here are a few troubleshooting tips to help you address these issues:
1. Stand Mixer Doesn’t Turn On:
- Ensure that the stand mixer is securely plugged into a functioning power outlet.
- Check if there is a tripped circuit breaker or a blown fuse that needs to be reset or replaced.
- Verify that the speed control lever is set to the “Off” position before turning the stand mixer on.
2. Attachment Hits the Mixing Bowl:
- Verify that the attachment is properly installed and secured on the power hub.
- Adjust the beater height, ensuring it is at the appropriate level and not hitting the sides or bottom of the bowl.
- Stop the stand mixer and readjust the attachment if necessary.
3. Stand Mixer Vibrates Excessively:
- Check that the stand mixer is on a stable and level surface.
- Confirm that the mixing bowl is properly attached and securely in place.
- Ensure that the ingredients are evenly distributed in the bowl and not clumping on one side.
- Reduce the speed setting if it is too high for the current mixing task.
4. Overheating:
- Avoid running the stand mixer for extended periods without breaks.
- Allow the stand mixer to cool down if it becomes too hot before using it again.
- Follow the recommended maximum mixing times for different recipes.
- Clean the ventilation slots of the stand mixer to ensure proper airflow and prevent overheating.
If you encounter persistent issues that cannot be resolved with basic troubleshooting, it’s advisable to contact the manufacturer’s customer support or consult a professional technician for assistance. They will be able to provide you with specific guidance and solutions based on your situation.
Remember to always refer to the manufacturer’s manual for additional troubleshooting tips and guidelines specific to your KitchenAid Stand Mixer Bowl Lift model.
Conclusion
The KitchenAid Stand Mixer Bowl Lift is a versatile and powerful appliance that can elevate your cooking and baking experience to new heights. Whether you’re a seasoned chef or an aspiring home cook, this machine offers convenience, efficiency, and exceptional results.
From whipping up fluffy cakes and cookies to kneading dough for fresh bread, the KitchenAid Stand Mixer Bowl Lift can handle a wide range of culinary tasks. Its stable design, large capacity, and various attachments make it a reliable and indispensable tool in the kitchen.
By understanding how to assemble the stand mixer, attach and remove the mixing bowl, adjust the beater height, properly use the machine, and maintain it through regular cleaning and maintenance, you can ensure the longevity and optimal performance of your KitchenAid Stand Mixer Bowl Lift.
In the event of common troubleshooting issues, following the recommended steps can help resolve them and keep your stand mixer running smoothly. And don’t forget to consult the manufacturer’s manual for specific guidance and instructions tailored to your model.
Whether you’re preparing a delicious meal for your family or experimenting with new recipes, the KitchenAid Stand Mixer Bowl Lift is a reliable companion that can simplify and enhance your culinary creations.
So go ahead, unleash your creativity, and enjoy the convenience and excellence that the KitchenAid Stand Mixer Bowl Lift brings to your kitchen!
Frequently Asked Questions about How To Use Kitchenaid Stand Mixer Bowl Lift
Was this page helpful?
At Storables.com, we guarantee accurate and reliable information. Our content, validated by Expert Board Contributors, is crafted following stringent Editorial Policies. We're committed to providing you with well-researched, expert-backed insights for all your informational needs.


0 thoughts on “How To Use Kitchenaid Stand Mixer Bowl Lift”