Articles
How To Use A Shark Floor Steamer
Modified: September 2, 2024
Discover the best articles on how to effectively use a Shark floor steamer. Find expert tips, tricks, and tutorials to achieve sparkling clean floors.
(Many of the links in this article redirect to a specific reviewed product. Your purchase of these products through affiliate links helps to generate commission for Storables.com, at no extra cost. Learn more)
Introduction
Welcome to the world of effortless floor cleaning! In this article, we will explore how to use a Shark Floor Steamer to achieve sparkling clean floors with minimal effort.
Keeping our floors clean can be a daunting task, especially if we have large areas to cover or various types of flooring surfaces to maintain. Traditional mops and buckets can be labor-intensive, time-consuming, and not always effective at removing dirt and grime. That’s where a Shark Floor Steamer comes in.
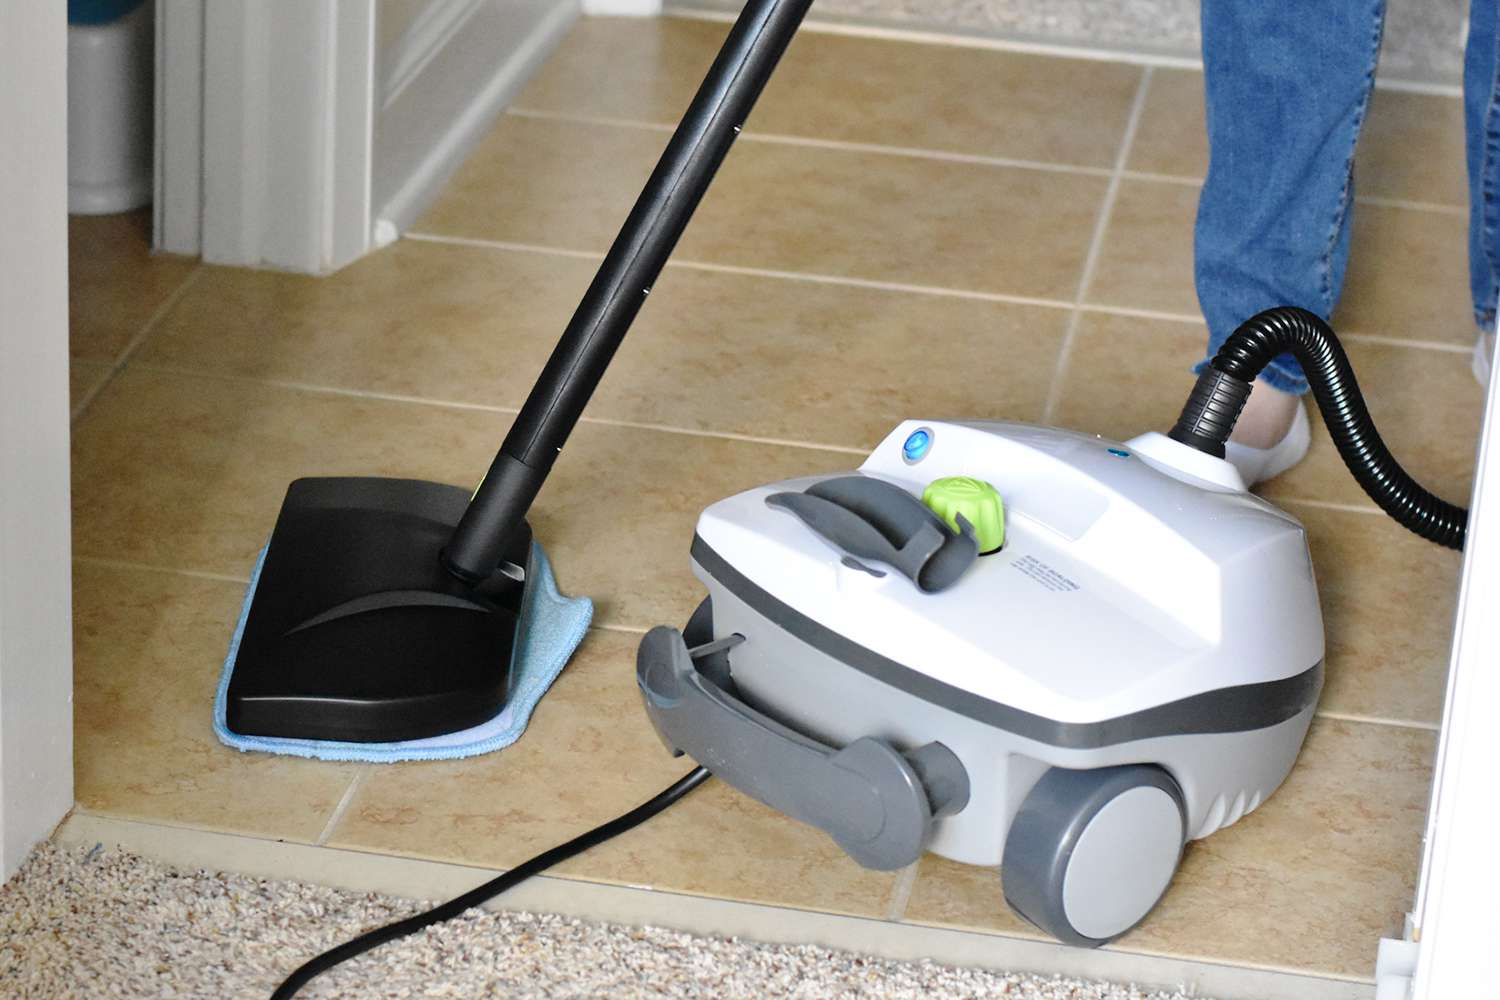
A Shark Floor Steamer is a modern cleaning tool that utilizes the power of steam to deep clean and sanitize your floors. It is a versatile and eco-friendly alternative to traditional cleaning methods, making it an excellent choice for both residential and commercial settings.
In this article, we will guide you through the process of using a Shark Floor Steamer step by step. We will cover everything from choosing the right model to cleaning different types of floors and troubleshooting common issues.
Whether you are a seasoned Shark Floor Steamer user or a beginner looking to simplify your floor cleaning routine, this article is here to help you make the most of your steam cleaner.
So, let’s dive in and discover how to effortlessly maintain clean and germ-free floors with the help of a Shark Floor Steamer!
Key Takeaways:
- Effortlessly maintain clean and germ-free floors with a Shark Floor Steamer. Choose the right model, prepare, assemble, and operate it effectively for sparkling, sanitized floors with minimal effort.
- Proper maintenance and troubleshooting tips ensure the longevity and optimal performance of your Shark Floor Steamer. Follow guidelines for filling the water tank, cleaning different floors, and addressing common issues for consistent, hassle-free cleaning.
Read also: 12 Amazing Shark Floor Steamer for 2025
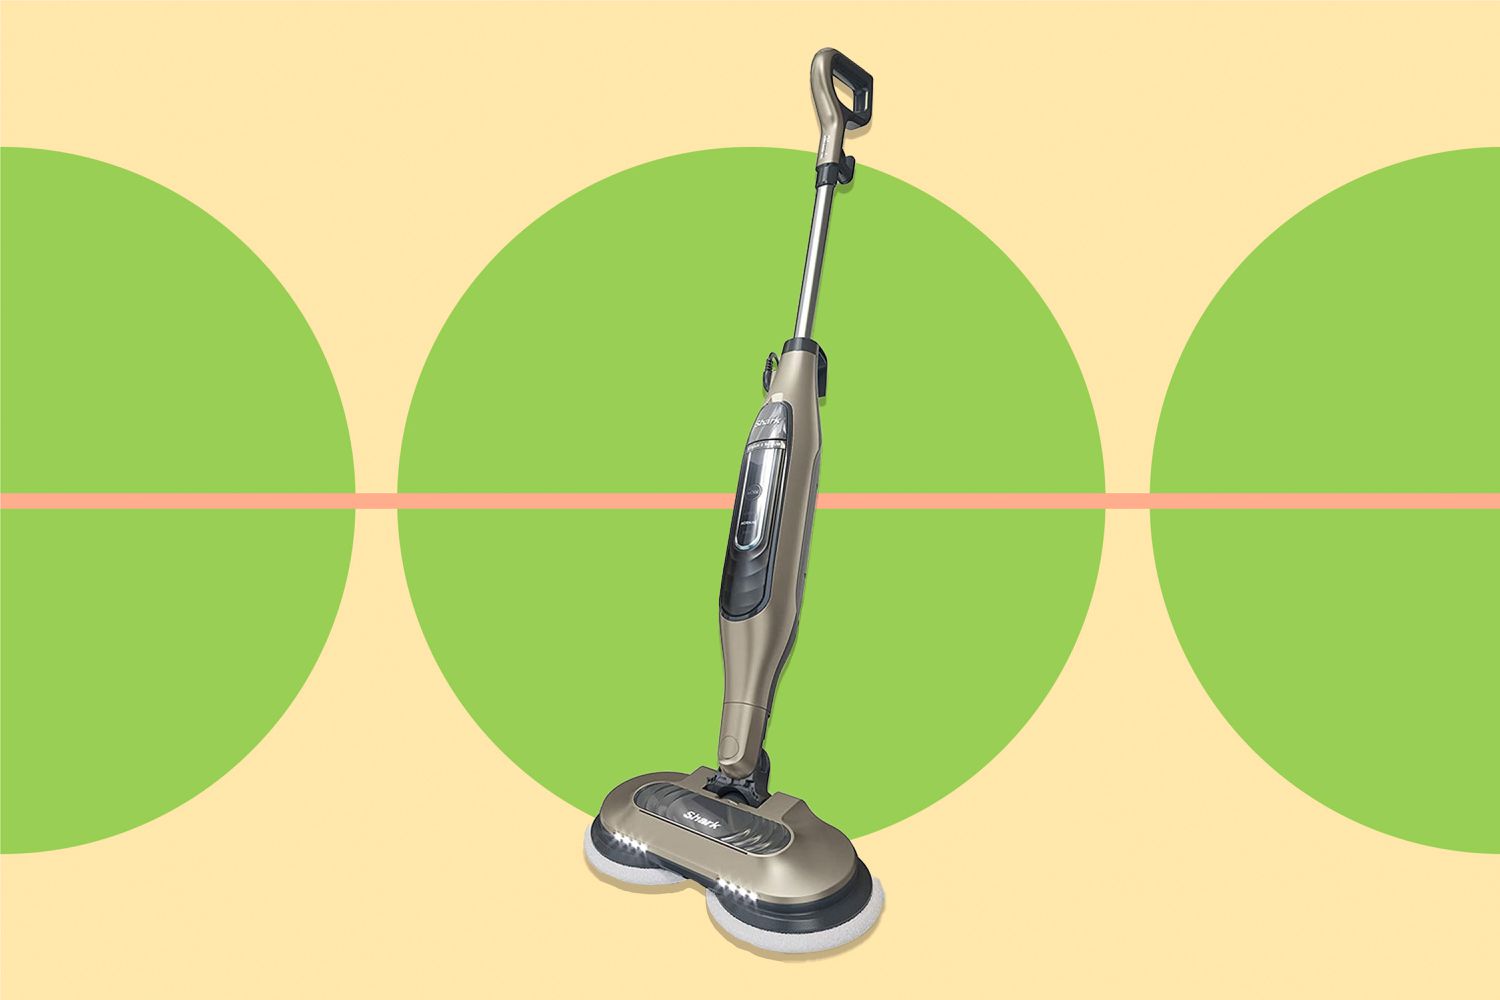
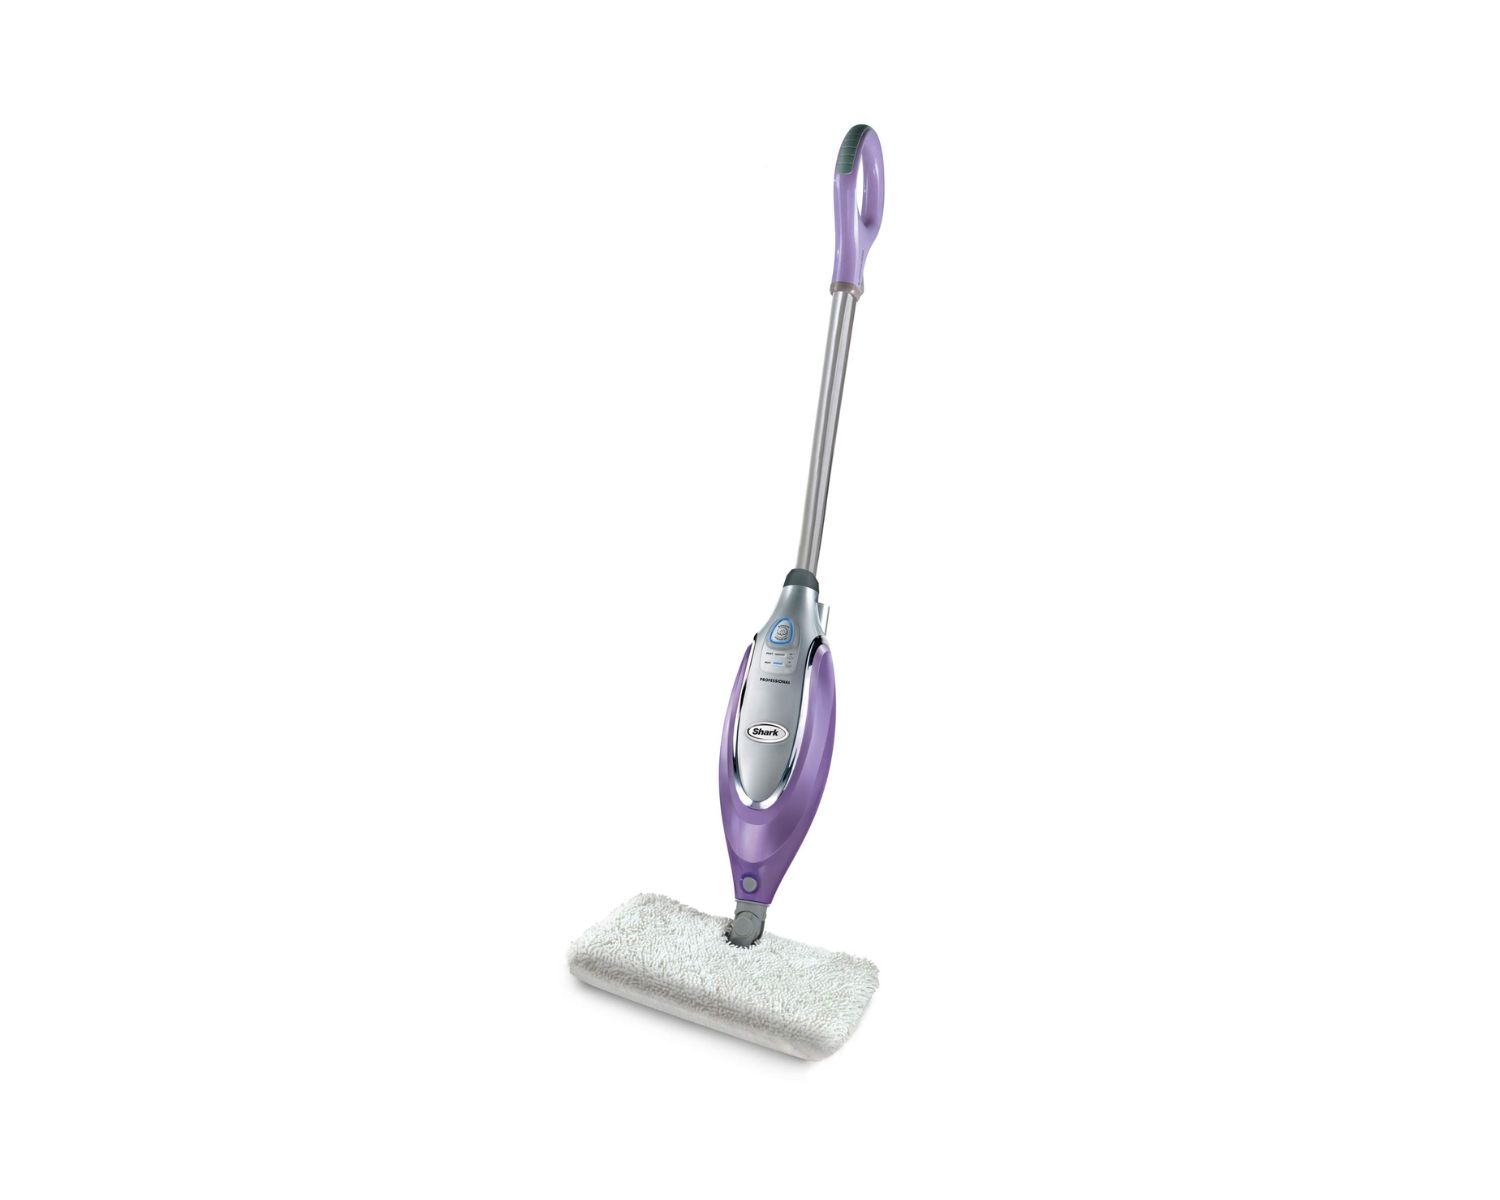
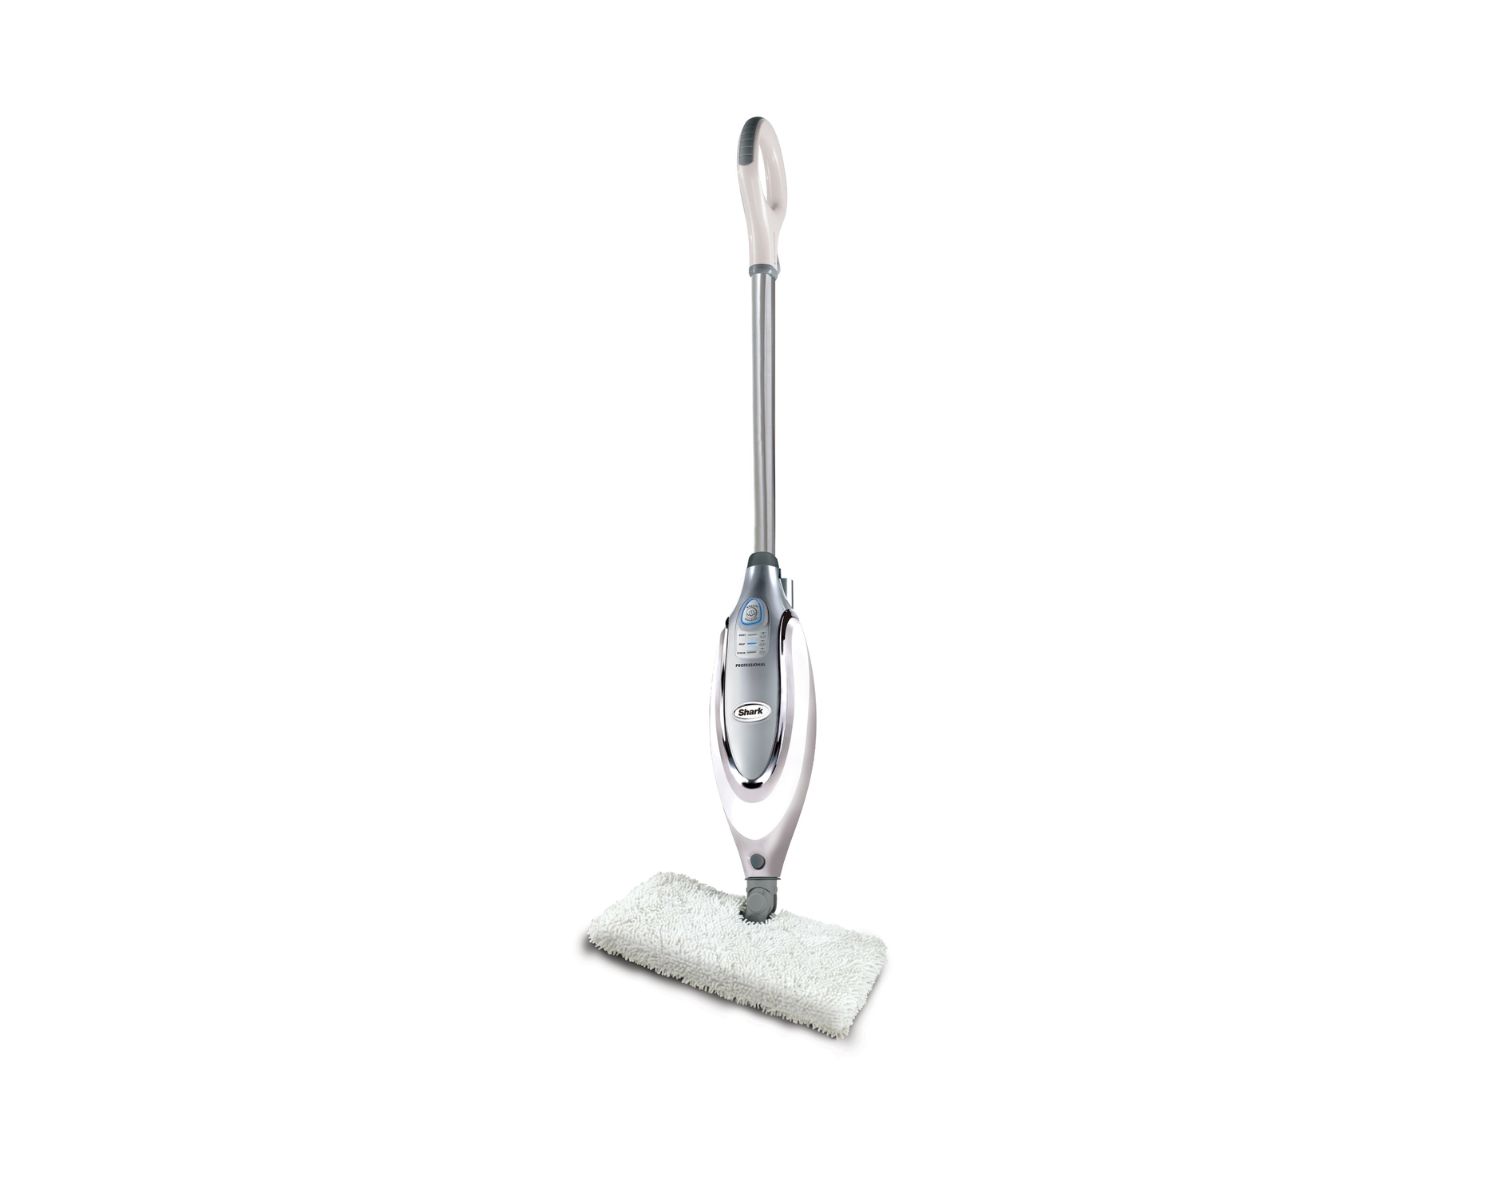
Choosing the Right Shark Floor Steamer
When it comes to selecting a Shark Floor Steamer, there are a few factors to consider to ensure that you choose the right model for your cleaning needs. Here are some key points to keep in mind:
- Type of Floors: Take into account the types of floors you have in your home or establishment. Different models of Shark Floor Steamers are designed to handle specific flooring surfaces such as hardwood, laminate, tile, or carpet. Make sure to choose a steamer that is suitable for the type of floors you need to clean.
- Attachments and Accessories: Check what attachments and accessories come with the Shark Floor Steamer. These additional tools can enhance its versatility and enable you to clean hard-to-reach areas, grout lines, and other surfaces such as countertops and windows. Look for models that offer a variety of attachments to meet your specific cleaning needs.
- Water Tank Capacity: Consider the size of the water tank in the steamer. A larger water tank can provide longer continuous steam, which means fewer pauses for refilling. This is particularly important if you have a large floor area to clean.
- Heating Time: Look into the heating time of the steamer. A shorter heating time means you can start cleaning sooner and get the job done more efficiently. Some Shark Floor Steamers have a quick heat-up time of around 30 seconds, while others may take a few minutes.
- Steam Control: Check if the model offers adjustable steam control. This feature allows you to customize the amount of steam produced based on the level of dirt and the type of floor you are cleaning. Having control over the steam output can prevent damage to sensitive flooring surfaces.
- User-Friendly Features: Consider the ease of use and convenience features of the Shark Floor Steamer. Look for features such as swivel steering, lightweight design, long power cord, and easy-to-use controls. These features can greatly enhance your cleaning experience and make the task more comfortable and efficient.
- Reviews and Ratings: Before making a final decision, read reviews and ratings from other users. This can provide valuable insights into the performance, durability, and overall satisfaction of the Shark Floor Steamer you are considering. Pay attention to both positive and negative feedback to make an informed choice.
By considering these factors, you can select the right Shark Floor Steamer that matches your specific needs and preferences. Choosing a steamer that is well-suited to your requirements will ensure optimum cleaning results and a hassle-free cleaning experience.
Preparing for Use
Before you start using your Shark Floor Steamer, it’s important to properly prepare for the cleaning process. Taking the time to prepare will ensure optimal results and ensure the longevity of your steamer. Here are the essential steps to follow:
- Clear the Floor: Remove any objects, furniture, or rugs from the area you intend to clean. This will allow you to have full access to the floor surface and prevent any obstacles that may hinder the cleaning process.
- Sweep or Vacuum: It’s best to remove loose dirt, debris, and dust particles from the floor before using the steamer. Sweep or vacuum the area to ensure a clean surface and prevent any scratching or spreading of dirt during the steaming process.
- Inspect the Floor: Take a quick look at the condition of your floor. Look for any spills, stains, or sticky substances that may require pre-treatment before using the steamer. Pre-treating these spots will help to ensure a more thorough and effective cleaning.
- Secure Electrical Cords: Make sure that any electrical cords in the area are safely secured and out of the way. This will prevent any accidents or tangling of cords during the cleaning process.
- Protect Nearby Surfaces: If you are cleaning near walls, baseboards, or furniture that could be sensitive to moisture, it’s a good idea to protect them. Use towels or plastic sheets to cover and shield these surfaces from any potential splashes or steam condensation.
- Read the User Manual: Familiarize yourself with the user manual that comes with your Shark Floor Steamer. Different models may have slight variations in operation and care instructions. Reading the manual will ensure that you’re using the steamer correctly and safely.
Following these preparation steps will help you create an optimal environment for using your Shark Floor Steamer. It’s always better to be proactive and take a few extra minutes to ensure that your cleaning process goes smoothly and delivers outstanding results!
Assembling the Shark Floor Steamer
Before you can start using your Shark Floor Steamer, you’ll need to assemble it. The assembly process is typically straightforward and simple. Here’s a step-by-step guide on how to assemble your Shark Floor Steamer:
- Unpack the Box: Carefully unpack the box and lay out all the components. Make sure that you have all the necessary parts and accessories.
- Handle Assembly: Attach the handle to the body of the Shark Floor Steamer. Align the grooves on the handle with the corresponding slots on the steamer and push until it clicks into place. Ensure that the handle is securely attached.
- Attachment Setup: If your Shark Floor Steamer comes with different attachments, now is the time to set them up. Follow the instructions in the user manual to attach the desired accessory. This can include mop pads, brush attachments, and other specialized tools.
- Water Tank Placement: Locate the water tank on your Shark Floor Steamer. In most models, the water tank is detachable for easy filling and cleaning. Insert the water tank into its designated slot on the steamer until it clicks and locks into place.
- Power Cord: Ensure that the power cord is properly unwound and free from any tangles or twists. Check that the plug is in good condition and securely inserted into the socket.
- Steamer Unit: Position the main body of the steamer upright on a level surface. Your Shark Floor Steamer is now fully assembled and ready for use!
Remember to consult the user manual specific to your model for any additional instructions or recommendations regarding the assembly process.
By following these steps, you’ll have your Shark Floor Steamer assembled in no time, and you’ll be ready to tackle your cleaning tasks with ease and efficiency!
Filling the Water Tank
Now that your Shark Floor Steamer is assembled, it’s time to fill the water tank before you can start steaming your floors. Here’s a simple guide on how to fill the water tank:
- Disconnect the Power Cord: Before filling the water tank, ensure that the power cord is safely disconnected from the power source. This is an important safety precaution to avoid any accidental electrical hazards.
- Locate the Water Tank: Identify the water tank on your Shark Floor Steamer. The tank is usually located at the back or top of the unit. It can be easily identifiable by its transparent or translucent design, allowing you to monitor the water level.
- Remove the Water Tank: Depending on the model, you may need to detach the water tank from the steamer. Refer to the user manual for specific instructions on how to remove the water tank safely.
- Prepare the Water: Fill the water tank with clean water. Use a faucet or a container to pour water into the tank. Avoid using any chemical additives or cleaning solutions unless specified by the manufacturer.
- Fill to the Recommended Level: Check the water tank for a maximum fill line or recommended water level. Do not overfill the tank, as this may cause water leakage or affect the steamer’s performance. Fill the tank up to the indicated level to ensure optimal operation.
- Reattach the Water Tank: If you had to remove the water tank, carefully reattach it to the Shark Floor Steamer. Make sure it fits snugly and securely into place.
- Check for Leaks: Before powering on the steamer, double-check to ensure that the water tank is properly sealed and that there are no leaks. A properly filled and sealed tank will prevent any water from leaking during the cleaning process.
With the water tank filled, you’re now ready to power on your Shark Floor Steamer and start enjoying the benefits of steam cleaning your floors!
Remember to always consult the user manual specific to your model for any additional instructions or recommendations regarding filling the water tank and maintaining the steamer.
Always ensure that the water tank is filled with clean water before using the Shark floor steamer. This will help to ensure a consistent and effective steam output during use.
Read more: How To Clean Shark Steamer
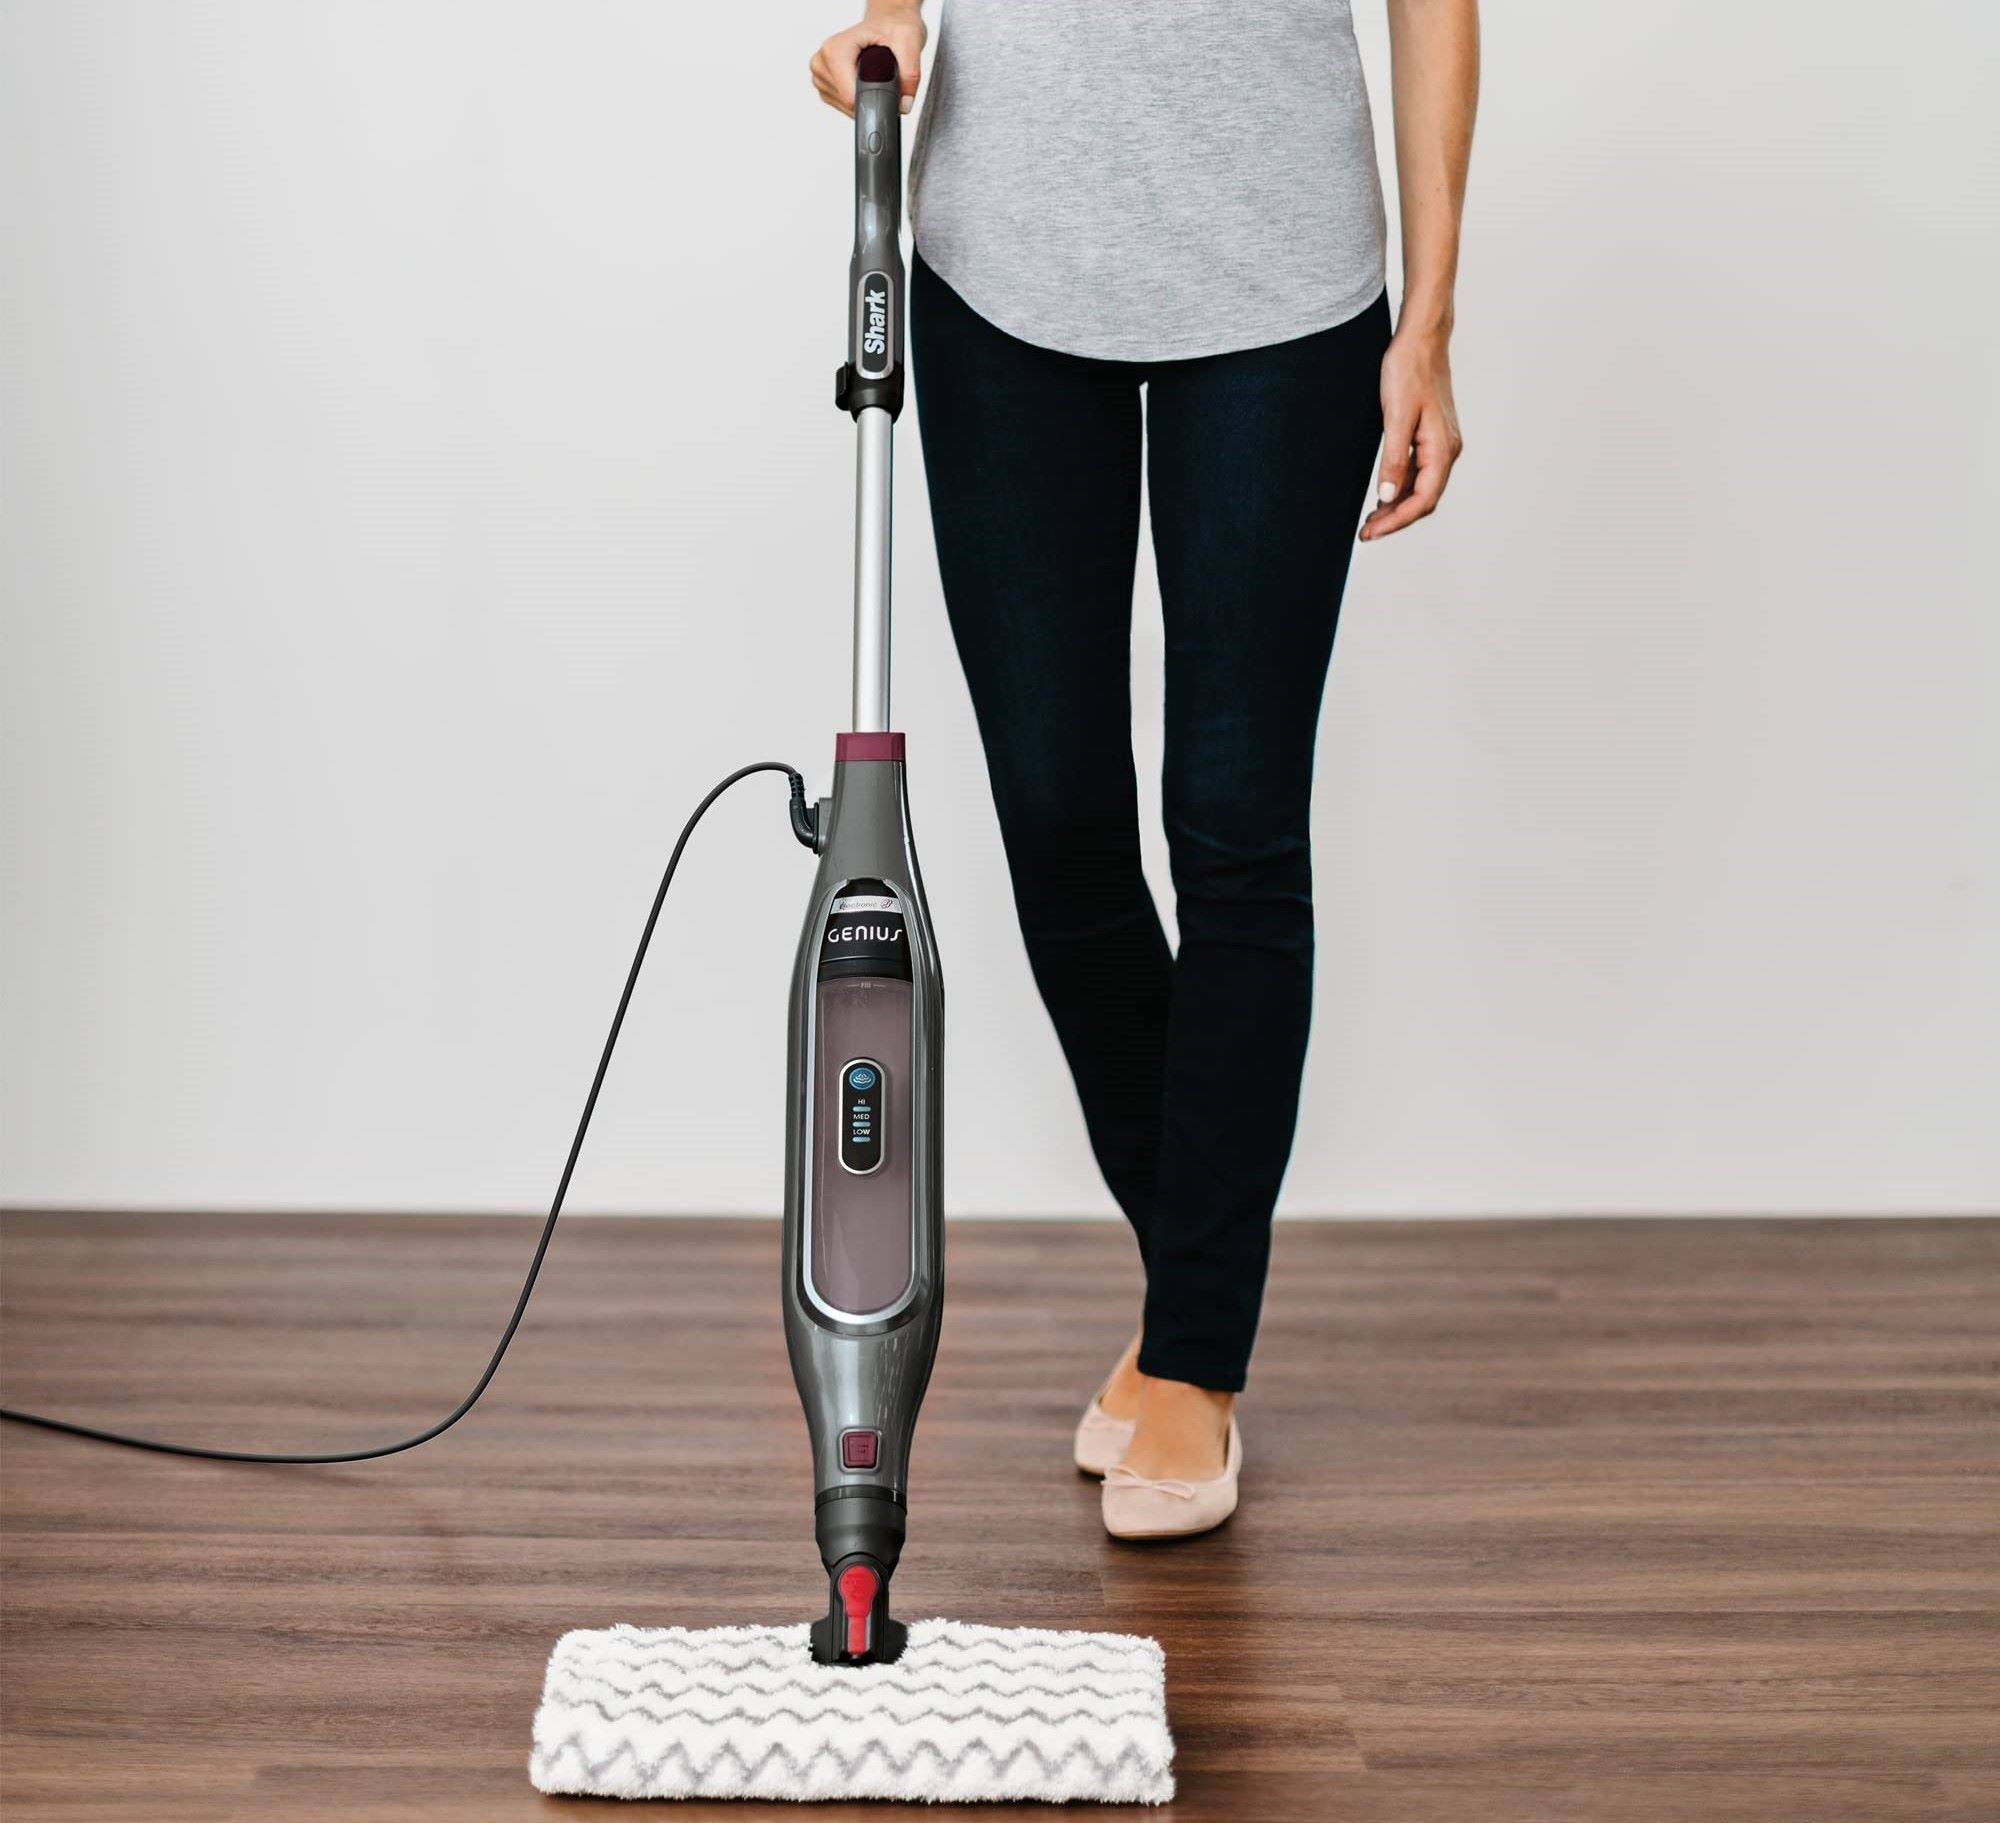
Operating the Shark Floor Steamer
Now that you have assembled and filled the water tank of your Shark Floor Steamer, it’s time to learn how to operate it effectively. Here are the step-by-step instructions for using your steamer:
- Plug in the Steamer: Connect the power cord of your Shark Floor Steamer to a properly grounded electrical outlet. Ensure that the outlet is compatible with the voltage requirements of your steamer.
- Power On: Locate the power button or switch on your steamer and turn it on. Some models may have indicator lights that will signal when the steamer is ready for use.
- Wait for Heating: Give the steamer a few moments to heat up. The exact heating time will depend on your model. Refer to the user manual for the recommended heating time.
- Adjust Steam Settings: If your Shark Floor Steamer has adjustable steam settings, choose the appropriate level based on the type of floor and the amount of dirt you are cleaning. Higher settings are typically used for tougher stains and dirtier surfaces.
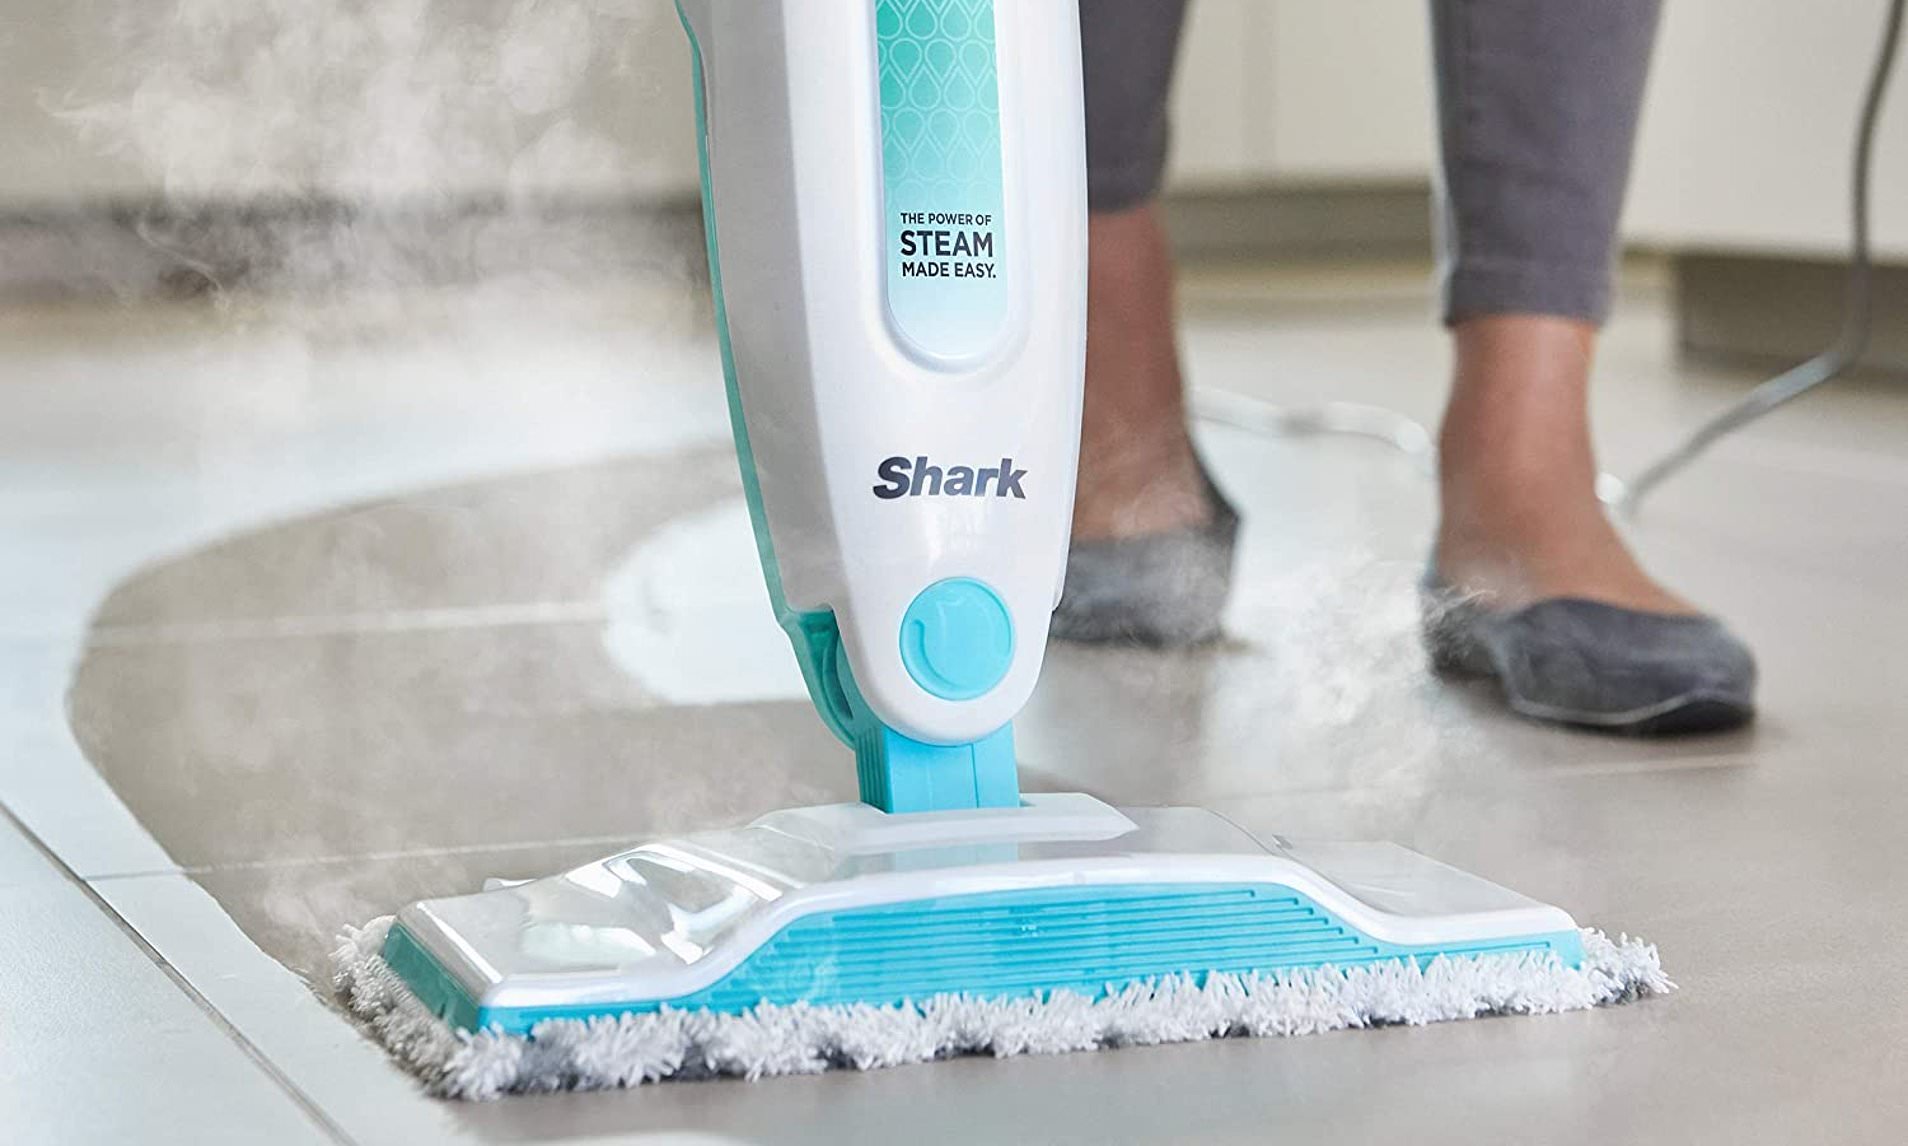
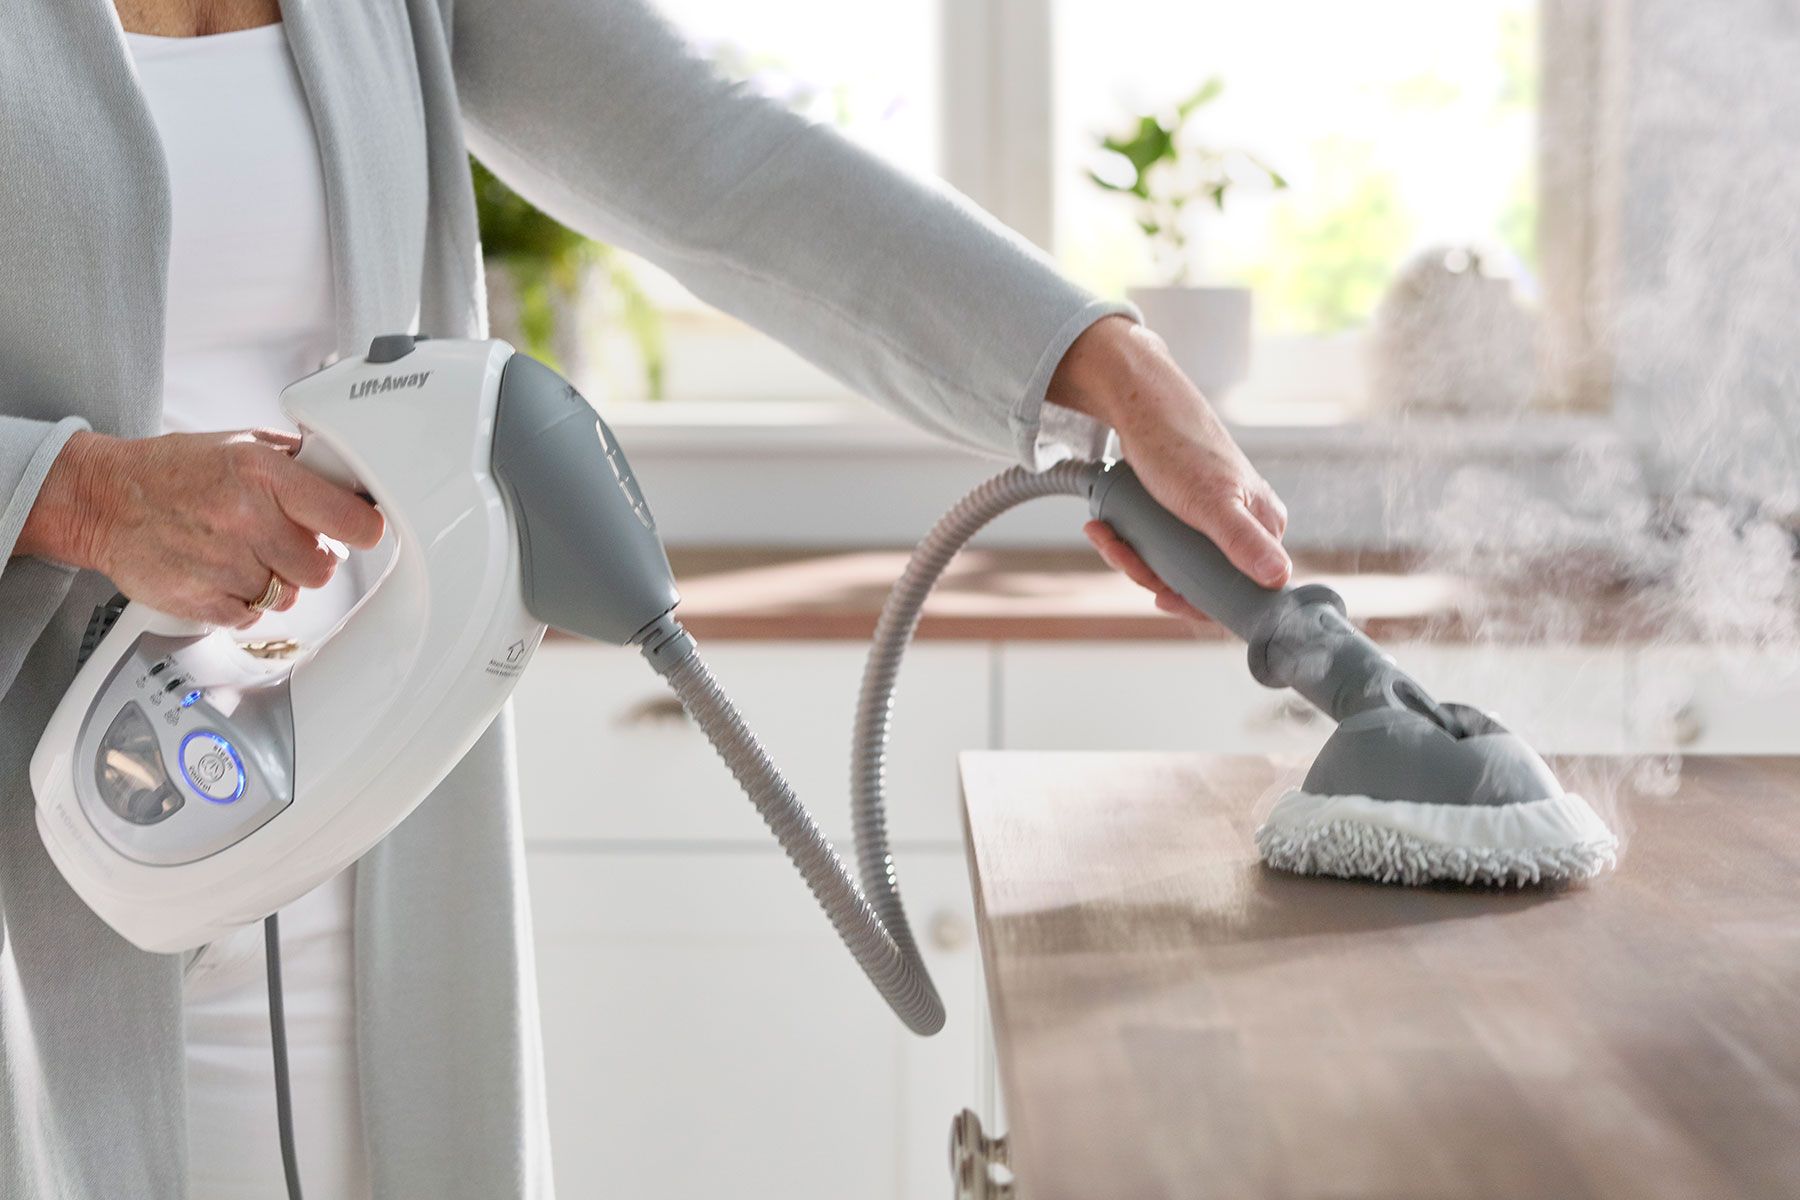
- Start Steaming: Hold the handle of the steamer and gently move it back and forth over the desired area on the floor. Allow the steam to penetrate the surface and work its magic on stubborn dirt and grime. Maintain a consistent and slow motion for thorough cleaning.
- Overlap Strokes: For optimal cleaning coverage, overlap your strokes slightly. This will ensure that all areas of the floor receive sufficient steam and agitation for a thorough clean.
- Clean in Sections: It’s a good practice to divide the floor into manageable sections and clean one section at a time. This will allow you to focus on each area and ensure thorough cleaning without rushing or missing any spots.
- Refill as Needed: Monitor the water level in the tank as you clean. If the water level becomes low, pause the cleaning process and refill the tank as necessary. This will ensure continuous steam and prevent any damage to the steamer.
- Switch Off and Unplug: When you have finished cleaning or need to take a break, switch off the steamer and unplug it from the power outlet. Allow the steamer to cool down before storing or performing any maintenance.
Always refer to the user manual provided with your Shark Floor Steamer for specific instructions and safety guidelines related to your model. Following these operating instructions will help you make the most of your steamer and achieve exceptional cleaning results.
Now that you know how to operate your Shark Floor Steamer, it’s time to put it to use and experience the convenience and effectiveness of steam cleaning your floors!
Cleaning Different Types of Floors
One of the advantages of using a Shark Floor Steamer is its versatility in cleaning various types of flooring surfaces. Here’s a guide on how to effectively clean different types of floors using your steamer:
- Hardwood Floors: For hardwood floors, it’s important to use the appropriate setting on your Shark Floor Steamer to avoid excessive moisture. Use the lowest steam setting or switch to the specialized hardwood cleaning mode, if available. Gently move the steamer back and forth, following the natural grain of the wood. Avoid leaving the steamer in one place too long to prevent damage.
- Laminate Floors: Laminate floors are sensitive to moisture, so it’s advisable to use low heat settings and maintain a quick and gentle cleaning motion. Avoid using excessive steam and be cautious not to let the steamer sit in one spot for too long. Be sure to check the manufacturer’s guidelines for any specific cleaning recommendations or restrictions.
- Tile and Grout: For tile floors, the high steam settings can be used to effectively clean and sanitize both the tiles and grout lines. Move the steamer over the tiles and grout in a slow, overlapping motion to allow the steam to penetrate and loosen dirt and grime. You may need to use a brush attachment for stubborn stains on grout lines.
- Vinyl and Linoleum Floors: These types of floors are generally more durable and can withstand higher steam settings. Move the steamer back and forth in a slow and controlled manner, applying sufficient steam to effectively clean the surface. Take care not to leave the steamer in one spot for too long, especially on seams or edges, to prevent any damage.
- Carpet and Rugs: Some Shark Floor Steamers come with carpet glider attachments that allow you to refresh and sanitize carpets and rugs. Attach the glider and move the steamer in a slow and deliberate motion over the surface of the carpet. The steam will penetrate deep into the fibers, loosening dirt and refreshing your carpets.
Remember to always follow the manufacturer’s recommendations and guidelines for cleaning different types of floors with your Shark Floor Steamer. If you are unsure about the suitability of using your steamer on a particular flooring surface, it’s best to check with the manufacturer or consult a professional cleaner.
By using your Shark Floor Steamer properly and adjusting the settings accordingly, you can achieve spotless, sanitized floors across a variety of surfaces!
Maintaining Your Shark Floor Steamer
Proper maintenance is crucial to ensure the longevity and optimal performance of your Shark Floor Steamer. By following these maintenance tips, you can keep your steamer in top condition:
- Empty and Clean Water Tank: After each use, empty the water tank of any remaining water to prevent the growth of bacteria or mold. Rinse the tank thoroughly with clean water and let it dry before storing. This will help maintain the cleanliness of your steamer.
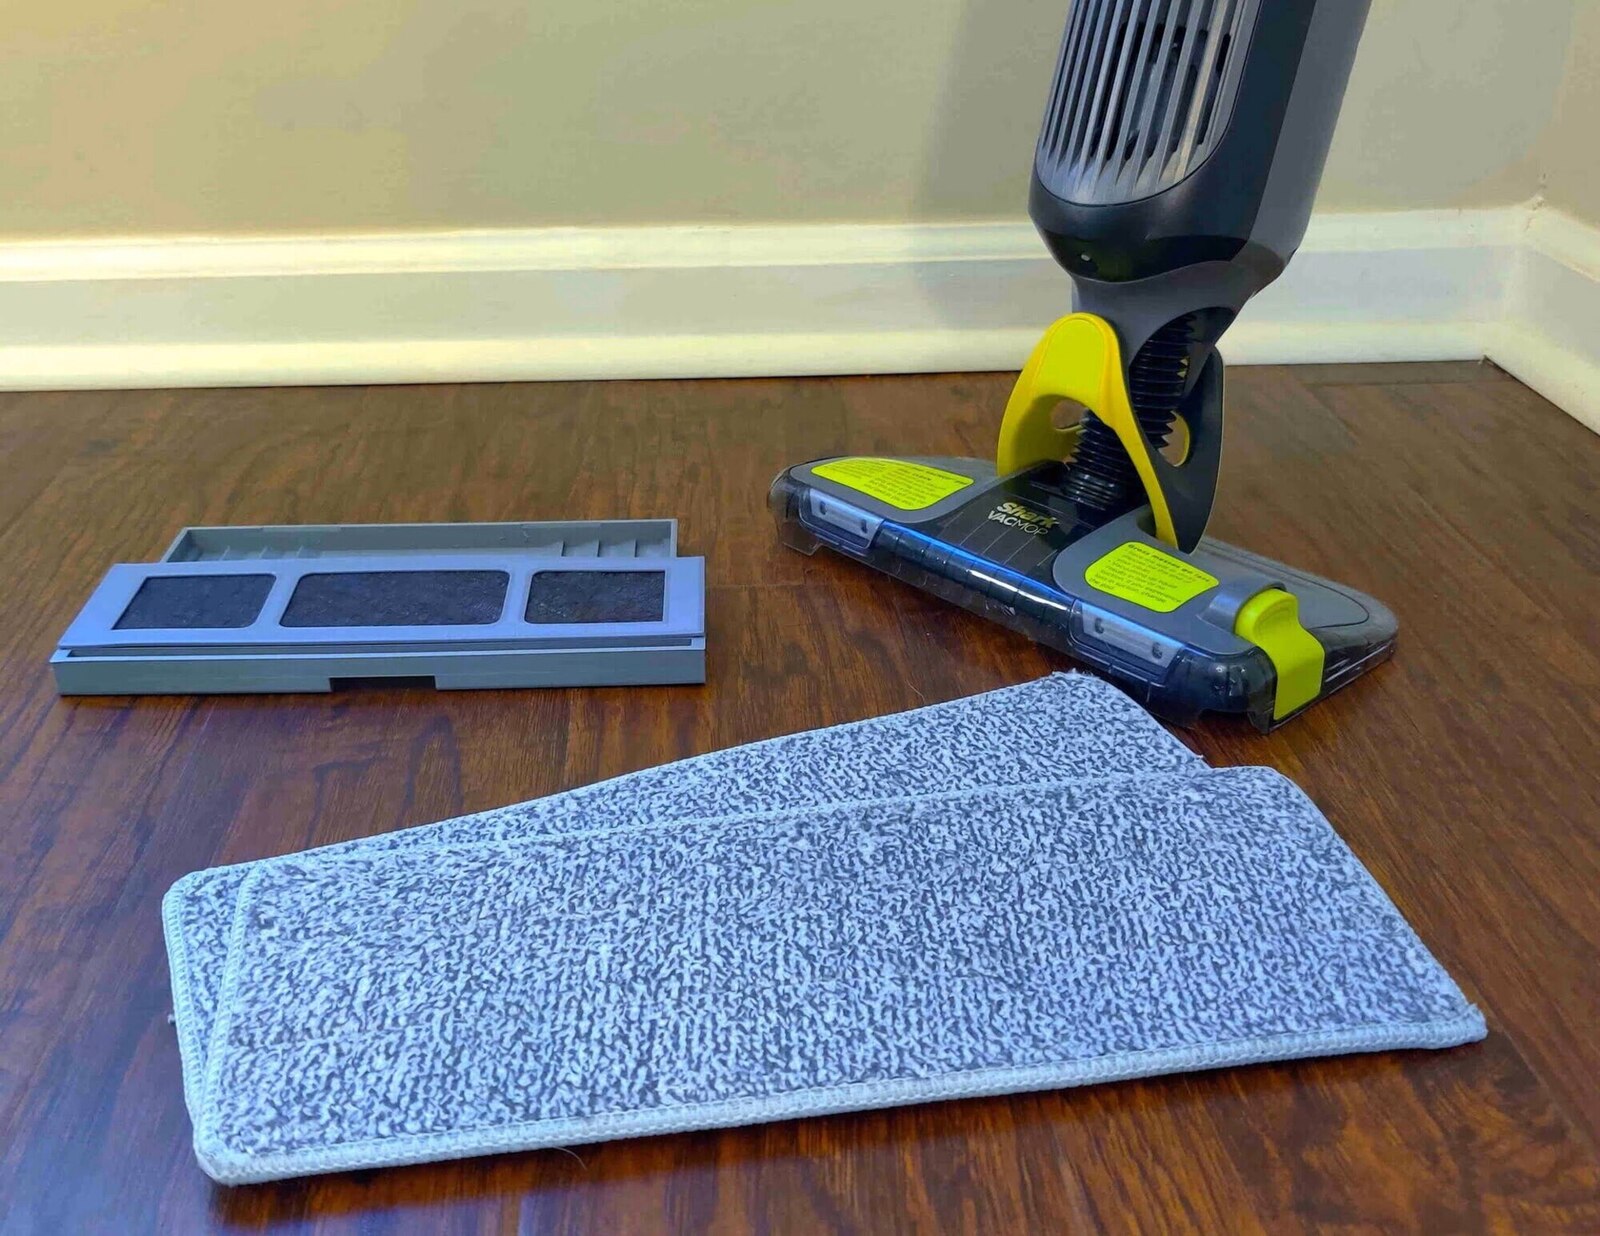
- Clean the Mop Pads: If your Shark Floor Steamer uses reusable mop pads, remove them after each cleaning session and wash them according to the manufacturer’s instructions. Regularly clean and replace mop pads to ensure effective cleaning and prevent the spread of dirt and germs.
- Descale Regularly: Over time, mineral deposits from hard water can build up inside the steamer. To prevent this, descale your Shark Floor Steamer regularly using a mixture of vinegar and water. Consult the user manual for specific instructions on descaling for your model.
- Inspect and Clean Attachments: Check the attachments and accessories of your steamer for any dirt or debris that may have accumulated. Clean them regularly using mild soap and water or according to the manufacturer’s instructions. This will ensure they remain in good working condition for future use.
- Check Power Cord and Plug: Regularly inspect the power cord and plug for any damage or fraying. A damaged power cord can be hazardous and should be replaced promptly. Ensure that the plug is securely inserted into the outlet during use.
- Store Properly: When not in use, store your Shark Floor Steamer in a clean and dry area. Make sure it is in an upright position to prevent any damage. Avoid hanging the steamer by the power cord, as this can cause strain and potential damage.
- Follow Recommended Service and Maintenance: Keep track of any service or maintenance recommendations in the user manual. This may include periodic maintenance tasks such as replacing filters or other parts to ensure the steamer functions optimally.
By following these maintenance practices, you can prolong the life of your Shark Floor Steamer and enjoy consistent performance. Regular cleaning and maintenance will keep your steamer in excellent shape and ready for your cleaning needs.
Remember, always refer to the user manual specific to your model for detailed instructions and recommendations on maintenance and care.
Troubleshooting Common Issues
While the Shark Floor Steamer is a reliable and efficient cleaning tool, occasionally you may encounter some common issues. Here are some troubleshooting tips for addressing these problems:
- No Steam: If your steamer is not producing steam, check if the water tank is empty or if the power cord is securely connected. Also, ensure that the steamer has reached the appropriate temperature for steam production. If the problem persists, check if there are any clogs or blockages in the steam nozzle or attachments. Clear any obstructions and try again.
- Low Steam Output: If you notice a decrease in steam output, check if the water tank is properly filled. Ensure that the steam settings are adjusted correctly for the level of dirt and the type of floor you are cleaning. If the problem continues, it may be necessary to descale your steamer to remove any mineral buildup that could be obstructing the steam flow.
- Water Leakage: If you notice water leaking from your Shark Floor Steamer, first check if the water tank is properly sealed and securely attached to the steamer. If the tank is securely in place, inspect the water tank cap and gasket for any damage or wear. Replace any faulty parts as needed. If the issue persists, contact the manufacturer for further assistance.
- Streaks or Residue: If your steamer leaves streaks or residue on your floors, it may be due to mineral deposits or residue from cleaning solutions. Ensure that you are using only clean water in the water tank and avoid using any chemical additives unless approved by the manufacturer. It may also be helpful to clean the mop pads or replace them if they are worn out or dirty.
- Steamer Not Heating Up: If your steamer is not heating up, first check if it is securely plugged into a functioning outlet. If the power cord and outlet are fine, ensure that there is sufficient water in the tank and that the tank is properly inserted. If the problem persists, there may be an issue with the heating element, in which case you should contact customer support for assistance.
- Unusual Noises or Odors: If you notice any strange noises or odors coming from your steamer, immediately switch it off and unplug it. These signs could indicate a mechanical problem or potential safety issue. Contact the manufacturer or customer service for guidance on how to proceed.
If you encounter any issues not mentioned here, refer to the user manual or contact the manufacturer’s customer support for further assistance. They can provide specific troubleshooting tips and guide you through the resolution process.
Remember, regular maintenance and proper care of your Shark Floor Steamer can help prevent many common issues and ensure its optimal performance.
Read also: 14 Best Shark Steamer for 2025
Conclusion
Using a Shark Floor Steamer can revolutionize your floor cleaning routine, making it easier, more efficient, and more effective. By following the proper techniques, you’ll be able to maintain sparkling clean floors with minimal effort. Here’s a recap of what we’ve covered:
We started by discussing the importance of choosing the right Shark Floor Steamer for your specific needs. Consider factors such as the type of floors you have, the attachments and accessories available, and user-friendly features.
We then highlighted the importance of preparing for use by clearing the floor, sweeping or vacuuming, and inspecting the floor for any spots that may need pre-treatment. Proper preparation sets the stage for a successful cleaning session.
Next, we walked through the process of assembling your Shark Floor Steamer. From attaching the handle to setting up the accessories, proper assembly ensures the functionality of your steamer.
Filling the water tank correctly is essential for optimal operation. We discussed the importance of following the recommended water level, as well as emptying and cleaning the tank after each use.
Operating the Shark Floor Steamer involves adjusting the settings, using a slow and consistent motion, and cleaning in sections. Different floors require different settings, so it’s important to tailor your approach accordingly.
When it comes to maintaining your Shark Floor Steamer, regular cleaning of mop pads, descaling, and proper storage can help prolong its lifespan and maintain maximum performance.
In the event of any common issues that may arise, we provided troubleshooting tips to help you address them effectively.
Overall, the Shark Floor Steamer is a versatile and efficient tool for maintaining clean and sanitized floors. By following the guidelines and procedures outlined in this article, you can make the most of your steamer and enjoy spotless floors with ease.
Remember to consult the user manual specific to your model for any additional instructions and recommendations. Now, go ahead and unleash the power of your Shark Floor Steamer to achieve the clean and hygienic floors you deserve!
Frequently Asked Questions about How To Use A Shark Floor Steamer
Was this page helpful?
At Storables.com, we guarantee accurate and reliable information. Our content, validated by Expert Board Contributors, is crafted following stringent Editorial Policies. We're committed to providing you with well-researched, expert-backed insights for all your informational needs.
0 thoughts on “How To Use A Shark Floor Steamer”