
Articles
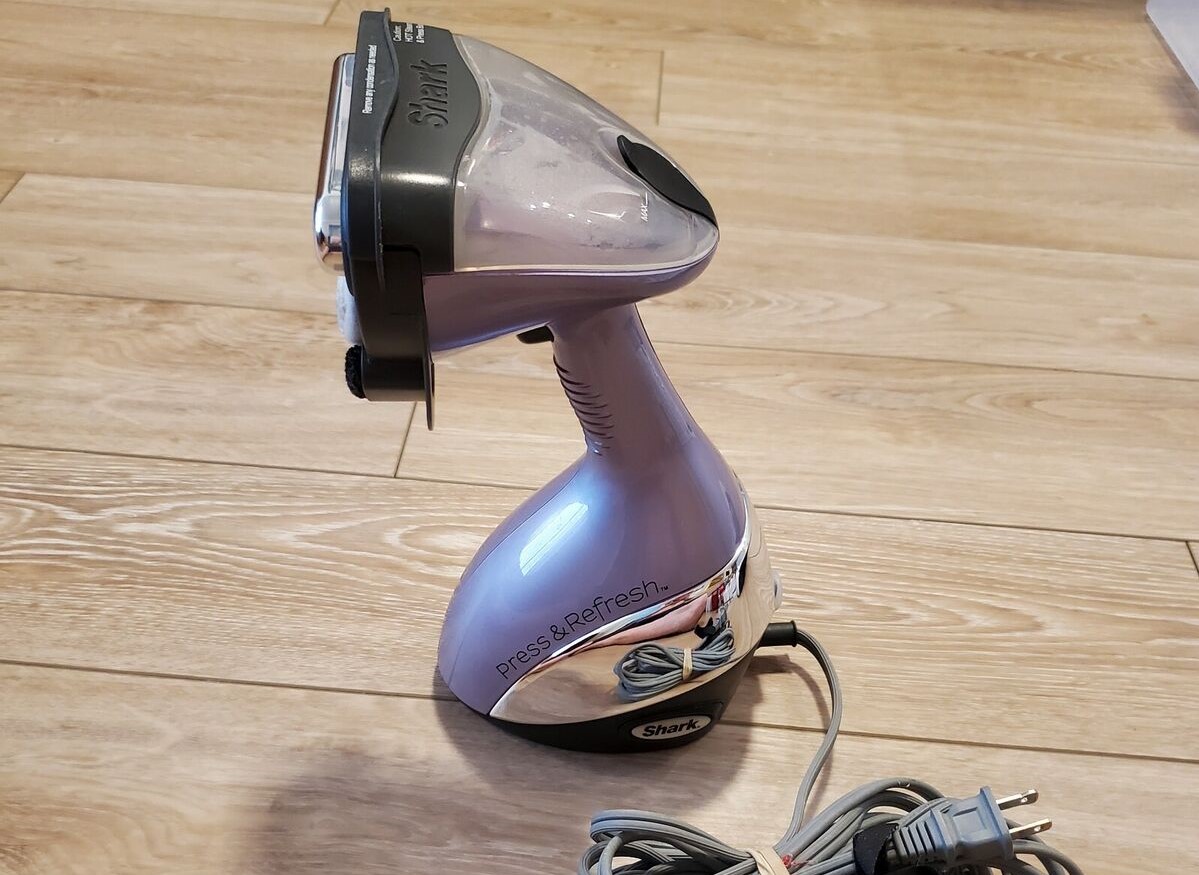
How To Clean Shark Steamer
Modified: August 27, 2024
Looking for articles on how to clean your Shark steamer? Check out our expert tips and tricks for maintaining a cleaner and more efficient steam cleaner.
(Many of the links in this article redirect to a specific reviewed product. Your purchase of these products through affiliate links helps to generate commission for Storables.com, at no extra cost. Learn more)
Introduction
Welcome to the comprehensive guide on how to clean your Shark Steamer. If you own a Shark Steamer, you know how effective and convenient it is in keeping your floors and surfaces spotlessly clean. However, like any other cleaning tool, regular maintenance is essential to ensure its longevity and optimal performance.
In this article, we will walk you through the step-by-step process of cleaning your Shark Steamer. By following these instructions and incorporating a few safety precautions, you can keep your steamer in top condition and enjoy its cleaning power for years to come.
Key Takeaways:
- Regularly cleaning and maintaining your Shark Steamer is crucial for its longevity and optimal performance. Follow the step-by-step guide, including safety precautions, to ensure safe and effective cleaning.
- Properly reassembling and storing your Shark Steamer after cleaning will help maintain its condition and ensure it’s ready for future use. Take care of the components and keep the user manual handy for reference.
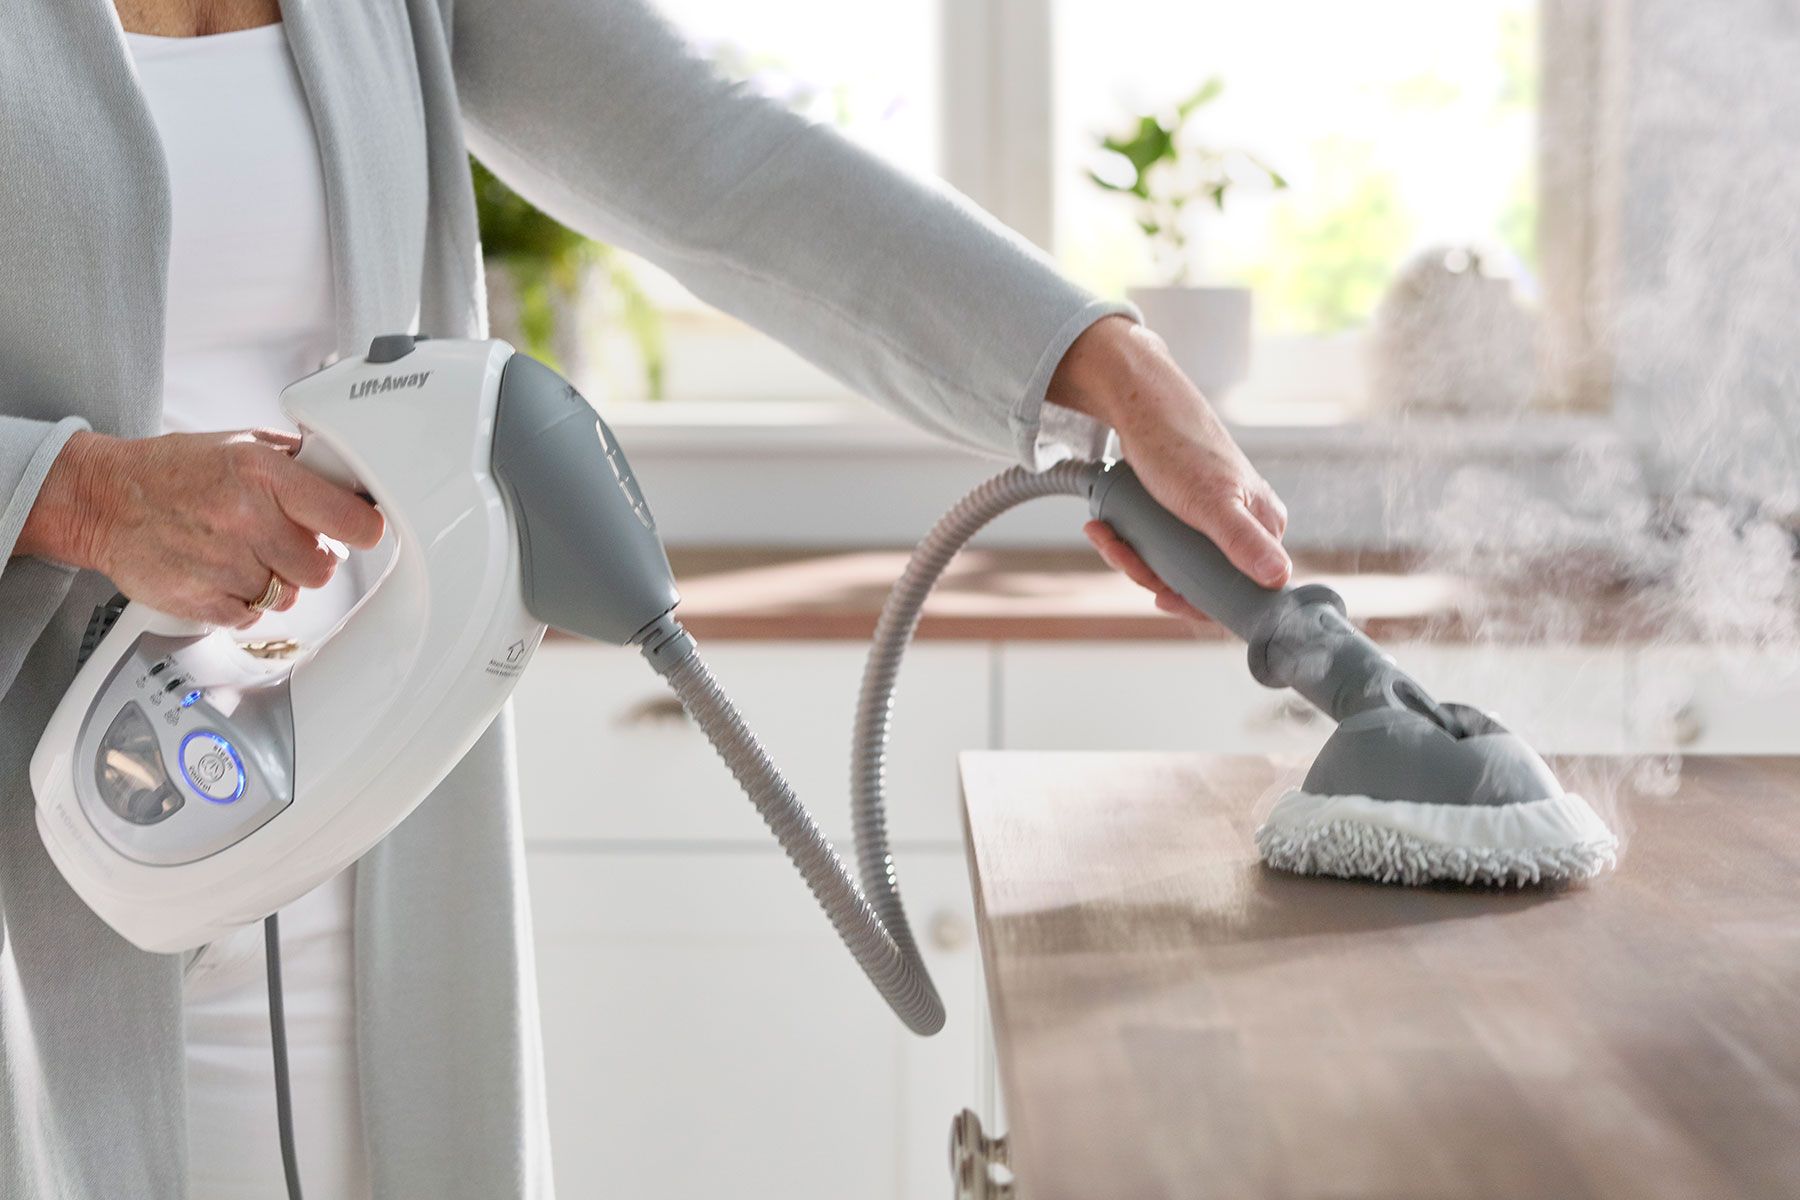
Read more: How To Use A Shark Floor Steamer
Safety Precautions
Before you start cleaning your Shark Steamer, it’s crucial to take certain safety precautions to prevent any accidents or damage. Follow these guidelines to ensure a safe and efficient cleaning process:
- Unplug the steamer: Always make sure to unplug the steamer from the power source before beginning the cleaning process. This will eliminate the risk of electric shock or any other electrical hazards.
- Allow the steamer to cool down: After using the steamer, give it some time to cool down before attempting to clean it. The high temperature of the steamer can cause burns if not handled with caution.
- Use protective gear: Wear gloves and eye protection to shield yourself from any potential harm. The cleaning process may involve coming into contact with hot surfaces or cleaning solutions, so taking these precautions is essential.
- Read the manual: Familiarize yourself with the manufacturer’s instructions and recommendations for cleaning the steamer. Each model may have specific requirements and guidelines that need to be followed.
- Handle with care: Treat the steamer gently and avoid dropping it or causing any impact. Rough handling can lead to damage to both the steamer and its components.
- Inspect the cord: Before using the steamer, examine its power cord for any signs of damage, such as cuts or exposed wires. If you notice any problems, do not use the steamer and contact customer support for assistance.
By adhering to these safety precautions, you can ensure that you have a safe and hassle-free experience while cleaning your Shark Steamer.
Step 1: Preparation
Before you begin the cleaning process, it’s essential to prepare your work area and gather the necessary supplies. Following these steps will help you organize your cleaning session and make the process more efficient:
- Select the cleaning area: Choose the area or surfaces you want to clean with your Shark Steamer. It could be your kitchen floors, bathroom tiles, or any other hard surfaces.
- Remove obstacles: Clear the selected area of any furniture, rugs, or other objects that may obstruct your cleaning. This will ensure easy access and allow you to clean thoroughly.
- Inspect the steamer: Take a quick look at your Shark Steamer to ensure that all components are in proper working condition. Check the power cord, steam nozzle, water tank, and attachments for any damage or blockages.
- Gather supplies: Collect the necessary cleaning supplies, including a soft cloth, mild detergent or vinegar, water, and a clean microfiber pad for the steamer. Having everything ready in advance will save you time and make the cleaning process smoother.
- Prepare your steamer: If your steamer has a removable water tank, detach it and fill it with clean water according to the manufacturer’s instructions. Make sure the tank is securely fastened before proceeding.
- Plug in the steamer: Find a suitable power outlet near your cleaning area and plug in your Shark Steamer. Make sure the cord is away from any water sources or areas where it could become a tripping hazard.
- Switch on the steamer: Turn on the steamer and allow it to heat up for the recommended time. This will ensure that the steam is produced at the optimum temperature for effective cleaning.
By following these preparation steps, you will be ready to tackle the cleaning process with your Shark Steamer efficiently and effectively. Now that everything is in order, let’s move on to the next step: emptying the water tank.
Step 2: Emptying the Water Tank
Emptying the water tank of your Shark Steamer is an important step before starting the cleaning process. This ensures that you are working with fresh water and helps prevent any potential buildup or residue. Follow these steps to empty the water tank:
- Turn off the steamer: Before removing the water tank, make sure to switch off the steamer and unplug it from the power source. This will ensure your safety and prevent any accidental activation.
- Allow the steamer to cool down: Give your Shark Steamer some time to cool down before attempting to remove the water tank. The high-temperature steam can cause burns if not handled carefully.
- Detach the water tank: Depending on the model of your Shark Steamer, the water tank may be detachable or built-in. If it is detachable, remove it by following the manufacturer’s instructions.
- Pour out the water: Carefully pour out the remaining water from the tank into a sink or drain. Tilt the tank gently to ensure that all the water is emptied. Avoid spilling water on the electrical components.
- Clean the water tank: After emptying the water, rinse the tank with clean water to remove any residue or buildup. You can use a mild detergent or vinegar solution if necessary. Rinse it thoroughly to remove any cleaning agents.
- Dry the water tank: Once the tank is clean, dry it thoroughly with a clean cloth or allow it to air dry completely. This will prevent any moisture from remaining and potentially causing mold or mildew growth.
- Reattach the water tank: After the water tank is dry, securely reattach it to the steamer following the manufacturer’s instructions. Ensure that it is properly fastened before moving on to the next step.
By emptying and cleaning the water tank of your Shark Steamer, you are ready to proceed with the cleaning process. The next step focuses on cleaning the steam nozzle to ensure optimal steam performance. Let’s move on to Step 3.
Step 3: Cleaning the Steam Nozzle
Cleaning the steam nozzle of your Shark Steamer is crucial to maintain its efficiency and prevent any blockages or clogs that may affect its performance. Follow these steps to clean the steam nozzle:
- Turn off the steamer: Before cleaning the steam nozzle, make sure that the steamer is switched off and unplugged from the power source. This will ensure your safety during the cleaning process.
- Allow the steamer to cool down: Give your Shark Steamer enough time to cool down before attempting to access the steam nozzle. The nozzle can become hot during operation and cause burns if not handled carefully.
- Locate the steam nozzle: The steam nozzle is located at the end of the steamer’s hose or attachment. It is responsible for releasing the steam during the cleaning process.
- Inspect for debris or blockages: Carefully examine the steam nozzle for any visible debris, such as dirt, mineral buildup, or clogs. Use a flashlight if necessary to get a better view.
- Clear the nozzle: If you notice any debris or blockages, use a small cleaning brush or a toothpick to gently remove them from the nozzle. Be cautious not to damage the nozzle or push the debris further into it.
- Flush with water: Once the visible debris has been removed, flush the steam nozzle with clean water to ensure thorough cleaning. You can hold the nozzle under a running tap or use a small container of water to rinse it.
- Check for proper airflow: After cleaning, ensure that there is unobstructed airflow through the steam nozzle. You can blow through the nozzle or use a can of compressed air to remove any remaining debris or moisture.
- Allow the nozzle to dry: Before reassembling the steamer, make sure that the steam nozzle is completely dry. Wipe it with a clean, dry cloth or allow it to air dry naturally to avoid the growth of mold or mildew.
By cleaning the steam nozzle of your Shark Steamer, you can ensure that the steam is released efficiently and without any obstructions. This will guarantee optimal cleaning performance as you move on to the next steps.
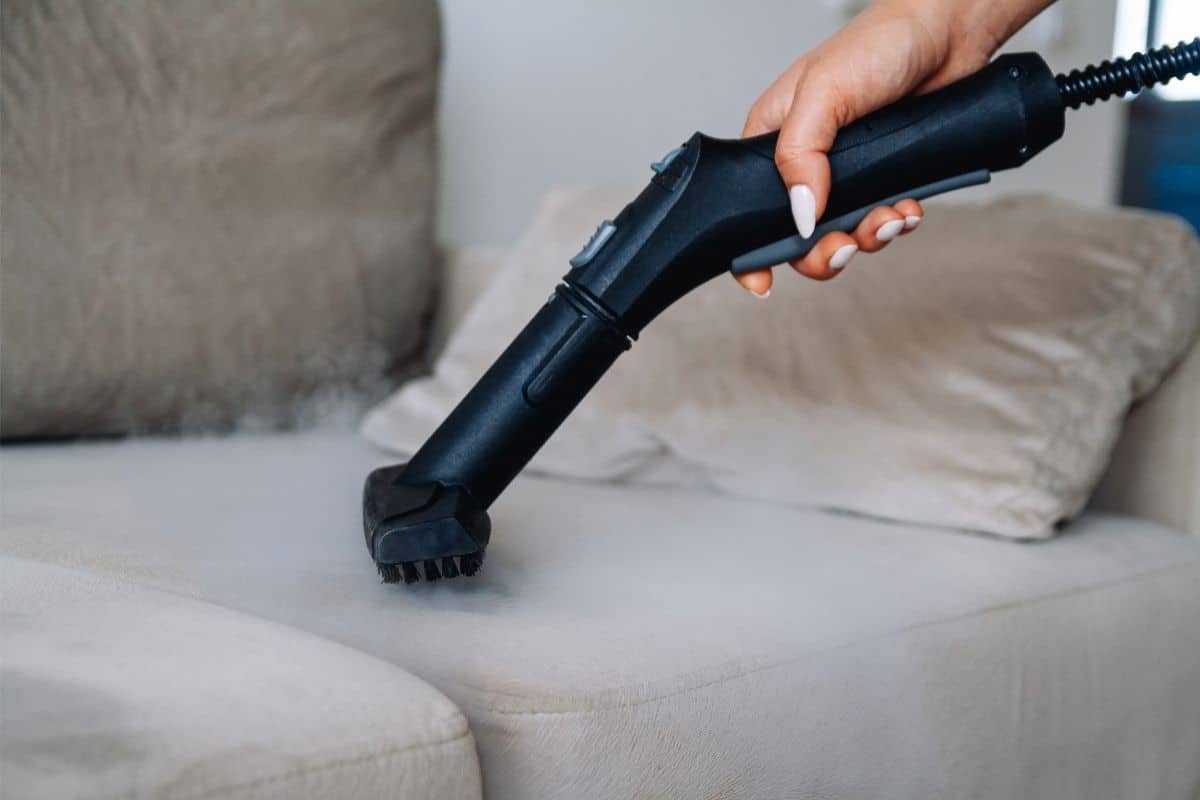
To clean a Shark steamer, mix equal parts water and vinegar and pour it into the steamer’s water tank. Run the steamer until the tank is empty, then rinse with clean water. Wipe the exterior with a damp cloth and let it air dry.
Read also: 14 Best Shark Steamer for 2025
Step 4: Descaling the Steamer
Descaling your Shark Steamer is an important step to remove mineral deposits and scale that can accumulate over time. These deposits can hinder the steamer’s performance and may cause clogs or damage to the internal components. Follow these steps to descale your steamer:
- Prepare a descaling solution: Check the manufacturer’s instructions to determine the recommended descaling solution for your Shark Steamer. Typically, a mixture of equal parts white vinegar and water is effective in descaling steamers.
- Fill the water tank: Pour the descaling solution into the water tank, ensuring that you have enough to cover the minimum fill line indicated by the manufacturer. Avoid overfilling the tank to prevent spills.
- Attach the water tank: Reattach the water tank to the steamer, ensuring that it is securely fastened to prevent any leakage during the descaling process.
- Turn on the steamer: Plug in the steamer and switch it on, allowing it to heat up and produce steam. Let it reach the desired temperature for a few minutes to ensure the descaling solution circulates throughout the system.
- Activate the steam: Engage the steam function of the steamer and allow the descaling solution to flow through the system. This will help dissolve the mineral deposits and scale within the steamer and its components.
- Run the steamer: Move the steamer over a designated area, releasing the steam intermittently. This will help distribute the descaling solution and ensure thorough cleaning of the internal components.
- Allow the solution to work: Let the descaling solution sit in the system for the recommended duration specified by the manufacturer. This will allow sufficient time for the solution to dissolve the mineral deposits.
- Empty and rinse the tank: Once the descaling process is complete, empty the water tank and rinse it thoroughly with clean water. This will help remove any remaining traces of the descaling solution.
- Flush with clean water: Fill the water tank with clean water and run the steamer to flush out any remaining descaling solution from the system. Repeat this step a few times to ensure a complete rinse.
- Dry and reassemble the steamer: After emptying and rinsing the water tank, make sure to dry it thoroughly. Once dry, securely reattach the tank and any other detachable parts of the steamer.
By descaling your Shark Steamer regularly, you can maintain its efficiency and prolong its lifespan. Removing mineral deposits and scale will ensure optimal steam production and prevent any potential issues during the cleaning process.
Step 5: Cleaning the Microfiber Pads
Cleaning the microfiber pads of your Shark Steamer is essential for maintaining their effectiveness in picking up dirt and debris. Over time, these pads can become dirty and clogged, affecting their performance. Follow these steps to clean the microfiber pads:
- Remove the microfiber pads: Detach the microfiber pads from the cleaning head or attachment of your Shark Steamer. Most models have Velcro or button attachments for easy removal.
- Shake off loose debris: Take the microfiber pads outside or hold them over a trash bin and shake them vigorously to remove any loose dirt, dust, or debris that may have accumulated.
- Inspect for stains or stubborn dirt: Examine the microfiber pads for any visible stains or stubborn dirt that may require pre-treatment or additional cleaning steps.
- Machine washable pads: If your microfiber pads are machine washable, place them in a mesh laundry bag or pillowcase to protect them during the washing process. Follow the manufacturer’s instructions for the appropriate wash settings.
- Hand wash only pads: If your microfiber pads are labeled as hand wash only, fill a basin or sink with warm water and a mild detergent. Gently agitate the pads in the soapy water, allowing the detergent to penetrate and lift any dirt or stains.
- Rinse thoroughly: After washing, rinse the microfiber pads under clean running water until all soap residue is removed. Squeeze out excess water gently, taking care not to wring or twist the pads, as this may cause damage to the microfibers.
- Dry the pads: Lay the microfiber pads flat on a clean, dry surface or hang them up to air dry. Avoid exposing them to direct sunlight or heat sources, as this can cause the fibers to deteriorate.
- Replace or store the pads: Once the microfiber pads are completely dry, inspect them for any signs of wear or damage. If necessary, replace them with new pads. Store the cleaned and dry pads in a clean, dry place until the next use.
By regularly cleaning the microfiber pads of your Shark Steamer, you can maintain their effectiveness in picking up dirt and ensure optimal cleaning results. This step will help prolong the life of the pads and contribute to the overall performance of your steamer.
Step 6: Cleaning the Body of the Steamer
Cleaning the body of your Shark Steamer is essential for maintaining its appearance and removing any dirt or grime that may have accumulated over time. Follow these steps to clean the body of your steamer:
- Unplug the steamer: Before cleaning the body of your Shark Steamer, make sure that it is switched off and unplugged from the power source. This will ensure your safety during the cleaning process.
- Prepare a cleaning solution: Create a mild cleaning solution by combining warm water and a small amount of mild detergent or vinegar. Mix the solution well to ensure even distribution.
- Dampen a soft cloth: Take a clean, soft cloth and dampen it in the prepared cleaning solution. Wring out any excess liquid to avoid soaking the steamer’s body.
- Gently wipe the body: Start wiping the body of your Shark Steamer with the damp cloth, paying attention to areas that may be particularly dirty or stained. Use gentle, circular motions to remove any dirt or grime.
- Focus on stubborn stains: For stubborn stains or residue, you may need to apply a bit more pressure or use a small brush with soft bristles to scrub the affected area. Be careful not to scratch the surface of the steamer.
- Pay attention to buttons and controls: Use a cotton swab or a soft-bristled brush to clean around the buttons, controls, and other hard-to-reach areas of the steamer. This will help remove any dirt or residue that may have accumulated.
- Wipe down with clean water: After cleaning the body of the steamer with the cleaning solution, rinse the cloth thoroughly with clean water. Wipe down the steamer once again to remove any remaining cleaning residue.
- Dry the steamer: Once you have finished cleaning the body of your Shark Steamer, dry it thoroughly with a clean, dry cloth. Avoid using excessive moisture or leaving any areas wet to prevent damage.
- Inspect and store: Take a moment to inspect the cleaned steamer for any missed spots or areas that may require additional cleaning. Once satisfied, store the steamer in a clean, dry place until its next use.
By regularly cleaning the body of your Shark Steamer, you can maintain its appearance and ensure that it remains in good condition. This step is important to remove dirt, grime, and stains, giving your steamer a fresh and clean look.
Step 7: Reassembling and Storing the Steamer
After cleaning your Shark Steamer, it’s important to reassemble it properly and store it correctly to maintain its longevity and ensure it’s ready for the next cleaning session. Follow these steps to reassemble and store your steamer:
- Inspect the components: Before reassembling the steamer, check all the cleaned components, including the water tank, microfiber pads, attachments, and steam nozzle. Ensure that they are completely dry and free from any residue.
- Attach the microfiber pads: If you removed the microfiber pads during the cleaning process, reattach them to the cleaning head or attachment as per the manufacturer’s instructions. Make sure they are securely in place.
- Reattach the accessories: If you detached any additional accessories, such as brushes or nozzles, reattach them to the steamer properly. Ensure they fit snugly and are ready for the next use.
- Secure the water tank: If you removed the water tank, reattach it to the steamer securely. Double-check that it is properly fastened and won’t leak during operation.
- Wipe down the exterior: Take a clean, dry cloth and give the exterior of the steamer a final wipe down. This will remove any fingerprints, dust, or cleaning residue, ensuring a clean and polished look.
- Store in a cool, dry place: Find a suitable location to store your Shark Steamer. Choose a cool, dry area away from direct sunlight or heat sources. This will prevent any potential damage to the steamer and its components.
- Keep attachments organized: If your steamer comes with multiple attachments or brushes, consider storing them in a separate container or bag to keep them organized and easily accessible.
- Keep the user manual handy: Store the user manual in a safe place near the steamer. This will enable you to refer to it whenever you need guidance on maintenance, troubleshooting, or any other relevant information.
By reassembling and storing your Shark Steamer properly, you can ensure that it remains in good condition and ready for use whenever you need it. Taking these steps will help prolong its lifespan and maintain its performance over time.
Read more: Why Is My Shark Steamer Not Steaming
Conclusion
Cleaning your Shark Steamer is an essential part of its maintenance and ensuring its optimal performance. By following the steps outlined in this comprehensive guide, you can keep your steamer in top condition and enjoy its cleaning power for years to come.
Remember to take safety precautions, such as unplugging the steamer, allowing it to cool down, wearing protective gear, and handling the steamer with care. These measures will ensure your safety throughout the cleaning process.
Preparation is key, so select the cleaning area, remove obstacles, and gather all the necessary supplies before getting started. This will make the cleaning process more efficient and organized.
Emptying the water tank, cleaning the steam nozzle, descaling the steamer, and cleaning the microfiber pads are all important steps to maintain your steamer’s functionality and cleanliness. Pay attention to each step and follow the instructions carefully for the best results.
Additionally, don’t forget to clean the body of the steamer, removing any dirt or grime that may have accumulated over time. Proper reassembly and storage will ensure that your steamer remains in good condition and is ready for future use.
By regularly cleaning and maintaining your Shark Steamer, you can enjoy its efficiency and effectiveness in keeping your floors and surfaces clean. Proper care will extend its lifespan and help you get the most out of this valuable cleaning tool.
Remember to consult your steamer’s user manual for any specific instructions or recommendations provided by the manufacturer. Following their guidelines will ensure that you clean your steamer safely and effectively.
With these steps in mind, you can confidently clean your Shark Steamer, knowing that you are maintaining its performance and prolonging its life. Happy cleaning!
Now that you've mastered cleaning your Shark steamer, why not tackle other steam cleaning projects around your home? Learn the ins and outs of using steam to freshen up your sofa, a method that's not only efficient but also gentle on fabrics. Also, don't miss our roundup of the top Shark steamers set to hit the market next year. Whether you're upgrading or buying your first unit, this guide will help you find the perfect match for your cleaning needs.
Frequently Asked Questions about How To Clean Shark Steamer
Was this page helpful?
At Storables.com, we guarantee accurate and reliable information. Our content, validated by Expert Board Contributors, is crafted following stringent Editorial Policies. We're committed to providing you with well-researched, expert-backed insights for all your informational needs.

0 thoughts on “How To Clean Shark Steamer”