Home>Interior Design>How To Clean Tile Floors – Tips For A Streak-free Finish
Interior Design
How To Clean Tile Floors – Tips For A Streak-free Finish
Modified: October 21, 2024
Looking for streak-free clean tile floors? Get expert tips for interior design and achieve a sparkling finish with our easy-to-follow cleaning techniques.
(Many of the links in this article redirect to a specific reviewed product. Your purchase of these products through affiliate links helps to generate commission for Storables.com, at no extra cost. Learn more)
Introduction
Tile floors are a popular choice for homeowners due to their durability, versatility, and aesthetic appeal. Whether you have ceramic, porcelain, or natural stone tiles, keeping them clean is essential to maintain their beauty and prolong their lifespan. However, cleaning tile floors can be a daunting task if you don’t have the right knowledge and techniques.
In this article, we will provide you with valuable tips on how to clean tile floors effectively and achieve a streak-free finish. From gathering the necessary supplies to dealing with stubborn stains, we’ll walk you through the step-by-step process. Let’s dive in!
Key Takeaways:
- Keep your tile floors clean and streak-free by gathering the right supplies, clearing the floor space, and using gentle mopping techniques. Proper drying and buffing add the finishing touch for a sparkling finish.
- Different types of tile floors require specific care, from avoiding harsh abrasives for ceramic tiles to using pH-neutral cleaners for natural stone. Following manufacturer’s guidelines ensures longevity and beauty.
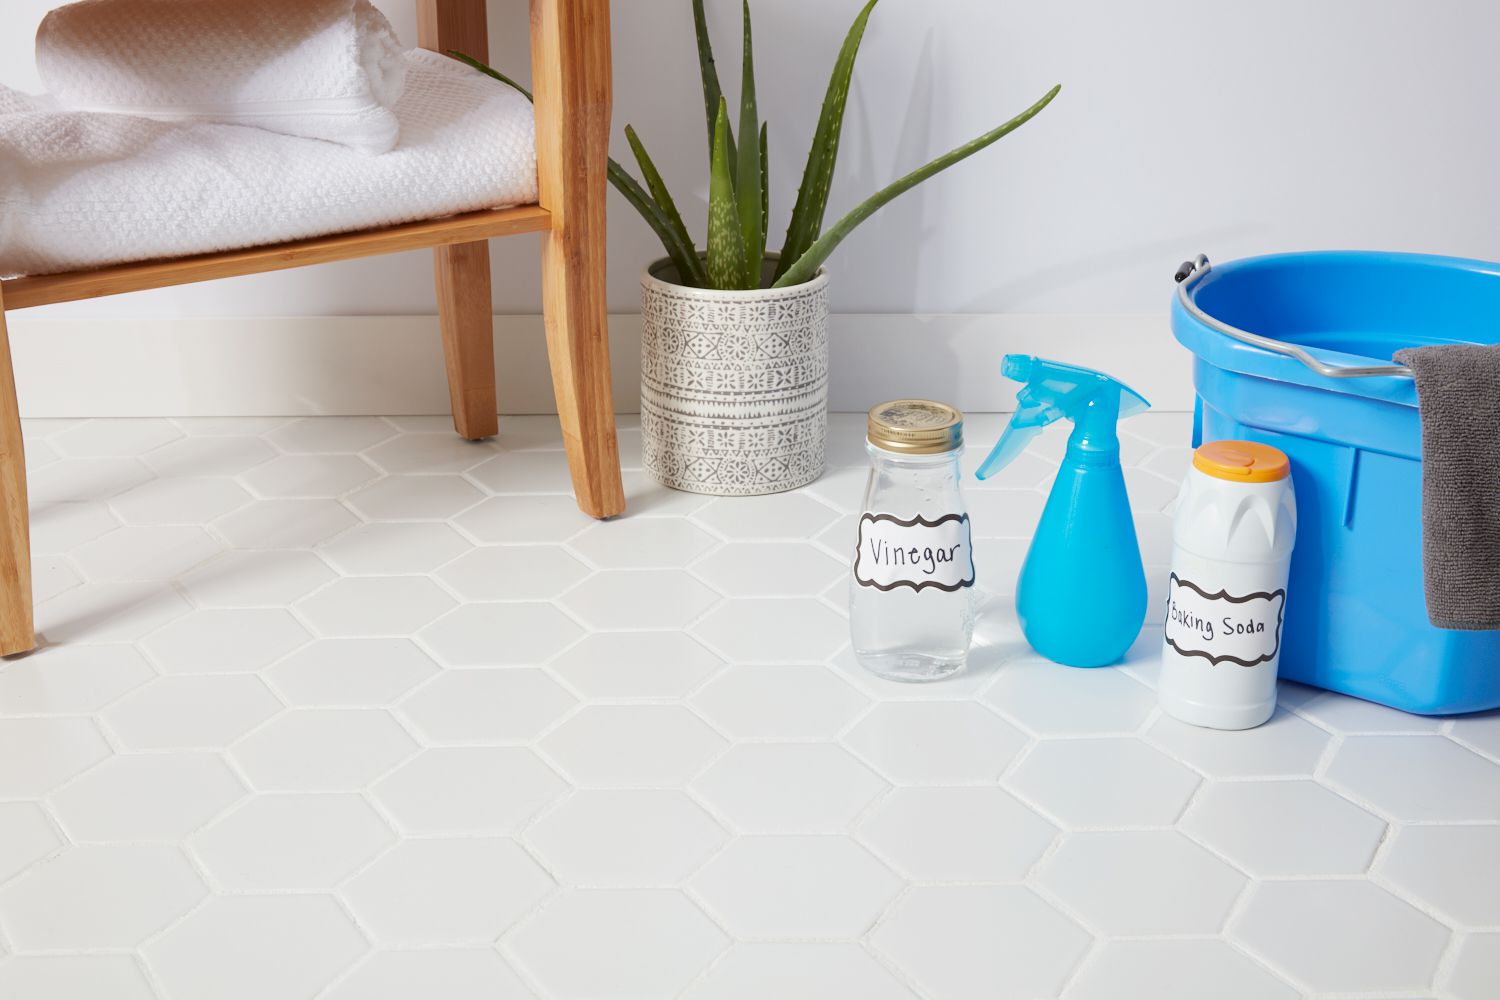
Gathering the necessary supplies
Before you start cleaning your tile floors, it’s essential to gather all the necessary supplies to ensure a thorough and efficient cleaning process. Here are the items you’ll need:
- Microfiber mop or soft-bristle broom: These tools are gentle on your tile floors and won’t scratch the surface.
- Vacuum cleaner: If your tile floors have deep grout lines or are prone to accumulating dirt, using a vacuum cleaner with a soft brush attachment is recommended.
- Bucket: Opt for a large bucket that can hold enough cleaning solution to cover the entire floor surface.
- Warm water: It’s best to use warm water for effective cleaning, as it helps to loosen dirt and grime.
- Tile cleaner or mild detergent: Choose a cleaner specifically designed for tile floors, or opt for a mild detergent that won’t damage the tiles.
- Soft sponge or mop head: These will be used to apply the cleaning solution to the floor.
- Old towels or microfiber cloths: These will come in handy for drying the floor and preventing any streaks.
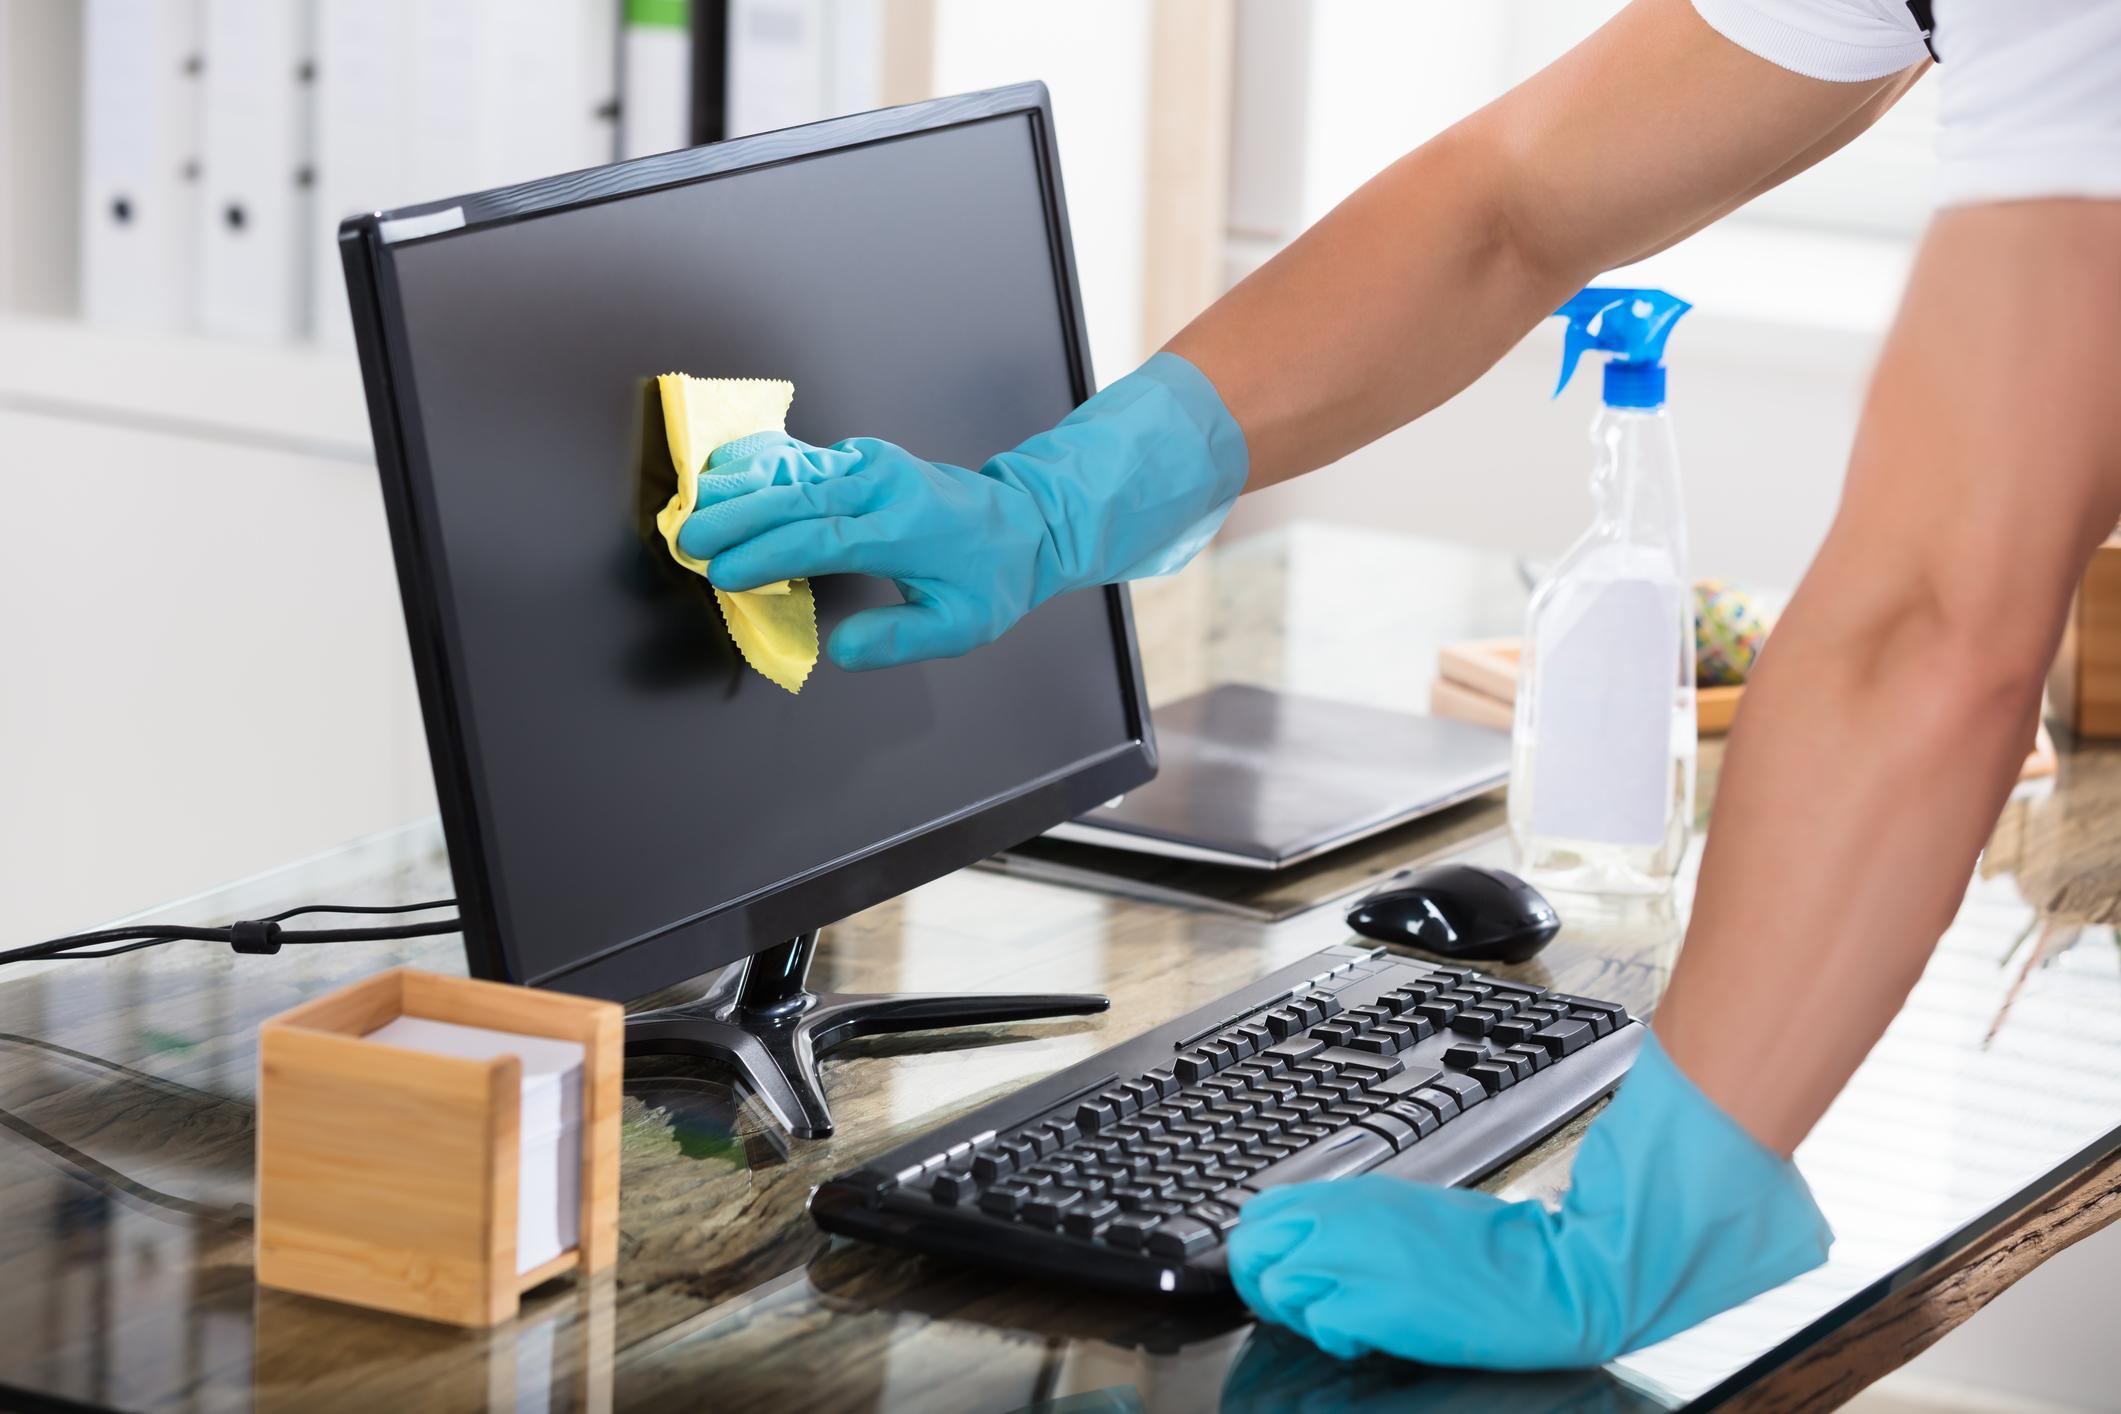
- Protective gloves: To keep your hands safe from any harsh chemicals or allergens present in the cleaning solution.
Make sure to gather all these supplies before you begin the cleaning process. Having everything on hand will save you time and ensure a smooth cleaning experience.
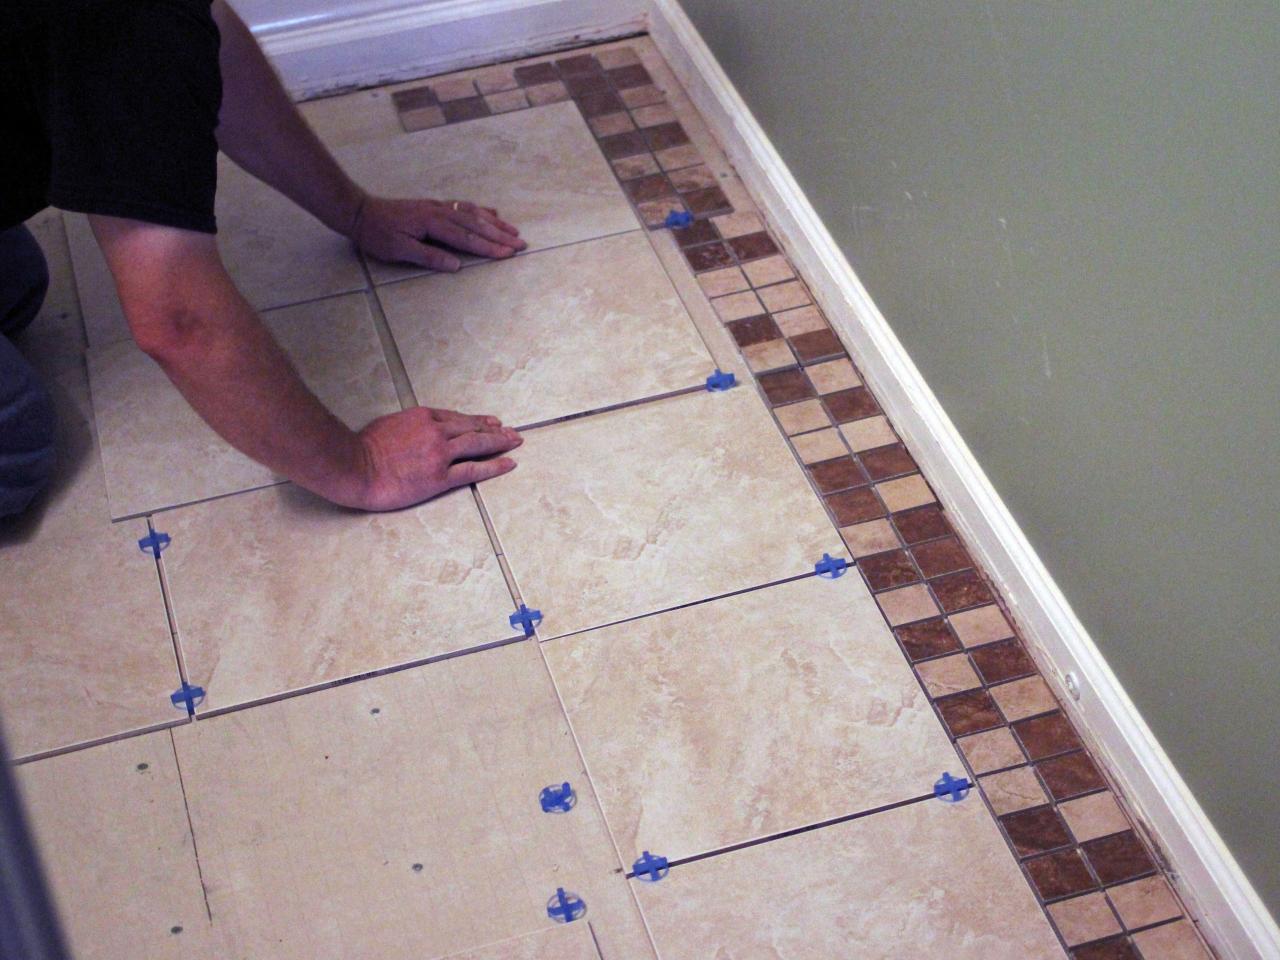
Clearing the floor space
Before you start cleaning your tile floors, it’s important to clear the floor space of any furniture, rugs, or other items that may hinder the cleaning process. Clearing the floor will not only make it easier to clean but also prevent any damage to your belongings.
Move any furniture or objects to another room temporarily or place them outside the cleaning area. If you have large or heavy items, consider asking for assistance to avoid injuring yourself or damaging the furniture.
Remove any loose rugs or mats from the floor as well. These can obstruct the cleaning process and may get in the way of thorough cleaning. Shake out or vacuum the rugs separately to remove any dirt or debris.
By ensuring that the floor space is clear, you’ll have better access to every corner and nook of the tile flooring, allowing for a more comprehensive cleaning process.
It’s also a good idea to check for any loose tiles or grout that may need attention. If you notice any damaged or loose tiles, make a note of them so you can address them after the cleaning process.
Once the floor space is clear, you’re ready to move on to the next step of the cleaning process, whether it’s sweeping or vacuuming to remove loose dirt and debris.
Sweeping or vacuuming the surface
Before you begin mopping your tile floors, it’s essential to remove any loose dirt, dust, or debris. This step is crucial as it prevents the dirt from spreading and scratching the surface of the tiles during the cleaning process.
If your tile floors have visible debris or loose dirt, it’s best to start by sweeping the surface. Use a soft-bristle broom or a microfiber dust mop to gently sweep the entire floor, making sure to reach into the corners and along the baseboards.
If you prefer using a vacuum cleaner, make sure to use a soft brush attachment specifically designed for hard floor surfaces. This attachment will prevent any potential scratching or damage to the tiles.
When sweeping or vacuuming, pay extra attention to the grout lines, as these areas tend to accumulate more dirt and debris. Run the broom or vacuum cleaner along the grout lines to remove any trapped particles.
For finer particles or hard-to-reach areas, you can also use a handheld vacuum or a crevice tool attachment to ensure a thorough cleaning.
By sweeping or vacuuming the surface before mopping, you eliminate loose dirt and debris, allowing for a more effective cleaning process. It also prevents the dirt from being spread around and potentially scratching the tiles.
With the surface cleared of loose debris, you’re now ready to move on to the next step: preparing the cleaning solution.
Preparing the cleaning solution
To effectively clean your tile floors, you’ll need to prepare a suitable cleaning solution. The right solution will help to remove dirt, grime, and stains, leaving your tile floors looking clean and refreshed.
There are various cleaning options to choose from, depending on your personal preference and the condition of your tile floors. Here are three common options:
- Commercial tile cleaner: You can purchase a commercial tile cleaner from your local home improvement store or online. Be sure to follow the manufacturer’s instructions for dilution ratios and usage.
- Mild detergent solution: You can create a mild cleaning solution by mixing a few drops of mild dish soap or liquid laundry detergent with warm water. Avoid using harsh chemicals or abrasive cleaners as they can damage the tiles.
- Vinegar and water solution: Vinegar is a natural and eco-friendly cleaning agent. You can create a solution by mixing equal parts of white vinegar and warm water. However, avoid using vinegar on natural stone tiles as it can cause etching or discoloration.
Once you’ve selected your preferred cleaning solution, here’s how you can prepare it:
- Fill a large bucket with warm water, leaving enough room to add the cleaning solution.
- Follow the instructions on the commercial tile cleaner bottle or add a few drops of mild detergent or vinegar into the water.
- Gently mix the solution to ensure it is evenly distributed.
It’s important to note that you should always test the cleaning solution on a small, inconspicuous area of your tile floor before applying it to the entire surface. This will ensure that the solution doesn’t cause any discoloration or damage to the tiles.
By preparing the right cleaning solution, you’re one step closer to achieving a sparkling clean tile floor. In the next section, we’ll discuss the proper technique for mopping the tiles.
Read more: How To Fix E2 Error In A Washing Machine
Mopping the tile floors
Mopping is a crucial step in cleaning tile floors as it helps remove dirt, grime, and stains from the surface. Follow these steps to ensure a thorough and effective mopping process:
- Begin by dunking your mop or sponge mop head into the prepared cleaning solution. Make sure the mop head is damp but not dripping with excess solution.
- Starting from one corner of the room, begin mopping the tile floors using gentle, back-and-forth motions. Work your way across the entire floor surface, making sure to cover every section.
- If you encounter any stubborn stains or heavily soiled areas, spend a bit more time on those spots. Apply a bit of extra pressure and scrub gently to lift the dirt or grime. Be careful not to use excessive force that may damage the tiles.
- Periodically rinse the mop or sponge mop head in the cleaning solution to ensure you’re not spreading dirt across the floor. As the water in the bucket becomes dirty, replace it with fresh cleaning solution.
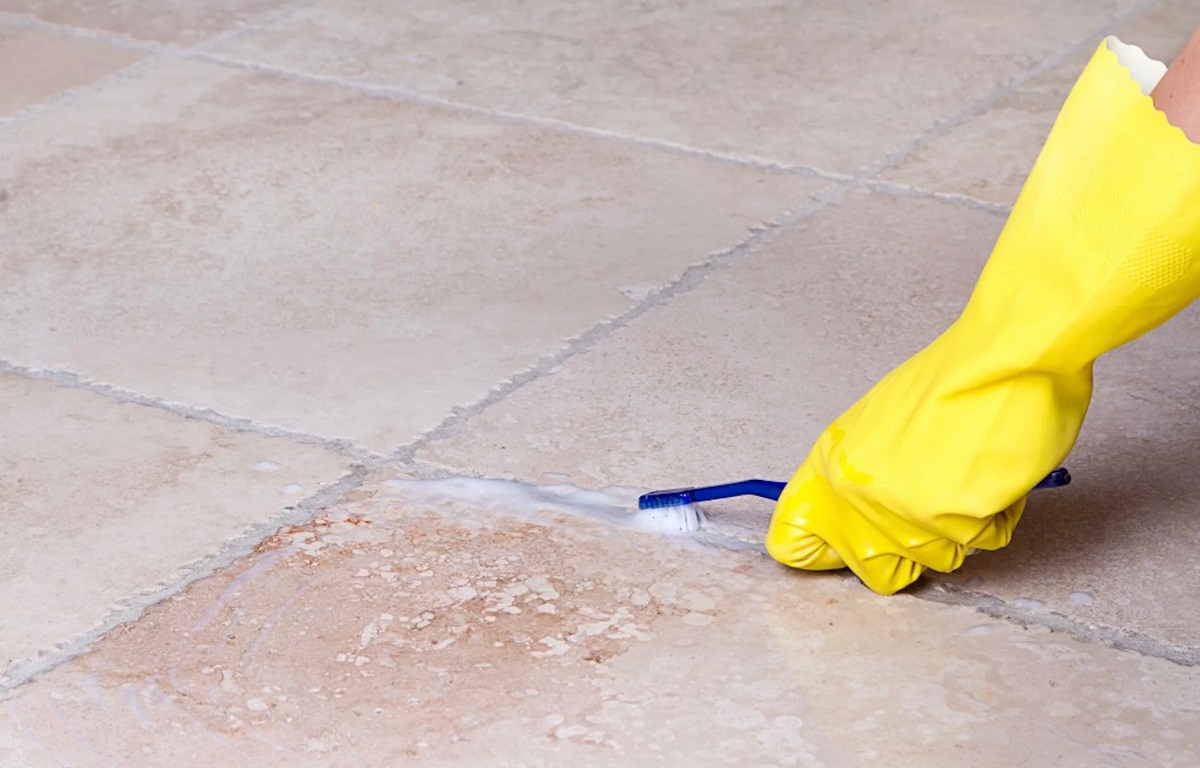
- Pay extra attention to the grout lines and seams between the tiles. These areas can accumulate dirt and grime. A small, soft brush or an old toothbrush can be used to scrub the grout gently.
- Continue mopping the rest of the room, working in small sections until the entire floor is cleaned.
Remember, avoid using excessive water or soaking the floor while mopping. Too much water can seep into the grout lines and potentially cause damage or discoloration. Additionally, it’s important to work in small sections to ensure that the cleaning solution doesn’t dry on the floor before you have a chance to rinse it.
Once you have finished mopping the entire floor, it’s time to tackle any stubborn stains or grime that may still be lingering.
Use a mixture of warm water and mild dish soap to clean tile floors. Avoid using harsh chemicals or abrasive tools to prevent streaking. Dry the floor thoroughly to achieve a streak-free finish.
Dealing with stubborn stains or grime
Even with regular cleaning, tile floors can sometimes develop stubborn stains or grime that require some extra attention. Here are some tips to help you tackle those tough spots:
- Identify the type of stain: Different stains may require different treatment methods. Determine whether the stain is from oil or grease, food or drink spills, rust, or hard water deposits. This will help you choose the most effective cleaning approach.
- For oily or greasy stains: Use a degreasing agent or a mixture of warm water and dish soap. Apply the solution directly to the stain, let it sit for a few minutes, and then scrub gently with a soft brush or sponge.
- For food or drink stains: Create a paste using baking soda and water, or use a mild abrasive cleaner. Apply the paste to the stain, let it sit for a few minutes, and then scrub gently to lift the stain. Rinse the area thoroughly afterward.
- For rust stains: Use a commercial rust remover that is safe for use on your specific type of tile. Follow the manufacturer’s instructions and be sure to rinse the area thoroughly after applying the rust remover.
- For hard water deposits: Mix equal parts white vinegar and water in a spray bottle. Spray the solution onto the affected areas and let it sit for a few minutes. Scrub gently with a soft brush or sponge, and rinse thoroughly.
- For grout stains: For stubborn grout stains, create a paste using baking soda and water. Apply the paste to the grout lines, scrub gently with a toothbrush or grout brush, and rinse thoroughly.
Remember to always test any cleaning solution or method on a small, inconspicuous area before applying it to the entire stain. This will help you ensure that it won’t cause any damage or discoloration.
If a stain persists even after your best efforts, it may be advisable to seek professional cleaning services or consult with a tile and grout specialist for more advanced stain removal techniques.
After dealing with stubborn stains or grime, it’s time to focus on drying the floors properly.
Drying the floors
Properly drying your tile floors is crucial to prevent water spots, streaks, and potential damage. Here’s how you can ensure a thorough and effective drying process:
- Start by removing any excess moisture from the floor’s surface using a dry mop, a clean microfiber cloth, or towels. Gently wipe the tiles in a back-and-forth motion, absorbing the water.
- If you have a large area to dry or if the floor is particularly wet, consider using a fan or opening windows to improve air circulation. This will help speed up the drying process.
- Avoid walking on the wet tile floors until they are completely dry to prevent slips and accidents. Use caution signs or barriers if necessary.
It’s important to note that leaving excess water on your tile floors can potentially lead to water spots, streaks, or even damage over time. Properly drying the floors will help maintain their appearance and prolong their lifespan.
Once the floors are dry, it’s time to focus on achieving a streak-free finish.
Buffing for a streak-free finish
To ensure a streak-free and polished look for your tile floors, you can follow these steps to buff the surface:
- Attach a clean microfiber cloth or a dry mop head to a mop or broom handle.
- Using gentle pressure, move the cloth or mop head across the entire floor surface, working in small sections.
- Focus on any areas that may be prone to streaks, such as those near windows or in direct sunlight.
- Continue buffing until you have covered the entire floor, ensuring there are no visible streaks or residue left behind.
Buffing the floors helps to remove any remaining moisture and residue, resulting in a clean, shiny, and streak-free finish. This step adds an extra touch to enhance the overall appearance of your tile floors.
Keep in mind that the type of tile and finish you have may require specific care and maintenance instructions. Always refer to the manufacturer’s guidelines or consult with a professional if you have any concerns about the appropriate cleaning and buffing methods for your specific type of tile.
Now that you have achieved a streak-free finish, it’s important to note some special considerations when cleaning different types of tile floors.
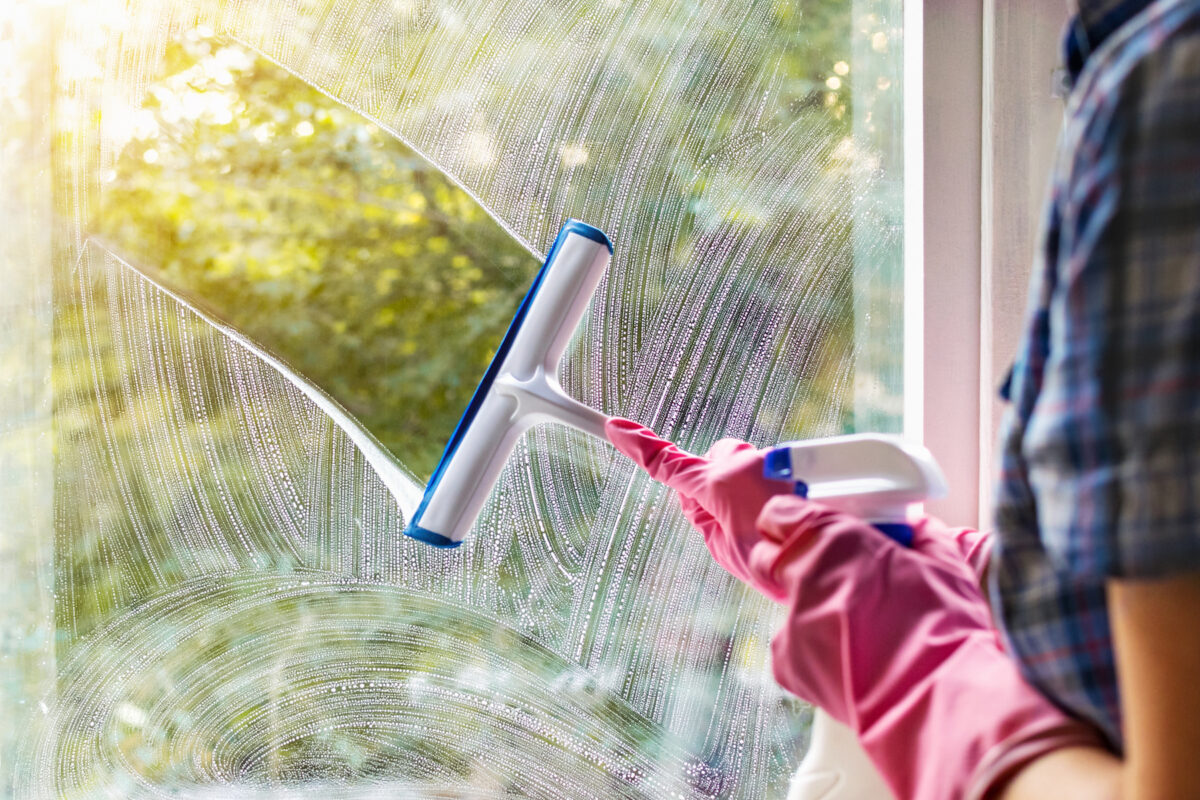
Read more: How To Mop Tile Floors Without Streaks
Special considerations for different types of tile floors
When it comes to cleaning tile floors, it’s important to consider the specific type of tile you have as each type may require slightly different care and maintenance. Here are some special considerations for different types of tile floors:
- Ceramic tile: Ceramic tile floors are durable and relatively easy to clean. However, avoid using harsh abrasives or acidic cleaners as they can damage the glaze. Stick to mild cleaning solutions and non-abrasive tools to maintain the shine and integrity of the ceramic tiles.
- Porcelain tile: Porcelain tile is known for its durability and resistance to stains. Regular sweeping and mild detergents are usually sufficient to keep porcelain floors clean. For tough stains, consult the manufacturer’s guidelines or seek professional advice to avoid damaging the tile’s surface.
- Natural stone tile: Natural stone tiles, like marble, granite, limestone, or travertine, require special care as they are more porous and susceptible to staining. Avoid using acidic or abrasive cleaners as they can erode the stone. Instead, use pH-neutral cleaners specifically designed for natural stone. Seal the tiles periodically to protect them from stains and moisture penetration.
- Tile with textured surfaces: Some tiles may have textured surfaces, such as those designed to resemble wood or slate. Cleaning these tiles may require a bit more effort to ensure that dirt doesn’t get trapped in the textured crevices. Use a soft brush or a mop with soft bristles to thoroughly clean the textured surface, and pay attention to any instructions provided by the manufacturer.
It’s crucial to follow the manufacturer’s instructions and recommended cleaning practices for your specific type of tile. This will help maintain the appearance, durability, and longevity of your tile floors.
With the right care and maintenance, your tile floors will continue to shine and enhance the beauty of your home.
Conclusion
Keeping your tile floors clean and well-maintained is essential for both the aesthetic appeal and the longevity of your home. By following the tips and techniques outlined in this article, you can effectively clean your tile floors and achieve a streak-free finish.
Start by gathering all the necessary supplies, clearing the floor space, and sweeping or vacuuming the surface to remove loose dirt and debris. Then, prepare an appropriate cleaning solution, whether it’s a commercial tile cleaner, mild detergent solution, or vinegar and water mixture. Mop the tile floors using gentle motions, paying special attention to stubborn stains or grime.
Remember to dry the floors thoroughly to prevent water spots or damage, and consider buffing the surface for a streak-free finish that adds that extra shine. Be mindful of special considerations for different types of tile floors, such as ceramic, porcelain, natural stone, or textured tiles, and follow the recommended cleaning practices provided by the manufacturer.
By following these steps and considering the unique needs of your tile floors, you can maintain their beauty and prolong their lifespan. Remember to always test cleaning solutions in a small, inconspicuous area before applying them to the entire floor, and seek professional advice if needed for stubborn stains or delicate tile surfaces.
Investing time and effort in cleaning and caring for your tile floors will not only enhance the overall appearance of your home but also create a healthy and inviting environment. So, roll up your sleeves, gather your supplies, and give your tile floors the cleaning they deserve.
Frequently Asked Questions about How To Clean Tile Floors – Tips For A Streak-free Finish
Was this page helpful?
At Storables.com, we guarantee accurate and reliable information. Our content, validated by Expert Board Contributors, is crafted following stringent Editorial Policies. We're committed to providing you with well-researched, expert-backed insights for all your informational needs.


0 thoughts on “How To Clean Tile Floors – Tips For A Streak-free Finish”