
Articles
How To Use Bleach In The Washer
Modified: August 30, 2024
Learn the proper way to use bleach in the washer with these helpful articles. Tips, tricks, and precautions for a successful laundry experience.
(Many of the links in this article redirect to a specific reviewed product. Your purchase of these products through affiliate links helps to generate commission for Storables.com, at no extra cost. Learn more)
Introduction:
Welcome to the guide on how to use bleach in the washer! Bleach is a powerful cleaning agent that can effectively remove stains, disinfect, and brighten fabrics. When used correctly, it can be a valuable addition to your laundry routine.
However, it is important to follow safety precautions and guidelines to ensure that you use bleach safely and effectively. In this article, we will walk you through the steps of using bleach in the washer, from reading garment labels to properly cleaning the washer afterward.
Before we dive into the details, it’s important to note that not all fabrics are suitable for bleach. Some delicate fabrics, such as silk or wool, can be damaged by bleach. Always check the garment labels for specific instructions and recommendations. Now, let’s get started with the safety precautions!
Key Takeaways:
- Safely and effectively use bleach in your washer by following garment labels, safety precautions, and proper measurement and distribution of bleach. Clean the washer afterward to maintain its performance and longevity.
- Ensure successful bleach washes by preparing the washer, handling soiled items properly, and following garment care instructions. Remember to clean the washer after bleaching to prevent residue and maintain optimal performance.
Read more: How To Use Outdoor Bleach
Safety Precautions:
Before using bleach in the washer, it’s crucial to take certain safety precautions to protect yourself, your clothing, and your washing machine. Follow these guidelines to ensure a safe and successful bleach wash:
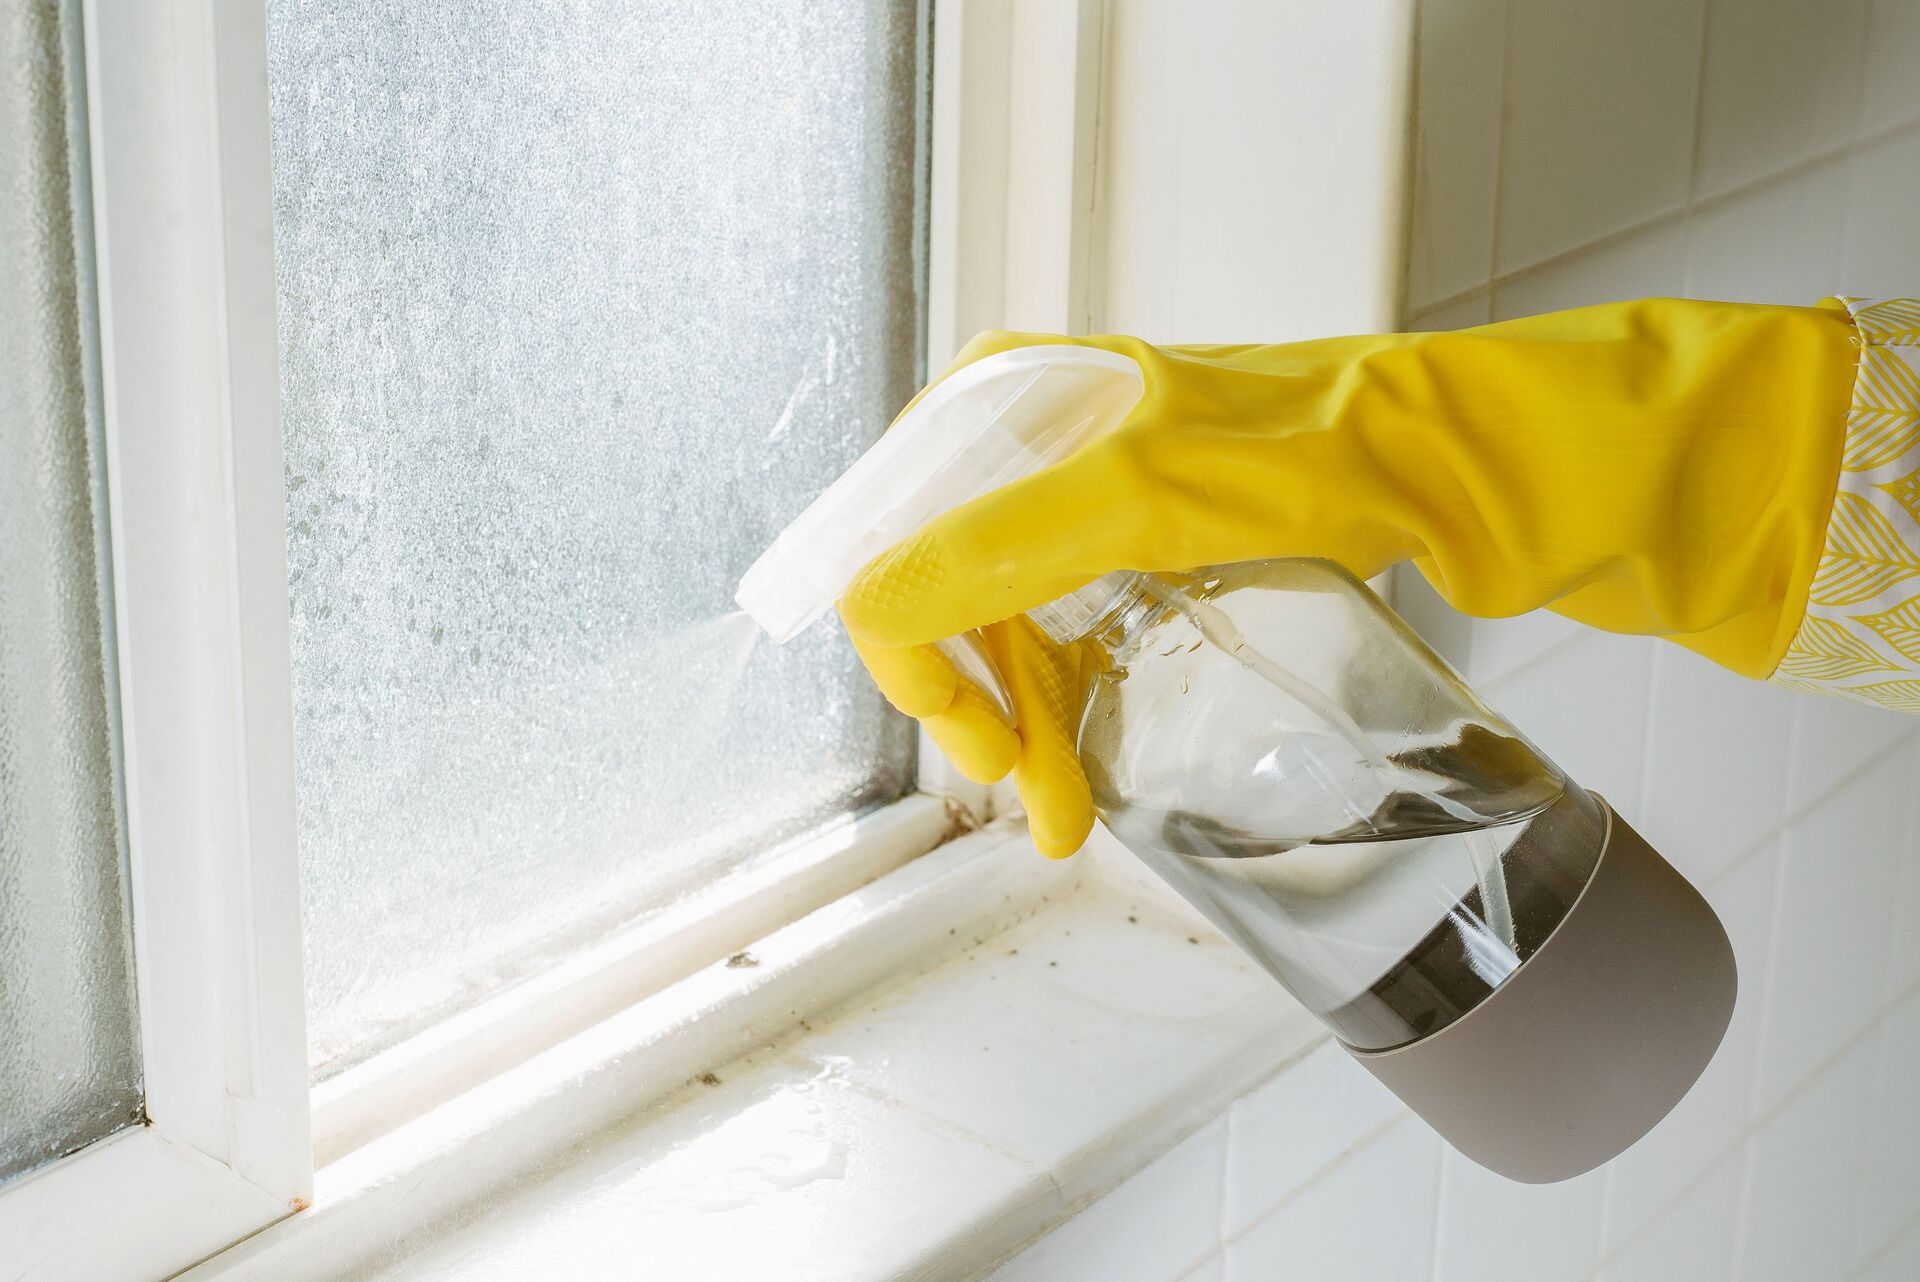
- Protect your skin and eyes: Always wear protective gloves and eyewear when handling bleach. This will prevent any potential skin or eye irritation that may occur.
- Ventilation: It’s important to have proper ventilation in the laundry area when using bleach. Open windows, doors, or turn on a fan to improve air circulation and reduce fumes.
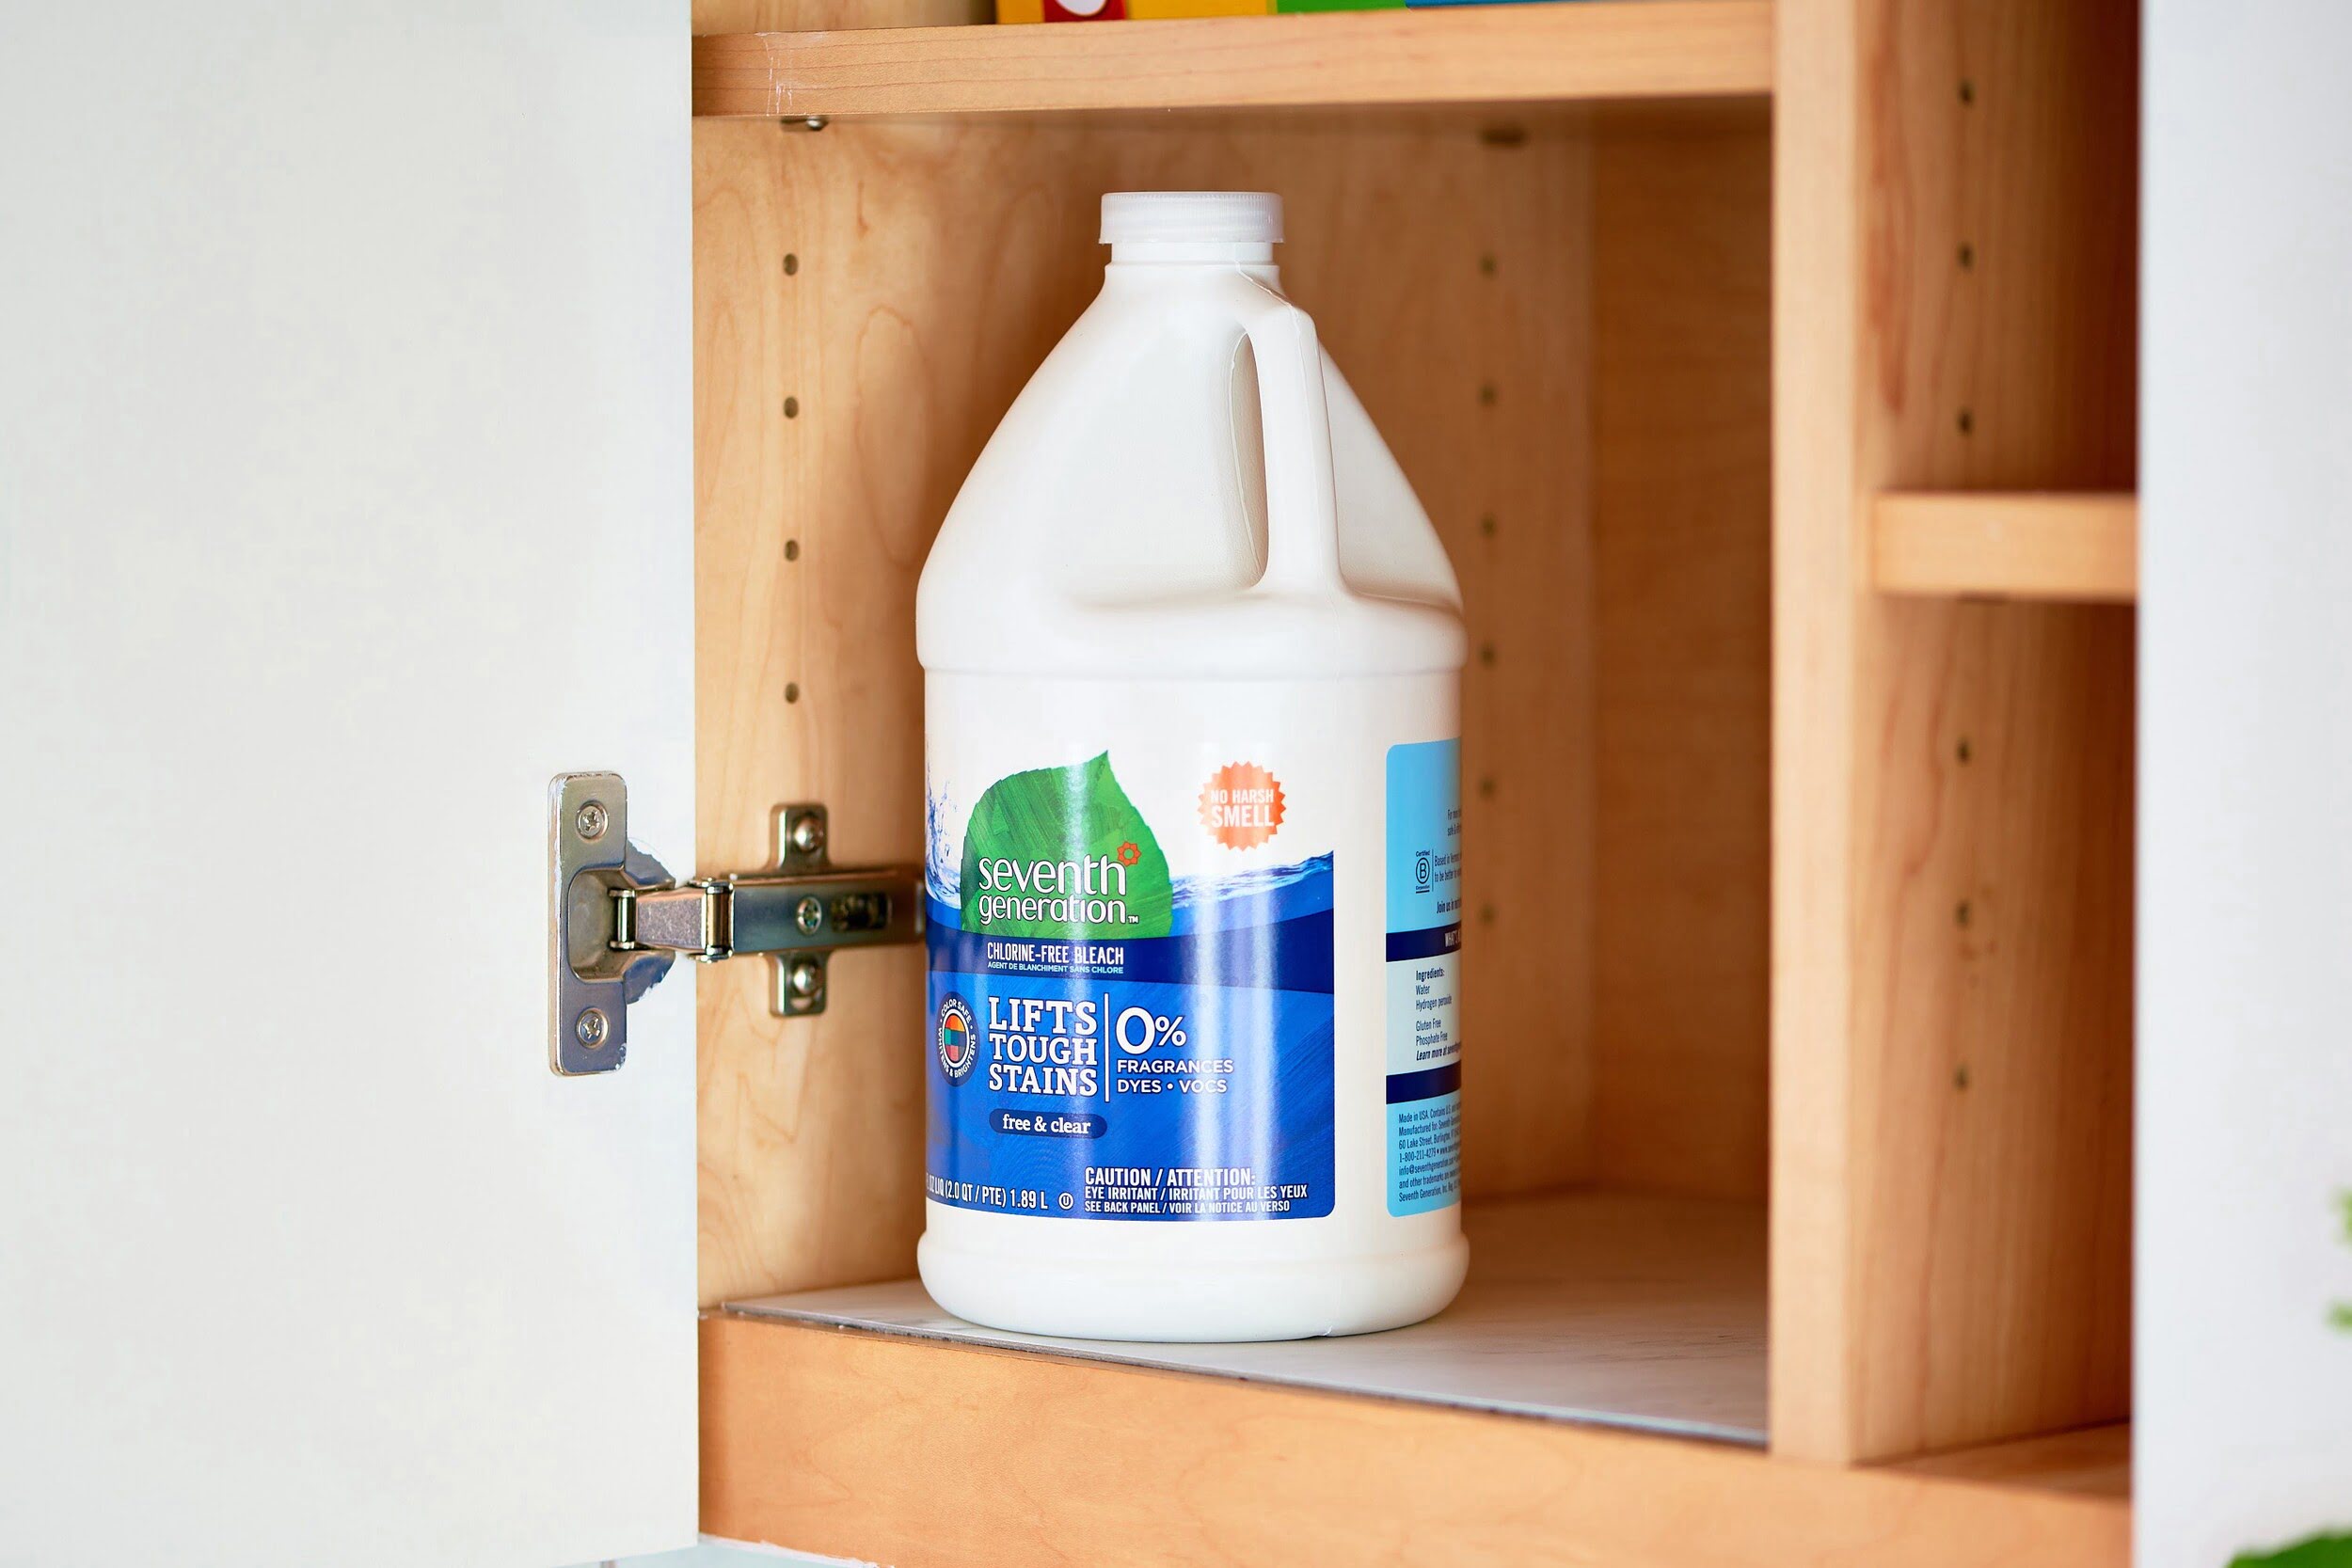
- Read the bottle: Carefully read the instructions and warnings on the bleach bottle before use. Follow the recommended dilution ratios and other safety guidelines provided by the manufacturer.
- Keep bleach away from children and pets: Store bleach in a secure location, out of reach of children and pets.
- Avoid mixing bleach with other chemicals: Never mix bleach with ammonia or any other cleaning chemicals. This can produce toxic fumes that could be harmful to your health.
- Protect your clothing: When using bleach, it’s best to wear old or disposable clothing to prevent any accidental staining or damage. Avoid wearing clothing that is prone to color fading or bleaching.
- Follow garment label instructions: Always check the care labels on your clothing items. Some garments may not be suitable for bleach or may require specific bleach concentrations.
By following these safety precautions, you can ensure a safe and successful bleach wash in your washer. Now that we have covered the safety guidelines, let’s move on to the step-by-step process of using bleach in the washer.
Step 1: Read the Garment Labels:
Before using bleach in the washer, it’s essential to read the garment labels of the items you plan to wash. The garment labels will provide important information about the fabric and any specific instructions for washing, including whether or not bleach is safe to use. Here are some key things to look for:
1. Bleach Instructions: Check if the garment label explicitly allows the use of bleach. Some labels may have symbols indicating whether bleach can be used. Look for a triangle symbol with diagonal lines, which suggests that bleach can be used.
2. Fabric Type: Certain fabrics, such as silk, wool, or spandex, are not suitable for bleach. If a garment is made of these delicate fabrics, avoid using bleach, as it can weaken or damage the fibers.
3. Color-fastness: Take note of whether the garment is color-fast. If the label states that the fabric is not color-fast, it means that the dye may bleed or fade when exposed to bleach. In such cases, it’s best to avoid using bleach to prevent any unwanted color changes.
4. Bleach Recommendations: Some garment labels may provide specific bleach recommendations, such as the type of bleach (chlorine bleach or oxygen-based bleach) or the bleach concentration to use. Follow these recommendations for optimal results.
5. Additional Instructions: Read the care instructions thoroughly for any other special considerations, such as temperature limitations or hand-washing recommendations.
By carefully reading the garment labels, you can determine whether it is safe to use bleach on the items you intend to wash. If there are no specific bleach instructions or if you are uncertain, it may be best to avoid using bleach to protect your clothing. Now that you have assessed the garment labels, let’s move on to preparing the washer for the bleach wash.
Step 2: Preparing the Washer:
Once you have determined that it is safe to use bleach on your garments, it’s time to prepare your washer. Proper preparation will ensure that the bleach is evenly distributed and effectively cleans your clothing. Follow these steps to prepare the washer:
- Empty the washer: Start by emptying the washing machine of any items or residue from previous washes. This will allow the bleach to work directly on the garments without interference.
- Clean the washer: If there are any visible stains or build-up in the washer drum, take a moment to clean it with a mild detergent or washer cleaner. A clean washer will ensure optimal results and prevent any residual dirt from transferring onto your clothing.
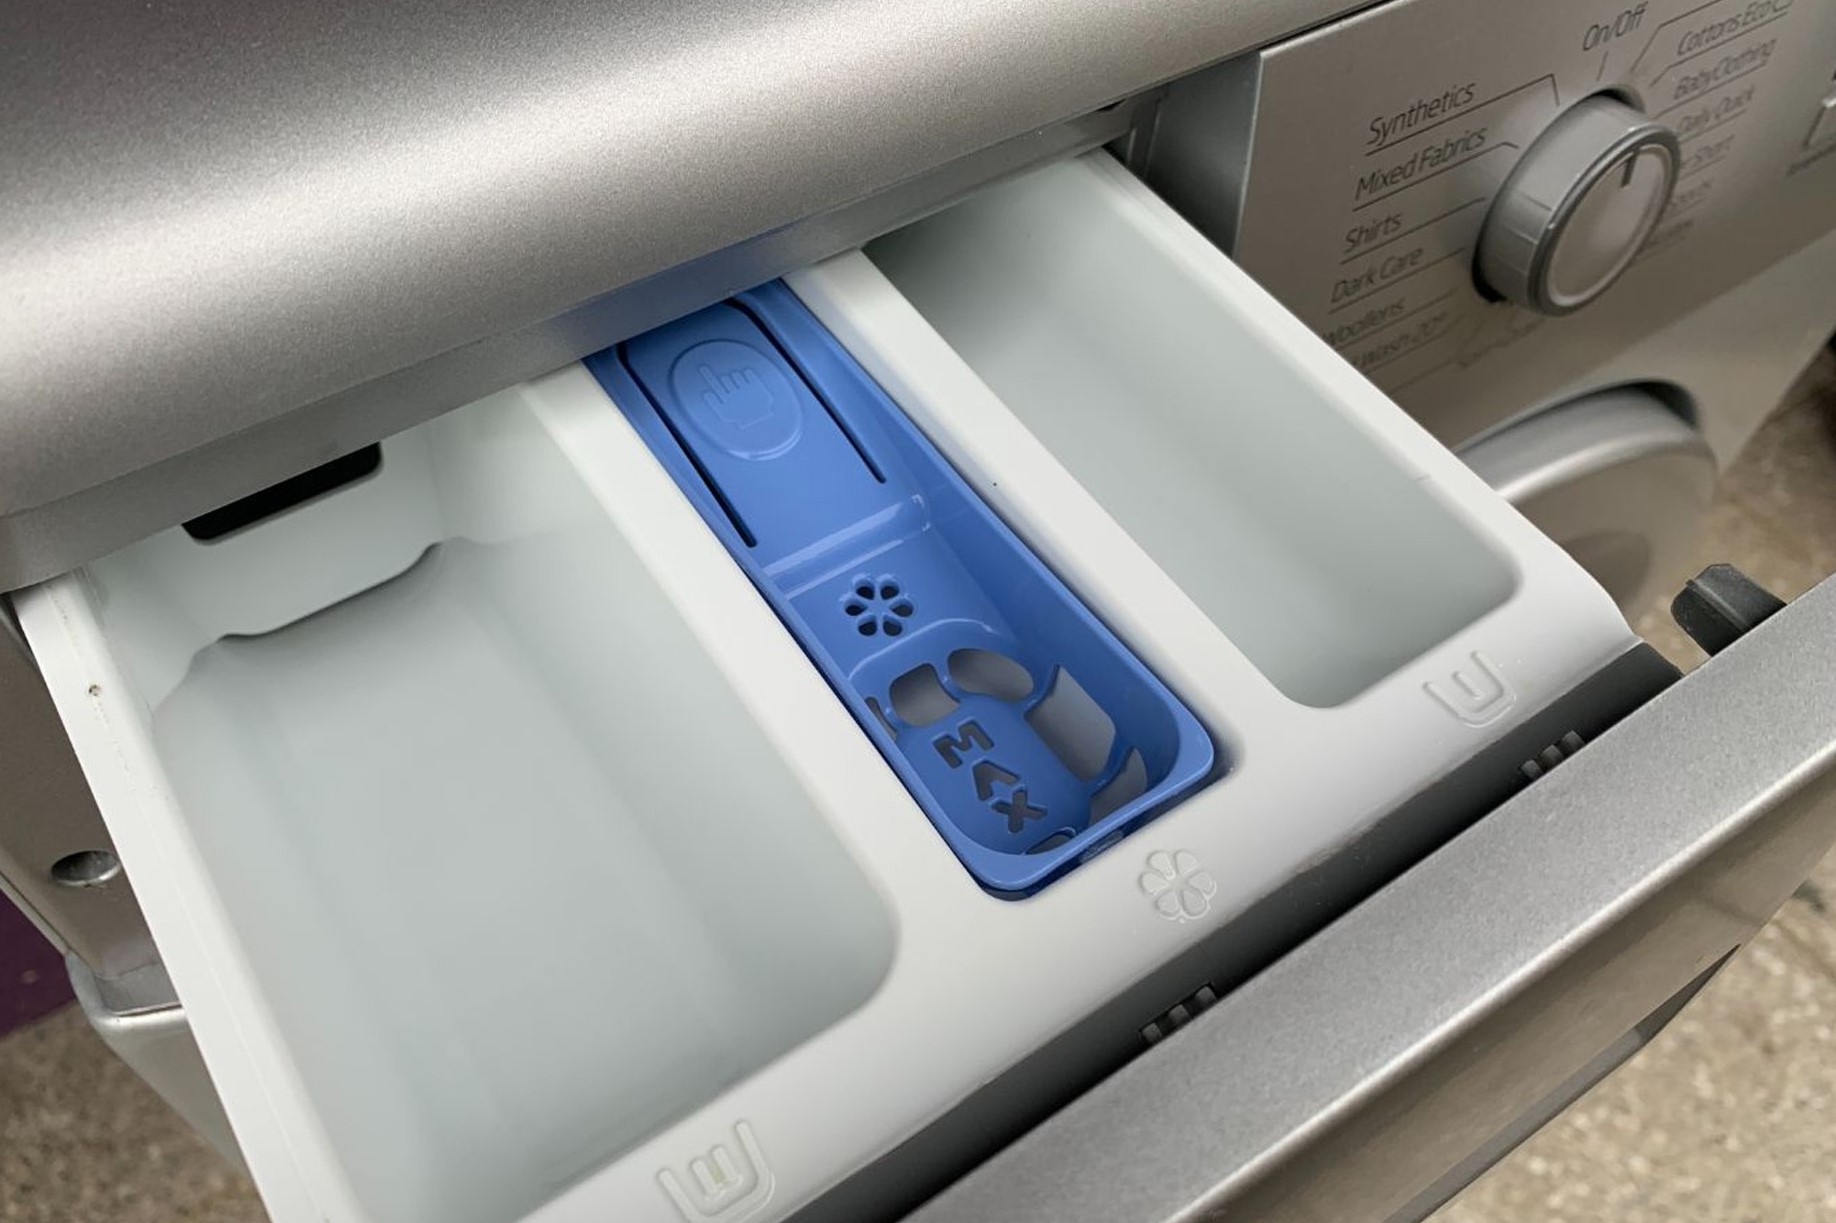
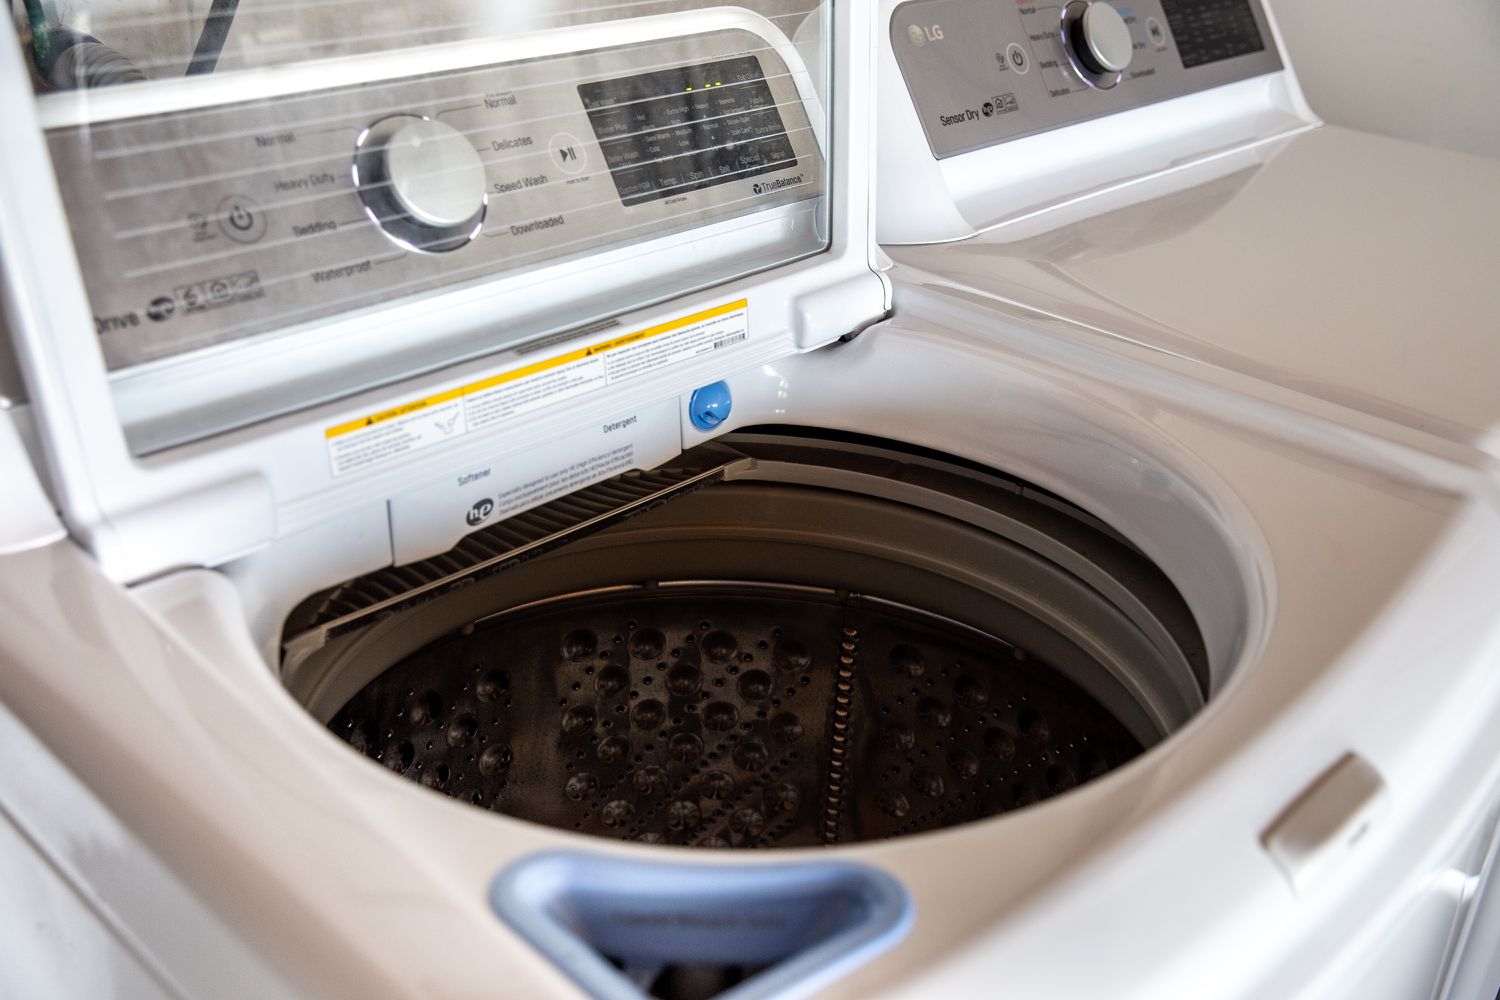
- Check the washer dispenser: Verify that the bleach dispenser in your washer is clean and free of any detergent or fabric softener residue. If there is build-up, clean the dispenser thoroughly before proceeding.
By following these steps, you will create a clean and suitable environment for the bleach wash. Cleaning the washer and ensuring that the bleach dispenser is clear of any residue helps to prevent potential cross-contamination and ensures that the bleach is properly dispensed. Now that the washer is prepared, it’s time to measure the bleach for the wash.
Step 3: Measuring the Bleach:
Accurately measuring the bleach is crucial to achieve the desired results and prevent any damage to your garments. Follow these steps to measure the bleach properly:
- Refer to the bleach bottle: Different bleach brands may have recommended dilution ratios or specific instructions for measuring. Always refer to the instructions provided on the bleach bottle for the most accurate measurements.
- Choose the appropriate bleach concentration: Depending on the fabric type and stain level, you may need to adjust the bleach concentration. Most bleach bottles offer guidance on low, medium, or high concentrations for different situations. Select the appropriate concentration based on your needs.
- Use a measuring cup: To ensure accuracy, measure the bleach using a measuring cup specifically for liquids. Avoid using other types of cups or guesswork, as this can lead to incorrect measurements.
- Follow the recommended amount: Pour the bleach into the measuring cup, following the recommended amount for your specific load size and bleach concentration. Be careful not to exceed the recommended amount, as this can cause excessive bleaching or damage to your clothing.
Remember, it’s better to err on the side of caution and slightly under-measure the bleach if you are unsure. You can always repeat the process and add more bleach if necessary. Now that you have accurately measured the bleach, it’s time to add it to the washer.
Add 1/2 cup of bleach to the bleach dispenser or directly into the washer drum before adding clothes. Use the appropriate water temperature and wash cycle for the fabric you are cleaning. Always follow the manufacturer’s instructions for your specific washer and bleach product.
Read more: How To Clean A Front Load Washer With Bleach
Step 4: Adding the Bleach to the Washer:
Now that you have measured the bleach, it’s time to add it to the washer. Follow these steps to ensure proper distribution of the bleach:
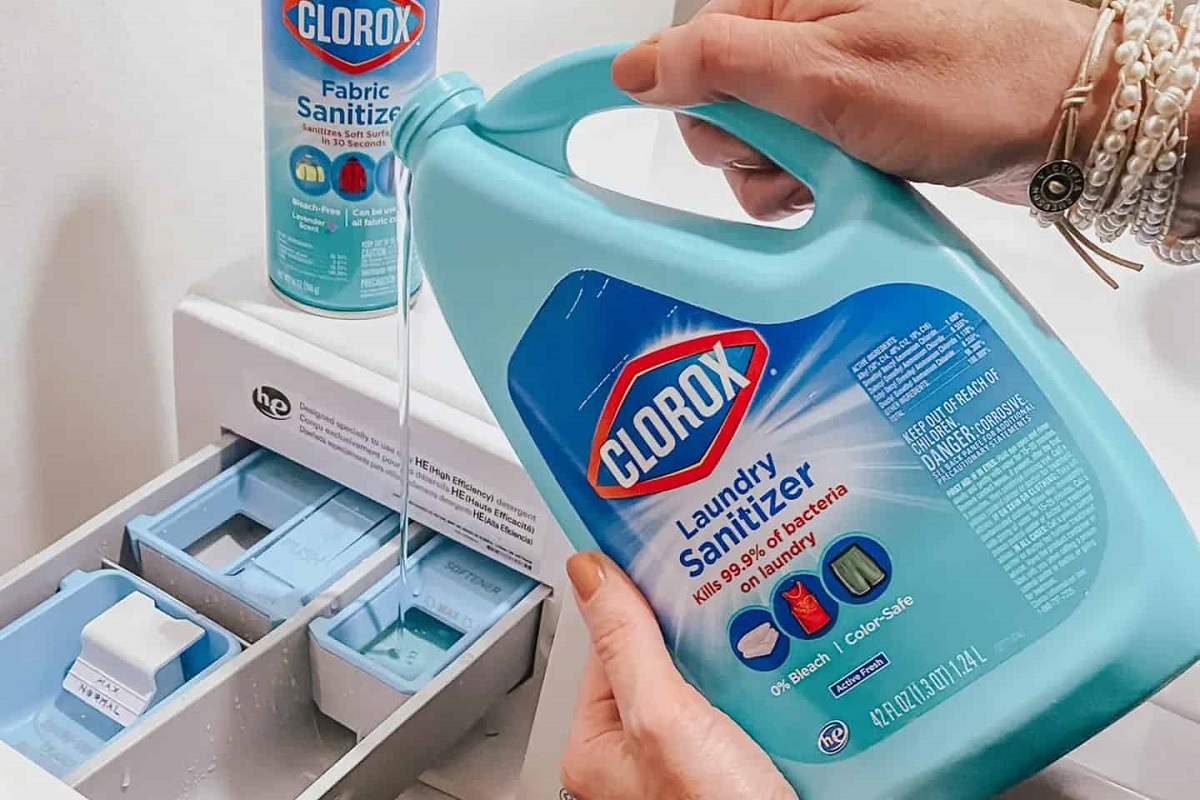
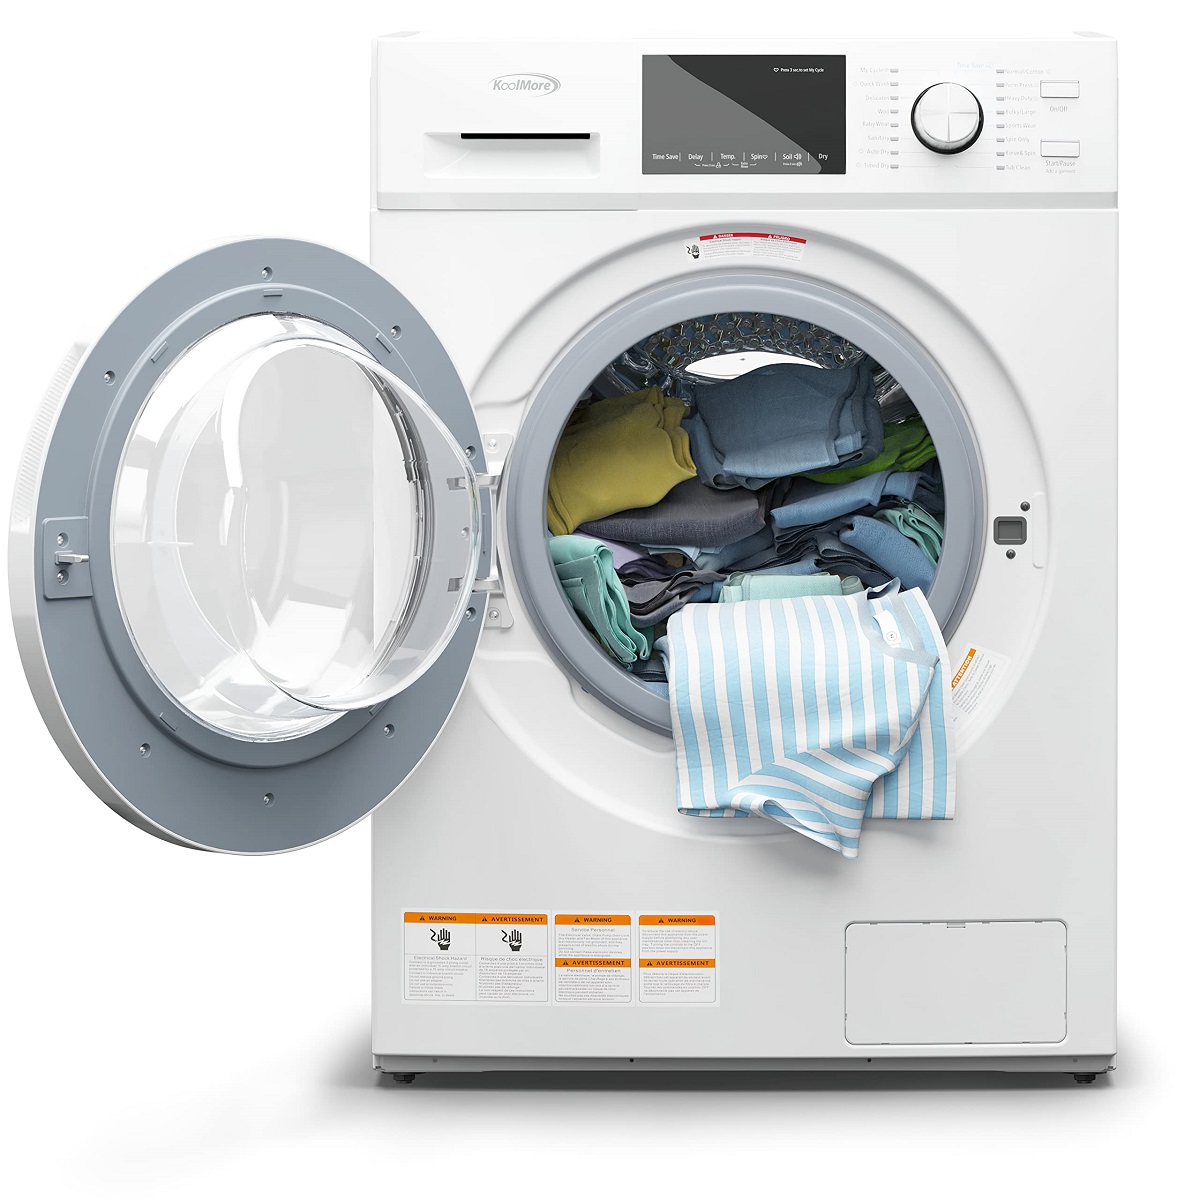
- Pour the bleach into the bleach dispenser: Check your washer for a designated bleach dispenser. It is usually located in the detergent dispenser drawer or in a separate compartment. Carefully pour the measured bleach into the dispenser, following the instructions on your washer.
- Alternatively, add bleach directly to the washer drum: If your washer does not have a bleach dispenser, you can add the bleach directly to the washer drum. Ensure that the bleach is added first, before adding your garments.
- Close the washer lid or door: Once the bleach is added, securely close the washer lid or door to prevent any spills or splashing during the wash cycle.
- Do not mix bleach with detergent: It’s important to note that bleach should not be mixed with detergent or other laundry additives. Be sure to add the bleach separately to avoid any chemical reactions or potential damage to your garments.
By adding the bleach to the designated dispenser or directly to the washer drum, you ensure that the bleach is properly distributed during the wash cycle. This allows the bleach to effectively clean and brighten your clothing. Now, let’s move on to the next step: starting the wash cycle.
Step 5: Starting the Wash Cycle:
With the bleach added to the washer, it’s time to start the wash cycle and let the bleach work its magic. Follow these steps to begin the wash cycle:
- Select the appropriate wash cycle: Depending on the type of clothes you are washing and the level of dirt or stains, choose the appropriate wash cycle. For whites or heavily soiled items, a longer and more intensive cycle may be necessary.
- Adjust the water temperature: Consider the garment labels and the stain level when selecting the water temperature. Hot water is effective for whites and heavily soiled items, while cold or lukewarm water is suitable for most colored and delicate fabrics.
- Add detergent: Before starting the wash cycle, add the appropriate detergent according to the instructions on its label. Be sure to follow the recommended amount for your load size and the level of soiling.
- Start the wash cycle: Once the detergent is added, close the washer lid or door and start the wash cycle according to your washer’s instructions. This will initiate the agitation and cleaning process, allowing the bleach to work on the stains and brightness of your clothing.
- Monitor the wash cycle: While the wash cycle is running, periodically check the washer to ensure everything is functioning properly. If you notice any issues or concerns, refer to your washer’s manual for troubleshooting guidance.
By following these steps, you will start the wash cycle and allow the bleach to effectively clean and brighten your garments. Remember to set a timer or check on the cycle’s duration to ensure that you remove the clothes promptly once the cycle is complete. Now, let’s move on to the next step: properly handling soiled items after bleaching.
Step 6: Properly Handling Soiled Items:
After the wash cycle is complete, it’s important to handle the soiled items properly to ensure their cleanliness and prevent any damage. Follow these steps to handle the bleached items:
- Remove the items promptly: As soon as the wash cycle finishes, promptly remove the items from the washer to avoid any potential discoloration or damage caused by extended exposure to bleach.
- Check for leftover stains: Inspect the garments to see if any stains or discoloration remains. If there are still visible stains, consider treating them with a stain remover or repeating the bleach wash process.
- Rinse thoroughly: To remove any residual bleach, rinse the items under cold water or follow the care instructions on the garment label. This will help to eliminate any leftover bleach and prevent it from causing further damage or discoloration.
- Wash separately if necessary: If you have bleach-washed items that require additional cleaning, consider washing them separately from other clothing items. This will prevent any potential color transfer or damage to other garments.
- Follow care instructions: Lastly, always follow the care instructions on the garment label for the correct drying method, whether it’s air-drying or using a clothes dryer. This will help to maintain the integrity and longevity of your clothing.
By properly handling the soiled items after the bleach wash, you can ensure their cleanliness and prevent any potential damage. Remember to double-check for any remaining stains and rinse the garments thoroughly. Now, let’s move on to the final step: cleaning the washer after bleaching.
Step 7: Cleaning the Washer After Bleaching:
After completing the bleach wash, it’s important to clean the washer to remove any residual bleach and maintain its cleanliness. Follow these steps to clean your washer:
- Wipe down the interior: Start by wiping down the interior of the washer, including the drum and any visible surfaces. Use a clean cloth or sponge dampened with water or a mild detergent to remove any bleach residue or stains.
- Clean the dispenser and filters: If your washer has a bleach dispenser, remove it and clean it thoroughly. Rinse it with water to ensure it is clear of any bleach residue. Additionally, check and clean any filters that may be present in your washer.
- Run an empty cycle: To further remove any remaining bleach and keep your washer fresh, run an empty cycle. Fill the washer with water and add a cup of white vinegar or a washing machine cleaner. Follow your washer’s instructions for running a cleaning cycle.
- Wipe down the exterior: Don’t forget to clean the exterior of the washer as well. Wipe it down using a damp cloth and a mild detergent to remove any spills, stains, or residue.
- Avoid using bleach in consecutive loads: To prevent a build-up of bleach residue and potential damage, try to avoid using bleach in consecutive loads. This will give your washer a chance to thoroughly rinse out any remaining bleach.
By following these steps, you can effectively clean your washer after using bleach and maintain its performance and longevity. Regular cleaning will help prevent any bleach residue from affecting future loads and ensure that your washer remains in optimal condition. Now that you have completed the process of using bleach in the washer, you can enjoy fresh and clean laundry.
Read more: How To Bleach Sink
Conclusion:
Using bleach in the washer can be an effective way to remove stains, disinfect, and brighten your clothes. However, it’s essential to approach the process with caution, following safety precautions and guidelines to ensure the best results and protect your clothing, yourself, and your washing machine.
Start by reading the garment labels to determine if bleach is safe to use on your items. Pay attention to any specific instructions or recommendations provided. Prepare your washer by emptying it, cleaning the drum and bleach dispenser, and checking for any residue.
When measuring the bleach, refer to the instructions on the bleach bottle or the recommended dilution ratios. Accurate measurement is crucial to prevent damage to your garments. Add the bleach to the designated bleach dispenser or directly into the washer drum. Avoid mixing bleach with detergent or other additives.
Once the bleach is added, start the wash cycle, keeping an eye on the water temperature, wash cycle selection, and detergent use. Promptly remove the garments from the washer after the cycle finishes to prevent discoloration. Check for any remaining stains and rinse the items thoroughly to remove any bleach residue.
Remember to follow the care instructions on the garment labels for proper drying. After completing the bleach wash, clean the washer by wiping down the interior, cleaning the dispenser, running an empty cycle, and wiping down the exterior of the machine.
By following these steps and taking the necessary precautions, you can successfully use bleach in the washer for cleaner, brighter clothes. Just remember to always read the garment labels, handle the bleach and soiled items with care, and clean the washer afterward for optimal results. Happy laundering!
Now that you've mastered using bleach in your washer, why not take your laundry skills up a notch? Learn all about achieving the brightest whites with our guide on bleach usage. And don't forget, keeping your appliances in top shape is just as crucial. Dive into our practical advice on washer maintenance for tips that ensure your machines run smoothly and efficiently, extending their lifespan and saving you trouble down the road.
Frequently Asked Questions about How To Use Bleach In The Washer
Was this page helpful?
At Storables.com, we guarantee accurate and reliable information. Our content, validated by Expert Board Contributors, is crafted following stringent Editorial Policies. We're committed to providing you with well-researched, expert-backed insights for all your informational needs.

0 thoughts on “How To Use Bleach In The Washer”