
Articles
How To Use Stacked Washer Dryer
Modified: August 25, 2024
Discover how to efficiently use a stacked washer dryer in these helpful articles. Learn tips, tricks, and maintenance techniques to optimize your laundry experience.
(Many of the links in this article redirect to a specific reviewed product. Your purchase of these products through affiliate links helps to generate commission for Storables.com, at no extra cost. Learn more)
Introduction
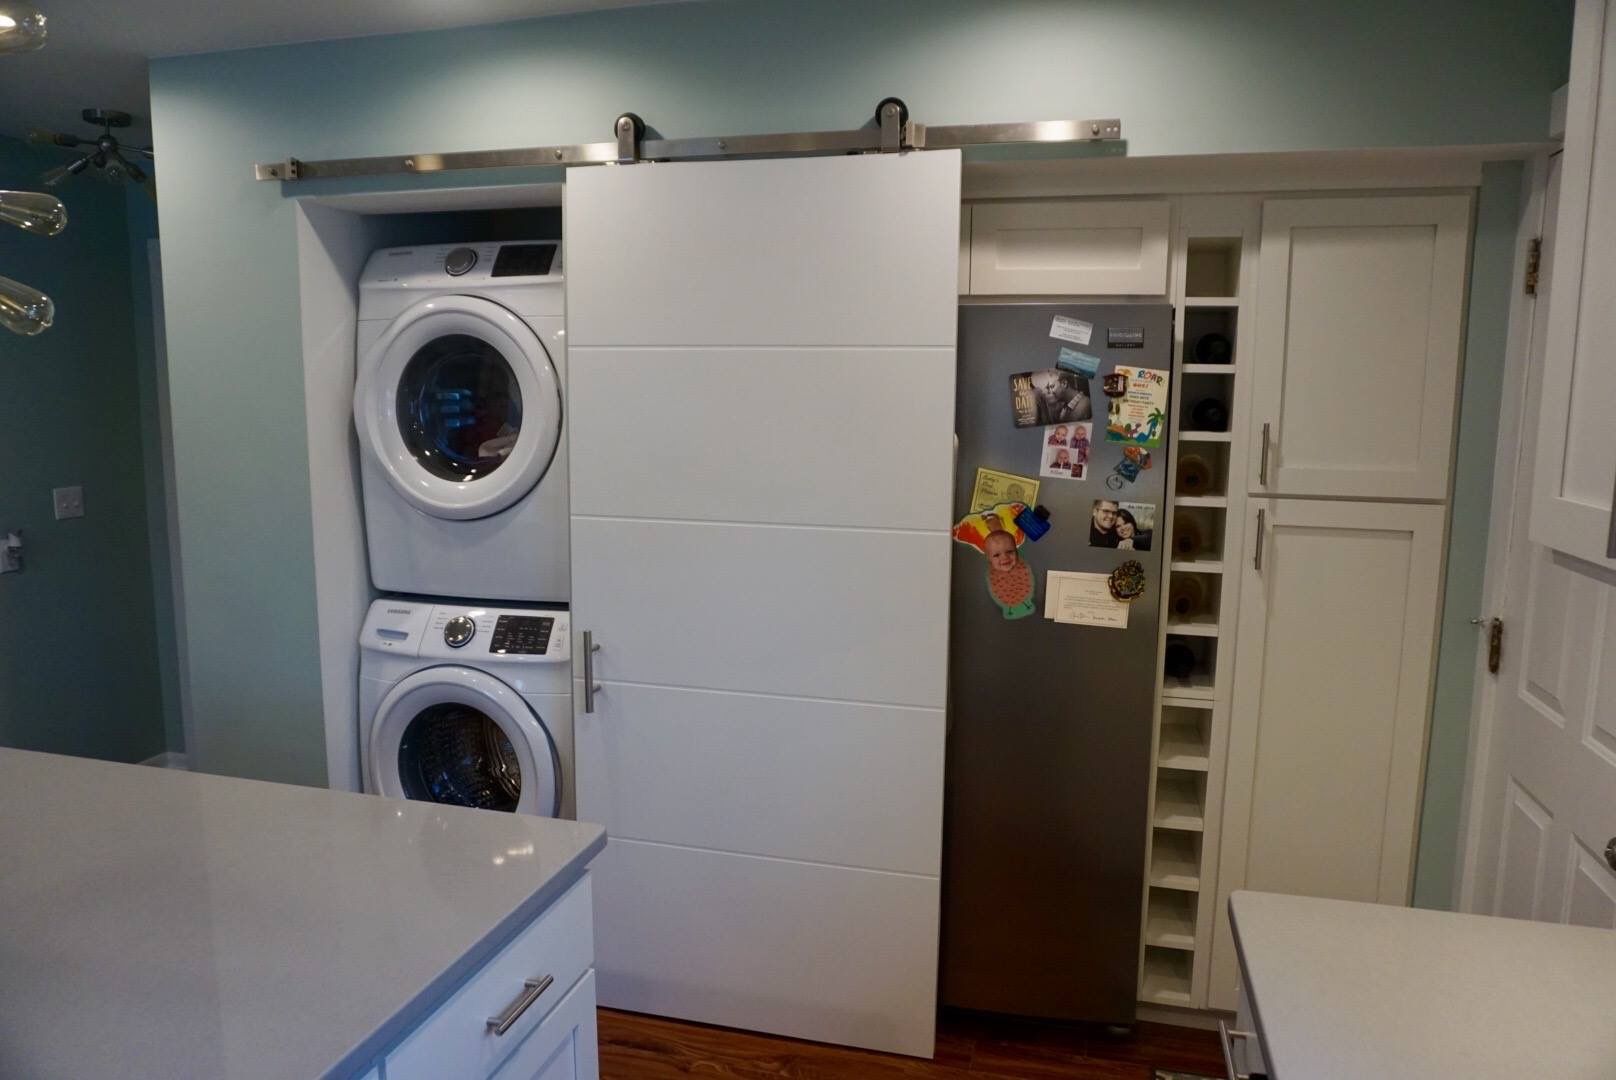
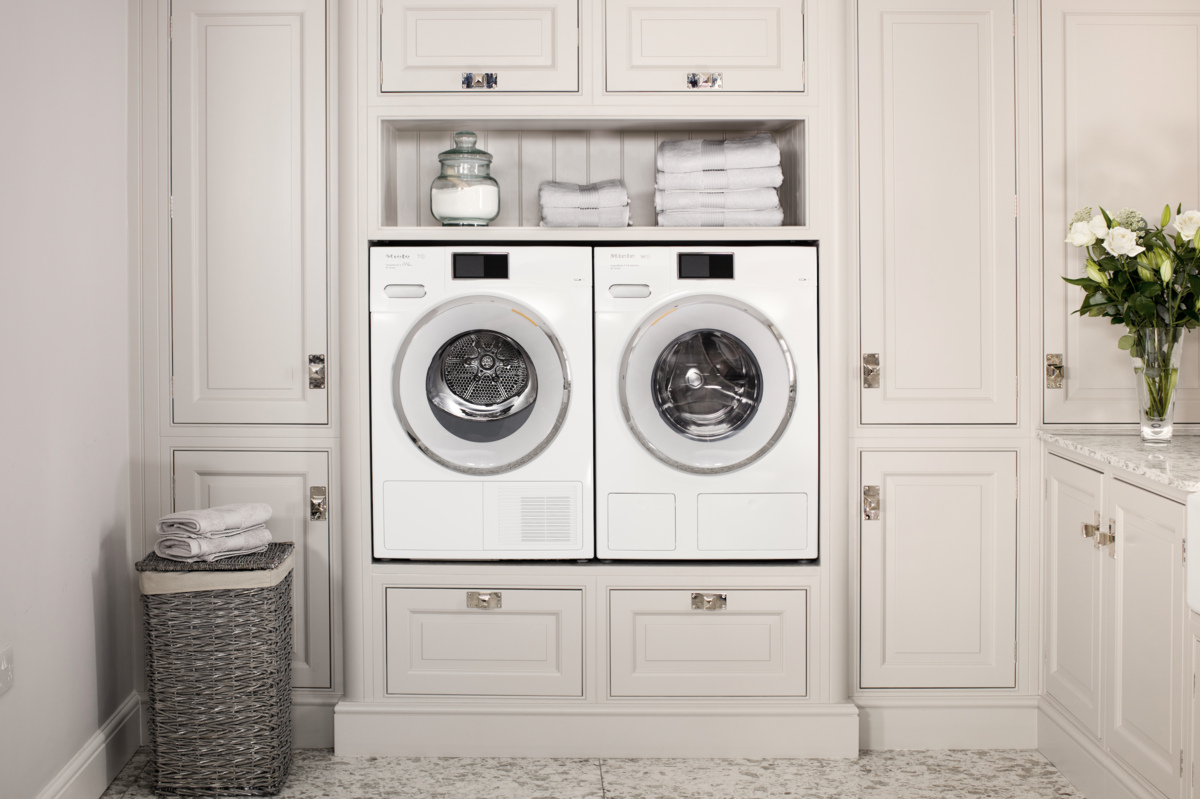
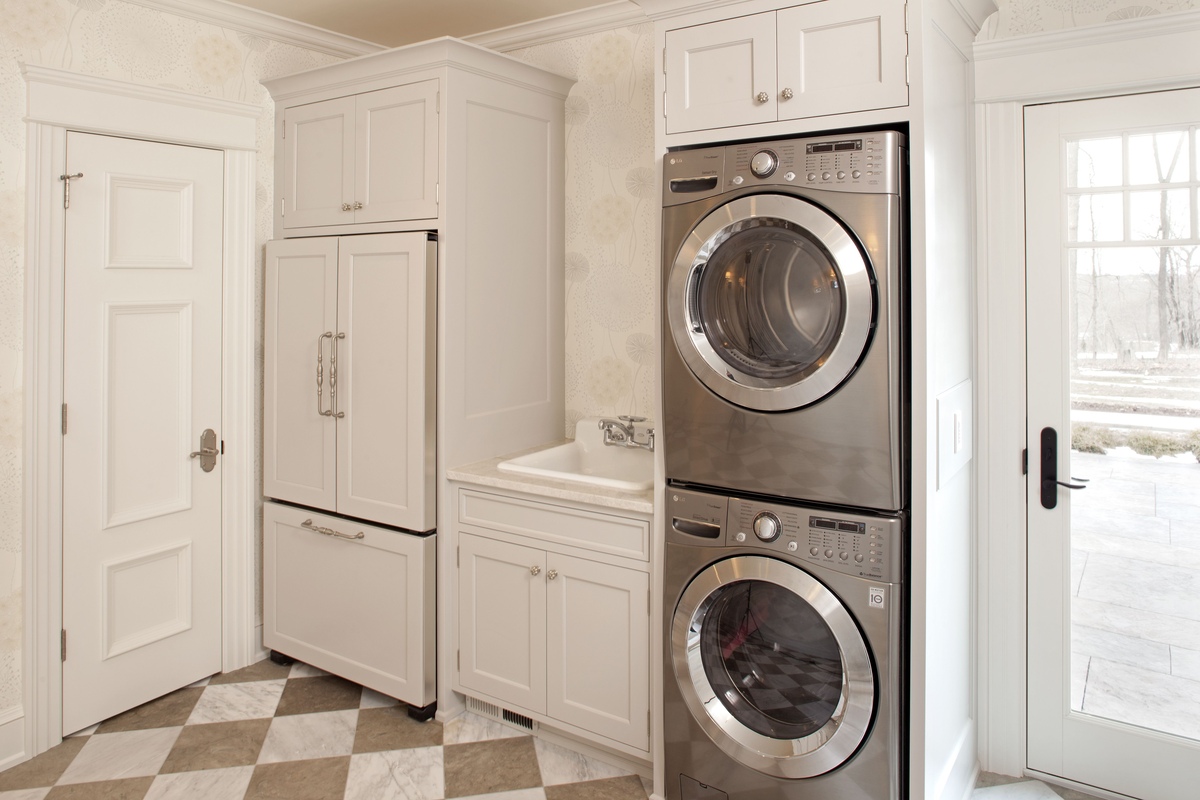
Welcome to the world of stacked washer dryers! If you’re looking to save space in your laundry area or have limited room in your home, a stacked washer dryer can be a convenient and efficient solution. This innovative appliance combines a washing machine and a dryer in a single unit, allowing you to complete your laundry tasks without the need for separate machines.
In this article, we will guide you through the process of using a stacked washer dryer effectively. From installation to maintenance, we’ll cover everything you need to know to make the most out of this space-saving appliance. So, let’s dive in and discover how to use a stacked washer dryer!

Before we begin, it’s important to note that the specific steps and features may vary depending on the make and model of your stacked washer dryer. It’s always best to consult the manufacturer’s instructions for your particular appliance. However, the general process remains quite similar for most stacked washer dryers.
Now, let’s get started with step one: installation.
Key Takeaways:
- Save space and streamline your laundry routine with a stacked washer dryer. Follow our comprehensive guide for effective use, maintenance, and care to enjoy convenience and efficiency in your home.
- From installation to cleaning and maintenance, our step-by-step instructions ensure optimal performance and longevity for your stacked washer dryer. Enjoy fresh, clean laundry with ease and confidence.
Step 1: Installation
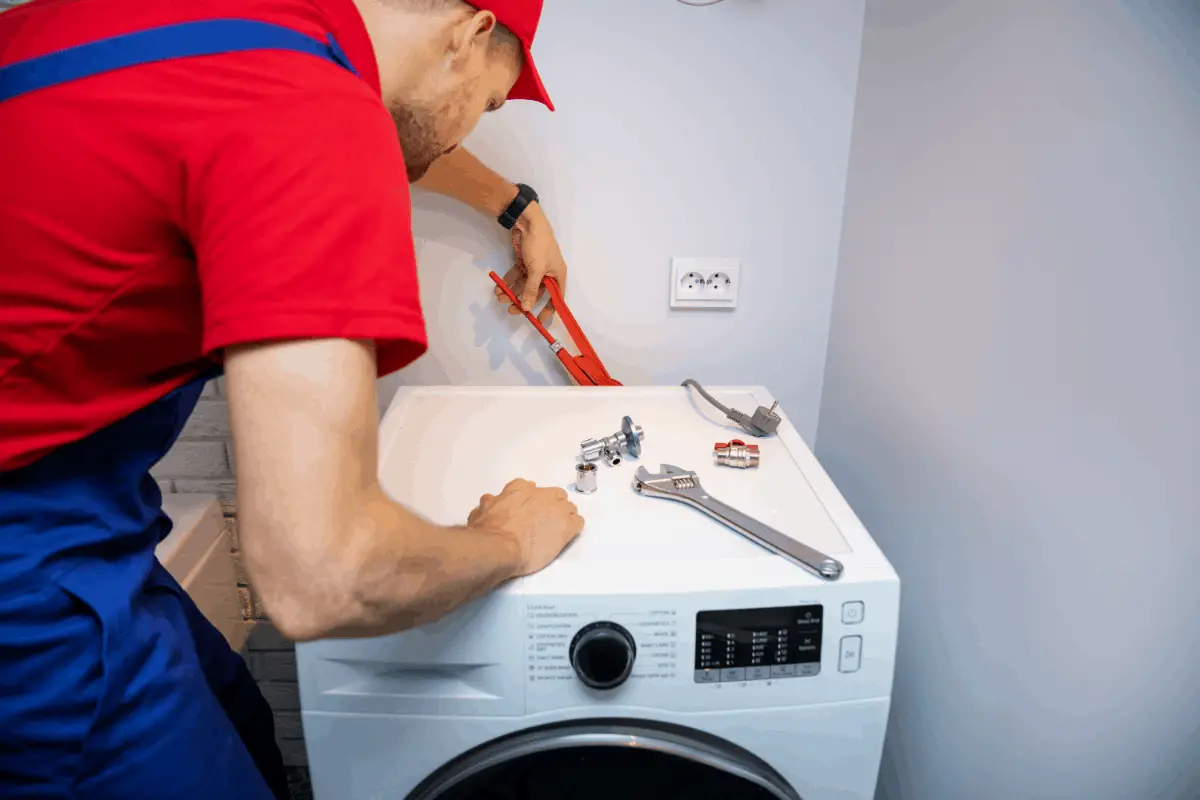
Proper installation of a stacked washer dryer is crucial for its efficient operation. While it’s recommended to hire a professional for installation, you can also do it yourself if you’re comfortable with plumbing and electrical work. Here are the basic steps to follow:
- Choose the right location: Select a suitable location for your stacked washer dryer. It should be on a level surface and have adequate space for both the appliance and easy access.
- Check the measurements: Measure the height, width, and depth of your stacked washer dryer and ensure that the installation area can accommodate it. Leave extra space for proper ventilation.
- Prepare the laundry area: Clear out any debris, dust, or obstructions in the area where you plan to install the stacked washer dryer. If necessary, you may need to remove shelves or cabinets to create enough space.
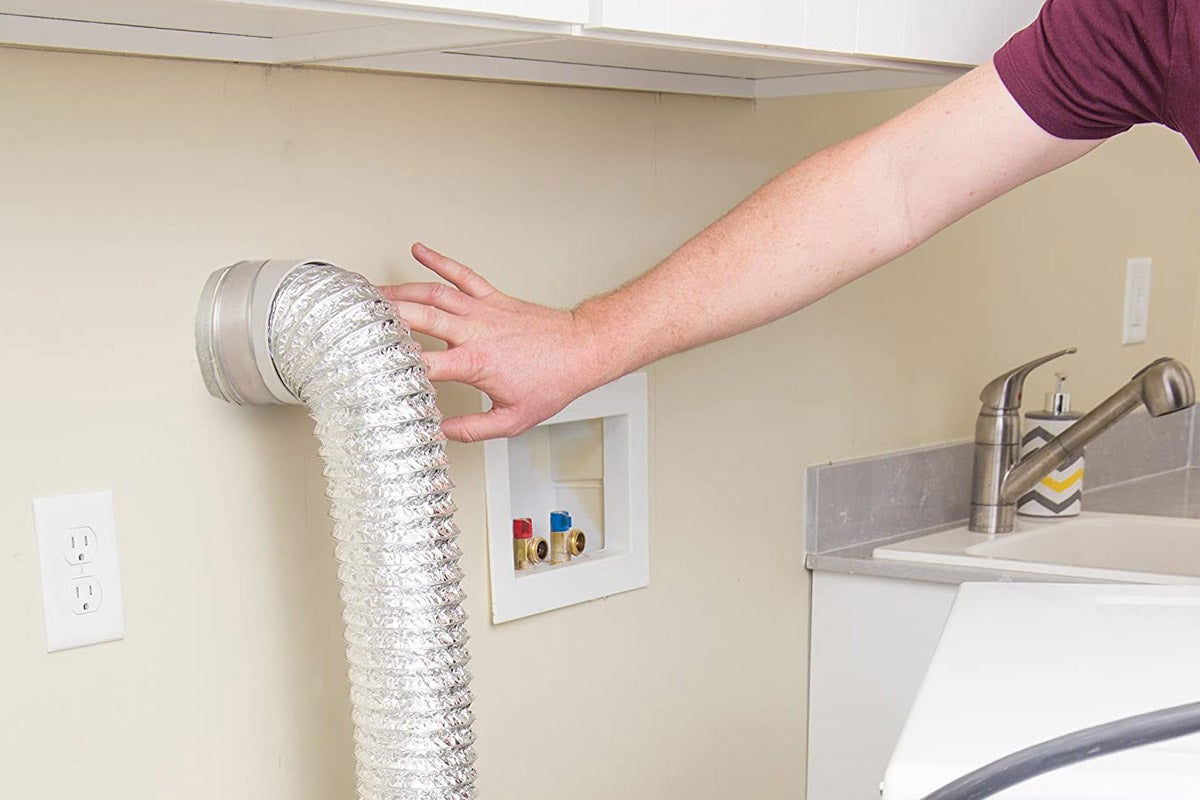
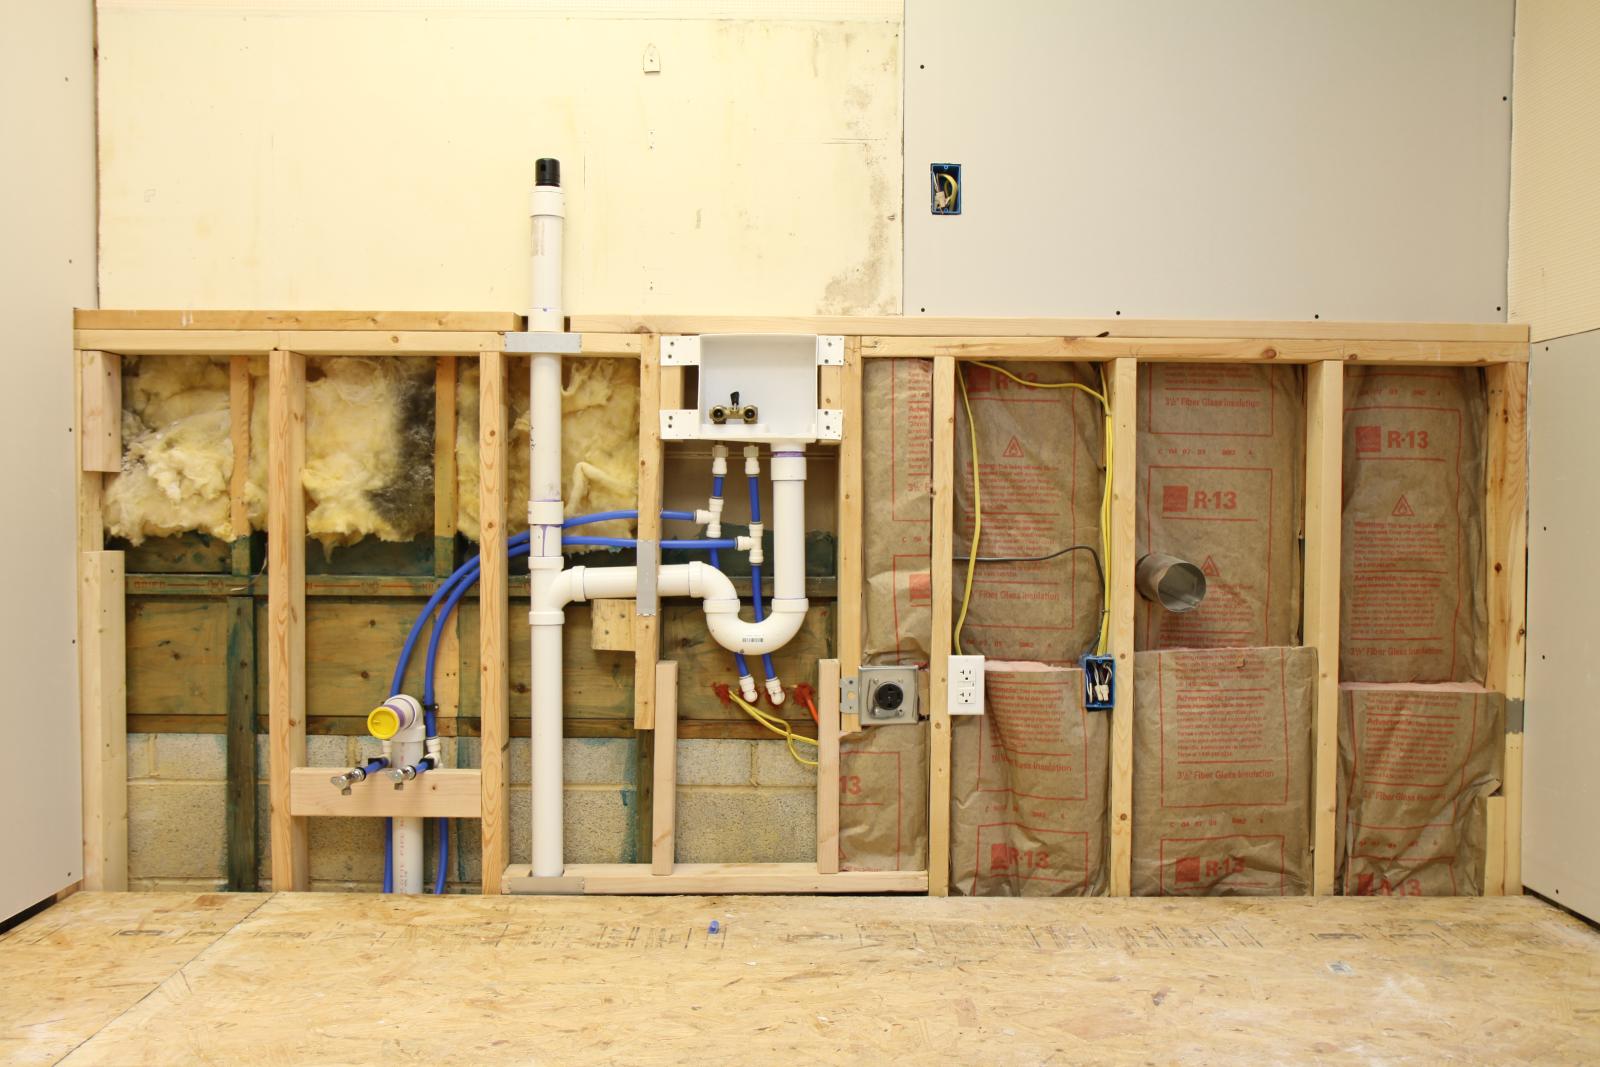
- Connect the water supply: Connect the water hoses included with your appliance to the designated hot and cold water valves. Make sure the connections are tight to prevent any leaks during operation.
- Connect the drain hose: Locate the drain outlet on the back of the stacked washer dryer and connect the drain hose. Ensure that the hose is securely fastened to prevent any leaks or water damage.
- Plug in the power cord: Connect the power cord to an appropriate electrical outlet. Make sure the outlet is grounded for optimal safety.
- Level the appliance: Use a leveling tool to check if the appliance is balanced. Adjust the leveling legs beneath the stacked washer dryer to ensure that it rests evenly on the floor.
- Test the connections: Once the installation is complete, turn on the water valves and check for any leaks. Run a short test cycle to ensure that the stacked washer dryer is working correctly.
It’s important to follow the manufacturer’s instructions for the specific installation requirements of your stacked washer dryer. If you encounter any difficulties or uncertainties during the installation process, consult a professional for assistance.
Now that your stacked washer dryer is installed, it’s time to move on to step 2: preparing the appliance for use.
Step 2: Preparing the Washer Dryer
Before you start using your stacked washer dryer, it’s important to ensure that it is properly prepared for the laundry tasks ahead. Here are the essential steps to follow:
- Remove any packaging materials: If your stacked washer dryer is brand new, it may have protective packaging materials such as tapes or foam inserts. Remove these materials before proceeding.
- Inspect the appliance: Take a moment to inspect the inside and outside of the washer dryer for any damages. Check the drum, control panel, and door seals to ensure everything is in good condition.
- Read the user manual: Familiarize yourself with the specific features, settings, and controls of your stacked washer dryer by reading the user manual provided by the manufacturer. Understanding the functions will help you make the most out of your appliance.
- Clean the drum: Wipe down the interior drum of the washer dryer with a damp cloth to remove any dirt or residue that may have collected during the manufacturing or shipping process. This will help prevent any transfer of debris onto your clothes during the wash cycle.
- Check the lint trap: Locate the lint trap in your dryer section and remove any lint or debris that may have accumulated. A clean lint trap ensures efficient drying and prevents the risk of fire hazards.
- Check the hoses and connections: Inspect the water hoses and connections for any signs of wear or damage. Tighten any loose connections and replace any faulty or worn-out hoses to avoid leaks.
- Ensure proper ventilation: If your stacked washer dryer is installed in a tight space or closet, ensure that there is sufficient ventilation. Adequate airflow will help prevent overheating and improve drying efficiency.
- Organize laundry supplies: Set up a convenient storage area near your stacked washer dryer to keep laundry essentials such as detergent, fabric softener, and dryer sheets. Having everything readily accessible will make the laundry process more efficient.
By following these steps, you’ll ensure that your stacked washer dryer is clean, properly maintained, and ready to tackle your laundry needs. Now that the preparation is complete, let’s move on to step 3: loading the laundry.
Step 3: Loading the Laundry
Now that your stacked washer dryer is prepared, it’s time to load the laundry. Properly loading the laundry ensures thorough cleaning and efficient drying. Here’s how to do it:
- Sort the laundry: Separate your laundry into different piles based on the fabric type, color, and level of dirtiness. This will help optimize the washing process and prevent colors from bleeding onto each other.
- Check the care labels: Before loading the laundry, check the care labels on your garments to ensure they can be washed in a stacked washer dryer. Some delicate or heavily soiled items may require alternate cleaning methods.
- Empty pockets and remove accessories: Check the pockets of your garments and remove any loose items such as coins, paper clips, or tissues. Also, remove any detachable accessories like belts or removable straps before washing.
- Distribute the load evenly: Evenly distribute the clothes around the drum to maintain proper balance during the wash and spin cycles. Overloading the washer dryer can lead to poor cleaning and uneven drying.
- Avoid tangling: To prevent garments from tangling during the wash cycle, place delicate items, like lingerie or fine knits, into mesh laundry bags. This will protect them from damage and keep them separated from other clothing.
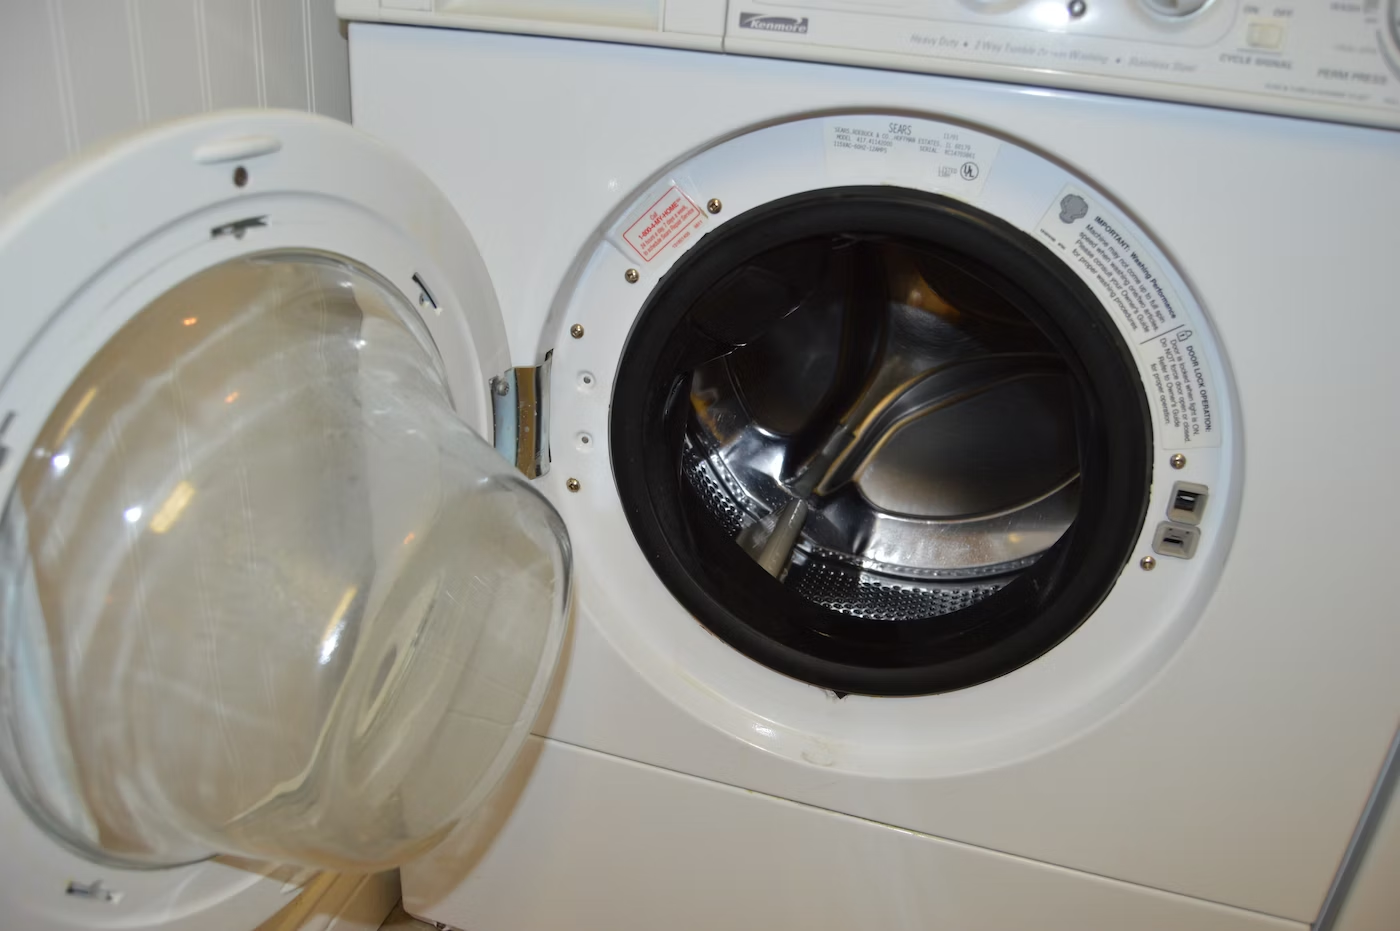
- Close the door: Once the laundry is loaded, ensure that the door of the washer dryer is securely closed. Improperly closed doors can interfere with the operation and cause water leaks.
- Check for stray items: Double-check the drum and make sure no stray items, such as socks or small articles, are stuck between the door and the drum. These items can impede the washer dryer’s performance.
- Remove excess lint: Before starting the wash cycle, check and remove any lint or debris that may have accumulated in the lint trap or filter. Regularly cleaning the lint trap improves the efficiency of the dryer.
By following these steps, you’ll ensure that your laundry is loaded properly and ready for a thorough cleaning. Now that the laundry is loaded, let’s move on to step 4: selecting the wash cycle.
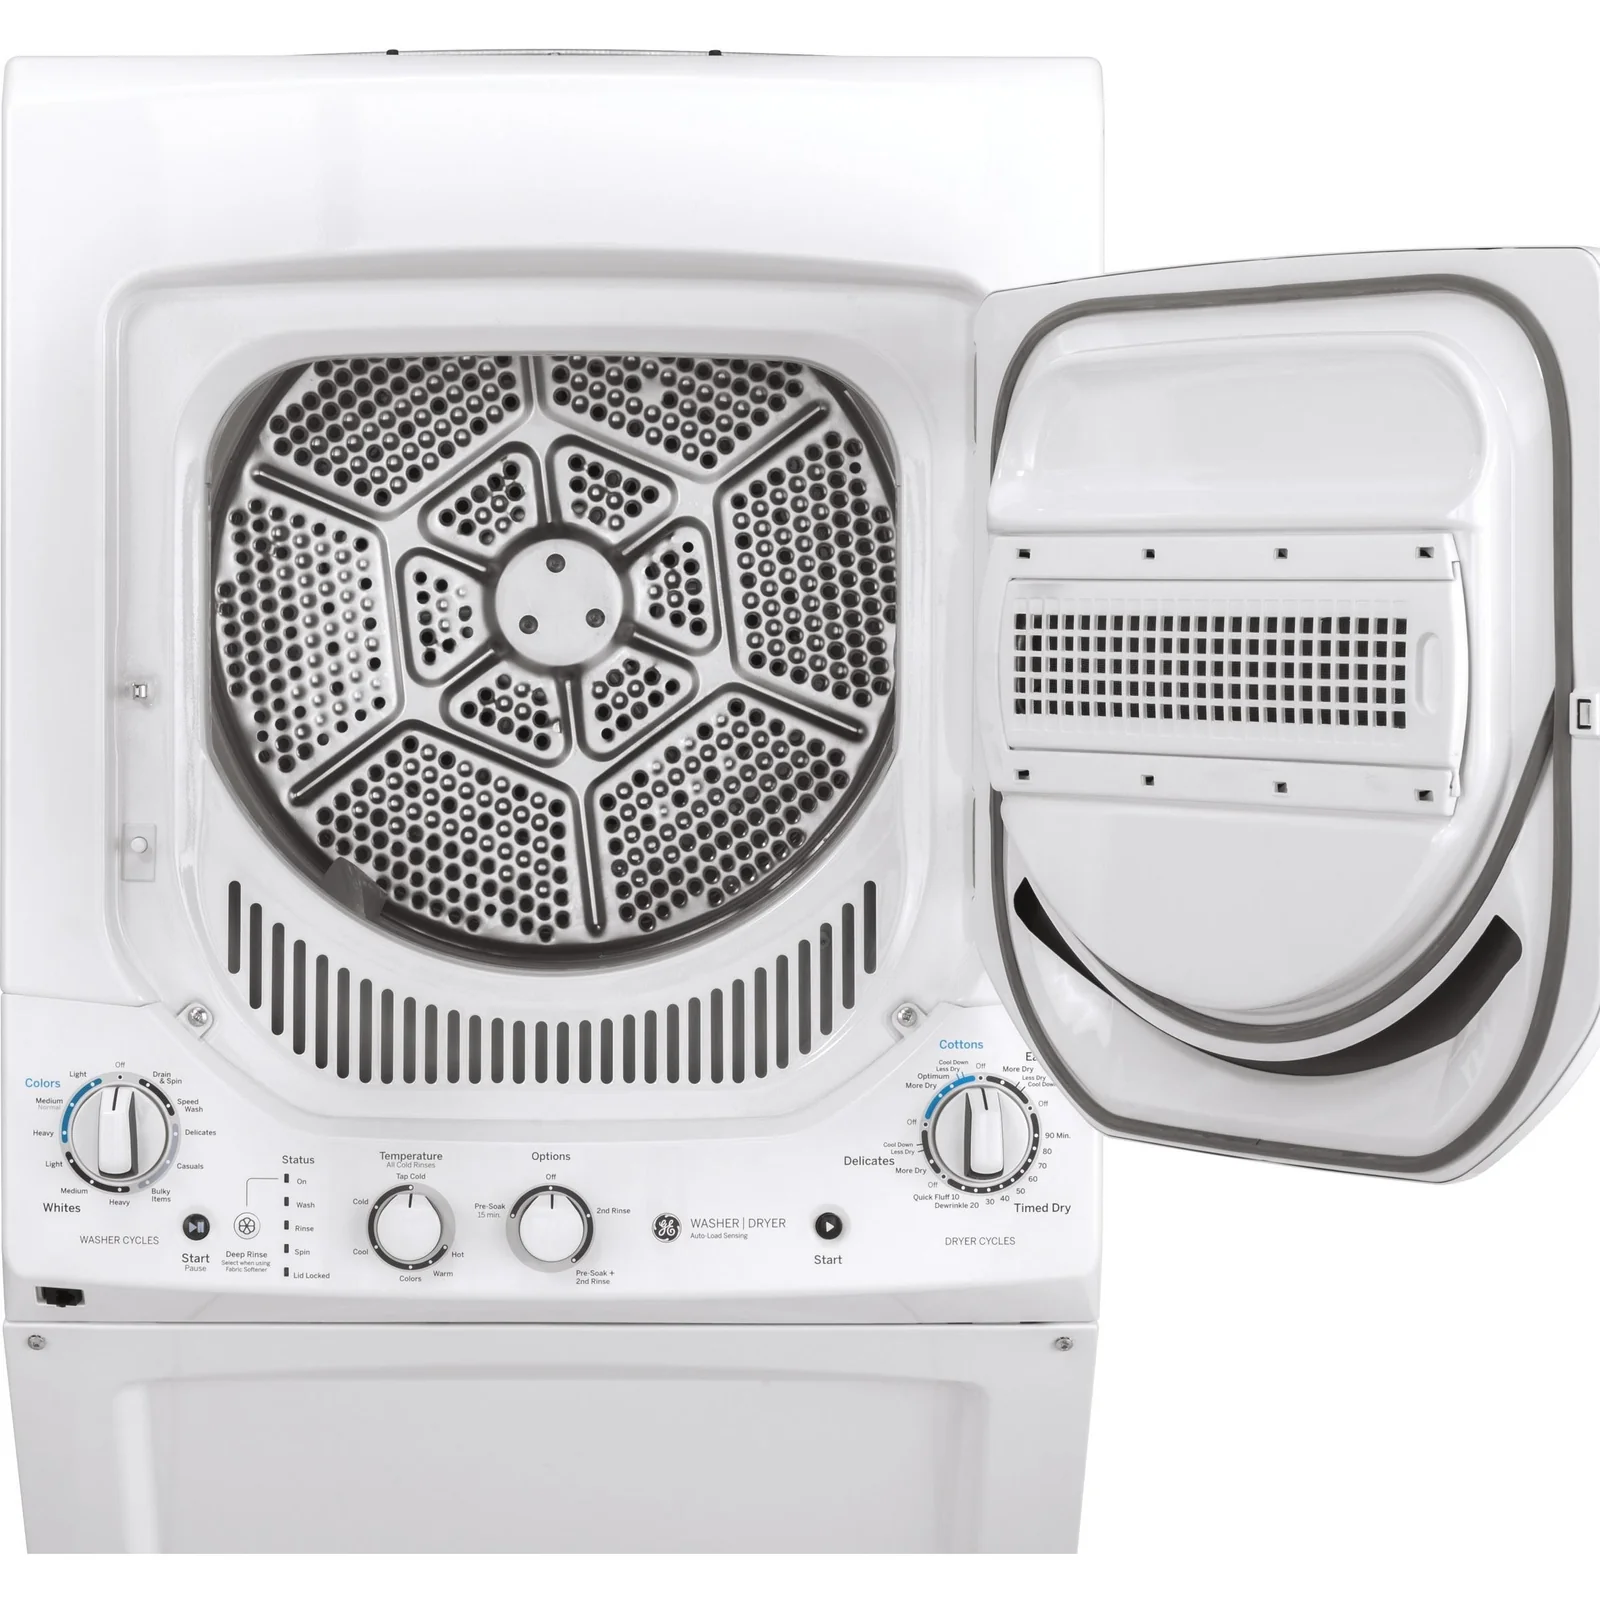
Step 4: Selecting the Wash Cycle
Choosing the right wash cycle is essential for achieving clean and fresh laundry. Stacked washer dryers come with various wash cycle options, allowing you to customize the cleaning process based on your needs. Here’s how to select the appropriate wash cycle:
- Refer to the user manual: Consult the user manual provided by the manufacturer to understand the available wash cycles and their specific settings. The manual will guide you through the selection process.
- Consider fabric type: Take into account the type of fabric you’re washing. Delicate fabrics, such as silk or wool, require a gentle cycle, while heavily soiled items may need a more robust wash cycle.
- Assess the dirt level: Determine the level of dirt and stains on your laundry. For lightly soiled items, a quick or eco-friendly cycle may be sufficient, whereas heavily soiled garments may require a longer, more intensive wash.
- Choose the temperature: Decide on the appropriate water temperature for your wash cycle. Hot water is effective for removing stains and sanitizing, while cold water is suitable for delicate fabrics or preventing color fading.
- Select additional options: Depending on your stacked washer dryer, you may have additional options, such as pre-wash, extra rinse, or a specific time delay. Consider these options based on your specific needs.
- Customize settings: Some wash cycles allow you to customize settings like spin speed, water level, or duration. Adjust these settings as needed to achieve the desired results.
- Press the start button: Once you’ve selected the desired wash cycle and customized the settings, press the start button to begin the washing process. The stacked washer dryer will now commence the selected cycle.
- Monitor the progress: Keep an eye on the washer dryer during the wash cycle to ensure everything is running smoothly. If any issues arise, refer to the troubleshooting section in the user manual or contact customer support.
By following these steps, you’ll be able to select the appropriate wash cycle that suits your laundry needs. Now that the wash cycle is underway, let’s move on to step 5: adding detergent and other additives.
Step 5: Adding Detergent and Other Additives
To ensure thorough cleaning and optimal results, it’s important to add the right amount of detergent and any other additives to your stacked washer dryer. Here’s how to do it:
- Choose the right detergent: Select a detergent that is suitable for the fabrics you’re washing and compatible with your stacked washer dryer. Follow the manufacturer’s recommendations regarding the type and amount of detergent to use.
- Measure the detergent: Use the provided measuring cup or follow the instructions on the detergent packaging to determine the appropriate amount of detergent for your load size. Avoid using excessive amounts, as it may result in insufficient rinsing or residue buildup.
- Add detergent to the dispenser: Most stacked washer dryers have detergent dispensers located in the detergent drawer. Open the drawer and pour the measured detergent into the appropriate compartment.
- Consider fabric softener: If desired, add fabric softener to the designated compartment in the detergent drawer. Fabric softeners help reduce static, improve softness, and add a pleasant scent to your laundry.
- Choose other additives, if necessary: Depending on the needs of your laundry, you may also add other additives such as bleach, stain removers, or laundry boosters. Ensure that these additives are compatible with your appliance and the fabrics you’re washing.
- Place laundry sheets or discs in the drum: If using laundry sheets or discs, place them directly into the drum along with the loaded laundry. These additives provide additional cleaning, freshening, or fabric care benefits.
- Close the detergent drawer: Once the detergent, fabric softener, and any other additives are added, securely close the detergent drawer. Make sure it is fully closed to prevent any leaks or spills during the wash cycle.
- Check for special instructions: Some fabrics or heavily soiled items may require pre-soaking or a specific treatment. Refer to the fabric care instructions or the user manual for any special steps to take.
By following these steps, you’ll ensure that your laundry receives the appropriate amount of detergent and other additives for effective cleaning. Now that everything is ready, let’s move on to step 6: starting the wash cycle.
Step 6: Starting the Wash Cycle
Now that you have loaded the laundry, selected the wash cycle, and added detergent and other additives, it’s time to start the wash cycle on your stacked washer dryer. Follow these steps to begin the cleaning process:
- Close the door: Ensure that the door of the washer dryer is properly closed. The machine will not operate if the door is not securely shut.
- Select any additional options: If your stacked washer dryer offers any additional options, such as pre-wash, extra rinse, or a specific time delay, choose them based on your preference or the specific needs of your laundry load.
- Adjust the spin speed, if necessary: Some wash cycles allow you to adjust the spin speed. Higher spin speeds extract more water from the clothes, resulting in shorter drying times. However, certain delicate fabrics may require lower spin speeds.
- Start the wash cycle: Press the start button or select the start option on the control panel of your stacked washer dryer to initiate the wash cycle. The appliance will now begin to fill with water and agitate the laundry for a thorough clean.
- Monitor the progress: Keep an eye on the washer dryer during the wash cycle to ensure everything is functioning properly. Check for any error messages or unusual noises and refer to the troubleshooting guide in the user manual if needed.
- Allow the cycle to complete: Depending on the selected cycle, the wash process may take anywhere from a few minutes to over an hour. Allow the washer dryer to complete the cycle without interruption for the best results.
- Pause or cancel the cycle, when necessary: If you need to pause or cancel the wash cycle midway, consult the user manual for instructions specific to your appliance. Resuming or canceling mid-cycle may vary depending on the make and model.
- Wait for the cycle to finish: Once the wash cycle is complete, the stacked washer dryer will typically emit a signal or display a notification. Wait for this signal before proceeding to the next step.
By following these steps, you’ll be able to start the wash cycle on your stacked washer dryer properly. Now that the cleaning phase is complete, let’s move on to step 7: transitioning to the drying cycle.
When using a stacked washer dryer, make sure to properly balance the load to prevent the machine from vibrating excessively during the spin cycle. This will help to avoid potential damage to the machine and ensure a more efficient wash and dry.
Step 7: Transitioning to the Drying Cycle
Once the wash cycle is complete, it’s time to transition your laundry to the drying cycle in your stacked washer dryer. Follow these steps for a smooth transition:
- Open the door: After the wash cycle is finished, carefully open the door of the washer dryer. Be cautious of any lingering moisture or hot steam that may be present.
- Remove the laundry: Take out the wet laundry from the drum and transfer it to the dryer section of the stacked washer dryer. Make sure to remove any loose items, such as socks or small garments, that may have become caught in the door seal.
- Shake out the laundry: Before placing the wet clothes in the dryer, give them a gentle shake to loosen any tangled fabric or reduce wrinkles. This will help facilitate the drying process and prevent wrinkling or clumping.
- Check for special drying instructions: Some fabrics may require special care during the drying process. Refer to the garment labels or the user manual for any specific drying instructions, such as avoiding high heat.
- Load the dryer: Place the damp laundry into the dryer section, making sure not to overload it. Overloading can lead to uneven drying and increase the drying time.
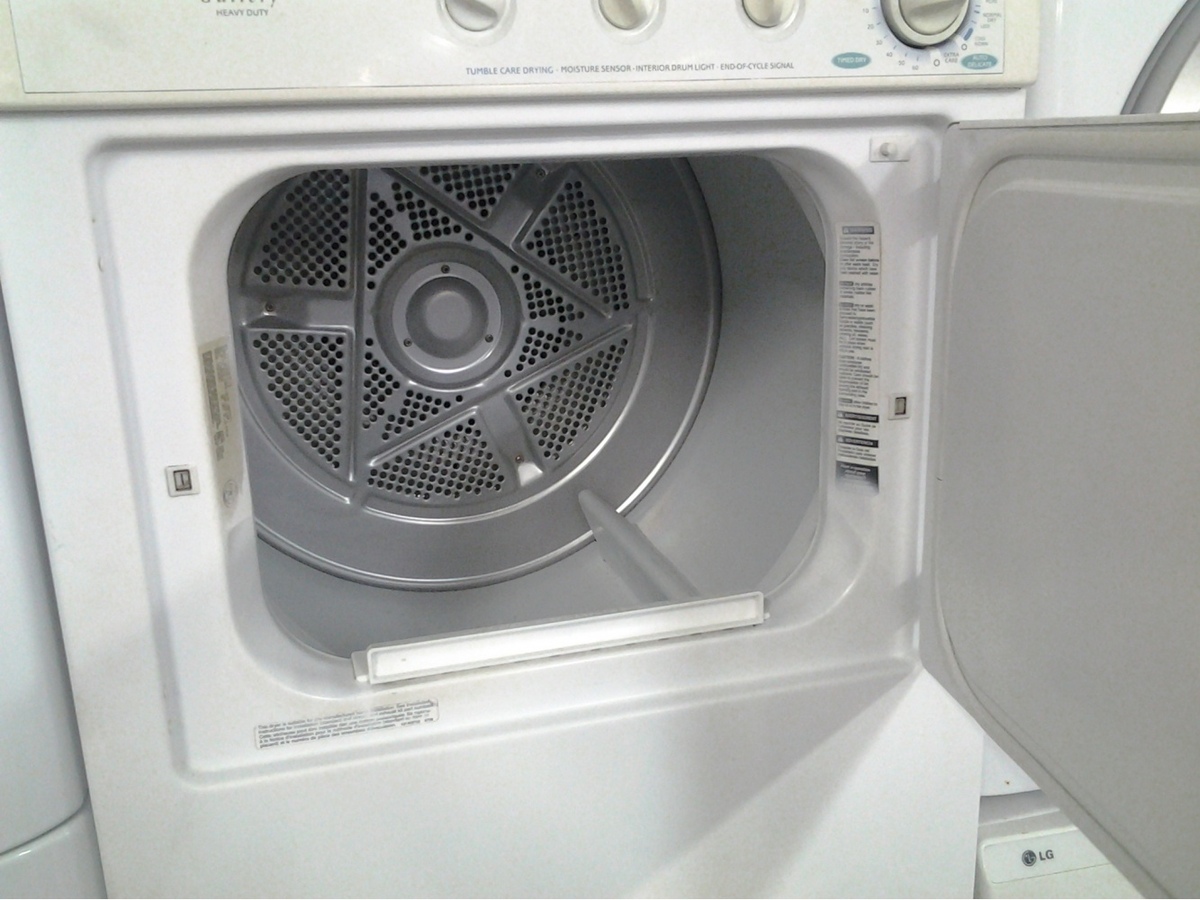
- Clean the lint filter: Before starting the drying cycle, take a moment to clean the lint filter or trap of any lint or debris collected during the wash cycle. This ensures proper airflow and efficient drying.
- Close the dryer door: Close the door of the dryer section securely. Ensure that it is fully closed to prevent any heat or moisture from escaping during the drying process.
- Select the drying settings: Depending on your stacked washer dryer, you may have various drying settings to choose from, such as time-based drying, moisture sensing, or specific fabric cycles. Select the appropriate settings for your load.
- Adjust temperature and other options: Adjust the temperature and any additional options, such as delicate drying or reduced heat, based on the fabric type and specific requirements of your laundry.
- Start the drying cycle: Press the start button or select the start option on the control panel to begin the drying cycle. The stacked washer dryer will now activate the selected drying settings and circulate warm air to dry the clothes.
By following these steps, you’ll smoothly transition your laundry to the drying cycle in your stacked washer dryer. Now, let’s move on to step 8: choosing the appropriate drying settings.
Step 8: Choosing the Appropriate Drying Settings
Selecting the right drying settings is crucial to ensure efficient and effective drying of your laundry in a stacked washer dryer. Here’s how to choose the appropriate drying settings:
- Refer to the user manual: Consult the user manual provided by the manufacturer to understand the available drying settings and their specific functions. The manual will guide you through the selection process.
- Consider fabric type: Take into account the type of fabric you’re drying. Delicate fabrics, such as silk or wool, may require lower heat settings to prevent damage, while sturdier materials can handle higher heat.
- Assess the moisture level: Determine the level of moisture in your laundry load. If your clothes are only slightly damp, a shorter drying time with lower heat may be sufficient. For heavier fabrics or larger loads, a longer drying cycle may be necessary.
- Choose the appropriate temperature: Select the appropriate temperature setting based on the fabric type and desired results. High heat is effective for drying heavy fabrics, while low heat is suitable for delicate items.
- Consider sensor drying: If your stacked washer dryer has a moisture sensor feature, consider using it. Sensor drying detects the moisture level in the load and automatically adjusts the drying time accordingly, saving energy and preventing over-drying.
- Decide on additional options: Depending on your appliance, you may have additional options such as timed drying, cool air tumble, or wrinkle-free settings. Consider these options based on your preferences and the needs of your laundry.
- Select the appropriate cycle length: Choose the desired cycle length based on the estimated drying time provided in the user manual or displayed on the control panel. Longer cycles may provide thorough drying, while shorter cycles save time and energy.
- Adjust any other settings: Some stacked washer dryers allow for further customization, such as the level of dryness or the degree of wrinkle reduction. Adjust these settings as needed to achieve the desired results.
- Start the drying cycle: Press the start button or select the start option on the control panel to begin the drying cycle. The stacked washer dryer will now begin drying your laundry according to the chosen settings.
- Monitor the drying process: Keep an eye on the drying cycle and check on your clothes periodically. Remove any garments that are dry and continue drying the remaining items if necessary.
By following these steps, you’ll be able to choose the appropriate drying settings for your laundry in a stacked washer dryer. Now that the settings are in place, let’s move on to step 9: starting the drying cycle.
Read more: How To Remove A Stacked Washer And Dryer
Step 9: Starting the Drying Cycle
Once you have selected the appropriate drying settings for your laundry in a stacked washer dryer, it’s time to start the drying cycle. Follow these steps to initiate the drying process:
- Close the dryer door: Ensure that the door of the dryer section is securely closed. The drying cycle will not start if the door is not properly shut.
- Confirm the selected settings: Double-check the drying settings on the control panel to ensure they align with your desired drying preferences, fabric type, and load size.
- Adjust the timer, if applicable: If using a timed drying setting rather than a sensor-based one, adjust the timer on the control panel to set the desired drying duration.
- Start the drying cycle: Press the start button or select the start option on the control panel to begin the drying cycle. The stacked washer dryer will activate the chosen drying settings and commence the drying process.
- Monitor the drying progress: Keep an eye on the drying cycle and periodically check on your laundry to assess the level of dryness. Remove any garments that are fully dry and continue drying the remaining items as needed.
- Adjust heat or time settings, if necessary: If you notice that the load is drying too slowly or too quickly, you can adjust the heat or time settings accordingly to ensure optimal drying results.
- Pause or cancel the cycle, when required: If you need to pause or cancel the drying cycle midway, consult the user manual for instructions specific to your appliance. Resume or cancel the cycle as per the manual’s guidelines.
- Allow cool-down period: After the drying cycle is complete, it’s beneficial to allow a cool-down period before removing the laundry. This helps prevent heat-related accidents and allows the garments to settle before handling.
- Remove and fold the dried laundry: Once the cool-down period is over, carefully remove the fully dried laundry from the dryer section. Fold or hang the garments promptly to prevent wrinkles and keep them in good condition.
By following these steps, you’ll be able to start and manage the drying cycle effectively in your stacked washer dryer. Now that the drying process is complete, let’s move on to step 10: unloading and folding the laundry.
Step 10: Unloading and Folding the Laundry
Once the drying cycle is complete in your stacked washer dryer, it’s time to unload and fold your freshly dried laundry. Follow these steps for efficient unloading and proper folding:
- Open the dryer door: After the drying cycle has finished, open the door of the dryer section. Be cautious of any residual heat that may still be present inside the dryer.
- Remove the laundry: Carefully take out the dry laundry from the dryer section and place it on a clean, flat surface such as a table or bed. Ensure that all items are retrieved from the dryer.
- Shake out and fluff the garments: Shake out each clothing item to remove any wrinkles and give them a fresh, fluffed appearance. This will make the folding process easier and improve the overall appearance of the garments.
- Sort and group the clothing items: Organize your laundry into specific groups based on the type of clothing item, such as shirts, pants, towels, or delicates. This will make folding more efficient and help in later storage or putting the clothes away.
- Fold each garment neatly: Begin folding each item one by one, using appropriate folding techniques for different types of clothing. Consult online tutorials or follow garment-specific folding instructions for a professional and organized appearance.
- Stack or hang the folded garments: Once folded, stack similar garments on top of each other to keep them tidy and easily accessible. For delicate or wrinkle-prone items, consider hanging them on hangers to maintain their shape and minimize creasing.
- Pay attention to special care instructions: Take note of any special care instructions on garment labels, such as avoiding hanging certain fabrics or storing them folded differently. Following these instructions will help preserve the quality and longevity of your clothing.
- Dispose of lint and clean the dryer section: After unloading the laundry, check the lint trap or filter to remove any accumulated lint. Properly dispose of the lint and wipe down the interior of the dryer section to keep it clean and efficient for future use.
- Put the laundry away: Once folded and organized, put your laundry away in their designated storage spaces, such as drawers, closets, or shelves. This will keep your living space tidy and make it easier to find specific items in the future.
By following these steps, you’ll efficiently unload and fold your freshly dried laundry from your stacked washer dryer. Now that your laundry is neatly folded and put away, let’s move on to step 11: cleaning and maintenance tips for your stacked washer dryer.
Step 11: Cleaning and Maintenance Tips
To keep your stacked washer dryer in optimal condition and ensure its longevity, regular cleaning and maintenance are essential. Here are some important tips to follow:
- Clean the detergent drawer: Remove the detergent drawer and clean it regularly to prevent the buildup of detergent residue or mold. Rinse it under running water and use a mild detergent if necessary.
- Wipe down the exterior: Regularly wipe down the exterior surfaces of your stacked washer dryer with a soft, damp cloth. This helps remove dust and dirt, keeping the appliance looking clean and presentable.
- Clean the drum: Periodically clean the drum of your washer dryer to remove any leftover lint or debris. Run an empty cycle with hot water and vinegar or a drum-cleaning solution to eliminate any buildup.
- Check and clean the lint trap: Clean the lint trap or filter after every drying cycle to prevent clogs and maintain optimal drying performance. Remove any lint or debris and rinse it under water to remove any residue.
- Inspect and clean the hoses: Regularly inspect the water inlet hoses for any signs of wear or leaks. If necessary, replace them to prevent water damage. Additionally, clean the hoses periodically to remove any buildup or debris that may affect water flow.
- Keep the door and seal clean: Wipe down the door and the door seal of your stacked washer dryer regularly to prevent the buildup of dirt, grime, or mold. Use a mild detergent or a solution of water and vinegar for effective cleaning.
- Perform maintenance checks: Check the leveling of your stacked washer dryer periodically to ensure it remains stable and balanced. Inspect the power cord for any damage or fraying, and check the connections for proper tightness.
- Run self-cleaning cycles: Some stacked washer dryers have self-cleaning cycles that help remove any lingering odors or residue. Run these cycles as suggested in the user manual to keep the appliance fresh and clean.
- Regularly clean the exhaust vent: Clean the exhaust vent or ductwork to ensure proper ventilation and prevent lint buildup, which can pose a fire hazard. Use a brush or vacuum to remove any accumulated lint.
- Follow maintenance guidelines: Refer to the user manual for specific maintenance guidelines and recommended servicing intervals. Schedule professional maintenance when required to keep your stacked washer dryer in excellent working condition.
By following these cleaning and maintenance tips, you’ll ensure that your stacked washer dryer operates efficiently and lasts for years to come. Regular upkeep will help prevent malfunctions, minimize the need for repairs, and keep your laundry fresh and clean.
With these 11 steps, you now have a comprehensive guide on how to use, maintain, and care for your stacked washer dryer. Enjoy the convenience and efficiency it offers in making your laundry routine a breeze!
Thank you for reading!
Conclusion
Congratulations! You have reached the end of our comprehensive guide on how to use a stacked washer dryer effectively. We have covered every step from installation to cleaning and maintenance, ensuring that you’re well-equipped to make the most out of this space-saving appliance.
By following the step-by-step instructions, you can confidently navigate through each stage of the laundry process, from loading and selecting the wash cycle to transitioning to the drying cycle and finally unloading and folding your freshly cleaned clothes.
Remember, it’s crucial to consult the manufacturer’s instructions specific to your appliance for detailed guidance and to ensure the best results. Additionally, take note of any fabric care instructions provided on garment labels to protect your clothing from potential damage during washing and drying.
Regular cleaning and maintenance of your stacked washer dryer will help keep it in optimal condition for years to come. By following the recommended cleaning routines, checking for any wear or leaks, and scheduling professional maintenance as necessary, you can extend the lifespan of your appliance and ensure its continued efficiency.
We hope that this guide has been informative and helpful in understanding how to use and care for your stacked washer dryer. With this knowledge, you can streamline your laundry routine, save space in your home, and achieve clean and fresh clothes with ease.
Thank you for reading, and happy laundering!
Frequently Asked Questions about How To Use Stacked Washer Dryer
Was this page helpful?
At Storables.com, we guarantee accurate and reliable information. Our content, validated by Expert Board Contributors, is crafted following stringent Editorial Policies. We're committed to providing you with well-researched, expert-backed insights for all your informational needs.


0 thoughts on “How To Use Stacked Washer Dryer”