Articles
How To Fix Leaning Fence Post
Modified: February 23, 2024
Looking for articles on how to fix a leaning fence post? Our comprehensive guide will provide you with step-by-step instructions and helpful tips to get your fence looking straight and sturdy again.
(Many of the links in this article redirect to a specific reviewed product. Your purchase of these products through affiliate links helps to generate commission for Storables.com, at no extra cost. Learn more)
Introduction
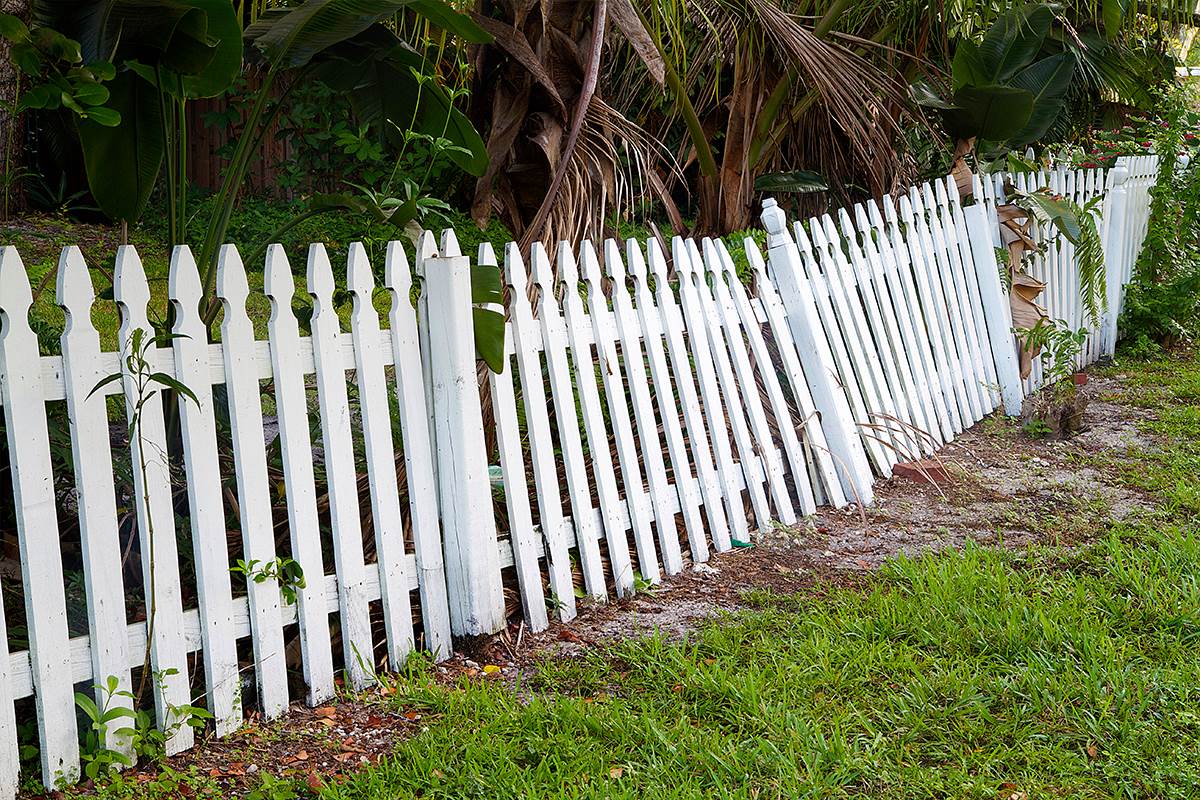
Having a well-maintained fence surrounding your property not only enhances its aesthetic appeal but also ensures privacy and security. However, over time, fence posts can start to lean due to various factors such as soil erosion, high winds, or even structural issues. A leaning fence post not only compromises the stability and integrity of the fence but can also be an eyesore.
The good news is that you don’t necessarily have to replace the entire fence when a post starts to lean. With some basic knowledge and the right tools, you can easily fix a leaning fence post and restore the stability of your fence. In this article, we’ll guide you through the process step by step.
Please note that this article is intended for informational purposes only. If you’re unsure about your DIY skills, it’s always best to consult a professional for assistance.
Key Takeaways:
- Don’t rush to replace a leaning fence post—assess the damage, gather the right tools, and follow a step-by-step process to straighten, secure, and reinforce the post for a long-lasting fix.
- The finishing touches matter—reattach fence panels, apply a protective coating, and perform regular maintenance to ensure your repaired fence post stands strong and looks great for years to come.
Read more: How To Fix A Loose Fence Post
Assessing the Damage
Before you begin fixing a leaning fence post, it’s important to assess the extent of the damage. This will help you determine the best course of action and the materials you’ll need.
Start by inspecting the lean of the post. Is it slightly tilted or significantly leaning? Is the post still firmly attached to the fence panels, or is it loose? Evaluate the condition of the surrounding soil—is it stable or eroded?
If the lean is minor and the post is still securely attached to the fence panels, you may be able to correct the problem without replacing the post. However, if the lean is excessive or the post is loose or damaged, it’s recommended to replace it entirely.
It’s also crucial to identify any underlying issues that may have caused the post to lean in the first place. High winds, water runoff, or poor soil conditions can all contribute to fence post instability. Addressing these issues will help prevent future leaning and ensure the long-term durability of your fence.
Take note of any cracks or damage to the post itself. If the post is rotting or compromised, it’s best to replace it rather than trying to fix it.
By carefully evaluating the damage, you’ll be able to determine the appropriate course of action and ensure that your efforts to fix the leaning fence post are effective and long-lasting.
Gathering the Necessary Tools and Materials
Before you begin fixing a leaning fence post, it’s essential to gather all the necessary tools and materials. Having everything you need at hand will save you time and make the process smoother.
Here are the tools and materials you’ll typically need:
- Shovel: A sturdy shovel is essential for digging up the post and preparing the area.
- Level: To ensure that the post is straight and aligned correctly, a level is crucial.
- Hammer: You’ll need a hammer for various tasks, such as driving stakes and securing the post in place.
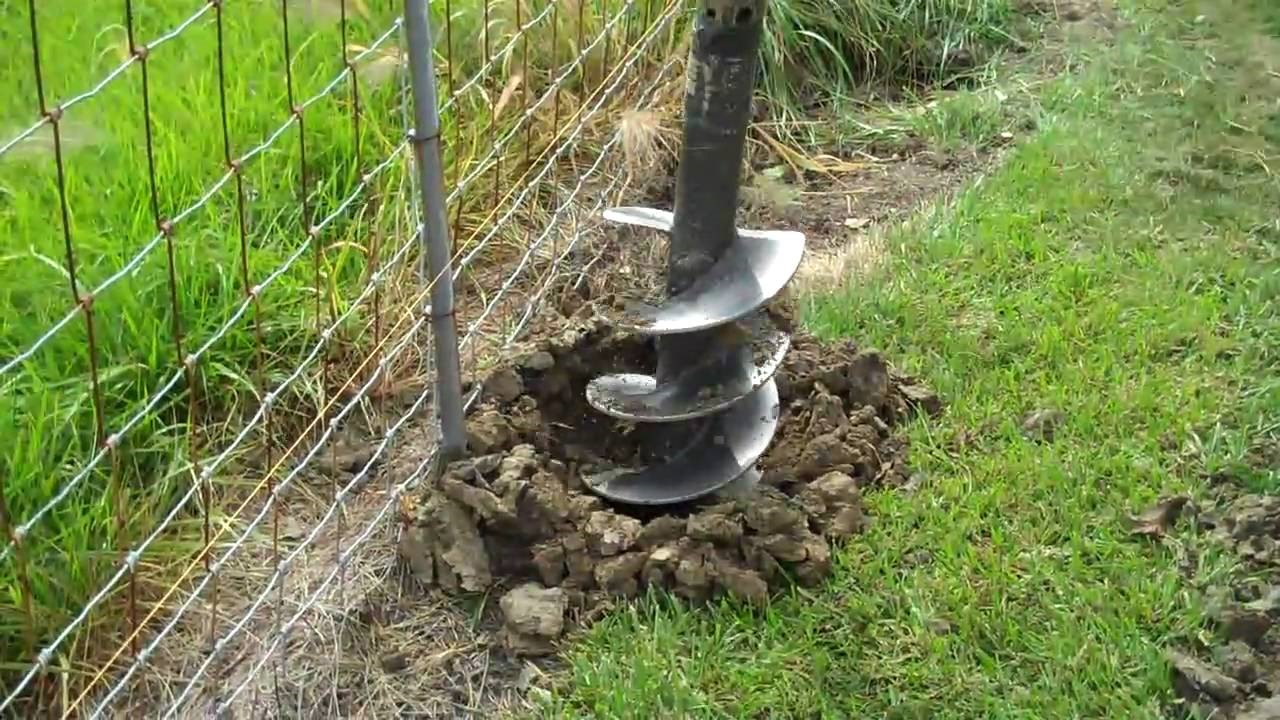
- Post hole digger or auger: Depending on the size and depth of the hole required, a post hole digger or auger will make digging easier.
- Mixing container: If you’re using concrete to secure the post, you’ll need a sturdy container for mixing the concrete.
- Concrete or gravel: Concrete provides a durable and stable foundation, while gravel can be used as an alternative in certain situations.
- Support braces: Sometimes, additional support may be needed to keep the post stable. Support braces can be used temporarily during the repair process.
- Fasteners: Depending on the design of your fence, you may need screws, nails, or other fasteners to reattach the fence panels to the post.
Additionally, make sure to wear appropriate safety gear, such as work gloves and safety goggles, to protect yourself during the repair process.
By gathering all the necessary tools and materials beforehand, you can ensure a smooth and efficient repair process without any interruptions.
Preparing the Area
Before you start fixing the leaning fence post, it’s crucial to prepare the surrounding area to ensure a successful repair. Here are the steps to follow in order to properly prepare the area:
- Clear the area: Remove any debris, plants, or obstacles from around the fence post. This will provide you with a clear workspace and prevent any interference during the repair process.
- Mark the location: Identify the exact spot where the post is leaning. Mark the top of the post with a bright-colored tape or marker to ensure you can easily locate it once you dig the hole.
- Measure and plan: Take measurements of the fence post, including its height and width. This information will be helpful when determining the depth and width of the hole you’ll need to dig.
- Secure adjacent posts: If the leaning post is in the middle of the fence, it’s important to secure the adjacent posts temporarily. Use support braces or straps to ensure they remain stable during the repair process.
- Notify neighbors: If your fence borders neighboring properties, it’s considerate to inform your neighbors about the upcoming repair work. This will help avoid any potential misunderstandings or inconveniences.
Once the area is cleared and prepared, you’ll have a clean and organized workspace to begin the repair process. This step will not only facilitate the repair work itself but also provide a safer environment for you to work in.
Digging Up the Post
Now that you’ve assessed the damage, gathered the necessary tools and materials, and prepared the area, it’s time to dig up the leaning fence post. Digging up the post is a crucial step in the repair process, as it allows you to remove the old post and create a stable foundation for the replacement. Follow these steps to dig up the post:
- Start by loosening the soil: Use a shovel or a post hole digger to loosen the soil around the base of the post. Begin by digging around the edges to break up the soil and create a space for the shovel or post hole digger to enter.
- Continue digging: Gradually work your way around the post, digging deeper as you go. The depth you need to dig will depend on the size of the post and the recommendations for your specific fence design. Aim for a hole that is wider at the bottom and narrower at the top.
- Remove the old post: Once you have dug deep enough, you can carefully remove the old post from the hole. Use caution as you lift it out, as it may be heavy or unstable.
- Clean the hole: Take the time to clean out any remaining soil or debris from the hole. This will ensure a clean and solid foundation for the new post.
During the digging process, be mindful of any underground utilities or cables that may be in the area. If you’re uncertain about the location of these utilities, contact your local utility company for assistance.
By following these steps, you’ll be able to excavate the leaning fence post effectively, making way for the next stage of the repair process. Remember to take breaks as needed and stay hydrated, as digging can be physically demanding.
Read more: How To Secure Fence Post
Straightening the Post
Once you have successfully dug up the leaning fence post, the next step is to straighten it. Straightening the post is essential for restoring the stability and alignment of the fence. Here’s how you can straighten the post:
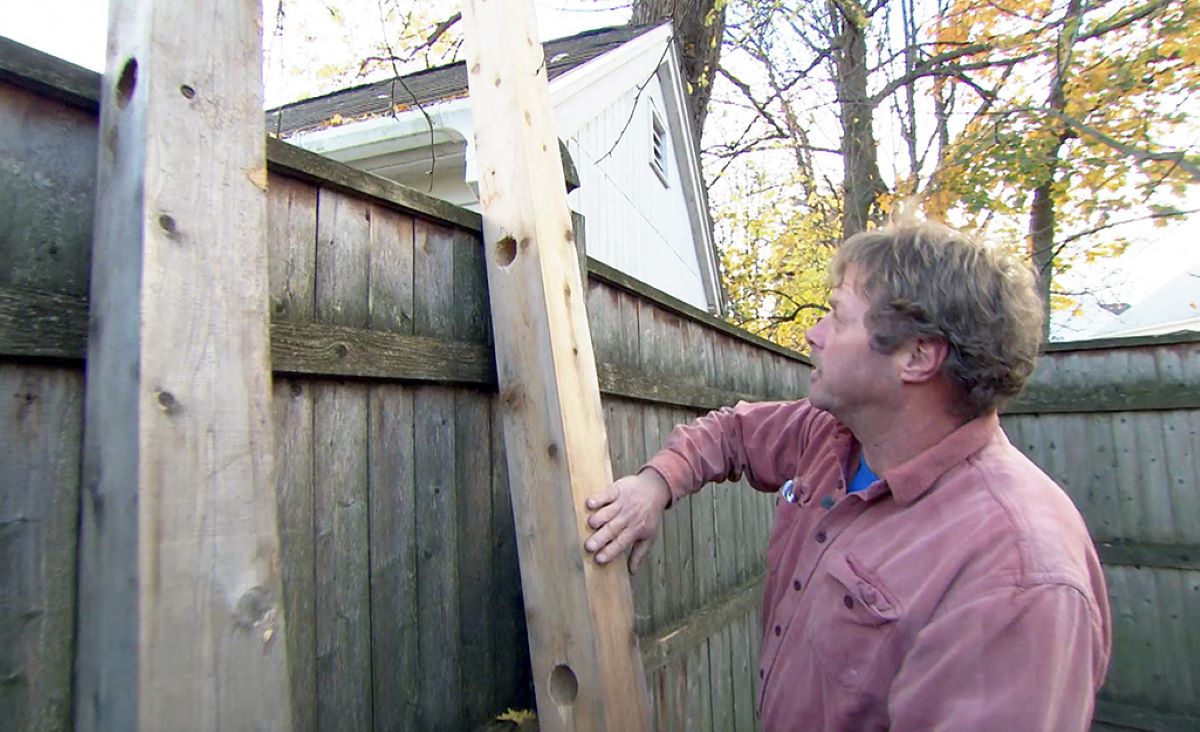
- Assess the post: Take a close look at the post to determine the cause of the lean. It could be due to the soil shifting or the post warping over time. Understanding the cause will help you determine the best approach to straightening the post.
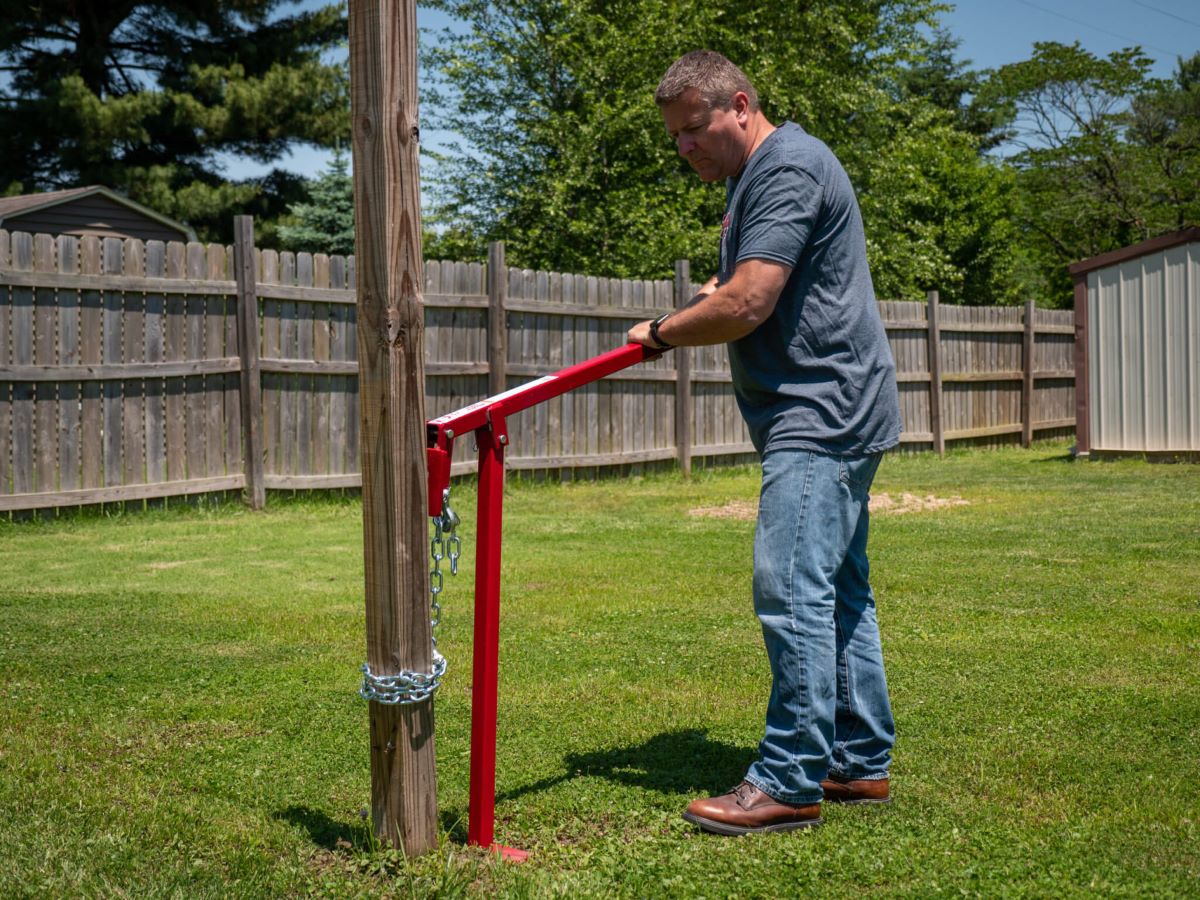
- Apply gentle pressure: If the post is slightly leaning, you may be able to straighten it by applying gentle pressure with your hands or using a mallet. Push or tap the post in the opposite direction of the lean, gradually guiding it back to a vertical position.
- Use a lever: For more significant leans, you may need to use a lever, such as a 2×4 or a pry bar, to exert greater force. Position the lever against the post and use it as a fulcrum to push or pull the post in the desired direction. Be careful not to apply excessive force that could break or damage the post.
- Check for alignment: Use a level to check the alignment of the post as you straighten it. Adjust the position as needed until the post is completely vertical and aligned with the neighboring posts. This will ensure a level and visually appealing fence.
- Secure the post temporarily: Once the post is straightened, secure it temporarily by driving stakes or support braces into the ground around the base. This will hold the post in place while you prepare to permanently secure it.
Be patient during this process, as it may take some time and effort to properly straighten the post. Take breaks when needed and make adjustments gradually to avoid damaging the post or the fence panels.
By successfully straightening the post, you’ll be one step closer to restoring the stability and functionality of your fence.
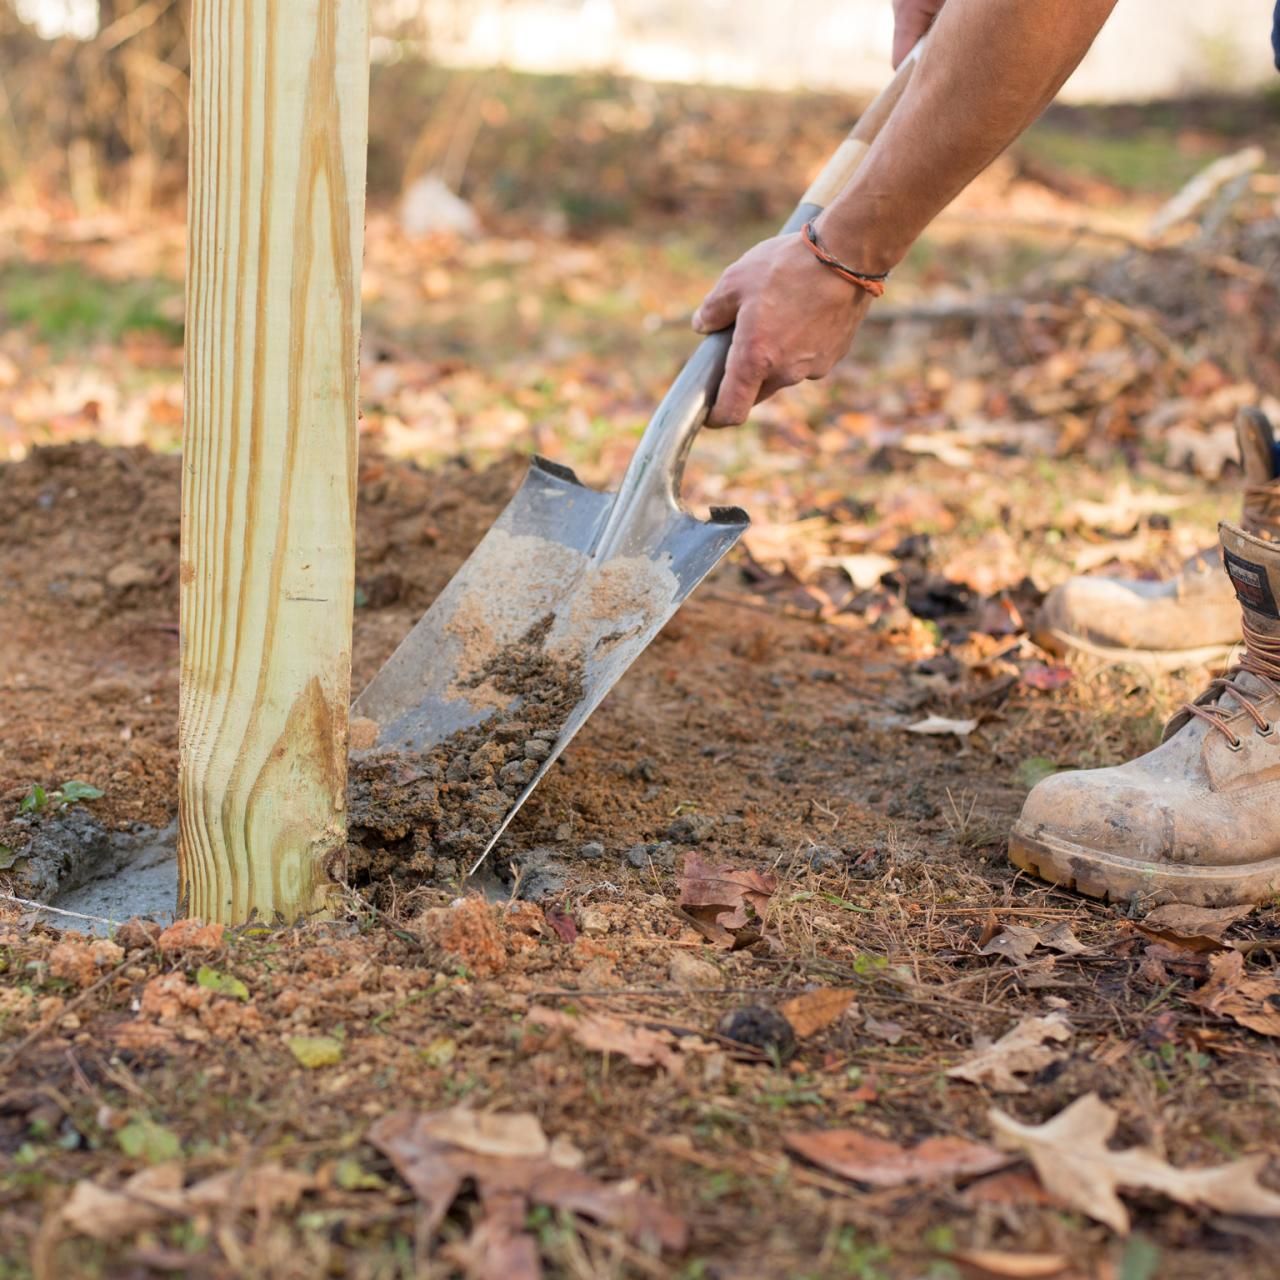
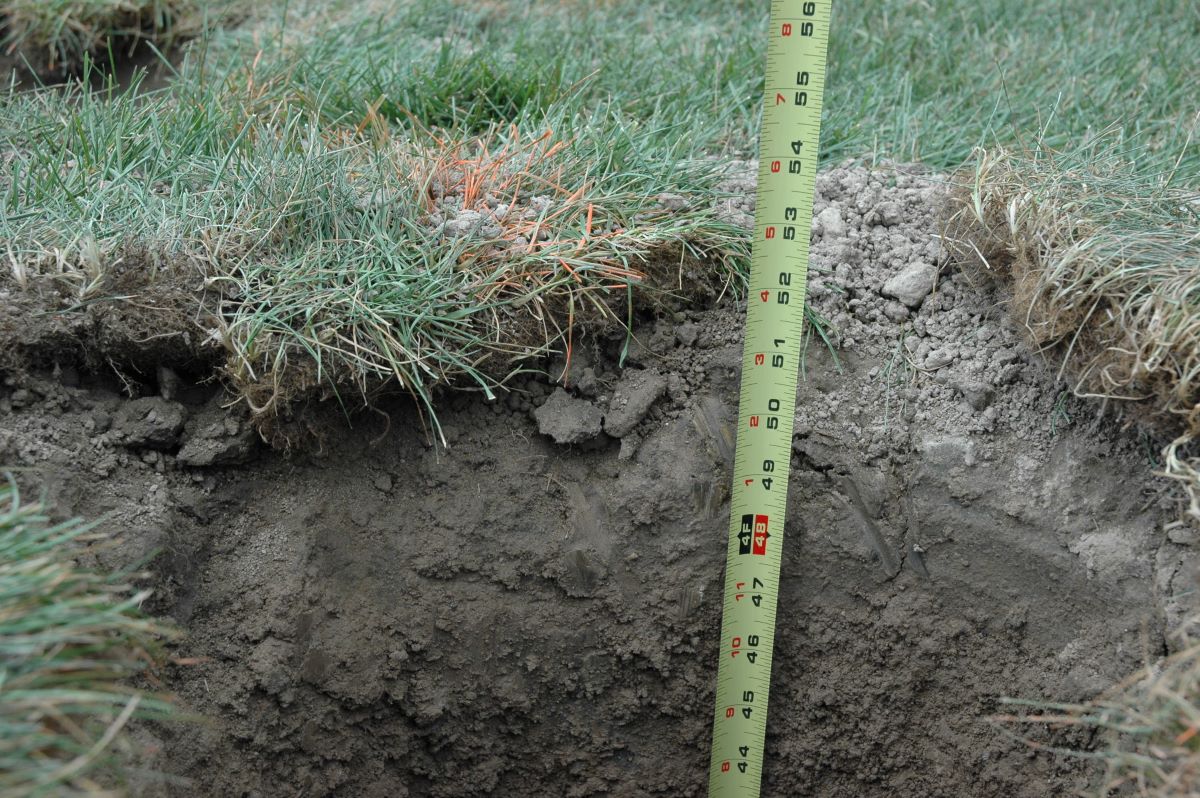
Use a post level to check the angle of the leaning post. Then, use a shovel to dig around the base and add concrete for support. Finally, brace the post until the concrete sets.
Securing the Post
Once you have straightened the leaning fence post, the next crucial step is to secure it in place. Properly securing the post will ensure its long-term stability and prevent future leaning. Here’s how you can securely fasten the post:
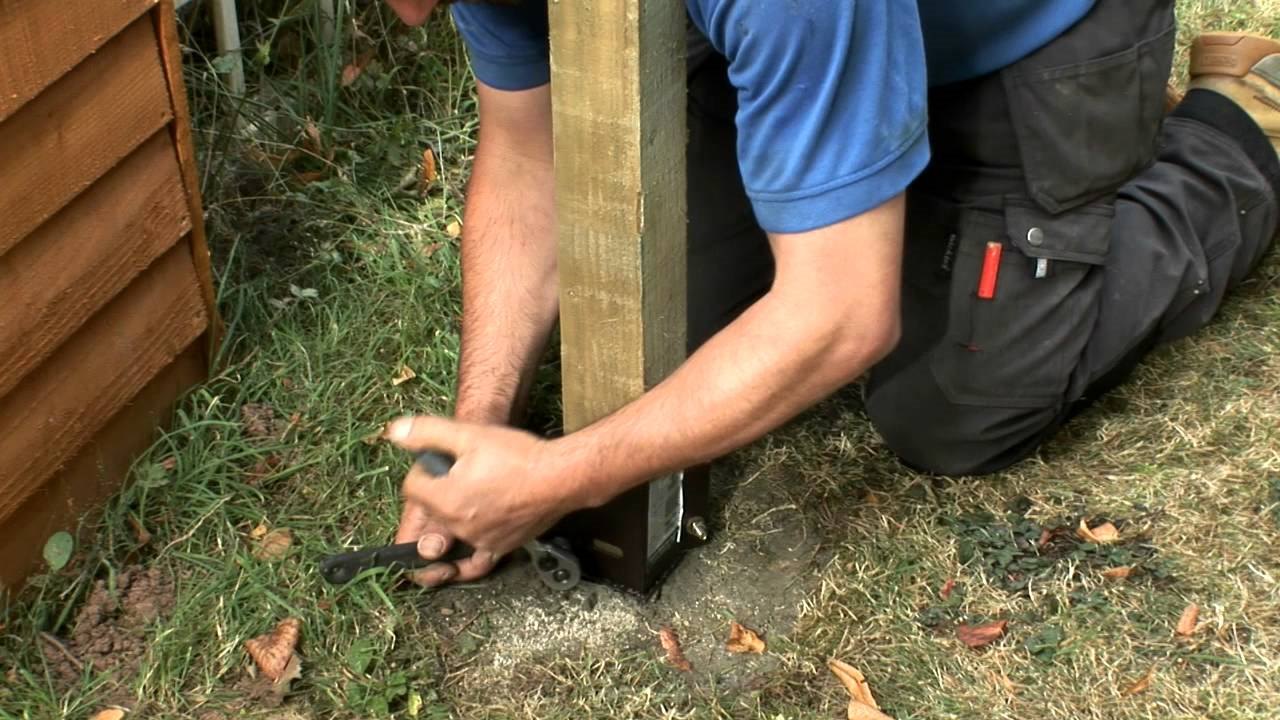
- Choose your method: There are several methods you can use to secure the post, including using concrete or gravel. Concrete provides a sturdy and durable foundation, while gravel can be used in certain situations where concrete may not be necessary or practical.
- For concrete: If you choose to use concrete, mix it according to the manufacturer’s instructions in a sturdy container. Once mixed, pour the concrete into the hole around the post, ensuring it reaches the desired depth. Use a level to confirm that the post is still straight and aligned correctly. Allow the concrete to set and cure as per the instructions before proceeding.
- For gravel: If you opt for gravel, fill the hole around the post with the gravel, ensuring it is firmly packed. Tamp the gravel down using a tamper or the handle of a shovel to ensure it is compacted and stable.
- Additional reinforcement: Depending on the size and weight of the post, you may need to add additional reinforcement. This can be in the form of support braces, which can be attached to the post and driven into the ground for added stability.
- Double-check the alignment: Before the concrete or gravel fully sets, double-check the alignment of the post using a level. Make any necessary adjustments to ensure it is perfectly vertical and aligned with neighboring posts.
Remember to follow the instructions provided by the manufacturer for the specific materials you are using and allow sufficient time for the concrete or gravel to set and cure completely. This will ensure a solid and secure foundation for your fence post.
By properly securing the post, you’re taking the necessary steps to prevent future leaning and ensure the long-term stability of your fence.
Filling the Hole
After you have secured the leaning fence post in place, the next step is to fill the hole. Filling the hole properly is essential for providing additional stability and support to the post. Here’s how you can fill the hole:
- Remove excess dirt: Before filling the hole, remove any excess dirt or debris from the surrounding area. Use a shovel or a rake to level the ground and ensure a clean workspace.
- Backfill the hole: Start by filling the hole with the remaining soil that was excavated earlier. Use a shovel or your hands to carefully pack the soil tightly around the post. Ensure that the soil is evenly distributed and firmly packed to provide stable support.
- Compact the soil: Once the hole is partially filled, use a tamper or the back of a shovel to compact the soil further. Tamp down the soil in layers to prevent any gaps or air pockets from forming. This will help create a solid and sturdy base for the post.
- Water the soil: After compacting the soil, lightly water the filled area. This will help settle the soil and promote better compaction, ensuring a more secure foundation for the post.
- Level the ground: Finally, use a rake or shovel to level the ground around the filled hole. Spread out the soil evenly and ensure a seamless transition between the filled area and the surrounding ground.
By properly filling the hole and compacting the soil, you’re providing additional support to the post and minimizing the risk of future leaning. This step is crucial for maintaining the stability and integrity of your repaired fence post.
Remember to allow some time for the soil to settle and adjust after filling the hole. You may need to add additional soil if settling occurs over time.
With the hole properly filled, you’re one step closer to completing the repair process and restoring the functionality and appearance of your fence.
Reinforcing the Post
To ensure the long-term stability and durability of the repaired fence post, it’s important to reinforce it. Reinforcing the post will provide additional support and help prevent future leaning or damage. Here are some methods you can use to reinforce the post:
- Attach support brackets: Consider attaching support brackets to the post. These brackets can be secured to the adjacent fence panels or posts to provide extra lateral support. Use screws or nails to attach the brackets securely, ensuring they are properly aligned and tightly fastened.
- Install a diagonal brace: For added reinforcement, you can install a diagonal brace to support the post. This brace typically consists of a wooden board or metal rod that is attached from the top of the post to the bottom at an angle. The brace should be long enough to provide adequate support and stability.
- Use concrete footings: If your fence design allows for it, another method to reinforce the post is by creating concrete footings. Dig additional holes beside the post and pour concrete into these holes, embedding them with rebar or post anchors. Once the concrete has cured, connect the post to the footings using appropriate connectors or brackets.
- Consider post anchors: Post anchors can also be used to reinforce the post. These anchors are typically made of metal and are driven into the ground around the base of the post, providing additional stability. Ensure that the post anchors are properly aligned and securely fastened to the post.
It’s important to note that the specific method of reinforcement will depend on your fence design, the material of the post, and the extent of the damage. Consider consulting a professional or researching specific techniques for your particular situation.
By reinforcing the post, you’re taking proactive measures to prevent future leaning and ensure the long-term integrity of your fence. These additional measures will provide extra support and enhance the overall stability of the repaired post.
Read more: How To Extend Fence Posts
Finishing Touches
With the leaning fence post successfully repaired and reinforced, it’s time to add the finishing touches to complete the restoration process. These final steps will help enhance the appearance and functionality of your fence. Here are some finishing touches to consider:
- Reattach fence panels: If you had to detach any fence panels during the repair process, now is the time to reattach them. Use appropriate fasteners such as screws or nails to securely attach the panels back to the repaired post. Ensure that the panels are properly aligned and level with the neighboring panels.
- Apply a protective coating: Consider applying a protective coating to the fence post and panels. This can help protect the wood from weathering, rotting, or other damage. Choose a coating that is appropriate for the material of your fence, such as paint, stain, or a weather-resistant sealant.
- Inspect and make adjustments: Take a final walkthrough of your fence and inspect the overall structure for any remaining issues. Check for loose screws or nails, uneven panels, or any signs of weakness. Make any necessary adjustments or repairs to ensure the fence is secure and in good condition.
- Landscaping and aesthetics: Consider enhancing the surroundings of your fence to improve the overall aesthetic appeal. This could include landscaping, planting flowers or shrubs, or adding decorative elements. Not only will this enhance the visual appeal of your property, but it can also provide additional privacy and complement the newly repaired fence.
- Maintenance and regular inspections: Finally, establish a routine for regular fence maintenance and inspections. This will help you identify any potential issues early on and address them promptly, keeping your fence in optimal condition for years to come.
By focusing on these finishing touches, you’ll not only restore the functionality and stability of your fence but also enhance its overall appearance and longevity. Taking the time to add these final details will ensure that your repaired fence post is in top shape and ready to withstand the test of time.
Conclusion
Fixing a leaning fence post may seem like a daunting task, but with the right knowledge, tools, and materials, it is a manageable DIY project. By following the step-by-step process outlined in this article, you can successfully repair a leaning fence post and restore the stability, functionality, and aesthetic appeal of your fence.
Assessing the damage, gathering the necessary tools and materials, and preparing the area are crucial initial steps to ensure a smooth repair process. Digging up the post and straightening it play a vital role in restoring the integrity of the fence. Securing the post and filling the hole provide a stable foundation, while reinforcing the post adds extra support and prevents future leaning.
Don’t forget the importance of the finishing touches, such as reattaching fence panels, applying a protective coating, and performing regular maintenance. These steps will ensure the long-term durability and visual attractiveness of your fence.
Remember, if you’re unsure about your DIY skills or the extent of the damage, it’s always best to seek professional assistance. Safety should be a priority throughout the repair process, so be sure to wear appropriate protective gear and take necessary precautions.
With a repaired and reinforced post, your fence will continue to enhance the privacy, security, and beauty of your property for many years to come. Regular inspections and maintenance will help you catch any issues early and address them promptly, ensuring the longevity of your fence.
So roll up your sleeves, gather your tools, and get ready to fix that leaning fence post. With a little effort and determination, you’ll have a sturdy, straight, and beautiful fence that will withstand the test of time.
Frequently Asked Questions about How To Fix Leaning Fence Post
Was this page helpful?
At Storables.com, we guarantee accurate and reliable information. Our content, validated by Expert Board Contributors, is crafted following stringent Editorial Policies. We're committed to providing you with well-researched, expert-backed insights for all your informational needs.


0 thoughts on “How To Fix Leaning Fence Post”