Home>Articles>How To Clean Brick Pavers For An Outdoor Space That Looks Like New
Articles
How To Clean Brick Pavers For An Outdoor Space That Looks Like New
Modified: October 27, 2024
Discover expert tips on how to clean brick pavers and transform your outdoor space into a pristine haven with our insightful articles.
(Many of the links in this article redirect to a specific reviewed product. Your purchase of these products through affiliate links helps to generate commission for Storables.com, at no extra cost. Learn more)
Introduction
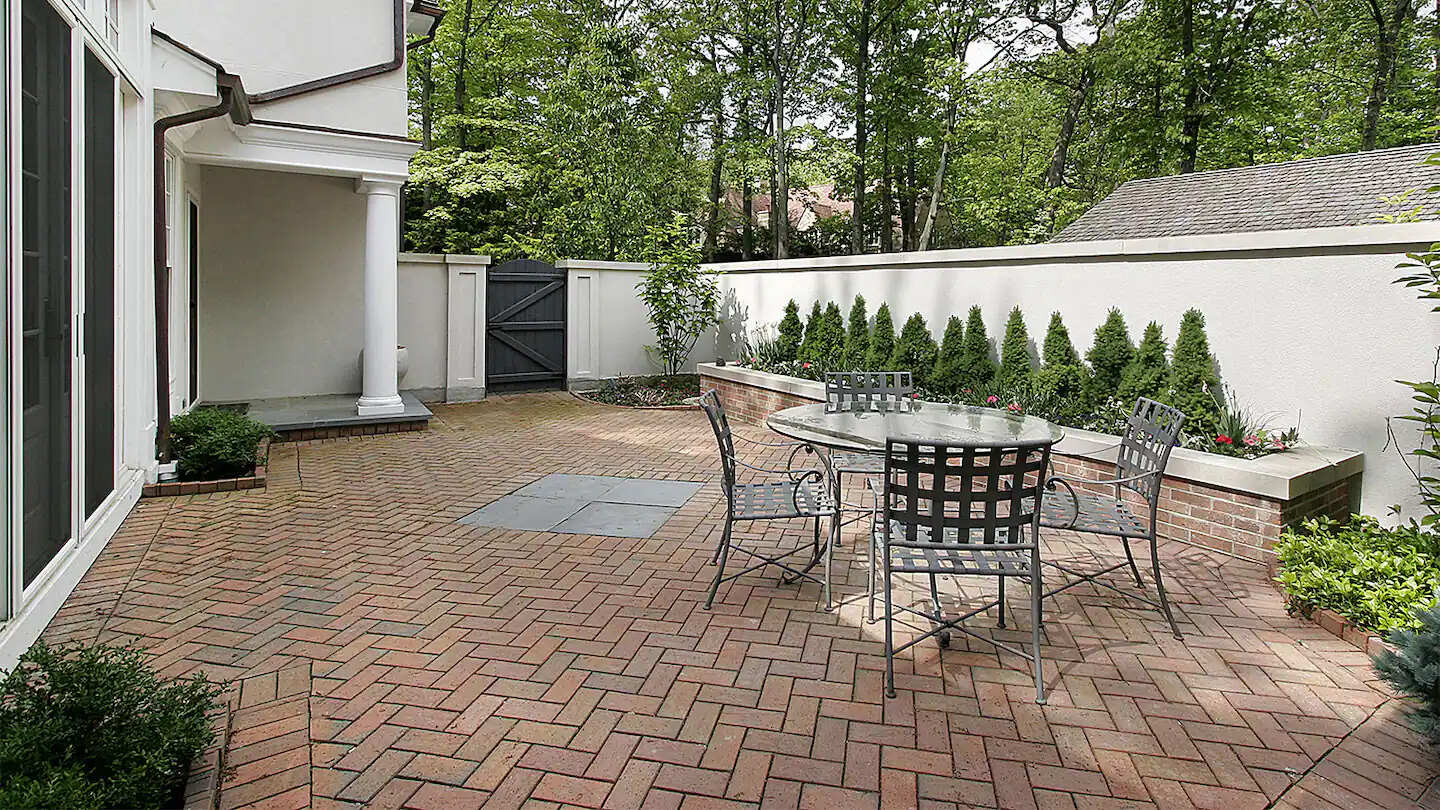
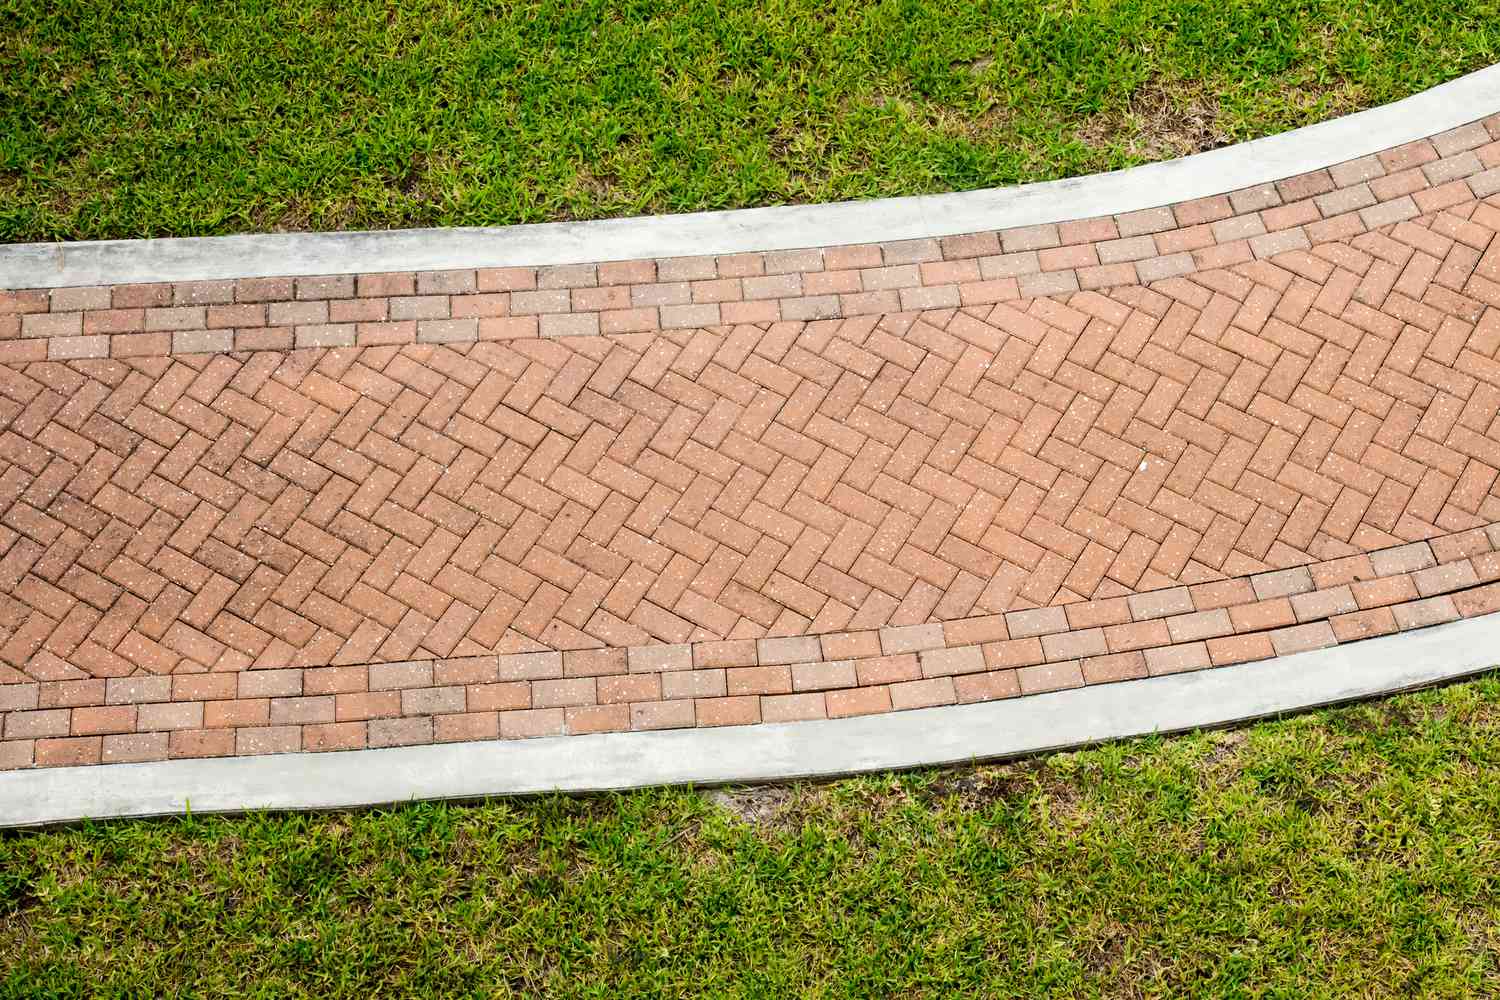
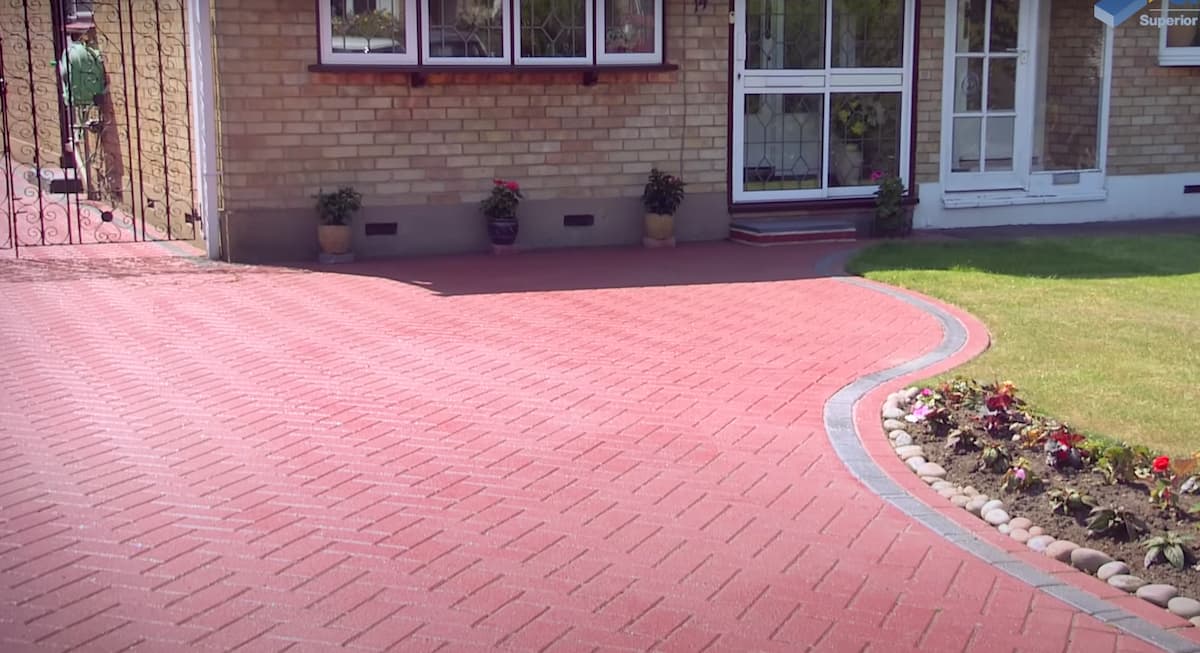
Brick pavers are a popular choice for outdoor spaces, providing a timeless and durable option for patios, walkways, and driveways. Over time, however, these pavers can accumulate dirt, stains, and even moss or algae, diminishing their aesthetic appeal. To restore your brick pavers to their original beauty, regular cleaning and maintenance are essential.
In this article, we will guide you through the steps necessary to clean your brick pavers and achieve a rejuvenated outdoor space that looks like new. From gathering the necessary tools to sealing the bricks, we will cover each stage of the cleaning process, ensuring that your efforts yield long-lasting results.
Before we delve into the details, it’s important to note that investing time and effort in cleaning your brick pavers not only enhances their appearance but also prolongs their lifespan. By removing dirt, stains, and organic growth, you are preventing potential damage and preserving the durability and integrity of the pavers.
Now, let’s get started on transforming your outdoor space into a visually stunning and inviting area that you can enjoy for years to come.
Key Takeaways:
- Regular cleaning and maintenance of brick pavers not only enhance their appearance but also prolong their lifespan by preventing potential damage and preserving their durability and integrity.
- By following the step-by-step process of gathering tools, clearing the area, removing dirt and stains, deep cleaning, re-sanding, and sealing, you can achieve impressive results and create an outdoor space that looks like new.
Step 1: Gathering the necessary tools
Before you begin the process of cleaning your brick pavers, it’s essential to gather all the necessary tools and supplies. Having everything on hand will make the cleaning process more efficient and ensure that you can tackle any stains or debris effectively.
Here are some of the tools you will need:
- A stiff-bristled broom or brush: This will be used to sweep away loose dirt and debris from the surface of the pavers.
- A garden hose with a high-pressure nozzle: The nozzle will help provide a strong stream of water for rinsing and cleaning.
- Mild detergent or brick paver cleaner: Choose a cleaner that is specifically formulated for brick pavers to avoid damaging the surface.
- A scrub brush or a deck brush: This will be used to scrub away stains and remove tough dirt.
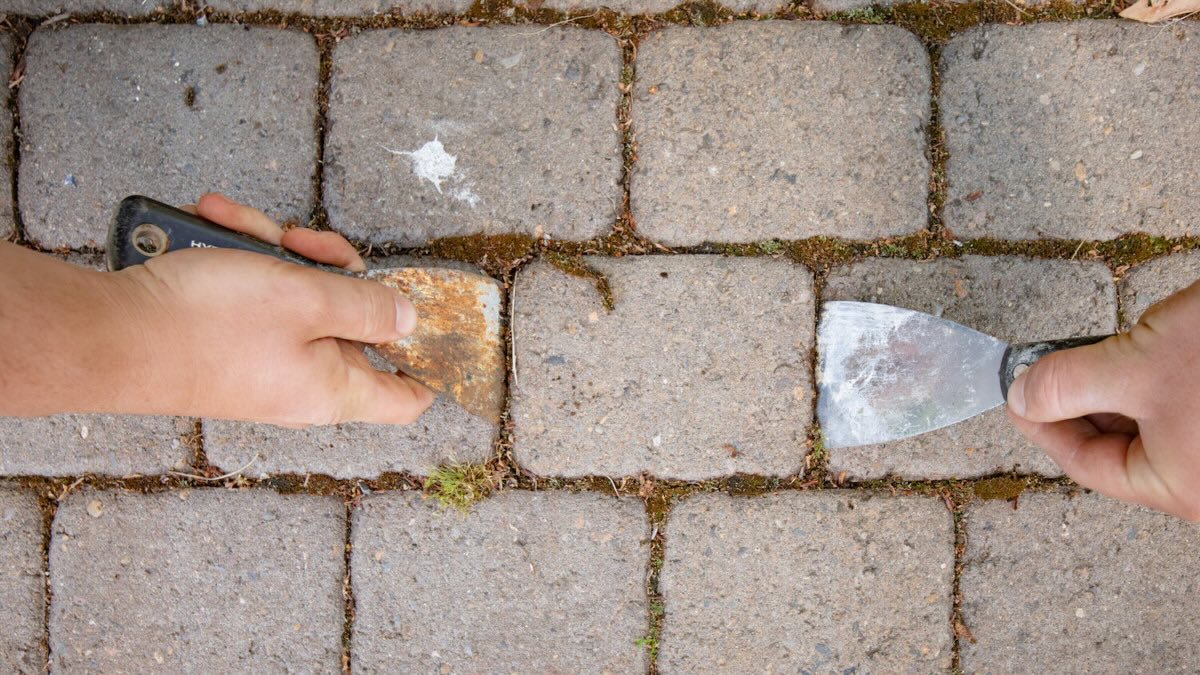
- A putty knife or scraper: This tool will come in handy for removing any stubborn stains, such as oil or paint.
- A plastic sheet or tarp: Use this to protect nearby plants or surfaces from any cleaning solutions.
- Sand or polymeric sand: This will be used later in the process to fill in the joints between the pavers.
- A sealer: If desired, you will need a paver sealer to apply after cleaning to protect the bricks and enhance their color.
Once you have gathered all the necessary tools and supplies, you are ready to move on to the next step: clearing the area around the brick pavers.
Step 2: Clearing the area
Before you begin cleaning your brick pavers, it’s important to clear the surrounding area to ensure that no debris or obstacles interfere with the cleaning process. Here are the steps to follow:
- Remove any furniture, plants, or other objects on or around the pavers. Place them in a safe location away from the cleaning area.
- Sweep the area around the pavers with a broom to remove loose dirt, leaves, or grass. This will prevent any additional debris from getting onto the pavers during the cleaning process.
- If there are any weeds or grass growing between the pavers, use a weed trimmer or a garden edging tool to trim them back. This will make it easier to clean the surface of the pavers and ensure that the cleaning solution reaches all areas.
- Consider placing a plastic sheet or tarp over any nearby plants or delicate surfaces to protect them from any cleaning solutions or debris that may splash or spray during the cleaning process.
By clearing the area before you start cleaning, you create a clean and safe environment to work in, allowing for a more efficient and effective cleaning process.
Once the area is cleared, you can move on to the next step, which involves removing surface dirt and debris from the brick pavers themselves.
Step 3: Removing surface dirt and debris
Now that the surrounding area is clear, it’s time to focus on cleaning the surface dirt and debris from the brick pavers. This step is crucial to prepare the pavers for deeper cleaning and stain removal. Here’s how to do it:
- Start by using a stiff-bristled broom or brush to sweep away any loose dirt, leaves, or other debris from the surface of the pavers. This will help prevent scratching the pavers during the cleaning process.
- For areas with stubborn debris or ingrained dirt, you can use a garden hose with a high-pressure nozzle to spray water and dislodge the dirt. Direct the nozzle at a steep angle to avoid pushing dirt further into the paver joints.
- If there are any noticeable stains on the surface, try using simple household solutions before moving on to stronger cleaning agents. For example, a mixture of mild detergent or dish soap and warm water can be applied to the stained areas.
- Allow the detergent or soapy water to sit on the stains for a few minutes to loosen the dirt or grime. Then, use a scrub brush or deck brush to gently scrub the stained areas in a circular motion.
- Rinse the pavers with clean water from the hose to remove any cleaning residue and excess dirt. Be thorough in rinsing to ensure all cleaning agents are removed.
- Inspect the pavers for any remaining dirt or stains. If necessary, repeat the cleaning process until the surface dirt is fully removed.
By removing the surface dirt and debris from your brick pavers, you are laying the foundation for a more thorough cleaning. This step prepares the pavers for the next phase – treating stains and discoloration.
Continue to Step 4 to learn how to tackle stubborn stains and restore the original color of your brick pavers.
Step 4: Treating stains and discoloration
Stains and discoloration can be unsightly and can detract from the overall appearance of your brick pavers. In this step, we will guide you through the process of treating stains and restoring the color of your pavers. Here’s how to do it:
- Identify the type of stain. Different stains may require different treatment methods. Common types of stains on brick pavers include oil, grease, rust, mildew, and organic stains like leaf or grass stains.
- For organic stains, such as leaf stains or grass stains, a mixture of bleach and water can be effective. Make sure to dilute the bleach in water according to the manufacturer’s instructions.
- Apply the bleach mixture directly to the stained areas and let it sit for a few minutes to penetrate the surface. Use a scrub brush to gently scrub the stained areas, applying more pressure as needed to remove the stain.
- Rinse the pavers thoroughly with clean water to remove any residual bleach. Be cautious when using bleach, as it may discolor the pavers if not rinsed properly.
- For oil or grease stains, use a commercial degreaser specifically formulated for brick pavers. Apply the degreaser to the stained areas and allow it to sit for the recommended time.
- Scrub the stained areas with a scrub brush or deck brush, paying special attention to heavily stained spots. Rinse the pavers thoroughly with clean water to remove the degreaser.
- If there are rust stains on your pavers, you can use a rust remover specifically designed for masonry surfaces. Follow the manufacturer’s instructions for the application process.
- For stubborn or persistent stains, you may need to repeat the stain treatment process multiple times or try alternative cleaning methods. Be patient and persistent, as some stains may require several attempts to fully remove.
Treating stains and discoloration is a critical step in the cleaning process, as it directly impacts the overall appearance of your brick pavers. Once the stains are treated, you can move on to the next step – deep cleaning the pavers.
Continue to Step 5 for detailed instructions on deep cleaning your brick pavers to remove embedded dirt and grime.
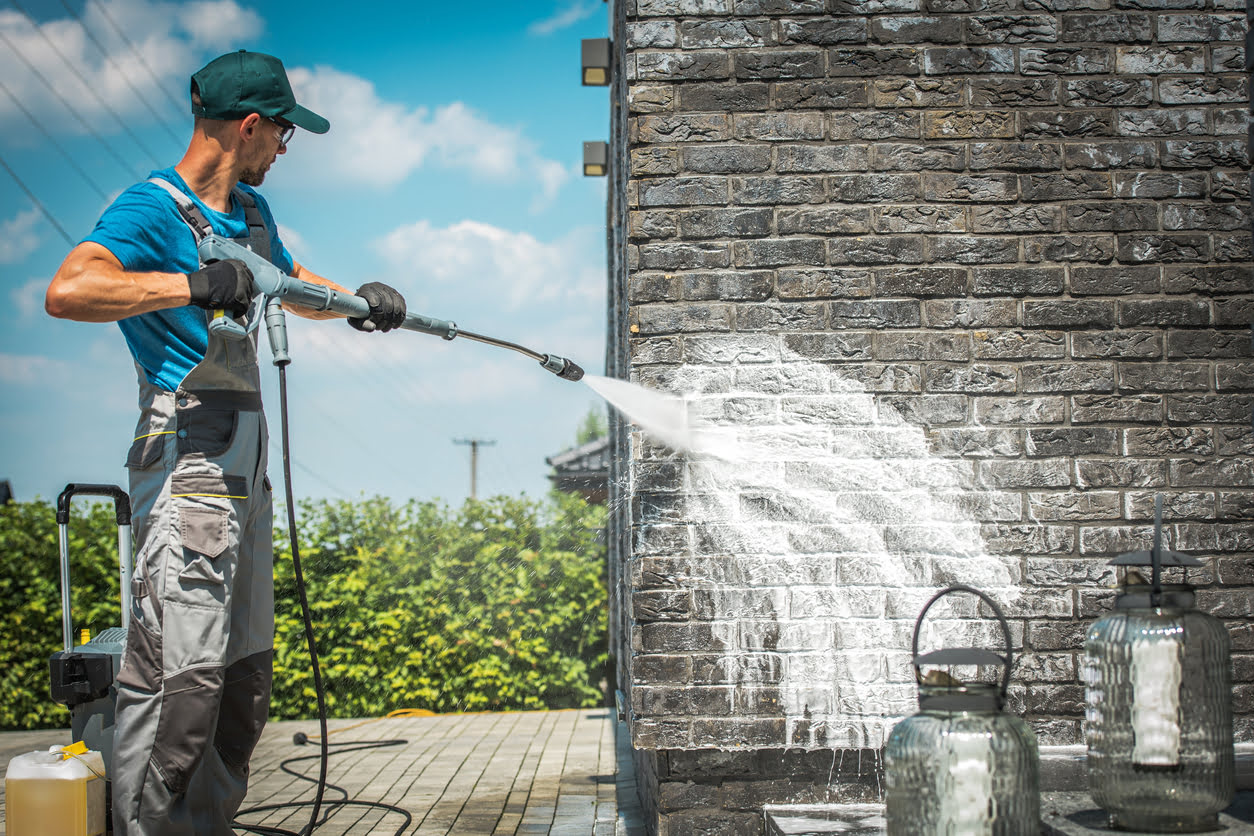
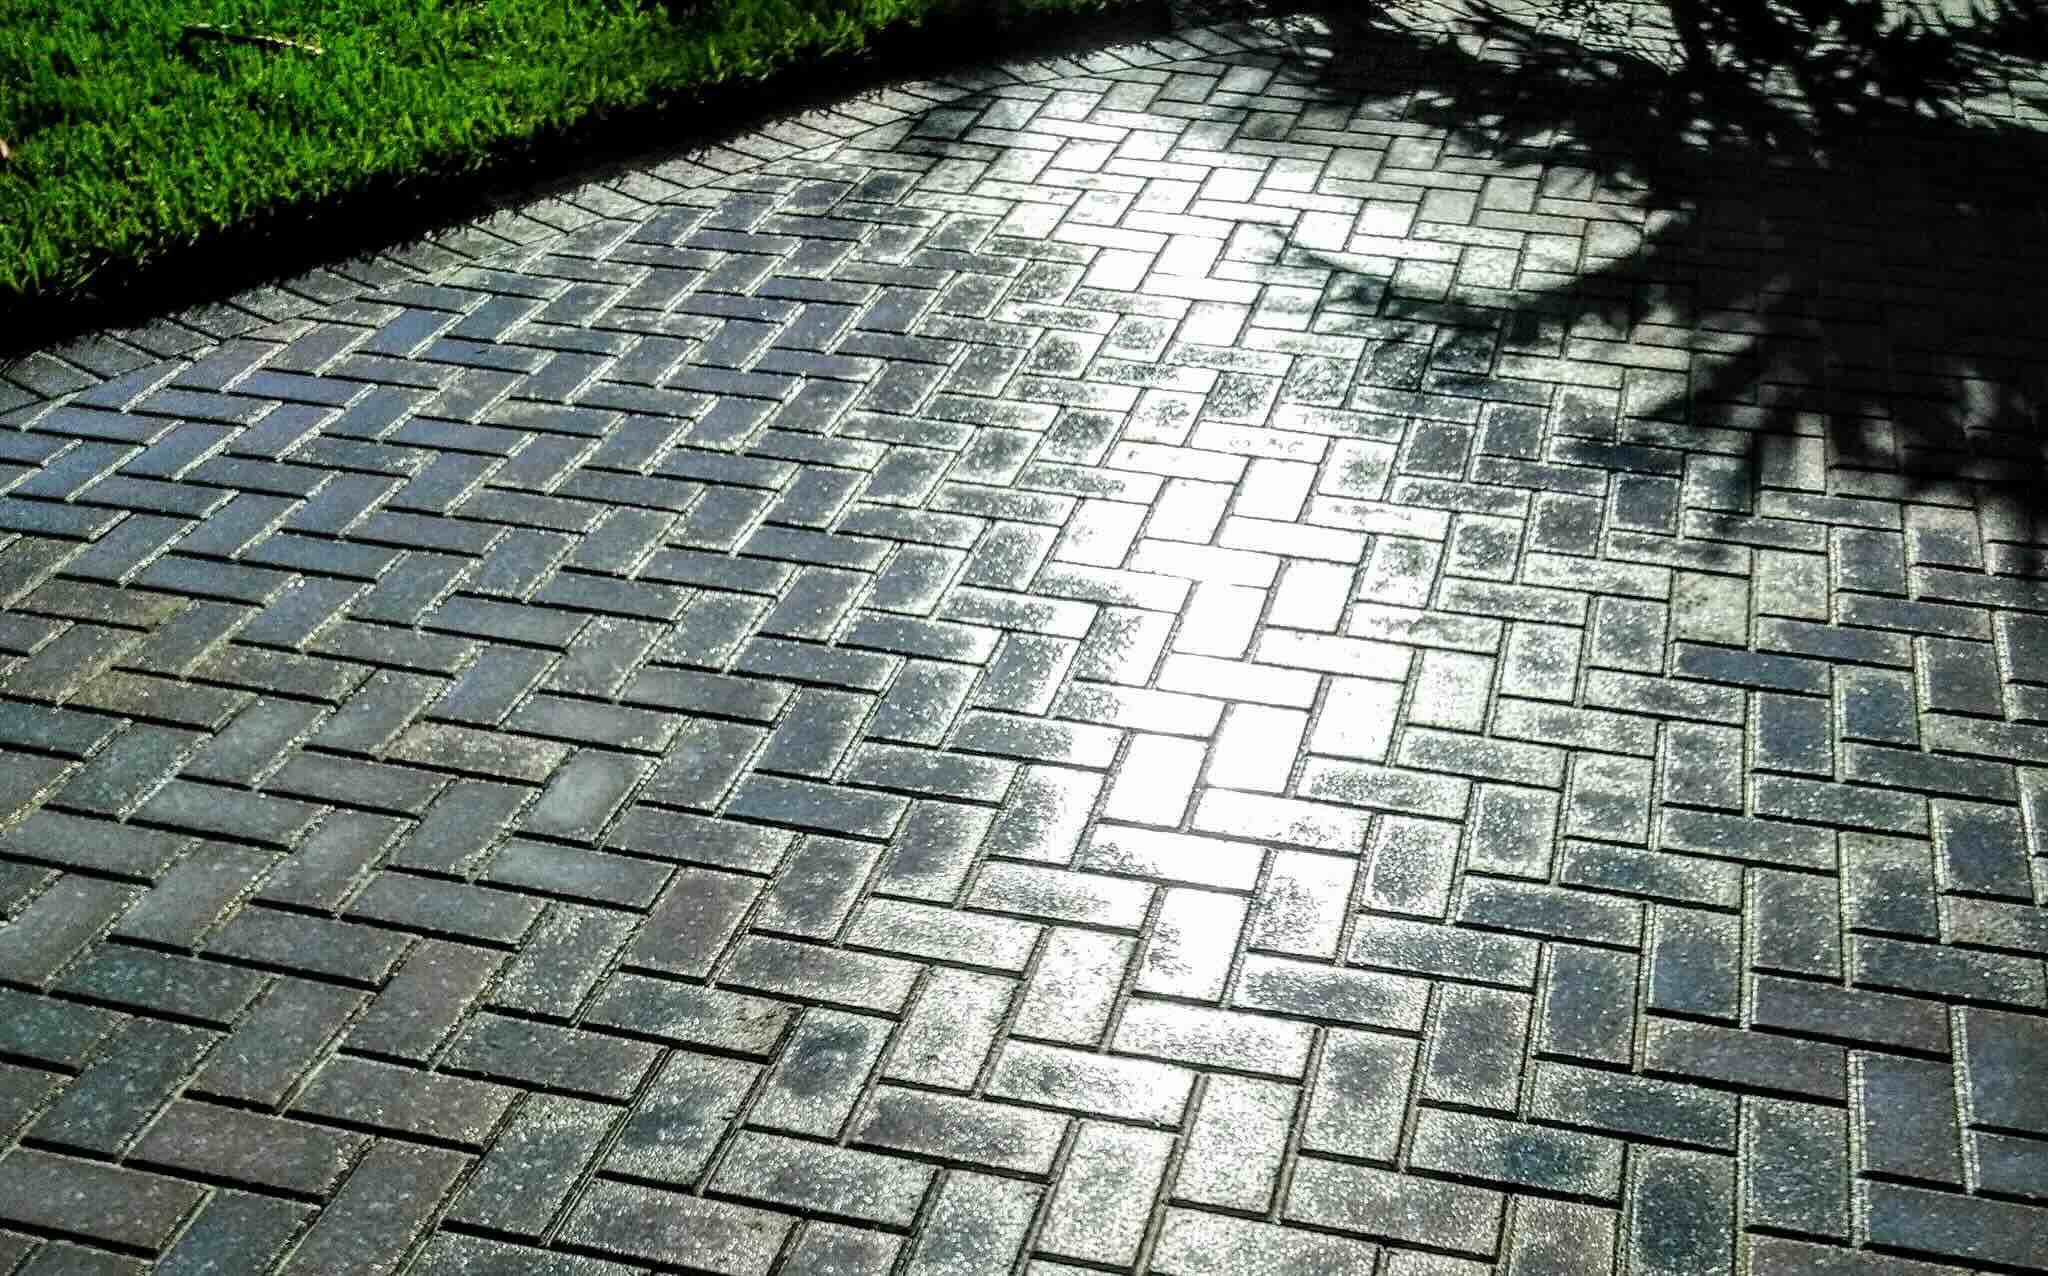
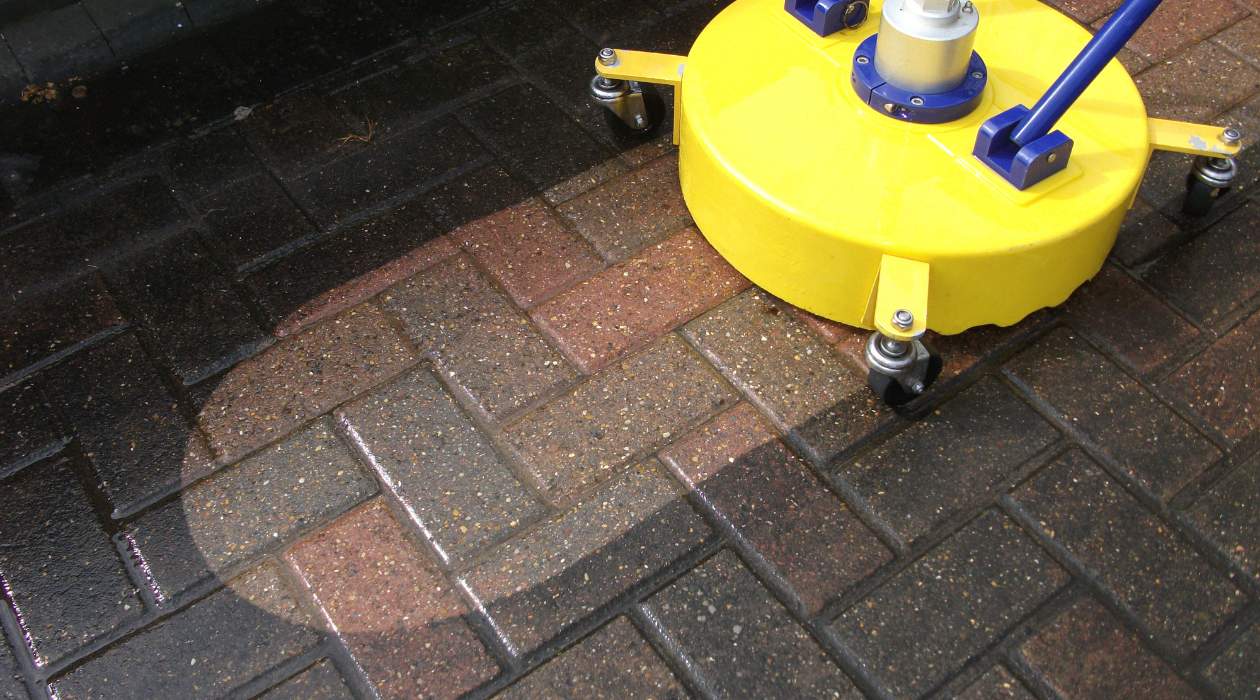
Use a pressure washer with a low-pressure nozzle to clean brick pavers. Start with a gentle detergent and scrub any tough stains with a brush. Rinse thoroughly and allow to dry completely before sealing.
Step 5: Deep cleaning the pavers
Deep cleaning the brick pavers is essential to remove embedded dirt, grime, and any remaining stains. This step will help restore the original color and vibrancy of your pavers. Here’s how to deep clean your brick pavers:
- Prepare a solution of mild detergent or a brick paver cleaner, following the manufacturer’s instructions for the appropriate dilution.
- Apply the cleaning solution to the entire surface of the pavers, ensuring that it covers all areas evenly. You can use a spray bottle, a watering can, or a garden sprayer for larger areas.
- Allow the cleaning solution to sit on the pavers for the recommended time, typically around 10-15 minutes. This will give the cleaner enough time to penetrate and break down embedded dirt and grime.
- Use a scrub brush or deck brush to scrub the pavers in a circular motion, paying extra attention to heavily soiled areas. Apply more pressure as needed to dislodge stubborn dirt and stains.
- For areas with particularly stubborn stains or ingrained grime, you may need to use a power washer with low to medium pressure. Hold the nozzle at a safe distance from the pavers to avoid damaging the surface.
- Rinse the pavers thoroughly with clean water using a garden hose. Ensure that all cleaning residue and loose dirt are completely washed away.
- Inspect the pavers to see if any areas require further cleaning. If necessary, repeat the process until the pavers are clean and free from dirt, grime, and stains.
Deep cleaning your brick pavers will not only enhance their appearance but also help maintain their structural integrity. By removing built-up dirt and grime, you can ensure the longevity and durability of your outdoor space.
Once the pavers are deep cleaned, you can move on to the next step – re-sanding the joints between the pavers.
Continue to Step 6 for detailed instructions on re-sanding to stabilize the pavers and prevent weed growth.
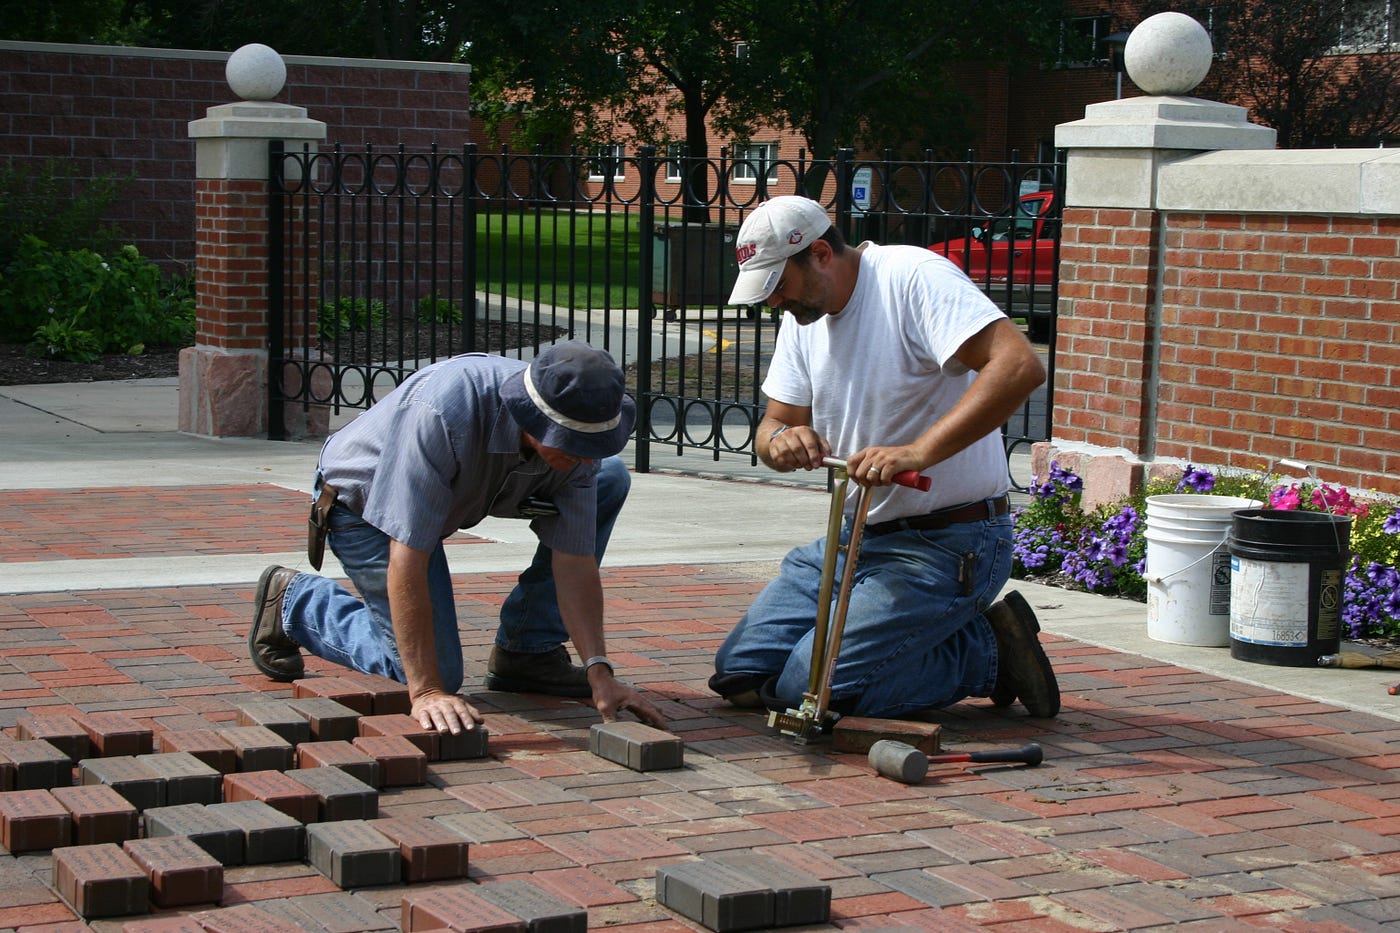
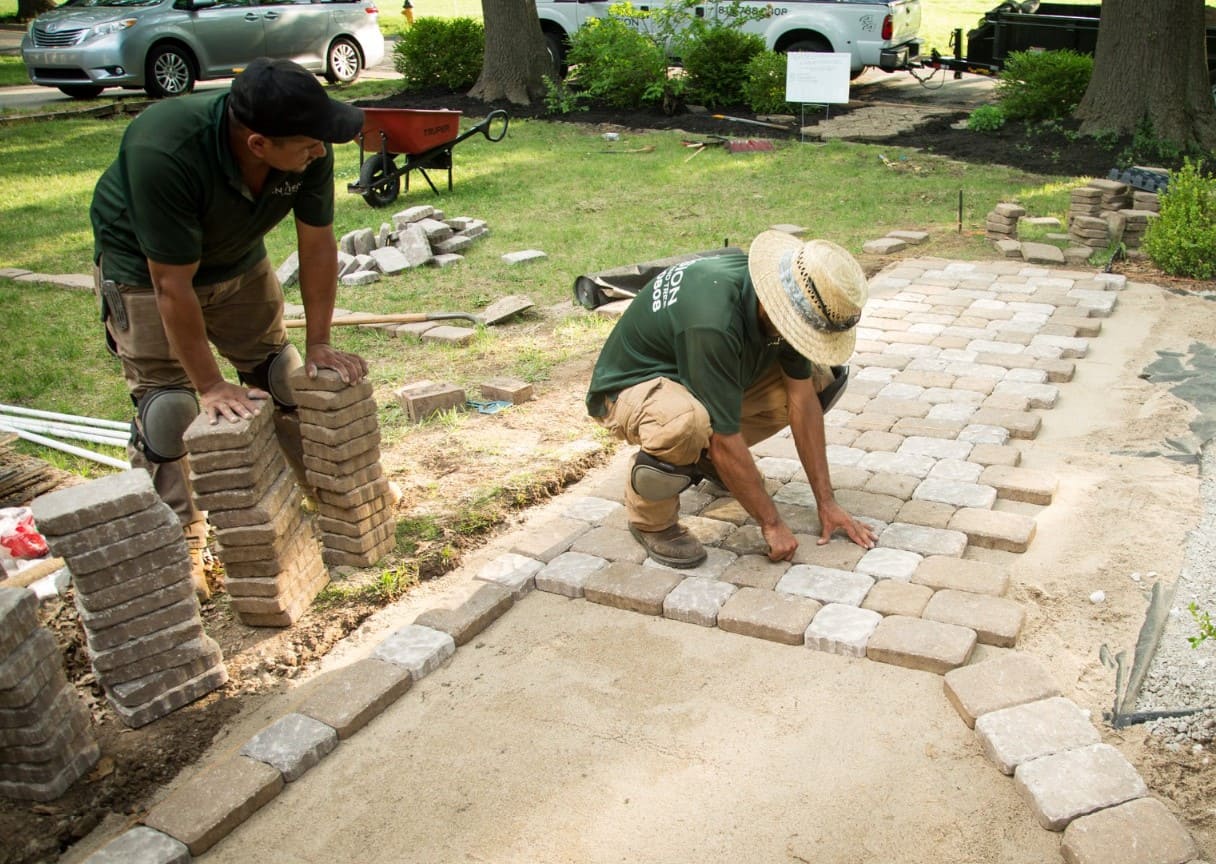
Step 6: Re-sanding the joints
Re-sanding the joints between your brick pavers is an important step to stabilize the pavers, prevent shifting, and inhibit weed growth. Follow these steps to re-sand the joints:
- Ensure that the pavers are completely dry before starting this step.
- Inspect the joints between the pavers to determine if they need re-sanding. Look for any gaps or areas where the sand has eroded or been washed away.
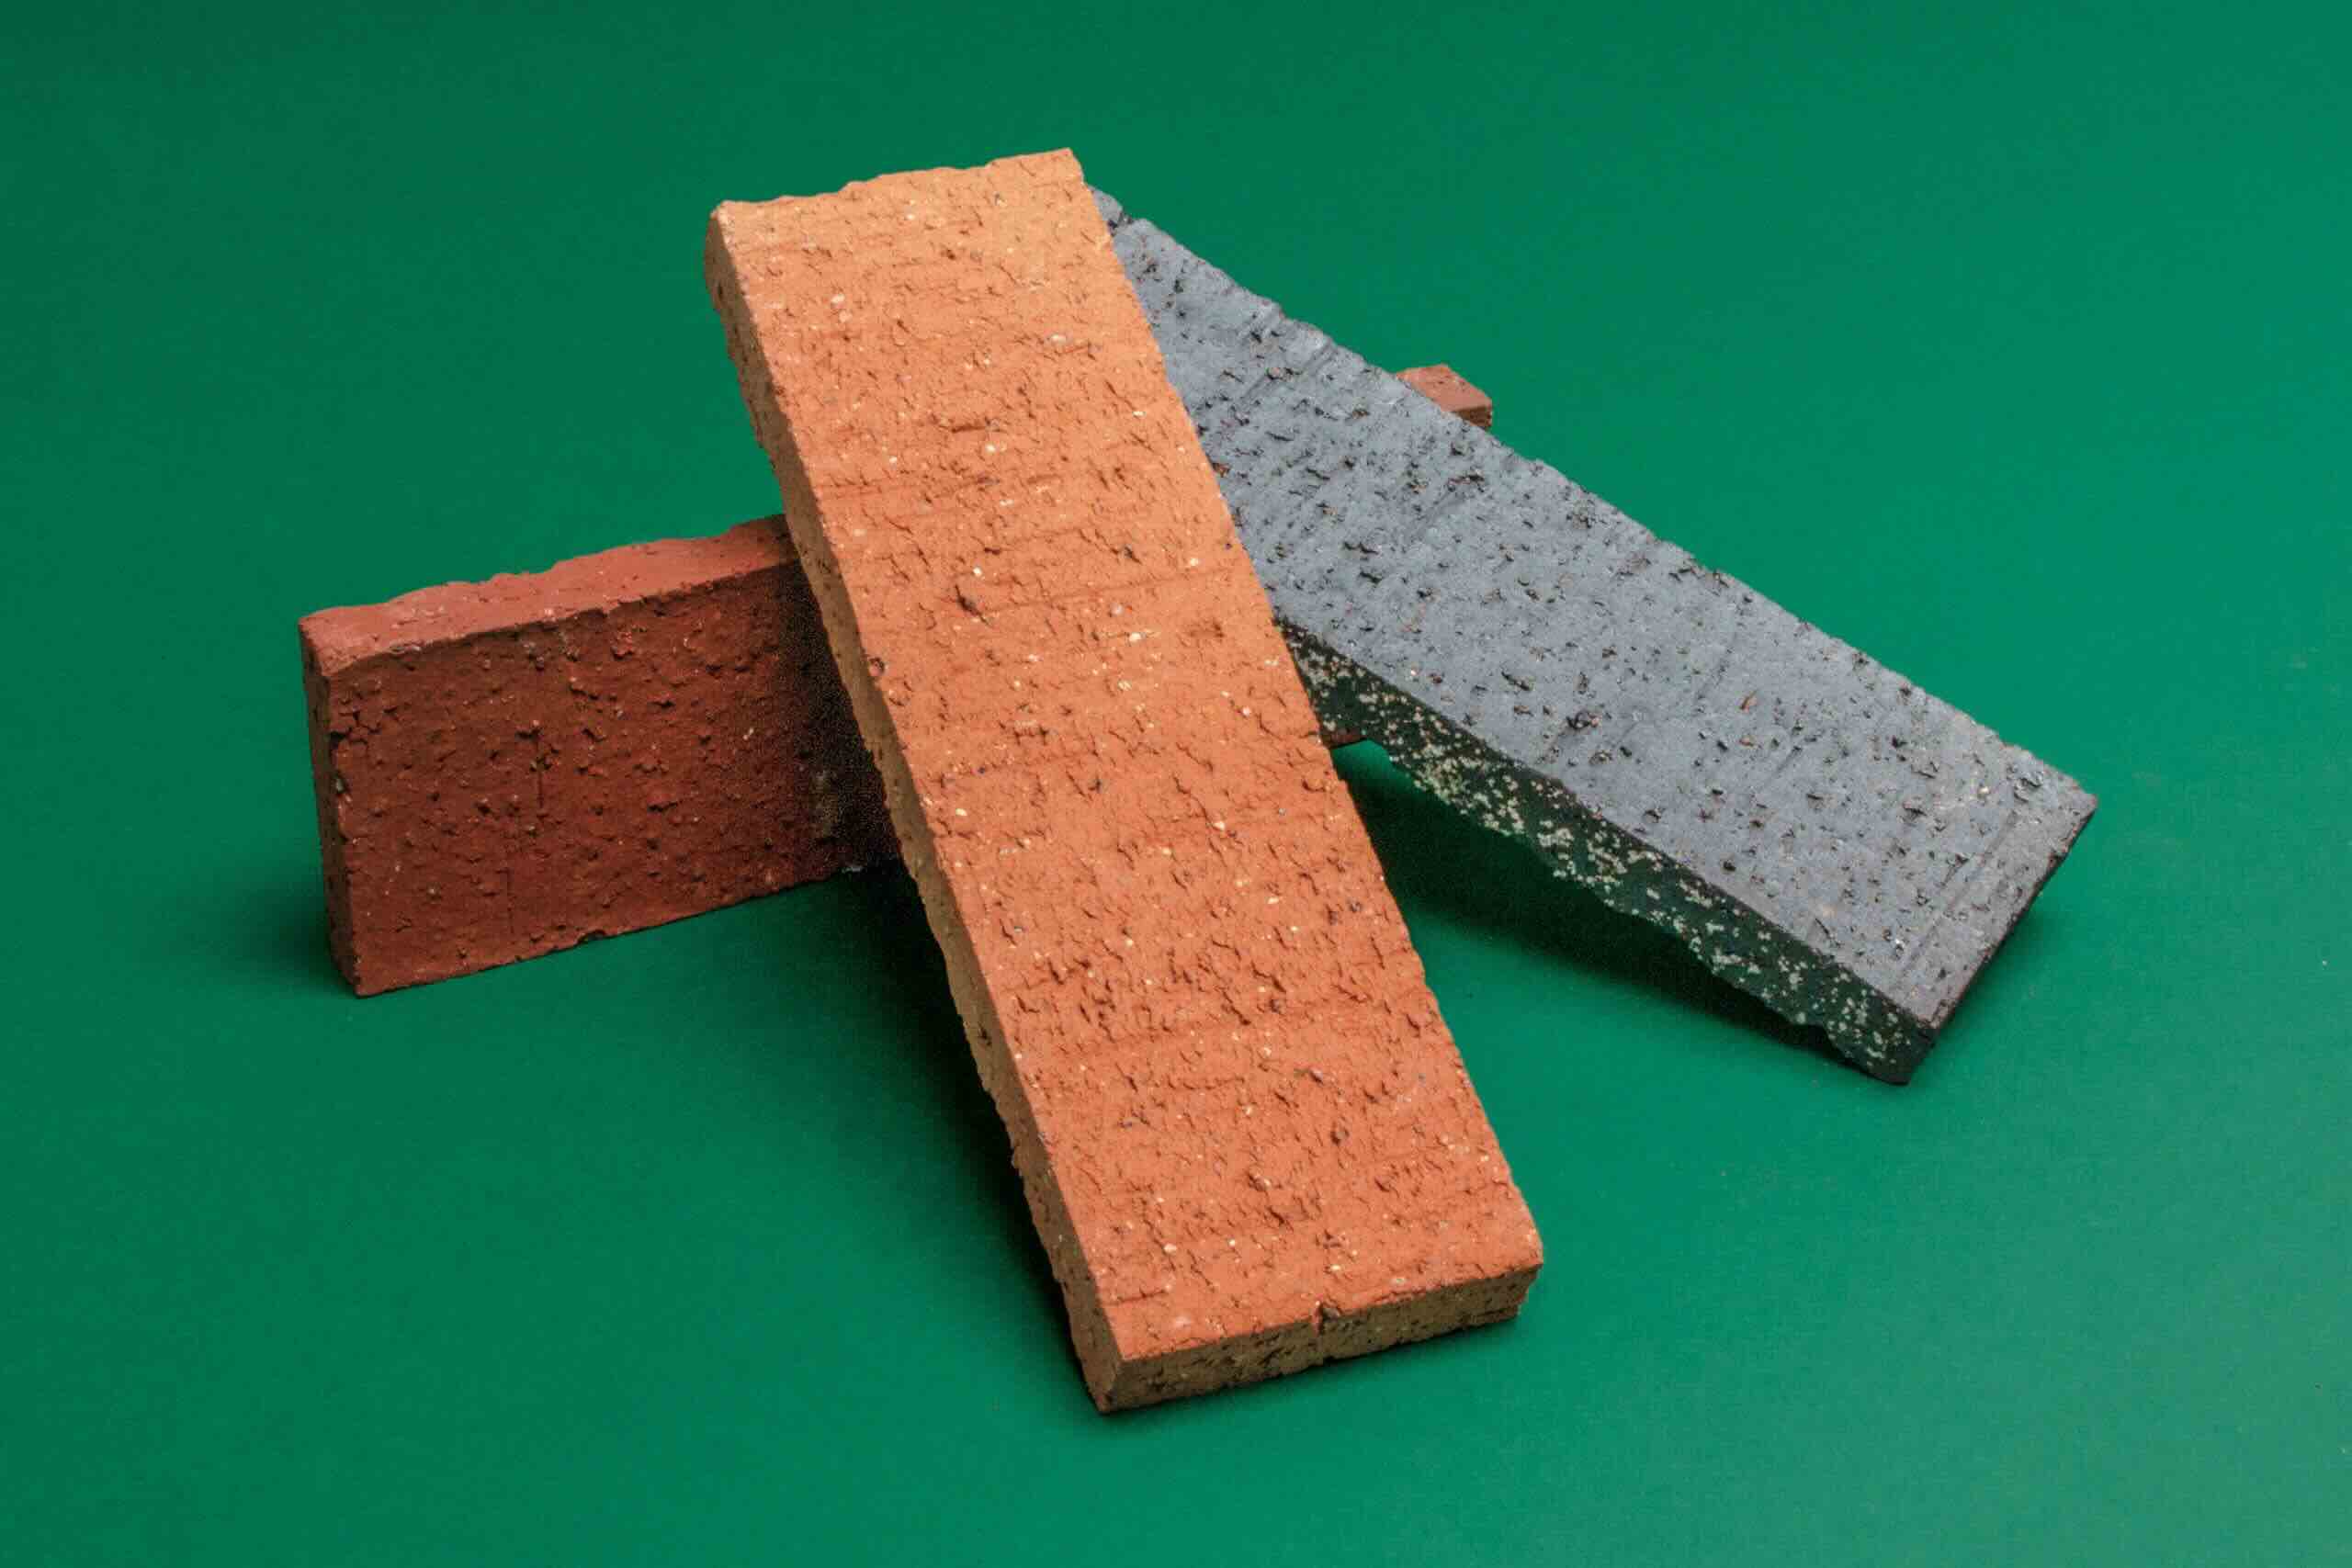
- Choose either regular sand or polymeric sand for re-sanding. Regular sand is suitable for areas with low foot traffic, while polymeric sand is more durable and prevents weed growth. Be sure to select sand that matches the color and size of your existing joint sand.
- Pour the sand over the entire surface of the pavers, ensuring that it fills the joints completely. Use a broom or a brush to sweep the sand into the joints, making sure it is evenly distributed and level with the surface of the pavers.
- Use a compactor or a tamper to firmly compact the sand into the joints. This will help stabilize the pavers and prevent them from shifting. Continue compacting until the sand is tightly packed and the joints are filled to the desired level.
- Sweep away any excess sand from the surface of the pavers using a broom or a brush. Take care not to remove the sand from the joints in the process.
- Lightly mist the surface of the pavers with water. This will help activate the binding agents in the polymeric sand or regular sand, ensuring a secure bond between the particles.
- Allow the sand to settle and dry for a day or two, depending on the manufacturer’s instructions. Avoid walking on or disturbing the re-sanded area until it is fully dry.
Re-sanding the joints not only enhances the stability and structural integrity of your brick pavers but also helps maintain their aesthetic appeal. By filling in gaps and eliminating weed-prone areas, you can enjoy a more visually pleasing and long-lasting outdoor space.
Once the joints are re-sanded, it’s time to move on to the final step – sealing the bricks. Continue to Step 7 for detailed instructions on sealing your brick pavers.
Step 7: Sealing the bricks
Sealing your brick pavers is the final step in the cleaning process. It provides an added layer of protection, enhances the color of the bricks, and makes future maintenance easier. Follow these steps to seal your brick pavers:
- Ensure that the pavers are clean, dry, and free from any debris before applying the sealer.
- Choose a high-quality brick paver sealer that is suitable for your specific type of pavers. Read the manufacturer’s instructions to determine the appropriate application method and the coverage area of the sealer.
- Start by applying the sealer to a small, inconspicuous area of the pavers to test for any adverse reactions or unexpected changes in appearance. Allow the test patch to dry and observe the results before proceeding.
- If the test patch is successful, you can proceed to apply the sealer to the rest of the pavers. Use a brush, roller, or sprayer, depending on the recommended application method for your chosen sealer.
- Apply a thin, even coat of sealer to the surface of the pavers, working in small sections at a time. Pay particular attention to the joints between the pavers, as they are more susceptible to water penetration and weed growth.
- Allow the sealer to dry according to the manufacturer’s instructions. This usually takes a few hours, but it may vary depending on the type of sealer and environmental conditions.
- If desired, you can apply a second coat of sealer for enhanced protection and a deeper color enhancement. Follow the same application process as the first coat.
- Clean up any drips or excess sealer immediately to avoid leaving visible marks or streaks on the pavers.
Sealing your brick pavers is an investment in their longevity and appearance. It helps protect against stains, UV damage, fading, and the effects of harsh weather conditions.
Once the sealer has fully dried, you can enjoy your clean and rejuvenated brick pavers. Remember to follow a regular maintenance routine to keep your pavers in optimal condition for years to come.
Congratulations! You have successfully completed the process of cleaning and maintaining your brick pavers, transforming your outdoor space into a stunning and inviting area that looks like new.
Conclusion
Cleaning brick pavers is a crucial aspect of maintaining the beauty and durability of your outdoor space. By following the steps outlined in this article, you can effectively remove dirt, stains, and debris from your pavers, restoring them to their original vibrancy. Whether you are preparing for a special event or simply want to refresh your outdoor space, the process of cleaning brick pavers is well worth the effort.
Remember, gathering the necessary tools, clearing the area, removing surface dirt and debris, treating stains and discoloration, deep cleaning the pavers, re-sanding the joints, and sealing the bricks are the key steps in the cleaning process. By carefully following these steps, you can achieve impressive results and create an outdoor space that looks like new.
Regular maintenance is also essential in preserving the pristine condition of your brick pavers. Sweep the surface regularly, remove any organic matter promptly, and address stains and spills as soon as possible. Additionally, consider re-sanding and reapplying sealer periodically, according to the manufacturer’s recommendations, to maintain the integrity and visual appeal of your pavers for years to come.
Now that you have acquired the knowledge and guidance to clean and maintain your brick pavers, it’s time to put it into action. Enjoy the satisfaction of a transformed outdoor space that welcomes you with its refreshed beauty and invites you to create lasting memories.
Frequently Asked Questions about How To Clean Brick Pavers For An Outdoor Space That Looks Like New
Was this page helpful?
At Storables.com, we guarantee accurate and reliable information. Our content, validated by Expert Board Contributors, is crafted following stringent Editorial Policies. We're committed to providing you with well-researched, expert-backed insights for all your informational needs.
0 thoughts on “How To Clean Brick Pavers For An Outdoor Space That Looks Like New”