Articles
How To Use Portable Dishwasher
Modified: October 20, 2024
Learn how to use a portable dishwasher efficiently with our informative articles. Discover tips and tricks to make dishwashing a breeze.
(Many of the links in this article redirect to a specific reviewed product. Your purchase of these products through affiliate links helps to generate commission for Storables.com, at no extra cost. Learn more)
Introduction
Welcome to the world of portable dishwashers! Whether you live in a small apartment, have limited kitchen space, or simply prefer a more convenient and compact dishwasher option, a portable dishwasher can be a game-changer. This innovative appliance offers all the benefits of a traditional dishwasher but with the added flexibility of being portable.
In this article, we will guide you through the steps of using a portable dishwasher effectively and efficiently. From setup to cleanup, we will cover everything you need to know to make the most of this convenient appliance. So, let’s dive in and discover how to use a portable dishwasher hassle-free!
Before we get started, it’s important to note that portable dishwashers come in various sizes and models. Some may have specific features or instructions unique to them, so it’s always a good idea to consult the manufacturer’s manual for any specific guidelines. However, the basic steps for using a portable dishwasher remain similar across most models.
Now, without further ado, let’s begin our journey into the world of portable dishwashers!
Key Takeaways:
- Embrace the convenience and efficiency of portable dishwashers by following the step-by-step guide for optimal use, from setup to loading, selecting the right wash cycle, and monitoring the cleaning process.
- Master the art of using a portable dishwasher to save time, conserve water and energy, and enjoy the convenience of clean dishes with minimal effort. Happy dishwashing!
Read more: How To Use Hotpoint Dishwasher
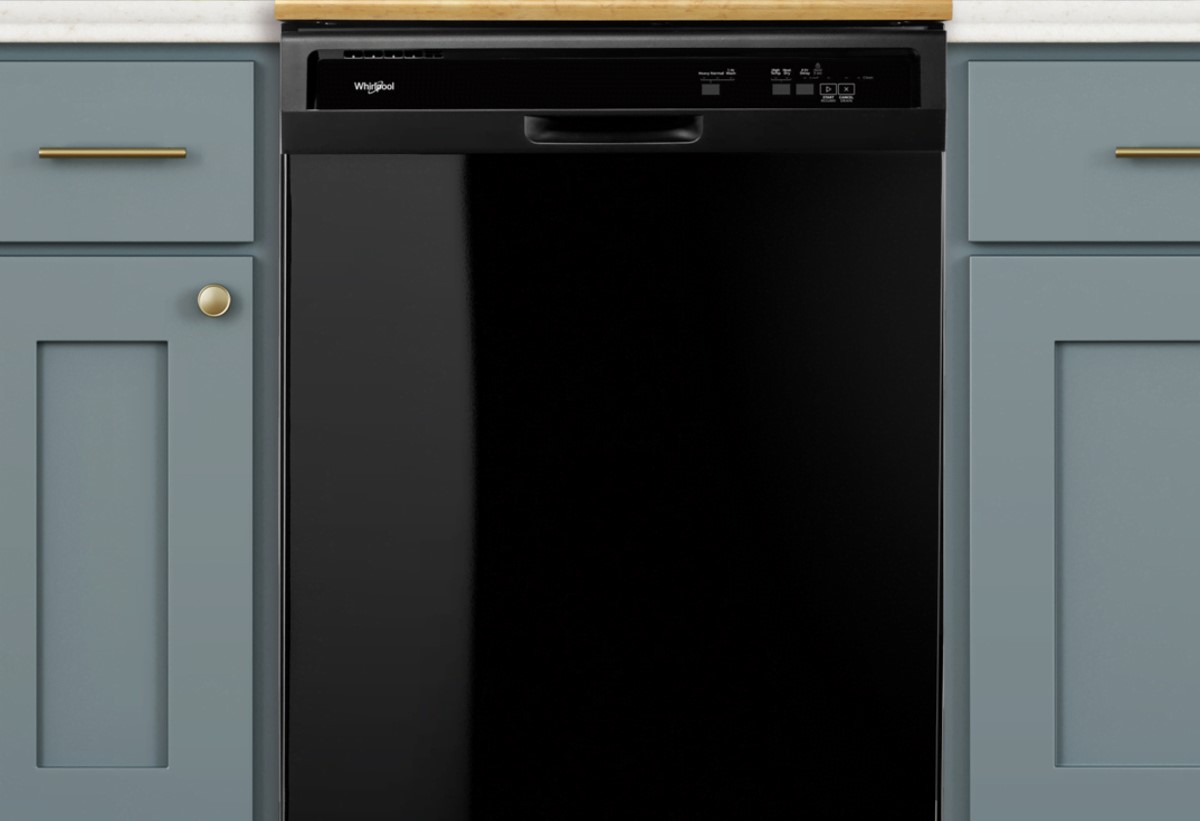
Step 1: Unpacking and Setup
The first step in using a portable dishwasher is to unpack and set it up properly. Here’s a step-by-step guide to help you through the process:
- Unbox the dishwasher: Carefully remove the dishwasher from its packaging, ensuring not to damage any parts or accessories during the process.
- Read the manual: Before proceeding with the setup, take some time to read the manufacturer’s manual. This will provide you with important information about the specific model you have and any particular setup instructions.
- Select a suitable location: Choose a suitable location in your kitchen that has access to a power outlet and water supply. Ensure that there is enough space for the dishwasher to fit comfortably and for the door to open and close without any obstructions.
- Prepare the countertop: If your portable dishwasher has a countertop feature, make sure to clear and clean the countertop area where the dishwasher will be placed. Remove any items that may obstruct the installation or could be damaged by water splashes.
- Connect the water supply: Most portable dishwashers come with a water hose that needs to be connected to a kitchen faucet. Attach the hose securely to the faucet, ensuring that it is tight and leak-free. If your model requires a different type of connection, refer to the manual for specific instructions.
- Connect the drain hose: Locate the drain hose on the back of the dishwasher. Position it near a sink or drain outlet and ensure that it is securely connected. This will allow the water to drain properly during the wash and rinse cycles.
- Plug in the dishwasher: Once the water and drain hoses are connected, plug the dishwasher’s power cord into a suitable electrical outlet. Ensure that the outlet is compatible with the dishwasher’s power requirements.
- Level the dishwasher: Use the adjustable legs or feet on the bottom of the dishwasher to level it. This will help prevent any rocking or instability during operation.
Once you have completed these steps, your portable dishwasher is now unpacked and properly set up. You can now move on to the next step of using it efficiently and effectively.
Step 2: Connecting to the Kitchen Faucet
Connecting your portable dishwasher to the kitchen faucet is an essential step to ensure a proper water supply during the cleaning process. Here’s a detailed guide to help you connect your dishwasher to the kitchen faucet:
- Prepare the faucet adapter: Most portable dishwashers come with a faucet adapter that allows for easy connection to various faucet types. Start by locating the appropriate adapter for your faucet.
- Remove any aerator or attachments: Before attaching the faucet adapter, remove any aerator or attachments from the faucet. These can interfere with the proper installation of the adapter.
- Install the faucet adapter: Attach the faucet adapter securely onto the faucet spout. Make sure it fits tightly and is firmly in place, as any loose connections can lead to leaks or improper water flow.
- Connect the hose: Take the water hose from the dishwasher and connect it to the adapter. Ensure a tight connection to prevent any water leakage, as a proper seal is crucial for the dishwasher to function optimally.
- Check for leaks: Once the hose is connected, turn on the faucet to check for any leaks. Inspect both the faucet adapter connection and the hose connection to ensure that water is flowing through without any issues.
It’s important to note that some portable dishwashers may have different types of faucet adapters or connection methods. Always refer to the manufacturer’s manual for specific instructions related to your dishwasher model.
Additionally, ensure that the faucet is turned on to the appropriate temperature for optimal dishwasher performance. Most dishwashers require hot water, so adjust the temperature accordingly.
By following these steps, you can successfully connect your portable dishwasher to the kitchen faucet. The proper connection will provide a seamless water supply for your dishwasher, allowing it to effectively clean your dishes with ease.
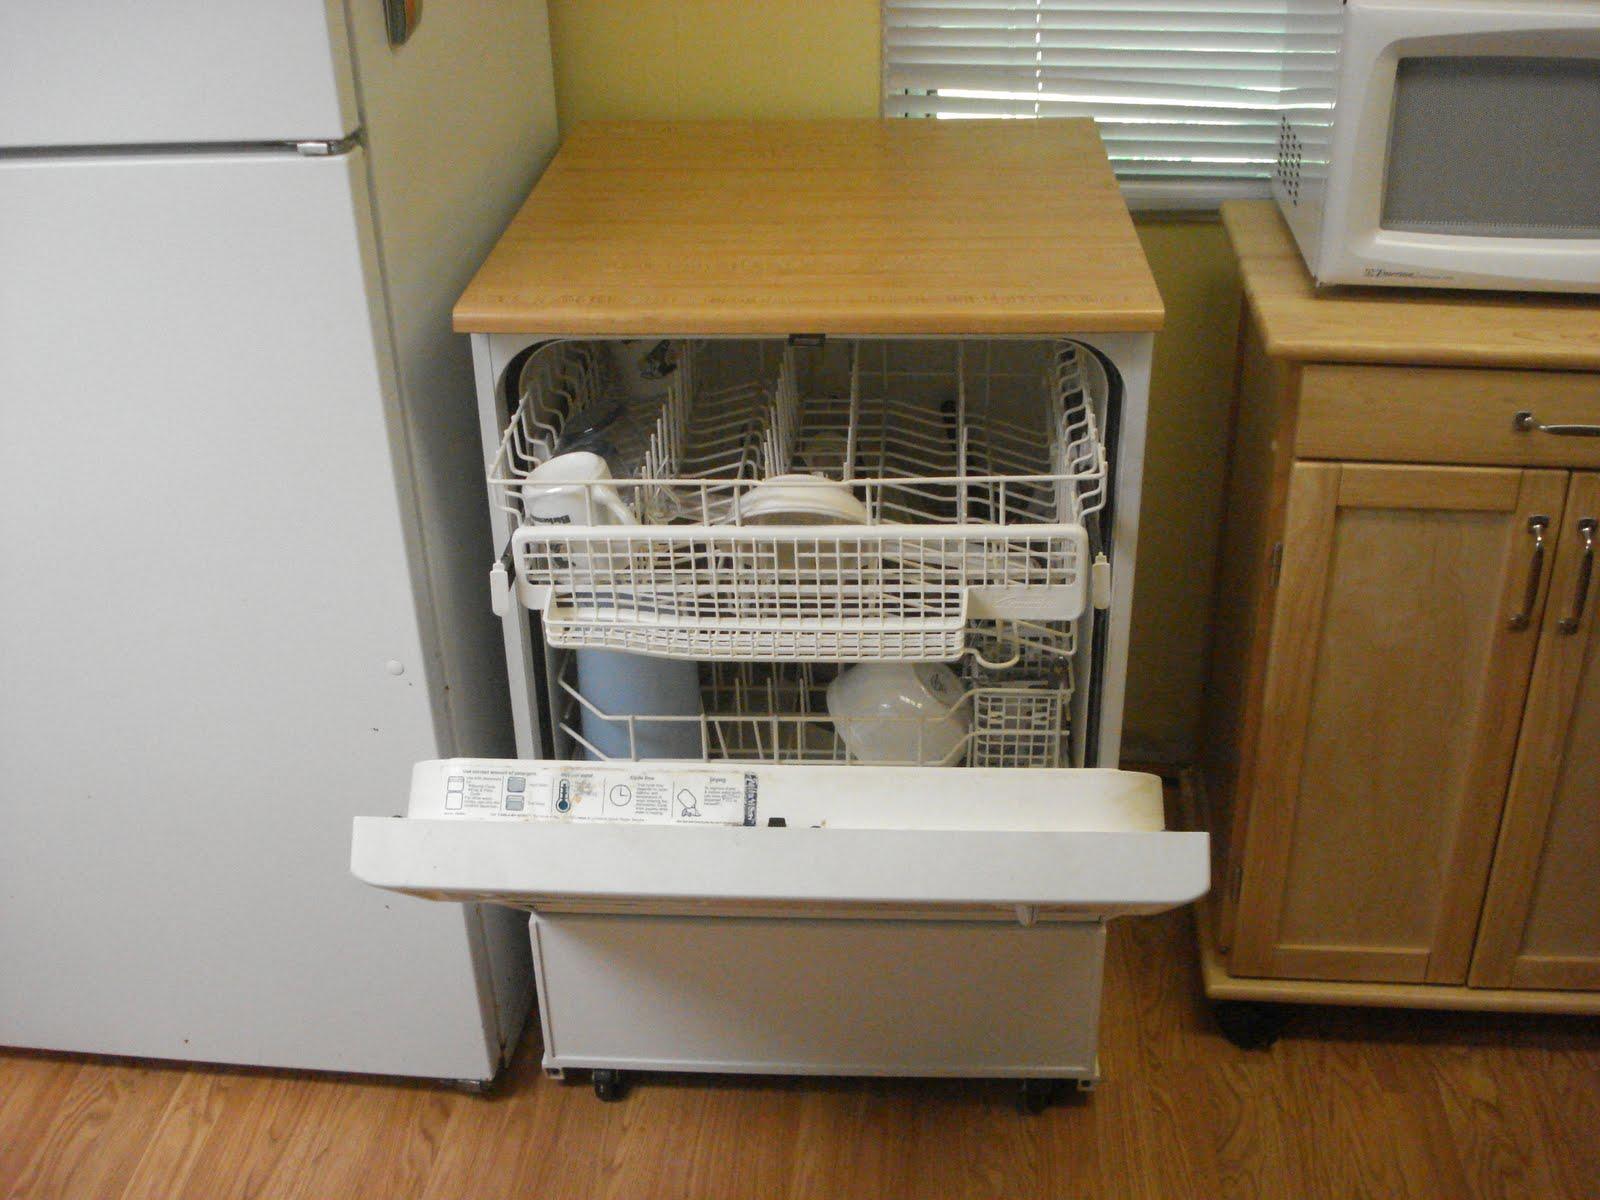
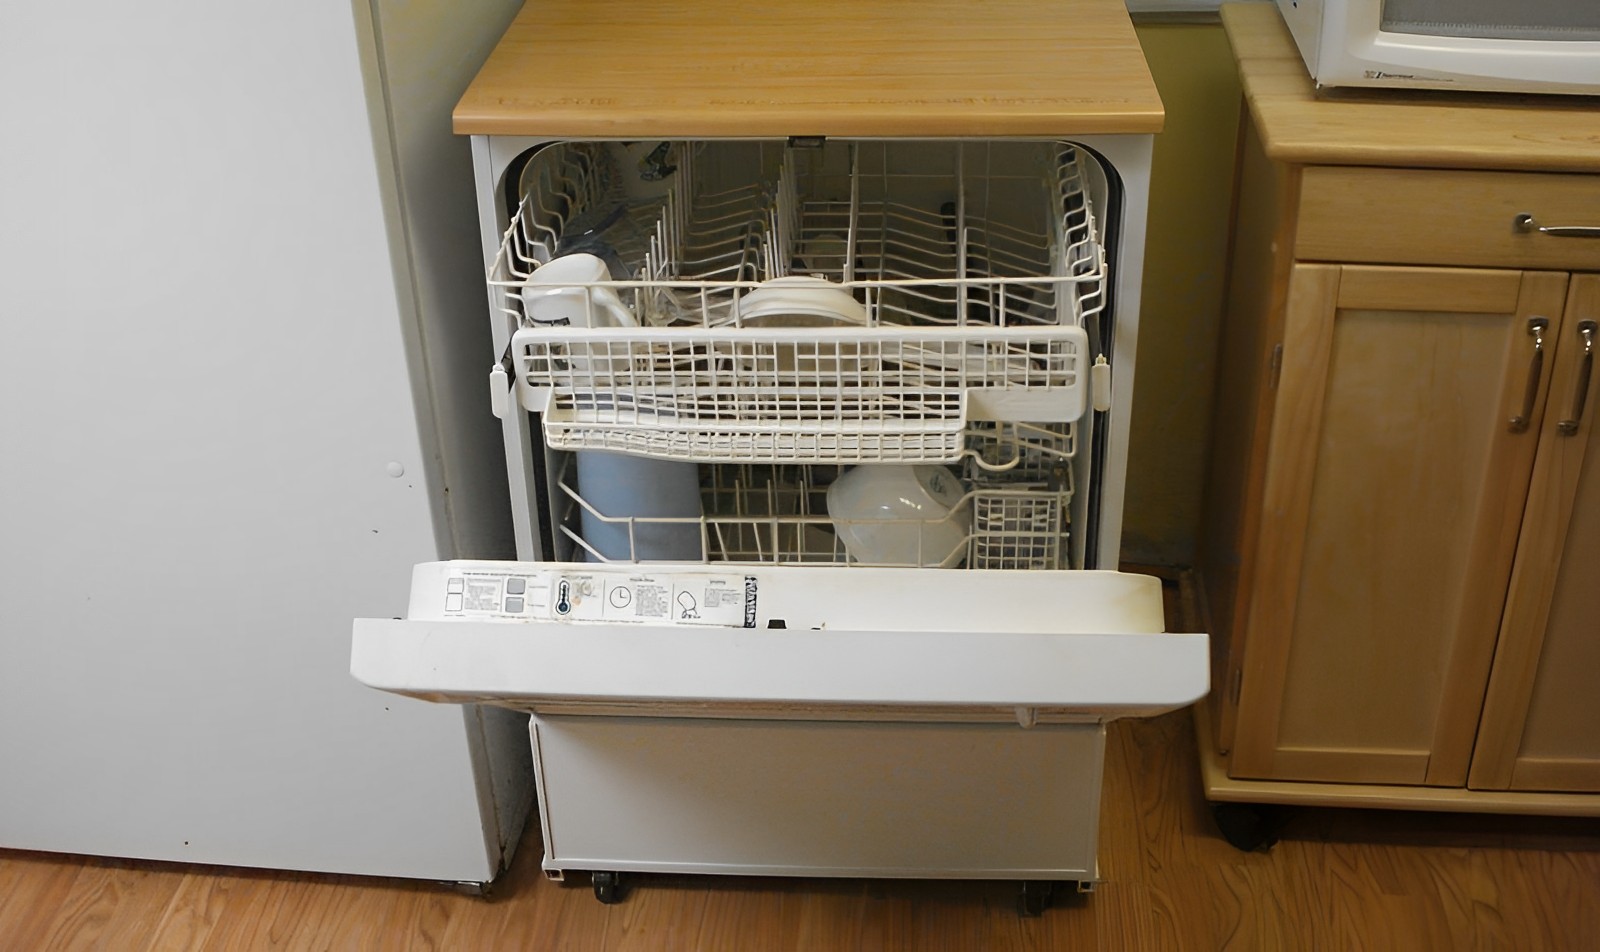
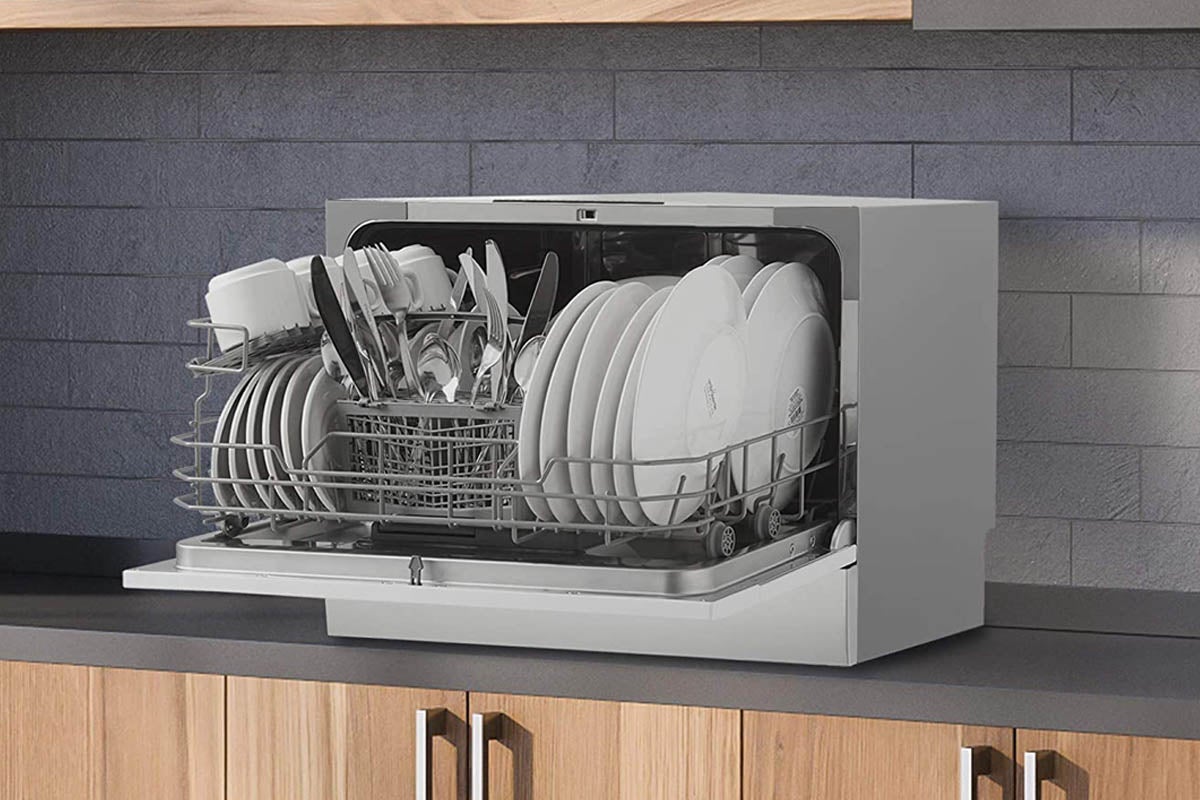
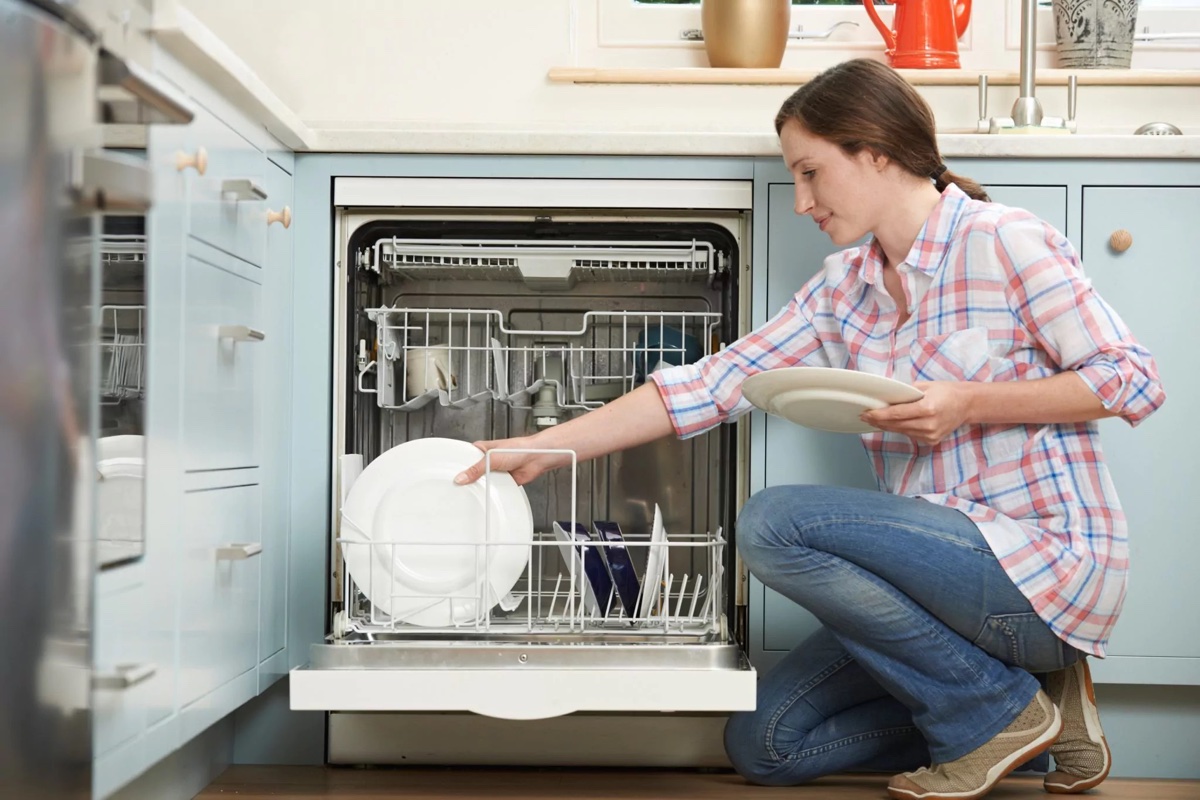
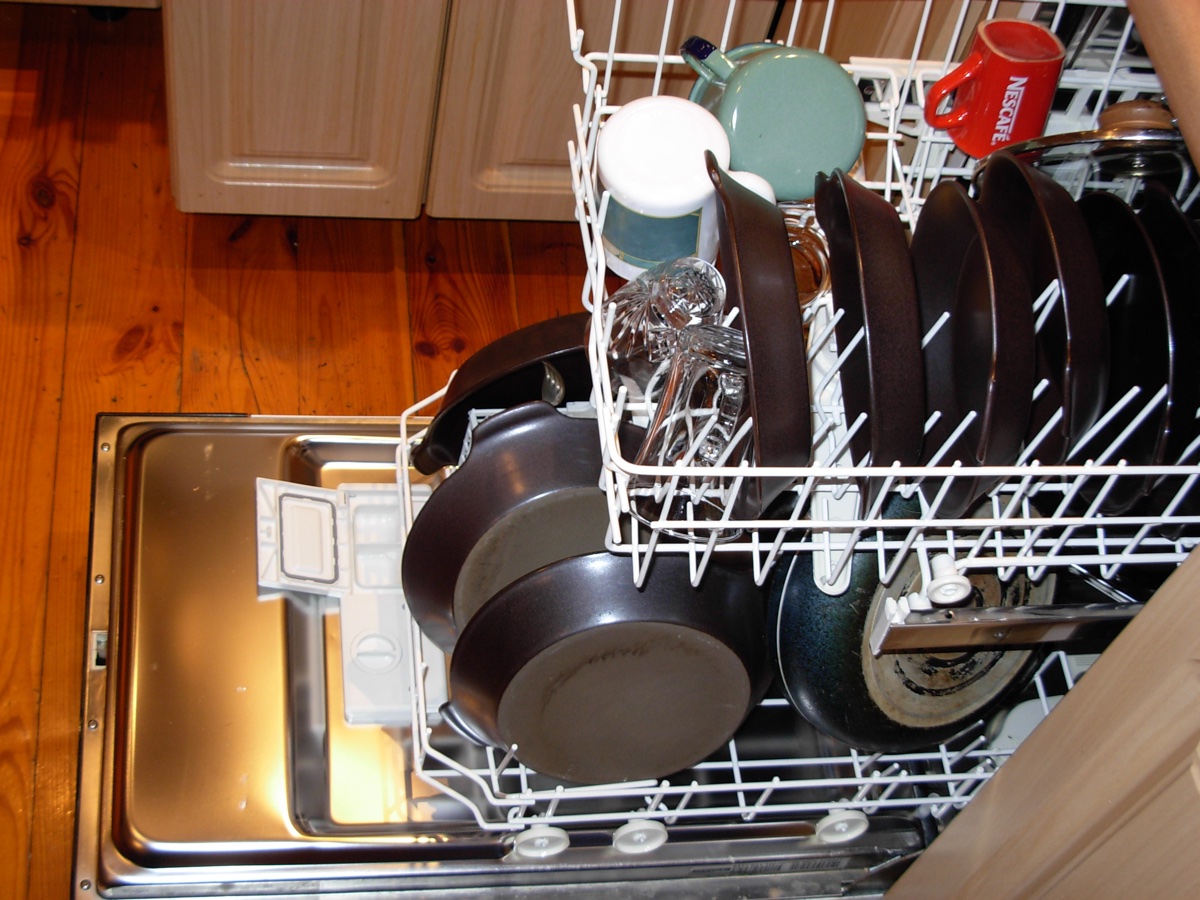
Step 3: Loading the Dishwasher
Now that your portable dishwasher is connected and ready to go, it’s time to load it with your dirty dishes. Properly loading the dishwasher ensures that the dishes are cleaned thoroughly and efficiently. Follow these guidelines for loading your dishwasher:
- Scrape off excess food: Before loading, scrape off any leftover food particles from your dishes. You don’t need to pre-rinse them, as modern dishwashers are designed to handle food residue. However, large chunks of food may clog the dishwasher, so remove them beforehand.
- Sort and arrange items: Sort your dishes into appropriate sections of the dishwasher. Place larger items, such as pots and pans, in the bottom rack, and smaller items, like plates and bowls, in the top rack. Cups and glasses can go in the designated slots on the top rack.
- Face larger items towards the spray arm: Position larger items with the dirty surfaces facing the spray arm. This ensures that the water spray reaches the soiled areas effectively, providing thorough cleaning.
- Avoid overcrowding: It’s important not to overcrowd the dishwasher, as this can hinder proper water circulation and lead to subpar cleaning results. Leave enough space between items for the water spray to reach all surfaces.
- Secure delicate items: If you have delicate or lightweight items that could move or flip during the wash cycle, secure them by using dishwasher-safe clips or placing them in dishwasher-safe mesh bags. This prevents damage caused by movement or excessive water pressure.
- Load cutlery properly: Place cutlery in the designated silverware basket or tray. Ensure that spoons, forks, and knives are mixed to prevent nesting, which can hinder proper cleaning. Place them with the handles facing down for safety and efficiency.
Remember to consult your dishwasher’s manual for any specific loading instructions or guidelines. Some models may have specific racks or compartments for certain types of dishes, so be sure to make use of those as well.
By following these steps, you can effectively load your portable dishwasher for optimal cleaning results. Now that the dishwasher is loaded, it’s time to move on to the next step!
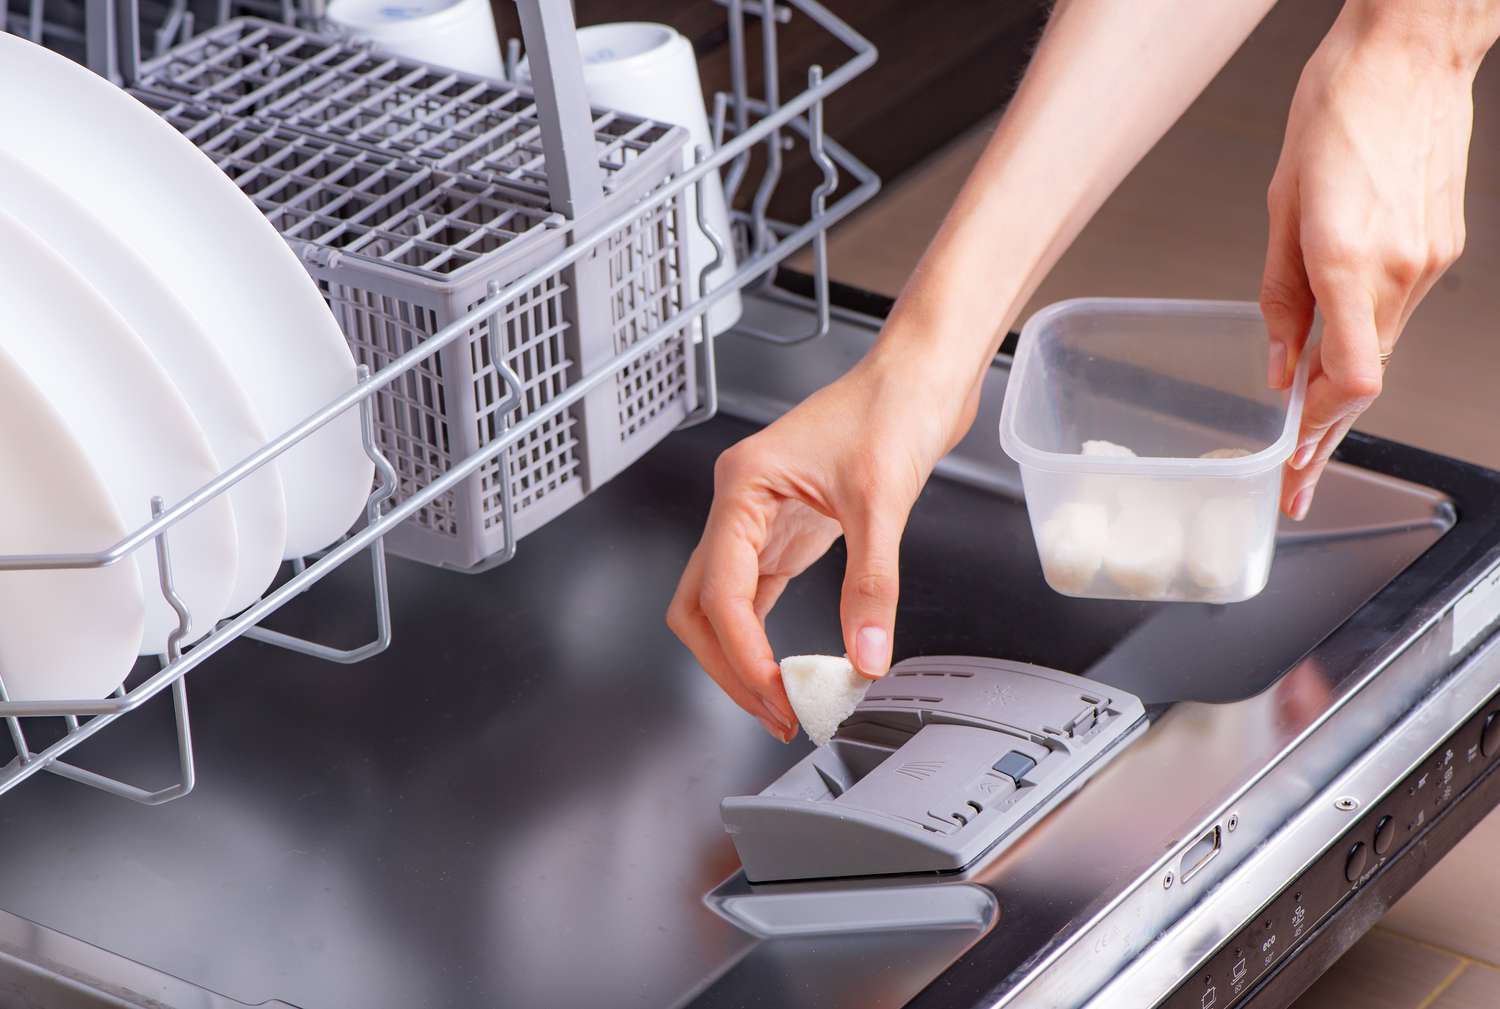
Step 4: Adding Detergent and Rinse Aid
Now that your dishes are loaded, it’s time to add detergent and rinse aid to ensure sparkling clean results. Here’s a step-by-step guide on how to add detergent and rinse aid to your portable dishwasher:
- Select the appropriate detergent: Choose a dishwasher detergent that is specifically formulated for use in dishwashers. Read the instructions on the detergent container to determine the correct amount to use based on your dishwasher’s capacity and the level of soiling on your dishes.
- Add the detergent to the dispenser: Locate the detergent dispenser inside the dishwasher. It is usually located on the door or in the center of the dishwasher’s interior. Open the dispenser lid or compartment and carefully pour the recommended amount of detergent into it.
- Add rinse aid, if desired: Rinse aid helps to prevent water spots and enhance drying performance. If your dishwasher has a rinse aid dispenser, fill it according to the manufacturer’s instructions. If not, you can simply pour a small amount of rinse aid into a designated rinse aid compartment or use a dishwasher-safe rinse aid ball placed in the top rack.
It’s worth noting that some portable dishwashers may have different dispenser styles or locations. Refer to your dishwasher’s manual for specific instructions on where to add the detergent and rinse aid, as well as any recommended products or amounts to use.
Using the appropriate detergent and rinse aid in your portable dishwasher helps to break down grease and food particles, eliminate odors, and leave your dishes spotless and shiny. The right combination of these cleaning agents optimizes the cleaning process, giving you the best results every time.
With the detergent and rinse aid added, your portable dishwasher is now ready for the cleaning cycle. Let’s move on to the next step to start the dishwasher!
When using a portable dishwasher, make sure to properly secure the hose to the sink faucet to prevent leaks. Also, load dishes according to the manufacturer’s instructions for optimal cleaning.
Read more: How To Use A Frigidaire Dishwasher
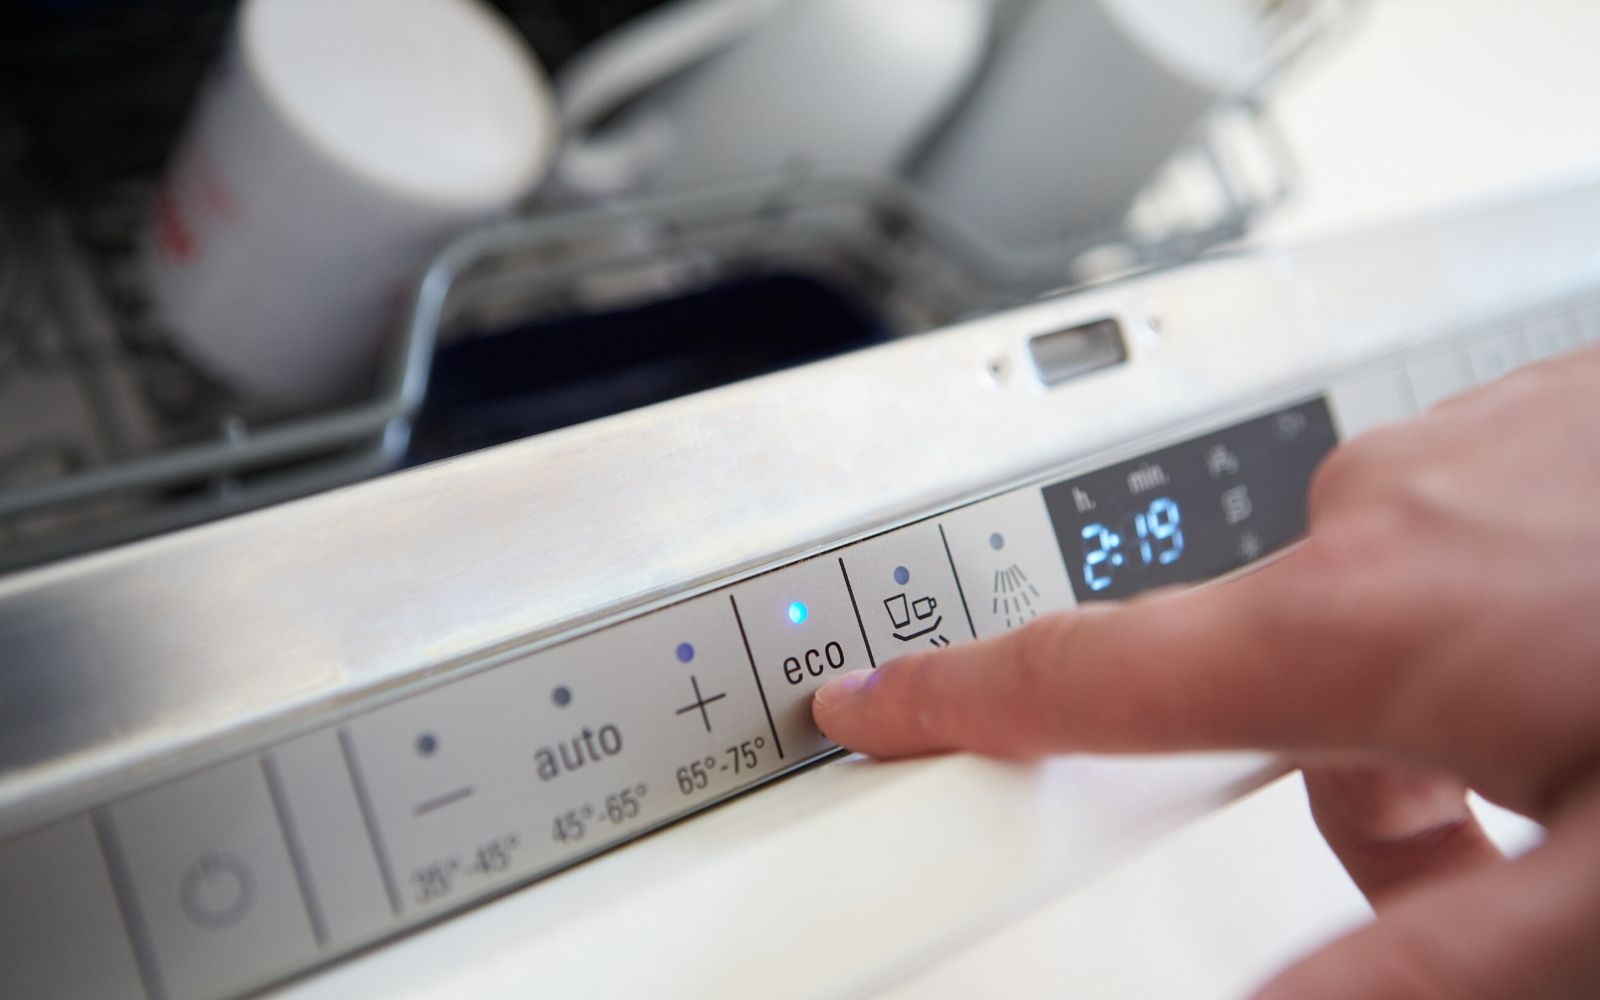
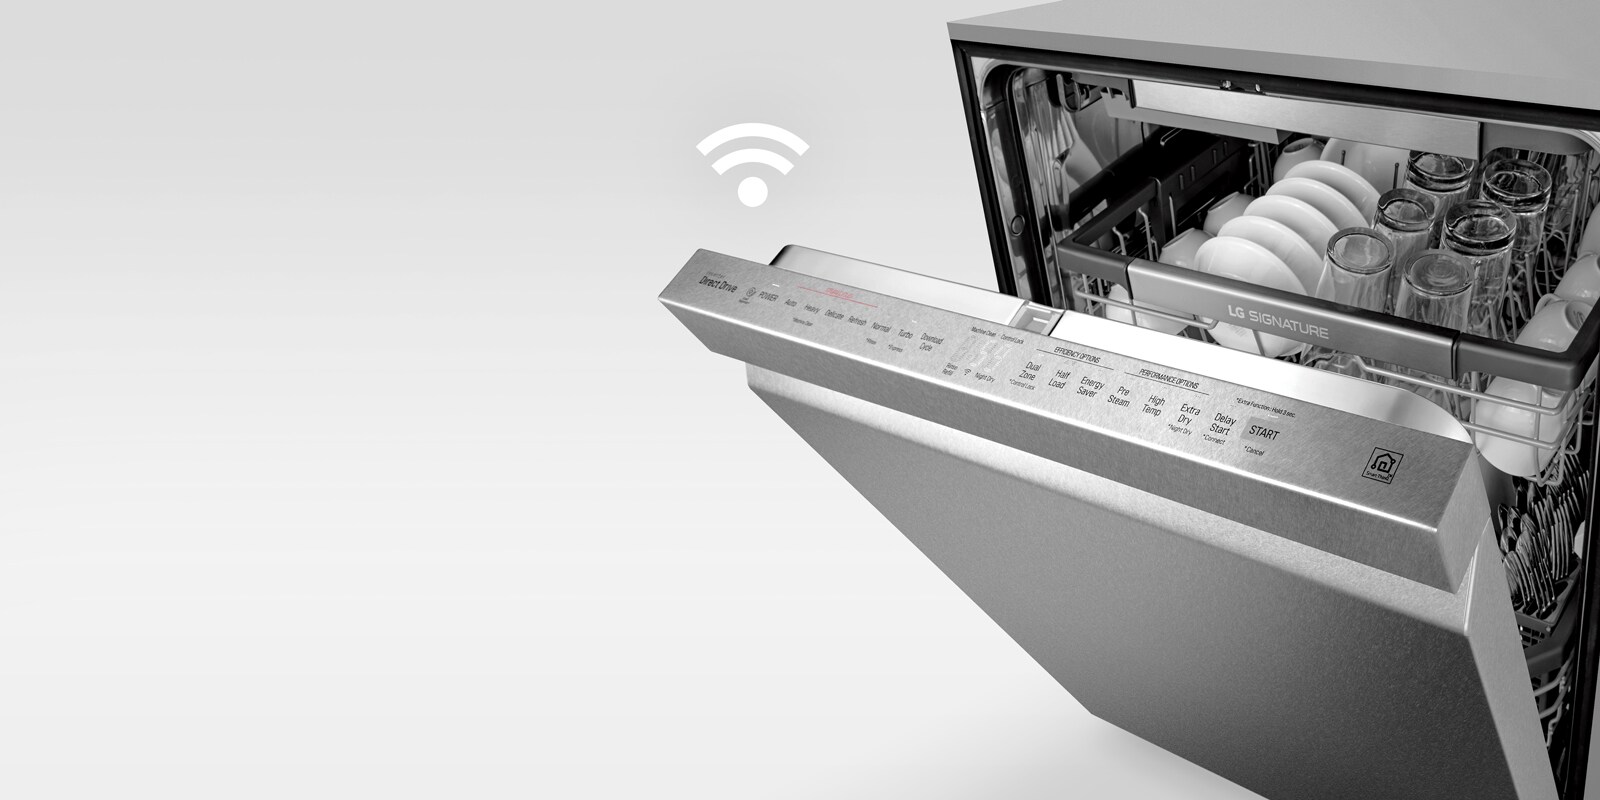
Step 5: Selecting the Wash Cycle
Choosing the appropriate wash cycle on your portable dishwasher is crucial for achieving optimal cleaning results. Different dishes and levels of soiling require different wash cycles. Here’s a step-by-step guide on how to select the right wash cycle for your needs:
- Familiarize yourself with the available wash cycles: Take some time to understand the wash cycles offered by your portable dishwasher. Common options include Normal, Heavy, Light, Quick, Eco, and Rinse Only. Each cycle has a specific purpose and varying durations.
- Evaluate the level of soiling: Consider the level of soiling on your dishes. If they have heavy grease or tough stains, opt for a Heavy or Intensive cycle. For lightly soiled dishes, a Light or Quick cycle may be sufficient.
- Consider energy efficiency: If conserving energy is important to you, choose an Eco cycle. These cycles tend to use less water and energy, which can reduce your environmental impact.
- Utilize specialized cycles: Some portable dishwashers offer specialized cycles, such as Delicate or Glassware cycles for fragile items, or Sanitize cycles that use higher water temperatures to eliminate bacteria and germs.
- Make adjustments if needed: Depending on your dishwasher model, you may have the option to make additional adjustments, such as selecting a delayed start time or adjusting the wash temperature. Consult the user manual for specific instructions on how to utilize these features if available.
While the specific wash cycle options may vary depending on your dishwasher model, most portable dishwashers offer a range of cycle choices to accommodate different cleaning needs. When in doubt, refer to the manufacturer’s manual for specific guidance on selecting the appropriate wash cycle.
By selecting the right wash cycle, you can ensure thorough cleaning while conserving energy and water. Now that you have chosen the wash cycle, it’s time to move on to the next step and start the dishwasher!
Step 6: Starting the Dishwasher
Now that you have loaded the dishwasher, added detergent and rinse aid, and selected the appropriate wash cycle, it’s time to start your portable dishwasher. Follow these steps to begin the cleaning process:
- Close the dishwasher door: Ensure that the dishwasher door is securely closed. Most dishwashers have a latch mechanism that clicks into place when the door is properly shut.
- Double-check settings: Take a moment to double-check the selected wash cycle and any additional settings you may have adjusted, such as delayed start or wash temperature. Making sure everything is set correctly will prevent any issues or surprises during the wash cycle.
- Turn on the dishwasher: Locate the power button or control panel on your portable dishwasher. Press the power button or select the appropriate wash cycle button to start the dishwasher.
- Listen for water filling: Once the dishwasher starts, you will hear the sound of water filling the dishwasher tub. This indicates that the cleaning process has begun.
It’s important to note that the duration of the wash cycle will vary depending on the selected program and dishwasher model. Most dishwashers have an indicator or display that shows the remaining time of the cycle. You can use this to estimate the completion time.
During the wash cycle, it’s best to avoid opening the dishwasher door unnecessarily, as this can interrupt the cleaning process and release steam. Allow the dishwasher to complete the cycle undisturbed.
Congratulations! You have successfully started your portable dishwasher. Now, sit back and let it work its magic. In the next step, we will discuss how to monitor the dishwasher’s progress.
Step 7: Monitoring the Dishwasher
While your portable dishwasher is running, it’s important to keep an eye on its progress to ensure that everything is running smoothly. Here are some tips for effectively monitoring your dishwasher:
- Listen for proper operation: Pay attention to the sounds coming from the dishwasher. You should hear the water spraying, the motor running, and occasional pauses or changes in sound as the dishwasher progresses through different stages of the wash cycle. Unusual or loud noises may indicate a problem, so be attentive to any irregular sounds.
- Watch for leaks or water overflow: Periodically check underneath and around the dishwasher for any signs of leaks or water overflow. While leaks are rare, they can occur, and it’s essential to catch them early to prevent damage to your kitchen or the appliance itself.
- Observe the progress indicators: Many portable dishwashers have progress indicators, such as lights or displays, that show the current stage or time remaining in the cycle. Monitor these indicators to keep track of how much time is left and what stage the dishwasher is in.
- Avoid opening the door unless necessary: Opening the dishwasher door during the wash cycle can disrupt the cleaning process and release hot steam. Only open the door if you need to add or remove items, and even then, exercise caution.
- Check the detergent and rinse aid levels: If your dishwasher has transparent or visible detergent and rinse aid compartments, keep an eye on the levels. Refill them as needed to ensure that your dishes are getting the proper cleaning and drying agents.
If you notice any issues or abnormalities while monitoring the dishwasher, such as persistent leaks, unusual noises, or malfunctioning indicators, it’s best to stop the dishwasher and consult the manufacturer’s manual or seek professional assistance if necessary.
By actively monitoring your portable dishwasher, you can catch any potential problems early and ensure that the cleaning process is running smoothly. Now, let’s move on to the final step in this guide: unloading and storing the dishes.
Step 8: Unloading and Storing the Dishes
Congratulations! Your portable dishwasher has completed the cleaning cycle, and now it’s time to unload and store your sparkling clean dishes. Follow these steps for a seamless unloading and storage process:
- Wait for the dishwasher to cool down: When the dishwasher completes the cycle, it’s best to give it a few minutes to cool down. This prevents any potential burns from hot dishes or steam when unloading.
- Carefully open the dishwasher door: Once the dishwasher has cooled down, open the door slowly and cautiously. Be mindful of any residual steam that may escape as you open the door.
- Start with the top rack: Begin by unloading the top rack. Carefully remove each item, checking for any remaining food particles or water droplets. Inspect the dishes for cleanliness and ensure they are completely dry before storing.
- Move on to the bottom rack: Next, unload the dishes from the bottom rack, following the same process as with the top rack. Check for any stubborn food residue and ensure proper cleanliness and dryness.
- Unload the cutlery: Finally, remove the cutlery from the designated silverware basket or tray. Take caution when handling sharp knives, ensuring that you grasp them by the handle to avoid any accidents.
- Inspect and store: As you unload each item, give them a final inspection to ensure they are clean and ready for storage. Wipe off any water droplets or moisture if necessary before placing them in the appropriate storage areas.
When storing your dishes, be mindful of the specific material and care instructions. Delicate glassware and ceramics may require gentle handling and storage away from heavier items to prevent chipping or breakage. If you have a designated space or cabinet for your dishes, organize them accordingly to make future use and retrieval easier.
It’s a good practice to allow your dishes to fully air dry before storing them to prevent any moisture buildup that can lead to unpleasant odors or mold. If needed, you can use a soft, clean cloth to dry any remaining water droplets before placing them in storage.
With the dishes unloaded and properly stored, your portable dishwasher journey comes to a close. Give yourself a pat on the back for successfully using your dishwasher and enjoy the clean, sparkling dishes!
As always, refer to your dishwasher’s manual for any specific guidelines on unloading and storing dishes. Happy dishwashing!
Read more: How To Use Samsung Dishwasher
Conclusion
Using a portable dishwasher can be a convenient and efficient way to keep your dishes clean without the hassle of manual washing. By following the steps outlined in this guide, you can effectively utilize your portable dishwasher and achieve sparkling clean results every time.
From unpacking and setup to loading and unloading, each step plays a vital role in ensuring a seamless and successful dishwashing experience. By properly connecting your dishwasher to the kitchen faucet, loading the dishes strategically, adding the right detergent and rinse aid, selecting the appropriate wash cycle, and monitoring the dishwasher’s progress, you can optimize the cleaning process.
Remember to pay attention to any abnormalities, such as leaks or unusual noises, and consult the manufacturer’s manual or seek professional assistance if needed. By actively monitoring your dishwasher, you can address any issues promptly and maintain its optimal performance.
Finally, when it’s time to unload and store the dishes, be careful and thorough. Inspect each item for cleanliness and dryness, and store them appropriately according to their specific care instructions. This ensures that your dishes remain in top condition for future use.
By mastering the art of using a portable dishwasher, you can save time, conserve water and energy, and enjoy the convenience of clean dishes with minimal effort. So, embrace the power of technology and let your portable dishwasher take care of your dishwashing needs.
Happy dishwashing!
Frequently Asked Questions about How To Use Portable Dishwasher
Was this page helpful?
At Storables.com, we guarantee accurate and reliable information. Our content, validated by Expert Board Contributors, is crafted following stringent Editorial Policies. We're committed to providing you with well-researched, expert-backed insights for all your informational needs.


0 thoughts on “How To Use Portable Dishwasher”