Articles
How To Connect A Hose To A Faucet
Modified: August 17, 2024
Learn the step-by-step process of connecting a hose to a faucet with our informative articles. Simplify your gardening tasks and ensure a secure connection!
(Many of the links in this article redirect to a specific reviewed product. Your purchase of these products through affiliate links helps to generate commission for Storables.com, at no extra cost. Learn more)
Introduction
Connecting a hose to a faucet is a simple and essential task for any homeowner or gardener. Whether you need to water your garden, wash your car, or clean outdoor surfaces, having a working hose connection is crucial. By following a few straightforward steps, you can easily connect a hose to a faucet and ensure a secure and leak-free connection.
In this article, we will guide you through the process of connecting a hose to a faucet, providing you with the necessary knowledge and tips to make the task a breeze. We will cover the tools and materials you will need, how to prepare your hose and faucet, the step-by-step process of connecting the hose, and how to test for leaks. So let’s dive in and get started!
Key Takeaways:
- Easily connect a hose to a faucet by gathering necessary tools, prepping the hose and faucet, and testing for leaks. Enjoy a reliable water source for gardening, car washing, and outdoor cleaning.
- Ensure a secure and leak-free hose connection by following simple steps, including attaching adapters, tightening connections, and testing for leaks. Enjoy hassle-free outdoor water activities with confidence.
Read more: How To Connect A Dryer Vent Hose
Step 1: Gather the necessary tools and materials
Before you begin connecting the hose to your faucet, it’s essential to gather all the necessary tools and materials. Having everything at hand will make the process more efficient and save you from running back and forth.
Here’s a list of things you’ll need:
- A garden hose
- A hose connector or adapter
- A faucet adapter
- A pair of pliers or an adjustable wrench
- Teflon tape
- A bucket or a towel (optional)
Let’s briefly discuss each item:
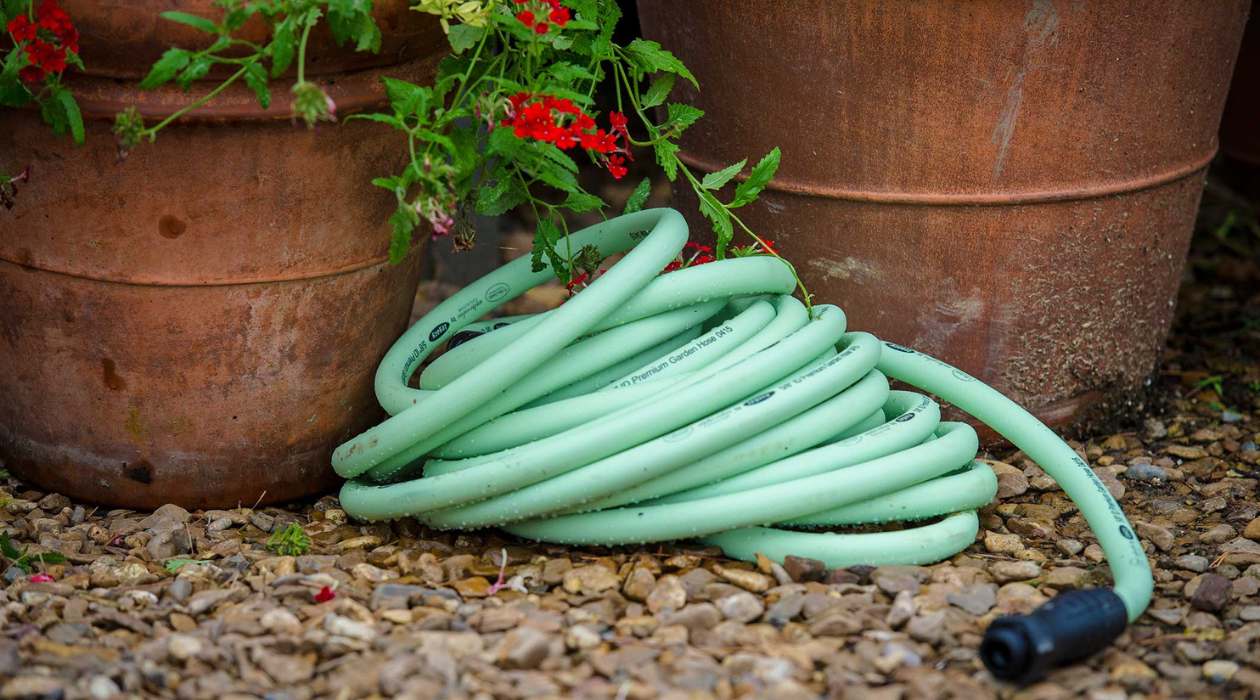
A garden hose: The main component of this project, a garden hose allows you to transport water from the faucet to your desired location. Make sure you choose a hose of appropriate length and diameter for your needs.
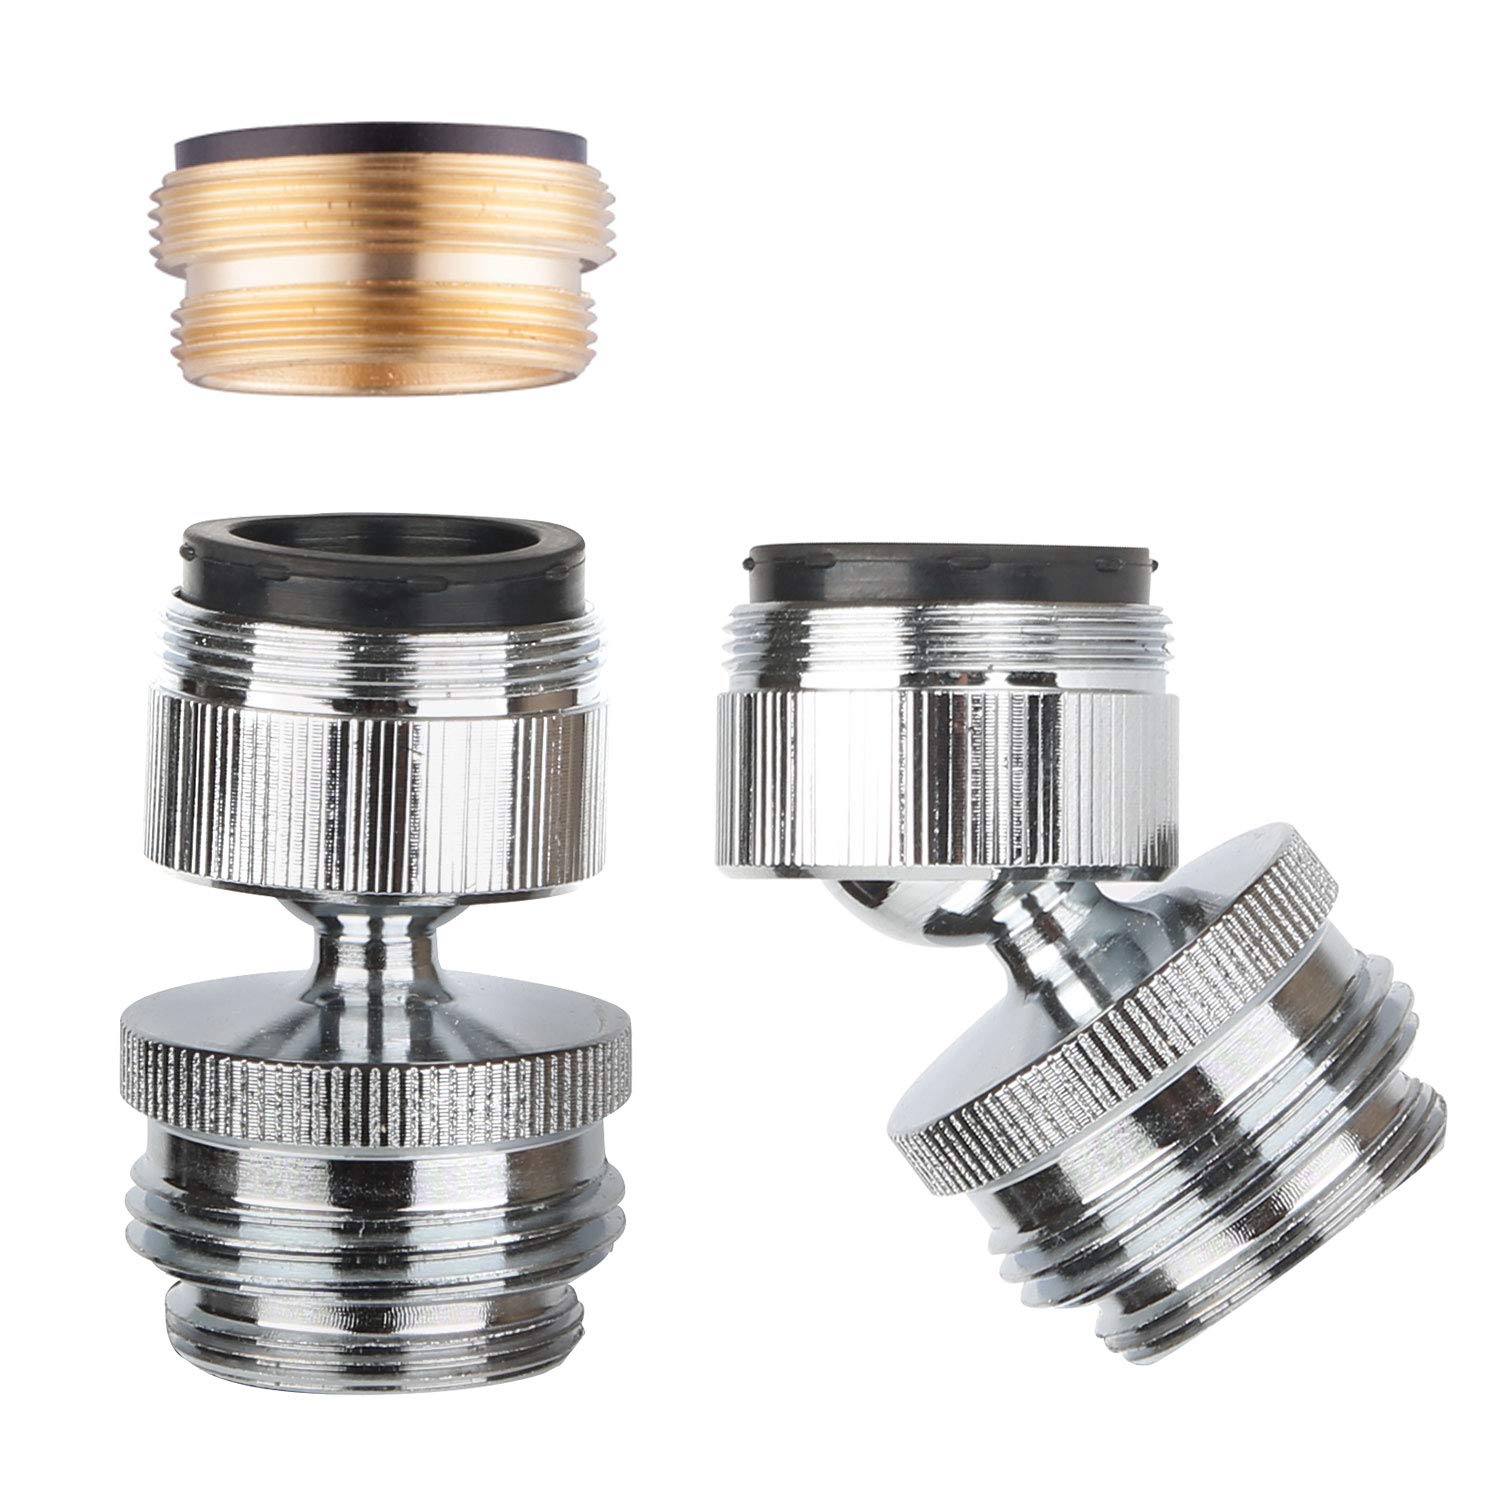
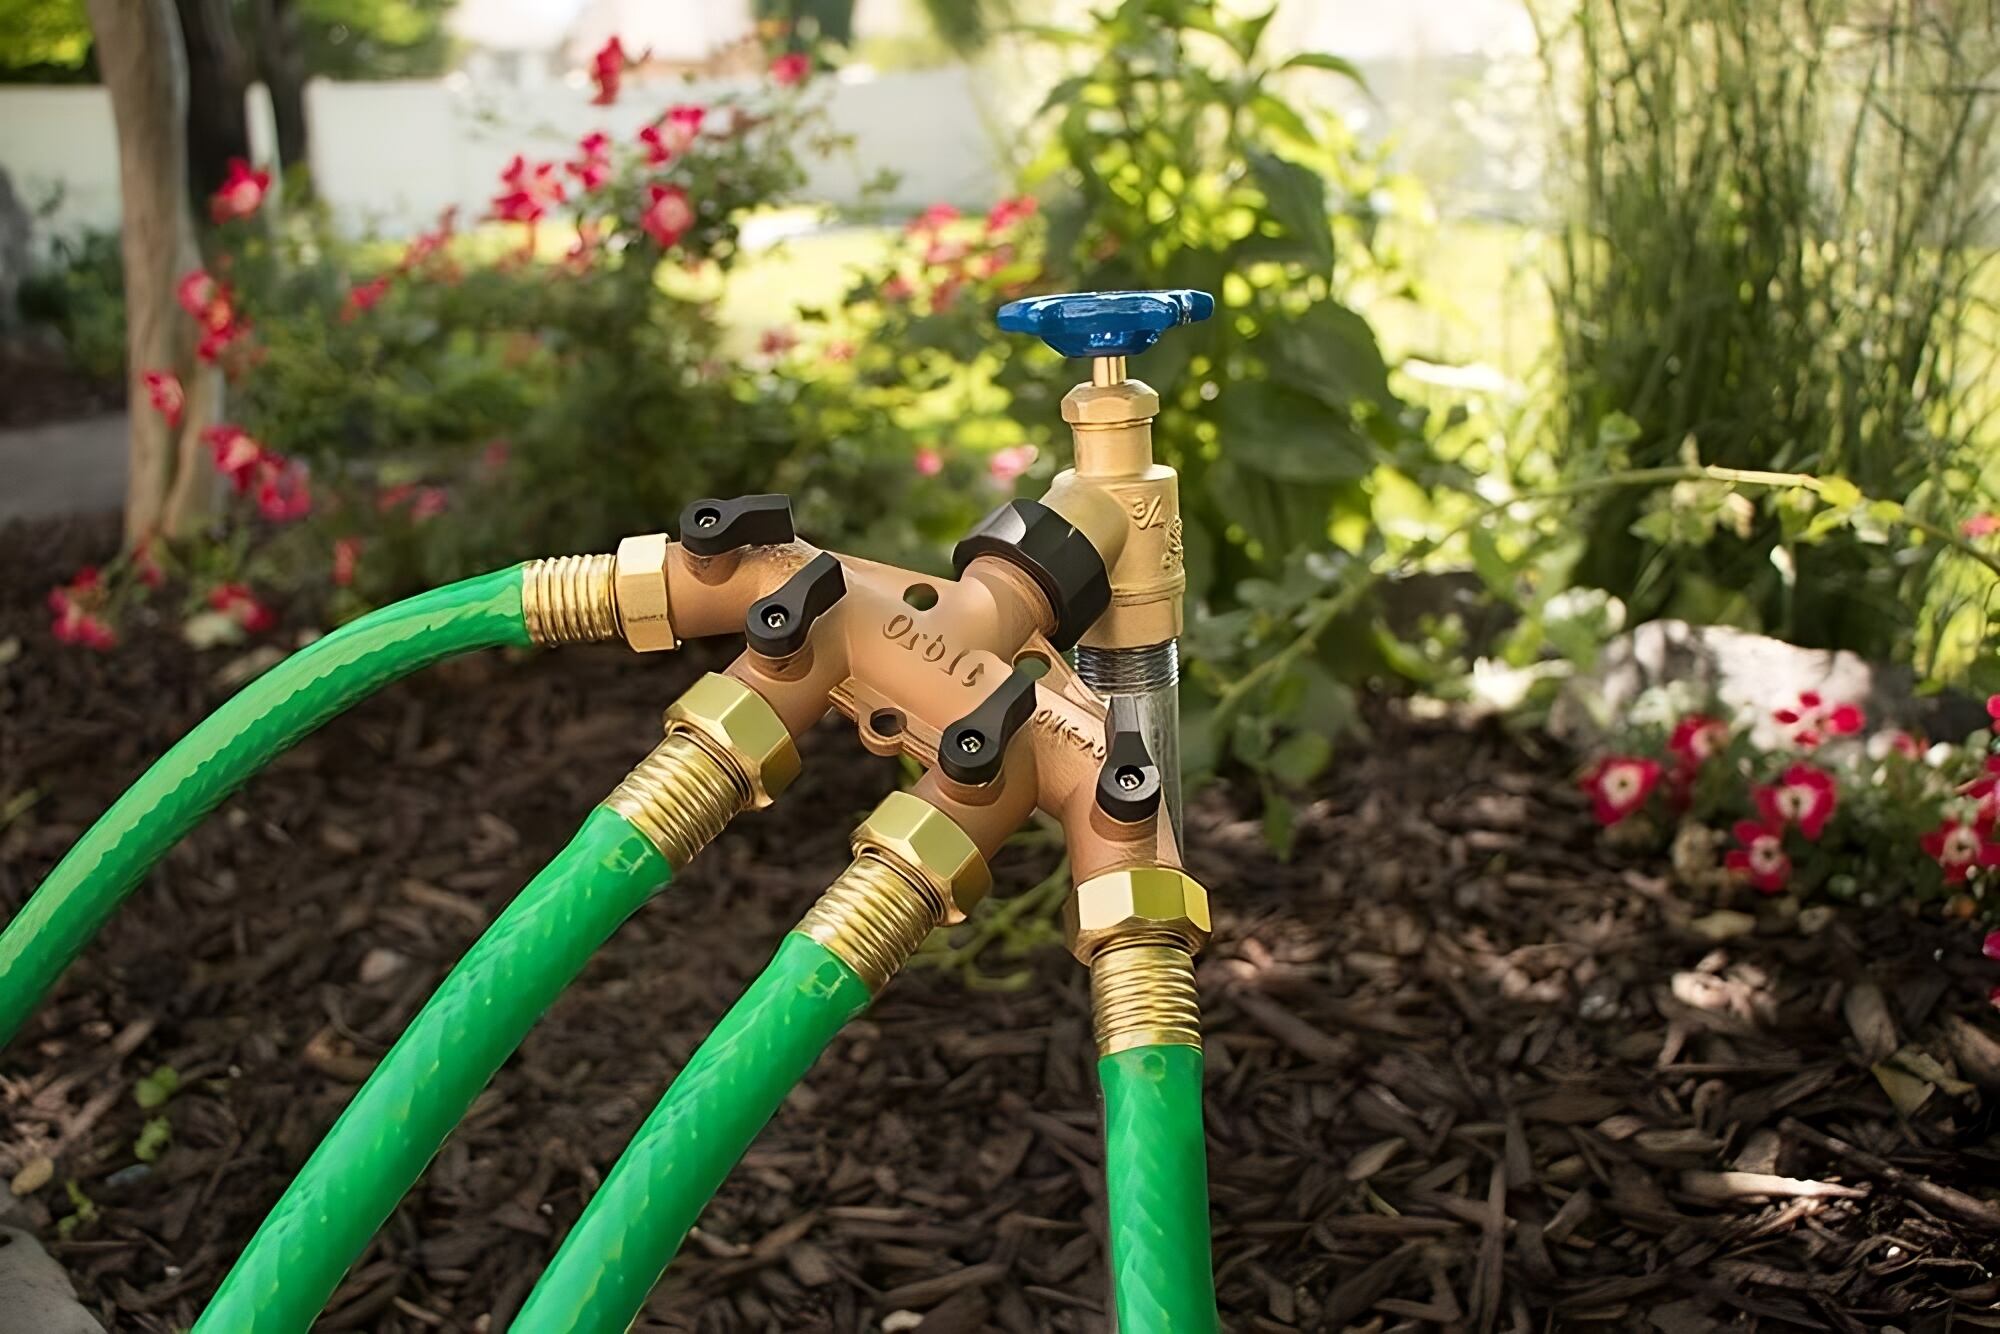
A hose connector or adapter: This is used to connect the hose to the faucet. There are various types of connectors available, including threaded and quick-connect options. Choose one that is compatible with your faucet.
A faucet adapter: This is a small device that attaches to the end of the faucet and provides the necessary connection point for the hose connector. Faucet adapters come in different sizes, so ensure you select the correct one for your faucet.
A pair of pliers or an adjustable wrench: These tools will come in handy when tightening or loosening the connections. Use them to ensure a secure fit without over-tightening and damaging the components.
Teflon tape: Also known as plumber’s tape, Teflon tape helps create a watertight seal between threaded connections. Wrap a few layers around the faucet threads to prevent any potential leaks.
A bucket or a towel (optional): Having a bucket or a towel nearby can be useful to catch any dripping water during the connection process, preventing mess or wastage.
Make sure you have all these tools and materials readily available before proceeding to the next step. Being prepared will save you time and ensure a smoother connection process.
Step 2: Prep your hose and faucet
Now that you have gathered all the necessary tools and materials, it’s time to prepare your hose and faucet for the connection. This step ensures that both the hose and faucet are clean, free from debris, and ready for a secure and leak-free connection.
Follow these steps to prep your hose and faucet:
- Inspect the hose: Carefully examine the entire length of the hose for any cracks, kinks, or leaks. If you notice any damages, it’s best to replace the hose before proceeding.
- Clean the hose: Rinse the hose using clean water to remove dirt, dust, or any other contaminants that might be present. This step ensures that you’re starting with a clean hose and prevents any clogs or blockages in the future.
- Check the faucet: Inspect the faucet for any debris or mineral buildup that may hinder the connection. If you notice any blockages, use a small brush or toothbrush to gently clean the inside and outside of the faucet threads.
- Apply Teflon tape to the faucet threads: Take the Teflon tape and wrap a few layers clockwise around the faucet threads. This tape helps create a watertight seal and prevents leakage. Ensure that you cover the threads completely, overlapping the tape slightly as you go.
By following these preparation steps, you are ensuring that both the hose and faucet are in optimal condition for the connection. This step helps maintain the longevity of the components and prevents any potential issues down the line.
Make sure the hose and faucet have compatible fittings. Attach a hose connector to the faucet, then connect the hose to the connector tightly to avoid leaks.
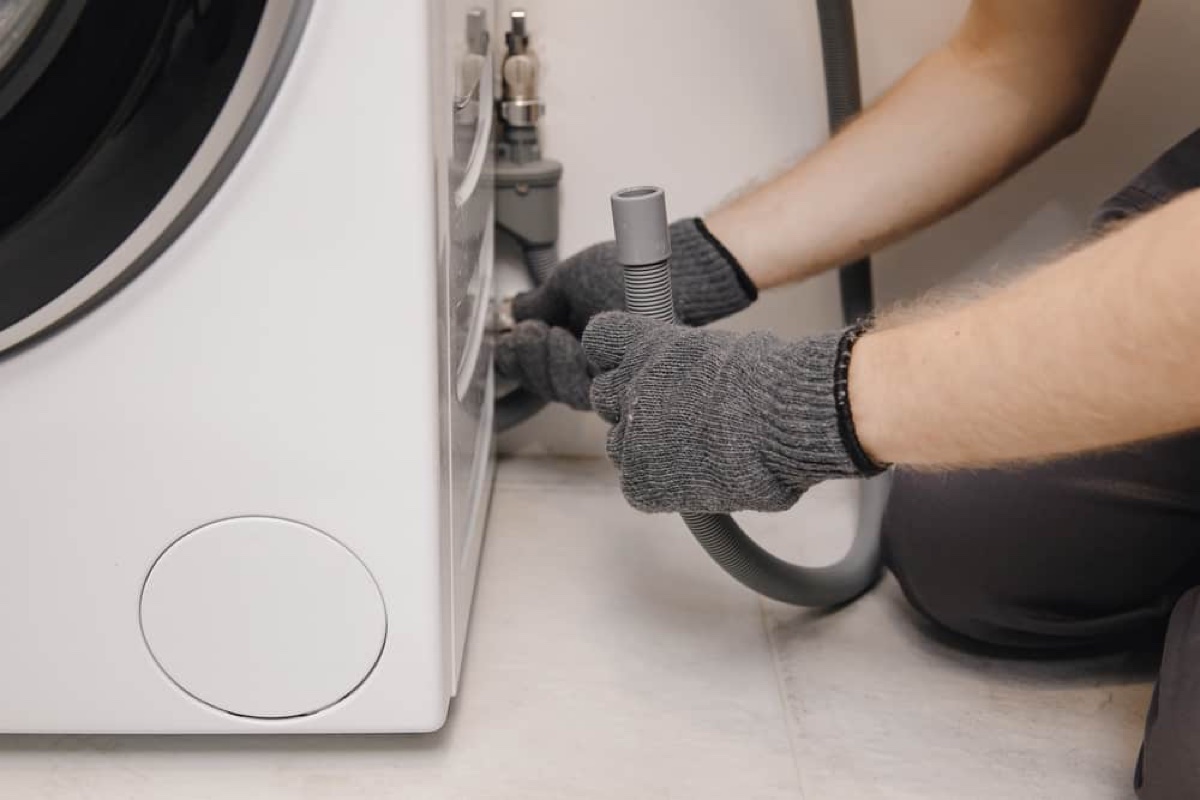
Step 3: Connect the hose to the faucet
Now that you have prepared both your hose and faucet, it’s time to connect them together. Follow these steps to ensure a proper and secure connection:
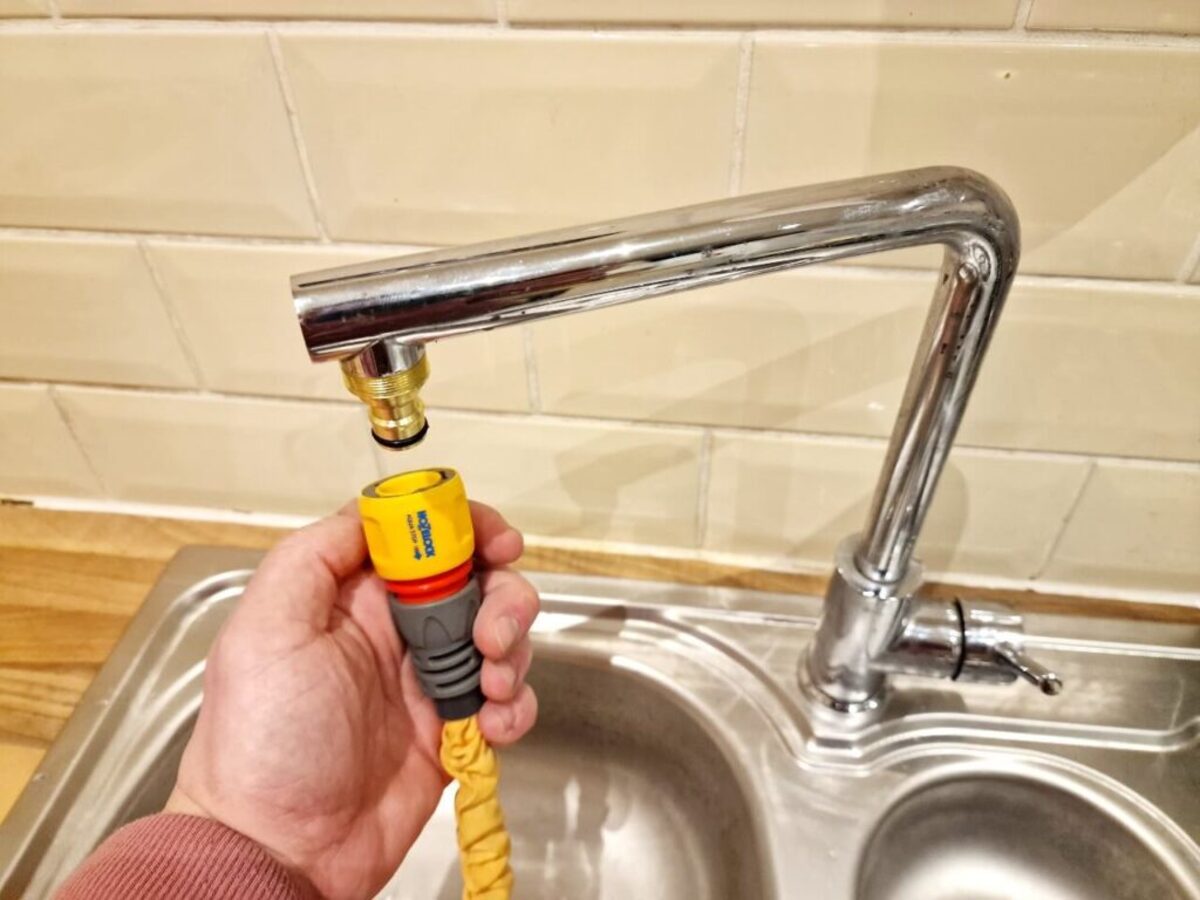
- Attach the faucet adapter: Take the faucet adapter and screw it onto the end of your faucet. Twist it clockwise until it is securely in place. Use a pair of pliers or an adjustable wrench if needed, but be careful not to overtighten and damage the threads.
- Attach the hose connector: Take the hose connector or adapter and insert it into the other end of the faucet adapter. Twist it clockwise to secure it. Again, use pliers or a wrench if necessary, but remember to be gentle and avoid overtightening.
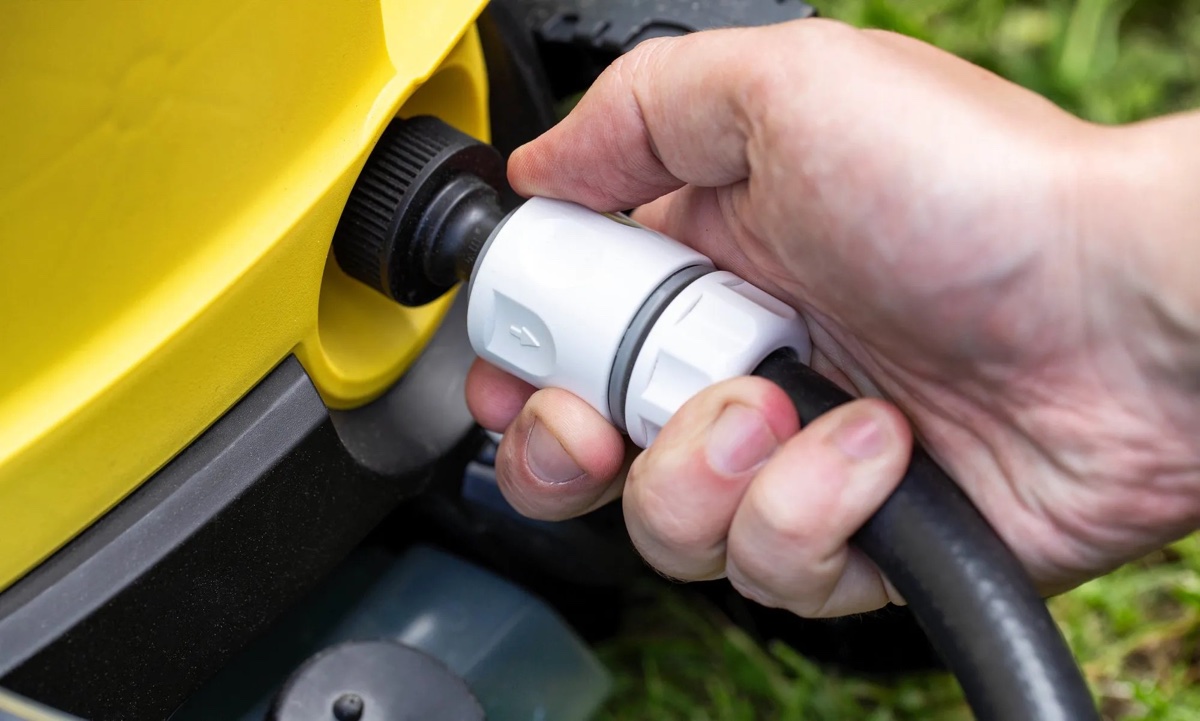
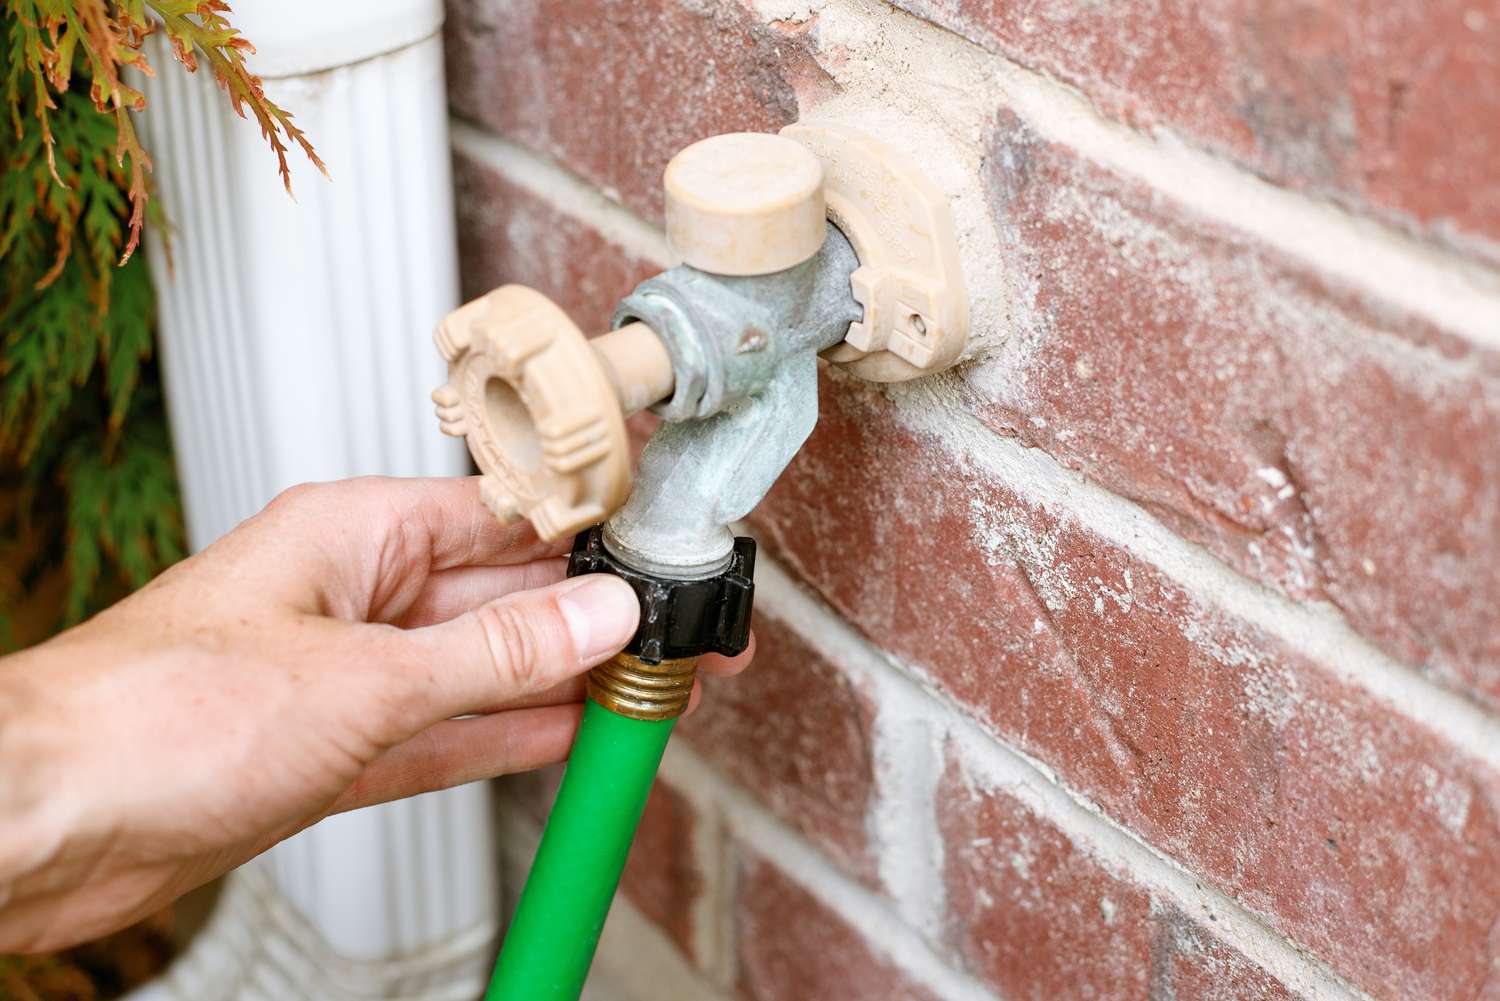
- Connect the hose: Place the other end of the hose onto the hose connector. Push it firmly onto the connector, ensuring a snug fit. If using a threaded connector, twist it clockwise to secure the hose in place. For quick-connect options, follow the manufacturer’s instructions to attach the hose securely.
- Tighten all connections: Using your pliers or adjustable wrench, gently tighten all the connections. Be careful not to overtighten, as this may cause damage or leaks. The connections should be snug, but not overly tight.
Remember, it’s important to follow the specific instructions for your particular hose connector and faucet adapter. Some connectors may have additional locking mechanisms or require a specific attachment method. Always refer to the manufacturer’s guidelines if you’re unsure.
By following these steps and ensuring a secure connection, you can prevent leaks and water wastage. A properly connected hose will provide you with a reliable and efficient water source for all your outdoor needs.
Step 4: Test for leaks
After connecting the hose to the faucet, it’s crucial to test for any potential leaks. Testing for leaks helps you identify and fix any issues before fully relying on the hose for watering or other tasks. Follow these steps to check for leaks:
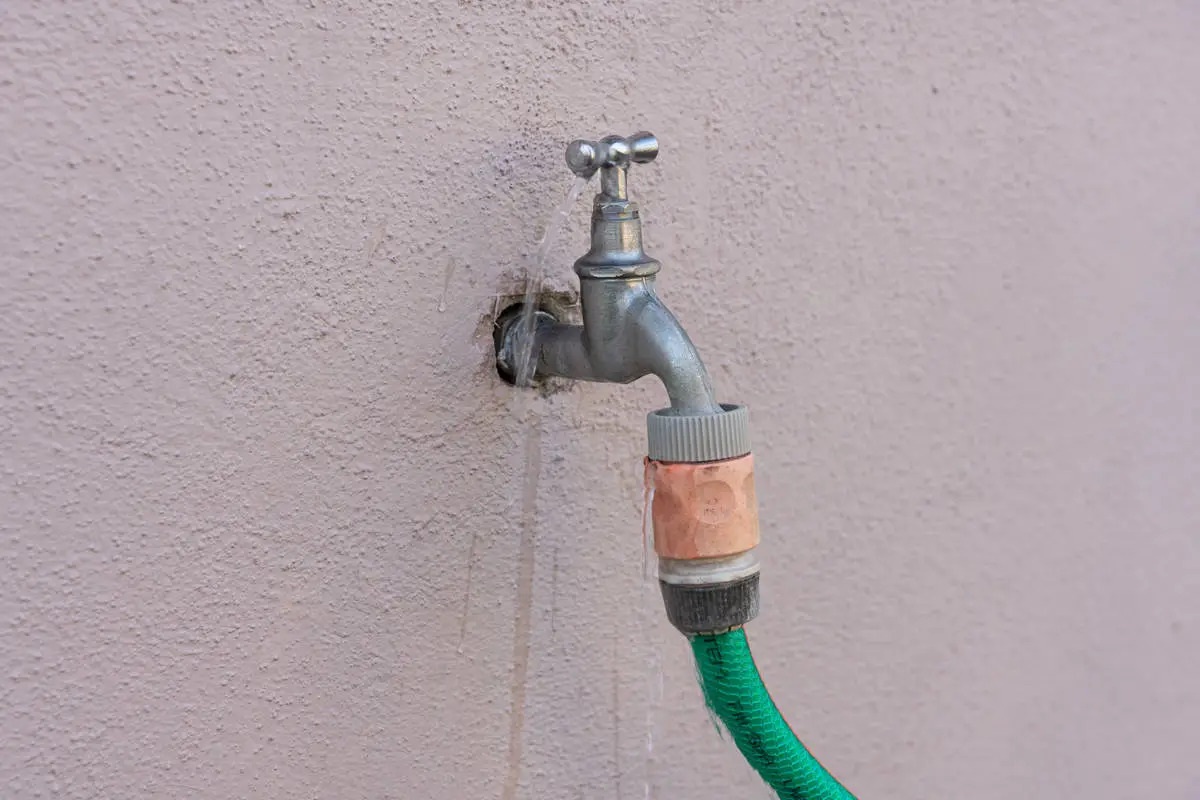
- Turn on the water: Slowly turn on the faucet to allow water to flow through the hose. Start with a low water pressure setting to minimize any potential bursting of the hose.
- Inspect the connections: Carefully examine all the connections, including the faucet adapter, hose connector, and any additional attachments. Look for any signs of water dripping or spraying. Pay close attention to the threaded connections and ensure they are watertight.
- Check for hose leaks: While the water is running, inspect the entire length of the hose for any leaks. Look for spraying water, bulging or damaged areas, or signs of water pooling. Flex the hose gently to check for any weak spots or cracks that may indicate a leak.
- Address any leaks: If you identify any leaks or issues during the inspection, immediately turn off the water and address the problem. Start by tightening any loose connections using pliers or an adjustable wrench. If there are damaged areas on the hose, consider replacing it to prevent further leaks or bursts.
- Monitor for a few minutes: Once you have addressed any leaks, let the water flow for a few more minutes. Keep a close eye on all the connections and the hose itself to ensure there are no new leaks or unexpected spray.
Testing for leaks is a crucial step in ensuring a reliable and efficient hose connection. By detecting and addressing any leaks early on, you can avoid water wastage, prevent damage to your property, and enjoy a fully functional hose for your outdoor activities.
After successfully testing for leaks and confirming a secure connection, you can now confidently use your hose for all your watering, cleaning, or other outdoor tasks. Just remember to regularly inspect the connections and hose for any signs of wear or damage and address any issues promptly to maintain a leak-free system.
Read more: How To Get A Hose Off A Faucet
Conclusion
Connecting a hose to a faucet is a straightforward process that requires a few tools, preparation, and attention to detail. By following the steps outlined in this article, you can easily connect your hose to a faucet and ensure a secure and leak-free connection.
Remember to gather all the necessary tools and materials before starting, including a garden hose, hose connector or adapter, faucet adapter, pliers or adjustable wrench, Teflon tape, and a bucket or towel for any potential leaks. Preparing your hose and faucet by inspecting and cleaning them will ensure optimal performance.
When connecting the hose to the faucet, attach the faucet adapter and hose connector, ensuring a snug fit without overtightening. Take the time to test for leaks by slowly turning on the water and examining all the connections and the hose itself. If you identify any leaks, address them promptly by tightening connections or replacing damaged components.
By following these steps and regularly inspecting your hose and connections, you can enjoy a reliable and efficient water source for your everyday outdoor tasks. Properly connecting your hose to the faucet ensures a consistent flow of water for gardening, cleaning, and other purposes.
With a securely connected hose, you can now tend to your garden, wash your car, or clean outdoor surfaces with ease. Enjoy the convenience and versatility of a well-connected hose system, and make the most out of your outdoor activities.
Remember, taking care of your hose and maintaining a leak-free connection will prolong the lifespan of your equipment and prevent water wastage. So go ahead, connect your hose to the faucet, and enjoy the benefits of a reliable water supply!
Now that you've mastered connecting a hose to a faucet, why not delve deeper into efficient garden maintenance? Understanding water usage is key, and our next guide on watering efficiency is sure to provide valuable insights. Learn how to optimize water flow with our practical advice designed for garden lovers. Make every drop count and keep your garden flourishing without wasting resources. Let's ensure your gardening efforts are as effective as possible!
Frequently Asked Questions about How To Connect A Hose To A Faucet
Was this page helpful?
At Storables.com, we guarantee accurate and reliable information. Our content, validated by Expert Board Contributors, is crafted following stringent Editorial Policies. We're committed to providing you with well-researched, expert-backed insights for all your informational needs.

0 thoughts on “How To Connect A Hose To A Faucet”