Articles
How To Use Lg Dishwasher
Modified: October 28, 2024
Learn how to use your LG dishwasher with these informative articles. Get tips and tricks for maximizing its efficiency and achieving spotless results.
(Many of the links in this article redirect to a specific reviewed product. Your purchase of these products through affiliate links helps to generate commission for Storables.com, at no extra cost. Learn more)
Introduction
Welcome to this guide on how to use the LG dishwasher. Having a dishwasher can greatly simplify your life, saving you time and effort in the kitchen. LG is a trusted brand known for its reliable and efficient appliances, and their dishwashers are no exception. In this article, we will walk you through the process of using an LG dishwasher, from unpacking and installation to maintenance tips. By following these steps, you’ll be able to maximize the performance of your dishwasher and keep your dishes sparkling clean.
Before we dive into the details, it’s important to note that specific instructions may vary depending on the model of your LG dishwasher. It’s always a good idea to consult the user manual that comes with your appliance for model-specific guidance. With that said, let’s get started!
Key Takeaways:
- Mastering the use of your LG dishwasher involves proper installation, loading, and cycle selection. Following maintenance tips ensures consistent cleaning performance and extends the appliance’s lifespan.
- Choosing the right cycle, adding detergent and rinse aid, and monitoring the cleaning progress are crucial for achieving spotless and streak-free results with your LG dishwasher. Regular maintenance tasks help maintain optimal performance and extend the appliance’s lifespan.
Read more: How To Use Hotpoint Dishwasher
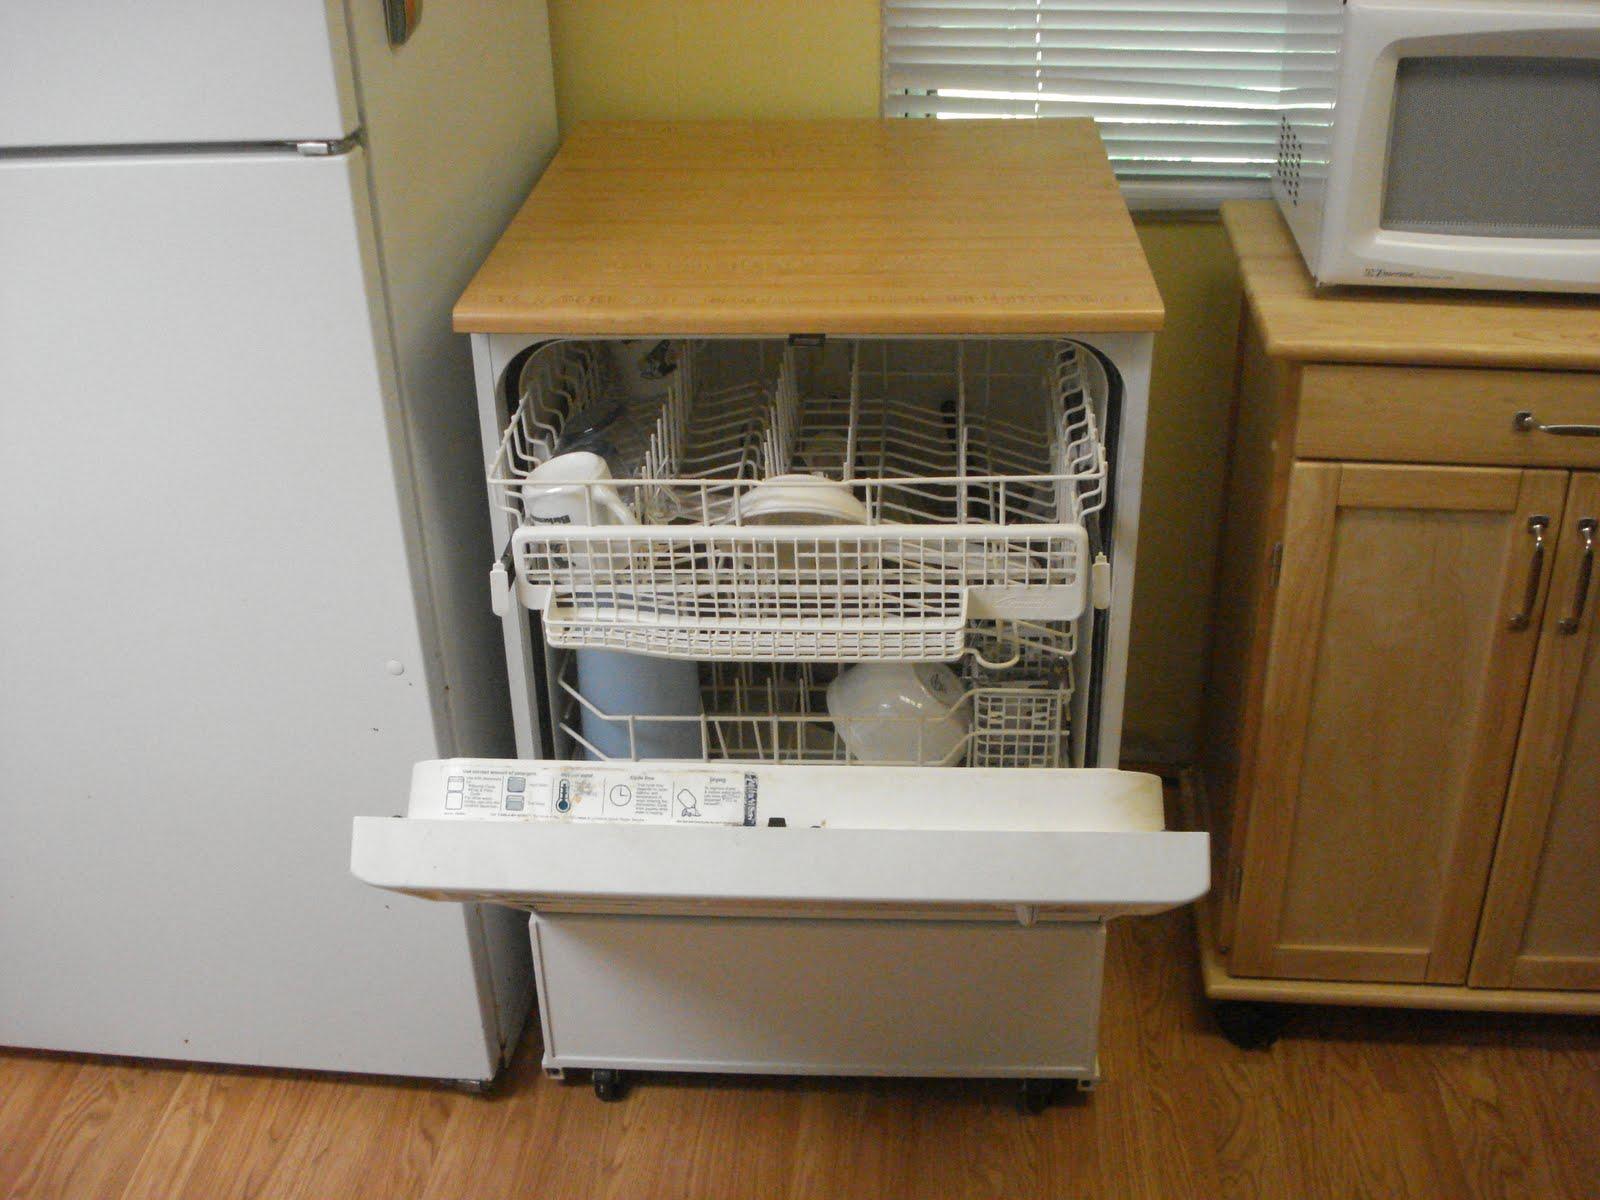
Step 1: Unpacking and Installation
The first step in using your LG dishwasher is to unpack and install it properly. When your dishwasher arrives, carefully unpack it and ensure that all the necessary components are included. These may include the dishwasher itself, racks, cutlery basket, hoses, and installation accessories.
Next, you’ll need to select a suitable location for your dishwasher. Ensure that there is enough space for the dishwasher to fit comfortably and that there is proper plumbing and electrical connections available nearby. It’s important to position the dishwasher on a level surface to prevent any problems during the operation.
Once you’ve chosen an appropriate location, it’s time to install the dishwasher. Start by connecting the water supply hose to the water inlet valve on the back of the dishwasher. Ensure that the connection is secure and leak-free. Next, connect the drain hose to the drain outlet. Again, make sure it is properly connected and free from any kinks or obstructions.
After connecting the hoses, plug the power cord into a grounded electrical outlet. It’s always recommended to use a dedicated circuit for your dishwasher to avoid overloading the electrical system. Double-check all the connections to ensure they are secure.
Finally, before you start using the dishwasher, it’s a good idea to run a test cycle to ensure everything is functioning properly. This will help you identify any issues early on and allow you to address them before running a full load of dishes.
Now that you’ve successfully unpacked and installed your LG dishwasher, you’re ready to move on to the next step: setting up the dishwasher.
Step 2: Setting Up the Dishwasher
Now that your LG dishwasher is installed, it’s time to set it up for optimal performance. Follow these steps to ensure that your dishwasher is properly configured:
1. Adjust the leveling legs: Use a wrench or pliers to adjust the leveling legs at the bottom of the dishwasher. This will help ensure that the dishwasher is stable and doesn’t wobble during operation.
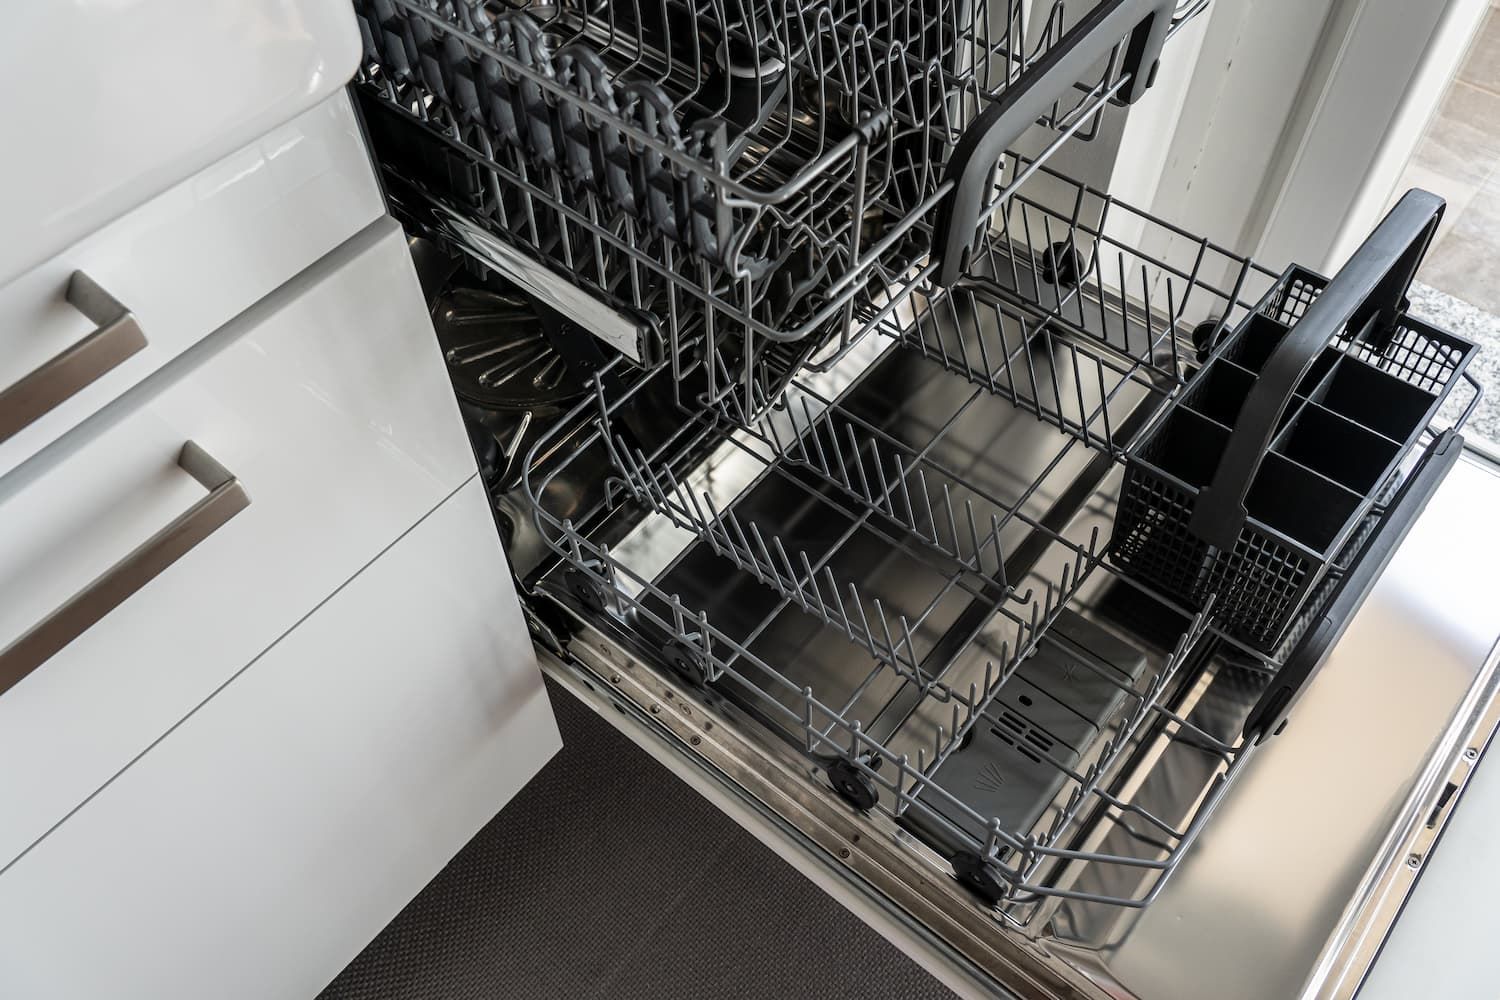
2. Check the spray arms: Remove the top and bottom racks and inspect the spray arms. Make sure that there are no obstructions like pieces of food or utensils blocking the spray holes. Clear any debris to ensure proper water distribution.
3. Load the racks: Before loading the dishwasher with dirty dishes, take a moment to familiarize yourself with the rack layout. There are usually adjustable tines or folding shelves that can accommodate different types of dishes and utensils. Load the dishes with care, ensuring that there is enough space between them for proper water circulation.
4. Organize the silverware: Use the dedicated cutlery basket or rack to organize your silverware. Group similar items together to make unloading easier. Ensure that the silverware is placed with the handles facing down for thorough cleaning.
5. Adjust the upper rack: Some LG dishwashers have an adjustable upper rack to accommodate taller items like wine glasses or large pots. Adjust the height of the upper rack according to your needs.
6. Secure delicate items: If you have delicate or lightweight items, such as plastic containers or lids, use the provided clips or holders to secure them in place. This will prevent them from moving around and potentially falling into the spray arms during the wash cycle.
7. Check for proper loading: Take a final look at the loaded dishwasher to ensure that nothing is blocking the spray arms or impeding the proper functioning of the dishwasher. Make any necessary adjustments before closing the dishwasher door.
Once you have set up your LG dishwasher, you’re ready to move on to the next step: loading the dishwasher with dirty dishes.
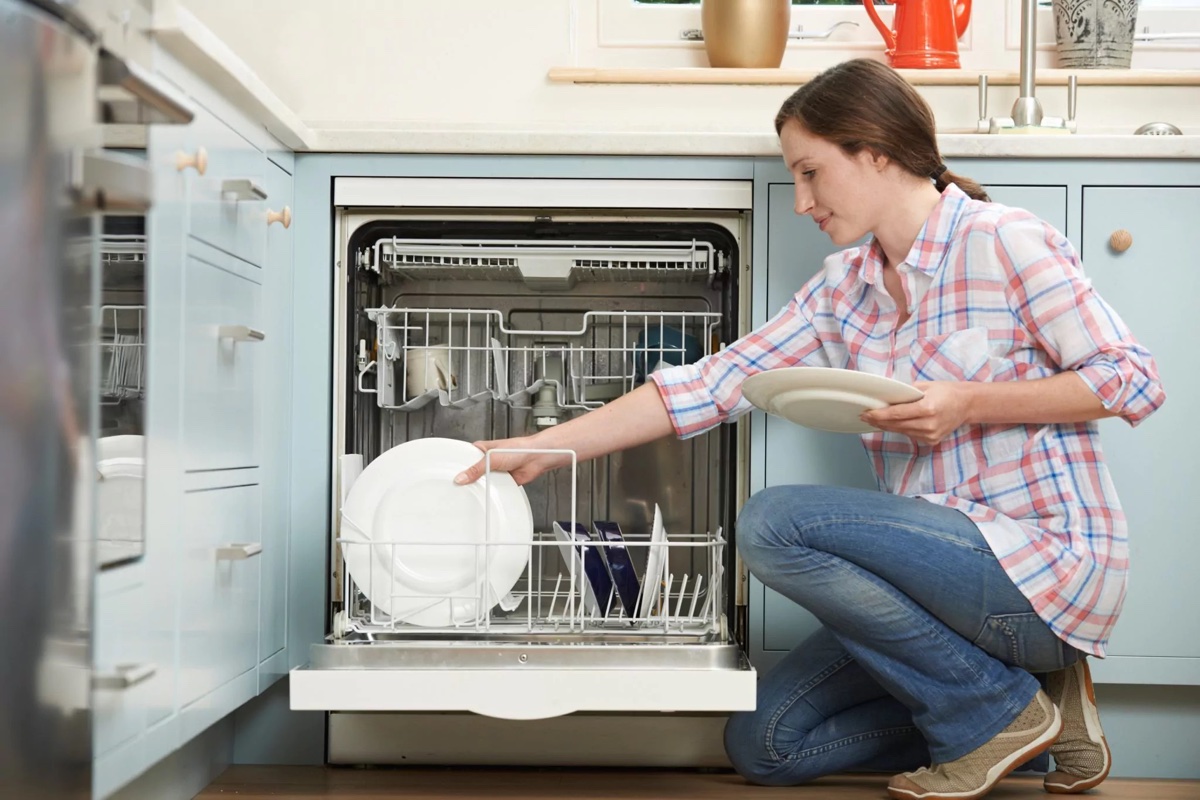
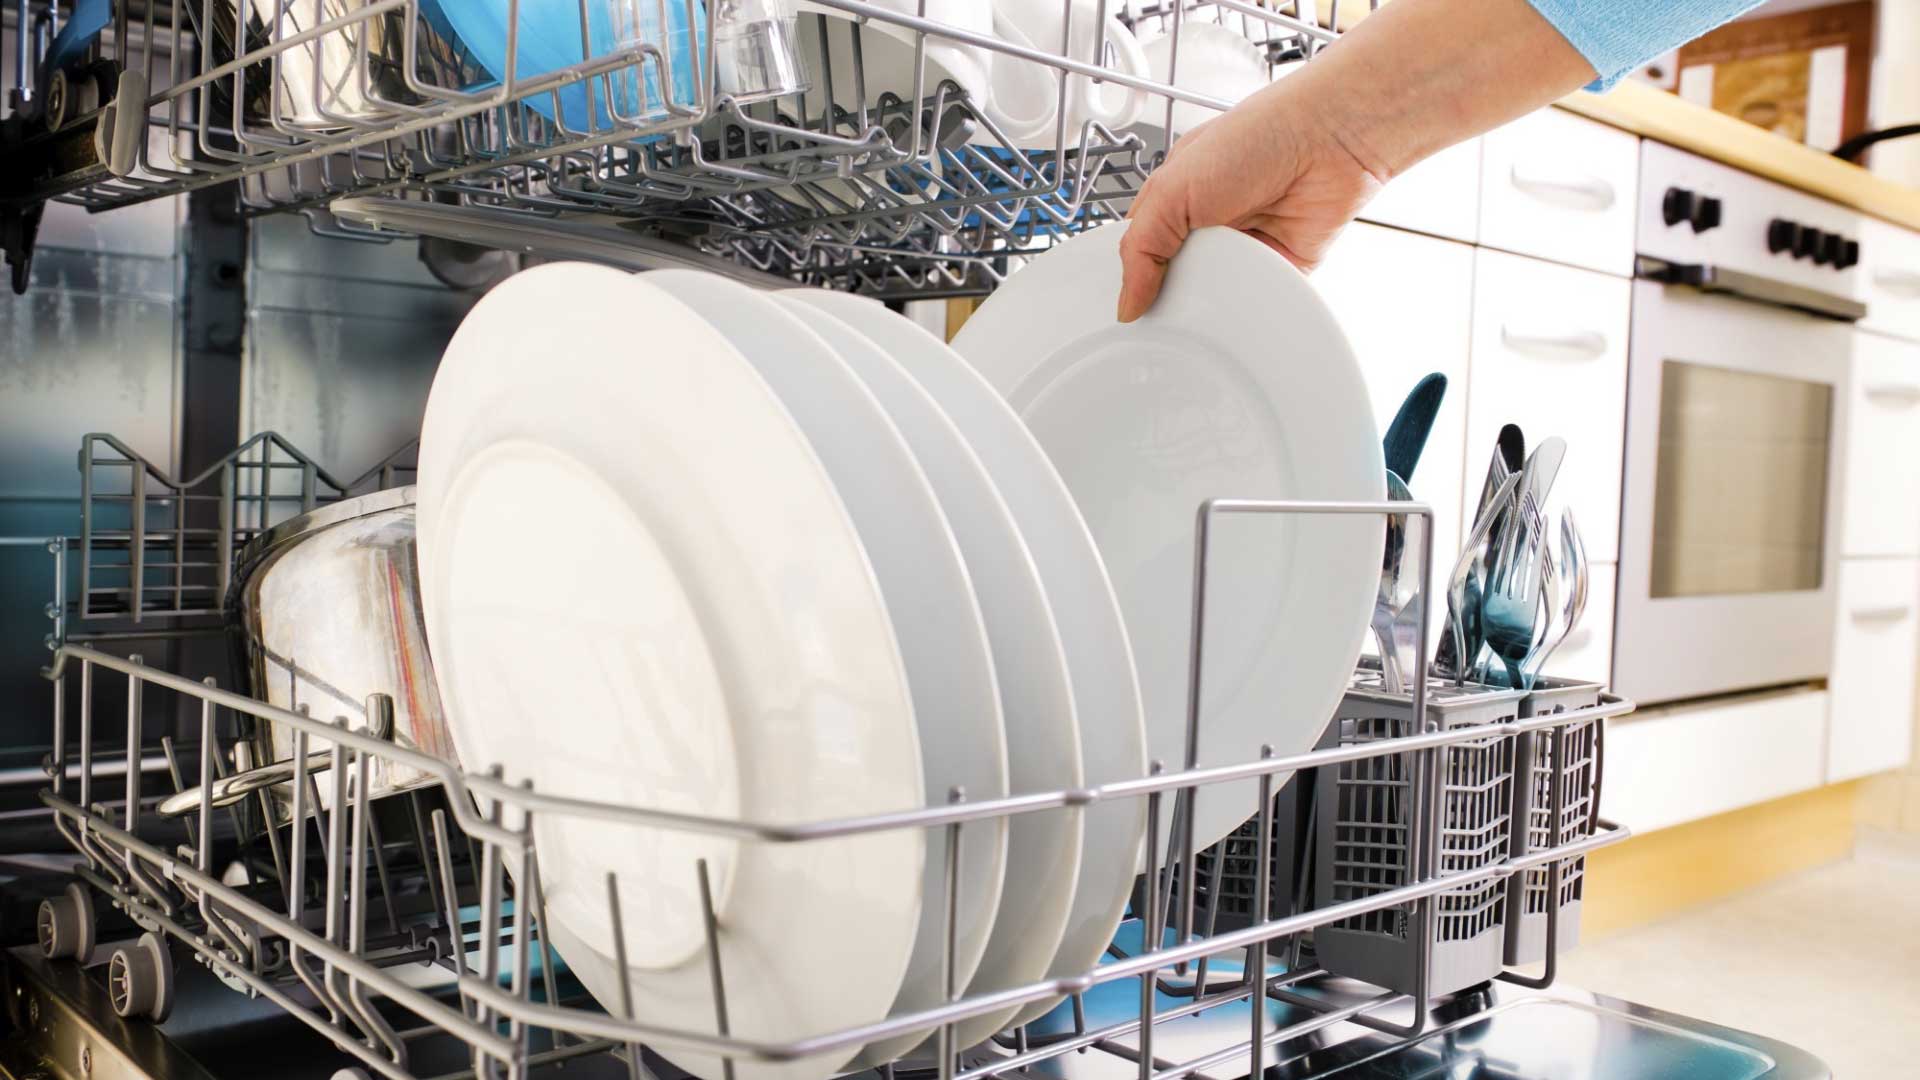
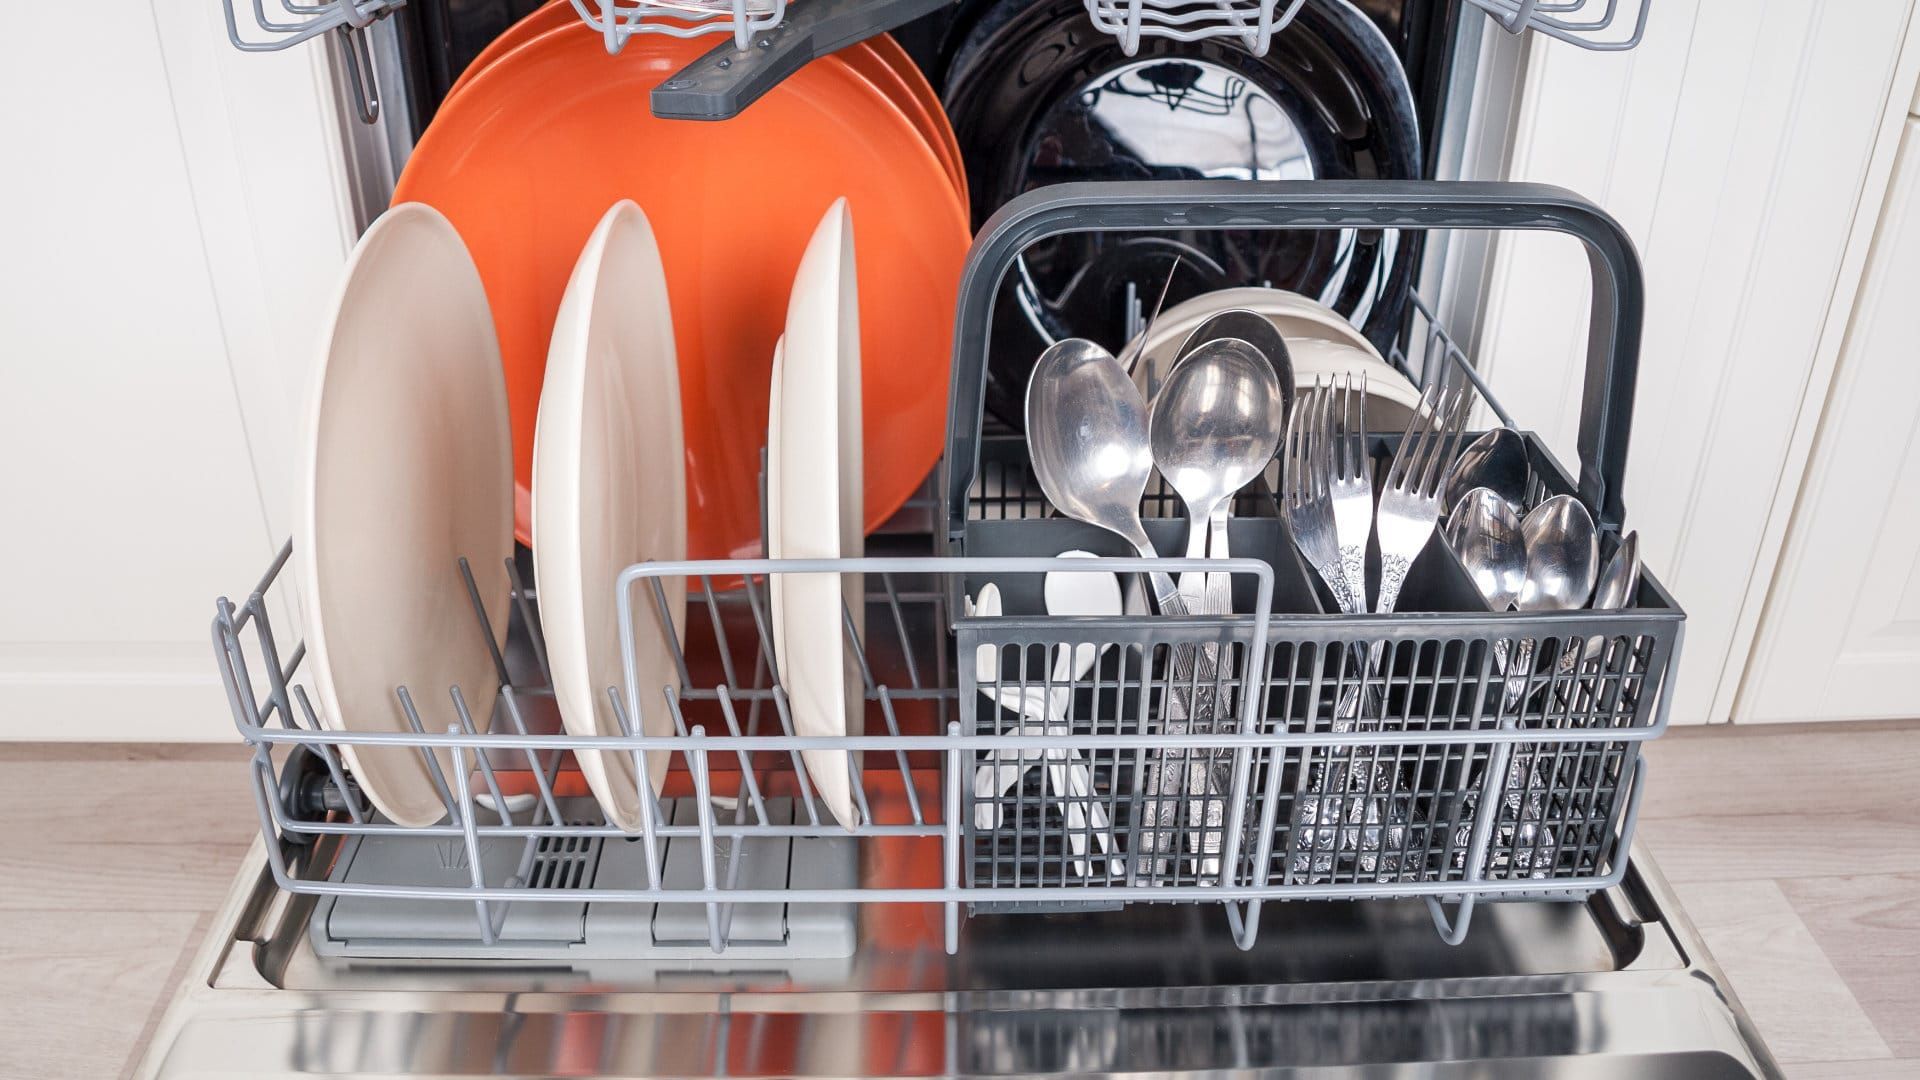
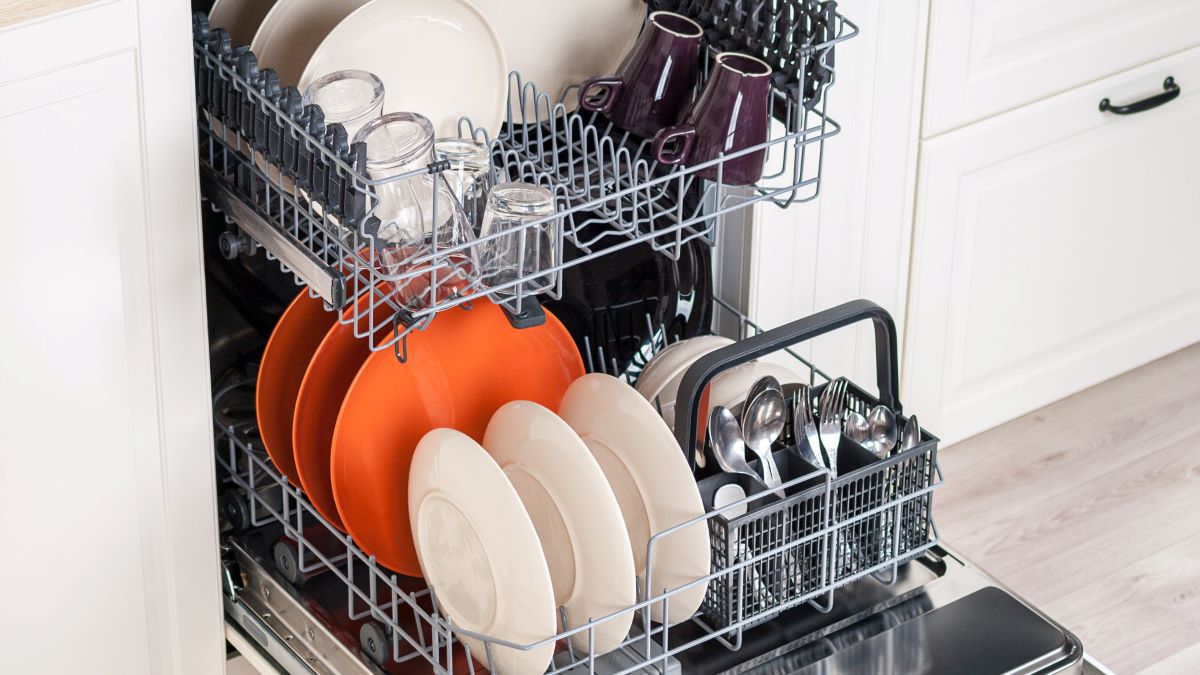
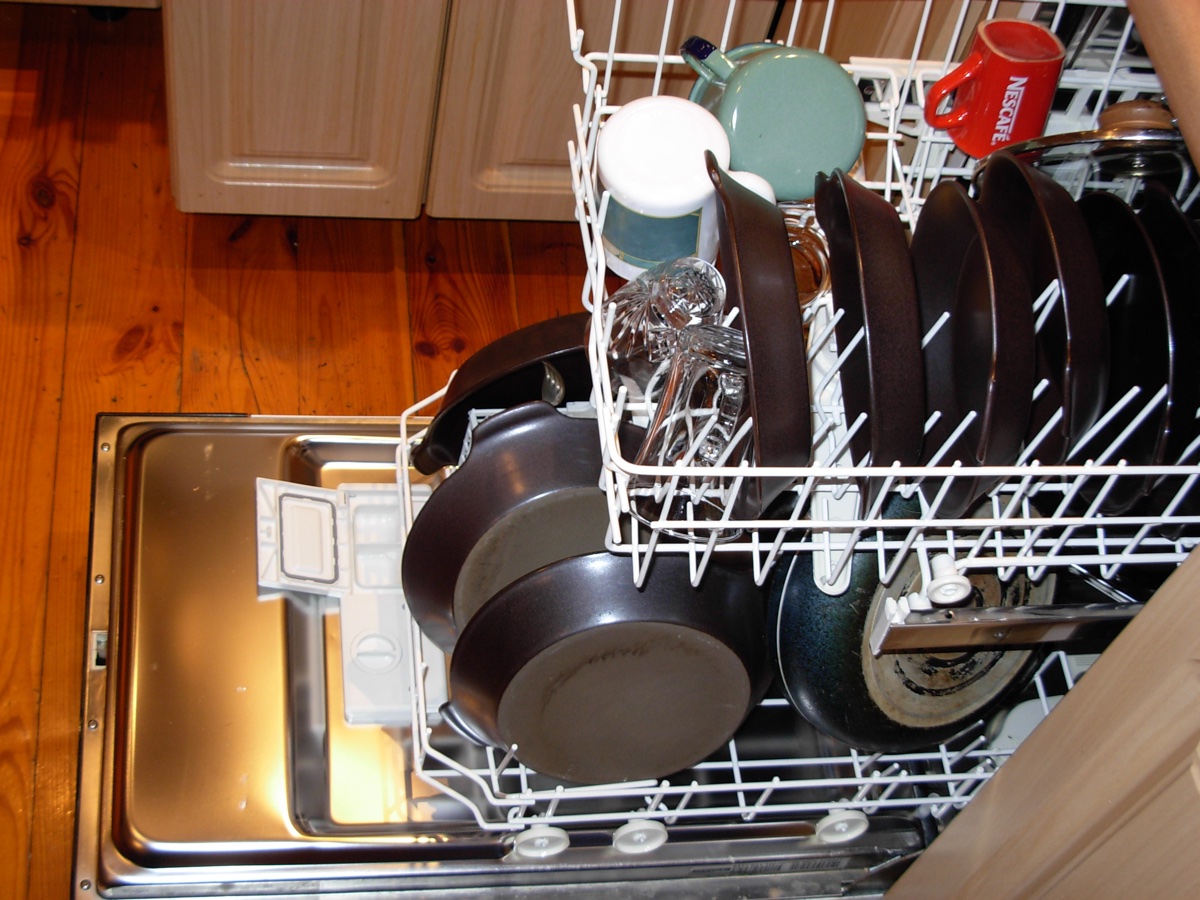
Step 3: Loading the Dishwasher
Properly loading the dishwasher is crucial for efficient and effective cleaning. Follow these steps to ensure that you load your LG dishwasher correctly:
1. Scraping off excess food: Before loading your dishes, scrape off any large food particles and rinse off stubborn food residue. While pre-rinsing is not always necessary, it can help prevent clogs in the dishwasher’s filter and ensure cleaner results.
2. Load larger items on the bottom rack: Place larger items like pots, pans, and baking sheets on the bottom rack. It’s important to position them so that they don’t block the spray arms or interfere with the detergent dispenser.
3. Position plates and bowls: Arrange plates and bowls in the bottom rack, facing inward and downward. This allows for better water circulation and ensures thorough cleaning.
4. Arrange cups and glasses: Place cups and glasses between the tines on the top rack. Make sure they are secure and the openings are facing downward to prevent water from collecting inside.
5. Separate silverware: To prevent nesting and ensure proper cleaning, distribute silverware evenly in the dedicated cutlery basket or rack. Place similar items together and avoid overcrowding.
6. Load smaller items and lids: Arrange smaller items like lids, utensils, and small bowls in the remaining spaces. Make use of folding shelves and adjustable tines to maximize space and accommodate various sizes of dishes.
7. Avoid overcrowding: It’s essential to avoid overcrowding the dishwasher. Allow enough space between items for water and detergent to circulate freely. Overcrowding can lead to poor cleaning results and may cause dishes to block the spray arms.
8. Double-check the loaded dishwasher: Before closing the dishwasher door, double-check that the spray arms can rotate freely and that no items are obstructing their movement. Make any necessary adjustments to ensure proper loading.
By following these guidelines, you can ensure that your dishes are loaded properly and achieve the best possible cleaning results with your LG dishwasher.
Step 4: Choosing the Right Cycle
LG dishwashers offer a variety of wash cycles to suit different cleaning needs. Choosing the right cycle for your load is important to optimize cleaning performance and conserve energy. Here’s how to select the appropriate cycle:
1. Refer to the user manual: Start by consulting the user manual that came with your LG dishwasher. It will provide a detailed description of each available cycle and its specific uses. Familiarize yourself with the different options to understand their capabilities.
2. Consider the level of soiling: Assess the level of soiling on your dishes. If they are lightly soiled with minimal food residue, a shorter cycle, such as the Quick or Light cycle, may be suitable. For heavily soiled dishes or dishes with tough, dried-on food, opt for longer and more intensive cycles like Heavy or Intensive.
3. Use specialized cycles: LG dishwashers often come with specialized cycles for specific types of items, such as Pots & Pans, Glassware, or Steam. These cycles are designed to provide optimal cleaning while protecting delicate items or addressing particular cleaning needs. Take advantage of these specialized cycles when applicable.
4. Consider energy-saving options: Many LG dishwashers offer energy-saving cycles, such as Eco mode or Auto mode. These cycles adjust the water and energy usage based on the load size and soil level, reducing resource consumption while still achieving satisfactory cleaning results. If you’re conscious of energy efficiency, consider using these modes.
5. Customization options: LG dishwashers often provide customization options to fine-tune the cycle according to your preferences. These options may include adjusting the water temperature, increasing or decreasing the wash time, or adding extra rinse cycles. Explore these customization features to optimize the cleaning process.
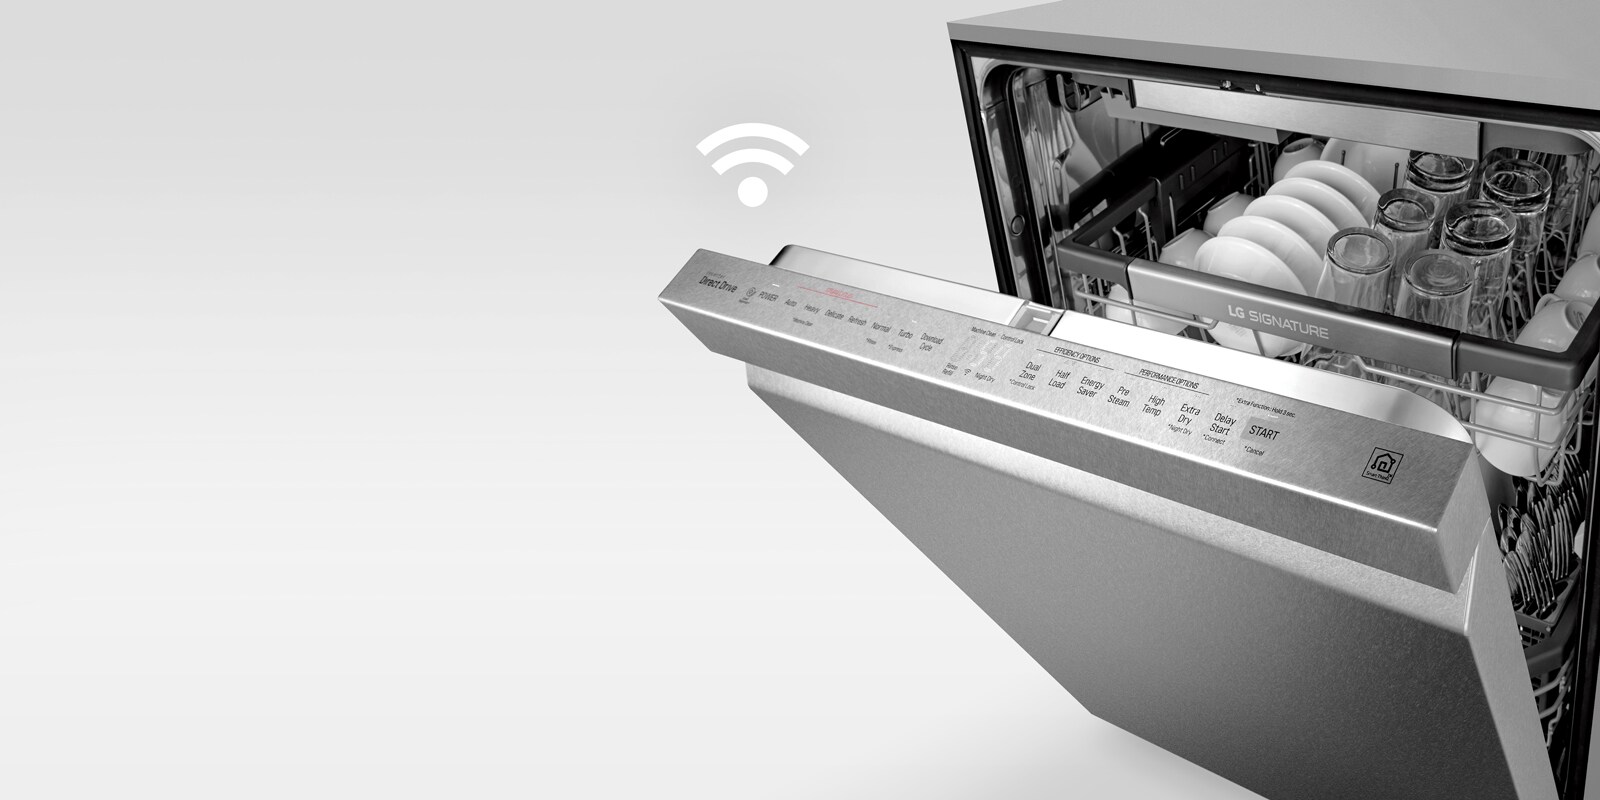
6. Smart features: Some LG dishwashers come equipped with smart features that allow you to control and monitor the dishwasher remotely via smartphone apps. These features may provide additional cycle options or the ability to download new cycles as needed. Take advantage of these smart capabilities if your dishwasher has them.
Remember to consider factors such as load size, soil level, and specific cleaning needs when choosing the right cycle. Experiment with different cycles to find the one that best suits your requirements and delivers consistently clean dishes with your LG dishwasher.
When using an LG dishwasher, always scrape off excess food from dishes before loading them. Use the appropriate amount of detergent and ensure the spray arms are not blocked for efficient cleaning.
Read more: How To Use A Frigidaire Dishwasher
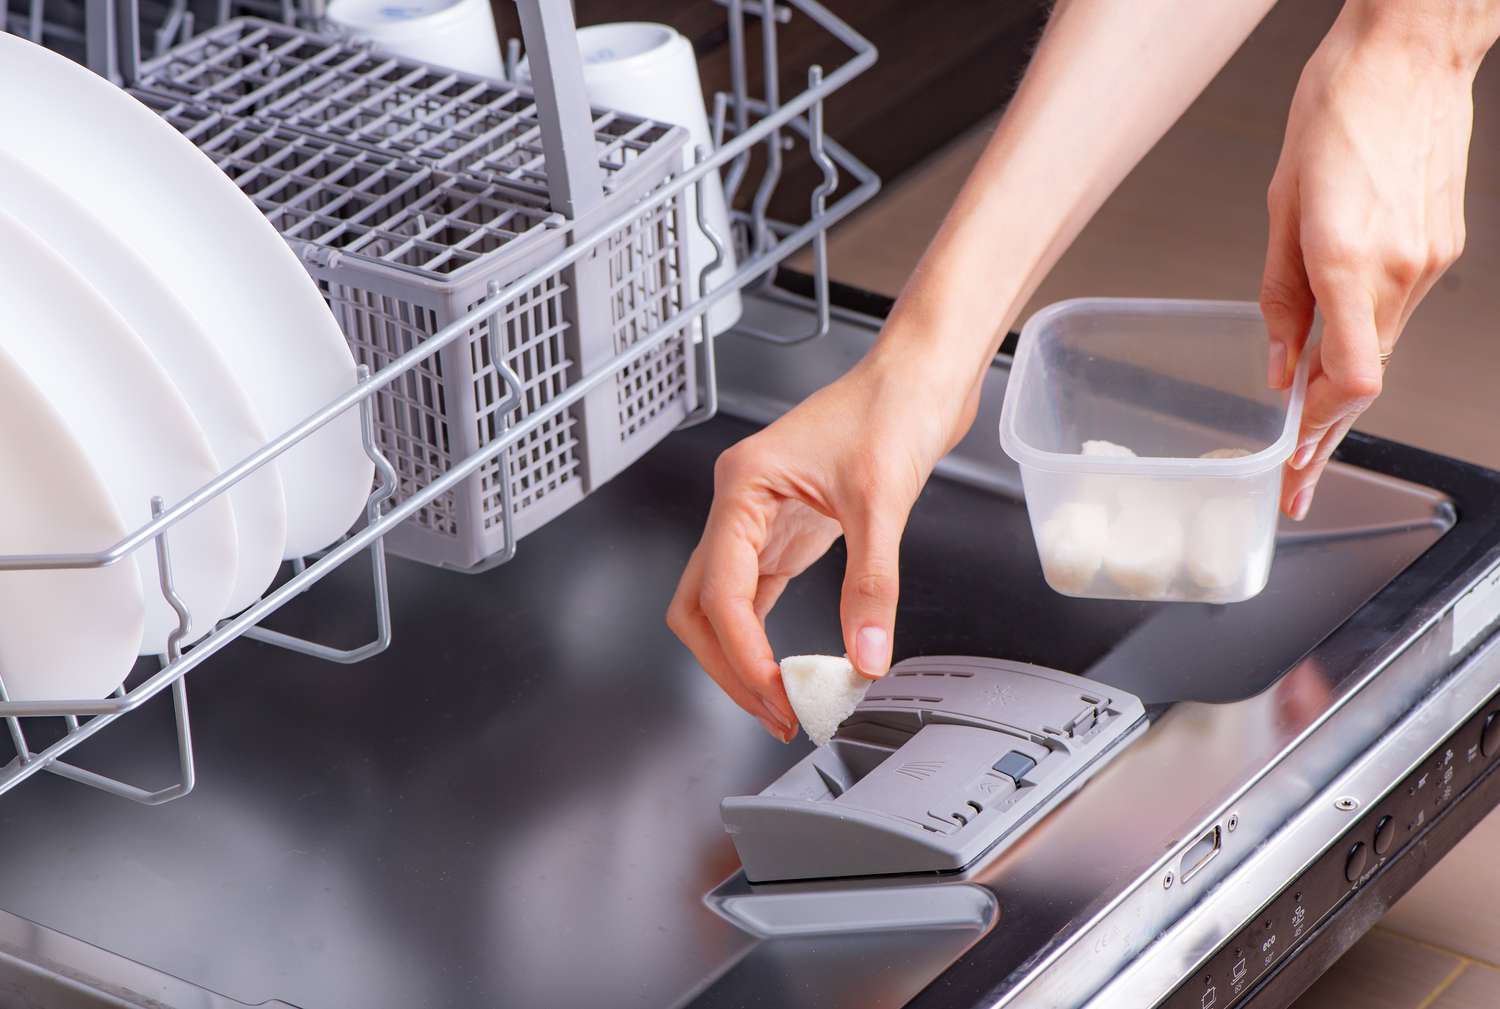
Step 5: Adding Detergent and Rinse Aid
Properly adding detergent and rinse aid is essential for achieving spotless and streak-free results with your LG dishwasher. Follow these steps to ensure that you add these cleaning agents correctly:
1. Select the right detergent: Choose a dishwasher detergent that is specifically formulated for use in automatic dishwashers. Avoid using regular dish soap or other household cleaning agents, as they can produce excessive suds and potentially damage your dishwasher.
2. Determine the appropriate amount: Consult the detergent manufacturer’s instructions to determine the recommended amount of detergent based on the level of soiling and the hardness of your water. Using too little detergent may result in inadequate cleaning, while using too much can leave residue on your dishes.
3. Load the detergent dispenser: Open the dishwasher door and locate the detergent dispenser, usually positioned in the center of the dishwasher door. Fill the dispenser with the recommended amount of detergent, taking care not to overfill or spill any undissolved detergent into the dishwasher tub.
4. Add rinse aid: Rinse aid helps to prevent water spots and enhance the drying process. Check if your dishwasher has a rinse aid dispenser. If it does, fill it with rinse aid according to the manufacturer’s instructions. If your dishwasher does not have a dedicated dispenser, you can place a rinse aid tablet or use a rinse aid ball in the utensil basket.
5. Close the detergent and rinse aid compartments: Ensure that the detergent and rinse aid compartments are securely closed before starting the dishwasher. This will prevent any spills or leaks during the wash cycle.
6. Consider additional features: Some LG dishwashers offer features like detergent pods dispensers. If your dishwasher has this feature, simply place the detergent pod in the designated compartment, following the manufacturer’s instructions.
7. Adjust dosage if needed: If you notice excessive suds or residue on your dishes after running a cycle, you may need to adjust the amount of detergent or rinse aid you are using. Be sure to readjust based on your specific needs to achieve optimal results.
By following these steps, you can ensure that the right amount of detergent is used and that your dishwasher is properly equipped with rinse aid for optimal cleaning performance and spotless results.
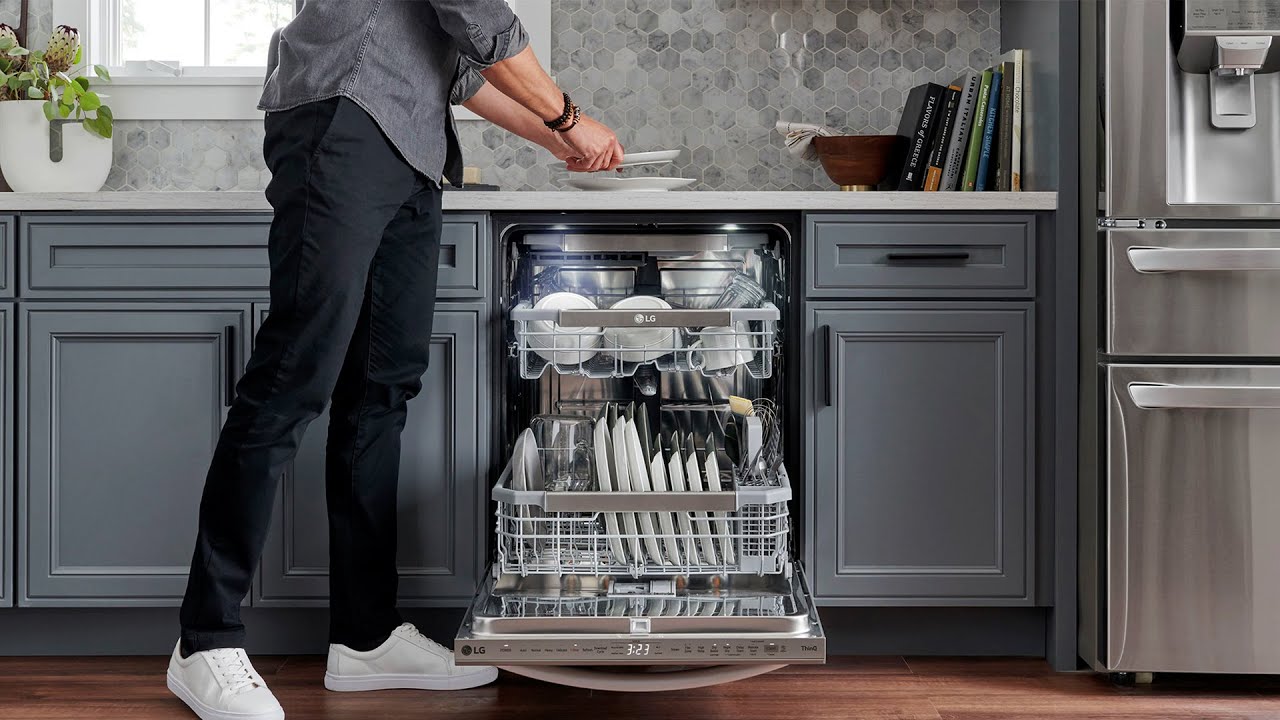
Step 6: Starting the Dishwasher
Now that your LG dishwasher is loaded with dishes, detergent, and rinse aid, it’s time to start the cleaning process. Follow these steps to start your dishwasher:
1. Close the dishwasher door: Ensure that all items are properly loaded and that the spray arms have free movement. Close the dishwasher door firmly until you hear a click, indicating that it is securely latched.
2. Select the desired cycle: On the dishwasher’s control panel, select the cycle that best suits your needs. Use the buttons or touch controls to scroll through the available options and choose the appropriate wash cycle.
3. Adjust additional settings: Depending on your dishwasher model, you may have additional settings available for customization. These settings can include options for water temperature, drying mode, delay start, or extra washing or rinsing cycles. Adjust these settings according to your preference.
4. Start the dishwasher: Once you have selected the cycle and adjusted the desired settings, locate the start button on the control panel. Press the button to initiate the dishwasher’s cycle. Some models may require you to press and hold the start button for a few seconds to begin the cycle.
5. Monitor the progress: After starting the dishwasher, it will begin the wash cycle. Monitor the progress through the display panel if available or by listening for the sound of water and the rotating spray arms. Some dishwashers also have indicators or lights to show the cycle’s progress.
6. Avoid opening the dishwasher during the cycle: To ensure optimal cleaning and energy efficiency, it’s best to avoid opening the dishwasher door while the cycle is running. Opening the door can disrupt the water flow and extend the cycle time.
7. Pause or cancel the cycle if necessary: If, for any reason, you need to pause or cancel the cycle, most LG dishwashers have a dedicated button or option to do so. Refer to the user manual or the control panel for instructions on pausing or canceling the cycle.
By following these steps, you can start your LG dishwasher and let it efficiently clean your dishes while you attend to other tasks. Once the cycle is complete, it’s time to move on to the next step: monitoring the progress and ensuring that the dishes are clean and ready to be unloaded.
Step 7: Monitoring the Progress
As your LG dishwasher is running its cleaning cycle, it’s important to monitor the progress to ensure that the dishes are being properly cleaned. Follow these steps to effectively monitor the progress:
1. Observe the display or indicator lights: Many LG dishwashers have display panels or indicator lights that show the stage or progress of the wash cycle. Check the display or lights periodically to see if the cycle is running as expected.
2. Listen for proper operation: Pay attention to the dishwasher’s sound during the wash cycle. You should hear the water spraying, the motor running, and the spray arms spinning. If you notice any unusual sounds like grinding or rattling, it may indicate an issue that requires attention.
3. Check for water flow: Take a quick peek through the dishwasher door (if it has a clear or transparent section) to see if water is properly flowing inside. You should see the spray arms rotating and water covering the dishes. If there is no water flow or the spray arms are not moving, there may be a blockage or malfunction that needs to be addressed.
4. Inspect for leaks: While the dishwasher is running, keep an eye out for any water leaks around the door or underneath the appliance. A small amount of water condensation on the door is normal, but excessive leaks should be investigated and resolved to avoid water damage.
5. Look for properly cleaned dishes: Once the cycle is complete, open the dishwasher door and carefully inspect the dishes. They should be clean, free from residue, and sparkling. If any dishes still have visible stains or food particles, it may indicate that the load was not properly loaded or that the chosen cycle was not suitable for the level of soiling.
6. Assess the drying performance: After the cycle completes, check if the dishes are properly dried. LG dishwashers generally offer different drying options, such as heated drying or fan-assisted drying. If the dishes are not adequately dry, you may need to adjust the drying setting for future cycles or consider using rinse aid for improved drying results.
By monitoring the progress, you can ensure that your LG dishwasher is effectively cleaning your dishes. If you encounter any issues or unsatisfactory results, refer to the user manual or contact LG customer support for assistance.
Step 8: Unloading and Maintenance Tips
After your LG dishwasher has completed the cleaning cycle, it’s time to unload the dishes and perform regular maintenance to keep your dishwasher in optimal condition. Follow these steps for successful unloading and maintenance:
1. Unload the dishes with care: Open the dishwasher door and carefully remove the dishes, starting from the bottom rack and working your way up. Be cautious of any residual hot steam that may escape when opening the door.
2. Allow dishes to cool and dry: Before putting away the dishes, allow them to cool and air dry for a short period to prevent any condensation or residual moisture from collecting in storage cabinets or shelves.
3. Clean the interior: Regularly inspect and clean the interior of the dishwasher to remove any food particles, debris, or stains. Wipe down the walls, door, and racks using a soft cloth or sponge dampened with warm, soapy water. Be sure to clean the filter, located at the bottom of the dishwasher, following the manufacturer’s instructions.
4. Remove mineral deposits: Over time, mineral deposits can build up in the dishwasher, particularly in areas with hard water. To remove these deposits, you can run a cleaning cycle using a dishwasher cleaner recommended by LG or by simply running a cycle with white vinegar in an empty dishwasher.
5. Inspect and clean the spray arms: Periodically check the spray arms for any clogs or obstructions. If necessary, remove them and rinse them under running water to remove any debris or mineral deposits. Ensure that the spray arms can freely rotate before reinstalling them.
6. Check and refill rinse aid: Monitor the level of rinse aid in the dedicated dispenser or rinse aid ball. Refill the rinse aid as needed to ensure spotless and streak-free drying results. Consult the user manual for instructions on how to refill the rinse aid compartment properly.
7. Check and replace damaged or worn parts: Regularly inspect the dishwasher for any damaged or worn-out parts, such as racks or spray arm components. If you notice any issues, contact LG customer support or a qualified technician to address the problem and replace any necessary parts.
8. Follow maintenance schedules: Refer to the user manual for specific maintenance schedules recommended by LG. These schedules may include tasks such as cleaning the filter, running maintenance cycles, or performing other routine maintenance procedures to keep your dishwasher operating at its best.
By following these unloading and maintenance tips, you can extend the lifespan of your LG dishwasher while ensuring that your dishes are consistently cleaned to perfection.
Read more: How To Use Samsung Dishwasher
Conclusion
Congratulations on mastering the use of your LG dishwasher! With proper understanding and implementation of the steps outlined in this guide, you can achieve optimal cleaning results while maintaining the efficiency and longevity of your appliance.
By unpacking and installing your dishwasher correctly, setting it up with attention to detail, loading it properly, and choosing the right cycle, you can ensure that every load of dishes is cleaned effectively and efficiently. Adding the right amount of detergent and rinse aid, starting the dishwasher, and monitoring the progress are essential for a successful cleaning cycle.
Remember to unload the dishes with care, perform regular maintenance tasks, and follow the manufacturer’s recommendations to keep your LG dishwasher in optimal condition for years to come. By maintaining your dishwasher regularly, you can avoid potential issues and ensure consistent performance.
We hope this guide has provided you with valuable insights and practical steps to effectively use your LG dishwasher. Always refer to the user manual specific to your model for detailed instructions and recommendations.
Now, it’s time to enjoy the convenience of a clean and sparkling kitchen with the help of your reliable LG dishwasher. Happy dishwashing!
Frequently Asked Questions about How To Use Lg Dishwasher
Was this page helpful?
At Storables.com, we guarantee accurate and reliable information. Our content, validated by Expert Board Contributors, is crafted following stringent Editorial Policies. We're committed to providing you with well-researched, expert-backed insights for all your informational needs.


0 thoughts on “How To Use Lg Dishwasher”