Articles
Ionic Pro Air Purifier How To Clean
Modified: October 19, 2024
Learn effective ways to clean your Ionic Pro Air Purifier with our helpful articles. Keep your air purifier working efficiently for cleaner, healthier air.
(Many of the links in this article redirect to a specific reviewed product. Your purchase of these products through affiliate links helps to generate commission for Storables.com, at no extra cost. Learn more)
Introduction
Welcome to our guide on how to clean the Ionic Pro Air Purifier. Air purifiers are essential in maintaining a clean and healthy indoor environment, but over time, they can become dirty and less effective at removing pollutants from the air. Cleaning your air purifier regularly is crucial to ensure optimal performance and prolong its lifespan.
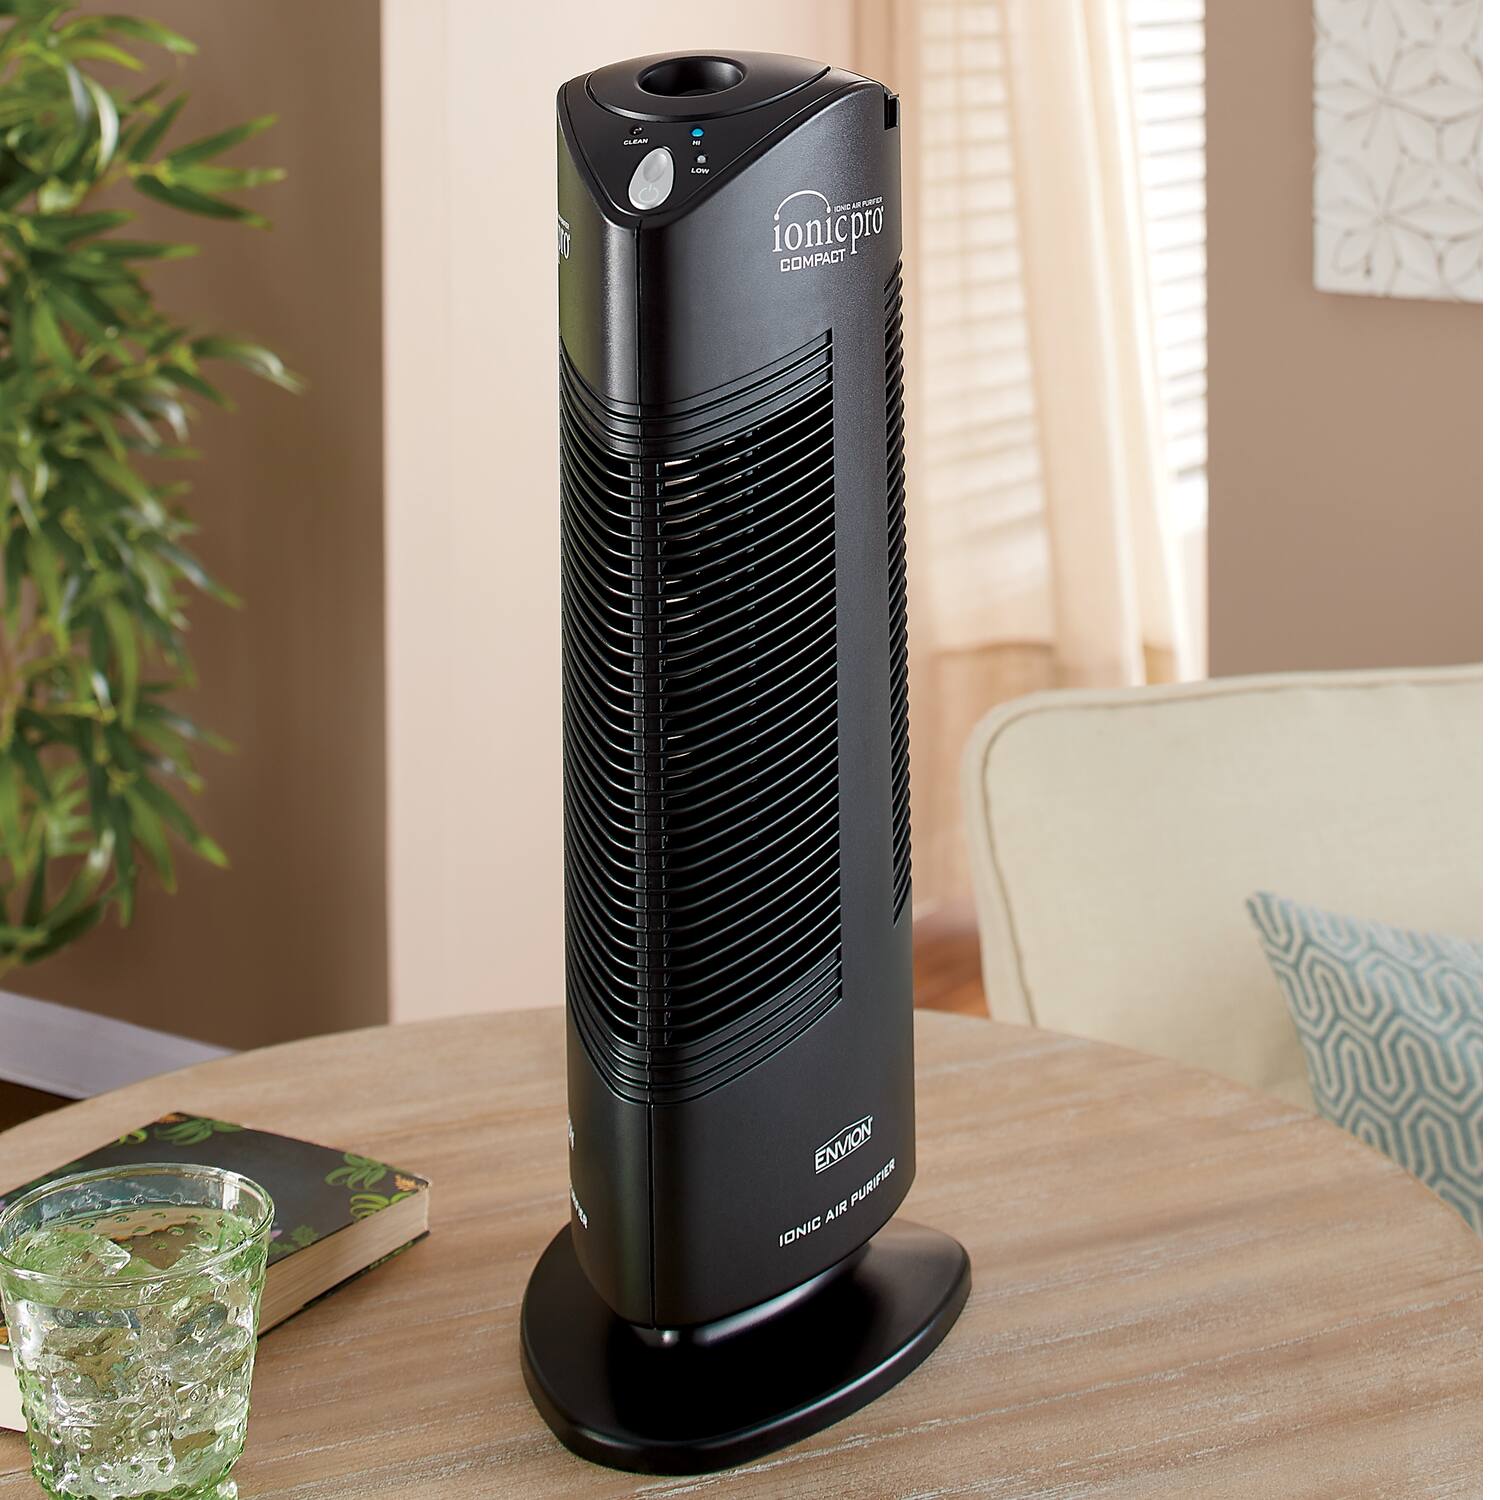
The Ionic Pro Air Purifier is a popular option among homeowners due to its advanced technology and ability to efficiently remove airborne particles. However, like any other appliance, it requires regular maintenance to continue operating at its best. In this article, we will walk you through the step-by-step process of cleaning your Ionic Pro Air Purifier.
Before we get started, it’s important to note that regular cleaning is necessary to maintain the effectiveness of your air purifier. Depending on the level of pollutants in your environment, it is recommended to clean your Ionic Pro Air Purifier every two to four weeks. This will ensure that the filter and components are free from dust, dirt, and other debris that can hinder its performance.
Now, let’s dive into the details of how to properly clean your Ionic Pro Air Purifier to maximize its efficiency and longevity.
Key Takeaways:
- Regular cleaning of your Ionic Pro Air Purifier is crucial for maintaining its performance and ensuring clean indoor air. Follow the step-by-step guide to effectively clean and maintain your air purifier for optimal functionality.
- Properly cleaning the filter and exterior of your Ionic Pro Air Purifier, and reassembling the unit, will ensure it continues to provide clean and fresh air. Regular maintenance is key to prolonging its lifespan and maximizing its performance.
Read more: How To Clean Blue Air Purifier
Step 1: Preparing the Ionic Pro Air Purifier for Cleaning
Before you begin cleaning your Ionic Pro Air Purifier, it’s important to take some precautions and prepare the unit properly. Follow these steps to ensure a safe and effective cleaning process:
- Turn Off and Unplug: Start by turning off the air purifier and unplugging it from the power source. This will prevent any electrical mishaps or accidents during the cleaning process.
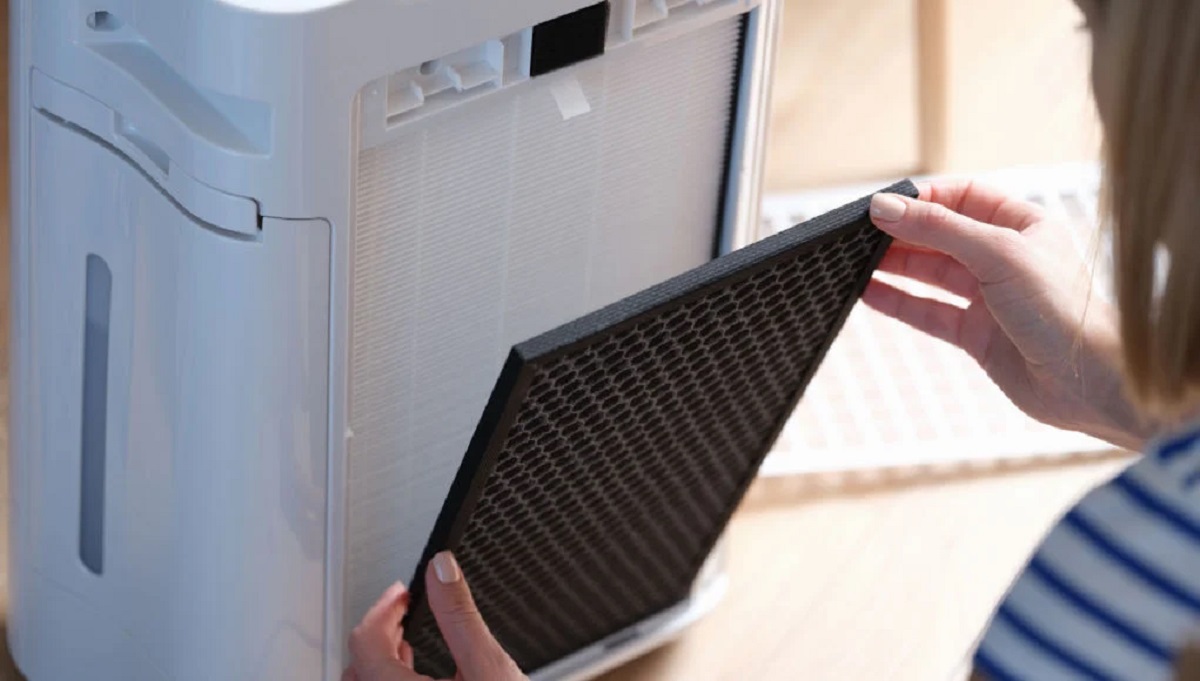
- Remove the Filter: The next step is to remove the filter from the air purifier. The filter is typically located at the back or top of the unit. Consult the user manual if you are unsure about the exact location or how to remove it. Take note of how the filter is positioned before removing it to ensure proper reassembly later.
- Take Precautions: It’s a good idea to wear gloves and a mask during the cleaning process to protect yourself from any dust or allergens that may be present in the filter or unit. This is especially important if you suffer from allergies or respiratory conditions.
- Find a Suitable Cleaning Area: Choose a well-ventilated area with enough space to comfortably clean the air purifier components. Lay down a clean cloth or newspaper to catch any debris or dirt that may fall during the cleaning process.
- Gather Cleaning Supplies: Prepare the necessary cleaning supplies, including a soft cloth, mild soap or detergent, and warm water. Avoid using harsh chemicals, as they can damage the unit.
By following these preparatory steps, you will create a safe and organized environment to clean your Ionic Pro Air Purifier effectively. Now, let’s move on to the next step: removing the filter from the air purifier.
Step 2: Removing the Filter from the Ionic Pro Air Purifier
Now that you have prepared the Ionic Pro Air Purifier for cleaning, it’s time to proceed with removing the filter. Follow these steps carefully:
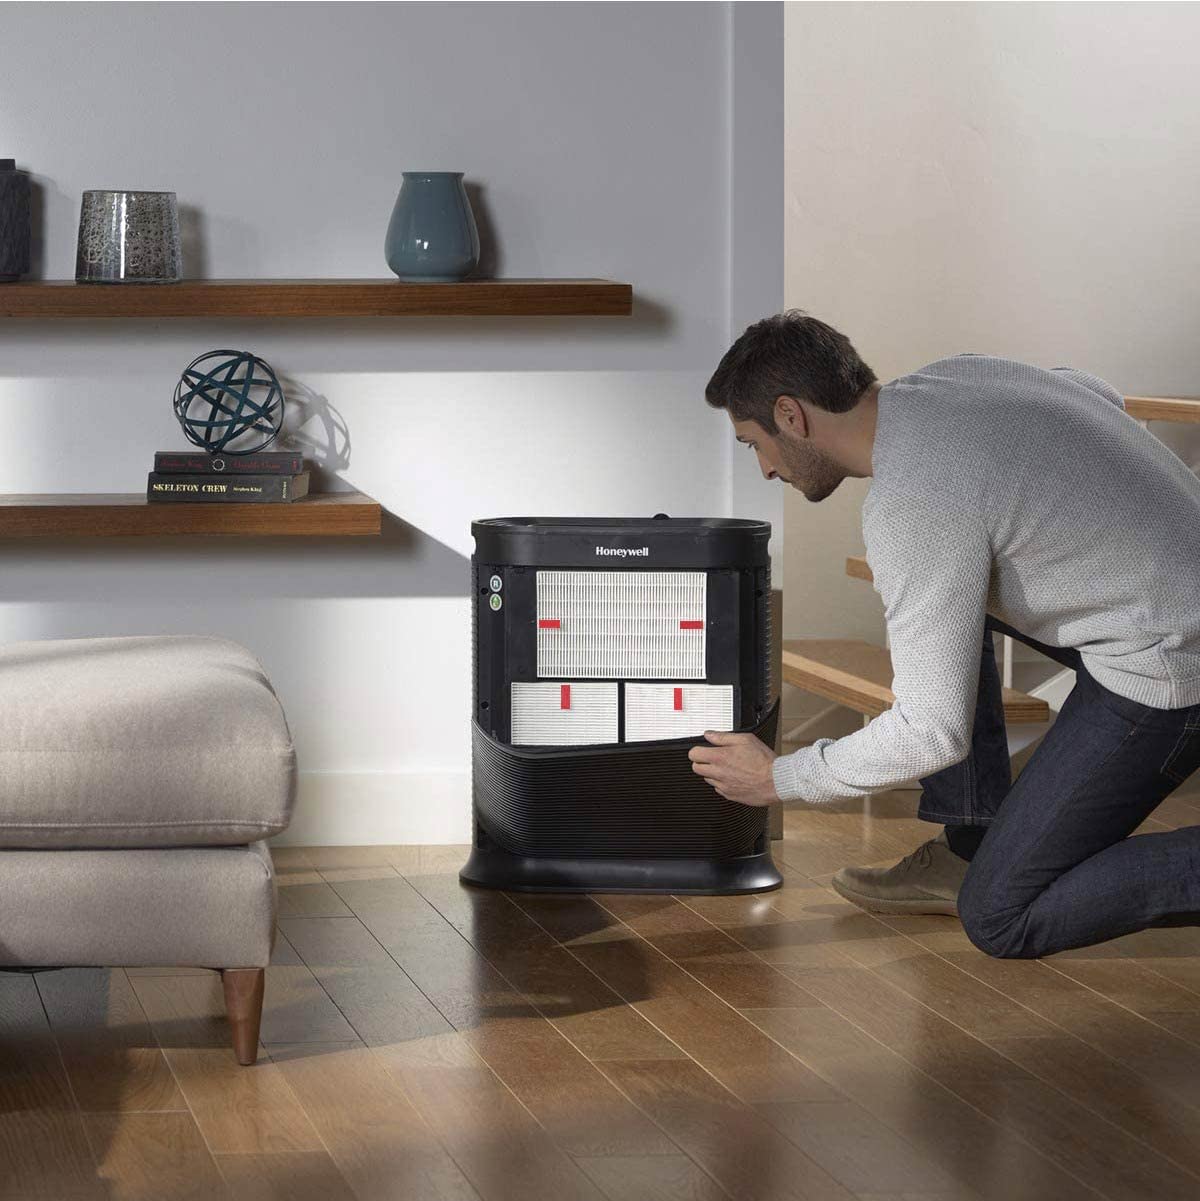
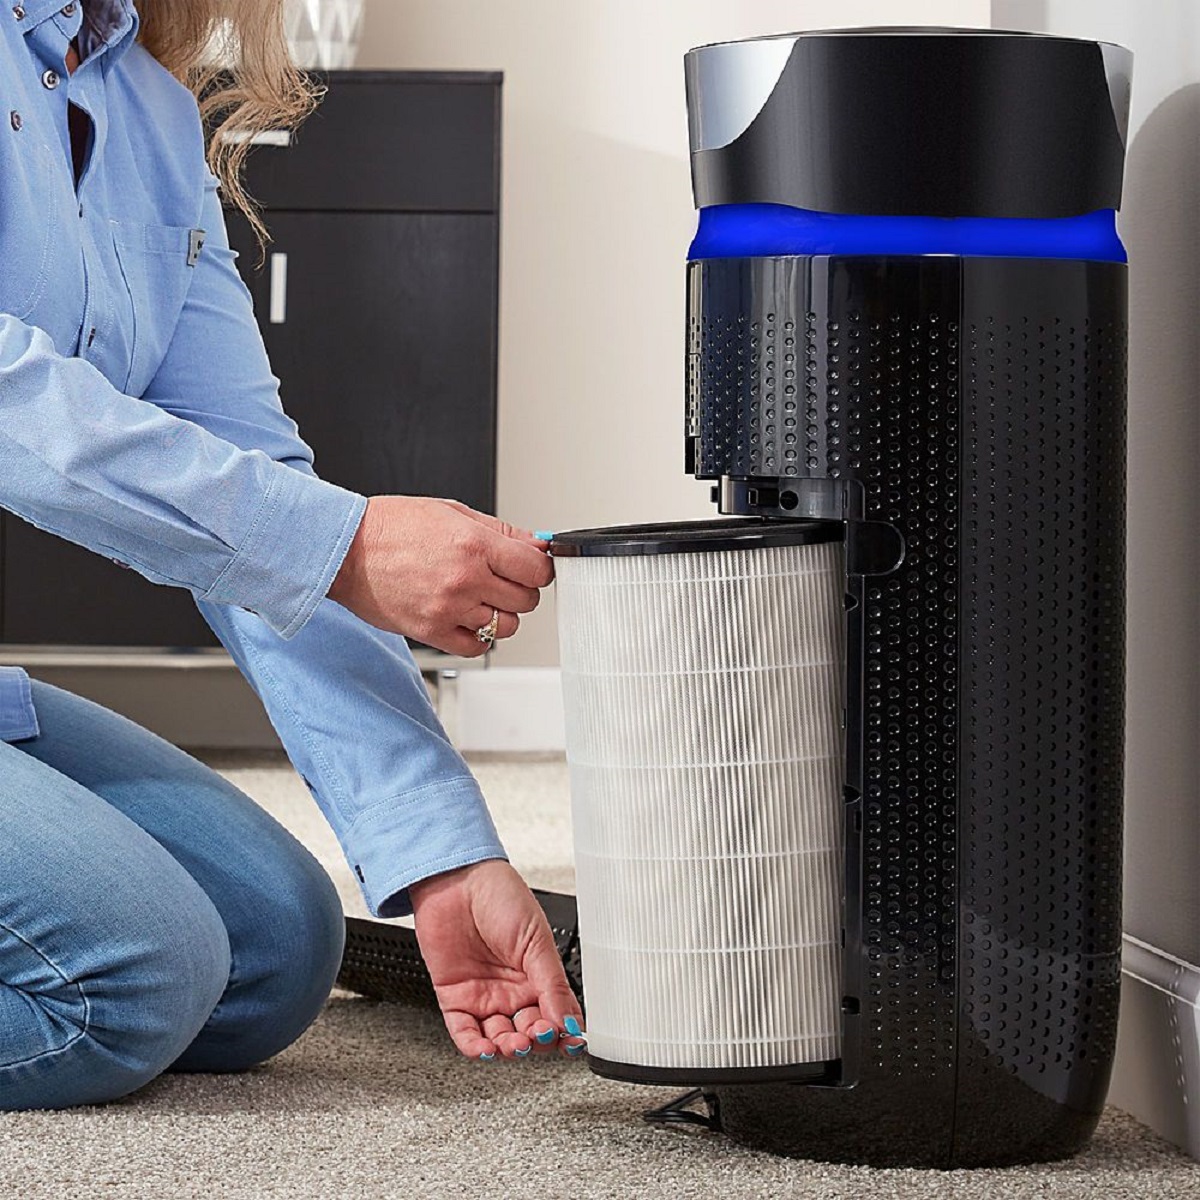
- Locate the Filter: The filter in the Ionic Pro Air Purifier is generally located at the back or top of the unit. It may be secured with a latch or cover that needs to be opened or unscrewed. Refer to the user manual for specific instructions on locating and accessing the filter.
- Open the Filter Compartment: Once you have located the filter, open the compartment by following the instructions provided. This may involve releasing latches, removing screws, or sliding panels.
- Remove the Filter: Carefully take out the filter from its compartment. Be gentle to avoid damaging the filter or any surrounding components. Note the orientation and position of the filter for later reassembly.
- Inspect the Filter: Take a moment to inspect the filter for any visible dirt, debris, or discoloration. This will give you an idea of how dirty the filter is and the level of cleaning required.
- Dispose of or Clean the Filter: Depending on the type of filter in your Ionic Pro Air Purifier, you may have the option to clean or replace it. Refer to the user manual or manufacturer’s instructions for guidance on whether the filter is reusable and how to properly clean or dispose of it. If the filter is disposable, it’s generally recommended to replace it with a new one.
By following these steps, you have successfully removed the filter from your Ionic Pro Air Purifier. Now, let’s move on to the next step: cleaning the filter itself.
Step 3: Cleaning the Filter
Now that you have removed the filter from the Ionic Pro Air Purifier, it’s time to clean it. Properly cleaning the filter is essential in maintaining its performance. Here’s how you can do it:
- Check the Filter Type: Before proceeding with the cleaning process, determine the type of filter you have. Ionic Pro Air Purifiers typically use either a permanent electrostatic filter or a combination of filters such as a pre-filter and a carbon filter. The type of filter will determine the cleaning method.
- Cleaning a Permanent Electrostatic Filter: If your Ionic Pro Air Purifier has a permanent electrostatic filter, start by gently tapping it over a trash bin to remove any loose dirt or debris. Next, rinse the filter under running water to remove stubborn dust and particles. Use a soft brush or sponge to gently scrub the filter. Avoid using harsh chemicals or abrasive materials as they can damage the filter. Once clean, set the filter aside to dry completely before reassembling it.
- Cleaning Combination Filters: If your Ionic Pro Air Purifier uses combination filters, refer to the manufacturer’s instructions on how to clean each specific filter type. In many cases, pre-filters can be gently vacuumed or rinsed under running water to remove dust and debris. Carbon filters are not washable and should be replaced if they become excessively dirty or clogged.
- Drying the Filter: Regardless of the filter type, it’s crucial to ensure that the filter is completely dry before reinserting it into the air purifier. This will prevent the growth of mold or mildew and maintain the effectiveness of the filter.
Cleaning the filter is a vital step in maintaining the performance and efficiency of your Ionic Pro Air Purifier. Once you have properly cleaned the filter and allowed it to dry, you can move on to the next step: cleaning the exterior of the air purifier.
To clean your Ionic Pro Air Purifier, first unplug the unit and remove the collection blades. Wash the blades with warm, soapy water, rinse thoroughly, and allow to dry completely before reassembling. Wipe down the unit with a damp cloth and allow it to dry before plugging it back in.
Step 4: Cleaning the Exterior of the Ionic Pro Air Purifier
Now that you have cleaned the filter of your Ionic Pro Air Purifier, it’s time to tackle the exterior of the unit. Over time, dust, dirt, and fingerprints can accumulate on the surface of the air purifier. Follow these steps to effectively clean the exterior:
- Power Off and Unplug: Before cleaning the exterior, ensure that the air purifier is turned off and unplugged from the power source for safety reasons.
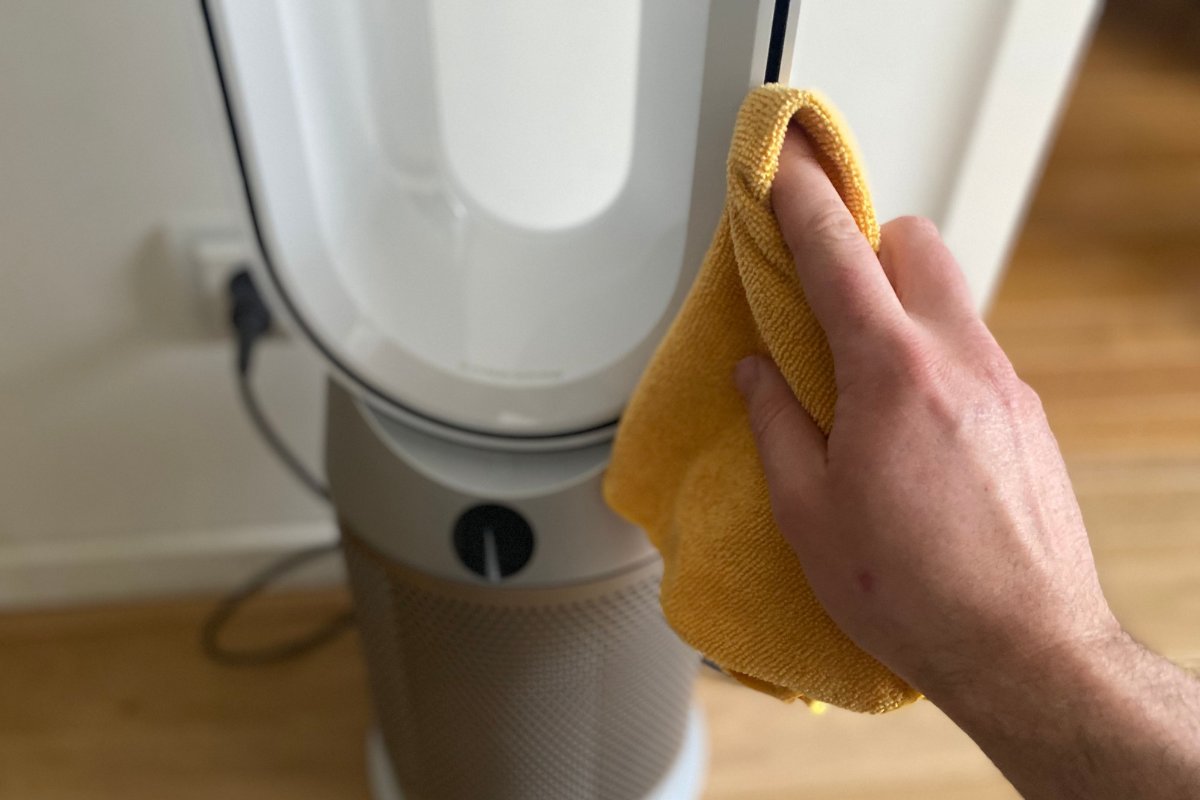
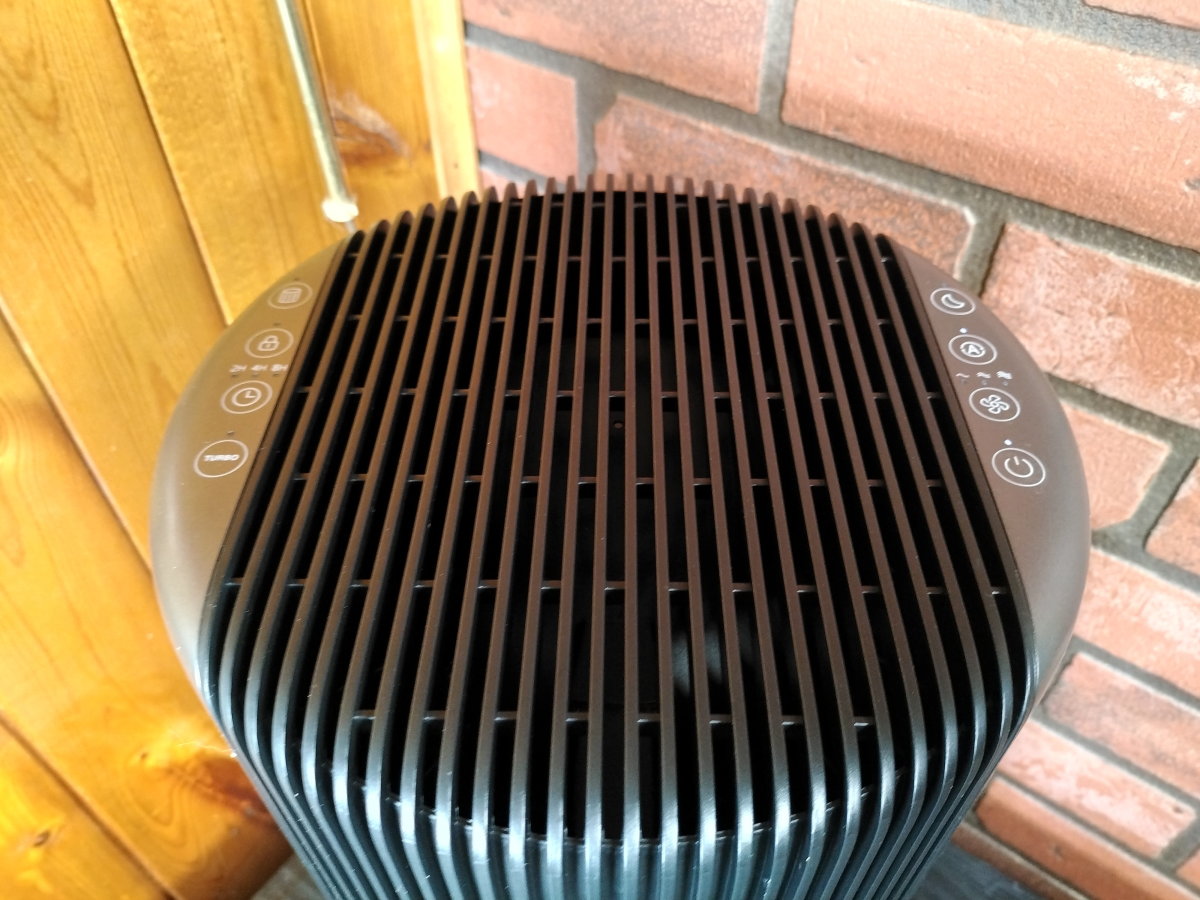
- Dust Off the Surface: Begin by using a soft, dry cloth or microfiber cloth to gently dust off any loose particles from the surfaces of the air purifier. Pay attention to areas that collect more dust, such as vents or control panels.
- Clean with Mild Soap and Water: Fill a small bucket or basin with warm water and add a few drops of mild soap or detergent. Dampen a soft cloth in the soapy solution and wring out any excess liquid. Gently wipe down the exterior surfaces of the air purifier, paying attention to any visible smudges or stains. Avoid applying excessive moisture to the unit.
- Remove Stubborn Stains: If there are any stubborn stains or marks on the air purifier, you can use a soft sponge or toothbrush dipped in the soapy solution to gently scrub the affected areas. Be careful not to scrub too hard as it may damage the surface of the unit.
- Dry the Exterior: Once you have finished cleaning the exterior, use a dry cloth to wipe away any excess moisture. Allow the air purifier to air dry completely before reassembling or plugging it back in.
Cleaning the exterior of your Ionic Pro Air Purifier not only improves its appearance but also helps to maintain a clean and hygienic environment. With the exterior now sparkling clean, let’s move on to the final step: reassembling the air purifier.
Read more: How To Clean A Levoit Air Purifier
Step 5: Reassembling the Ionic Pro Air Purifier
Now that you have completed the cleaning process for both the filter and the exterior of your Ionic Pro Air Purifier, it’s time to reassemble the unit. Follow these steps to ensure proper reassembly:
- Dry Components: Before reassembling the air purifier, ensure that all components are completely dry. This includes the filter, as well as any parts that may have come into contact with water during the cleaning process.
- Position the Filter Correctly: Carefully reinsert the filter into its designated compartment, making sure it is positioned correctly according to the manufacturer’s instructions or any markings you made during the removal process.
- Secure the Filter Compartment: If the filter compartment has a latch, screw, or cover, ensure that it is properly secured. This will prevent any loose or unstable connections that could affect the functionality of the air purifier.
- Plug In and Turn On: Once you have reassembled the air purifier, plug it back into the power source and turn it on. Make sure that the unit is functioning properly by checking for any indicator lights or display readings.
- Test the Air Purifier: To ensure that the air purifier is operating correctly, let it run for a few minutes and assess the airflow and noise level. If you notice any unusual sounds or decreased airflow, double-check the assembly to ensure everything is in place correctly.
By following these steps, you have successfully reassembled your Ionic Pro Air Purifier after the cleaning process. It’s important to regularly clean and maintain your air purifier to ensure optimum performance and longevity.
Congratulations! You now have a clean and refreshed Ionic Pro Air Purifier ready to improve the air quality in your home. Remember to periodically clean and maintain your air purifier to continue enjoying its benefits. With regular maintenance, your Ionic Pro Air Purifier will continue to provide you with clean, fresh air for years to come.
Thank you for following this guide on how to clean your Ionic Pro Air Purifier. If you have any further questions or need additional assistance, feel free to consult the user manual or reach out to the manufacturer’s customer support.
Conclusion
In conclusion, regular cleaning of your Ionic Pro Air Purifier is essential to maintain its performance and ensure clean indoor air. By following the step-by-step process outlined in this guide, you can effectively clean and maintain your air purifier for optimal functionality.
Starting with preparing the air purifier for cleaning, you should turn off and unplug the unit before removing the filter. Taking precautions such as wearing gloves and a mask can help protect you from allergens and dust. Next, follow the instructions to remove the filter and inspect it for dirt and debris.
Cleaning the filter will depend on the type you have. For permanent electrostatic filters, tapping, rinsing, and gently scrubbing under running water should suffice. Combination filters may require different cleaning methods, so refer to the manufacturer’s instructions for specific guidance.
After cleaning the filter, turn your attention to the exterior of the air purifier. Dusting off the surface and cleaning it with a mild soap and water solution will help remove any dirt or stains. Be cautious when scrubbing stubborn stains and ensure the unit is completely dry before reassembling.
Once you have reassembled the air purifier, plug it back in and test its functionality. Monitor the airflow and noise level to ensure it is operating as expected.
Regularly cleaning your Ionic Pro Air Purifier will ensure that it continues to provide you with clean and fresh air. By following the steps outlined in this guide, you can maintain its performance and prolong its lifespan.
Thank you for reading this comprehensive guide on how to clean your Ionic Pro Air Purifier. If you have any further questions or need assistance, consult the user manual or reach out to the manufacturer’s customer support for guidance.
Frequently Asked Questions about Ionic Pro Air Purifier How To Clean
Was this page helpful?
At Storables.com, we guarantee accurate and reliable information. Our content, validated by Expert Board Contributors, is crafted following stringent Editorial Policies. We're committed to providing you with well-researched, expert-backed insights for all your informational needs.
0 thoughts on “Ionic Pro Air Purifier How To Clean”