Articles
Honeywell Air Purifier How To Clean Filter
Modified: August 25, 2024
Learn the proper way to clean the filter in your Honeywell air purifier with our informative articles. Keep your air clean and fresh for a healthy living environment.
(Many of the links in this article redirect to a specific reviewed product. Your purchase of these products through affiliate links helps to generate commission for Storables.com, at no extra cost. Learn more)
Introduction
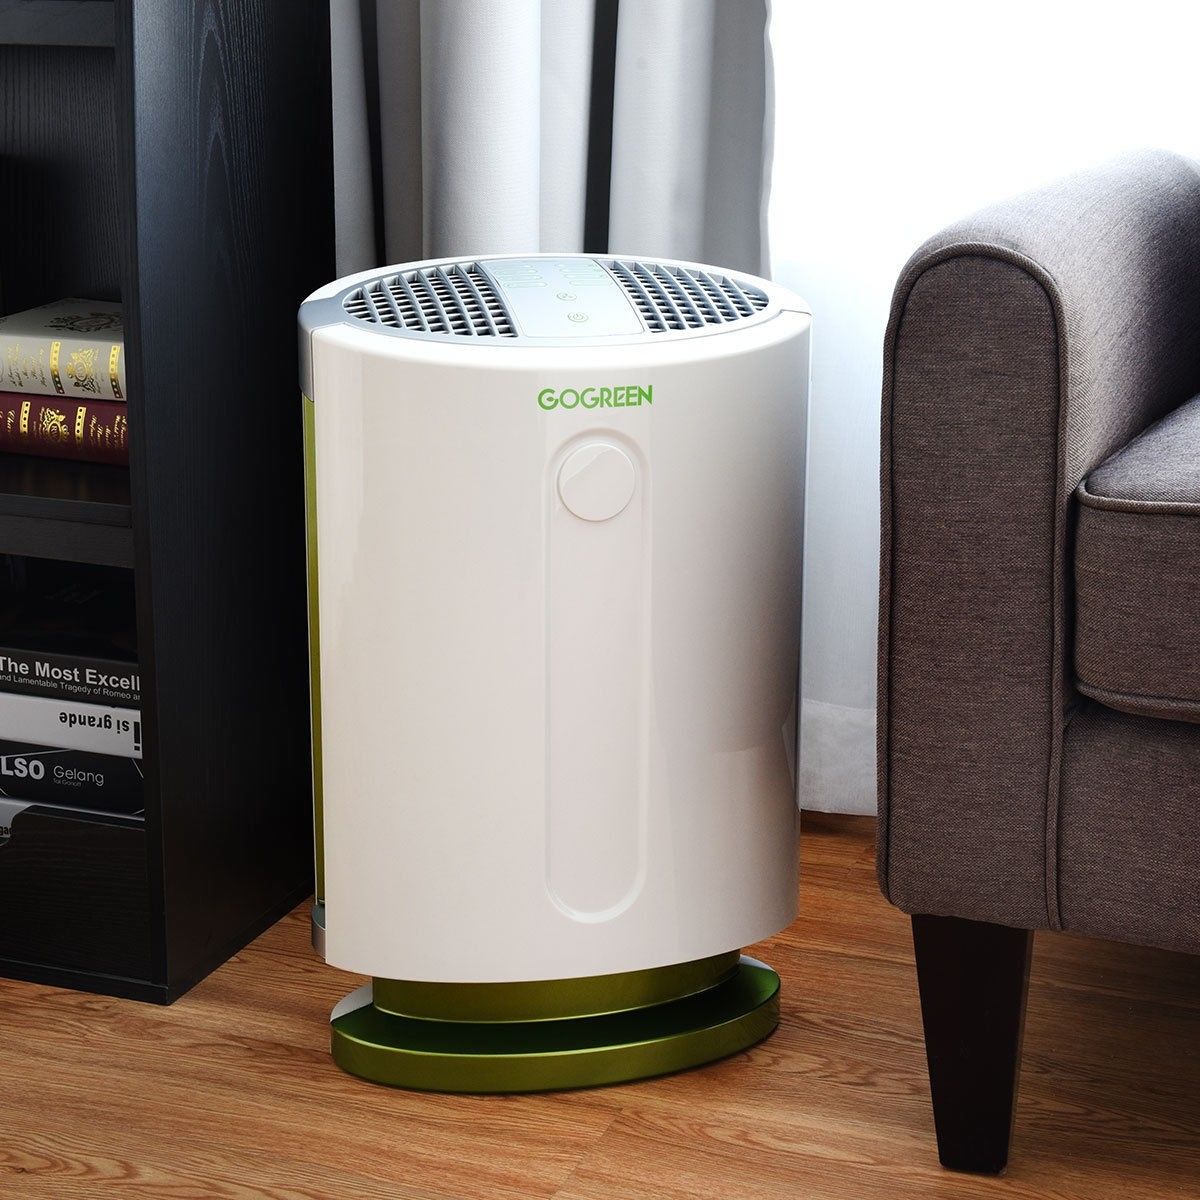
Having clean air in your home is essential for maintaining good indoor air quality and promoting a healthy living environment. One effective way to achieve this is by using an air purifier. Honeywell is a renowned brand that offers a wide range of high-quality air purifiers to keep the air in your home free from pollutants and allergens.
As with any appliance, regular maintenance is necessary to ensure optimal performance. One crucial aspect of maintaining a Honeywell air purifier is cleaning the filter. The filter is responsible for trapping and removing various airborne particles, such as dust, pollen, pet dander, and smoke, from the air. Over time, the filter can become dirty and clogged, reducing its effectiveness and negatively impacting the air purifier’s efficiency.
Cleaning the filter is a relatively simple process that can be done at home with the right tools and techniques. In this article, we will guide you through the step-by-step process of cleaning the filter of your Honeywell air purifier, helping you to maintain clean and fresh air in your home.
Key Takeaways:
- Regularly cleaning the filter of your Honeywell air purifier is essential for improved air quality, prolonged filter life, and energy efficiency, ensuring a healthier environment for you and your loved ones.
- Properly cleaning and maintaining your Honeywell air purifier filter not only enhances air quality but also contributes to energy conservation, creating a greener and healthier living space.
Read more: How To Clean Homedics Air Purifier Filter
Why Cleaning the Filter is Important
The filter is the heart of the air purifier, responsible for removing harmful airborne particles and improving the air quality in your home. Over time, as the filter captures more and more pollutants, it becomes dirty and clogged. This buildup not only reduces the filter’s efficiency but also hinders the overall performance of the air purifier.
Here are some key reasons why cleaning the filter is important:
- Improved Air Quality: The primary purpose of an air purifier is to remove pollutants from the air. A dirty filter can’t effectively trap these particles, allowing them to circulate back into the air you breathe. Regularly cleaning the filter ensures that it remains free from debris, allowing it to efficiently capture and remove airborne allergens, pollen, dust, pet dander, and other pollutants.
- Enhanced Airflow: A clogged filter restricts the airflow, reducing the effectiveness of the air purifier. This can result in poor circulation of purified air, leaving stagnant areas in your home. By cleaning the filter, you restore proper airflow, ensuring that the air purifier can function optimally and distribute clean air throughout the room.
- Prolonged Filter Life: Regular maintenance, including cleaning the filter, helps extend its lifespan. When a filter becomes excessively dirty, it may start to deteriorate or become damaged, requiring a replacement sooner than expected. By cleaning the filter at recommended intervals, you can keep it in good condition, ensuring its longevity and saving on replacement costs.
- Energy Efficiency: A clean filter allows the air purifier to operate more efficiently, consuming less energy. When the filter is clogged, the air purifier needs to work harder to push air through, resulting in increased energy consumption. By ensuring the filter is clean, you not only improve the air quality in your home but also contribute to energy conservation.
Regularly cleaning the filter of your Honeywell air purifier is vital for maintaining optimal performance, ensuring clean air, and extending the lifespan of the appliance. By investing a little time and effort in filter maintenance, you can enjoy fresh and healthy air in your home while maximizing the effectiveness of your air purifier.
Tools and Equipment Needed
Before you begin cleaning the filter of your Honeywell air purifier, it’s important to gather the necessary tools and equipment to ensure a smooth and successful process. Here is a list of items you will need:
- Vacuum Cleaner: A vacuum cleaner with a brush attachment will be used to remove dust and debris from the filter. Make sure your vacuum cleaner is in good working condition.
- Water: You will need access to clean, lukewarm water for rinsing the filter. Avoid using hot water as it may damage the filter material.
- Mild Detergent: A mild detergent, such as dish soap, will be used to help remove stubborn stains or residue from the filter. Make sure to use a detergent that is safe for the filter material.
- Clean Towels or Paper Towels: These will be used to dry the filter after rinsing. Make sure the towels are clean and free from any lint or debris that could transfer onto the filter.
- Container or Sink: You will need a container or access to a sink large enough to submerge and rinse the filter. Ensure that the container or sink is clean and free from any contaminants.
- Gloves: Wearing gloves will protect your hands from any dirt or cleaning agents during the process. Choose gloves that are non-allergenic and comfortable to wear.
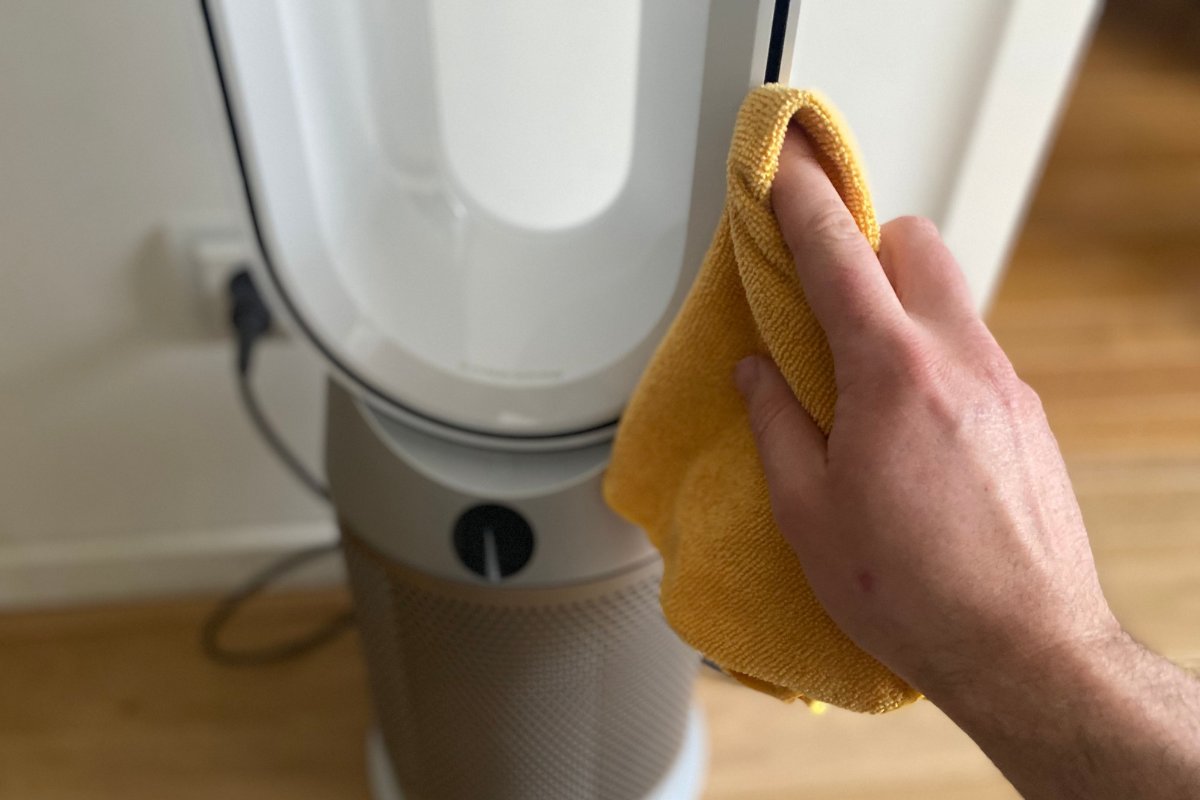
- Clean Cloth: A clean, lint-free cloth can be used to wipe down the exterior of the air purifier during the cleaning process. This will help remove any dust or debris that may have accumulated on the surface.
Having these tools and equipment ready before you start cleaning the filter will ensure a more efficient and effective process. It’s important to use clean and suitable materials to avoid introducing any additional pollutants or damage to the filter. Now that you have everything you need, let’s proceed to the step-by-step guide for cleaning the filter of your Honeywell air purifier.
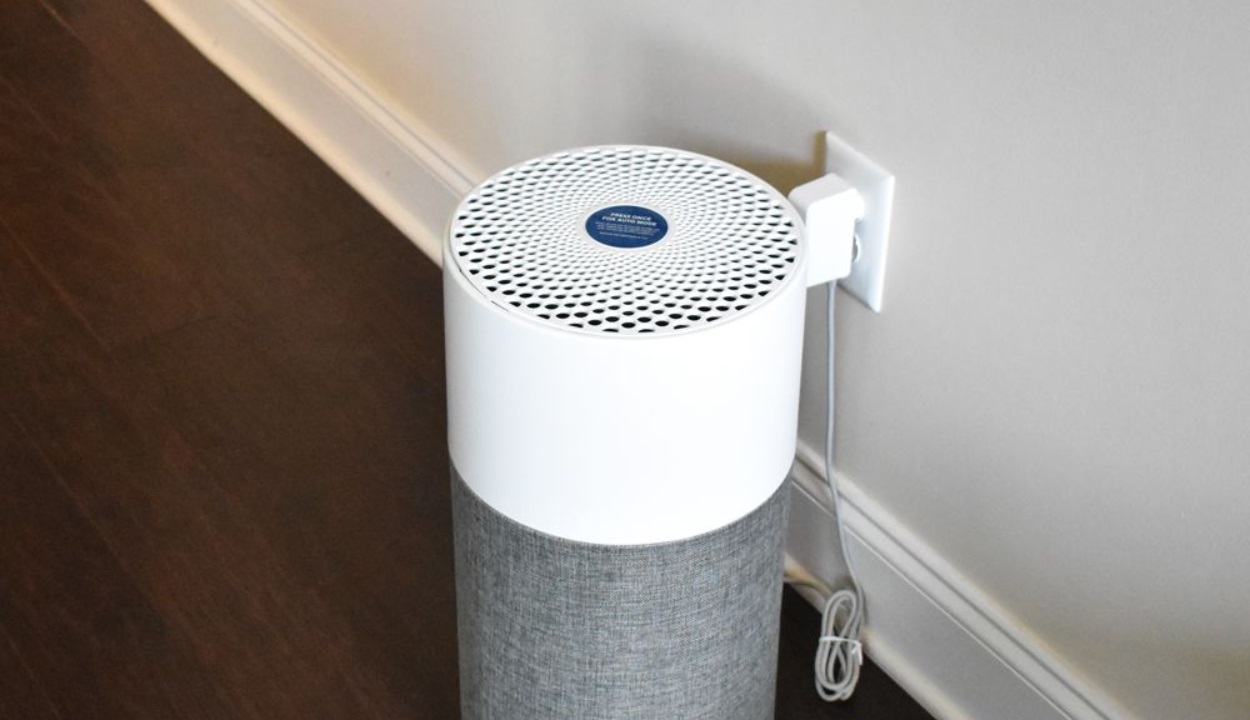
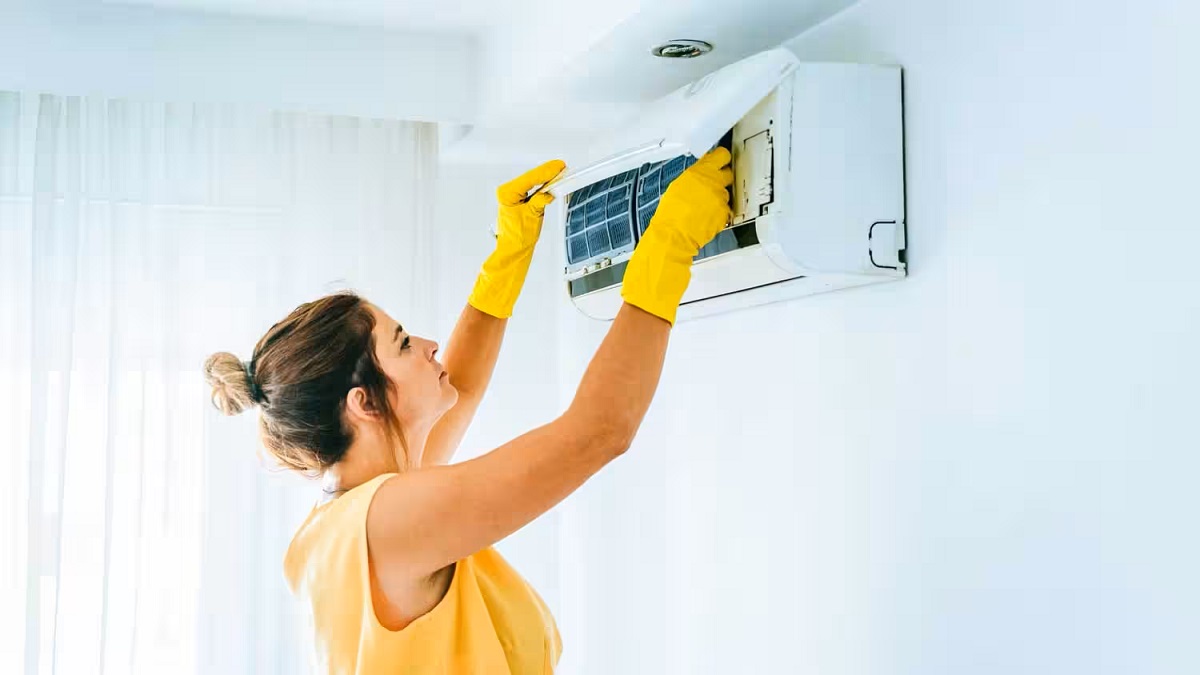
Step 1: Turn Off the Air Purifier
Before you begin cleaning the filter of your Honeywell air purifier, it’s crucial to turn off the unit and unplug it from the power source. This step is essential for both your safety and the proper maintenance of the appliance.
To turn off the air purifier:
- Locate the power switch on the air purifier. It is usually located on the control panel or the side of the unit.
- Switch the power switch to the “Off” position. The air purifier should stop running, and any indicator lights or display screens should turn off.
- Unplug the air purifier from the power outlet to ensure that it is completely disconnected from the electrical supply.
By turning off the air purifier and unplugging it, you prevent any potential accidents or electric shocks during the cleaning process. It’s important to emphasize that this step should never be skipped or overlooked.
Once the air purifier is turned off and unplugged, you can proceed with confidence to the next step of removing the filter for cleaning. Taking the time to properly shut down the unit ensures a safe and efficient cleaning process for both you and the air purifier.
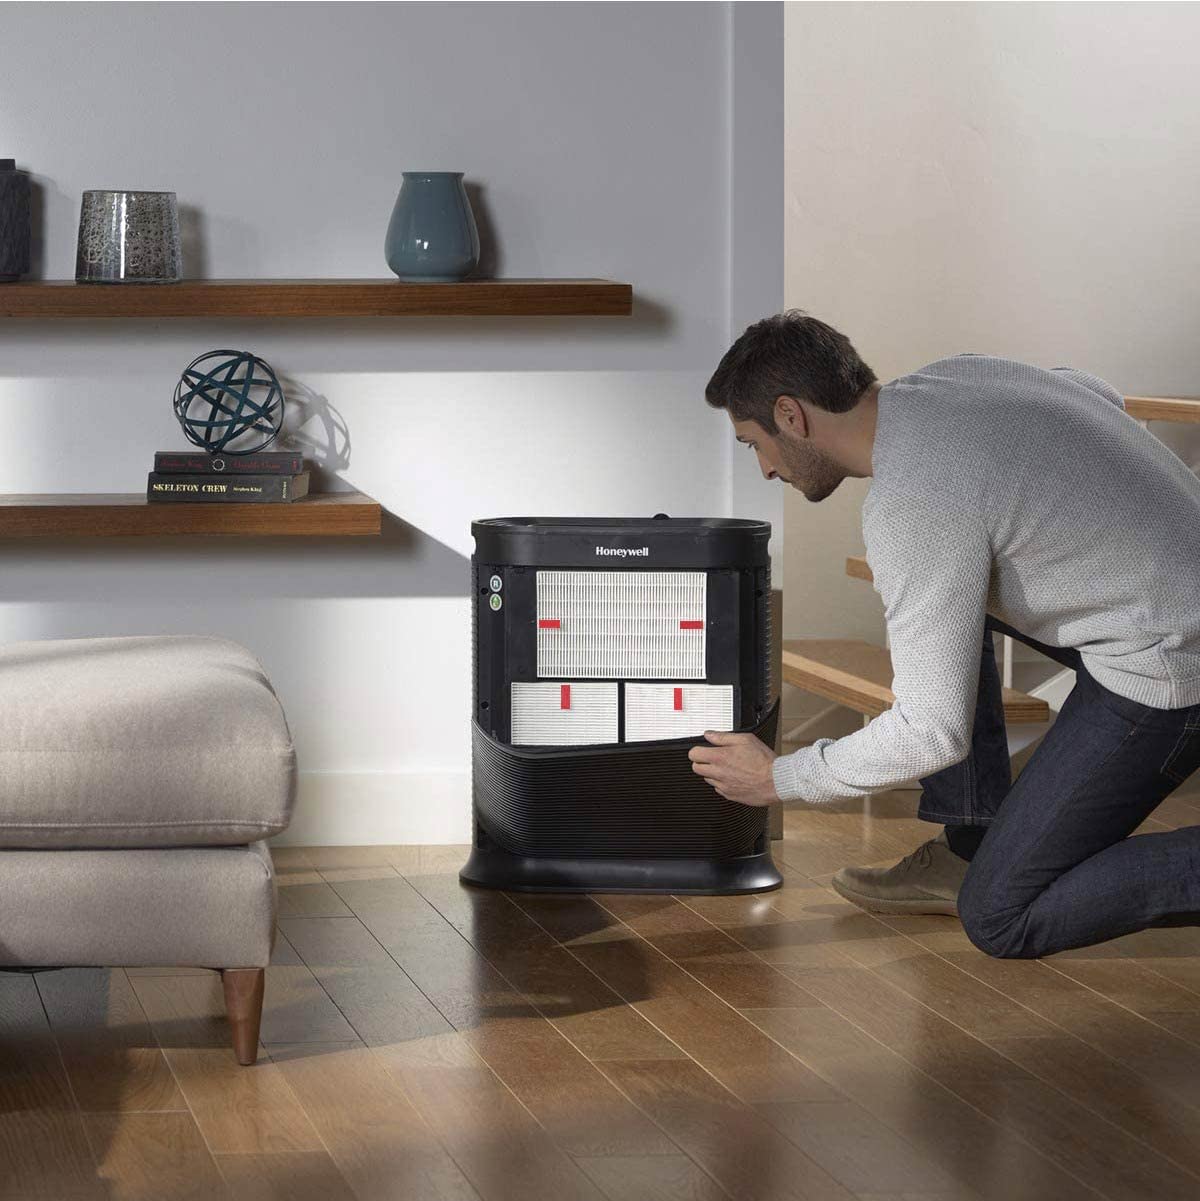
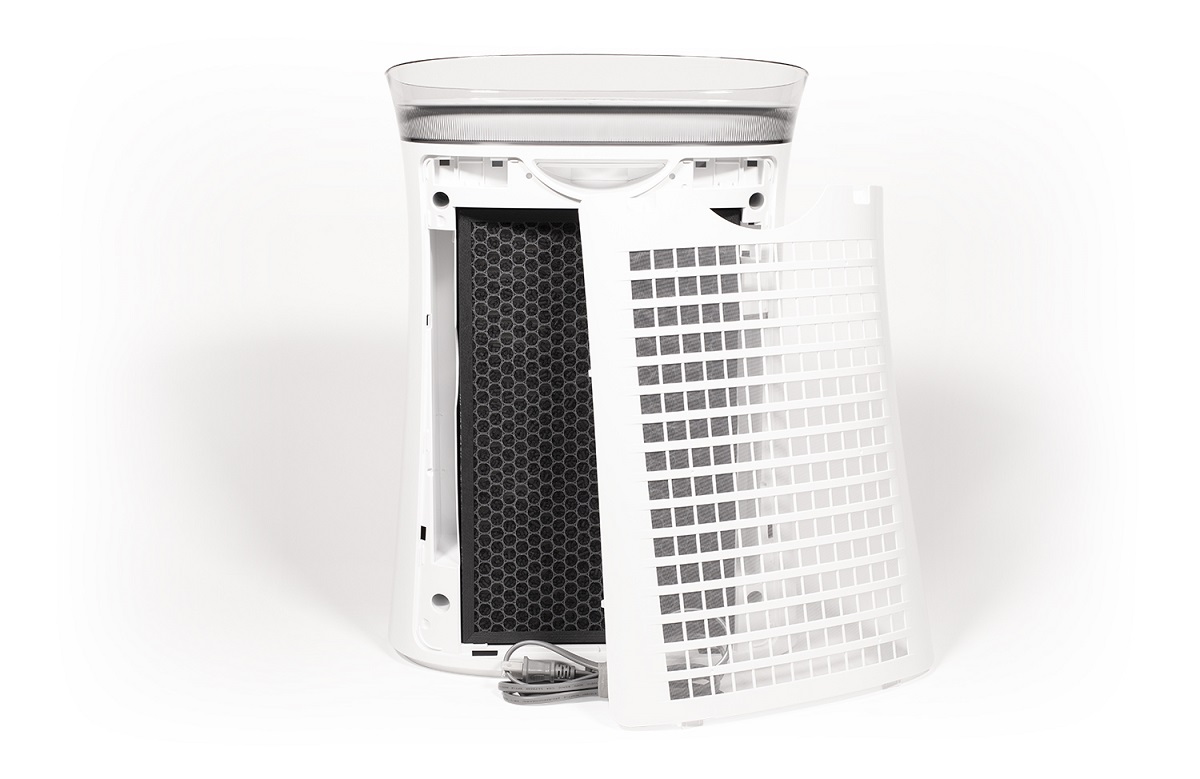
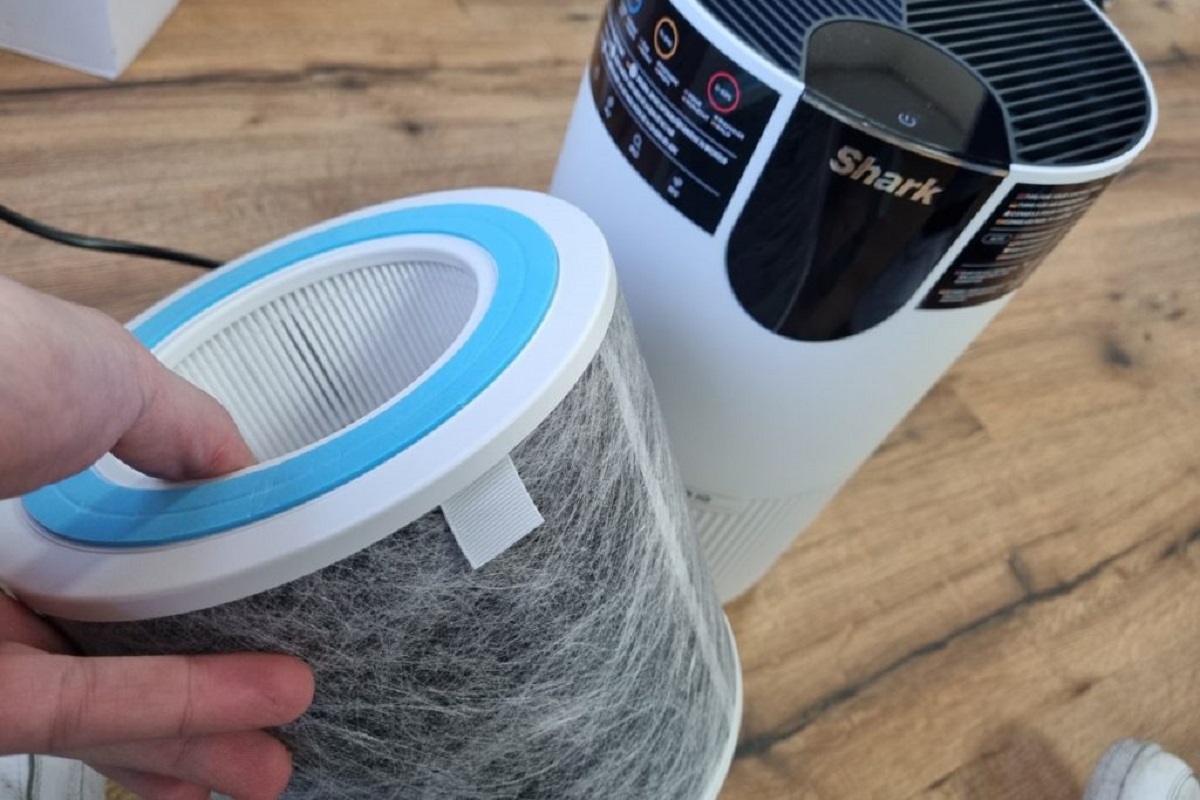
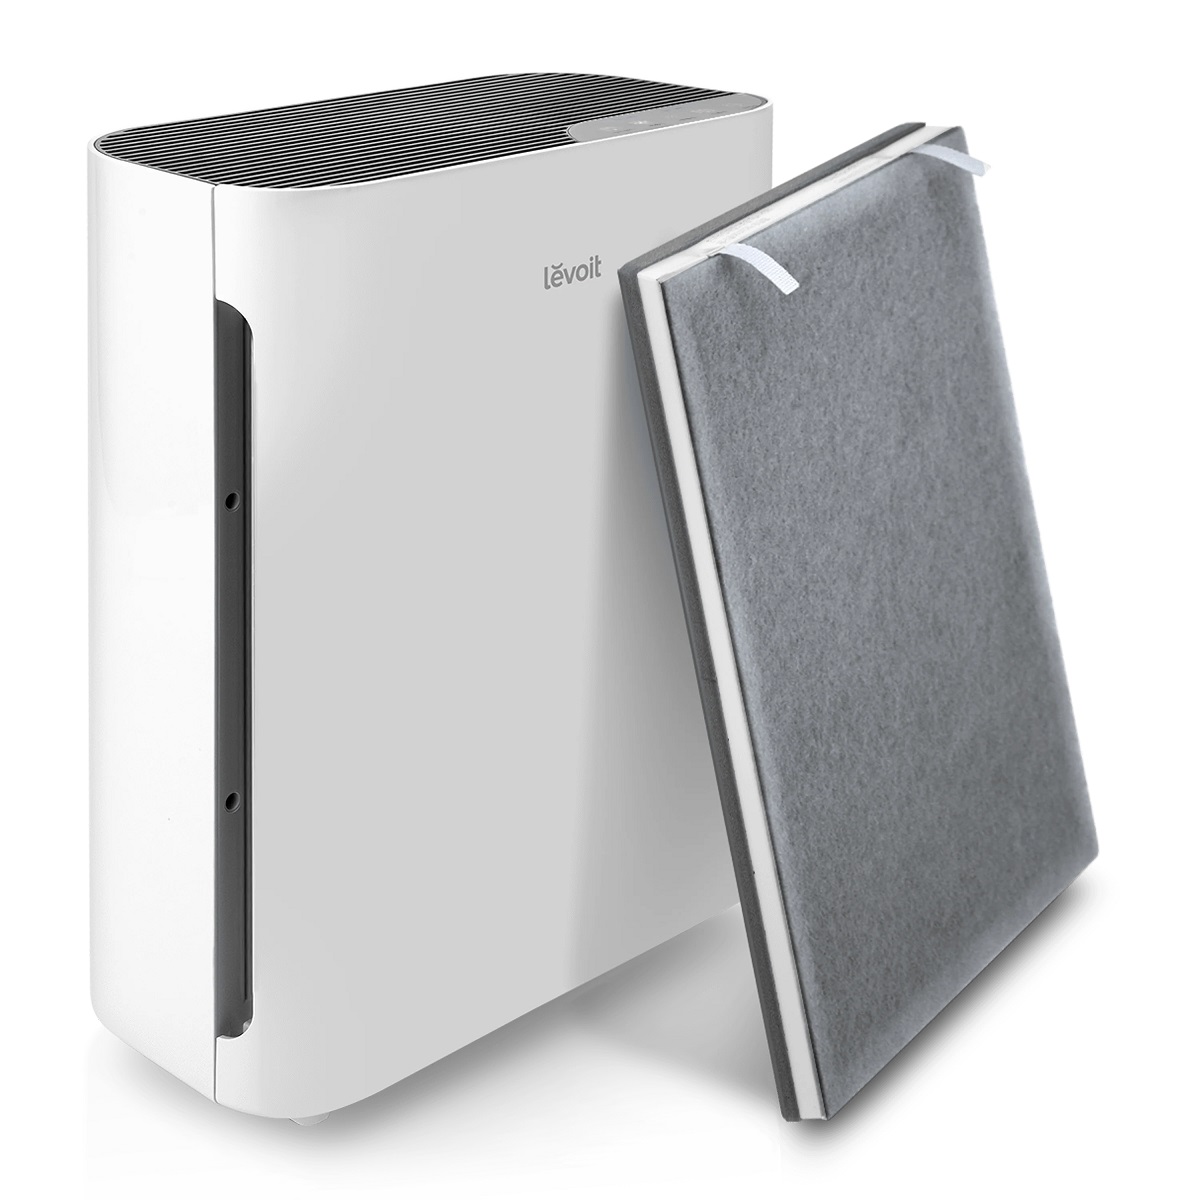
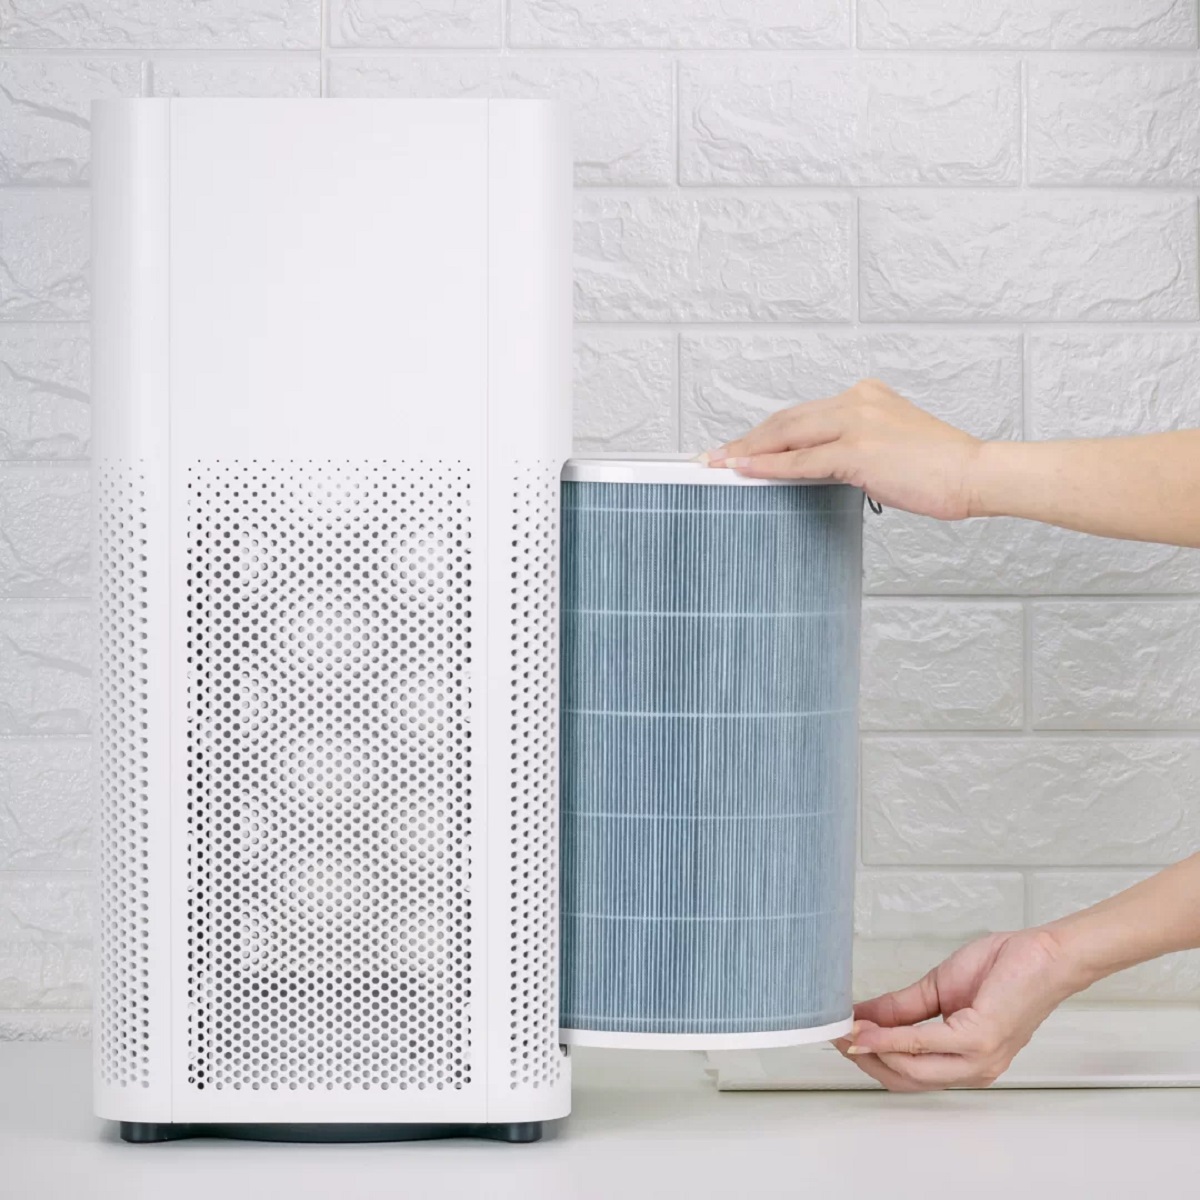
Step 2: Remove the Filter
Now that you have turned off and unplugged your Honeywell air purifier, it’s time to remove the filter. Removing the filter will allow you to clean it thoroughly and ensure that no dirt or debris is left behind.
To remove the filter, follow these steps:
- Locate the filter compartment on your air purifier. The location of the compartment varies depending on the model, but it is usually located at the back or side of the unit.
- Once you have located the compartment, carefully open it. This may involve lifting a cover, sliding a panel, or removing a latch or clip. Refer to the user manual for specific instructions on how to access the filter compartment.
- Once the compartment is open, you should see the filter installed. Gently remove the filter from its position, taking care not to damage it or let any debris fall back into the air purifier.
- Inspect the filter for any visible signs of dirt, dust, or debris. This will give you an indication of how dirty the filter is and how much cleaning it needs.
- If you notice any excessive buildup or damage to the filter, it may be time to replace it with a new one. Refer to your user manual or contact Honeywell customer support for guidance on finding a suitable replacement filter.
By removing the filter from the air purifier, you have gained access to clean it thoroughly. Make sure to handle the filter with care to avoid damaging it or releasing any trapped pollutants back into the air. Now that the filter is ready for cleaning, let’s move on to the next step: vacuuming the filter.
Step 3: Vacuum the Filter
Once you have removed the filter from your Honeywell air purifier, it’s time to give it a thorough cleaning using a vacuum cleaner. Vacuuming the filter helps to remove loose dirt, dust, and debris, preparing it for the next steps in the cleaning process.
Follow these steps to vacuum the filter:
- Attach a brush attachment to your vacuum cleaner. This attachment is designed to gently remove dirt and debris without damaging the filter.
- Hold the filter over a trash bin or a sink to catch any loose particles that might come off during vacuuming.
- Using the vacuum cleaner with the brush attachment, carefully run it over both sides of the filter. Make sure to cover the entire surface area, paying extra attention to areas that appear particularly dirty or clogged.
- Move the brush attachment in straight lines or gentle circular motions to effectively loosen and remove any dirt or debris that has accumulated on the filter.
- Continue vacuuming until you are satisfied that the filter has been thoroughly cleaned and most of the loose particles have been removed.
Vacuuming the filter helps eliminate larger loose particles, making it easier to clean the filter further in the next steps. Be thorough and take your time to ensure that the filter is as clean as possible before proceeding to the next step.
Note: It’s essential to follow your vacuum cleaner’s manufacturer instructions to ensure proper usage and prevent any damage to the filter or the vacuum cleaner itself.
To clean the filter of your Honeywell air purifier, first, turn off the unit and unplug it. Remove the filter and gently vacuum or wash it with mild soap and water. Allow the filter to dry completely before reinstalling it.
Step 4: Rinse the Filter
After vacuuming the filter, the next step in cleaning your Honeywell air purifier filter is to rinse it. Rinsing the filter helps to remove finer particles and grime that may still be clinging to the surface. It’s important to use the proper technique and avoid using hot water or harsh chemicals that could damage the filter.
Follow these steps to rinse the filter:
- Prepare a container or use a sink filled with clean, lukewarm water. Ensure that the container or sink is large enough to fully submerge the filter without overflowing.
- Gently place the filter into the water, taking care not to bend or fold it. Submerge the filter completely so that all parts are being rinsed.
- Using your hands or a soft brush, lightly agitate the filter in the water. This motion will help dislodge any remaining dirt or debris that may be embedded in the filter material.
- If necessary, add a small amount of mild detergent or dish soap to the water. This can help remove stubborn stains or odors from the filter. However, make sure to use a detergent that is safe for the filter material and follow the manufacturer’s instructions for application.
- Continue gently agitating the filter in the water for a few minutes to ensure a thorough rinse.
- Once you are satisfied, carefully lift the filter out of the water, allowing excess water to drain off.
- Inspect the filter to ensure that it is visibly cleaner and free from any remaining dirt or residue. If necessary, you can repeat the rinsing process to further clean the filter.
Remember, when rinsing the filter, be gentle to avoid damaging the delicate filter material. Take your time to ensure that all parts of the filter are adequately rinsed and free from dirt or debris. With the rinsing complete, now it’s time to move on to the next step: drying the filter.
Step 5: Dry the Filter
After rinsing the filter of your Honeywell air purifier, it is important to ensure that it is completely dry before reinstalling it. Properly drying the filter helps to prevent the growth of mold or mildew and ensures the filter functions optimally.
Follow these steps to dry the filter:
- Gently shake off any excess water from the filter. Be careful not to wring or twist the filter, as this can damage the delicate filter material.
- Place the filter on a clean and flat surface, such as a towel or drying rack. Allow it to air dry naturally. Avoid exposing the filter to direct sunlight or using heat sources, as this can cause shrinkage or damage the filter material.
- Depending on the humidity level and air circulation in your environment, drying the filter may take anywhere from a few hours to a full day. Patience is key to ensure that the filter is thoroughly dried.
- If you are in a hurry and need to expedite the drying process, you can use a fan or set the filter in front of a gentle airflow. However, avoid using high heat or a hairdryer, as this can cause damage.
- Periodically check the filter to determine its dryness. Ensure that it is completely dry to the touch and there is no residual moisture remaining.
It’s important to note that installing a damp or wet filter can compromise the effectiveness of your air purifier and potentially cause damage to the unit. Taking the time to properly dry the filter ensures its longevity and maintains optimal performance.
Note: If you have a spare filter, it is a good idea to install it while your cleaned filter is drying. This will ensure that you can continue to enjoy clean air while you wait for the cleaned filter to dry completely.
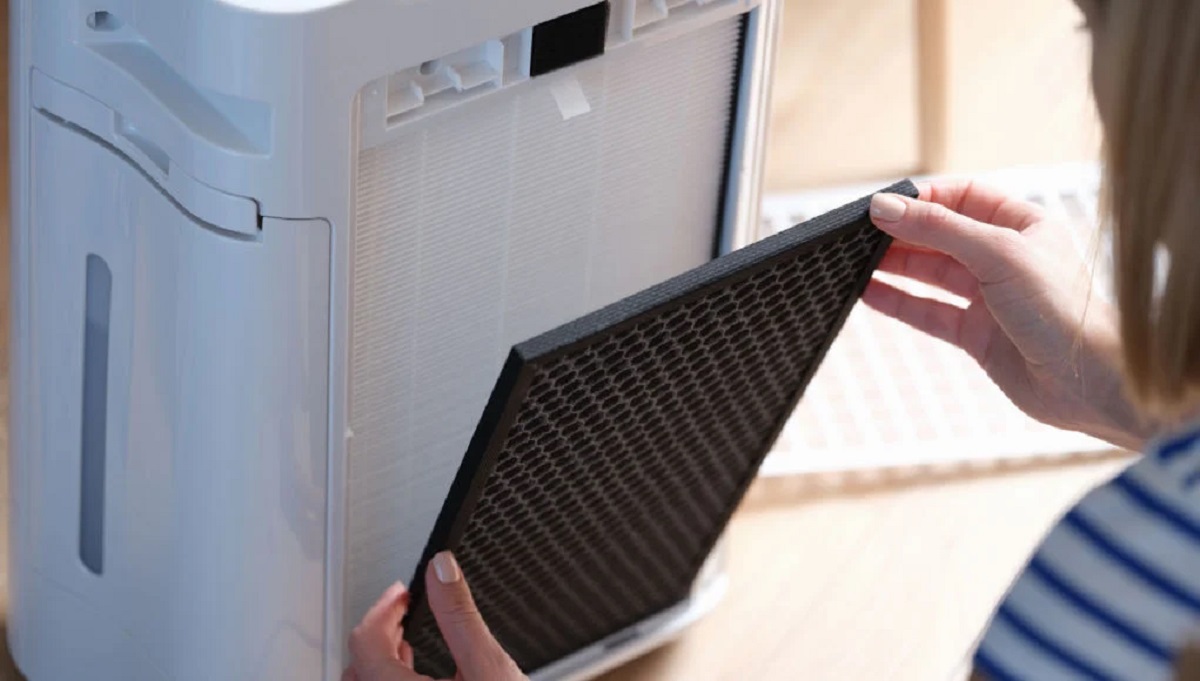
Step 6: Reinstall the Filter
Once you have thoroughly cleaned and dried the filter of your Honeywell air purifier, it’s time to reinstall it. Properly reinstalling the filter is essential for the air purifier to function effectively and maintain optimal air quality in your home.
Follow these steps to reinstall the filter:
- Locate the filter compartment on your air purifier. This is the same compartment from which you removed the filter in the earlier steps.
- Ensure that the filter compartment is clean and free from any dust or debris that may have accumulated while the filter was removed.
- Gently insert the cleaned and dry filter back into the filter compartment. Ensure that it is positioned correctly and fits securely.
- Carefully close the filter compartment, ensuring that it is firmly secured in place. This may involve lifting a cover, sliding a panel, or attaching a latch or clip. Refer to the user manual or the markings on the air purifier for guidance on properly closing the filter compartment.
- Double-check that the filter is installed correctly and securely. Improper installation can result in air leakages or reduced efficiency of the air purifier.
By successfully reinstalling the filter, you have completed the vital step in the cleaning process. Your Honeywell air purifier is now ready to provide you with clean and fresh air once again.
Note: It is crucial to regularly monitor the condition of your filter and follow the manufacturer’s recommendations for replacement. While proper cleaning can extend the life of the filter, it will eventually require replacing to maintain optimal performance.
Read also: 8 Best Honeywell Hepa Air Purifier For 2025
Step 7: Turn On the Air Purifier
Now that you have successfully cleaned and reinstalled the filter of your Honeywell air purifier, it’s time to turn it back on and enjoy the benefits of clean and fresh air. Turning on the air purifier properly ensures that the unit operates efficiently and effectively.
Follow these steps to turn on the air purifier:
- Locate the power switch on the air purifier. It is typically located on the control panel or the side of the unit.
- Make sure the air purifier is plugged into a functioning power outlet.
- Switch the power switch to the “On” position. The air purifier should start running, and you may see indicator lights or a display screen illuminate.
- Refer to the user manual for specific instructions on setting the desired fan speed or other settings for your air purifier. Set the settings according to your preferences and the air quality conditions in your home.
- Allow the air purifier to run for a few minutes to circulate purified air throughout the room. This will help ensure that the air is properly filtered and that the purifier is functioning optimally.
By following these steps, you have successfully turned on your Honeywell air purifier and initiated the purification process. It’s important to regularly monitor the air purifier’s performance, including the airflow and any indicator lights or filters status indicators.
Note: Remember to periodically check and clean the filter of your air purifier as part of your regular maintenance routine. Regular maintenance helps to ensure sustained performance and clean air in your home.
Conclusion
Cleaning the filter of your Honeywell air purifier is a crucial step in maintaining clean and fresh air in your home. By following the step-by-step process outlined in this article, you can effectively clean and maintain your air purifier’s filter, ensuring optimal performance and longevity.
Properly cleaning and maintaining the filter offers several important benefits:
- Improved Air Quality: A clean filter efficiently captures and removes airborne particles, such as dust, pollen, pet dander, and smoke, improving the overall air quality in your home.
- Enhanced Airflow: A clean filter allows for proper airflow, ensuring that the air purifier can effectively circulate clean air throughout the room.
- Prolonged Filter Life: Regular cleaning and maintenance help extend the lifespan of your filter, saving you money on frequent replacements.
- Energy Efficiency: A clean filter allows the air purifier to operate more efficiently, reducing energy consumption and contributing to a greener environment.
Remember to gather the necessary tools and equipment before you start, such as a vacuum cleaner, mild detergent, and clean towels. Take your time with each step, ensuring a thorough and careful cleaning process.
By properly cleaning and maintaining your Honeywell air purifier filter, you can continue to enjoy clean and fresh air in your home, creating a healthier environment for you and your loved ones.
If you have any specific questions or concerns about your Honeywell air purifier or the cleaning process, be sure to consult the user manual or reach out to Honeywell customer support for assistance. Happy breathing!
Frequently Asked Questions about Honeywell Air Purifier How To Clean Filter
Was this page helpful?
At Storables.com, we guarantee accurate and reliable information. Our content, validated by Expert Board Contributors, is crafted following stringent Editorial Policies. We're committed to providing you with well-researched, expert-backed insights for all your informational needs.


0 thoughts on “Honeywell Air Purifier How To Clean Filter”