Articles
Washer Makes Noise When Spinning
Modified: August 27, 2024
Looking for articles on how to fix a washer that makes noise when spinning? Check out our comprehensive guides and expert tips to solve this common laundry problem.
(Many of the links in this article redirect to a specific reviewed product. Your purchase of these products through affiliate links helps to generate commission for Storables.com, at no extra cost. Learn more)
Introduction
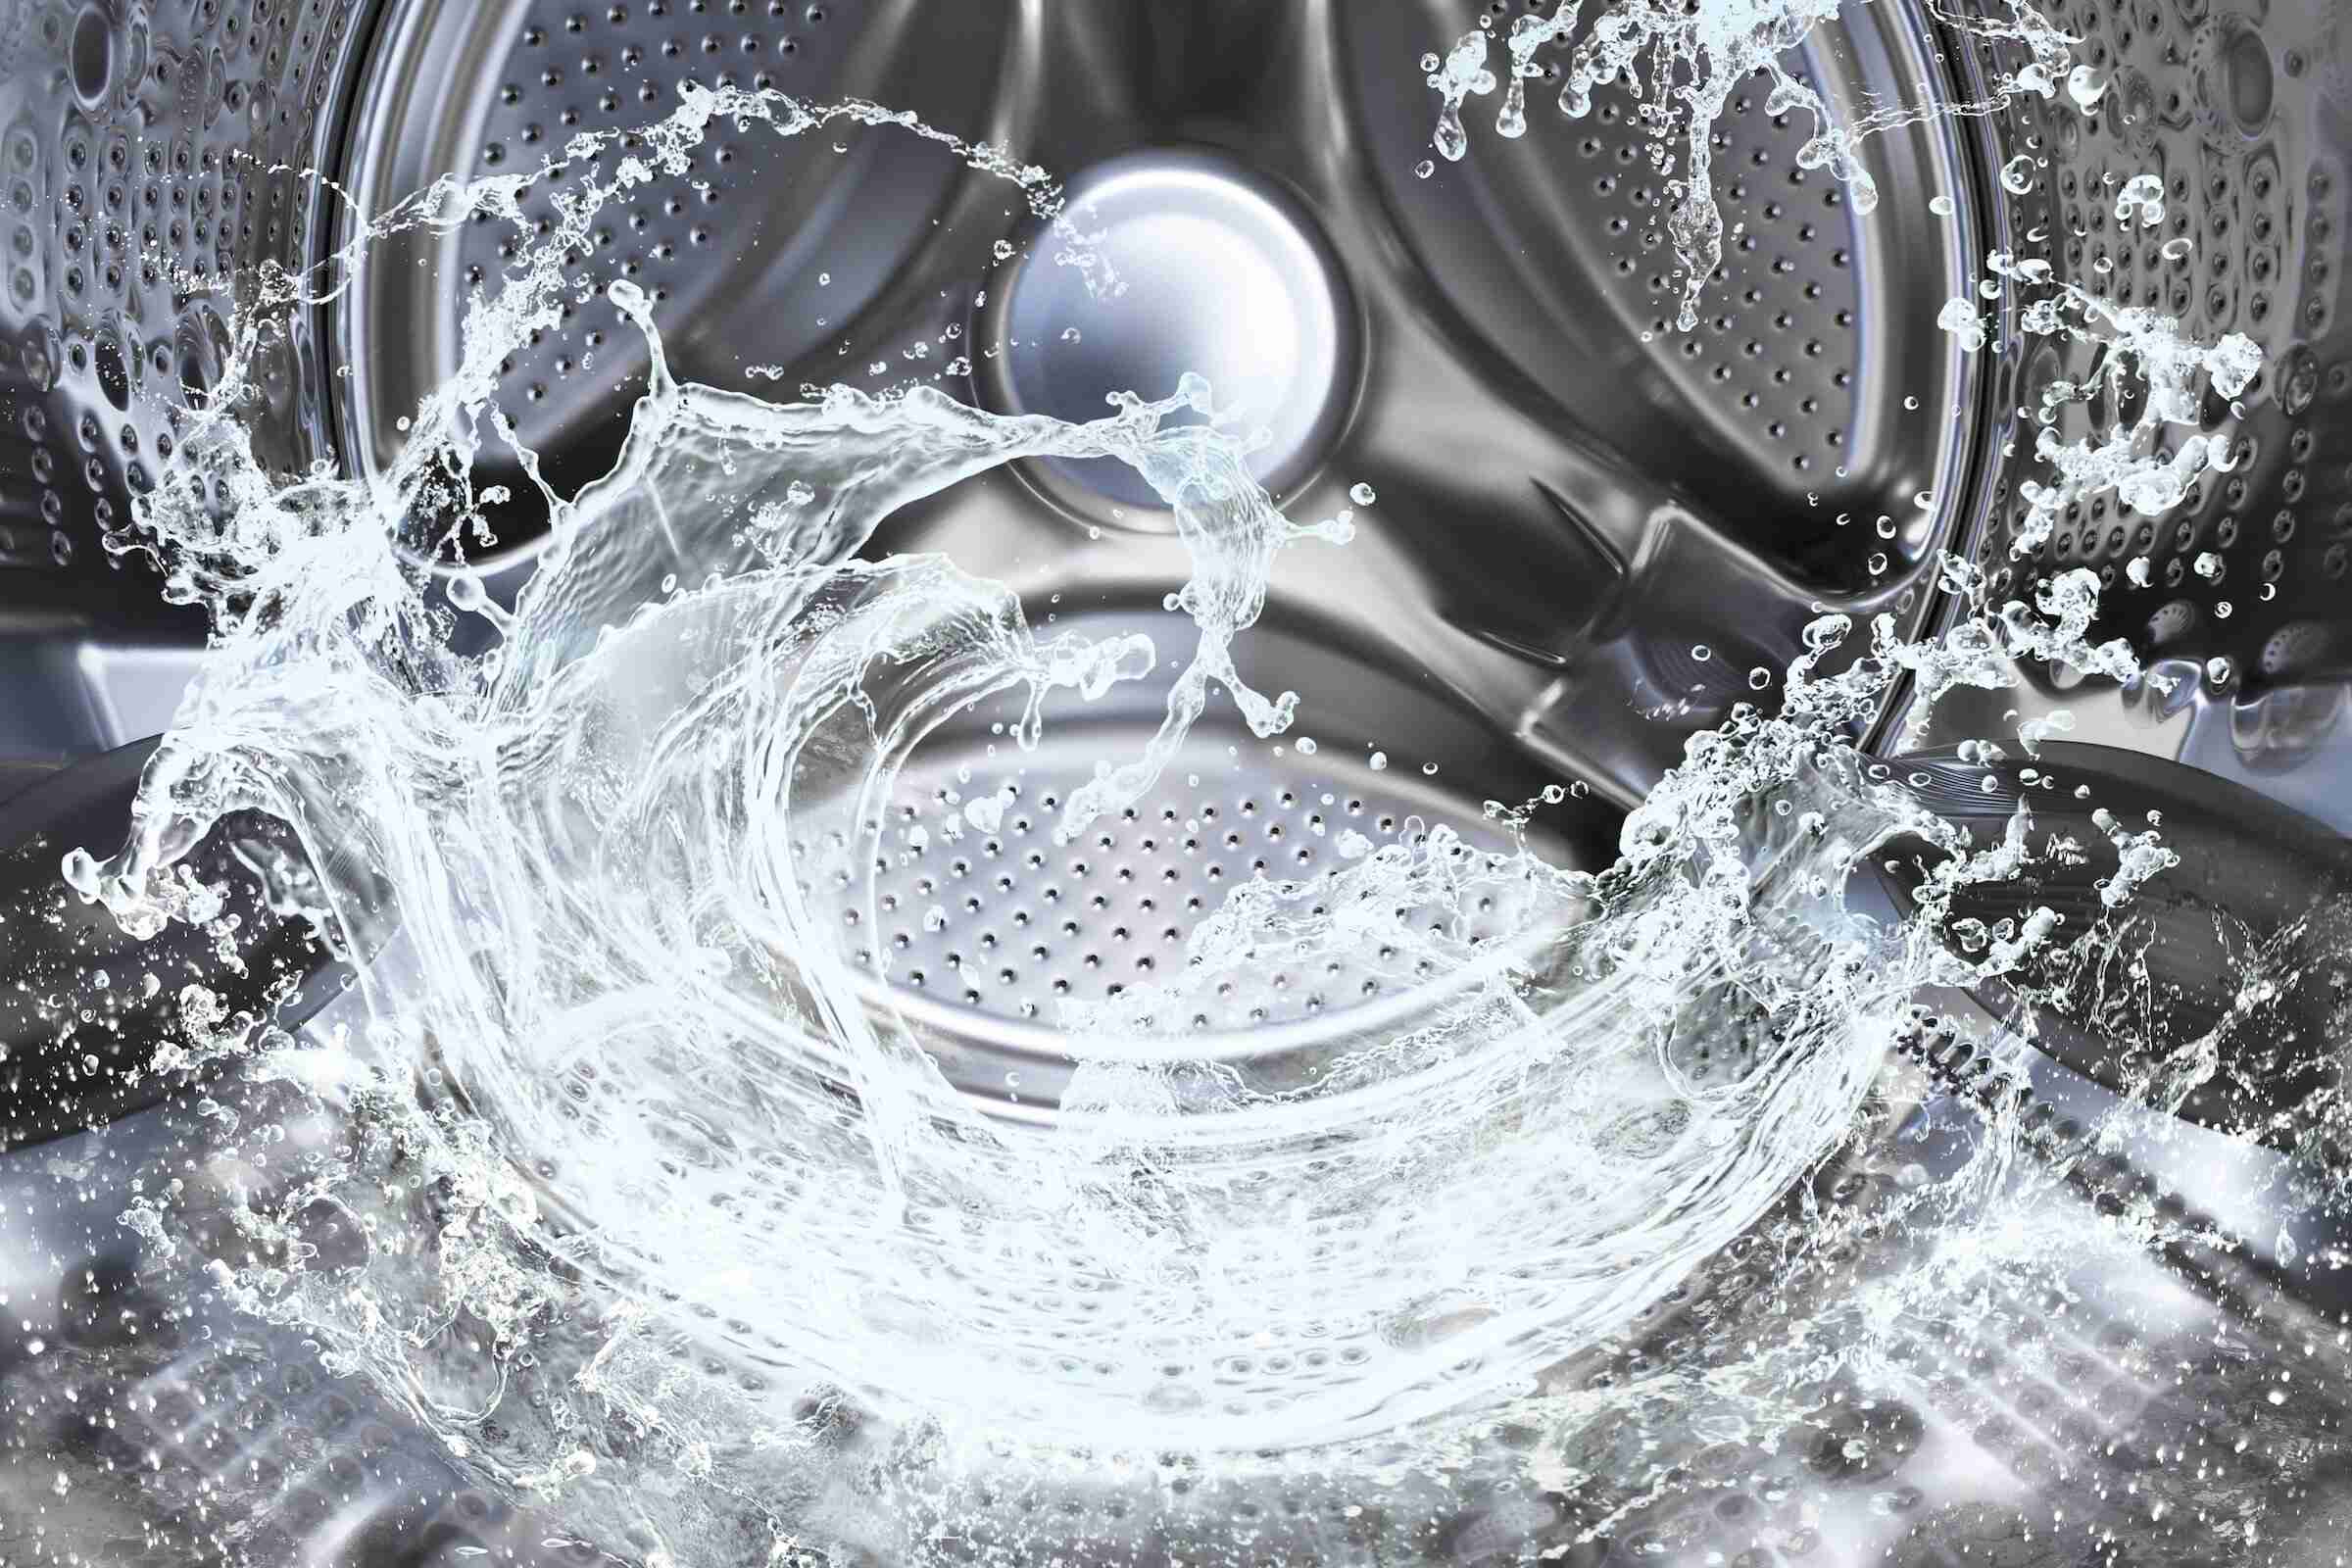
When you hear your washer making noise during the spinning cycle, it can be quite a frustrating experience. Not only can the noise be annoying, but it may also be a sign of an underlying issue with your washer. Understanding the common causes of these noises and knowing how to troubleshoot and fix them can help you maintain the performance and longevity of your washer.
In this article, we will explore the various reasons why your washer may make noise during the spinning cycle and provide you with practical solutions to address these issues. From loose items to worn bearings, we will cover everything you need to know to diagnose and resolve the problem.
It’s important to note that while some noises may be harmless and easily fixed, others may require professional assistance. If you are unsure about the severity of the problem or lack the technical expertise, it’s always wise to consult a qualified technician to properly diagnose and fix the issue.
Now, let’s dive into the common causes of noises during washer spinning and learn how to identify and resolve them.
Key Takeaways:
- Address loose items and unbalanced loads in your washer to eliminate rattling and vibrating noises during spinning. Regular maintenance and care can prevent noise issues, ensuring a smoother laundry experience.
- Seek professional assistance for complex repairs involving worn bearings, faulty motor mounts, damaged drive belts, or clogged drain pumps. Prioritize safety and proper maintenance for efficient and quiet washer operation.
Read more: Washer Makes Noise When Agitating
Common Causes of Noises During Spinning
When your washer is in the spinning cycle, there are several potential causes for the noises you may hear. Understanding these causes will help you diagnose and resolve the issue effectively. Here are some common culprits:
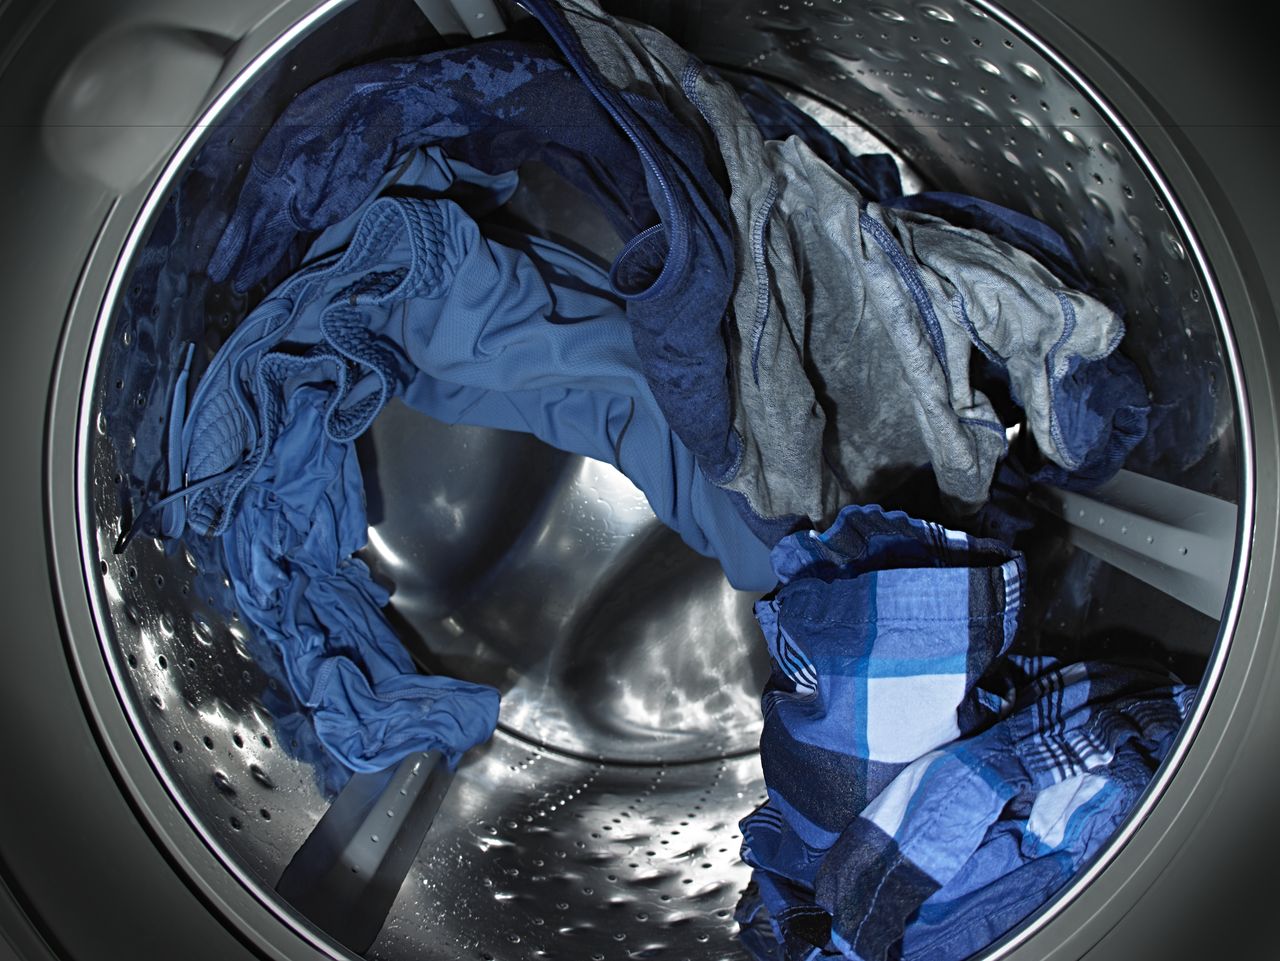
- Loose Items in the Washer: One of the most common reasons for noise during spinning is loose items within the drum. Coins, buttons, or even small pieces of clothing can get trapped between the drum and the outer tub, causing a rattling or clunking noise. Checking and removing any loose items should be your first step in troubleshooting.
- Unbalanced Loads: Another common cause of noise during spinning is an unbalanced load. When the clothes are unevenly distributed in the drum, the washer will vibrate excessively, resulting in loud noises. This can be resolved by redistributing the load and ensuring that the clothes are evenly spread throughout the drum.
- Worn Bearings or Clutch: Over time, the bearings and clutch of your washer can wear out, causing grinding or squealing noises during spinning. This is more common in older washers. If you suspect worn bearings or a clutch issue, it is recommended to seek professional assistance for repair or replacement.
- Faulty Motor Mounts: The motor in your washer is securely held in place by mounts. If these mounts become loose or damaged, the motor can shift during spinning, causing a rattling or vibrating noise. Checking and tightening or replacing the motor mounts can help eliminate the noise.
-
Damaged Drive Belt: The drive belt in a washer is responsible for rotating the drum during the spinning cycle. If the belt becomes worn, cracked, or damaged, it may squeal or produce a loud thumping noise. Inspecting the drive belt and replacing it if necessary can help resolve the issue.
Loose Items in the Washer
One possible cause of noise during the spinning cycle is loose items in the washer drum. It’s not uncommon for small objects, such as coins, buttons, or even loose threads from clothing, to get trapped between the drum and the outer tub. This can result in a rattling or clunking noise as the drum spins.
To address this issue, you will need to remove any loose items from the drum. Here are some steps you can follow:
- Unplug the washer or turn off the power supply to ensure your safety.
- Open the washer door and carefully inspect the drum for any visible items, such as coins or buttons.
- If you spot any loose items, try to reach and remove them with your hands or a pair of pliers. Be gentle to avoid causing any damage to the drum or other components.
- If the loose item is difficult to reach or remove, you may need to disassemble the washer. Refer to the manufacturer’s instructions or seek professional assistance if you are unsure about the disassembly process.
- Once you have removed the loose items, double-check the drum to ensure that there are no remaining objects.
- Reassemble the washer (if necessary) and plug it back in or turn on the power supply.
After following these steps, run a test cycle to see if the noise has been eliminated. If you still hear the noise, it is possible that there may be another underlying issue causing the problem.
It’s important to note that preventing loose items from entering the washer in the first place can help avoid this issue. Before loading your laundry, remember to check all pockets and remove any loose objects or small items that may be left behind.
By addressing the problem of loose items in your washer, you can restore its smooth operation and minimize unnecessary noise during the spinning cycle.
Unbalanced Loads
Another common cause of noise during the spinning cycle is an unbalanced load in the washer. When the clothes inside the drum are not evenly distributed, it can lead to excessive vibrations and loud noises. Fortunately, addressing unbalanced loads is relatively simple and can be done by following these steps:
- Pause the washer: If you notice excessive noise during the spinning cycle, pause the washer to prevent further damage.
- Open the washer door: Depending on the model of your washer, this may involve pressing a button or pulling a lever to release the latch.
- Reposition the clothes: Carefully redistribute the clothes inside the drum, making sure they are evenly spread out. Avoid overloading the washer as it can also contribute to an unbalanced load.
- Close the washer door: Ensure that the door is securely closed and latched.
- Resume the cycle: Once you have repositioned the clothes, restart the spinning cycle and monitor for any noise. It’s a good idea to stay near the washer during the cycle in case further adjustments are needed.
If the noise persists even after redistributing the clothes, you may need to adjust the leveling legs of your washer. An unlevel washer can contribute to unbalanced loads. Here’s how you can level your washer:
- Make sure the washer is empty: Remove all clothes from the drum before leveling the washer.
- Check the leveling legs: Locate the leveling legs, usually at the bottom of the washer. They are adjustable to ensure stability and balance.
- Use a wrench or pliers: Rotate the leveling legs either clockwise or counterclockwise to adjust the height. The goal is to ensure that the washer is resting firmly on all four legs.
- Check the level: Use a bubble level on top of the washer to verify that it is level. Adjust the legs as needed until the washer is level from front to back and side to side.
By redistributing the clothes and leveling the washer, you can minimize vibrations and noise caused by unbalanced loads. This will not only resolve the noise issue but also help prolong the lifespan of your washer.
Worn Bearings or Clutch
If your washer is making grinding or squealing noises during the spinning cycle, it could be a sign of worn bearings or a faulty clutch. Over time, the bearings and clutch in your washer may wear out, leading to these unpleasant sounds. Here’s what you can do to address this issue:
- Unplug the washer: For safety purposes, disconnect the power supply or unplug the washer before proceeding with any repairs or inspections.
- Locate the bearings and clutch: The bearings are typically located behind the drum, while the clutch can be found near the motor. Refer to your washer’s manual or seek online resources for detailed instructions specific to your washer’s model.
- Inspect for wear and damage: Carefully examine the bearings and clutch for any signs of wear, such as rust, excessive movement, or damage. If you notice any issues, it is likely that these components need to be replaced.
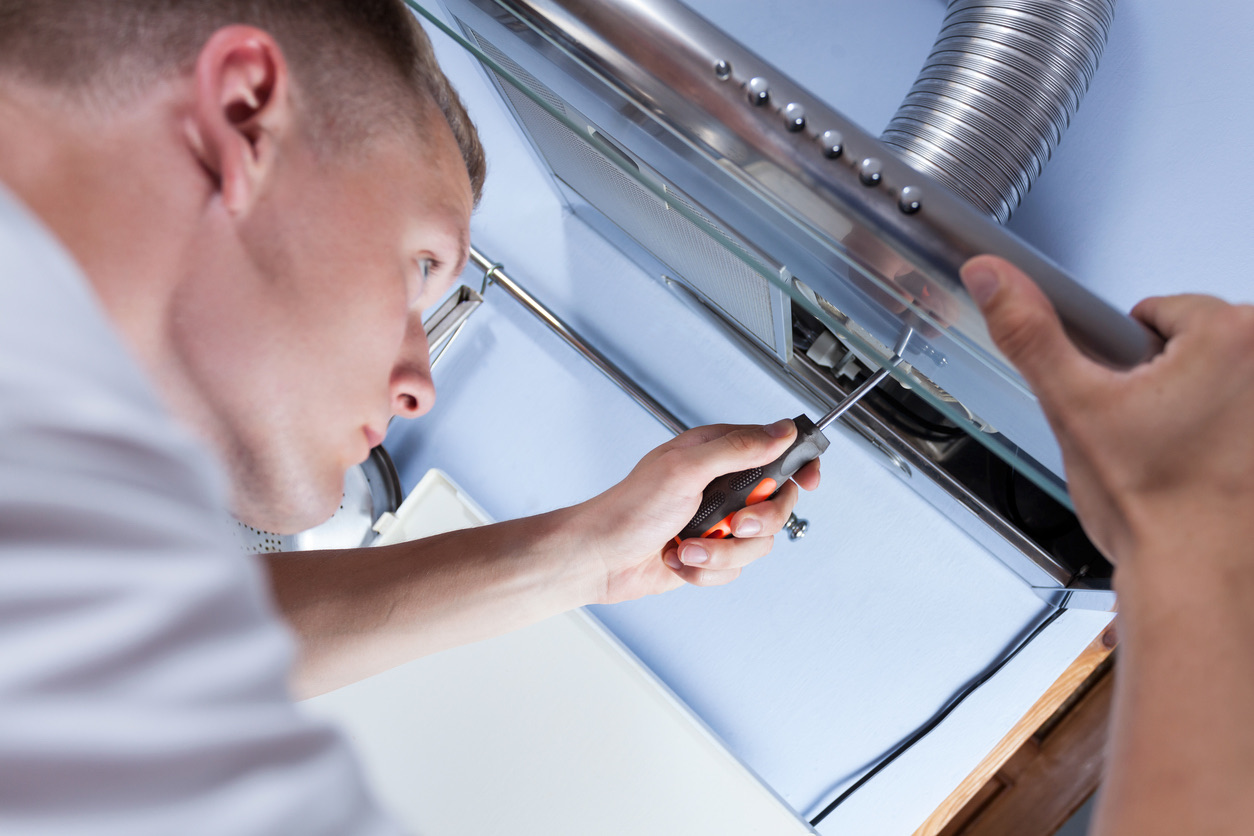
- Contact a professional: Replacing the bearings or clutch requires technical expertise and specialized tools. It is recommended to contact a professional technician to diagnose the problem accurately and perform the necessary repairs. They have the knowledge and experience to ensure proper replacement and minimize the risk of further damage.
While it may be tempting to attempt replacing the bearings or clutch yourself, it is a complex process that should be left to the experts. Improper installation or handling of these components can result in further damage to your washer.
In some cases, replacing a faulty clutch may help resolve the noise issue. However, if worn bearings are the culprit, it may be more cost-effective to consider replacing the entire drum assembly. Consult with a technician to determine the best course of action based on the specific condition of your washer.
Regular maintenance and care can help extend the life of the bearings and clutch in your washer. Follow the manufacturer’s recommendations for routine maintenance, such as cleaning the drum, and avoid overloading the washer to minimize strain on these components.
By addressing worn bearings or a faulty clutch, you can restore the smooth and quiet operation of your washer, ensuring a more pleasant laundry experience.
Read more: Lg Washer Making Loud Noise When Spinning
Faulty Motor Mounts
If you hear rattling or vibrating noises during the spinning cycle of your washer, the problem could be faulty motor mounts. Motor mounts are responsible for securely holding the motor in place, ensuring smooth and stable operation. Over time, these mounts can become loose or damaged, leading to noise issues. Here’s what you can do to address faulty motor mounts:
- Ensure safety: Before attempting any repairs or inspections, unplug the washer or turn off the power supply to avoid any electrical hazards.
- Access the motor mounts: Locate the motor mounts, which are typically located near the motor at the bottom of the washer. Consult your washer’s manual or online resources for exact instructions based on your model.
- Inspect the motor mounts: Carefully examine the mounts for any signs of looseness or damage, such as cracks or wear. If you notice any issues, it’s likely that the motor mounts need to be replaced.
- Tighten or replace the motor mounts: If the motor mounts are simply loose, you can use a wrench or screwdriver to tighten them. However, if they are damaged, it is recommended to replace them with new ones. Consult with a professional technician for the appropriate replacement parts and procedures.
- Reassemble and test: Once you have tightened or replaced the motor mounts, reassemble any components you may have removed and plug in or turn on the power supply. Run a test cycle to check if the noise has been resolved.
It’s important to note that working with motor mounts and the motor itself requires technical knowledge and expertise. If you are uncertain about your skills or lack experience, it’s best to seek help from a qualified technician. They can ensure that the motor mounts are properly installed and the motor is securely positioned to prevent any further damage to your washer.
Regular maintenance and care can help prevent motor mount issues. Avoid excessive vibration or movement of the washer, as this can put strain on the mounts. Additionally, follow the manufacturer’s recommendations for regular maintenance and inspections to catch any potential issues early on.
By addressing faulty motor mounts, you can eliminate the rattling or vibrating noise during the spinning cycle, allowing your washer to operate smoothly and quietly.
Check if the washer is level and on a stable surface. Unbalanced loads can cause excessive noise during spinning. Also, inspect the drum for any loose items that may be causing the noise.
Damaged Drive Belt
If your washer is producing a squealing or thumping noise during the spinning cycle, a damaged drive belt could be the culprit. The drive belt is responsible for transferring power from the motor to the drum, allowing it to spin. Over time, the belt can become worn, cracked, or damaged, resulting in disruptive noises. Here’s what you can do to address a damaged drive belt:
- Ensure safety: Before attempting any repairs or inspections, unplug the washer or turn off the power supply to avoid any electrical accidents.
- Access the drive belt: Depending on your washer’s model, you may need to remove the back panel or front panel to access the drive belt. Refer to your washer’s manual or seek online resources for specific instructions.
- Inspect the drive belt: Carefully examine the belt for any signs of wear, such as cracks, fraying, or stretching. If you notice any visible damage, it is likely that the belt needs to be replaced.
- Remove and replace the drive belt: If the drive belt is damaged, follow the instructions provided in your washer’s manual or consult a professional technician for guidance on removing and replacing the belt. They can guide you on proper belt selection and installation.
- Reassemble and test: Once you have installed the new drive belt, reassemble any removed components and ensure they are securely in place. Plug in or turn on the power supply and run a test cycle to confirm if the noise has been eliminated.
It’s important to note that replacing a drive belt can be a complex process, and if you are unfamiliar with washer repairs, it is best to seek professional assistance. They have the necessary expertise and tools to ensure the belt is replaced correctly, minimizing the risk of further damage.
Regular maintenance and care can help prolong the life of your drive belt. Avoid overloading the washer, as excessive strain on the belt can accelerate wear and tear. Additionally, keep the area around the washer clean and free from debris to prevent the belt from getting caught or damaged.
By addressing a damaged drive belt, you can restore the quiet operation of your washer during the spinning cycle, ensuring a more pleasant laundry experience.
Clogged Drain Pump
If your washer is producing a buzzing or humming noise during the spinning cycle, a clogged drain pump could be the culprit. The drain pump is responsible for removing water from the washer after each cycle. Over time, debris, lint, and other foreign objects can clog the pump, causing it to work harder and generate noise. Here’s what you can do to address a clogged drain pump:
- Ensure safety: Before attempting any repairs or inspections, unplug the washer or turn off the power supply to avoid any electrical accidents.
- Locate the drain pump: The drain pump is typically located at the bottom of the washer, often behind a small access panel. Refer to your washer’s manual or seek online resources for specific instructions based on your model.
- Inspect the drain pump: Carefully examine the pump for any visible debris or blockages. Check the pump impeller (a small, fan-like device) for any obstructions that may be causing the noise.
- Clear the clog: Using gloves, tweezers, or a small brush, remove any debris or foreign objects from the drain pump. Be thorough in your cleaning to ensure the pump is clear of any obstructions.
- Check the drain hose: While addressing the drain pump, it’s a good idea to inspect the drain hose for any clogs or kinks. Straighten the hose and clear any blockages if necessary.
- Reassemble and test: Once you have cleared the clog from the drain pump and checked the drain hose, reassemble any removed components and ensure they are securely in place. Plug in or turn on the power supply and run a test cycle to see if the noise has been resolved.
If the noise persists even after clearing the clog from the drain pump, it is possible that the pump itself is damaged and needs to be replaced. In such cases, it is recommended to seek professional assistance to diagnose and perform the necessary repairs.
To prevent future clogs in the drain pump, it’s important to properly maintain your washer. Regularly clean the lint filter and remove any debris from the drum to minimize the build-up in the pump. Additionally, be mindful of what you place in your washer, avoiding objects that may contribute to clogs.
By addressing a clogged drain pump, you can restore the efficient draining function of your washer and eliminate the buzzing or humming noise during the spinning cycle.
Loose or Damaged Suspension Springs
If your washer is producing excessive shaking or banging noises during the spinning cycle, the culprit could be loose or damaged suspension springs. The suspension springs are responsible for supporting the weight of the drum and ensuring it stays balanced during operation. Over time, these springs can become loose or worn, leading to increased vibrations and noise. Here’s what you can do to address loose or damaged suspension springs:
- Ensure safety: Before attempting any repairs or inspections, unplug the washer or turn off the power supply to avoid any electrical accidents.
- Access the suspension springs: Depending on your washer’s model, you may need to remove the top or rear panel to access the suspension springs. Consult your washer’s manual or seek online resources for specific instructions.
- Inspect the suspension springs: Carefully examine each suspension spring for any signs of damage, such as stretching, corrosion, or breakage. If any of the springs appear loose or damaged, they will need to be replaced.
- Replace the suspension springs: If the suspension springs are loose or damaged, it is recommended to replace all of them as a set to ensure proper balance. Consult your washer’s manual or seek professional assistance for the correct replacement parts and installation instructions.
- Reassemble and test: Once you have replaced the suspension springs, reassemble any removed components and ensure they are securely in place. Plug in or turn on the power supply and run a test cycle to see if the noise and excessive shaking have been resolved.
Replacing suspension springs can be a complex process, involving working with heavy components and accessing hard-to-reach areas of the washer. If you are unsure about your ability to perform the repairs or lack the necessary tools, it is best to seek assistance from a professional technician.
To prevent future issues with suspension springs, it’s important to maintain proper loading practices. Avoid overloading the washer and distribute the laundry evenly in the drum to promote balanced operation. Regularly check and tighten the suspension springs to ensure they remain secure.
By addressing loose or damaged suspension springs, you can restore proper balance to your washer’s drum and eliminate the excessive shaking and banging noises during the spinning cycle.
Troubleshooting Steps to Identify the Cause of the Noise
When your washer is making noise during the spinning cycle, it’s important to identify the cause of the problem before taking any corrective measures. Here are some troubleshooting steps you can follow to pinpoint the source of the noise:
- Listen carefully: Pay close attention to the type of noise your washer is making. Is it a banging, rattling, grinding, squealing, or thumping sound? This will provide valuable clues about the potential underlying issue.
- Check for loose items: Inspect the drum for any loose objects, such as coins or buttons. These items can get trapped between the drum and the outer tub, causing rattling noises during spinning.
- Inspect the drum: Examine the drum for any visible signs of damage, such as dents or cracks. A damaged drum can lead to abnormal noises during operation.
- Level the washer: Ensure that your washer is sitting level on the floor. If it’s not, adjust the leveling legs or use a leveling tool to even it out. An unlevel washer can cause vibrations and noise during spinning.
- Check for unbalanced loads: Make sure the clothes inside the drum are evenly distributed. An unbalanced load can cause the washer to vibrate excessively and produce loud noises. Adjust the load if necessary.
- Inspect the drive belt: Examine the drive belt for any signs of wear, such as cracks or fraying. A damaged drive belt can result in squealing or thumping noises during spinning.
- Check the suspension springs: Inspect the suspension springs to ensure they are intact and properly connected. Loose or damaged springs can cause excessive shaking and banging noises during operation.
- Test the motor mounts: Gently try to move the motor to check for any looseness or instability. Faulty motor mounts can lead to rattling or vibrating noises during spinning.
- Check the drain pump: Verify that the drain pump is not clogged with debris or foreign objects. A clogged pump can result in buzzing or humming noises during operation.
- Listen for other unusual sounds: Pay attention to any additional sounds or abnormalities, such as grinding or screeching. These may indicate more serious issues, such as worn bearings or a faulty clutch.
By following these troubleshooting steps, you can narrow down the potential causes of the noise and identify the specific issue with your washer. If you are unsure about any of the steps or lack the necessary expertise, it’s always recommended to consult a professional technician for a thorough diagnosis and appropriate repairs.
How to Fix Noises During Washer Spinning
Once you have identified the cause of the noise in your washer during the spinning cycle, it’s time to address and fix the issue. Here are some common solutions for different noise-related problems:
- For loose items in the washer: Remove any loose objects, such as coins, buttons, or small pieces of clothing, from the drum. Ensure there are no items between the drum and the outer tub that can rattle or cause noise during spinning.
- For unbalanced loads: Evenly distribute the clothes inside the drum. Avoid overloading the washer and make sure the load is balanced throughout the drum. This will minimize excessive vibrations that can lead to noise during spinning.
- For worn bearings or clutch: Contact a professional technician to diagnose and replace the worn bearings or faulty clutch. This requires specialized knowledge and tools to safely perform the repairs and ensure proper functionality of the washer’s components.
- For faulty motor mounts: Tighten or replace the motor mounts to stabilize the motor. Loose or damaged motor mounts can cause rattling or vibrating noises. Consult a professional technician if you are uncertain about performing this repair yourself.
- For a damaged drive belt: Replace the drive belt if it is worn, cracked, or damaged. This will eliminate squealing or thumping noises during spinning. Refer to your washer’s manual or seek professional assistance to ensure proper belt selection and installation.
- For a clogged drain pump: Clear any debris or foreign objects from the drain pump. This can be done by following the steps mentioned earlier in this article. Ensure that the drain hose is also clear of any clogs or kinks.
- For loose or damaged suspension springs: Replace all the suspension springs if any of them are loose or damaged. This will help maintain balance and stability during spinning, minimizing excessive shaking and banging noises.
Remember, some repairs require professional expertise, especially when it comes to replacing internal components. If you are unsure or uncomfortable with any repair, it’s always best to seek assistance from a reputable technician. They have the skills and knowledge to handle the repairs safely and effectively.
In addition to fixing the specific issue causing the noise, regular maintenance of your washer is crucial. Follow the manufacturer’s guidelines for routine maintenance, such as cleaning the drum, checking and cleaning the filter, and ensuring proper leveling of the washer.
By taking the necessary steps to fix the noise during washer spinning, you can restore smooth and quiet operation, making your laundry experience more enjoyable and efficient.
Conclusion
Noise during the spinning cycle of your washer can be disruptive and concerning. However, by identifying the cause of the noise and taking appropriate steps to address it, you can restore your washer’s smooth and quiet operation. Common causes of noise during spinning include loose items, unbalanced loads, worn bearings or clutch, faulty motor mounts, damaged drive belts, clogged drain pumps, and loose or damaged suspension springs.
To troubleshoot the noise, listen carefully for the type of sound and inspect the relevant components of your washer. Once you have identified the issue, you can implement the appropriate fix. This could involve removing loose items, redistributing the load, replacing worn or damaged parts, or clearing clogs from drain pumps.
It’s important to note that certain repairs may require professional assistance, especially when it involves internal components or specialized tools. If you are unsure or uncomfortable with any repair, seek help from a qualified technician to ensure the job is done correctly and safely.
Regular maintenance and care of your washer can help prevent noise issues. This includes avoiding overloading the washer, checking for debris or obstructions, and following the manufacturer’s guidelines for routine maintenance tasks.
By addressing and resolving the noise in your washer during the spinning cycle, you can ensure a smoother and more pleasant laundry experience. Remember to prioritize safety, and don’t hesitate to seek professional help when needed. With proper care, your washer will continue to serve you efficiently and quietly for years to come.
Frequently Asked Questions about Washer Makes Noise When Spinning
Why does my washer make noise when spinning?Your washer may make noise when spinning due to a variety of reasons such as unbalanced loads, worn-out bearings, loose drum components, or even foreign objects caught in the drum. It’s important to identify the specific cause of the noise to address the issue effectively.How can I troubleshoot the noise coming from my washer when it’s spinning?To troubleshoot the noise coming from your washer when it’s spinning, start by checking for any unbalanced loads or foreign objects in the drum. You can also inspect the drum components and bearings for any signs of wear and tear. If the issue persists, it’s best to consult a professional technician for a thorough diagnosis.Is it safe to continue using my washer if it’s making noise when spinning?It’s not recommended to continue using your washer if it’s making noise when spinning, as it could indicate underlying mechanical issues that may worsen over time. Continuing to use the washer may lead to further damage and potentially costly repairs. It’s best to address the noise issue promptly to prevent any further damage.Can I fix the noise issue in my washer myself, or do I need to call a professional?While some minor noise issues in washers can be resolved with simple troubleshooting and maintenance, more complex problems such as worn-out bearings or damaged drum components may require the expertise of a professional technician. It’s important to assess the severity of the noise and seek professional help if needed.What are some common solutions for reducing noise in a washer when it’s spinning?Common solutions for reducing noise in a washer when it’s spinning include redistributing the load to ensure it’s balanced, removing any foreign objects from the drum, and performing regular maintenance such as cleaning the drum and checking for wear and tear on components. If the noise persists, it’s best to seek professional assistance for a thorough inspection and repair.
Was this page helpful?
At Storables.com, we guarantee accurate and reliable information. Our content, validated by Expert Board Contributors, is crafted following stringent Editorial Policies. We're committed to providing you with well-researched, expert-backed insights for all your informational needs.

0 thoughts on “Washer Makes Noise When Spinning”