Articles
How To Fix Washer Off Balance
Modified: August 25, 2024
Learn how to fix your washer when it goes off balance with our informative articles. Discover tips and tricks to ensure smooth laundry cycles.
(Many of the links in this article redirect to a specific reviewed product. Your purchase of these products through affiliate links helps to generate commission for Storables.com, at no extra cost. Learn more)
Introduction
Having a washing machine that is constantly off balance can be frustrating and inconvenient. Not only does it make loud noises during the spin cycle, but it can also cause excessive wear and tear on the machine, leading to potential damage and costly repairs. Understanding the cause of a washer going off balance and knowing how to fix it can save you time, money, and the headache of dealing with a malfunctioning appliance.
There can be several reasons why a washing machine becomes off balance. One common cause is an uneven distribution of the laundry load inside the drum. This can happen when heavy items such as towels or jeans are grouped on one side, causing the machine to tilt and become unsteady during the spin cycle. Another reason could be an issue with the leveling of the machine, where it is not properly balanced on the floor. Additionally, worn or damaged components like suspension springs, shock absorbers, or tub dampening straps can also contribute to the off balance problem.
In this article, we will walk you through the steps to identify the cause of your washer going off balance and provide you with practical solutions to fix the issue. By following these guidelines, you will be able to restore your washing machine to optimal performance, ensuring a smooth and efficient laundry experience.
Please note that for specific troubleshooting or repairs, always refer to the manufacturer’s instructions or consult a professional if needed. Safety should be a top priority when working with any household appliances.
Key Takeaways:
- Ensure even distribution of laundry load and level the washer to prevent imbalance. Regularly inspect and maintain components like suspension springs, shock absorbers, and tub dampening straps for optimal washer performance.
- Clean or replace damaged counterweights to maintain a balanced drum during the spin cycle. Consult the user manual or seek professional assistance for any repairs or replacements to ensure safety and efficient operation.
Read more: How To Balance Front Load Washer
Understanding the Cause of Washer Off Balance
Before diving into the troubleshooting steps, it is essential to understand the potential causes of a washer going off balance. By identifying the root cause, you can effectively address the issue and prevent it from recurring in the future.
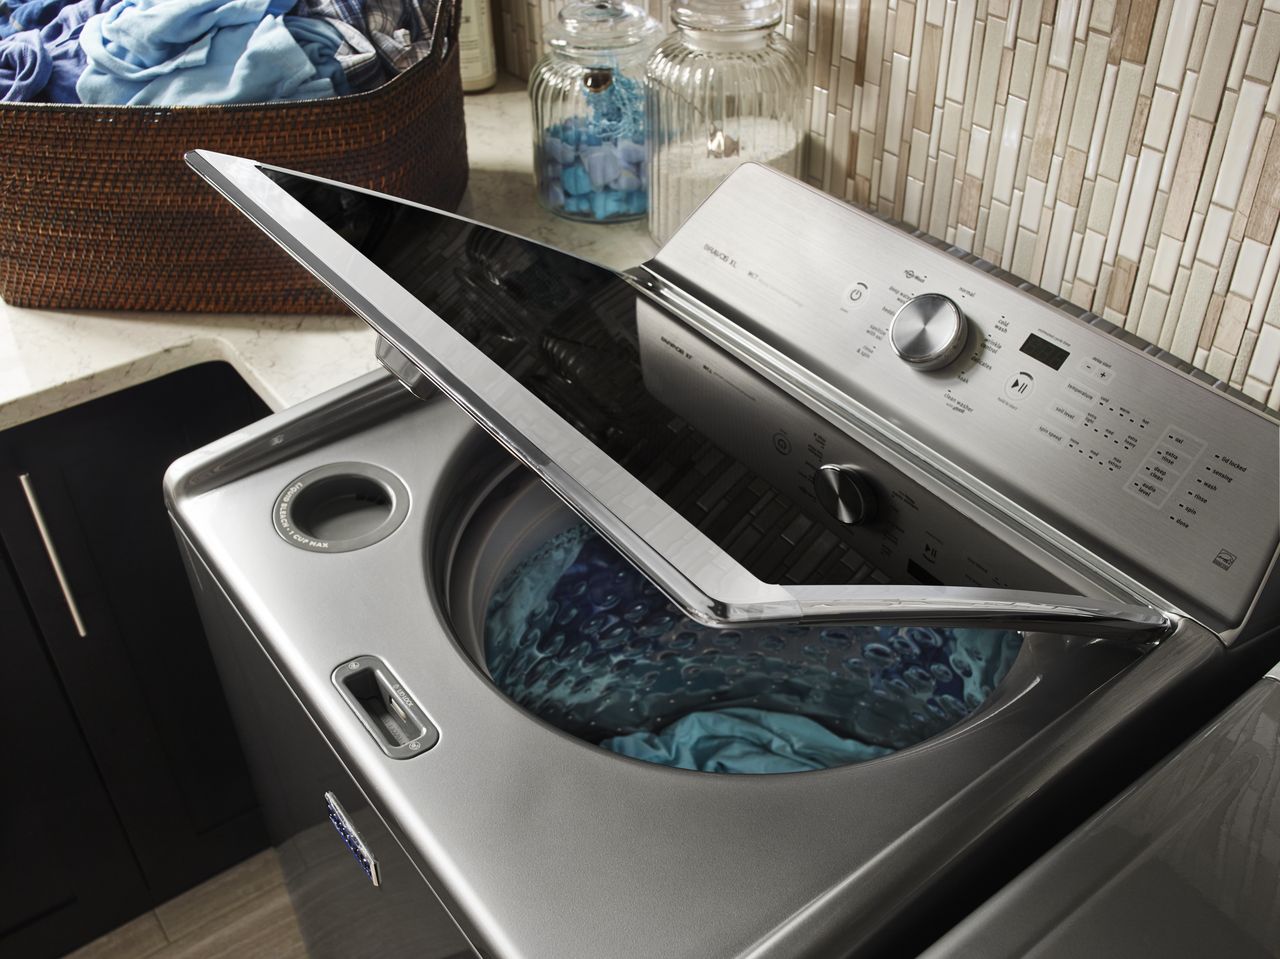
One of the main reasons for a washer going off balance is an uneven distribution of the laundry load. When loading the machine, it is important to distribute the weight evenly throughout the drum. Uneven distribution can occur when heavy items are piled on one side, causing the machine to tilt and become unbalanced during the spin cycle. It is recommended to mix heavy and light items and distribute them evenly around the drum for a well-balanced load.
In addition to uneven load distribution, another common cause of washer imbalance is an improperly leveled machine. If your washer is not standing evenly on the floor, it can easily become unbalanced during the spin cycle. To check if your machine is level, place a spirit level on top of the washer and adjust the feet accordingly until it is perfectly level. This will help evenly distribute the weight and minimize the chances of the washer going off balance.
Furthermore, worn or damaged components can also contribute to a washer off balance. Suspension springs, which help support the drum and maintain stability, can weaken or break over time. If you notice excessive vibration or movement during the spin cycle, inspect the suspension springs for any signs of damage or wear. Similarly, shock absorbers, responsible for absorbing the impact of the spinning drum, can wear out and cause the washer to become off balance. Inspecting and replacing these components if necessary can help restore balance to the machine.
Lastly, a damaged or worn tub dampening strap can also be a culprit behind an off-balance washer. The tub dampening strap is designed to reduce the movement of the drum and keep it stable during the spin cycle. If this strap is deteriorated or broken, it can result in excessive vibrations and an unbalanced washer. Inspecting the condition of the strap and replacing it if needed will help maintain proper balance and stability during operation.
By understanding these potential causes, you can now proceed to the troubleshooting steps to fix the off balance issue with your washer.
Checking for Uneven Load Distribution
Uneven load distribution is one of the most common causes of a washer going off balance. When heavy items are grouped together on one side, it can cause the machine to tilt and become unsteady during the spin cycle. To address this issue, follow these steps to check for uneven load distribution:
- Stop the washer: If your washer is currently running, pause or stop the cycle to prevent any further imbalance.
- Open the door: Once the machine is stopped, open the door and carefully examine the placement of the laundry inside the drum.
- Reposition the load: If you notice that the load is leaning towards one side, redistribute the items to ensure an even distribution. Mix heavy and light items and position them around the drum to create a balanced load.
- Remove excess items: If the drum is overloaded, remove some items to reduce the overall weight of the load. Overloading the washer can cause imbalance and strain on the machine.
After repositioning the load and ensuring an even distribution, close the door and restart the washer to see if the off balance issue is resolved. If the problem persists, proceed to the next troubleshooting steps.
Remember, it is important to follow the manufacturer’s guidelines regarding the maximum load capacity of your washing machine. Overloading the machine can lead to imbalance and potential damage.
By regularly checking and adjusting the load distribution, you can minimize the chances of your washer going off balance and ensure smooth and efficient operation.
Leveling the Washer
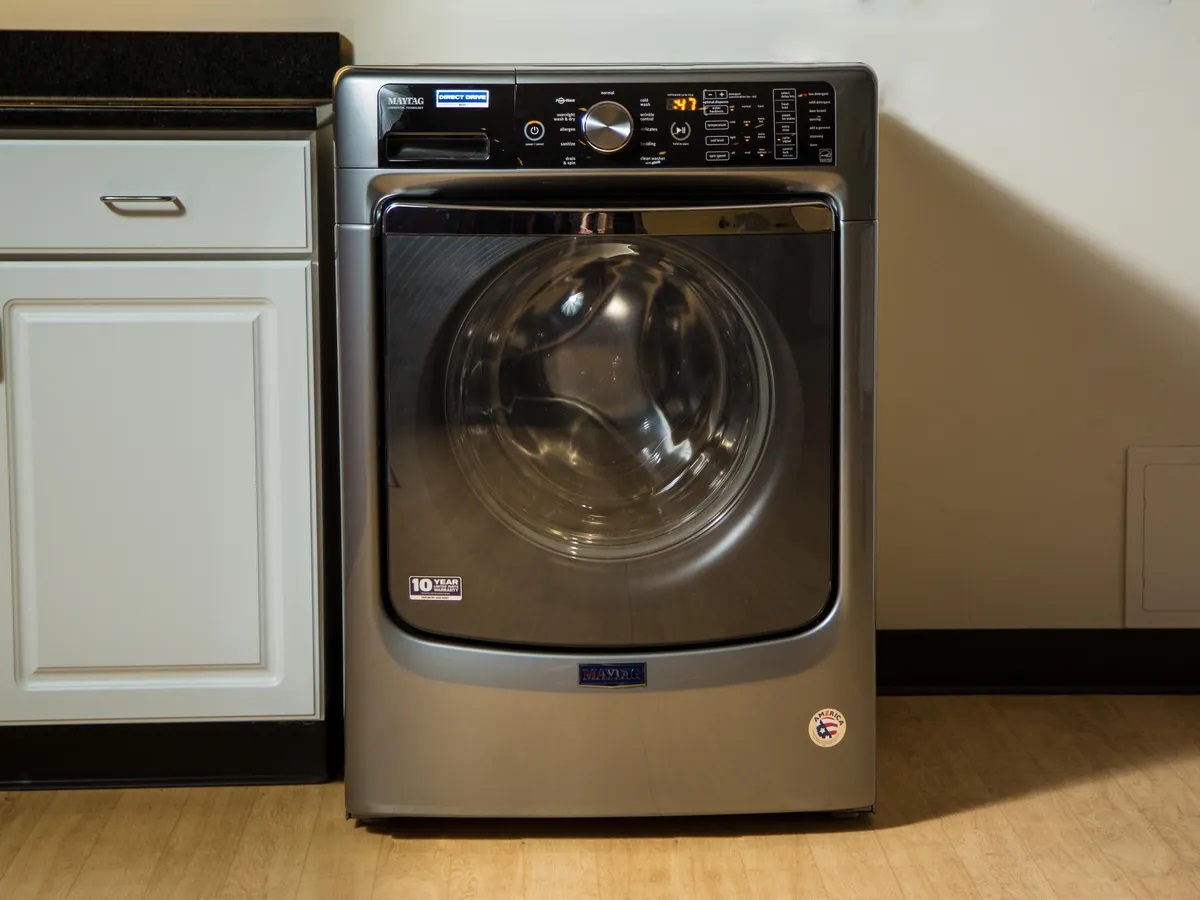
An improperly leveled washer can contribute to an off balance issue. When a washing machine is not standing evenly on the floor, it can easily become unbalanced during the spin cycle. Follow these steps to level your washer:
- Locate the leveling feet: At the bottom of your washing machine, you will find adjustable leveling feet. These feet can typically be accessed by tilting the machine forward slightly.
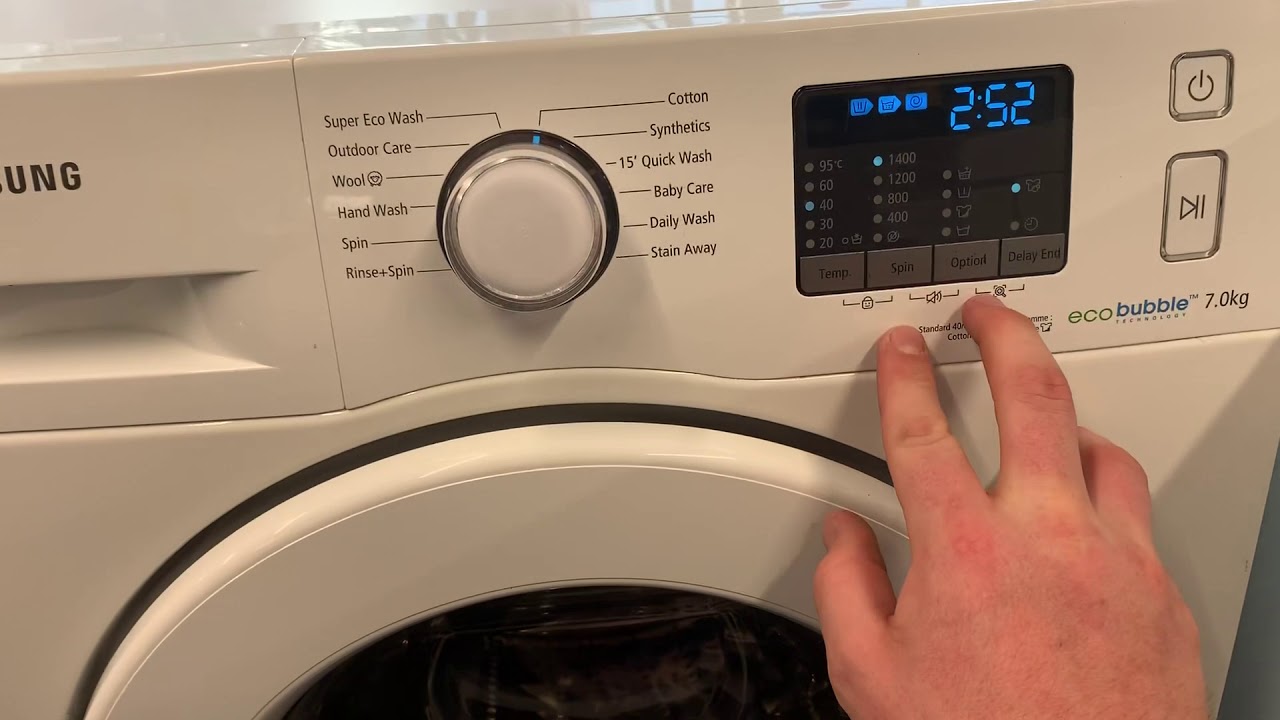
- Use a spirit level: Place a spirit level on top of your washer to check its levelness. If the bubble indicator is not centered, it means that your washer is not level and needs adjustment.
- Adjust the feet: Begin by turning the leveling feet clockwise to lower them or counterclockwise to raise them. Gradually adjust each foot until the washer is level, checking the spirit level after each adjustment.
- Check for stability: Once the washer is level, gently rock it back and forth to ensure that it is stable and does not wobble. Adjust the feet as necessary to achieve optimal stability.
It is important to note that some washing machines may have locking nuts on the feet to secure the leveling adjustments. If this is the case, make sure to tighten the locking nuts after leveling the machine to prevent the feet from moving out of position.
By leveling your washer properly, you can reduce the risk of it becoming off balance and ensure smooth, vibration-free operation. Remember to periodically check the levelness of your washer, especially if you move or rearrange your laundry area.
Adjusting the Feet of the Washer
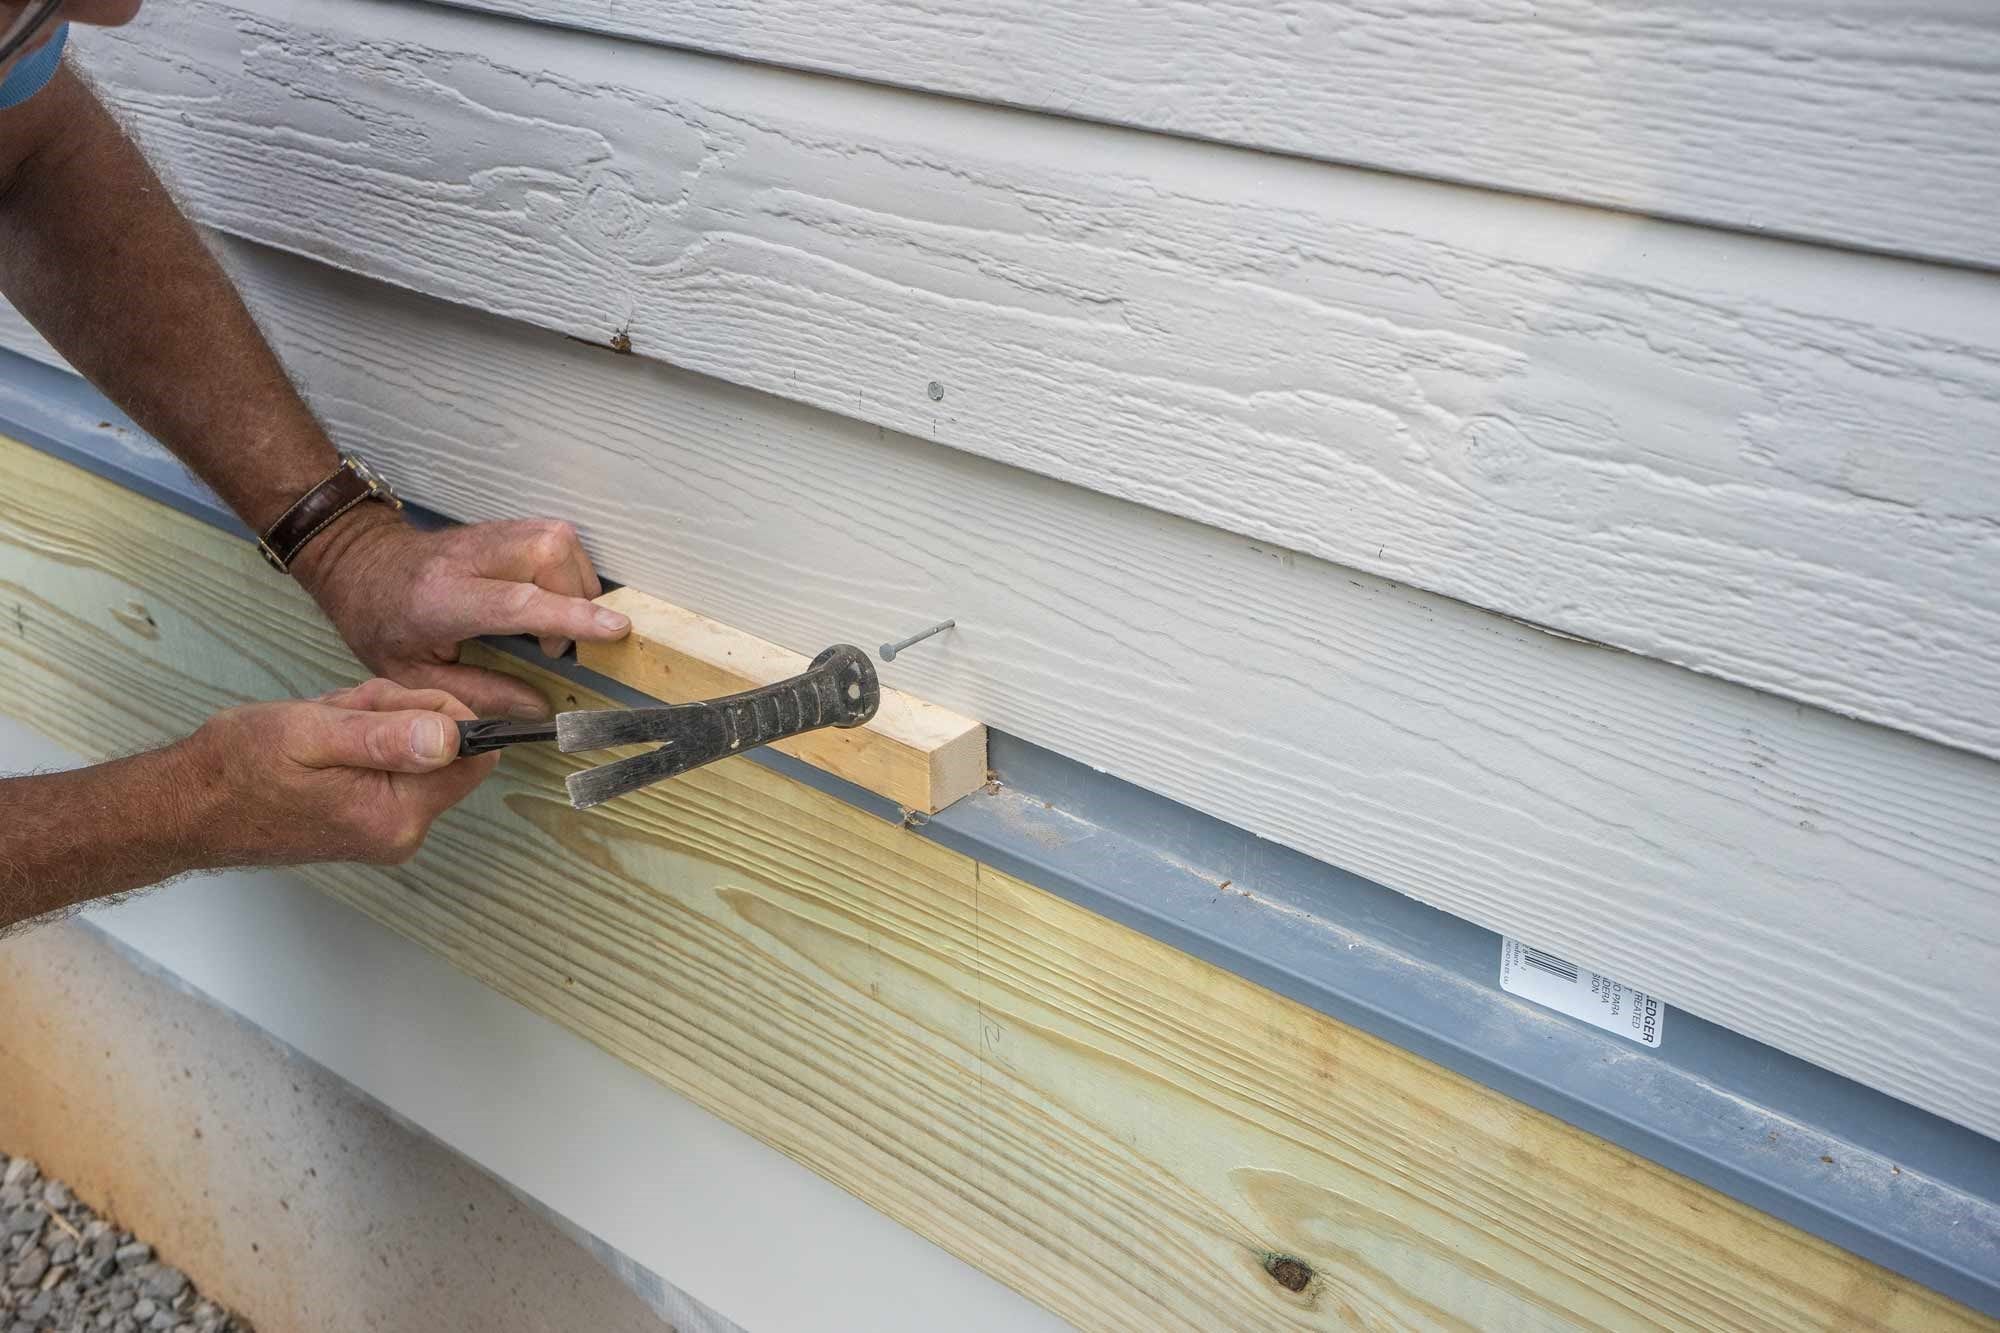
In addition to leveling the washer, adjusting the feet can also help in fixing off balance issues. The feet of the washer are designed to provide stability and support by ensuring proper contact with the floor. Follow these steps to adjust the feet of your washer:
- Access the feet: Tilt the washer slightly forward or backward to gain access to the adjustable feet located at the bottom of the machine.
- Inspect the feet: Examine the condition of the feet and make sure they are not damaged or worn. If any of the feet are damaged, it is recommended to replace them before proceeding.
- Rotate the feet: Using a wrench or pliers, rotate the feet clockwise to raise them or counterclockwise to lower them. Gradually adjust each foot to achieve proper contact with the floor.
- Test for stability: Once the feet are adjusted, gently rock the washer back and forth to ensure that it is stable and does not wobble. Make any necessary adjustments to the feet until the washer is stable.
It is important to ensure that all the feet are adjusted equally to maintain balance. Uneven adjustment of the feet can lead to an unstable washer and contribute to off balance issues.
If your washer has locking nuts on the feet, remember to tighten them after making the necessary adjustments. This will prevent the feet from moving out of position during operation.
Regularly check the condition and adjustment of the feet to prevent future off balance problems. By ensuring proper contact with the floor, you can minimize the risk of your washer becoming unbalanced and prolong the lifespan of the machine.
Verifying the Washer Drum Alignment
An improperly aligned drum can also contribute to a washer going off balance. The drum is the central component of the washing machine where the laundry is loaded and washed. If the drum is misaligned, it can cause the washer to become unbalanced during the spin cycle. Follow these steps to verify and correct the alignment of the washer drum:
- Pause or stop the washer: If your washer is currently running, pause or stop the cycle to prevent any further imbalance.
- Open the door: Once the machine is stopped, carefully open the door and examine the alignment of the drum.
- Inspect for obstructions: Look for any objects or debris that may be blocking the drum from rotating freely. Remove any items that you find to ensure smooth drum movement.
- Manually rotate the drum: With the door still open, gently rotate the drum by hand. Pay attention to how the drum moves and make note of any excessive resistance or uneven rotation.
- Adjust the drum: To adjust the drum alignment, you may need to refer to your specific washer model’s manual for instructions. In many cases, the drum alignment can be adjusted through the use of adjustable bolts or screws located on the rear or sides of the machine. Follow the manufacturer’s guidelines to make the necessary adjustments.
- Test the drum alignment: Once you have made the adjustments, close the door and restart the washer. Observe the drum during the spin cycle, ensuring that it rotates smoothly and evenly. If the drum still appears misaligned or causes the washer to go off balance, further adjustments may be necessary or it may be best to consult a professional technician.
Verifying and correcting the alignment of the washer drum is crucial for maintaining balance and preventing off balance issues. By ensuring that the drum rotates freely and evenly, you can minimize vibrations and enjoy a properly functioning washing machine.
Check if the washer is level by adjusting the feet. Make sure the load is evenly distributed in the drum. Avoid overloading the washer to prevent it from going off balance.
Troubleshooting Suspension Springs
Suspension springs play a vital role in supporting the drum and maintaining stability in your washer. Over time, these springs can weaken or break, leading to an off balance issue. If you suspect that the suspension springs are causing the problem, follow these steps to troubleshoot and address the issue:
- Disconnect the power: Before performing any maintenance or inspection, always unplug your washing machine from the power source to ensure safety.
- Access the suspension springs: Depending on your washer model, you may need to remove the top or back panel to gain access to the suspension springs. Consult your user manual for specific instructions.
- Inspect the suspension springs: Carefully examine each suspension spring for signs of damage, such as fraying, stretching, or breakage. If any of the springs appear to be damaged, they will need to be replaced.
- Replace the suspension springs: To replace a damaged suspension spring, first, remove the old spring by detaching it from the mounting points on the drum and chassis. Install the new spring in the same position and secure it tightly. Repeat this process for any other damaged springs.
- Test the washer: After replacing the suspension springs, carefully reassemble any panels you removed and plug in your washer. Run a test cycle to ensure that the off balance issue is resolved.
If you are unsure about replacing the suspension springs yourself or if the issue persists after replacement, it is recommended to seek professional assistance. A qualified technician can diagnose the problem and provide the necessary repairs or replacements.
Regularly inspect the suspension springs for signs of wear and tear, and replace them as needed. By maintaining the integrity of these springs, you can help prevent off balance issues and ensure the smooth operation of your washing machine.
Checking for Damaged or Worn Shock Absorbers
Shock absorbers play a crucial role in stabilizing the drum and minimizing vibrations during the spin cycle of your washer. Over time, these shock absorbers can become worn or damaged, leading to an off balance issue. To determine if the shock absorbers are the cause of the problem, follow these steps to check for damage or wear:
- Disconnect the power: Before beginning any inspection or maintenance, ensure that your washing machine is unplugged to avoid the risk of electric shock.
- Access the shock absorbers: Depending on your washer model, you may need to remove the top or back panel to gain access to the shock absorbers. Refer to your user manual for specific instructions.
- Inspect the shock absorbers: Carefully examine each shock absorber for any visible signs of damage or wear. Look for cracks, leaks, or broken parts. If any of the shock absorbers show signs of damage, they will need to be replaced.
- Replace the shock absorbers: To replace a damaged or worn shock absorber, start by removing the old one. This usually involves unscrewing or unclipping it from the mounting points on the drum and chassis. Install the new shock absorber in the same position, ensuring it is securely fastened. Repeat this process for any other damaged shock absorbers.
- Test the washer: After replacing the shock absorbers, reassemble any panels that you removed and plug in your washer. Run a test cycle to confirm that the off balance issue has been resolved.
If you are unsure about replacing the shock absorbers on your own or if the problem persists after replacement, it is recommended to seek the assistance of a professional technician. They can diagnose the issue accurately and provide the necessary repairs or replacements.
Regularly checking and replacing damaged or worn shock absorbers can help maintain the stability and balance of your washer. By ensuring these components are in good condition, you can prevent off balance issues and prolong the lifespan of your washing machine.
Inspecting the Tub Dampening Strap
The tub dampening strap is an essential component of your washer that helps stabilize the drum during the spin cycle. Over time, this strap can become damaged or worn out, leading to an off balance issue. To determine if the tub dampening strap is the culprit, follow these steps to inspect it:
- Disconnect the power: Prior to inspecting or performing any maintenance, make sure your washing machine is unplugged for safety purposes.
- Locate the tub dampening strap: Depending on your washer model, the tub dampening strap can be found either at the top or bottom of the drum. Refer to your user manual or the manufacturer’s instructions to locate the strap.
- Check for damage or wear: Carefully examine the tub dampening strap for any signs of damage or wear. Look for fraying, stretching, or any visible tears. If the strap is damaged, it will need to be replaced.
- Replace the tub dampening strap: To replace a damaged or worn out strap, first, remove the old strap by detaching it from the mounting points on the drum and chassis. Install the new strap in the same position and ensure it is securely attached. Make sure to follow the manufacturer’s instructions or consult the user manual for specific installation steps.
- Test the washer: After replacing the tub dampening strap, reconnect the power and run a test cycle to verify if the off balance issue has been resolved.
If you are unsure about replacing the tub dampening strap on your own or if the problem persists after replacement, it is advisable to seek professional assistance. A technician can accurately diagnose the issue and provide the necessary repairs or replacements.
Regularly inspecting the condition of the tub dampening strap and replacing it as needed can help maintain the stability of the drum and prevent off balance issues. By ensuring the strap is in good condition, you can enjoy a stable and well-functioning washing machine.
Read more: How To Turn Off Water To Washer
Cleaning or Replacing Damaged Counterweights
Counterweights are components designed to balance the drum during the spin cycle of your washing machine. If the counterweights become damaged or accumulate dirt and debris, it can lead to an imbalance issue. To address this, follow these steps to clean or replace damaged counterweights:
- Disconnect the power: Prior to cleaning or handling any internal components of your washer, ensure that it is unplugged to prevent any electrical accidents.
- Locate the counterweights: The counterweights are typically located at the top, sides, or back of the drum. Refer to your user manual or manufacturer’s instructions to identify the specific location of the counterweights in your washer model.
- Inspect the counterweights: Carefully inspect each counterweight for any signs of damage, such as cracks or breakage. If you notice any significant damage, the counterweights may need to be replaced. However, if they are only dirty or covered in debris, cleaning may be sufficient.
- Clean the counterweights: If the counterweights are dirty or covered in debris, use a damp cloth or sponge to wipe them clean. Ensure that you remove all dirt, lint, or any other foreign material that may be affecting their performance. Be gentle while cleaning to avoid causing further damage.
- Replace damaged counterweights: If you find any counterweights that are cracked, broken, or otherwise damaged, they will need to be replaced. Consult your user manual or seek the assistance of a professional technician for guidance on obtaining and installing the appropriate replacement counterweights.
- Reassemble the washer: Once you have completed cleaning or replacing the counterweights, reassemble any panels or covers that were removed during the process.
- Test the washer: Plug in your washing machine and run a test cycle to see if the off balance issue has been resolved. Observe the performance of the drum during the spin cycle to ensure that it is balanced and stable.
If you are unsure about replacing the counterweights on your own or if the problem persists after cleaning or replacement, it is recommended to seek professional assistance. A qualified technician can accurately assess the situation and provide the necessary repairs or replacements.
Regularly inspecting and maintaining the condition of the counterweights can help prevent off balance issues. By keeping them clean and replacing damaged ones promptly, you can ensure the proper functioning and balance of your washing machine.
Conclusion
Dealing with a washer that is constantly off balance can be frustrating, but with the right knowledge and steps, you can resolve the issue and restore the performance of your washing machine. By understanding the potential causes of an off balance washer and implementing the appropriate solutions, you can prevent further damage and ensure smooth operation.
Uneven load distribution is a common cause of an off balance washer. Make sure to distribute your laundry evenly throughout the drum, mixing heavy and light items to maintain balance. Leveling the washer is also crucial, as an improperly balanced machine can easily become unsteady during the spin cycle. Adjust the feet of the washer until it is stable and level on the floor.
Inspecting and correcting the alignment of the drum, as well as troubleshooting and replacing damaged components like suspension springs, shock absorbers, and tub dampening straps, are important steps to address off balance issues. Regularly inspecting and maintaining the condition of counterweights can also contribute to a stable drum rotation.
It is important to consult your user manual or seek professional help if you are unsure about performing any repairs or replacements. Safety should always be a priority when working with household appliances.
By following these guidelines and taking care of your washing machine, you can prevent off balance issues, minimize wear and tear, and enjoy the benefits of a well-functioning appliance. Regular maintenance and attention to detail will go a long way in extending the life of your washer and ensuring efficient laundry cycles.
Remember, a balanced washer leads to cleaner clothes, quieter operation, and peace of mind.
Frequently Asked Questions about How To Fix Washer Off Balance
Was this page helpful?
At Storables.com, we guarantee accurate and reliable information. Our content, validated by Expert Board Contributors, is crafted following stringent Editorial Policies. We're committed to providing you with well-researched, expert-backed insights for all your informational needs.


0 thoughts on “How To Fix Washer Off Balance”