Articles
Washer Makes Noise When Agitating
Modified: August 23, 2024
Looking for articles on how to fix a washer that makes noise when agitating? Explore our comprehensive guides and expert tips to solve this common issue.
(Many of the links in this article redirect to a specific reviewed product. Your purchase of these products through affiliate links helps to generate commission for Storables.com, at no extra cost. Learn more)
Introduction
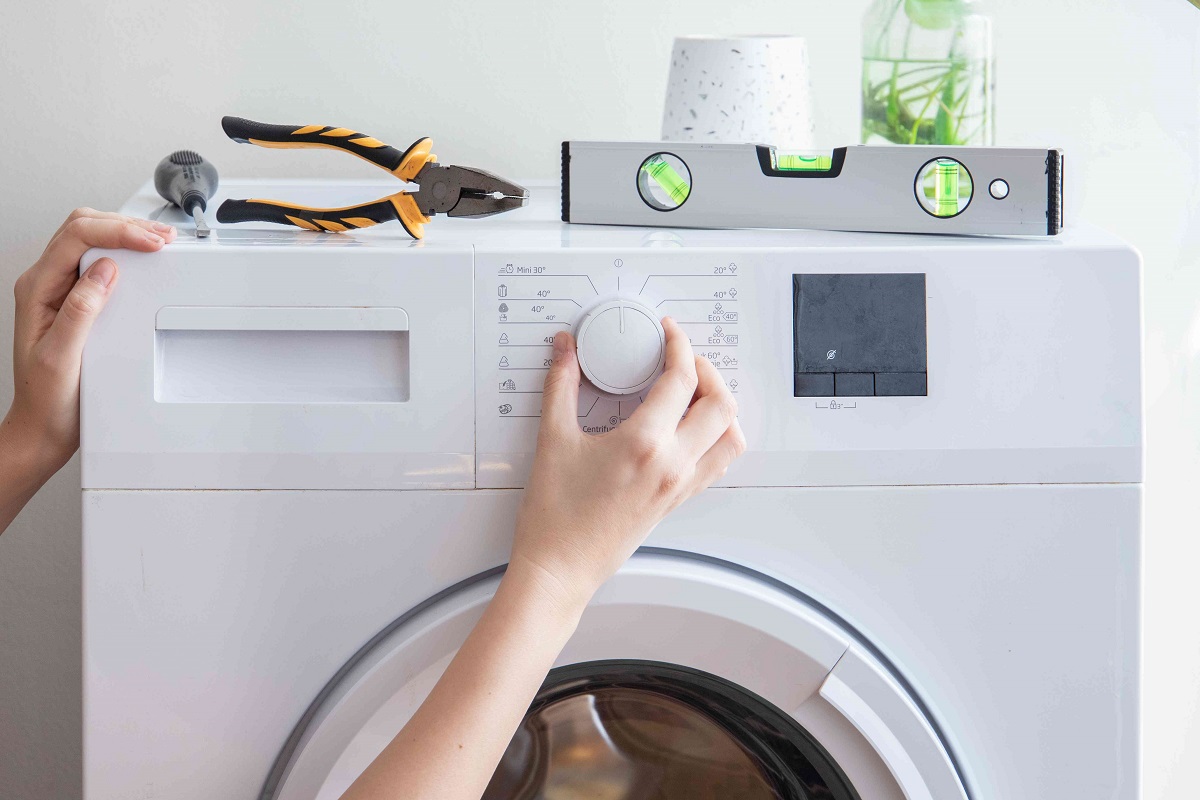
Welcome to our guide on troubleshooting a common issue with washing machines: noise during agitation. If you’ve noticed that your washer is making unusual sounds when it’s agitating, it can be quite concerning. However, rest assured that this is a problem that many homeowners encounter, and, more often than not, it can be resolved. In this article, we will explore the different causes of noise during agitation and provide practical solutions to help you address the issue.
Agitation is a critical part of the washing machine cycle. It is responsible for scrubbing and tossing your clothes to remove dirt and stains effectively. The agitator, which is a central component in top-loading washing machines, moves back and forth to agitate the water and clothes. However, over time, wear and tear or other mechanical issues can cause the agitator to make noise during operation.
There can be several reasons why your washing machine is making noise during agitation. Identifying the root cause is the first step in resolving the issue. It’s important to note that some problems can be easily fixed by homeowners, while others may require professional assistance. Let’s dive into the common causes of noise during agitation and learn how to troubleshoot and resolve these issues.
Key Takeaways:
- Troubleshoot and resolve common washing machine agitation noises, from loose agitators to faulty motor couplers, for a quieter and more efficient laundry experience. Safety first, and seek professional help if needed.
- Regular maintenance, proper care, and addressing noise issues promptly can ensure a quieter and more efficient washing machine. Follow safety precautions, and seek professional assistance for complex repairs.
Understanding Agitation in Washing Machines
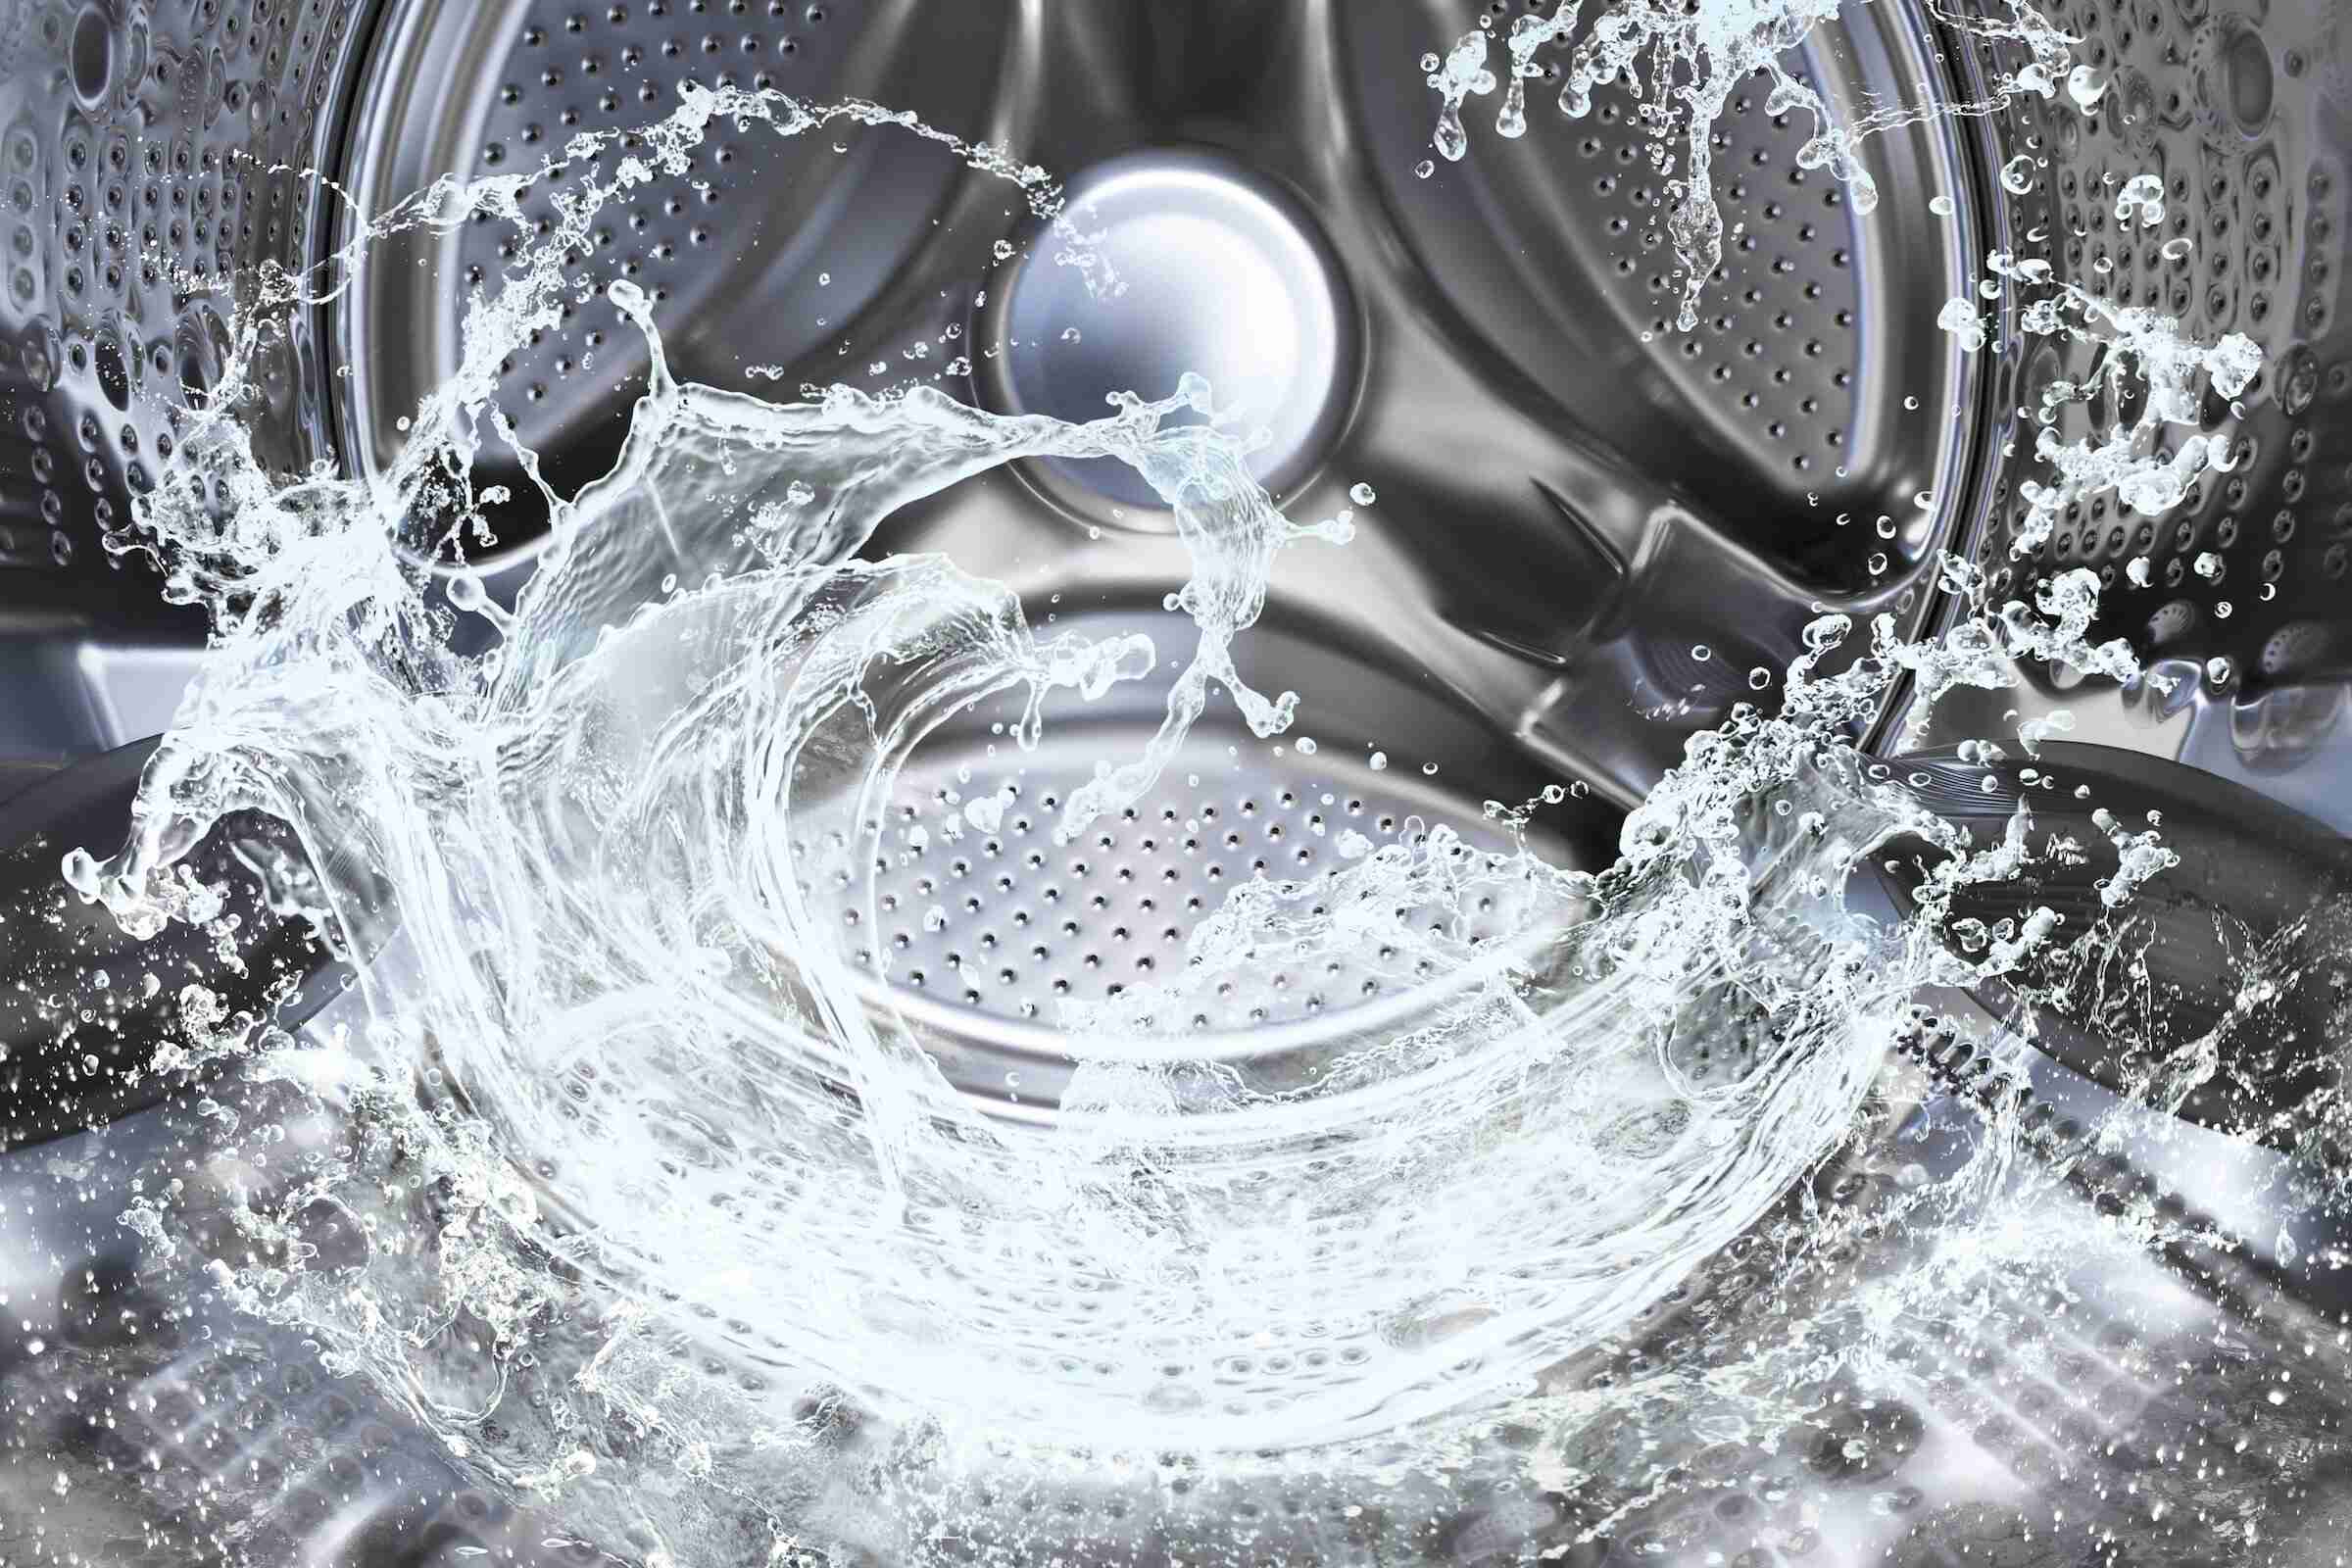
Agitation is a crucial process in washing machines that helps to clean your clothes thoroughly. Whether you have a top-loading or front-loading washing machine, the agitation mechanism is responsible for moving the clothes around in the water and detergent mixture to loosen dirt and stains.
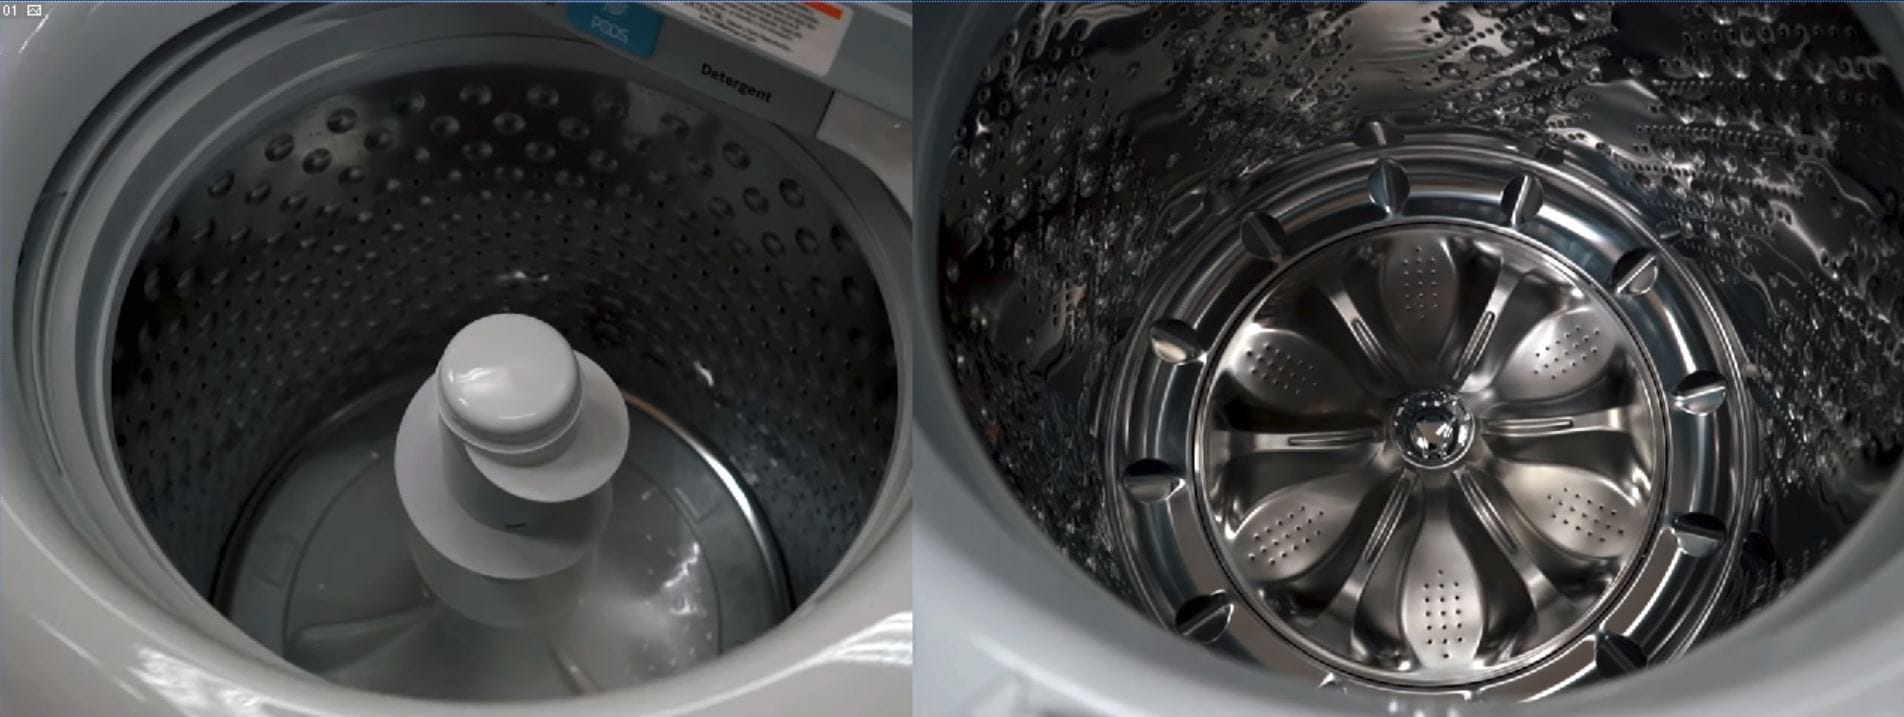
In top-loading machines, the agitator is a tall spindle located in the center of the drum. It has fins or paddles that extend outwards, and when the machine is in the agitate cycle, the agitator moves back and forth vigorously, creating turbulence in the water. This motion helps to scrub the clothes against each other and against the agitator, ensuring a thorough cleaning process.
Front-loading washing machines use a different mechanism for agitation. Instead of an agitator, these machines rely on the tumbling action of the drum. The drum spins in multiple directions, allowing the clothes to rub against each other and the drum walls, effectively agitating the water and detergent solution. This gentler agitation is ideal for delicate fabrics and reduces wear and tear on the clothes.
Understanding how agitation works in your particular washing machine is essential when troubleshooting noise issues. As the agitator moves, it is supported by various components that may be prone to wear and tear over time. When these components become loose, worn, or damaged, they can result in the washer making unusual noises during the agitation process.
Now that we have a good understanding of how agitation works in washing machines let’s explore the common causes of noise during agitation and how to identify and solve them. By addressing these issues promptly, you can ensure a quieter and more efficient washing machine.
Common Causes of Noise During Agitation
When your washing machine starts making noise during the agitation cycle, it can be frustrating and worrisome. However, by understanding the common causes of these noises, you can effectively troubleshoot and resolve the issue. Here are some potential culprits:
- Loose or Worn Agitator: Over time, the agitator can become loose or develop wear and tear, resulting in a rattling or clunking noise during agitation.
- Faulty Agitator Dogs: In some washing machines, the agitator dogs are small plastic pieces that help the agitator move in one direction during agitation. If these dogs become stripped or broken, they can cause a clicking or grinding noise.
- Worn Drive Belt: The drive belt connects the motor to the drum and helps facilitate the agitation process. If the drive belt becomes worn or damaged, it can produce a squealing or screeching noise during agitation.
- Loose Motor Mounts: If the motor mounts become loose or worn, the motor may vibrate excessively during agitation, resulting in a banging or vibrating noise.
- Damaged Motor Coupler: The motor coupler connects the motor and the transmission. If the coupler wears out or breaks, it can cause a grinding or rattling noise during agitation.
- Faulty Transmission or Clutch: A malfunctioning transmission or clutch can lead to unusual noises during agitation, such as grinding, thumping, or clunking sounds.
- Malfunctioning Suspension Springs: The suspension springs support the weight of the drum and help absorb any excess movement during agitation. If these springs become loose or damaged, they can cause the washer to make knocking or banging noises.
- Loose or Broken Tub Bearing: The tub bearing supports the inner drum of the washing machine. If it becomes loose or worn out, it can produce a loud grinding or roaring noise during agitation.
- Foreign Objects in the Drum: Sometimes, small objects like coins, buttons, or debris can get trapped between the drum and the agitator, causing rattling or clanging noises during agitation.
Now that we have identified the common causes of noise during agitation, it’s time to delve into troubleshooting and resolving these issues. In the next section, we will guide you through the steps you can take to address these problems and bring peace and quiet back to your laundry routine.
Loose or Worn Agitator
A common cause of noise during agitation in washing machines is a loose or worn agitator. Over time, the agitator can become loose due to the constant back-and-forth movement during each washing cycle. This can result in rattling, clunking, or banging noises that are often more pronounced during the agitate cycle.
To address this issue, follow these steps:
- Start by unplugging the washing machine from the power source to ensure your safety.
- Open the lid or door of the washing machine, depending on the model.
- If you have a top-loading washing machine, you will see the agitator in the center of the drum. Hold onto the base of the agitator firmly with both hands.
- With a firm grip, try to move the agitator back and forth. If you notice excessive movement or if it feels loose, it’s likely the cause of the noise.
- To tighten a loose agitator, you may need to remove it completely. Consult your washing machine’s manual for specific instructions on how to remove the agitator. In most cases, there will be a cap or a fabric softener dispenser on top of the agitator that needs to be removed.
- Once the agitator is removed, inspect the agitator bolt or locking mechanism. If it is loose, use a wrench or pliers to tighten it securely.
- If you notice any signs of wear or damage on the agitator, such as cracks or broken fins, it may need to be replaced. Contact the manufacturer or a professional technician for further assistance.
- Once the agitator is secured or replaced, carefully reattach it according to the manufacturer’s instructions.
- Plug the washing machine back in and run a test cycle to check if the noise issue has been resolved.
By tightening a loose agitator or replacing a worn one, you can eliminate the noise during agitation and ensure a smoother and quieter washing experience. However, if the noise persists or if you are unsure about performing these steps yourself, it is always recommended to seek the help of a qualified technician to avoid causing further damage to your washing machine.
Faulty Agitator Dogs
If your washing machine is making a clicking or grinding noise during agitation, the problem may lie with the agitator dogs. Agitator dogs are small plastic components that allow the agitator to move in one direction during the agitation cycle. Over time, these dogs can become stripped or broken, resulting in faulty agitation and noisy operation.
To resolve this issue, follow these steps:
- Start by unplugging the washing machine from the power source to ensure your safety.
- Open the lid or door of the washing machine, depending on the model.
- In a top-loading machine, remove the fabric softener dispenser or any coverings on top of the agitator to access the agitator dogs.
- Inspect the agitator dogs for any signs of wear, damage, or breakage. If they appear worn or broken, it’s a clear indication that they need to be replaced.
- When replacing the agitator dogs, consult your washing machine’s manual or contact the manufacturer for the correct replacement part. These dogs are specific to your washing machine model.
- Remove the old agitator dogs by gently prying them out. You may need needle-nose pliers or a small screwdriver to accomplish this.
- Install the new agitator dogs by aligning them correctly and pressing them into place. Ensure they are securely seated.
- Reassemble any covers or dispensers that were removed earlier.
- Plug the washing machine back in and run a test cycle to check if the noise issue has been resolved.
By replacing faulty agitator dogs, you should be able to eliminate the clicking or grinding noise during the agitation cycle. If, after following these steps, the noise persists or if you encounter any difficulties during the process, it is recommended to contact a professional technician for assistance. They will have the expertise and experience to diagnose and resolve the issue effectively.
Read more: Washer Makes Noise When Spinning
Worn Drive Belt
If your washing machine is producing a squealing or screeching noise during the agitation cycle, a worn drive belt may be the culprit. The drive belt connects the motor to the drum and is responsible for transmitting the necessary power for the agitation process. Over time, the drive belt can become worn, cracked, or stretched, resulting in a noisy operation.
To address this issue, follow these steps:
- Start by unplugging the washing machine from the power source to ensure your safety.
- Access the drive belt by either tilting the washing machine back or removing the rear access panel, depending on the model.
- Inspect the drive belt for any signs of wear, such as cracks, fraying, or stretching. If you notice any significant damage or if the belt feels loose, it needs to be replaced.
- Consult your washing machine’s manual or contact the manufacturer for the correct replacement drive belt.
- Remove the old drive belt by releasing the tension or loosening the belt tensioner, depending on the design of your washing machine.
- Install the new drive belt by threading it around the motor pulley and the drum pulley according to the manufacturer’s instructions.
- Make sure the drive belt is properly aligned and tensioned. It should be tight enough to prevent slippage but not overly tight which could strain the motor.
- Once the new drive belt is in place, reassemble any access panels or components that were removed earlier.
- Plug the washing machine back in and run a test cycle to check if the noise issue has been resolved.
By replacing a worn drive belt, you should be able to eliminate the squealing or screeching noise during agitation. However, if the noise persists or if you encounter any difficulties during the process, it is recommended to seek the assistance of a professional technician. They will have the necessary expertise to diagnose and resolve the issue effectively.
Loose Motor Mounts
If your washing machine is producing a banging or vibrating noise during the agitation cycle, loose motor mounts may be the cause. Motor mounts are responsible for securing the motor in place and absorbing the vibrations generated during operation. Over time, these mounts can become loose or wear out, resulting in excessive motor movement and noisy operation.
To address this issue, follow these steps:
- Start by unplugging the washing machine from the power source to ensure your safety.
- Access the motor mounts by either tilting the washing machine back or removing the rear access panel, depending on the model.
- Inspect the motor mounts for any signs of looseness or damage. If the mounts appear loose or worn out, they need to be tightened or replaced.
- Using a wrench or a screwdriver, tighten the motor mount bolts or screws. Ensure they are securely tightened, but be careful not to overtighten and risk damaging the mounting brackets.
- If the motor mounts are severely worn or damaged, they may need to be replaced. Consult your washing machine’s manual or contact the manufacturer for the correct replacement motor mounts.
- Remove the old motor mounts by unscrewing them or releasing any locking mechanisms.
- Install the new motor mounts according to the manufacturer’s instructions. Make sure they are properly aligned and securely fastened.
- Reassemble any access panels or components that were removed earlier.
- Plug the washing machine back in and run a test cycle to check if the noise issue has been resolved.
By tightening loose motor mounts or replacing worn ones, you should be able to eliminate the banging or vibrating noise during the agitation cycle. However, if the noise persists or if you are unsure about performing these steps yourself, it is recommended to seek the help of a qualified technician. They will have the expertise to diagnose and resolve the issue effectively, ensuring a quieter and more efficient washing machine.
Damaged Motor Coupler
If your washing machine is making a grinding or rattling noise during the agitation cycle, a damaged motor coupler may be to blame. The motor coupler is a small, cylindrical component that connects the motor to the transmission, allowing the machine to agitate and spin. Over time, the motor coupler can wear out or break, resulting in noisy operation and compromised agitation.
To address this issue, follow these steps:
- Start by unplugging the washing machine from the power source to ensure your safety.
- Access the motor coupler by either tilting the washing machine back or removing the rear access panel, depending on the model.
- Inspect the motor coupler for any signs of damage, such as cracks or breakage. If you notice significant damage or if the coupler appears worn, it needs to be replaced.
- Consult your washing machine’s manual or contact the manufacturer for the correct replacement motor coupler.
- To remove the old motor coupler, you may need to disconnect the motor and remove any retaining clips or screws. Follow the manufacturer’s instructions for your specific model.
- Install the new motor coupler by aligning it correctly and reassembling any clips or screws that hold it in place.
- Ensure that the motor and transmission are properly aligned with the coupler. Adjust as necessary.
- Reassemble any access panels or components that were removed earlier.
- Plug the washing machine back in and run a test cycle to check if the noise issue has been resolved.
By replacing a damaged motor coupler, you should be able to eliminate the grinding or rattling noise during the agitation cycle. However, if the noise persists or if you are unsure about performing these steps yourself, it is recommended to seek the help of a qualified technician. They will have the necessary expertise to diagnose and resolve the issue effectively, ensuring a quieter and more efficient washing machine.
Faulty Transmission or Clutch
If your washing machine is producing unusual noises such as grinding, thumping, or clunking sounds during the agitation cycle, a faulty transmission or clutch may be the cause. The transmission and clutch work together to facilitate the movement of the agitator and drum. Over time, these components can wear out or develop issues, resulting in noisy operation and compromised agitation.
To address this issue, follow these steps:
- Start by unplugging the washing machine from the power source to ensure your safety.
- Access the transmission and clutch by removing the rear access panel or top cover, depending on the model of your washing machine.
- Inspect the transmission and clutch for any signs of damage, such as broken or worn-out components. If you notice significant damage or wear, it is likely that either the transmission or clutch needs to be replaced.
- Consult your washing machine’s manual or contact the manufacturer for the correct replacement parts.
- To remove the old transmission or clutch, follow the instructions provided by the manufacturer. This may involve disconnecting wires, removing retaining clips, or unscrewing mounting bolts.
- Install the new transmission or clutch by following the manufacturer’s instructions. Ensure that all connections are secure and that the components are properly aligned.
- Reassemble any access panels or components that were removed earlier.
- Plug the washing machine back in and run a test cycle to check if the noise issue has been resolved.
Addressing a faulty transmission or clutch can be a more complex task and may require the assistance of a qualified technician. If you’re unsure about performing these steps yourself or if the noise persists after replacement, it is recommended to contact a professional technician. They have the expertise and experience to diagnose the issue accurately and resolve it effectively, ensuring a quieter and more efficient washing machine.
Read more: Lg Washer Making Loud Noise When Spinning
Malfunctioning Suspension Springs
If your washing machine is making knocking or banging noises during the agitation cycle, the issue may be due to malfunctioning suspension springs. Suspension springs are responsible for supporting the weight of the drum and absorbing any excess movement during operation. Over time, these springs can become loose, stretched, or broken, resulting in a noisy and unstable washing machine.
To address this issue, follow these steps:
- Start by unplugging the washing machine from the power source to ensure your safety.
- Access the suspension springs by tilting the washing machine back or removing the rear access panel, depending on the model.
- Inspect the suspension springs for any signs of damage or wear. Look for loose or broken springs, as well as signs of stretching or deformation.
- If you notice any issues with the suspension springs, they will need to be replaced. Consult your washing machine’s manual or contact the manufacturer for the correct replacement springs.
- Start by removing the old suspension springs. This may involve disconnecting them from brackets or clips.
- Install the new suspension springs by attaching them to the appropriate brackets or clips. Ensure they are securely attached and properly aligned.
- Check the tension of the suspension springs. They should provide enough support and stability without being excessively tight or loose.
- Reassemble any access panels or components that were removed earlier.
- Plug the washing machine back in and run a test cycle to check if the noise issue has been resolved.
By replacing malfunctioning suspension springs, you should be able to eliminate the knocking or banging noise during the agitation cycle. However, if the noise persists or if you encounter any difficulties during the process, it is recommended to seek the assistance of a professional technician. They will have the necessary expertise to diagnose and resolve the issue effectively, ensuring a quieter and more stable washing machine.
Loose or Broken Tub Bearing
If your washing machine is producing a loud grinding or roaring noise during the agitation cycle, a loose or broken tub bearing may be the cause. The tub bearing supports the inner drum of the washing machine and allows it to rotate smoothly. Over time, the bearing can become loose or damaged, leading to noisy operation and potential performance issues.
To address this issue, follow these steps:
- Start by unplugging the washing machine from the power source to ensure your safety.
- Access the tub bearing by removing the rear access panel or top cover of the washing machine, depending on the model.
- Inspect the tub bearing for any signs of looseness, wear, or damage. Try moving the drum back and forth to check for excessive play in the bearing.
- If the tub bearing appears loose or broken, it needs to be replaced. Consult your washing machine’s manual or contact the manufacturer for the correct replacement bearing.
- To remove the old tub bearing, you may need to disassemble parts of the washing machine, including the drum assembly. Follow the specific instructions provided by the manufacturer for your model.
- Install the new tub bearing according to the manufacturer’s instructions. Ensure proper alignment and secure fastening.
- Reassemble any parts or components that were removed earlier during the disassembly process.
- Plug the washing machine back in and run a test cycle to check if the noise issue has been resolved.
Dealing with a loose or broken tub bearing can be a complex task and may require the expertise of a qualified technician. If you are unsure about performing these steps yourself or if the noise persists after replacement, it is recommended to contact a professional technician. They will have the necessary knowledge and experience to diagnose and resolve the issue effectively, ensuring a quieter and more efficient washing machine.
Foreign Objects in the Drum
If your washing machine is making rattling or clanging noises during the agitation cycle, there may be foreign objects trapped inside the drum. Items such as coins, buttons, or debris can accidentally find their way into the drum and cause noise during operation. These objects can become lodged between the drum and the agitator, leading to the noisy disruption.
To address this issue, follow these steps:
- Start by unplugging the washing machine from the power source to ensure your safety.
- Open the lid or door of the washing machine to access the drum.
- Inspect the drum for any foreign objects that may be causing the noise. Look for small items like coins, buttons, or loose debris.
- If you find any foreign objects, carefully remove them using your hands or a pair of pliers. Be cautious when reaching into the drum to avoid any sharp edges or moving parts.
- Once you’ve removed the foreign objects, close the lid or door of the washing machine.
- Plug the washing machine back in and run a test cycle to check if the noise issue has been resolved.
By removing any foreign objects from the drum, you should be able to eliminate the rattling or clanging noise during the agitation cycle. However, if the noise persists or if you suspect any significant damage to the drum or agitator, it is recommended to seek the assistance of a professional technician. They will have the expertise to diagnose and resolve the issue effectively, ensuring proper functioning of your washing machine.
Check for loose or worn out agitator components such as the agitator dogs or the agitator cam. These parts can cause a noisy agitation cycle and may need to be replaced.
Troubleshooting and Resolving Noise Issues
Dealing with noise issues during the agitation cycle of your washing machine can be frustrating. However, by following proper troubleshooting steps, you can identify the cause of the noise and take appropriate measures to resolve the issue. Here is a summary of the steps discussed in this guide:
- Inspect the agitator to ensure it is tight and in good condition.
- Replace faulty agitator dogs if they are broken or worn out.
- Check the drive belt for signs of wear and replace it if necessary.
- Tighten or secure loose motor mounts to reduce vibrations and banging noises.
- Replace a damaged motor coupler to eliminate grinding or rattling sounds.
- Address transmission or clutch issues by following the manufacturer’s instructions or seeking professional help.
- Replace malfunctioning suspension springs to eliminate knocking or banging noises.
- Fix loose or broken tub bearing to reduce grinding or roaring noises.
- Remove any foreign objects from the drum to eliminate rattling or clanging sounds.
Remember to always follow safety precautions when working with your washing machine, including unplugging it from the power source before starting any repairs or inspections. Additionally, consult your washing machine’s manual or contact the manufacturer if you require specific instructions or replacement parts.
If you have successfully performed the troubleshooting steps and resolved the noise issue, it is recommended to run a test cycle to ensure the problem has been fully resolved. If the noise persists or if you are unsure about performing the steps yourself, it’s best to contact a professional technician. They have the expertise and experience to diagnose and fix the problem effectively.
By addressing noise issues promptly, you can enhance the performance of your washing machine and enjoy a quieter and more efficient laundry experience. Regular maintenance and proper care will help prevent future noise-related problems, ensuring the longevity of your appliance.
Remember that if the noise issue persists or if you are unsure about how to proceed, it is always best to seek the help of a qualified technician. They will have the necessary expertise to diagnose and resolve the issue effectively, providing you with a peaceful and efficient washing machine.
Read more: What Is An Agitator Washer
Inspecting and Tightening Agitator
If your washing machine is making noise during the agitation cycle, one possible cause is a loose or worn agitator. The agitator is responsible for moving the clothes and water in a top-loading washing machine to facilitate the cleaning process. Over time, the constant movement and wear can cause the agitator to become loose, resulting in rattling, clunking, or banging noises. Inspecting and tightening the agitator can help resolve this issue.
To inspect and tighten the agitator, follow these steps:
- Start by unplugging the washing machine from the power source for safety.
- Open the lid or door of the washing machine to access the agitator.
- Hold onto the base of the agitator firmly with both hands.
- Attempt to move the agitator back and forth. If you notice excessive movement or if it feels loose, it needs to be tightened.
- To tighten a loose agitator, you may need to remove it completely. Consult your washing machine’s manual or manufacturer’s instructions for specific guidelines on removing the agitator.
- In most cases, there will be a cap or fabric softener dispenser on top of the agitator. Remove this to access the bolt or screw underneath.
- Use an appropriate wrench or pliers to tighten the agitator bolt or screw securely. Make sure not to overtighten, as it can cause damage.
- If you notice any signs of wear or damage on the agitator, such as cracks or broken fins, it may need to be replaced. Contact the manufacturer or a professional technician for further assistance.
- Once the agitator is securely tightened or replaced, carefully reassemble it according to the manufacturer’s instructions.
- Plug the washing machine back in and run a test cycle to check if the noise issue has been resolved.
By inspecting and tightening the agitator, you can eliminate the rattling or clunking noise during the agitation cycle. However, if the noise persists or if you are unsure about performing these steps yourself, it is recommended to seek the help of a qualified technician. They will have the expertise to diagnose and resolve the issue effectively, ensuring a quieter and smoother washing machine operation.
Replacing Agitator Dogs
If your washing machine is making a clicking or grinding noise during the agitation cycle, the agitator dogs may be the culprit. Agitator dogs are small plastic components that allow the agitator to move in one direction during the wash cycle. Over time, these dogs can wear out or become stripped, leading to a noisy operation. Replacing the agitator dogs can help resolve this issue.
To replace the agitator dogs, follow these steps:
- Start by unplugging the washing machine from the power source for safety.
- Open the lid or door of the washing machine to access the agitator.
- Remove any fabric softener dispenser or coverings on top of the agitator to expose the agitator dogs.
- Inspect the agitator dogs for any signs of wear, such as smooth or rounded edges. If they appear worn or broken, they need to be replaced.
- Consult your washing machine’s manual or contact the manufacturer to obtain the correct replacement agitator dogs.
- Using a pair of needle-nose pliers or a small screwdriver, carefully pry out the old agitator dogs, one by one. Apply gentle pressure to separate them from the agitator mechanism.
- Insert the new agitator dogs into the corresponding slots in the agitator mechanism. Ensure they are aligned correctly and firmly in place.
- Once all the new agitator dogs are installed, reassemble any coverings or dispensers that were removed earlier.
- Plug the washing machine back in and run a test cycle to check if the noise issue has been resolved.
By replacing the agitator dogs, you should be able to eliminate the clicking or grinding noise during the agitation cycle. However, if the noise persists or if you encounter any difficulties during the process, it is recommended to contact a professional technician. They will have the necessary expertise to diagnose and resolve the issue effectively, ensuring a quieter and more efficient washing machine.
Checking and Replacing Drive Belt
If your washing machine is generating a squealing or screeching noise during the agitation cycle, a worn or damaged drive belt may be the cause. The drive belt connects the motor to the drum and helps facilitate the movement of the agitator. Over time, the drive belt can wear out, become cracked, or stretch, resulting in noisy operation. Checking and replacing the drive belt can help resolve this issue.
To check and replace the drive belt, follow these steps:
- Start by unplugging the washing machine from the power source for safety.
- Access the drive belt by either tilting the washing machine back or removing the rear access panel, depending on the model.
- Inspect the drive belt for any signs of wear, such as cracks, fraying, or stretching. If you notice significant damage or if the belt feels loose, it needs to be replaced.
- Consult your washing machine’s manual or contact the manufacturer to obtain the correct replacement drive belt.
- Remove the old drive belt by releasing the tension or loosening the belt tensioner, depending on the design of your washing machine. Some models may require you to disconnect the motor or other components.
- Install the new drive belt by threading it around the motor pulley and the drum pulley according to the manufacturer’s instructions.
- Ensure that the drive belt is properly aligned on the pulleys and is not twisted or off-center.
- Tension the new drive belt by either adjusting the tensioner or tightening the motor mounts, depending on your washing machine’s design. Make sure the belt is tight enough to prevent slippage but not overly tight, which could strain the motor.
- Reassemble any access panels or components that were removed earlier.
- Plug the washing machine back in and run a test cycle to check if the noise issue has been resolved.
By checking and replacing the drive belt, you should be able to eliminate the squealing or screeching noise during the agitation cycle. However, if the noise persists or if you are unsure about performing these steps yourself, it is recommended to seek the help of a qualified technician. They will have the expertise to diagnose and resolve the issue effectively, ensuring a quieter and more efficient washing machine.
Securing Motor Mounts
If your washing machine is producing banging or vibrating noises during the agitation cycle, loose motor mounts may be the cause. Motor mounts secure the motor in place and help absorb vibrations during operation. Over time, these mounts can become loose due to constant movement or wear and tear, resulting in noisy and unstable operation. Securing the motor mounts can help resolve this issue.
To secure the motor mounts, follow these steps:
- Start by unplugging the washing machine from the power source for safety.
- Access the motor mounts by tilting the washing machine back or removing the rear access panel, depending on the model.
- Inspect the motor mounts for any signs of looseness or damage. Look for bolts or screws that may need tightening.
- Using an appropriate wrench or screwdriver, tighten the motor mount bolts or screws securely. Ensure they are tightened but be careful not to overtighten, as it can cause damage.
- If the motor mounts are severely worn or damaged and cannot be tightened effectively, they may need to be replaced. Consult your washing machine’s manual or contact the manufacturer for the correct replacement motor mounts.
- To replace the motor mounts, loosen and remove the old mounts using the appropriate tools. Follow the manufacturer’s instructions for your specific model.
- Install the new motor mounts according to the manufacturer’s instructions. Ensure proper alignment and secure fastening.
- Reassemble any access panels or components that were removed earlier.
- Plug the washing machine back in and run a test cycle to check if the noise issue has been resolved.
By securing the motor mounts, you should be able to eliminate the banging or vibrating noises during the agitation cycle. However, if the noise persists or if you encounter any difficulties during the process, it is recommended to contact a professional technician. They will have the necessary expertise to diagnose and resolve the issue effectively, ensuring a quieter and more stable washing machine operation.
Read more: Car Making Noise When AC Is On
Repairing or Replacing Motor Coupler
If your washing machine is producing a grinding or rattling noise during the agitation cycle, a faulty motor coupler could be the cause. The motor coupler connects the motor to the transmission, allowing the machine to agitate and spin. Over time, the motor coupler can wear out, crack, or break, resulting in noisy operation and disrupted agitation. Repairing or replacing the motor coupler can help resolve this issue.
To repair or replace the motor coupler, follow these steps:
- Start by unplugging the washing machine from the power source for safety.
- Access the motor coupler by removing the rear access panel or the cabinet of the washing machine, depending on the model.
- Inspect the motor coupler for any signs of damage, such as cracks or breakage. If the coupler appears to be worn or significantly damaged, it needs to be replaced.
- Consult your washing machine’s manual or contact the manufacturer for the correct replacement motor coupler.
- Remove the old motor coupler by disconnecting any wiring and removing any retaining clips or screws that hold it in place. In some cases, it may be necessary to remove other components to access the coupler.
- Install the new motor coupler by following the manufacturer’s instructions. Ensure proper alignment and secure fastening.
- If the old motor coupler is only partially damaged or worn, you may be able to repair it. In such cases, carefully inspect the coupler for any broken or worn-out pieces. If necessary, replace only the damaged or worn parts by following the manufacturer’s instructions.
- Reassemble any components or access panels that were removed earlier during the process.
- Plug the washing machine back in and run a test cycle to check if the noise issue has been resolved.
By repairing or replacing the motor coupler, you should be able to eliminate the grinding or rattling noise during the agitation cycle. However, if the noise persists or if you encounter any difficulties during the process, it is recommended to contact a professional technician. They will have the necessary expertise to diagnose and resolve the issue effectively, ensuring a quieter and more efficient washing machine.
Addressing Transmission or Clutch Problems
If your washing machine is making unusual noises such as grinding, thumping, or clunking sounds during the agitation cycle, it could indicate a problem with the transmission or clutch. The transmission and clutch work together to facilitate the movement of the agitator and drum. Over time, these components can wear out, become misaligned, or develop issues, leading to noisy operation. To address transmission or clutch problems, follow these steps:
- Start by unplugging the washing machine from the power source for safety.
- Access the transmission and clutch by removing the rear access panel or top cover of the washing machine, depending on the model.
- Inspect the transmission and clutch for any visible signs of damage, such as cracks, broken components, or excessive wear.
- If you suspect issues with the transmission or clutch, it is recommended to consult a professional technician as these components can be complex to repair or replace. They have the necessary expertise to diagnose and resolve the problem effectively.
- Prior to seeking professional help, you can visually examine the surrounding components for any loose or misaligned parts. If you notice any, try to adjust or tighten them according to the manufacturer’s instructions.
- It’s important to note that addressing transmission or clutch problems may require specialized knowledge and tools. Attempting to repair or replace these components without the proper expertise can cause further damage to the washing machine.
- Contact the manufacturer or a professional technician to schedule an appointment or for guidance on how to proceed with the repairs.
- Once the transmission or clutch issue is resolved by a professional, reassemble any components or access panels that were removed earlier.
- Plug the washing machine back in and run a test cycle to ensure that the noise issue has been resolved.
Addressing transmission or clutch problems can be complex and may require the help of a professional technician. It is recommended to seek their expertise to diagnose and resolve the issue effectively, ensuring a quieter and more efficient washing machine operation.
Fixing Suspension Springs
If your washing machine is making knocking or banging noises during the agitation cycle, the issue may lie with the suspension springs. Suspension springs play a crucial role in supporting the weight of the drum and absorbing excess movement during operation. Over time, these springs can become loose, stretched, or damaged, resulting in noisy and unstable operation. Fixing the suspension springs can help resolve this issue.
To fix the suspension springs, follow these steps:
- Start by unplugging the washing machine from the power source for safety.
- Access the suspension springs by tilting the washing machine back or removing the rear access panel, depending on the model.
- Inspect the suspension springs for any signs of looseness, damage, or wear. Look for any broken or stretched springs.
- If you notice any issues with the suspension springs, they will need to be replaced. Consult your washing machine’s manual or contact the manufacturer for the correct replacement springs.
- To remove the old suspension springs, disconnect them from the brackets or clips holding them in place. This may require you to release retaining clips, unscrew mounting bolts, or unhook the springs.
- Install the new suspension springs one by one, making sure they are properly aligned with the brackets or clips.
- Check the tension of the suspension springs. They should provide enough support to stabilize the drum without being overly tight or loose.
- Reassemble any access panels or components that were removed earlier.
- Plug the washing machine back in and run a test cycle to check if the noise issue has been resolved.
By fixing the suspension springs, you should be able to eliminate the knocking or banging noises during the agitation cycle. However, if the noise persists or if you encounter any difficulties during the process, it is recommended to contact a professional technician. They will have the necessary expertise to diagnose and resolve the issue effectively, ensuring a quieter and more stable washing machine operation.
Resolving Tub Bearing Issues
If your washing machine is producing a loud grinding or roaring noise during the agitation cycle, the issue may be with the tub bearing. The tub bearing supports the inner drum of the washing machine and allows it to rotate smoothly. Over time, the tub bearing can become loose, worn out, or damaged, leading to noisy operation. Resolving tub bearing issues can help restore a quieter and more efficient washing machine.
To resolve tub bearing issues, follow these steps:
- Start by unplugging the washing machine from the power source for safety.
- Access the tub bearing by removing the rear access panel or top cover of the washing machine, depending on the model.
- Inspect the tub bearing for any signs of looseness, wear, or damage. Look for excessive play or any leaking grease.
- If the tub bearing appears loose or broken, it will likely need to be replaced. Consult your washing machine’s manual or contact the manufacturer for the correct replacement tub bearing.
- Removing and replacing a tub bearing can be a complex task, as it often involves disassembling the washing machine. It is recommended to seek the help of a professional technician who has the expertise and tools required for the job.
- Contact the manufacturer or a professional technician to schedule an appointment or to inquire about the availability of a service technician.
- Once the tub bearing is replaced or repaired by a professional, reassemble any components or access panels that were removed earlier.
- Plug the washing machine back in and run a test cycle to ensure that the noise issue has been resolved.
Resolving tub bearing issues can be complex and requires specialized knowledge. It is advisable to seek the assistance of a professional technician to diagnose and resolve the issue effectively, ensuring a quieter and more efficient washing machine operation.
Read more: Dryer Makes Noise When Spinning
Removing Foreign Objects from the Drum
If your washing machine is making rattling or clanging noises during the agitation cycle, foreign objects trapped inside the drum may be the cause. Items such as coins, buttons, or debris can accidentally find their way into the drum, leading to noise and disruption in the washing process. Removing these foreign objects can help resolve this issue.
To remove foreign objects from the drum, follow these steps:
- Start by unplugging the washing machine from the power source for safety.
- Open the lid or door of the washing machine to access the drum.
- Inspect the drum carefully for any foreign objects that may be causing the noise. Look for small items like coins, buttons, or loose debris.
- If you spot any foreign objects, remove them by hand or use a pair of pliers to carefully extract them. Take care to avoid any sharp edges or moving parts inside the drum.
- Once you’ve removed the foreign objects, close the lid or door of the washing machine.
- Plug the washing machine back in and run a test cycle to ensure that the noise issue has been resolved.
By removing foreign objects from the drum, you should be able to eliminate the rattling or clanging noise during the agitation cycle. However, if the noise persists or if you suspect any significant damage to the drum or agitator, it is recommended to seek the assistance of a professional technician. They will have the expertise to diagnose and resolve the issue effectively, ensuring proper functioning of your washing machine.
Conclusion
Noisy washing machines during the agitation cycle can be a nuisance, but the good news is that many of these issues can be resolved. By identifying the specific cause of the noise and following appropriate troubleshooting steps, you can restore your washing machine to a quieter and more efficient state.
In this guide, we have explored common causes of noise during agitation, such as loose or worn agitators, faulty agitator dogs, worn drive belts, loose motor mounts, damaged motor couplers, transmission or clutch problems, malfunctioning suspension springs, loose or broken tub bearings, and foreign objects in the drum.
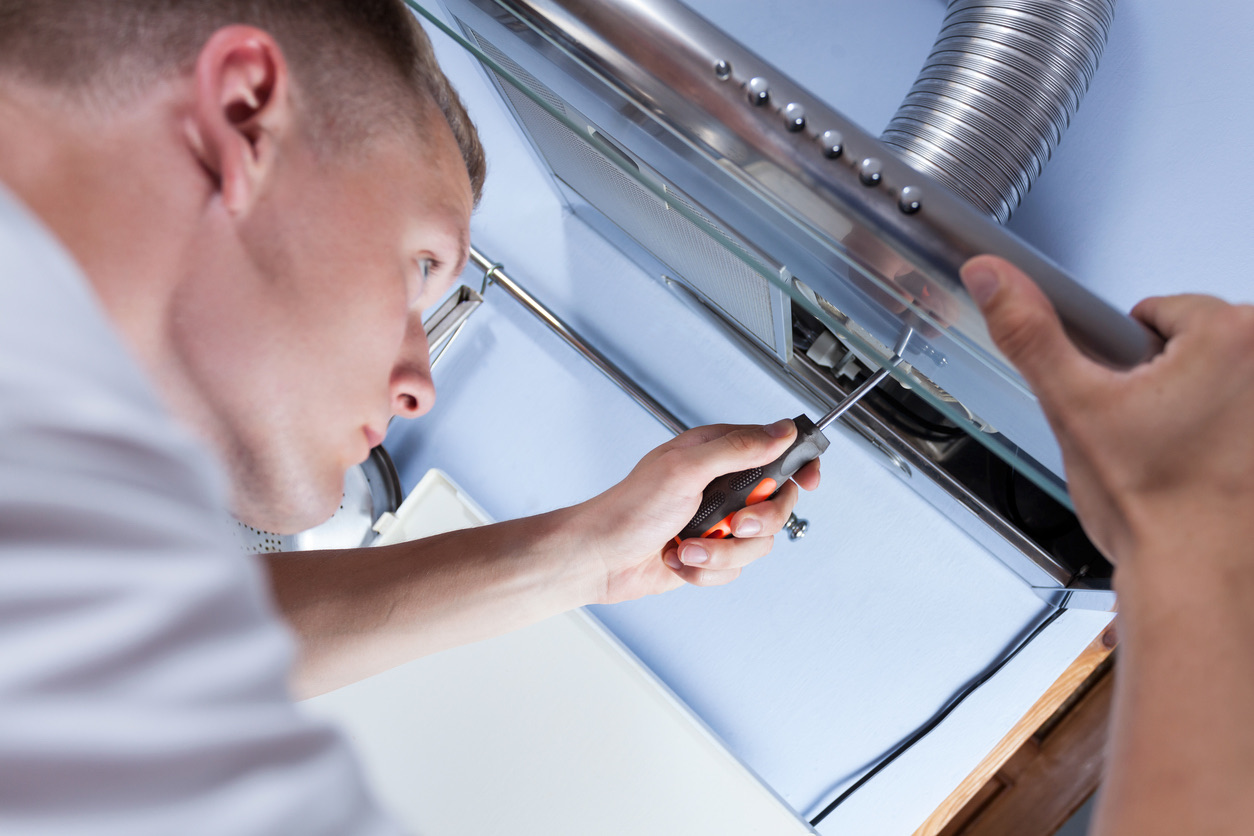
We have provided step-by-step instructions on how to inspect, tighten, and replace various components to address these noise issues. However, it’s important to note that some repairs may require professional assistance. If you are unsure or uncomfortable with performing the repairs yourself, it is recommended to contact a qualified technician to avoid causing further damage.
Remember to always prioritize your safety when working with washing machines. Unplug the machine before performing any repairs or inspections, and be cautious of sharp edges and moving parts.
Regular maintenance, such as checking and tightening components, keeping the machine clean, and avoiding overloading, can help prevent future noise issues. It’s also beneficial to follow the manufacturer’s guidelines for proper use and care of your washing machine.
In conclusion, with the knowledge and guidance provided in this guide, you can troubleshoot and resolve common noise issues during agitation in your washing machine. By taking the necessary steps, you can ensure a quieter, more efficient, and enjoyable laundry experience.
After tackling noise issues with your washer, why stop there? Dive into our detailed guide on home maintenance, where you'll find practical advice on keeping your entire home in top shape. Also, if you're curious about further enhancing your washer's performance, our step-by-step instructions on removing the washer agitator will definitely come in handy. Both articles are packed with easy-to-follow tips that ensure your home and appliances run smoothly, saving you time and hassle.
Frequently Asked Questions about Washer Makes Noise When Agitating
Was this page helpful?
At Storables.com, we guarantee accurate and reliable information. Our content, validated by Expert Board Contributors, is crafted following stringent Editorial Policies. We're committed to providing you with well-researched, expert-backed insights for all your informational needs.
0 thoughts on “Washer Makes Noise When Agitating”