Articles
Dryer Makes Noise When Spinning
Modified: August 17, 2024
Troubleshoot noisy dryer during spin cycle with helpful articles on identifying and fixing the issue. Follow our expert guidance for a quiet and efficient laundry experience.
(Many of the links in this article redirect to a specific reviewed product. Your purchase of these products through affiliate links helps to generate commission for Storables.com, at no extra cost. Learn more)
Overview
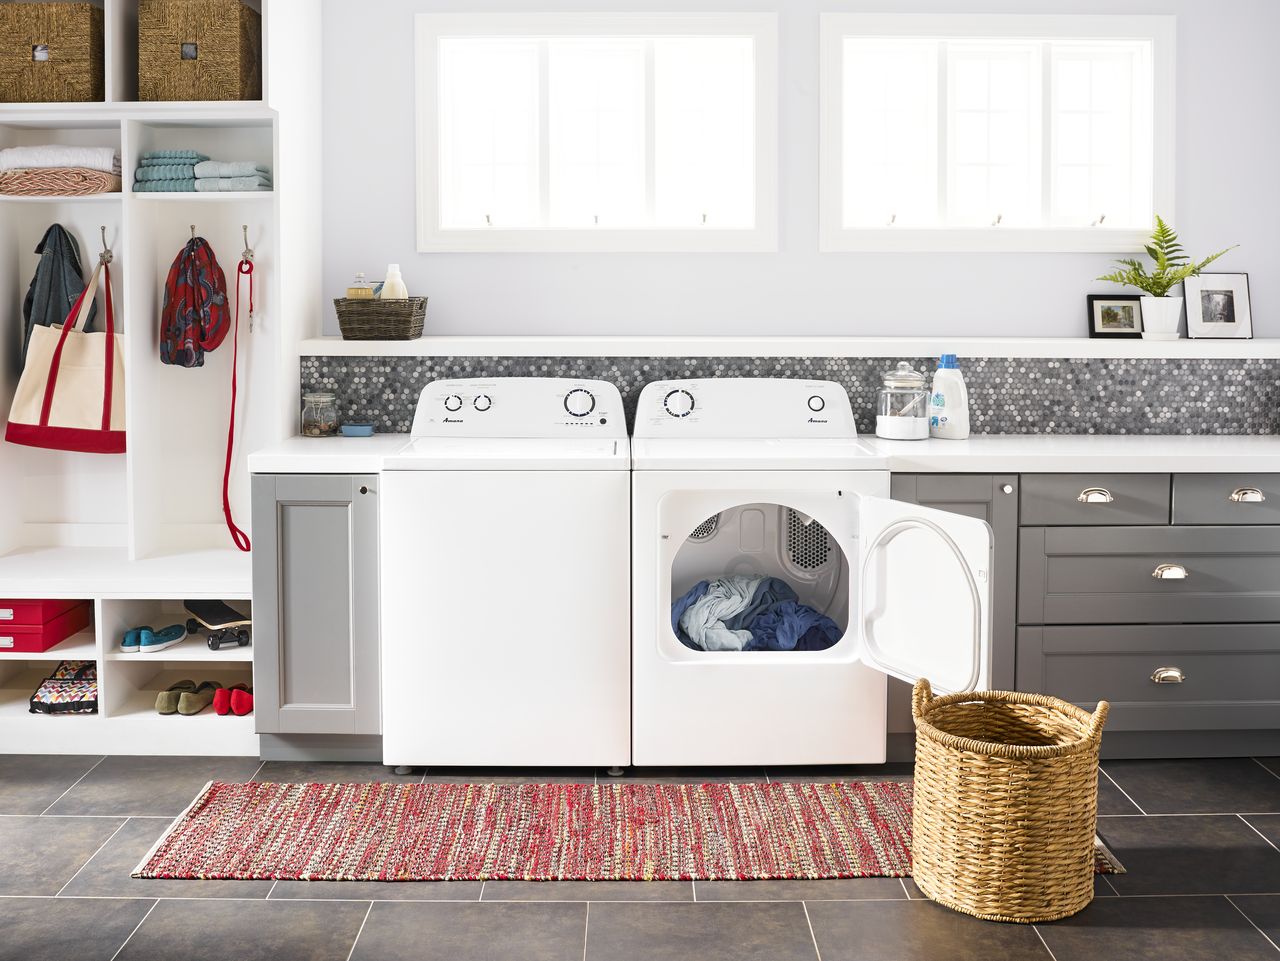
Having a noisy dryer can be quite bothersome, especially when you’re trying to relax or have a conversation in the same room. If you’ve noticed that your dryer makes noise when spinning, it’s important to address the issue promptly to prevent further damage and ensure that your appliance operates efficiently. Understanding the potential causes of the noise and taking appropriate steps to troubleshoot and fix the problem can help restore your dryer to its normal, quieter operation.
There are several possible causes for a noisy spinning dryer. These include a loose or damaged belt, worn drum rollers, faulty drum glides, a malfunctioning idler pulley, a malfunctioning motor, or the presence of debris or objects inside the drum. By identifying the specific cause, you can take the necessary steps to resolve the issue and enjoy a quieter laundry experience.
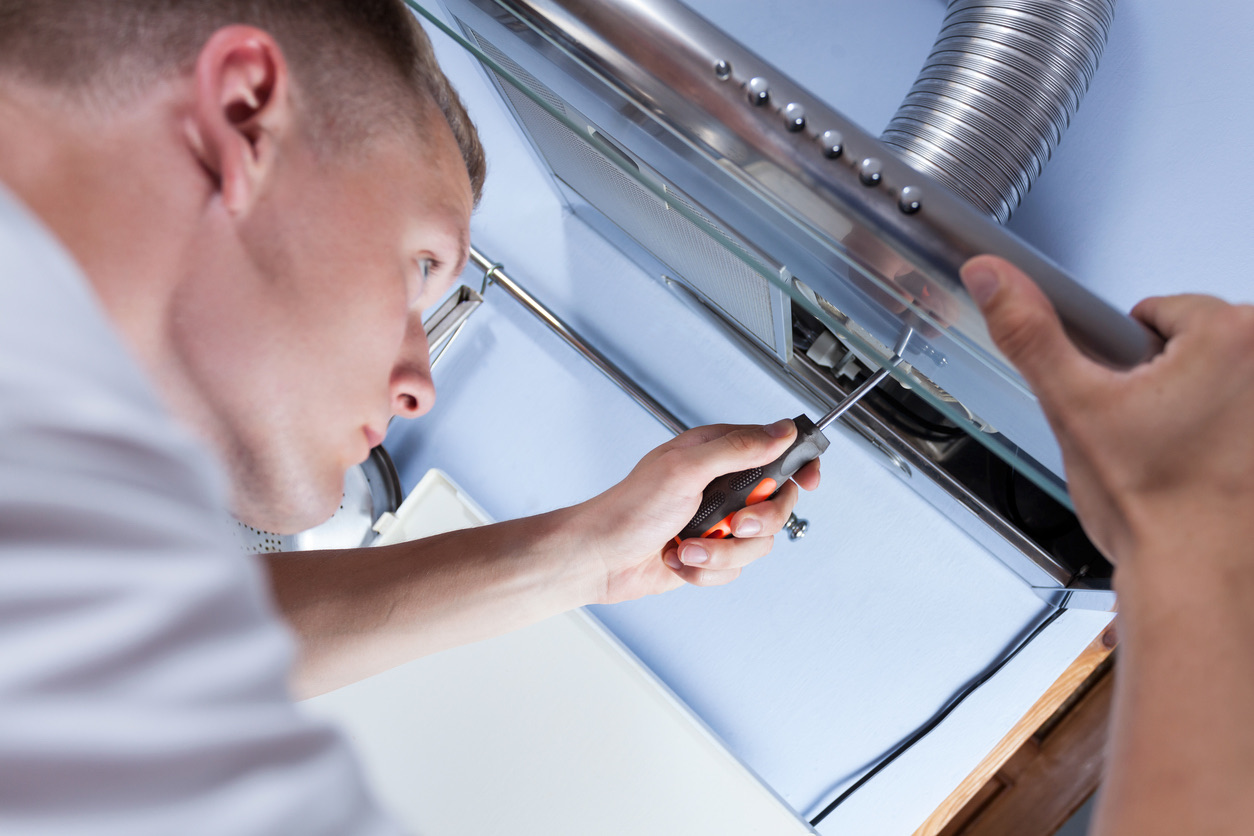
It’s important to note that repairing a noisy spinning dryer may require basic mechanical skills and tools. If you don’t feel comfortable performing the repairs yourself, it’s best to seek assistance from a professional technician to avoid causing further damage or potential harm.
In the following sections, we will explore each potential cause in more detail and provide step-by-step instructions on how to troubleshoot and fix the issue.
Key Takeaways:
- Troubleshoot and fix a noisy spinning dryer by inspecting and addressing potential causes such as worn components, debris, and faulty parts. Prioritize safety and consider professional assistance if needed.
- Regular maintenance, including cleaning the drum and replacing worn parts, can prevent noisy spinning in dryers, ensuring a peaceful laundry experience and efficient appliance operation.
Read more: Car Making Noise When AC Is On
Possible Causes of Noisy Spinning
When your dryer is making noise during spinning, it can be attributed to several factors. Understanding these potential causes can help you pinpoint the issue and take the necessary steps to resolve it. Here are some common culprits:
- Loose or Damaged Belt: A loose or damaged belt can cause a loud squealing or thumping noise when the dryer is spinning. Over time, the belt can become worn or stretched, resulting in a loss of tension. This can lead to slippage or misalignment, causing noise.
- Worn Drum Roller: Dryers have drum rollers that support the drum as it rotates. If these rollers become worn or damaged, they can produce a squeaking or rumbling noise. Over time, the wear and tear on the drum rollers can cause them to malfunction and create noise during spinning.
- Worn Drum Glide: Drum glides are small plastic or felt strips that help the drum rotate smoothly. If these glides become worn or damaged, they can create a scraping or grinding noise. This noise is often more noticeable when the dryer first starts spinning.
- Faulty Idler Pulley: The idler pulley is responsible for keeping tension on the dryer belt. If the idler pulley becomes faulty or damaged, it can create a loud rattling or squealing noise during spinning. This noise is typically more prominent when the dryer is under load.
- Malfunctioning Motor: A malfunctioning motor can generate excessive noise during spinning. This can occur if the motor’s bearings are worn or if there’s a problem with the motor itself. You may hear a loud humming or grinding noise when the motor is running.
- Debris or Objects Inside the Drum: It’s not uncommon for small items such as coins, buttons, or even loose screws to find their way into the drum of the dryer. When the drum spins, these objects can cause loud banging or thumping noises. Additionally, excessive lint build-up can lead to noise and decreased performance.
By understanding these potential causes, you can now move onto troubleshooting and fixing the noisy spinning issue. In the following sections, we will guide you through the necessary steps to address each of these problems and restore your dryer to its quiet and efficient operation.
Loose or Damaged Belt
A loose or damaged belt is a common cause of a noisy spinning dryer. Over time, the belt can become worn out or stretched, leading to a loss of tension. This can result in the belt slipping or becoming misaligned, causing loud squealing or thumping noises during operation.
To troubleshoot and fix this issue, follow these steps:
- Unplug the dryer: Safety should always be a priority when working on any appliance. Before starting any repairs, make sure to disconnect the dryer from the power source.
- Access the belt: Depending on the model of your dryer, you may need to remove the front or rear panel to access the belt. Consult the dryer’s manual or look for online resources for specific instructions on how to access the belt.
- Inspect the belt: Once you have access to the belt, visually inspect it for signs of wear or damage. Look for frayed edges, cracks, or excessive stretching. If the belt appears loose or damaged, it will need to be replaced.
- Replace the belt: Refer to the dryer’s manual or online resources for the correct replacement belt for your specific model. Follow the instructions to install the new belt, making sure it is properly aligned and tensioned.
- Test the dryer: Once the new belt is installed, plug the dryer back in and run a test cycle to ensure that the noise issue is resolved. If the dryer is still making noise, further troubleshooting may be required.
It’s worth noting that if you’re uncomfortable or unsure about replacing the belt yourself, it’s best to seek assistance from a professional technician. They have the expertise and tools to handle the repair safely and effectively.
By addressing the loose or damaged belt, you can eliminate the source of the noise and restore your dryer to its quiet operation. However, if the noise problem persists, move on to the next potential cause to troubleshoot and resolve the issue.
Worn Drum Roller
Another common cause of a noisy spinning dryer is worn drum rollers. These rollers support the drum as it rotates, but over time, they can become worn or damaged, leading to a squeaking or rumbling noise.
To troubleshoot and fix this issue, follow these steps:
- Unplug the dryer: Prioritize safety by disconnecting the dryer from the power source before starting any repairs.
- Access the drum rollers: Depending on the make and model of your dryer, you may need to remove the front or rear panel to access the drum rollers. Consult the dryer’s manual or look for online resources for specific instructions on accessing the drum rollers.
- Inspect the drum rollers: Check each drum roller for signs of wear or damage. Look for flat spots, excessive play, or rough edges. If any of the drum rollers appear worn or damaged, they will need to be replaced.
- Replace the drum rollers: Consult the dryer’s manual or online resources to find the correct replacement drum rollers for your specific model. Follow the instructions to remove the old rollers and install the new ones. It’s also a good idea to clean and lubricate the roller shafts while performing this repair.
- Test the dryer: Plug the dryer back in and run a test cycle to ensure that the noise issue is resolved. If the dryer is still making noise, move on to the next potential cause to troubleshoot further.
If you’re uncertain about replacing the drum rollers yourself or if the noise persists after replacing them, it’s recommended to seek assistance from a professional technician. They will have the knowledge and experience to safely and effectively resolve the issue.
By addressing worn drum rollers, you can eliminate the source of the noise and restore your dryer to its quieter operation. However, if the noise problem persists, move on to the next potential cause and continue troubleshooting to find the solution.
Worn Drum Glide
A worn drum glide can be another potential cause of a noisy spinning dryer. Drum glides are small plastic or felt strips located around the drum’s perimeter, designed to help the drum rotate smoothly. Over time, these glides can become worn or damaged, resulting in a scraping or grinding noise during operation.
To troubleshoot and fix this issue, follow these steps:
- Unplug the dryer: Always prioritize safety by disconnecting the dryer from the power source before starting any repairs.
- Access the drum glide: Depending on your dryer’s make and model, you may need to remove the front or rear panel to access the drum glide. Consult the dryer’s manual or search for online resources that provide specific instructions for accessing the drum glide.
- Inspect the drum glide: Examine the drum glide for signs of wear or damage. Look for flattened areas, fraying, or excessive thinning. If any of the drum glides appear worn or damaged, they should be replaced.
- Replace the drum glide: Refer to the dryer’s manual or search for the correct replacement drum glides for your specific model. Follow the instructions provided to remove the old glides and install the new ones. It’s also a good idea to clean the drum surface while performing this repair.
- Test the dryer: Once the new drum glides are installed, plug in the dryer and run a test cycle to ensure that the noise issue is resolved. If the noise persists, continue troubleshooting using the next potential cause.
If you are uncomfortable with replacing the drum glide on your own or if the noise persists after replacing it, it’s best to seek assistance from a professional technician. They have the expertise to safely and effectively diagnose and resolve the issue.
Addressing worn drum glides can eliminate the source of the noise and restore your dryer to its quieter operation. If the noise problem still persists, move on to the next potential cause and continue troubleshooting.
Read more: Washer Makes Noise When Agitating
Faulty Idler Pulley
A faulty idler pulley is another potential cause of a noisy spinning dryer. The idler pulley is responsible for maintaining tension on the dryer belt, ensuring smooth and efficient operation. When the idler pulley becomes faulty or damaged, it can create a loud rattling or squealing noise during spinning.
To troubleshoot and fix this issue, follow these steps:
- Unplug the dryer: Prioritize safety by disconnecting the dryer from the power source before starting any repairs.
- Access the idler pulley: Depending on your dryer’s make and model, you may need to remove the front or rear panel to access the idler pulley. Consult the dryer’s manual or search for online resources that provide specific instructions for accessing the idler pulley.
- Inspect the idler pulley: Examine the idler pulley for signs of damage or wear. Look for any cracks, excessive play, or rough edges. If the idler pulley appears faulty or damaged, it should be replaced.
- Replace the idler pulley: Refer to the dryer’s manual or search for the correct replacement idler pulley for your specific model. Follow the provided instructions to remove the old idler pulley and install the new one. It’s also a good idea to clean the area around the idler pulley while performing this repair.
- Test the dryer: Once the new idler pulley is installed, plug the dryer back in and run a test cycle to confirm that the noise issue is resolved. If the noise persists, proceed to the next potential cause for troubleshooting.
If you are not comfortable with replacing the idler pulley on your own or if the noise persists after replacing it, it’s recommended to seek assistance from a professional technician. They have the expertise and tools to safely and effectively diagnose and resolve the issue.
Addressing a faulty idler pulley can eliminate the source of the noise and restore your dryer to its quieter operation. However, if the noise problem persists, move on to the next potential cause and continue troubleshooting.
Malfunctioning Motor
A malfunctioning motor can be another potential cause of a noisy spinning dryer. The motor is responsible for powering the drum’s rotation, and if it is experiencing issues, it can generate excessive noise during operation. This can occur if the motor’s bearings are worn or if there is a problem with the motor itself.
To troubleshoot and address a malfunctioning motor, follow these steps:
- Unplug the dryer: Prioritize safety by disconnecting the dryer from the power source before starting any repairs.
- Access the motor: Depending on your dryer’s make and model, you may need to remove the front or rear panel to access the motor. Consult the dryer’s manual or search for online resources that provide specific instructions for accessing the motor.
- Inspect the motor: Carefully examine the motor for signs of damage or wear. Look for any loose connections, burnt smell, or excessive debris. If the motor exhibits visible damage or if it is not functioning correctly, it may need to be replaced.
- Replace the motor: Refer to the dryer’s manual or search for the correct replacement motor for your specific model. Follow the provided instructions to remove the old motor and install the new one. It’s essential to carefully follow the wiring diagram and ensure all connections are secure.
- Test the dryer: Once the new motor is installed, plug the dryer back in and run a test cycle to verify that the noise issue is resolved. If the noise persists, move on to the next potential cause for further troubleshooting.
If you are unsure about replacing the motor on your own or if the noise persists after replacing it, it’s best to seek assistance from a professional technician. They have the expertise and tools to safely and effectively diagnose and resolve the issue.
Addressing a malfunctioning motor can eliminate the source of the noise and restore your dryer to its quieter operation. However, if the noise problem continues, move on to the next potential cause and continue troubleshooting.
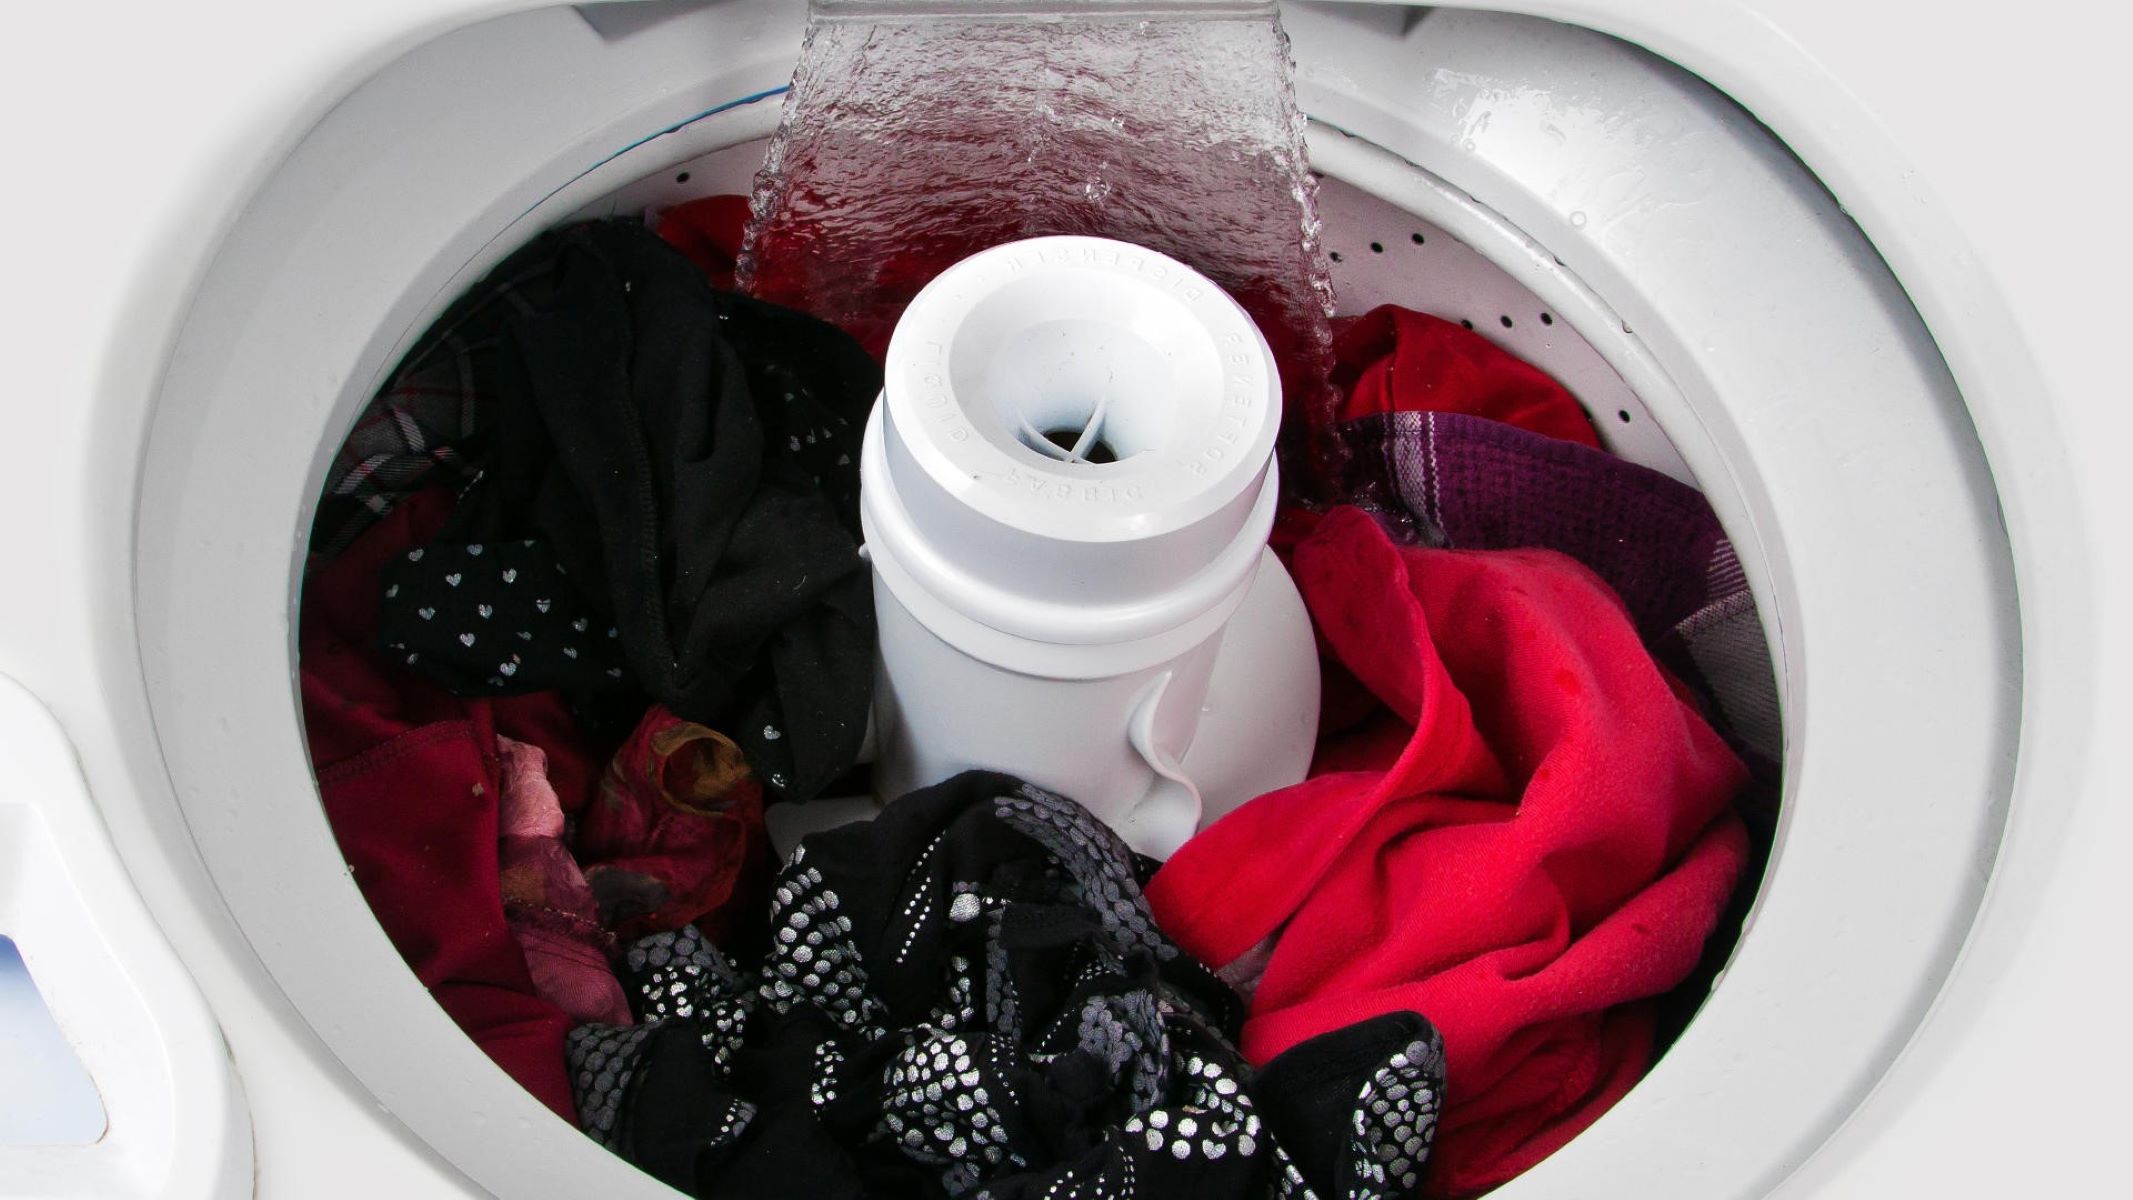
Debris or Objects Inside the Drum
One of the common causes of a noisy spinning dryer is the presence of debris or objects inside the drum. It’s not uncommon for small items such as coins, buttons, or even loose screws to find their way into the drum during the drying process. When the drum spins, these objects can cause loud banging or thumping noises.
To troubleshoot and resolve this issue, follow these steps:
- Unplug the dryer: Prioritize safety by disconnecting the dryer from the power source before starting any repairs.
- Access the drum: Open the dryer door and carefully inspect the drum for any visible debris or objects. Pay close attention to the edges and corners of the drum.
- Remove the debris or objects: Using your hands or a pair of pliers, carefully remove any debris or objects that you find inside the drum. Be cautious not to damage the drum or any other components while doing so.
- Clean the drum: After removing the debris or objects, clean the drum to ensure there is no remaining lint or dirt. You can use a damp cloth or mild detergent to wipe down the interior of the drum.
- Test the dryer: Once the drum is clean and free of debris or objects, plug the dryer back in and run a test cycle to confirm that the noise issue is resolved. If the noise persists, move on to the next potential cause for further troubleshooting.
By removing any debris or objects from the drum, you can eliminate the source of the noise and restore your dryer to its quieter operation. If the noise problem persists, continue troubleshooting with the next potential cause to find a solution.
Steps to Troubleshoot and Fix the Noisy Spin
Experiencing a noisy spinning dryer can be frustrating, but with the right steps, you can troubleshoot and fix the issue. Here’s a comprehensive guide to help you address the problem:
- Unplug the dryer and ensure safety: Before starting any repairs or troubleshooting, always unplug the dryer from the power source to ensure your safety.
- Inspect the belt for wear or damage: Check the dryer belt for signs of wear, such as fraying, cracks, or stretching. Replace the belt if necessary.
- Check drum rollers for wear and lubricate if necessary: Inspect the drum rollers for flat spots, excessive play, or rough edges. Replace any worn or damaged drum rollers and lubricate the roller shafts if recommended by the manufacturer.
- Examine the drum glides and replace if worn: Check the drum glides for signs of wear or damage. If they appear worn or damaged, replace them to ensure smooth rotation of the drum.
- Inspect the idler pulley for damage and replace if needed: Examine the idler pulley for any cracks, excessive play, or rough edges. Replace the idler pulley if it is faulty or damaged.
- Examine the motor for faults and replace if required: Carefully inspect the motor for signs of damage, loose connections, or burnt smell. If the motor is not functioning correctly, consider replacing it.
- Clean the drum and remove any debris or objects: Carefully check the drum for any debris or objects that may be causing noise. Remove any foreign objects and clean the drum to ensure smooth operation.
It’s important to note that the specific steps for troubleshooting and fixing a noisy spinning dryer may vary depending on your dryer’s make and model. Therefore, it’s advisable to consult the dryer’s manual or search for online resources that provide detailed instructions for your specific model.
If you’re unsure about any of the repairs or troubleshooting steps, or if the noise persists after attempting the fixes, it’s best to seek assistance from a professional technician. They have the expertise and tools to diagnose and resolve the issue effectively.
By following these steps, you can identify and address the cause of the noise, restoring your dryer to its quiet and efficient operation. Remember to prioritize safety throughout the troubleshooting and repair process.
Check for loose or worn out parts such as the drum belt, rollers, or idler pulley. Tighten or replace as needed to reduce the noise when the dryer is spinning.
Read more: Washer Makes Noise When Spinning
Unplug the Dryer and Ensure Safety
When troubleshooting and fixing a noisy spinning dryer, it’s crucial to prioritize safety. Before starting any repairs or inspections, always unplug the dryer from the power source to prevent the risk of electrocution or other accidents.
Here are some important steps to ensure safety while working on your dryer:
- Turn off the power: Locate the power cord of the dryer and unplug it from the electrical outlet. If your dryer is hardwired into the electrical system, switch off the corresponding circuit breaker.
- Allow the dryer to cool down: If your dryer has been recently used, give it some time to cool down before proceeding with any repairs. The heating elements and interior parts can retain heat and cause burns if touched while still hot.
- Wear protective gear: When working on your dryer, it’s advisable to wear protective gloves to prevent cuts or bruises. Additionally, consider wearing safety glasses to protect your eyes from any debris that may be dislodged during the repair process.
- Keep the work area clear: Ensure that the area around the dryer is free from clutter to avoid tripping hazards. This will also provide you with ample space to maneuver and access different parts of the dryer.
- Read the dryer manual: Familiarize yourself with the manufacturer’s guidelines and instructions in the dryer’s manual. This will help you understand the specific safety precautions to follow for your particular model.
By unplugging the dryer and taking necessary safety measures, you reduce the risk of electrical accidents and injury while working on your appliance. Always prioritize your well-being and follow proper safety protocols throughout the troubleshooting and repair process.
If you are unsure about any step or if the issue seems complicated, it’s best to consult a professional technician. They have the experience and knowledge to handle the repairs safely and effectively, ensuring optimal results.
Inspect the Belt for Wear or Damage
When troubleshooting a noisy spinning dryer, one of the first steps is to inspect the belt for wear or damage. The dryer belt plays a crucial role in driving the drum’s rotation. Over time, the belt may become worn, stretched, or damaged, resulting in a noisy operation.
Here’s how to inspect the belt for wear or damage:
- Unplug the dryer: As a safety precaution, always unplug the dryer from its power source before proceeding with any repairs or inspections.
- Access the dryer belt: Depending on your dryer’s make and model, you may need to remove the front or rear panel to access the belt. Consult the dryer’s manual or search for online resources specific to your model to understand the correct procedure.
- Visually inspect the belt: Carefully examine the entire length of the belt for any signs of wear or damage. Look for frayed edges, cracks, or excessive stretching. If the belt appears worn or damaged, it will need to be replaced.
- Check the belt tension: While inspecting the belt, check its tension. A loose belt can cause noise during spinning. Press down on the belt with your finger; it should have some tension but still allow for a little bit of give. If the belt feels loose, it may need to be adjusted or replaced.
- Replace the belt if necessary: If you determine that the belt is worn, stretched, or damaged, it’s time to replace it. Refer to the dryer’s manual or search for the correct replacement belt for your specific model. Follow the instructions provided to safely remove the old belt and install the new one, ensuring proper alignment and tension.
- Test the dryer: After installing the new belt, plug in the dryer and run a test cycle to verify that the noise issue is resolved. Pay attention to any unusual sounds during spinning. If the noise persists, further troubleshooting may be necessary.
Remember, if you are unsure about inspecting or replacing the dryer belt, or if the noise problem persists after replacing it, it’s best to seek assistance from a professional technician. They have the experience and knowledge to handle the repairs safely and effectively.
By thoroughly inspecting the belt for wear or damage and taking appropriate action, you can eliminate a common source of noise and restore your dryer to its normal, quieter operation.
Check Drum Rollers for Wear and Lubricate if Necessary
Drum rollers play a crucial role in supporting the drum’s rotation in a dryer. Over time, these rollers can become worn or damaged, leading to a noisy spinning operation. Regular inspection and maintenance of the drum rollers can help prevent excess noise and ensure smooth operation.
Here are the steps to check the drum rollers for wear and lubricate if necessary:
- Unplug the dryer: Always prioritize safety by disconnecting the dryer from the power source before starting any repairs or inspections.
- Access the drum rollers: Depending on the model of your dryer, you may need to remove the front or rear panel to access the drum rollers. Refer to the dryer’s manual or search for online resources specific to your model to understand the correct procedure.
- Inspect the drum rollers: Carefully examine each drum roller for signs of wear or damage. Look for flat spots, excessive play, or rough edges. If any of the drum rollers appear worn or damaged, they should be replaced.
- Lubricate the drum roller shafts: If the drum rollers appear to be in good condition, it’s recommended to lubricate the roller shafts to ensure smooth rotation. Apply a small amount of lubricant, recommended by the manufacturer, to the roller shafts. This will help reduce friction and noise during operation.
- Rotate the drum: After lubricating the drum roller shafts, manually rotate the drum a few times to distribute the lubricant evenly.
- Reassemble the dryer: Once the inspection and lubrication are complete, reattach the front or rear panel, depending on how you accessed the drum rollers.
- Test the dryer: Plug in the dryer and run a test cycle to ensure that the noise issue is resolved. If the noise persists, move on to the next potential cause for further troubleshooting.
If you feel unsure about checking the drum rollers or lack experience in dryer repair, it’s best to consult a professional technician. They have the expertise and tools to handle the repairs safely and effectively.
Regular inspection and maintenance of drum rollers can significantly prolong the life of your dryer and ensure quieter operation. By addressing any wear or damage and lubricating the rollers when necessary, you can eliminate a potential source of noise and enjoy a more peaceful laundry experience.
Examine the Drum Glides and Replace if Worn
Drum glides are small plastic or felt strips located around the perimeter of the dryer drum. They help the drum rotate smoothly during operation. Over time, drum glides can become worn or damaged, causing noise and affecting the overall performance of the dryer. Regular inspection and replacing worn drum glides can help restore quiet and efficient spinning.
Here are the steps to examine the drum glides and replace them if necessary:
- Unplug the dryer: Begin by ensuring your safety by disconnecting the dryer from its power source.
- Access the drum glides: Depending on the make and model of your dryer, you may need to remove the front or rear panel to access the drum glides. Consult the dryer’s manual or search for specific instructions online.
- Inspect the drum glides: Carefully examine the drum glides for signs of wear or damage. Look for flattened areas, fraying, or excessive thinning. If any of the drum glides appear worn or damaged, they should be replaced.
- Replace the drum glides: Refer to the dryer’s manual or search for the correct replacement drum glides for your specific model. Follow the provided instructions to remove the old glides and install the new ones. Take note of the placement and orientation of the glides during the replacement process.
- Reassemble the dryer: Once the new drum glides are in place, reattach the front or rear panel to the dryer, following the instructions in the manual or online resources.
- Test the dryer: Plug the dryer back in and run a test cycle to ensure that the noise issue is resolved. Listen for any unusual sounds during the spinning process. If the noise persists, move on to the next potential cause for further troubleshooting.
If you are unfamiliar with dryer repair or feel unsure about replacing drum glides yourself, it’s best to consult a professional technician. They have the necessary expertise to handle the repairs safely and effectively.
By regularly examining and replacing worn drum glides, you can eliminate a potential source of noise and restore smooth and quiet spinning in your dryer. Investing time in preventative maintenance will help prolong the life of your appliance and enhance its performance.
Read more: Faucet Makes Noise When Turned On
Inspect the Idler Pulley for Damage and Replace if Needed
The idler pulley in a dryer plays a vital role in maintaining tension on the belt, ensuring proper drum rotation. If the idler pulley becomes damaged or faulty, it can lead to noise during spinning. Regular inspection and replacing a worn or damaged idler pulley can help restore smooth and quiet operation.
Here are the steps to inspect the idler pulley and replace it if needed:
- Unplug the dryer: Begin by disconnecting the dryer from its power source to ensure safety during the inspection and replacement process.
- Access the idler pulley: Depending on your dryer’s make and model, you may need to remove the front or rear panel to access the idler pulley. Refer to the dryer’s manual or search for specific instructions online.
- Inspect the idler pulley: Carefully examine the idler pulley for any signs of damage or wear. Look for cracks, excessive play, or rough edges. If the idler pulley appears damaged or faulty, it should be replaced.
- Replace the idler pulley: Consult the dryer’s manual or search for the correct replacement idler pulley for your specific model. Follow the provided instructions to remove the old idler pulley and install the new one. Ensure proper alignment and tension of the belt after replacing the idler pulley.
- Reassemble the dryer: Once the new idler pulley is installed, reattach the front or rear panel, ensuring it is securely in place according to the instructions provided.
- Test the dryer: Plug the dryer back in and run a test cycle to ensure that the noise issue is resolved. Listen for any unusual sounds during spinning. If the noise persists, move on to the next potential cause for further troubleshooting.
If you are not comfortable with inspecting or replacing the idler pulley yourself, or if the noise problem persists after replacing it, it is advisable to consult a professional technician. They possess the necessary expertise to safely and effectively handle the repairs.
By regularly examining and replacing a worn or damaged idler pulley, you can eliminate a common source of noise and restore smooth and quiet operation to your dryer. This will ensure optimal performance and enhance the longevity of your appliance.
Examine the Motor for Faults and Replace if Required
The motor in a dryer is responsible for powering the drum rotation. If the motor is malfunctioning or damaged, it can result in excessive noise during spinning. Examining the motor and replacing it if necessary can help restore quiet and efficient operation to your dryer.
Here are the steps to examine the motor for faults and replace it if required:
- Unplug the dryer: Begin by disconnecting the dryer from its power source to ensure safety during the examination and replacement process.
- Access the motor: Depending on your dryer’s make and model, you may need to remove the front or rear panel to access the motor. Refer to the dryer’s manual or search for specific instructions online.
- Inspect the motor: Carefully examine the motor for any visible signs of damage, loose connections, or burnt smell. Look for frayed wires, melted components, or other indications of a malfunctioning motor.
- Test the motor: If your dryer has been experiencing issues beyond just the noise, you can perform some simple tests to check the motor’s functionality. Before attempting any tests, make sure to follow the manufacturer’s instructions and safety guidelines.
- If faulty, replace the motor: If you detect significant faults or the motor is not functioning correctly, it may need to be replaced. Consult the dryer’s manual or search for the correct replacement motor for your specific model. Follow the provided instructions to safely remove the old motor and install the new one.
- Reassemble the dryer: Once the new motor is installed, reattach the front or rear panel, ensuring it is securely in place according to the instructions provided.
- Test the dryer: Plug the dryer back in and run a test cycle to ensure that the noise issue is resolved. Listen for any unusual sounds during spinning. If the noise persists, move on to the next potential cause for further troubleshooting.
If you are unsure about examining or replacing the motor yourself, or if the noise problem persists after replacing it, it is recommended to consult a professional technician. They have the expertise and tools necessary to handle the repairs safely and effectively.
Regular examination and, if needed, replacement of a faulty motor can help eliminate a common source of noise and restore smooth and quiet operation to your dryer. This will ensure optimal performance and extend the lifespan of your appliance.
Clean the Drum and Remove Any Debris or Objects
In some cases, the source of a noisy spinning dryer can be as simple as debris or small objects lodged inside the drum. These objects can cause loud banging, thumping, or rattling noises during operation. Cleaning the drum and removing any debris or objects can help eliminate the noise and restore smooth and quiet spinning.
Follow these steps to clean the drum and remove any debris or objects:
- Unplug the dryer: Begin by disconnecting the dryer from its power source to ensure safety during the cleaning process.
- Open the dryer door: Open the door wide to gain full access to the drum. Use a flashlight to inspect the drum thoroughly.
- Look for debris or objects: Carefully examine the drum for any visible debris, such as lint, fabric, or small objects like coins, buttons, or loose screws. Pay close attention to the crevices and edges of the drum.
- Remove the debris or objects: Using your hands or a pair of pliers, remove any debris or objects that you find inside the drum. Be gentle to avoid damaging the drum or any other components.
- Clean the drum: After removing the debris or objects, use a damp cloth or mild detergent to wipe down the interior of the drum. Pay attention to any stubborn stains or residue that may have accumulated over time.
- Inspect the drum seal: While cleaning the drum, also check the drum seal for any signs of damage or wear. If the drum seal appears faulty, it may need to be replaced to ensure proper functioning.
- Reassemble the dryer: Once the drum is clean and free of debris, close the door and ensure it is securely shut. If you had to remove any components during the cleaning process, reattach them properly according to the dryer’s manual.
- Test the dryer: Plug the dryer back in and run a test cycle to ensure that the noise issue is resolved. Listen for any unusual sounds during spinning. If the noise persists, further troubleshooting may be necessary.
Regularly cleaning the drum and removing any debris or objects will not only help eliminate noise but also improve the overall performance and efficiency of your dryer. If you frequently find debris or objects in the drum, consider implementing preventative measures like checking pockets before loading the dryer.
If the noise problem persists after cleaning the drum, it is advisable to consult a professional technician for further diagnosis and resolution.
Conclusion
A noisy spinning dryer can be a bothersome issue that disrupts your peace and affects the efficiency of your appliance. However, by following the steps outlined in this troubleshooting guide, you can identify and address the potential causes of the noise, helping to restore your dryer to its quiet and efficient operation.
We covered common causes of a noisy spinning dryer, including loose or damaged belts, worn drum rollers, faulty drum glides, a malfunctioning idler pulley, a malfunctioning motor, and the presence of debris or objects inside the drum. By examining each of these potential causes and taking appropriate steps to troubleshoot and fix the issue, you can eliminate the noise and ensure smooth spinning of the drum.
It’s important to prioritize safety throughout the process by unplugging the dryer before starting any repairs or inspections. If you’re uncertain or uncomfortable with handling the repairs yourself, it’s best to seek assistance from a professional technician who has the expertise and tools to diagnose and resolve the issue effectively.
Regular maintenance, such as inspecting and replacing worn components, cleaning the drum, and practicing preventative measures like checking pockets before loading, can help prevent noise issues from arising in the future and prolong the lifespan of your dryer.
Remember to consult the dryer’s manual or search for specific instructions online for your particular model. Every dryer may have unique features or requirements for repair and maintenance.
By addressing the noise issue in your spinning dryer, you can once again enjoy a peaceful laundry experience and ensure that your appliance operates efficiently for years to come.
Frequently Asked Questions about Dryer Makes Noise When Spinning
Was this page helpful?
At Storables.com, we guarantee accurate and reliable information. Our content, validated by Expert Board Contributors, is crafted following stringent Editorial Policies. We're committed to providing you with well-researched, expert-backed insights for all your informational needs.

0 thoughts on “Dryer Makes Noise When Spinning”