Articles
What Do You Need To Rip Up A Carpet
Modified: October 20, 2024
Get all the information you need about ripping up a carpet in our comprehensive articles. Learn the step-by-step process and get tips and advice.
(Many of the links in this article redirect to a specific reviewed product. Your purchase of these products through affiliate links helps to generate commission for Storables.com, at no extra cost. Learn more)
Introduction
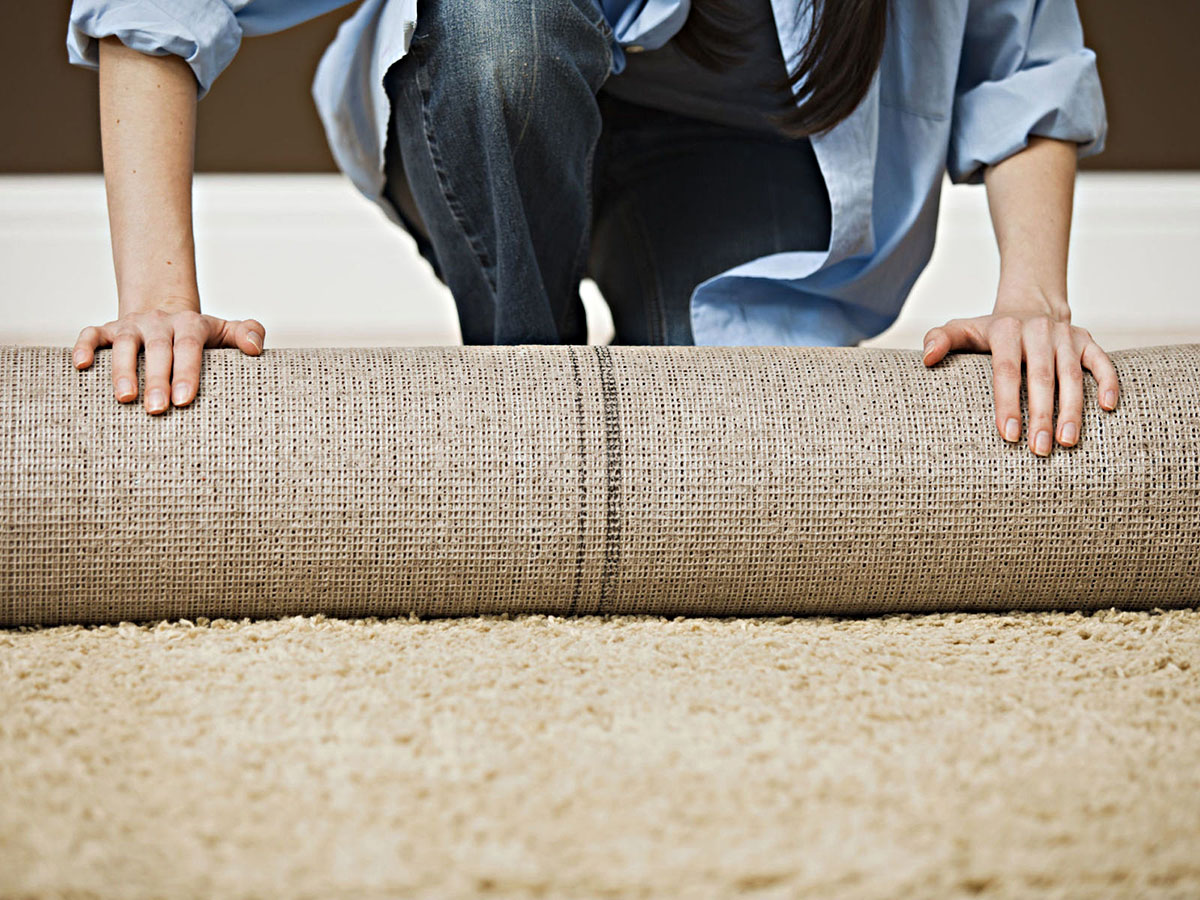
When it comes to home improvement projects, there may come a time when you decide it’s time to rip up that old carpet and give your space a fresh new look. Whether you’re preparing to install new flooring or simply want to update the aesthetic of your room, removing carpet can be a daunting task. However, with the right tools and a little bit of know-how, you can easily tackle this project yourself.
In this article, we will guide you through the step-by-step process of ripping up a carpet. From the tools you’ll need to the proper techniques for removing the carpet, tack strips, and underlying padding, we’ll cover everything you need to know to successfully complete the job.
By the end of this article, you’ll be equipped with the knowledge and confidence to tear out that old carpet and transform your space into a clean and inviting environment.
Key Takeaways:
- Don’t let the daunting task of ripping up a carpet intimidate you. With the right tools and preparation, you can successfully transform your space and create a fresh new look.
- From gathering the necessary tools to properly disposing of waste, this article provides a comprehensive guide to confidently tackle the carpet removal process and prepare for new flooring installation.
Read more: What Do You Need To Install A Carpet
Tools Required
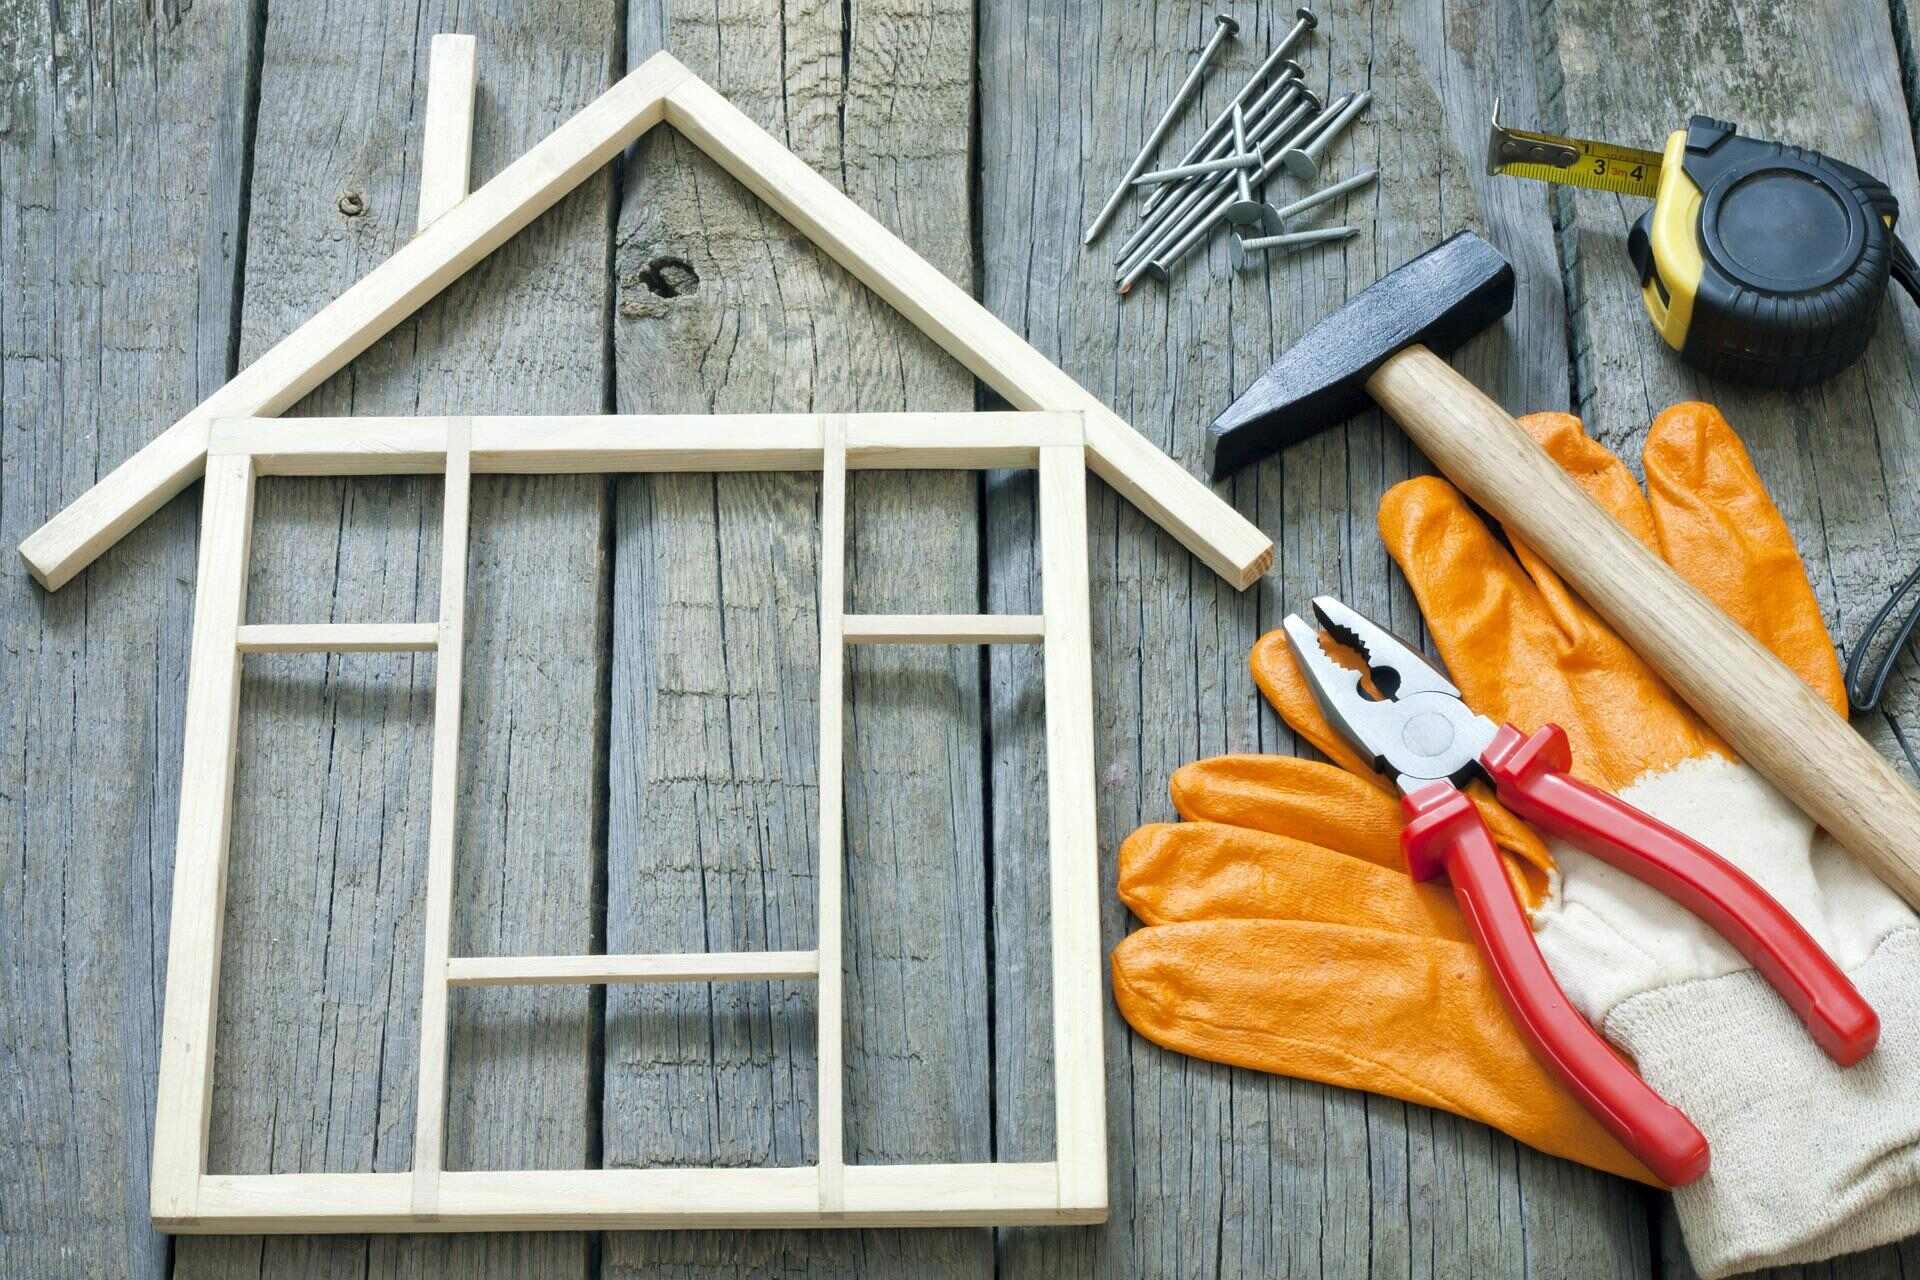
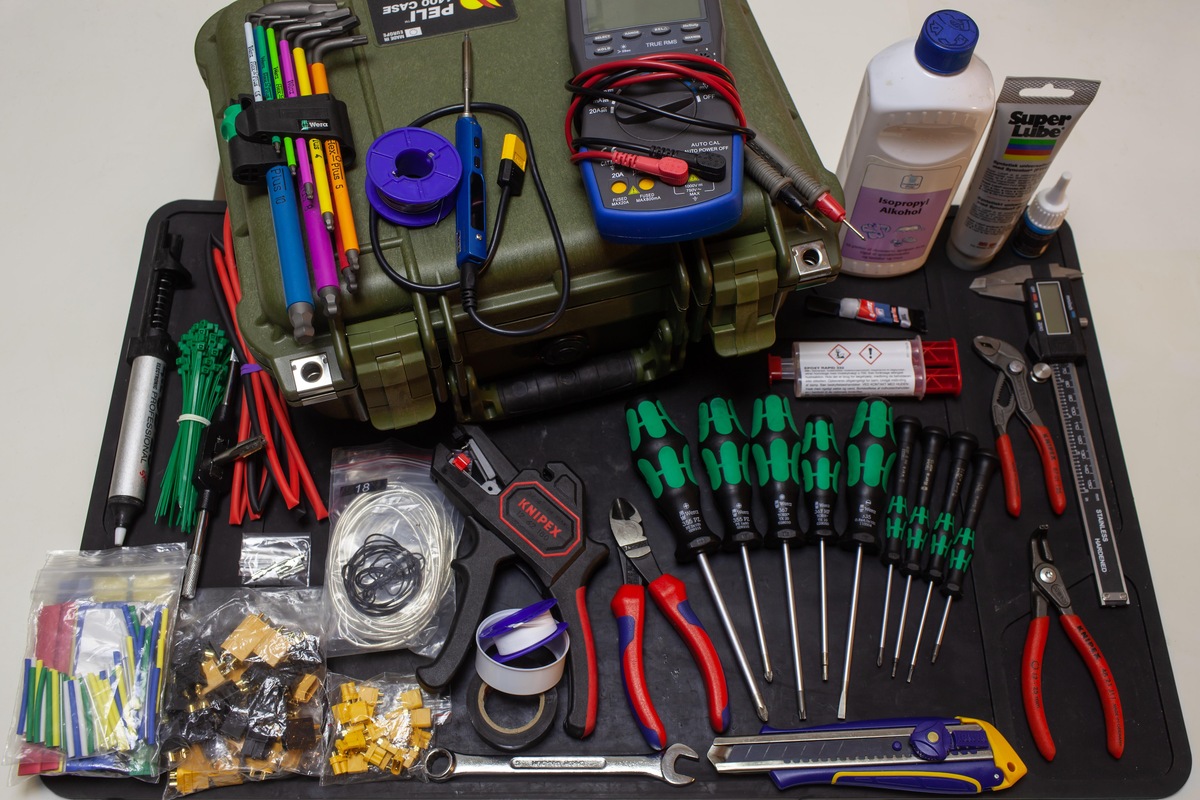
Before you begin ripping up your carpet, it’s important to gather the necessary tools to make the process easier and more efficient. Here are the essential tools you’ll need:
- Utility Knife: A sharp utility knife will be your best friend when it comes to cutting through the carpet and removing it in sections.
- Pliers: Pliers will come in handy for gripping and pulling up stubborn staples, carpet tacks, and tack strips.
- Work Gloves: Protect your hands from sharp objects and potential allergies with a sturdy pair of work gloves.
- Knee Pads: To prevent knee strain and discomfort, invest in a pair of knee pads that will provide cushioning and protection as you work.
- Hammer: A hammer will be useful for removing any nails or staples that may be holding the carpet in place.
- Flathead Screwdriver: Use a flathead screwdriver to pry up any stubborn staples or nails in hard-to-reach areas.
- Shop Vacuum: After removing the carpet, you’ll want to clean up any loose debris or dust. A shop vacuum will make this process quick and easy.
By ensuring you have these tools readily available, you’ll be prepared to tackle the carpet removal project with ease.
Preparation
Before you start ripping up your carpet, there are a few important steps you should take to ensure a smooth and successful removal process:
- Clear the Area: Remove any furniture, decorations, or obstructions from the room. This will give you ample space to work and prevent any potential damage to your belongings.
- Open Windows and Doors: Proper ventilation is crucial during the carpet removal process. Open windows and doors to allow fresh air to circulate, as well as to help minimize the airborne dust and odors.
- Wear Protective Gear: Put on your work gloves and knee pads to protect your hands and knees from sharp objects and potential soreness or injury.
- Check for Asbestos: If your carpet is old and installed prior to the 1980s, it’s important to check for asbestos. This can be done by consulting with a professional asbestos testing service.
- Disconnect Electronics: If there are any electrical outlets or electronic devices close to the area where you’ll be working, unplug them or move them to another room to prevent any accidents.
By completing these pre-work preparations, you’ll create a safe and organized environment for efficiently removing the carpet.
Removing Furniture
Before you can begin ripping up the carpet, you’ll need to remove any furniture or heavy objects from the room. This includes chairs, tables, cabinets, and any other items that are sitting on top of the carpet.
Here’s a step-by-step guide on how to remove furniture properly:
- Clear the Room: Remove any small items, decorations, or loose objects from the furniture that can be easily taken off.
- Empty Contents: If you have any cabinets or drawers in the furniture, take out the contents and store them in a safe place.
- Protect Surfaces: Place felt pads or soft blankets under the legs of the furniture to prevent any scratching or damage to the floor.
- Enlist Help: If the furniture is heavy or too large for one person to handle, ask a friend or family member to assist you in carrying and moving the items.
- Move Furniture Carefully: Lift the furniture, using proper lifting techniques, and slowly carry or slide it away from the room.
- Store Furniture Safely: Place the furniture in a separate room or cover it with plastic sheets to protect it from dust or debris during the carpet removal process.
By taking the time to properly remove and store your furniture, you’ll create a clear and safe area to work in, allowing for a smoother carpet removal process.
Cutting the Carpet
Now that you’ve cleared the room of furniture, it’s time to start cutting the carpet into manageable sections for removal. Follow these steps to cut the carpet:
- Locate a Starting Point: Choose a corner of the room to begin. It’s best to start in the corner farthest from the exit to minimize traffic over the carpet as you work.
- Measure the Width: Use a tape measure to determine the width of the room. Add a few extra inches to ensure you have enough room to work with.
- Mark the Cutting Line: With a straight edge or a chalk line, mark a straight cutting line along the width of the room.
- Prepare the Knife: Ensure that your utility knife has a sharp blade. This will help you cut through the carpet and minimize fraying and tearing.
- Make the First Cut: Position the utility knife along the marked cutting line and apply pressure to slice through the carpet fibers. Be cautious not to cut into the padding or the subfloor underneath.
- Continue Cutting: Work your way along the cutting line, making straight and clean cuts through the carpet. If needed, change your blade frequently to maintain sharpness.
- Roll Up the Sections: As you cut each section, roll it up towards the center of the room. Use duct tape or rope to secure the rolled-up sections and keep them out of the way.
- Repeat for Each Section: Move along the room, cutting the carpet into manageable sections until you’ve removed it all.
By carefully cutting the carpet into sections, you’ll make the removal process much more manageable and create less mess in the process.
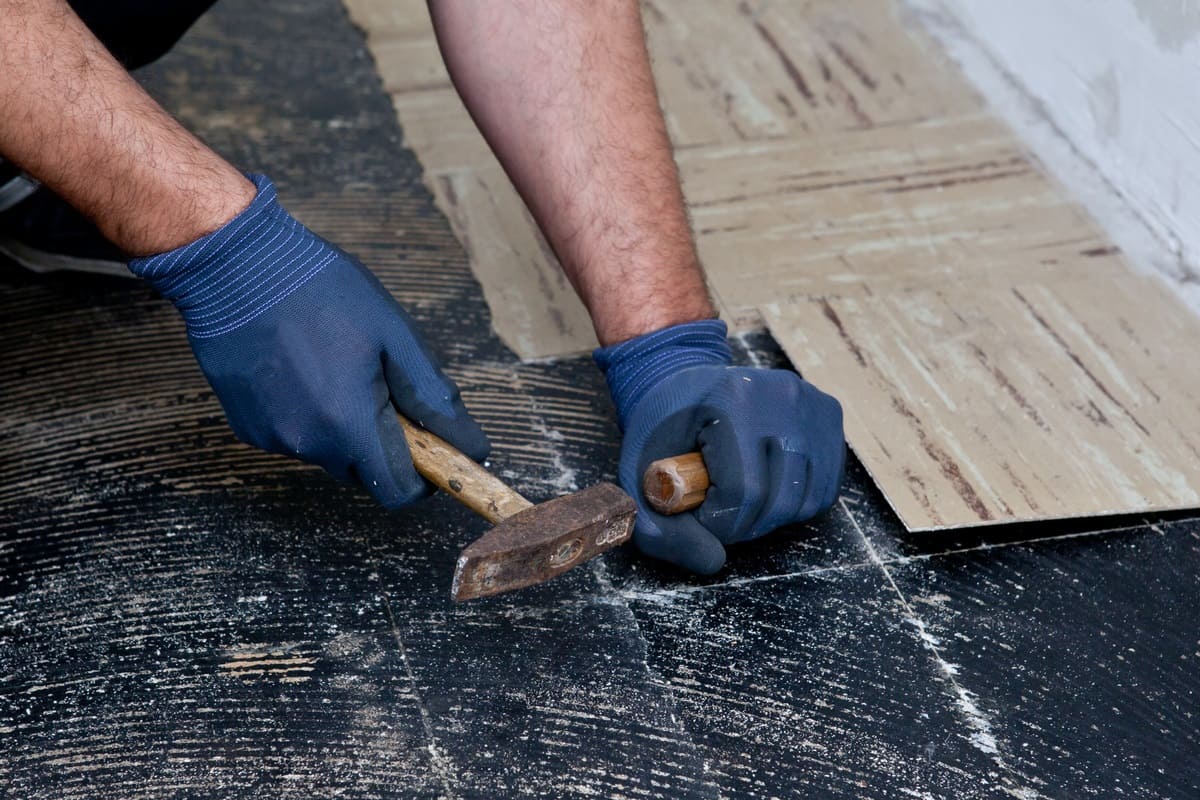
Before ripping up a carpet, make sure to wear gloves and a dust mask to protect yourself from dust and debris. Use a utility knife to cut the carpet into manageable sections for easier removal.
Read more: How To Fix A Carpet Ripped Up By A Dog
Removing the Carpet
Now that you’ve cut the carpet into sections, it’s time to begin removing it from the room. Follow these steps to remove the carpet:
- Start at the Edge: Begin at one end of the room and locate the edge of the carpet. Using your pliers, grip the edge and start pulling upwards to detach it from the tack strips.
- Work in Sections: Slowly work your way along the edge of the carpet, pulling it up section by section. Use your utility knife to cut any areas that are still attached to the subfloor.
- Roll and Bundle the Carpet: As you remove each section, roll it up tightly and secure it with duct tape or rope. This will prevent the carpet from unraveling and making a mess.
- Dispose of the Carpet: Once the carpet is fully removed, determine how to properly dispose of it. Check with your local waste management facilities to see if they accept carpet for disposal or provide any specific guidelines.
- Inspect the Subfloor: With the carpet removed, inspect the subfloor for any nails, staples, or debris. Remove anything that is sticking out or could potentially interfere with the installation of new flooring.
By following these steps, you can effectively remove the carpet and prepare the room for the next phase of your flooring project.
Removing Carpet Tack Strips
Once you have removed the carpet, the next step is to remove the carpet tack strips that are attached to the perimeter of the room. These strips are used to secure the carpet in place. Follow these steps to remove the tack strips:
- Gather the Necessary Tools: You will need a flathead screwdriver, pliers, and a hammer for this task.
- Wear Protective Gear: Put on your work gloves to protect your hands from any sharp edges or nails.
- Start at a Corner: Begin at a corner of the room and insert the flathead screwdriver between the tack strip and the floor.
- Gently Pry Up: Using the screwdriver as a leverage point, pry up the tack strip. Use the hammer to tap the screwdriver if needed.
- Continue Along the Perimeter: Work your way along the edges of the room, prying up the tack strip. Be cautious not to damage the flooring or the wall in the process.
- Remove Nails and Staples: Once the tack strip is removed, use pliers to pull out any remaining nails or staples from the subfloor.
- Dispose of the Tack Strips: Properly dispose of the tack strips according to your local waste management guidelines.
By removing the carpet tack strips, you’ll ensure a clean and smooth surface for the installation of your new flooring.
Removing Carpet Padding
After removing the carpet and tack strips, you’ll need to address the carpet padding that is typically placed underneath. Follow these steps to remove the carpet padding:
- Inspect the Padding: Take a close look at the padding to assess its condition. If it is in good shape and free from any mold, mildew, or odor, you may be able to reuse it. However, if it is worn out or damaged, it’s best to replace it.
- Start at a Corner: Begin at a corner of the room and locate the edge of the carpet padding. Use a utility knife or scissors to cut the padding into manageable sections.
- Peel Back the Padding: Once the padding is cut, start peeling it back from the subfloor. Depending on how it was installed, it may come up easily or require a bit of effort.
- Dispose of the Padding: If you are replacing the padding, dispose of it according to your local waste management guidelines. If the padding is in good condition, you can roll it up and store it for future use.
- Clean the Subfloor: Once the padding is removed, thoroughly clean the subfloor with a broom or vacuum to remove any debris or dust.
By removing the old carpet padding, you’ll ensure a clean and fresh foundation for the installation of your new flooring.
Cleaning Up
After successfully removing the carpet, tack strips, and padding, it’s time to clean up the area to make it ready for the next phase of your flooring project. Follow these steps to properly clean up:
- Vacuum or Sweep: Use a vacuum cleaner or broom to remove any loose dirt, debris, or leftover carpet fibers from the subfloor.
- Inspect for Nails or Staples: Double-check the subfloor for any remaining nails, staples, or other sharp objects. Remove them promptly to avoid any injuries or damage to the new flooring.
- Clean the Walls and Baseboards: Use a mild cleaning solution and a sponge or cloth to wipe down the walls and baseboards in the room. This will remove any dust, dirt, or scuff marks that may have accumulated during the carpet removal process.
- Check for Mold or Mildew: Inspect the subfloor for any signs of moisture, mold, or mildew. If any issues are found, address them before proceeding with the installation of the new flooring.
- Dispose of Waste Properly: Dispose of the removed carpet, tack strips, and padding according to your local waste management guidelines. Separate them for recycling if possible.
- Prepare for the Next Step: If you’re planning to install new flooring, ensure that the subfloor is clean, dry, and ready for the installation process as per the manufacturer’s instructions.
By thoroughly cleaning up the space, you’ll create a clean and well-prepared foundation for the next phase of your flooring project.
Read more: Why Is My Dog Ripping Up The Carpet
Conclusion
Ripping up a carpet may seem like a daunting task, but with the right tools and techniques, you can accomplish it successfully. By following the step-by-step process outlined in this article, you’ll be able to remove the old carpet and prepare the room for a fresh new look.
Remember to gather all the necessary tools, including a utility knife, pliers, gloves, and knee pads, before you begin. Take the time to prepare the room by clearing out furniture, opening windows and doors for ventilation, and wearing protective gear.
Start by cutting the carpet into manageable sections, being careful not to damage the subfloor. Then, remove each section, roll it up, and properly dispose of it. Next, remove the carpet tack strips and any remaining nails or staples from the subfloor.
If applicable, remove the carpet padding and clean up any debris or dust from the subfloor. Finally, perform a thorough cleaning of the room, including the walls and baseboards, before moving on to the next phase of your flooring project.
By following these steps and taking the necessary precautions, you’ll have a clean and prepared space for the installation of your new flooring. Enjoy the satisfaction of a job well done and the fresh, updated look of your newly transformed room.
Now that you have the knowledge and confidence to rip up a carpet, it’s time to get started and create a space you’ll love.
Frequently Asked Questions about What Do You Need To Rip Up A Carpet
Was this page helpful?
At Storables.com, we guarantee accurate and reliable information. Our content, validated by Expert Board Contributors, is crafted following stringent Editorial Policies. We're committed to providing you with well-researched, expert-backed insights for all your informational needs.