Articles
What Do You Need To Install A Carpet
Modified: August 23, 2024
Looking for articles on what you need to install a carpet? Discover the essential tools and step-by-step instructions to make your carpet installation project a success.
(Many of the links in this article redirect to a specific reviewed product. Your purchase of these products through affiliate links helps to generate commission for Storables.com, at no extra cost. Learn more)
Introduction
Installing a carpet can completely transform the look and feel of a room. Whether you’re renovating your home or refreshing a commercial space, a carpet adds warmth, comfort, and style. While hiring a professional installer is always an option, you can save money by installing the carpet yourself. However, before you dive into the project, it’s important to know what you need to successfully install a carpet.
Installing a carpet requires careful planning, accurate measurements, and the right tools and materials. In this article, we will guide you through the step-by-step process of installing a carpet. From measuring the area and choosing the perfect carpet to preparing the subfloor and finishing touches, we will cover everything you need to know to tackle this DIY project.
So, roll up your sleeves and let’s get started!
Key Takeaways:
- Properly measuring the area, choosing the right carpet, and preparing the subfloor are crucial steps for a successful DIY carpet installation. Attention to detail and careful planning will ensure a professional and polished result.
- Installing carpet padding, laying the carpet, and attending to finishing touches are essential for creating a comfortable and durable carpet installation. With the right knowledge and steps, you can transform your space with a beautiful and stylish carpet.
Read more: What Do You Need To Rip Up A Carpet
Step 1: Measuring the Area
The first step in installing a carpet is to accurately measure the area where you want to install it. This will ensure that you purchase the right amount of carpet and minimize waste. Here’s how to measure the area:
- Clear the space: Remove any furniture, rugs, or debris from the area to get a clear and accurate measurement.
- Start at a corner: Begin measuring from one corner of the room. Use a measuring tape and place it against the wall.
- Measure the length: Extend the measuring tape along the length of the room and record the measurement. If there are any alcoves or irregular shapes, measure those separately.
- Measure the width: Next, measure the width of the room from one side wall to the other. Again, record the measurement.
- Account for irregularities: If the room has any nooks, closets, or other irregular areas, measure those separately and add the measurements to your total length and width.
Once you have the length and width measurements, multiply them together to find the total square footage of the room. This will help you determine how much carpet you will need to purchase.
Keep in mind that it’s a good idea to add a little extra footage to your measurements to account for any cutting, trimming, or mistakes during installation. It’s better to have a little extra than to come up short.
With the area now properly measured, you can move on to the next step: choosing the right carpet.
Step 2: Choosing the Right Carpet
Choosing the right carpet is a crucial step in the carpet installation process. The type and style of carpet you choose will have a significant impact on the overall look and feel of the space. Consider the following factors when selecting your carpet:
- Foot Traffic: Determine the level of foot traffic in the area where the carpet will be installed. For high-traffic areas like hallways or living rooms, opt for a durable and stain-resistant carpet.
- Material: Carpets come in a variety of materials, including nylon, polyester, wool, and more. Each material has its own set of advantages and disadvantages, so consider factors such as durability, comfort, and maintenance requirements when making your choice.
- Style: Choose a carpet style that complements the aesthetics of your space. Options include plush, saxony, berber, and more. Consider the color, pattern, and texture of the carpet to ensure it matches the overall design scheme.
- Budget: Set a budget for your carpet installation project. Different carpet materials and styles come with varying price ranges, so it’s important to find a carpet that fits within your budget without compromising on quality.
- Underpadding: Don’t forget about underpadding! Underpadding provides extra cushioning and insulation and helps to extend the life of your carpet. Consider the type and thickness of underpadding that best suits your needs.
Once you have evaluated these factors and have a clear idea of the type of carpet you want, it’s time to visit a carpet store or explore online options. Don’t hesitate to ask for samples or expert advice to ensure you make an informed decision.
With the perfect carpet chosen, you’re ready to move on to the next step: preparing the subfloor.
Step 3: Preparing the Subfloor
Before installing the carpet, it is important to properly prepare the subfloor. The subfloor is the underlying surface, and it needs to be clean, smooth, and dry for the carpet installation to be successful. Follow these steps to prepare the subfloor:
- Clean the subfloor: Remove any debris, dust, or dirt from the subfloor. Sweep or vacuum the floor thoroughly, ensuring that it is free from any loose particles.
- Repair any damages: Inspect the subfloor for any damages such as cracks, holes, or uneven areas. Fill in any gaps or repair any damages using an appropriate leveling compound or patching material. Allow it to dry and sand it down if needed.
- Check for moisture: It is crucial to check the moisture levels in the subfloor as excess moisture can lead to mold or damage to the carpet. Use a moisture meter to test the moisture content of the subfloor. If there are high levels of moisture, you may need to address the issue before proceeding with the installation.
- Remove protruding objects: Check the subfloor for any nails, screws, or other protruding objects that can interfere with the carpet installation. Remove or secure them properly to ensure a smooth surface.
- Smooth the subfloor: If the subfloor has rough or uneven areas, sand them down or use a floor leveling compound to create a smooth and even surface. This will prevent visible bumps or lumps in the carpet and help with the overall installation process.
Properly preparing the subfloor is essential for a successful carpet installation. By taking the time to clean, repair, and level the subfloor, you will ensure that your carpet lays flat and remains in good condition for years to come. Once the subfloor is ready, you can proceed to the next step: installing the carpet padding.
Step 4: Installing Carpet Padding
Installing carpet padding is an important step that adds cushioning, insulation, and durability to your carpet. The padding creates a comfortable and supportive base for the carpet, enhancing its lifespan and overall performance. Follow these steps to install carpet padding:
- Measure and cut the padding: Using your measurements from Step 1, roll out the carpet padding and cut it to fit the dimensions of the room. Overlap the edges by a few inches to ensure a seamless coverage.
- Lay out the padding: Start at one corner of the room and unroll the padding parallel to the wall. Smooth out any wrinkles or folds and ensure that the padding covers the entire area without gaps.
- Secure the padding: Use a staple gun or adhesive tape to secure the padding in place. Place staples or tape along the edges of the padding, approximately every 6-8 inches. Make sure the padding is firmly attached to the subfloor, but avoid overstretching it.
- Trim excess padding: Once the padding is secure, trim off any excess material that extends beyond the edges of the room. Use a utility knife to cut along the walls or baseboards, leaving a clean and even edge.
Installing carpet padding is a crucial step as it provides a comfortable and supportive foundation for your carpet. The padding helps to absorb impact, reduce noise, and prevent the carpet from wearing down quickly. With the padding in place, you can move on to the next step: laying the carpet.
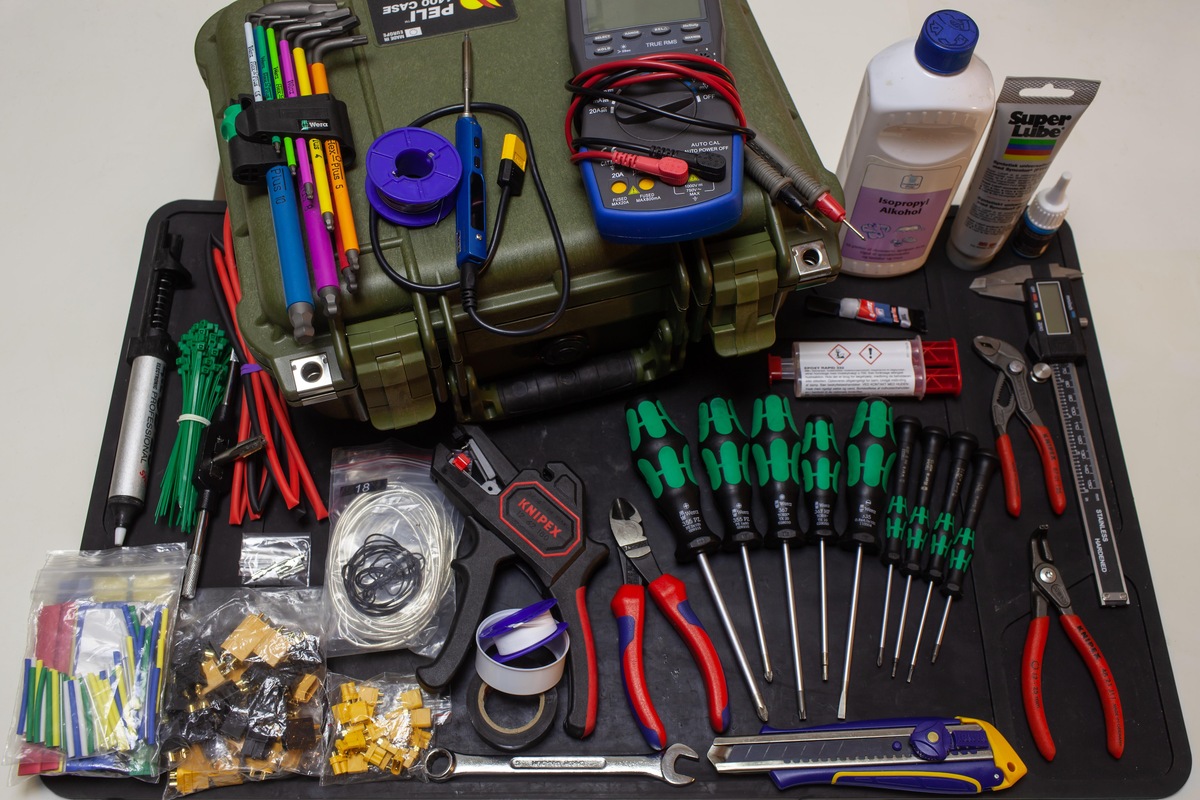
Before installing a carpet, make sure to have the necessary tools and materials on hand, including a carpet knife, tack strips, carpet padding, and a knee kicker for stretching the carpet.
Read more: What Do You Need For A Picnic
Step 5: Laying the Carpet
Now that the subfloor is prepared and the carpet padding is installed, it’s time to lay the carpet. Follow these steps to ensure a smooth and successful carpet installation:
- Roll out the carpet: Start by rolling out the carpet in the room, making sure it is aligned with the walls and properly centered. Allow the carpet to overlap the edges of the room by a few inches.
- Trim excess carpet: Use a carpet cutter or utility knife to trim off the excess carpet along the walls. Make sure to leave a small allowance for tucking the carpet under the baseboards or trim.
- Position the carpet: Adjust the carpet to ensure it is properly positioned and centered in the room. Avoid stretching the carpet too tightly, as it may lead to buckling or wrinkling over time.
- Tuck the carpet edges: Using a knee kicker or carpet stretcher, push the edges of the carpet toward the walls and create a smooth and tight fit. Use a carpet trimmer or utility knife to trim any excess carpet that extends beyond the edges.
- Seam the carpet if necessary: If the room requires multiple sections of carpet, you may need to seam it together. Follow the manufacturer’s instructions or seek professional assistance to ensure a seamless and secure seam.
Take your time to lay the carpet carefully, making sure there are no wrinkles, bubbles, or uneven sections. It’s important to achieve a smooth and professional finish.
With the carpet laid out, you can move on to the next step: trimming and securing the carpet.
Step 6: Trimming and Securing the Carpet
Trimming and securing the carpet is an essential step in ensuring a neat and secure installation. Follow these steps to trim and secure the carpet properly:
- Trim excess carpet: Use a carpet trimmer or utility knife to trim any excess carpet along the edges of the room. Make clean and precise cuts, ensuring that the carpet fits snugly against the walls or baseboards.
- Tuck the carpet: Tuck the trimmed edges of the carpet under the baseboards or trim using a putty knife or carpet tucker tool. Make sure to push the carpet securely into the gap, creating a neat and finished look.
- Secure the carpet: Use a carpet kicker or power stretcher to stretch the carpet and ensure a tight fit. Start at one end of the room and work your way along the edges, applying even pressure to secure the carpet in place.
- Attach transition strips: If there are any transitions from carpet to other flooring types, install transition strips to create a seamless and safe transition. Secure the strips according to the manufacturer’s instructions, using screws or adhesive.
- Trim any visible seams: If you have seamed sections of carpet, use a carpet seam cutter to trim off any visible seams. Make sure the seams are properly aligned and the edges are flush for a seamless appearance.
By trimming and securing the carpet, you will create a clean and professional-looking installation. Take your time during this step to ensure precision and attention to detail.
With the carpet properly trimmed and secured, it’s time for the final step: finishing touches and cleanup.
Step 7: Finishing touches and Cleanup
After successfully installing the carpet, there are a few final touches and cleanup steps to complete the project. Follow these steps to add those finishing touches:
- Trim excess padding: If there is any excess padding visible along the edges of the carpet, use a utility knife or scissors to trim it flush with the carpet.
- Inspect for loose threads: Carefully inspect the carpet for any loose threads or snags. Use a pair of scissors to trim them off, ensuring a clean and presentable surface.
- Vacuum the carpet: Give the newly installed carpet a thorough vacuuming to remove any dirt, debris, or loose fibers. This will help the carpet settle into place and maintain its appearance.
- Replace furniture and accessories: Once the carpet is clean, you can reinstall any furniture or accessories that were removed during the installation process. Use furniture pads or coasters to protect the carpet from indentations or damage.
- Dispose of waste: Properly dispose of any waste materials, such as leftover carpet scraps or discarded padding. Check local regulations for guidelines on disposal methods.
- Admire your work: Take a moment to step back and admire your newly installed carpet. Enjoy the transformed space and the comfort it brings to your home or office.
By completing these finishing touches and cleanup steps, you’ll ensure that your carpet installation project is fully completed and ready to be enjoyed.
Congratulations! You have successfully installed your carpet. With proper maintenance and care, your new carpet will provide long-lasting beauty and comfort to your living or working space.
Remember, if you encounter any difficulties during the installation process or if you are unsure about any step, it is always wise to consult a professional carpet installer for guidance and assistance.
Conclusion
Installing a carpet may seem like a daunting task, but with the right knowledge and steps, it can be a rewarding DIY project. By following the step-by-step guide outlined in this article, you have learned how to measure the area, choose the right carpet, prepare the subfloor, install carpet padding, lay the carpet, trim and secure it, and add the finishing touches.
Properly measuring the area ensures that you purchase the right amount of carpet, while choosing the right carpet material, style, and underpadding ensures a comfortable and durable installation. Preparing the subfloor sets the foundation for a smooth carpet installation, and installing carpet padding enhances the carpet’s performance and lifespan.
Laying the carpet, trimming and securing it, and attending to the finishing touches create a professional and polished look. By completing the cleanup steps, you wrap up the installation process and can enjoy your newly installed carpet.
While it is possible to install a carpet yourself, always remember that seeking professional assistance is an option if you feel unsure or encounter difficulties during the process.
With your new carpet in place, take the time to maintain it properly with regular vacuuming, cleaning up spills immediately, and scheduling professional carpet cleaning as needed. By doing so, you can prolong the life of your carpet and keep it looking fresh and inviting for years to come.
So, go ahead and transform your living space with a beautiful and comfortable carpet installation. With the knowledge gained from this guide, you’re ready to tackle the task and enjoy the benefits of a refreshed and stylish environment.
Frequently Asked Questions about What Do You Need To Install A Carpet
Was this page helpful?
At Storables.com, we guarantee accurate and reliable information. Our content, validated by Expert Board Contributors, is crafted following stringent Editorial Policies. We're committed to providing you with well-researched, expert-backed insights for all your informational needs.