Articles
How To Fix A Carpet Ripped Up By A Dog
Modified: October 20, 2024
Learn effective techniques and expert tips in our articles on how to fix a carpet that has been torn up by your dog.
(Many of the links in this article redirect to a specific reviewed product. Your purchase of these products through affiliate links helps to generate commission for Storables.com, at no extra cost. Learn more)
Introduction
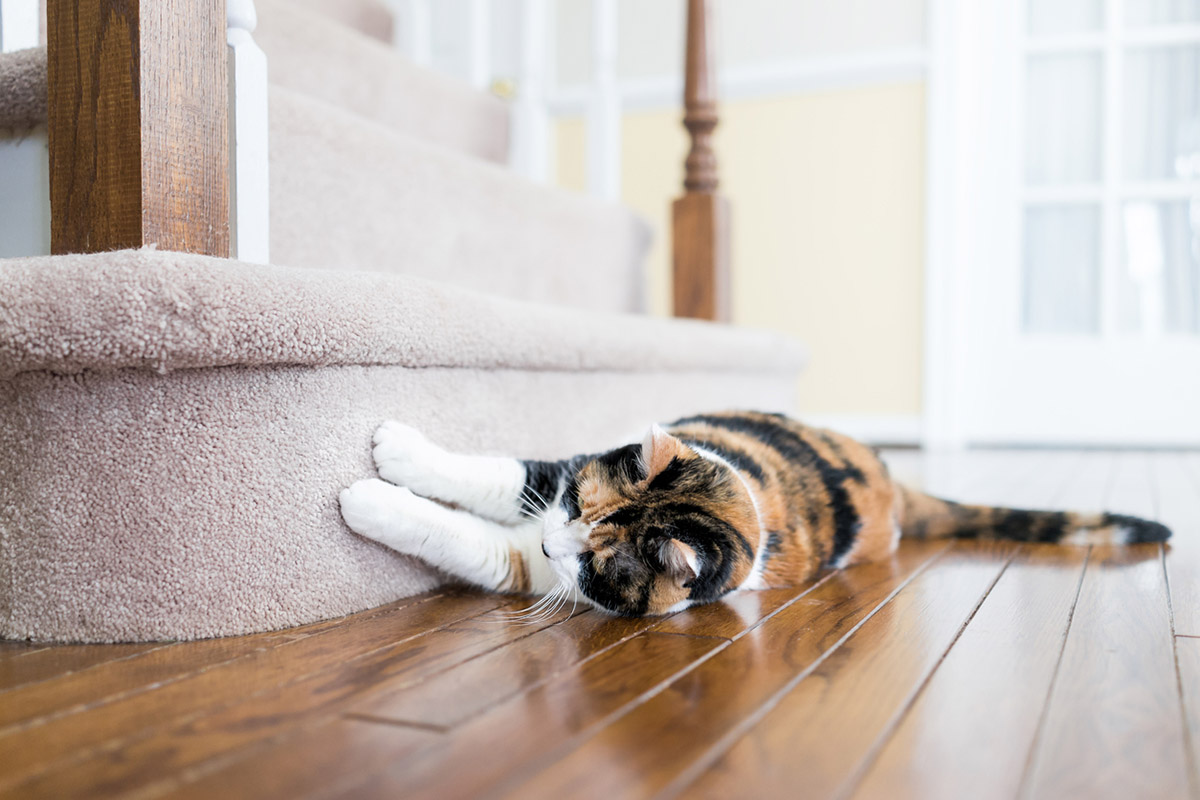
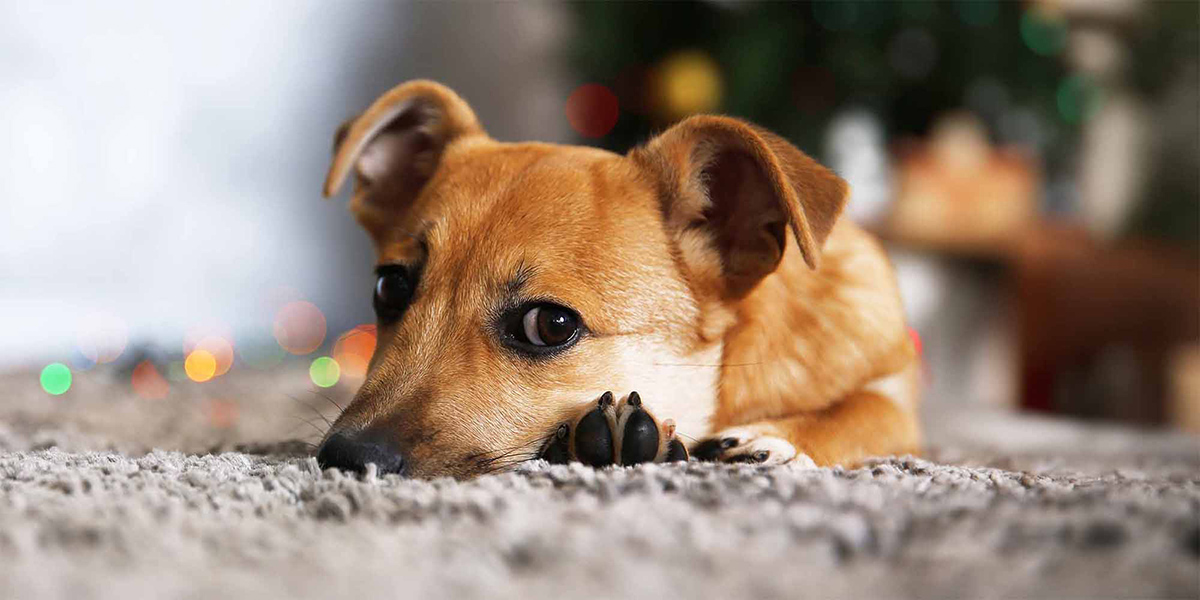
Having a dog at home can bring immeasurable joy and love into your life. However, sometimes our furry friends can also cause some havoc, like ripping up the carpet. Whether it was due to boredom, anxiety, or simply a momentary lapse in judgment, a ripped up carpet can be a frustrating sight for any pet owner.
But fear not! In this article, we will guide you through the steps to fix a carpet that has been torn up by your canine companion. With a little bit of effort and the right tools, you can restore your carpet to its former glory and ensure a paw-friendly home once again.
Before jumping into the repair process, it’s important to assess the extent of the damage and determine if it’s something you can tackle on your own or if professional help may be necessary. Minor rips or tears can typically be fixed with DIY methods, but if the damage is extensive or if you’re unsure of how to proceed, it’s best to consult a professional carpet repair service.
Now, let’s roll up our sleeves and get started on repairing that ripped up carpet!
Key Takeaways:
- Repairing a ripped-up carpet caused by a dog is achievable with the right tools and techniques. Assess the damage, gather supplies, apply adhesive, and blend the repair seamlessly for a professional outcome.
- After fixing the carpet, clean and remove any stains or odors for a fresh and pet-friendly home. Take proactive measures to prevent future damage by providing toys, mental stimulation, and regular exercise for your furry friend.
Read more: Why Is My Dog Ripping Up The Carpet
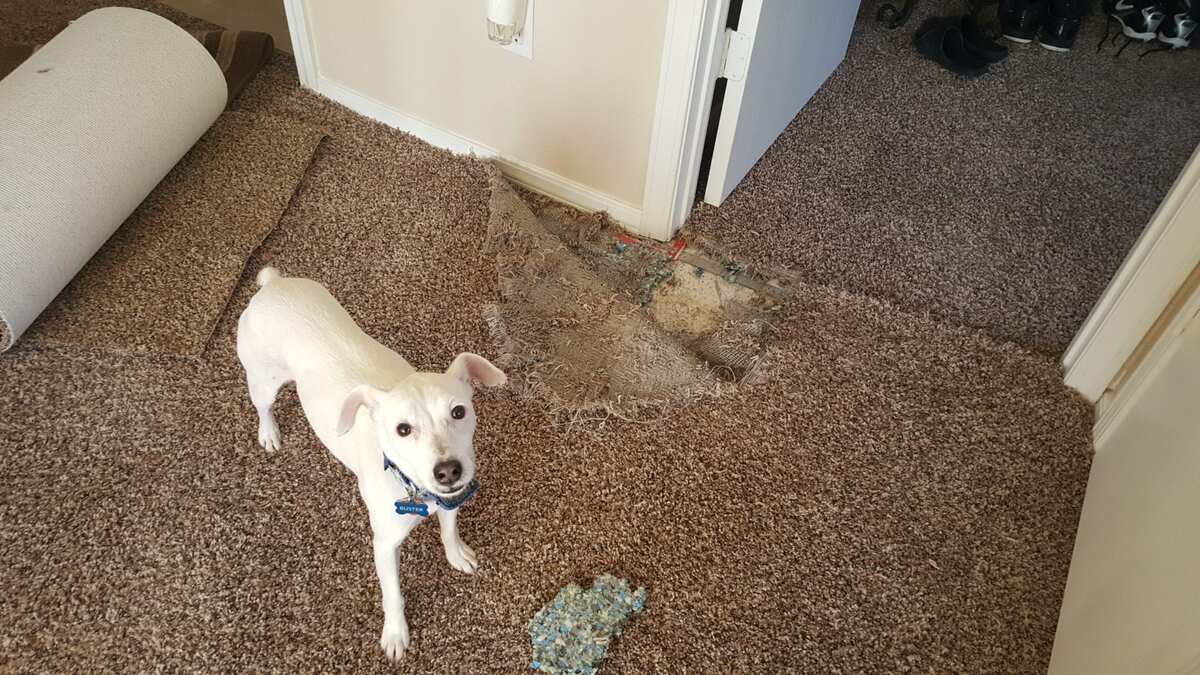
Step 1: Assess the damage
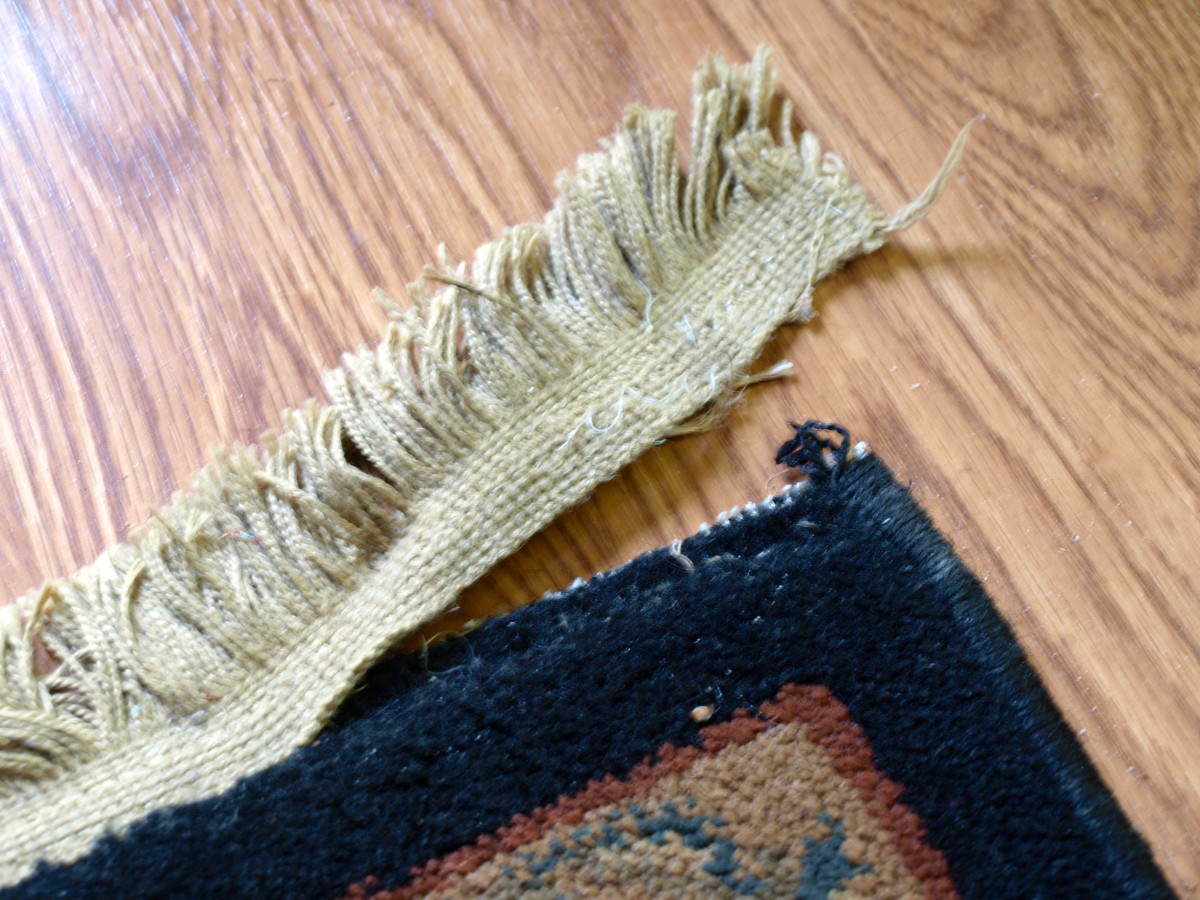
The first step in fixing a carpet that has been ripped up by a dog is to assess the extent of the damage. Take a close look at the area and determine the size and shape of the tear or rip. Is it a small hole or a larger section of carpet that has been pulled up?
Next, inspect the surrounding carpet to see if there are any loose fibers or frayed edges that may need to be trimmed. It’s also important to check if the padding underneath the carpet has been damaged or if it’s still intact.
Assessing the damage will help you determine the best course of action for the repair. If it’s a minor tear or rip, you may be able to fix it yourself. However, if the damage is more extensive or if you’re unsure of how to proceed, it’s best to seek professional help.
Additionally, it’s important to consider the age and condition of your carpet. If the carpet is old and worn, it may be a good opportunity to consider replacing it instead of repairing it. On the other hand, if it’s a relatively new carpet and the damage is isolated to a small area, repairing it may be a more cost-effective solution.
Keep in mind that assessing the damage is not only about evaluating the physical appearance of the carpet but also looking out for any underlying issues, such as subfloor damage or signs of moisture. These factors will also influence the repair process and determine if any additional steps or materials are needed.
Once you have a clear understanding of the extent of the damage, you can move on to the next step and gather the necessary tools and materials for the repair.
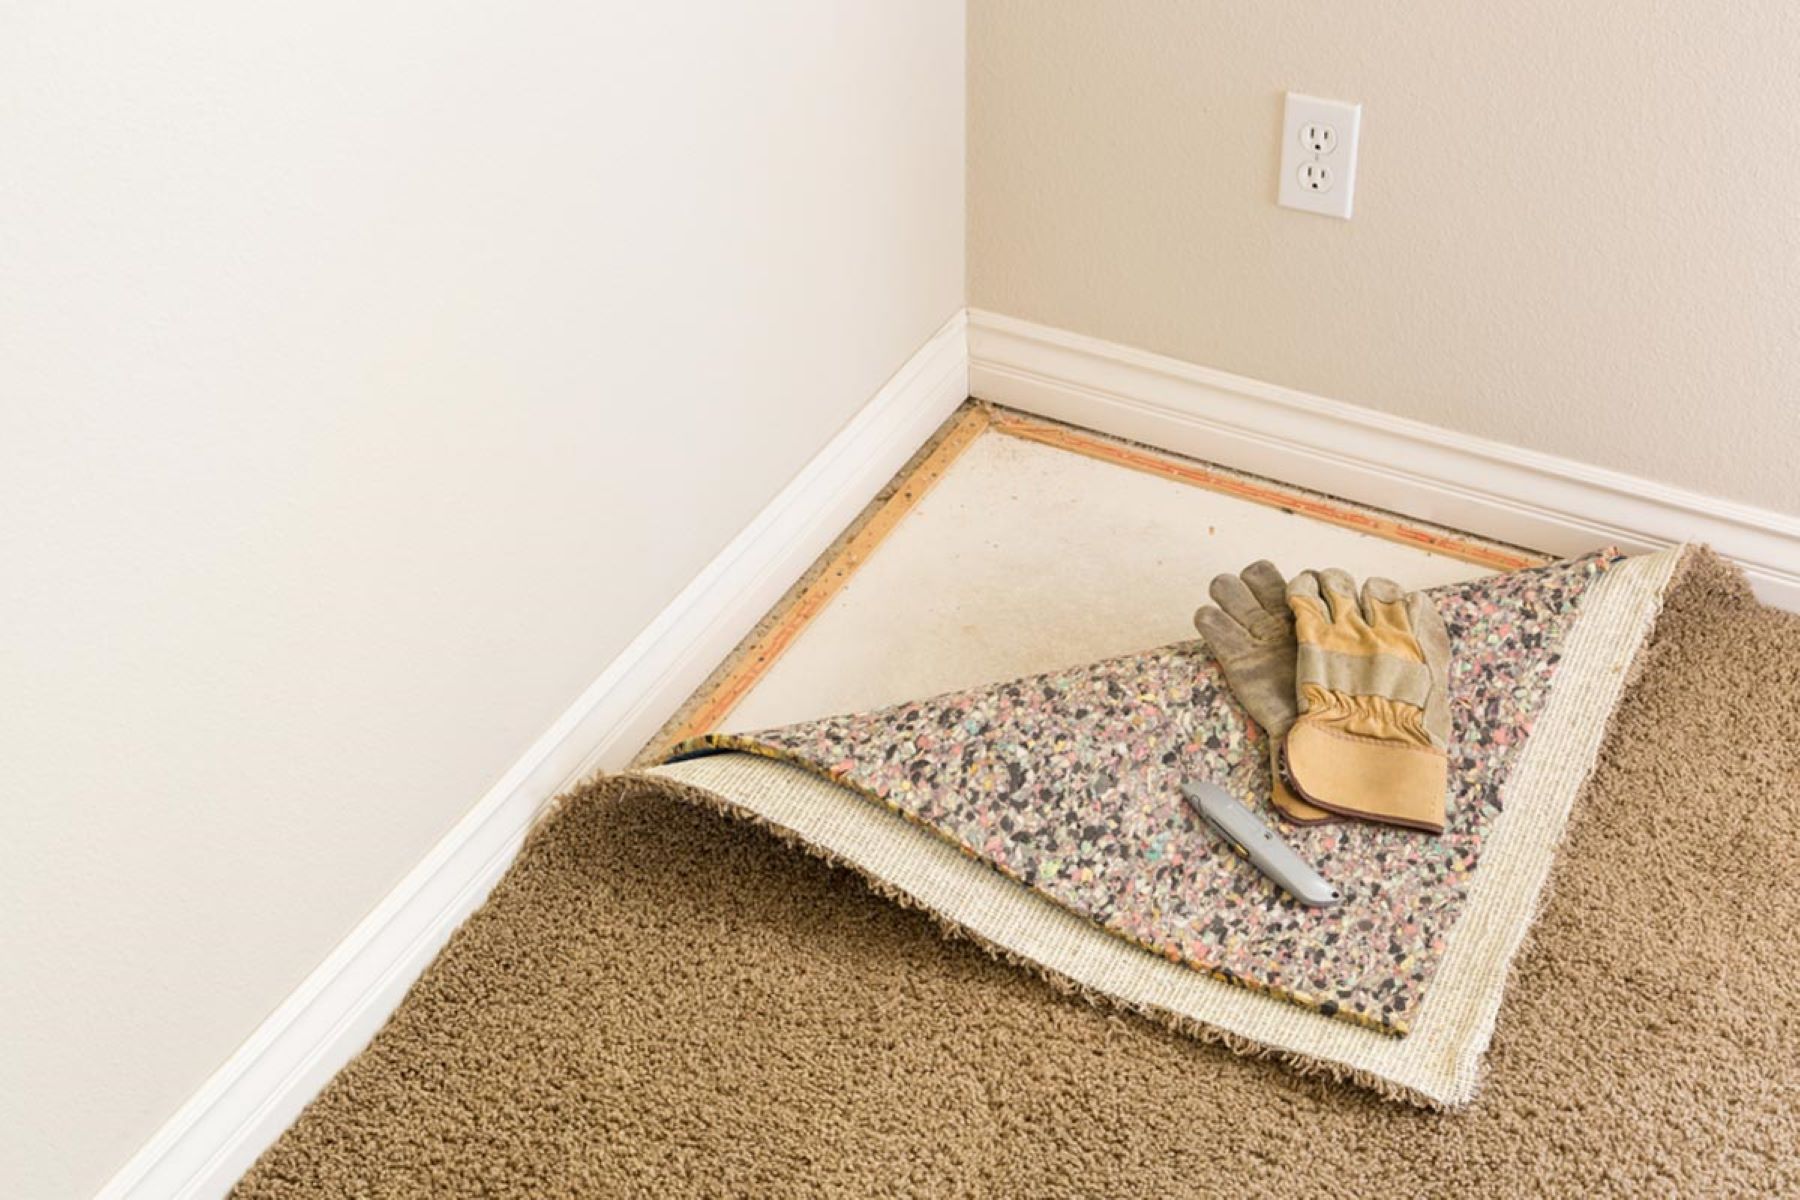
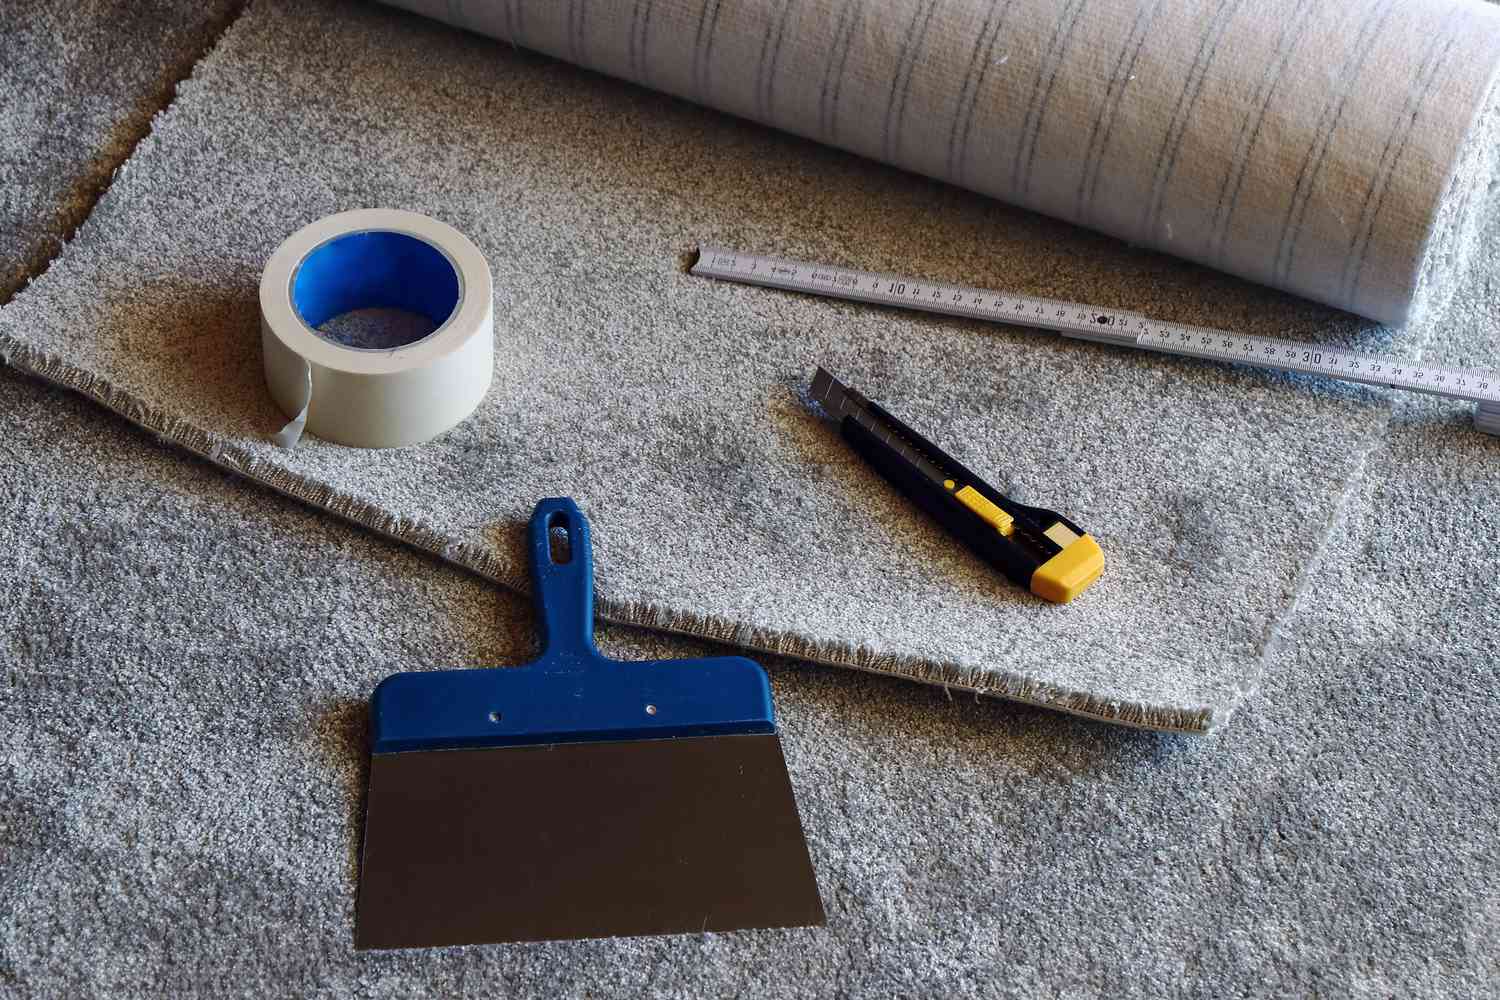
Step 2: Gather necessary tools and materials
Now that you have assessed the damage to your carpet, it’s time to gather the tools and materials you’ll need for the repair. Having the right supplies on hand will ensure a smooth and successful outcome.
Here are the essential tools and materials you’ll need:
- Carpet adhesive or carpet glue: This is essential for securing the carpet back down to the floor. Make sure to choose a high-quality adhesive that is compatible with your carpet material.
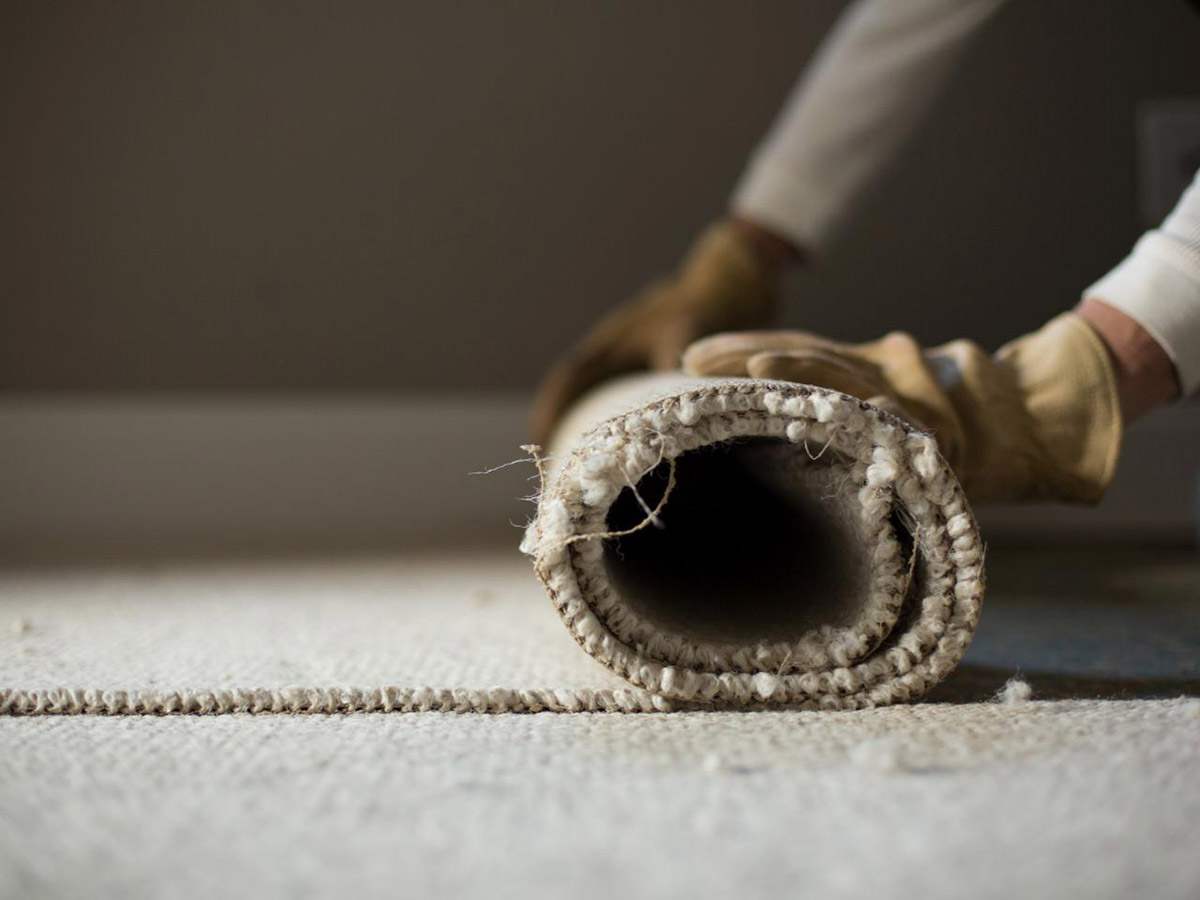
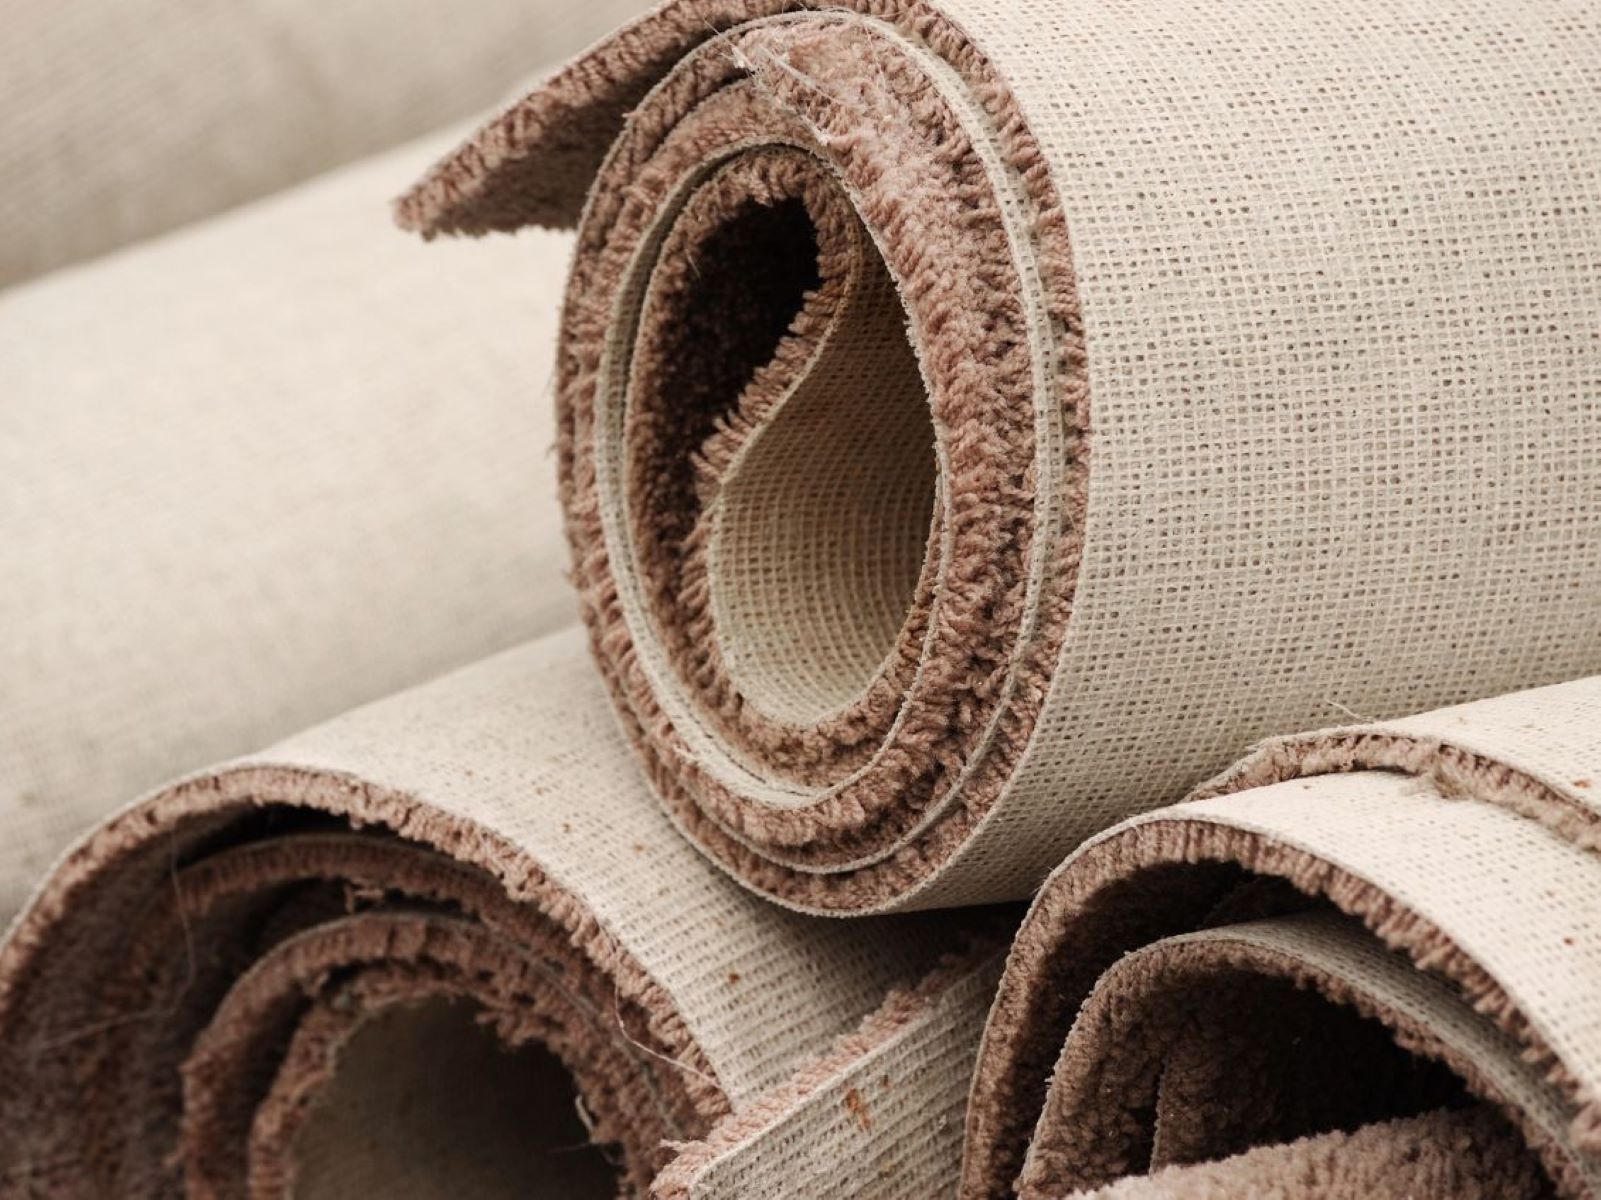
- Carpet patch or spare carpet: If the damage is extensive or if you need to replace a section of carpet, having a spare piece or a carpet patch that matches your existing carpet will be necessary.
- Utility knife or carpet knife: You’ll need a sharp knife to trim loose fibers, cut out damaged sections, and make precise cuts.
- Scissors: A good pair of scissors will come in handy for trimming excess carpet fibers and ensuring a neat finish.
- Tape measure: Accurate measurements are important when cutting out patches or determining the size of adhesive needed.
- Small brush or roller: This will be used to apply the adhesive evenly and ensure a secure bond between the carpet and the floor.
- Protective gloves: It’s always a good idea to wear gloves to protect your hands during the repair process.
Make sure to gather all the necessary tools and materials before you begin the repair. This will save you time and frustration during the process.
In addition to these tools and materials, you may also consider having some cleaning supplies on hand. Depending on the extent of the damage, you may need to clean the area or remove any stains or odors caused by your furry friend. Carpet cleaner, stain remover, and odor neutralizer can be useful in these situations.
With your tools and materials ready, you can now move on to the next step and start repairing the ripped up carpet!
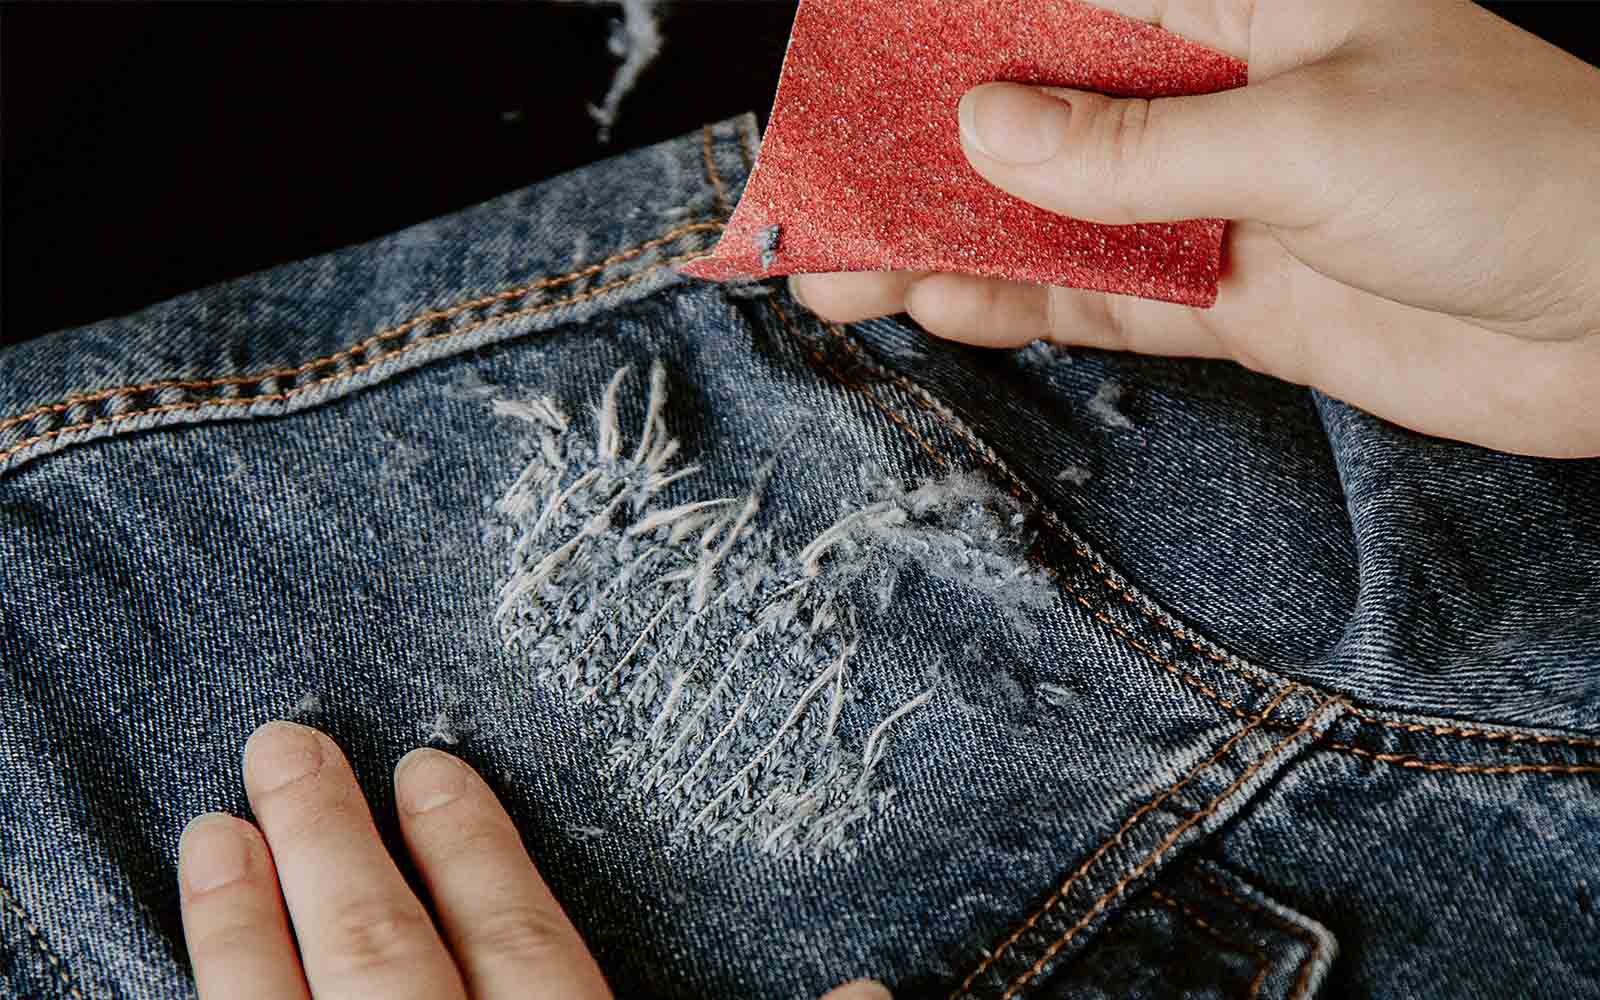
Step 3: Trim loose fibers and smooth out the area
Once you have gathered all the necessary tools and materials, it’s time to move on to the next step: trimming loose fibers and smoothing out the area.
Start by using a pair of scissors or a utility knife to carefully trim any loose or frayed fibers around the torn or ripped area of the carpet. This will help ensure a clean and even edge for the repair.
Next, check the surrounding carpet to see if there are any uneven or raised edges. If there are, use the utility knife to carefully trim them down so that the surface is smooth. It’s important to create a level surface for the adhesive to adhere to and to prevent any bumps or lumps in the repaired area.
If the carpet has been pulled up completely, gently stretch it back into place, making sure it aligns properly with the surrounding carpet. Use your hands or a carpet roller to smooth out any wrinkles or air bubbles. This will help create a seamless transition between the repaired section and the rest of the carpet.
If there are any gaps or missing sections of carpet, now is the time to cut out a replacement piece from a spare carpet or a carpet patch that matches your existing carpet. Measure the dimensions of the area and transfer them onto the replacement piece using a tape measure and a marker. Use a straight edge or a cutting guide to ensure clean and straight cuts.
Before moving on to the next step, take a moment to ensure that the area is free of any dust, debris, or loose fibers. This will help create a clean surface for the adhesive to bond to and ensure a strong and durable repair.
With loose fibers trimmed and the area smoothed out, you’re now ready to proceed to the next step and apply the adhesive or carpet glue.
Step 4: Apply adhesive or carpet glue
Now that you’ve trimmed the loose fibers and smoothed out the area, it’s time to apply the adhesive or carpet glue to secure the carpet back down. This step is essential for ensuring a long-lasting and secure repair.
Start by carefully lifting the torn or ripped section of carpet. Using a small brush or a roller, apply a generous amount of adhesive or carpet glue to the subfloor or the backside of the carpet. Make sure to spread the adhesive evenly, covering the entire area that will be in contact with the subfloor.
If you’re using a carpet patch, apply adhesive to the backside of the patch as well. This will help create a strong bond between the patch and the existing carpet.
Remember to follow the manufacturer’s instructions when it comes to the application of the adhesive or carpet glue. Different products may have different drying times or application methods.
Once the adhesive or carpet glue is applied, carefully press the carpet down onto the subfloor or the patch. Apply firm and even pressure, making sure the carpet is securely bonded to the surface.
If needed, use a carpet roller to roll over the repaired section. This will help ensure a strong and uniform bond and remove any trapped air bubbles.
Continue pressing and rolling the carpet until you’re satisfied with the adhesion and the appearance of the repair. Take your time to make any necessary adjustments to ensure a seamless transition between the repaired section and the rest of the carpet.
Once the carpet is firmly secured in place, allow the adhesive or carpet glue to dry completely. Refer to the manufacturer’s instructions for the recommended drying time.
With the adhesive or carpet glue drying, you can move on to the next step, which involves trimming any excess fibers and blending the repaired section with the surrounding carpet.
Use a carpet patch kit to repair the ripped area. Cut out the damaged section, replace it with a matching piece, and secure with adhesive.
Read more: What Do You Need To Rip Up A Carpet
Step 5: Press the carpet down firmly
After applying the adhesive or carpet glue, the next step is to press the carpet down firmly to ensure a secure bond. This step is crucial for achieving a professional-looking repair that will withstand everyday use and foot traffic.
Using your hands or a carpet roller, apply even pressure to the repaired section of the carpet. Focus on areas where the carpet is lifted or where the adhesive has been applied. Press down firmly to create a tight bond between the carpet and the subfloor or the patch.
Make sure to work from the center of the repair towards the edges, smoothing out any wrinkles or air bubbles as you go. This will help create a seamless transition between the repaired section and the rest of the carpet.
If you’re using a carpet roller, roll it over the repaired area in different directions to ensure that the adhesive is evenly distributed and any trapped air bubbles are released. The goal is to achieve a flat and smooth surface that blends seamlessly with the surrounding carpet.
Take your time during this step and pay attention to any areas that may require additional pressing or smoothing. It’s essential to ensure that the carpet is fully secured and there are no loose edges or raised sections.
Once you have pressed the carpet down firmly and are satisfied with the appearance, it’s important to allow the adhesive or carpet glue to dry completely according to the manufacturer’s instructions. This will typically take several hours, but it’s best to refer to the specific product guidelines for the recommended drying time.
With the carpet securely pressed down, you’re now ready for the next step: trimming any excess fibers and blending the repaired section with the surrounding carpet.
Step 6: Allow the adhesive to dry
After pressing the carpet down firmly, it’s crucial to allow the adhesive or carpet glue to dry completely before moving forward. This step is essential for ensuring a strong and durable repair that will stand the test of time.
The drying time for the adhesive can vary depending on the product and the environmental conditions. It’s important to follow the manufacturer’s instructions for the specific adhesive or carpet glue you’re using. Typically, the drying process can take a few hours, but it’s best to refer to the guidelines provided.
During the drying period, it’s important to avoid any heavy foot traffic or placing any furniture on the repaired area. This will give the adhesive enough time to set and bond securely. Restrict access to the repaired portion of the carpet to prevent accidental damage or disruption to the drying process.
In some cases, it may be necessary to place a weight, such as a heavy object or a stack of books, on top of the repaired area. This can help promote even pressure and ensure a strong bond between the carpet and the subfloor or the patch.
Be patient and allow sufficient time for the adhesive to dry completely. Rushing the process can lead to a compromised repair and potentially undo all the hard work you’ve put into fixing the carpet.
Once the adhesive is fully dry, you can proceed to the next step, which involves trimming any excess fibers and seamlessly blending the repaired section with the surrounding carpet.
Step 7: Trim excess fibers and blend in with surrounding carpet
After allowing the adhesive to dry, it’s time to trim any excess fibers and seamlessly blend the repaired section with the surrounding carpet. This step will ensure a polished and professional-looking repair.
Begin by inspecting the repaired area for any fibers that may be sticking up or standing out. Using a pair of scissors, carefully trim these excess fibers to create a neat and even surface. Be cautious not to cut too much or inadvertently create a noticeable difference in height between the repaired section and the rest of the carpet.
As you trim the excess fibers, take care to blend the repaired area with the surrounding carpet. This can be achieved by gently using the scissors to create small, random snips on the edges of the repaired section. These strategic snips will help blend the fibers together, making the repair less noticeable.
Pay attention to the direction and pattern of the surrounding carpet while trimming. By mimicking the natural flow of the carpet’s fibers, you can create a seamless transition between the repaired section and the rest of the carpet.
Continue to trim and blend as needed until you achieve a visually cohesive result. Step back occasionally to assess your progress from different angles and lighting conditions. Making small adjustments as you go along will help create a repair that is virtually undetectable.
Once you are satisfied with the trimming and blending, take a moment to gently brush the repaired area with your hand in the direction of the surrounding carpet fibers. This will further blend the repaired section with the rest of the carpet and give it a uniform appearance.
With the excess fibers trimmed and the repair seamlessly blended, it’s time to move on to the final step: cleaning and removing any stains or odors that may have been caused by the damage.
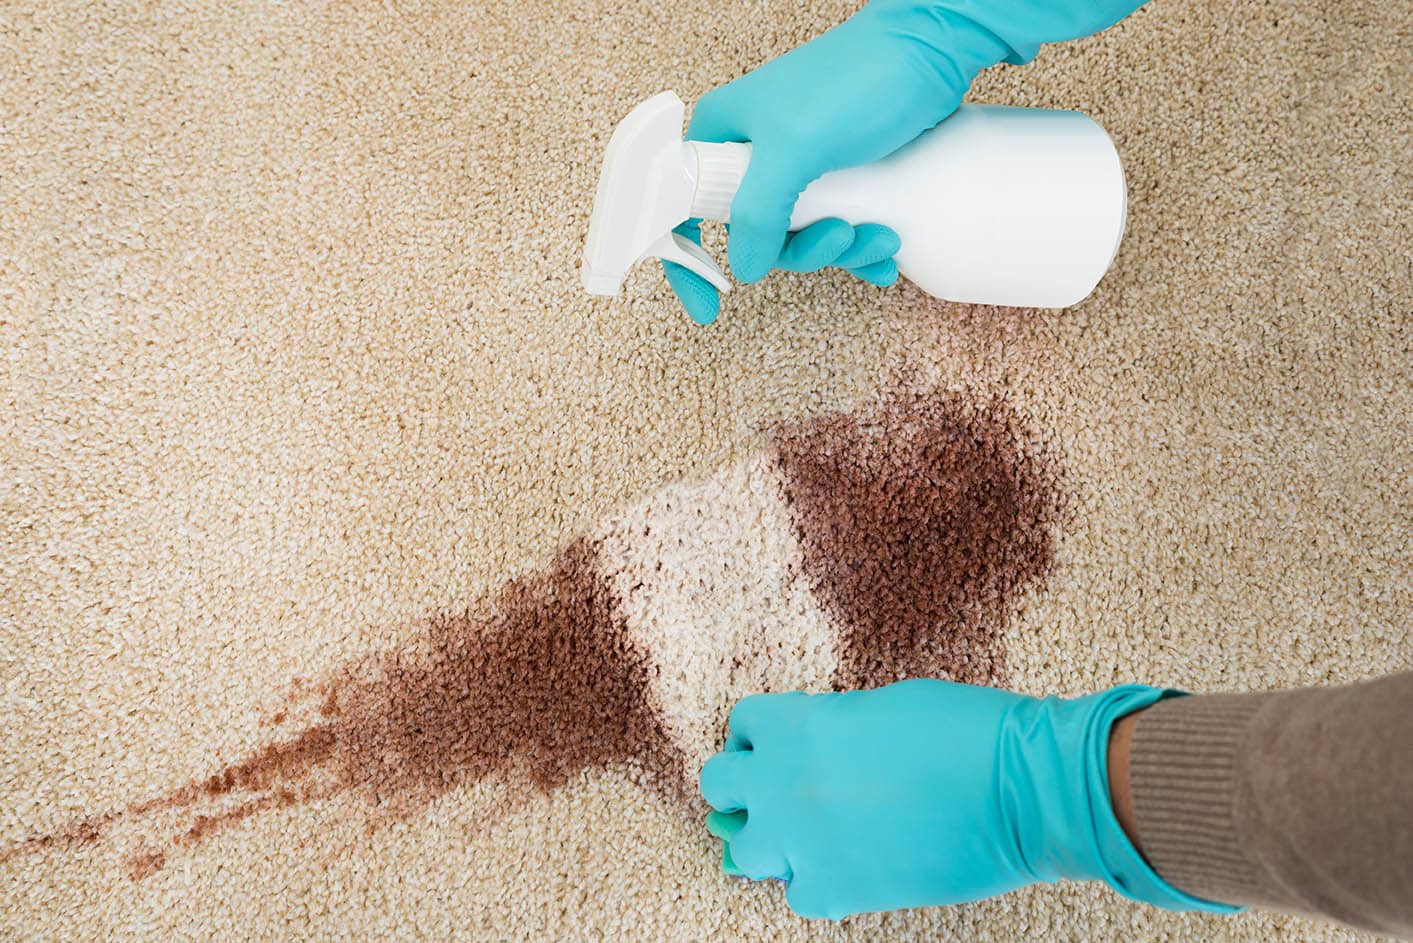
Step 8: Clean and remove any stains or odor
After successfully repairing the torn or ripped carpet and blending it with the surrounding area, it’s important to clean and remove any stains or odors that may have resulted from the damage. This final step will leave your carpet looking fresh and odor-free.
If there are any visible stains on the carpet, start by addressing them with an appropriate stain remover. Choose a stain remover that is specifically designed for your carpet material and the type of stain you’re dealing with, such as pet stains, food spills, or dirt marks.
Follow the instructions on the stain remover product, applying it to the affected area and gently working it into the carpet fibers. Use a clean, white cloth or sponge to blot and lift the stain. Avoid rubbing or scrubbing, as this can spread the stain further or damage the carpet fibers.
Once the stain has been treated, clean the surrounding area with a carpet cleaner to ensure a consistent appearance. Be sure to read the directions on the carpet cleaner product and follow the recommended application method.
If there is any lingering odor from the damage, use an odor neutralizer specifically formulated for carpets. These products are designed to break down and eliminate the source of the odor rather than just masking it. Follow the instructions on the odor neutralizer product, applying it to the affected area and allowing it to work its magic.
In some cases, professional carpet cleaning may be necessary to thoroughly clean and deodorize the area. If you’re unsure about how to effectively remove stains or odors or if they persist after your attempts, it may be best to seek professional assistance.
Remember to allow sufficient drying time after the cleaning process. Properly ventilate the room and ensure that the carpet is completely dry before resuming regular foot traffic or placing furniture back on the cleaned area.
By cleaning and removing any stains or odors, you not only restore the appearance of the carpet but also create a clean and fresh environment for you and your furry friend.
Congratulations! You have successfully repaired a carpet that was ripped up by your dog. With the right tools, materials, and techniques, you were able to restore your carpet to its former glory and make your home pet-friendly once again.
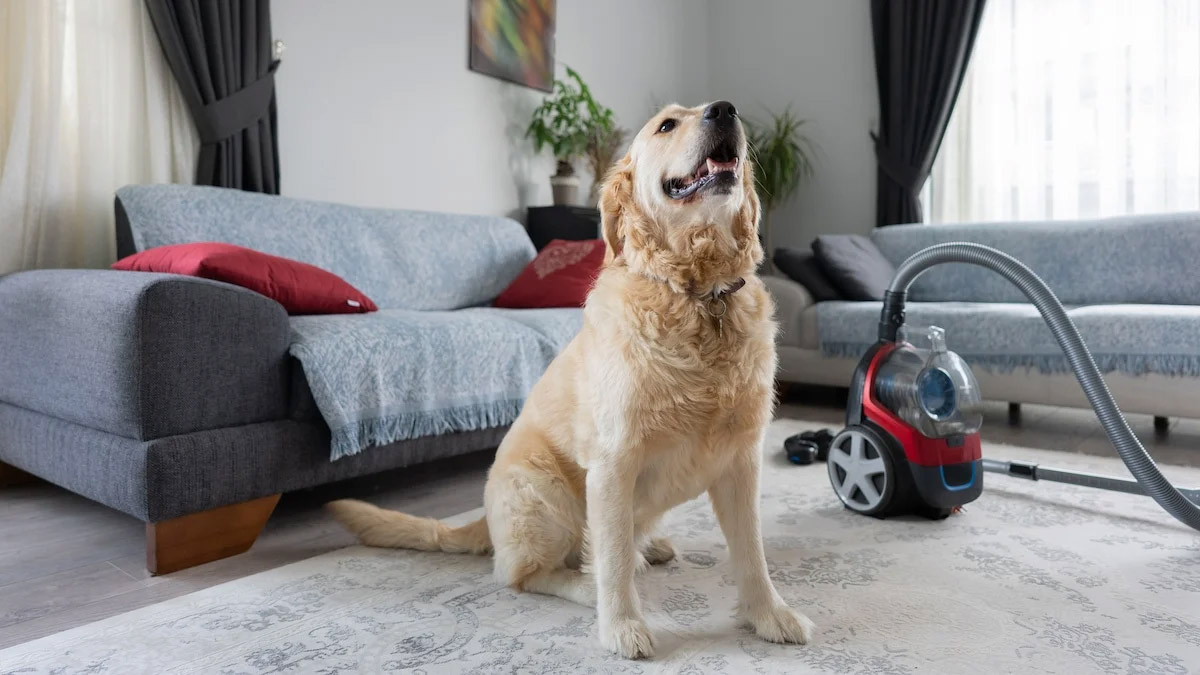
Remember to keep an eye on your furry companion and take proactive measures to prevent future damage, such as providing appropriate toys, mental stimulation, and regular exercise. By addressing any potential causes of destructive behavior, you can minimize the chances of having to repeat this repair process in the future.
Enjoy your beautiful, intact carpet and the love and joy that your dog brings to your life!
Read more: How To Rip Up Tile Floor
Conclusion
Fixing a carpet that has been ripped up by a dog may seem like a daunting task, but with the right steps and techniques, it is definitely achievable. By following the repair process outlined in this article, you can restore your carpet to its former glory and create a pet-friendly home environment.
Assessing the damage, gathering the necessary tools and materials, trimming loose fibers, applying adhesive, and pressing the carpet down firmly are all crucial steps in the repair process. Allowing the adhesive to dry, trimming excess fibers, and blending the repaired section with the surrounding carpet are essential for achieving a professional-looking outcome.
Finally, don’t forget to clean and remove any stains or odors that may have been caused by the damage. By taking these extra steps, you can ensure that your carpet not only looks great but also smells fresh and clean.
Remember, each step requires patience, attention to detail, and the appropriate tools and materials. By being thorough and following the instructions, you can successfully fix a carpet that has been ripped up by a dog.
Additionally, it’s important to take preventative measures to avoid future damage. Regular exercise, mental stimulation, and providing appropriate toys for your dog can help redirect their energy and reduce the likelihood of destructive behavior.
Repairing a ripped-up carpet is a rewarding accomplishment that restores the beauty and comfort of your home. With the right tools and knowledge, you can tackle this task and enjoy the peace of mind that comes with a well-maintained living space.
So, don’t let a ripped-up carpet stress you out. With determination and the guidance provided in this article, you can easily fix the damage caused by your furry friend and create a harmonious living environment for both you and your beloved canine companion.
Now that you're equipped to tackle carpet repairs, why not turn your attention to broader home upkeep? Regular upkeep ensures a cozy, safe living space. Curious about what tasks are crucial? Our article on essential home maintenance outlines all you need to know to keep your dwelling in top shape year-round.
Frequently Asked Questions about How To Fix A Carpet Ripped Up By A Dog
Was this page helpful?
At Storables.com, we guarantee accurate and reliable information. Our content, validated by Expert Board Contributors, is crafted following stringent Editorial Policies. We're committed to providing you with well-researched, expert-backed insights for all your informational needs.