Articles
How To Rip Up Tile Floor
Modified: February 23, 2024
Learn how to efficiently rip up a tile floor with our informative articles. Get step-by-step guidance and expert tips for a successful tile removal process.
(Many of the links in this article redirect to a specific reviewed product. Your purchase of these products through affiliate links helps to generate commission for Storables.com, at no extra cost. Learn more)
Introduction
When it comes to home renovations, sometimes you may find yourself needing to rip up a tile floor. Whether you are looking to update the style of your space or dealing with damaged tiles, removing a tile floor can be a challenging but necessary task. However, with the right tools, materials, and techniques, you can successfully remove the tile floor and prepare the area for your desired flooring option.
In this article, we will guide you through the step-by-step process of ripping up a tile floor. From preparing the work area to removing the tiles and cleaning the subfloor, we’ll cover everything you need to know. So, let’s get started!
Key Takeaways:
- Safety First
Prioritize safety by wearing protective gear, taking breaks, and checking for asbestos. Properly prepare the work area and address any subfloor damage for a successful tile floor removal. - Methodical Approach
Follow a methodical approach to remove the tile floor, including scoring grout lines, lifting tiles carefully, and cleaning the subfloor. Address any damage to ensure a stable foundation for the new flooring.
Read more: How To Fix A Carpet Ripped Up By A Dog
Tools and Materials Needed
Before you begin ripping up a tile floor, it’s important to gather all the necessary tools and materials. Having these items on hand will make the process smoother and more efficient. Here is a list of tools and materials you will need:
- Safety goggles
- Work gloves
- Dust mask
- Hammer
- Chisel
- Pry bar
- Floor scraper
- Power drill
- Diamond blade or tile saw
- Grout removal tool or grout saw
- Bucket
- Garden sprayer or spray bottle
- Vinegar or adhesive remover
- Sponge
- Trash bags
Additionally, depending on the condition of your subfloor and the extent of the project, you may need the following materials:
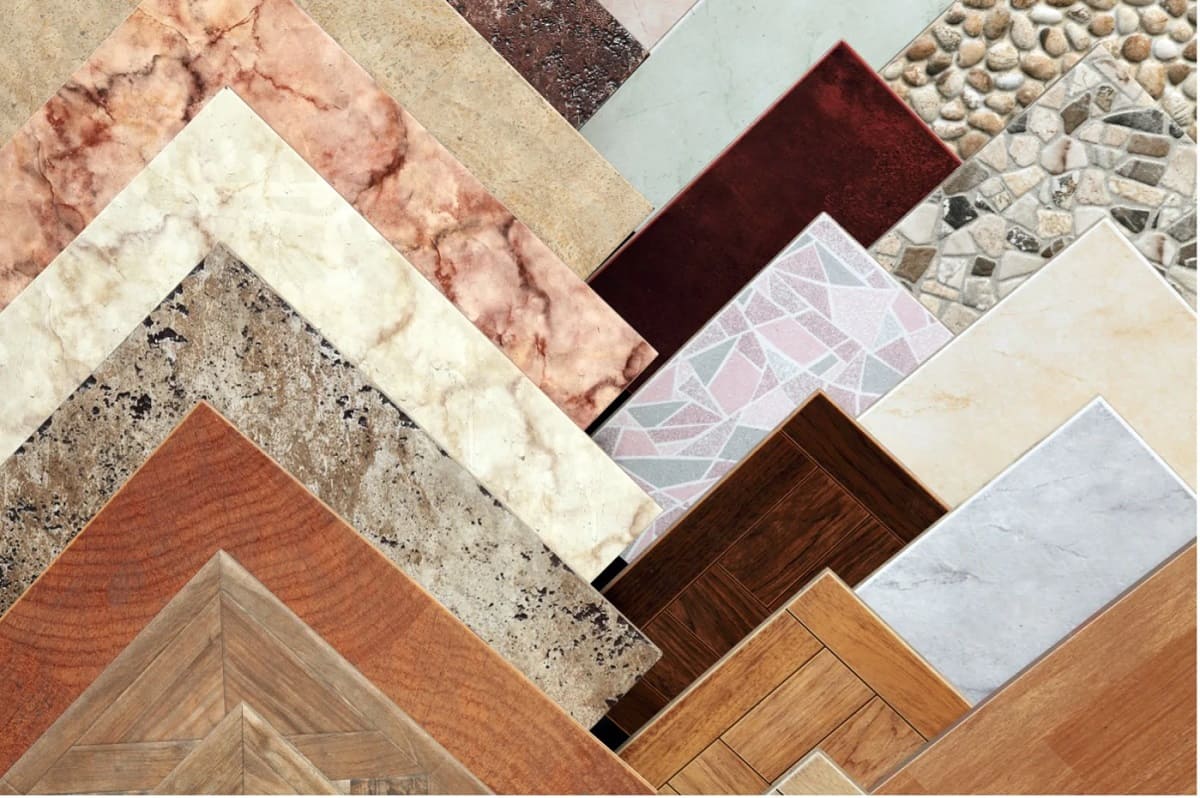
- Replacement tiles or new flooring option
- Mortar or adhesive
- Leveling compound
- Wood filler
- Primer and paint (if refinishing subfloor)
Before using any tools, always make sure to read and follow the manufacturer’s instructions and take necessary safety precautions.
Safety Precautions
Removing a tile floor can be a physically demanding task, so it’s essential to prioritize your safety throughout the process. Here are some safety precautions to keep in mind:
- Wear protective gear: Always wear safety goggles, work gloves, and a dust mask to protect yourself from flying debris and dust particles.
- Use the right tools: Ensure that you use the appropriate tools for each step of the tile removal process. This will not only make the task easier but also help prevent accidents or injuries.
- Protect your hands: When using a hammer, chisel, or pry bar, be cautious to avoid accidentally hitting your hands. Consider using a set of padded gloves to provide extra protection.
- Mind the sharp edges: Broken tiles can have sharp edges, so handle them carefully to avoid cuts or scratches. Dispose of broken tiles properly to prevent any potential injuries.
- Take breaks: Removing a tile floor can be physically strenuous, so take frequent breaks to rest and hydrate. Pace yourself and avoid overexertion.
- Check for asbestos: If your tile floor was installed before the 1990s, there is a possibility that the adhesive or backing material contains asbestos. If you suspect this might be the case, it’s crucial to consult a professional asbestos removal expert.
- Work in a well-ventilated area: Open windows and doors or use fans to ensure proper ventilation while working. This will help minimize dust and fumes.
Remember, safety should always be your top priority. By following these precautions, you can minimize the risk of accidents and injuries during the tile removal process.
Step 1: Prepare the Work Area
Before you begin ripping up the tile floor, it’s essential to prepare the work area to ensure a smooth and efficient process. Follow these steps:
- Clear the room: Remove all furniture, rugs, and any other objects from the room. This will give you a clear and open space to work in.
- Protect adjacent areas: Use painter’s tape to cover doorways, cabinets, and any other surfaces that you want to protect from dust, debris, or accidental damage.
- Turn off utilities: Before you start removing tiles, remember to turn off any water or electricity supply to the area to avoid any accidents.
- Open windows and doors: To ensure proper ventilation, open windows and doors to allow fresh air to circulate and dust to disperse.
- Lay down drop cloths or plastic sheets: Cover the floor in adjacent rooms or areas with drop cloths or plastic sheets to catch any debris or dust that may spread during the removal process.
By properly preparing the work area, you’ll create a safer and more organized environment for removing the tile floor. This will also make the cleanup process much easier once the tiles are removed.
Step 2: Remove Baseboards and Trim
Once the work area is prepared, the next step in removing a tile floor is to remove the baseboards and trim. This will allow for easier access to the edges of the tiles and ensure a clean removal process. Follow these steps:
- Gently pry off the baseboards: Use a pry bar or putty knife to carefully pry off the baseboards from the walls. Start at one end and work your way along, using caution to avoid damaging the wall or the baseboards themselves. Place the removed baseboards in a safe location for reinstallation later.
- Remove any door trim or quarter round: If there are door trim or quarter round pieces around the edges of the tile floor, remove them using the same technique as with the baseboards. Take care not to damage the trim or the surrounding surfaces.
- Label and organize the trim: To ensure easy reinstallation later, label each piece of trim or baseboard and keep them organized. You can use masking tape or a labeling system to mark each piece and its corresponding location.
By removing the baseboards and trim before tackling the tile floor, you’ll have better access to the edges of the tiles, making the removal process smoother and minimizing the risk of damage. Keeping the trim organized will facilitate the reinstallation process once the new flooring is in place.
Read more: Why Is My Dog Ripping Up The Carpet
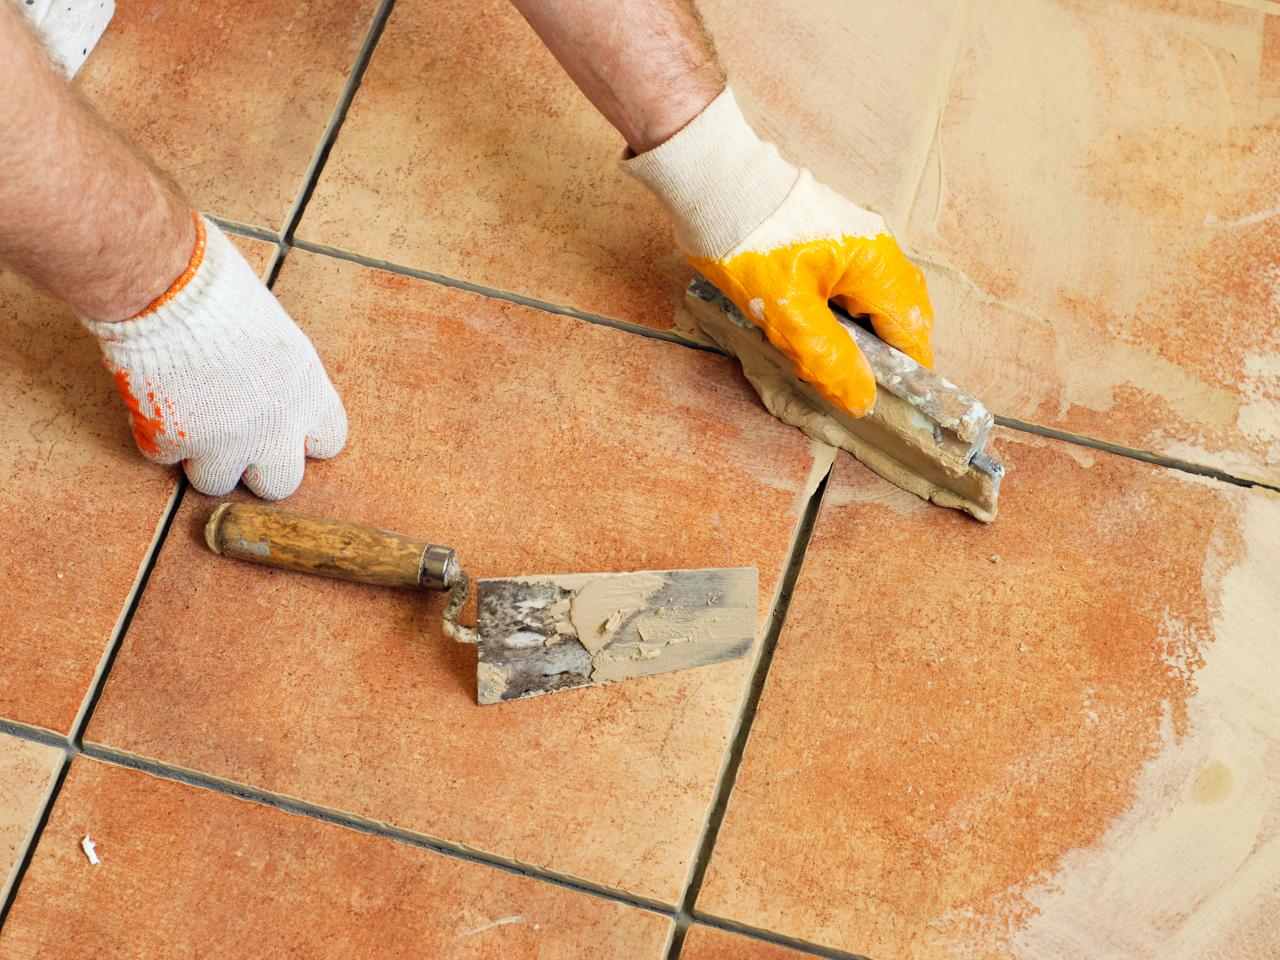
Step 3: Score the Grout Lines
Scoring the grout lines is an important step in the process of removing a tile floor. This step helps to break the bond between the tiles and the underlying mortar or adhesive, making it easier to remove the tiles without causing excessive damage. Follow these steps to score the grout lines:
- Put on safety goggles and gloves: Before you begin scoring the grout lines, ensure you are wearing safety goggles and gloves to protect your eyes and hands from any potential accidents.
- Choose a grout removal tool: There are various tools available for scoring grout lines, such as a grout removal tool or grout saw. Select a tool that is suitable for the size and depth of your grout lines.
- Hold the tool at a slight angle: Position the grout removal tool at a slight angle and begin running it along the grout lines. Apply even pressure to ensure the tool cuts through the grout without damaging the tiles.
- Repeat the process for all grout lines: Continue scoring the grout lines in a systematic manner, working your way across the entire tile floor. Take breaks as needed to rest your hands and prevent fatigue.
Scoring the grout lines is a crucial step as it weakens the bond between the tiles and the underlying mortar or adhesive. This will make it easier to remove the tiles in the following steps without causing excessive damage to the subfloor.
Before starting to rip up a tile floor, make sure to wear safety goggles and gloves to protect yourself from flying debris and sharp edges. It’s also a good idea to cover the surrounding area with a drop cloth to catch any debris.
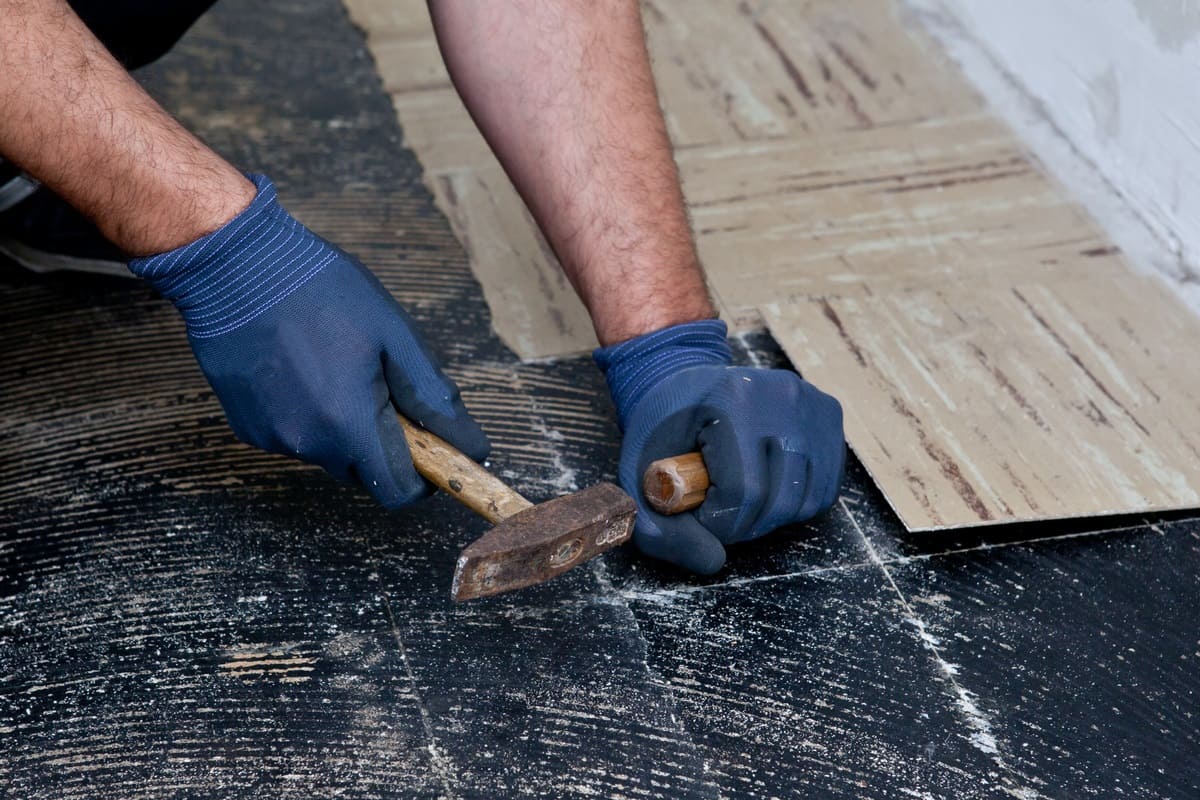
Step 4: Remove the Tiles
With the grout lines scored, you’re now ready to remove the tiles. This step requires a combination of precision and caution to avoid damaging the surrounding tiles or the underlying subfloor. Follow these steps to effectively remove the tiles:
- Start at an edge or corner: Begin by selecting a corner or edge of the tile floor to start removing the tiles. Insert a chisel or pry bar under the edge of a tile, positioning it at a slight angle.
- Tap the chisel or pry bar: Gently tap the end of the chisel or pry bar with a hammer to create leverage and lift the tile slightly. Be careful not to apply excessive force, as this can cause the tile to crack or break unnecessarily.
- Continue lifting the tile: Once the first tile is lifted, continue to lift and remove the adjacent tiles using the same technique. Work gradually and methodically, moving from one tile to the next.
- Use a floor scraper: If some tiles are difficult to lift or if there are any remaining bits of adhesive or mortar, use a floor scraper to carefully remove the remaining debris. Hold the scraper at a slight angle and apply moderate pressure, being cautious not to damage the subfloor in the process.
- Dispose of broken tiles: As you remove the tiles, place them in a trash bag or other suitable container. Dispose of the broken tiles in accordance with local regulations.
Take your time during the tile removal process to ensure that each tile is lifted without causing unnecessary damage. By working carefully and systematically, you can successfully remove the tiles and prepare the subfloor for the next steps of the project.
Step 5: Remove the Mortar or Adhesive
After removing the tiles, you’ll likely find that there is still mortar or adhesive residue on the subfloor. It’s crucial to remove this residue to ensure a smooth and even surface for the new flooring. Follow these steps to remove the mortar or adhesive:
- Inspect the subfloor: Assess the condition of the subfloor and determine the type of adhesive or mortar used. Different types of adhesives require different removal methods, so it’s important to identify the correct approach.
- Scrape the mortar or adhesive: Use a floor scraper or putty knife to carefully scrape away the mortar or adhesive from the subfloor. Apply even pressure and work in small sections at a time.
- Apply heat (if necessary): If the mortar or adhesive is particularly stubborn, you may need to apply heat to soften it. Use a heat gun or a hairdryer on the low heat setting to gently heat the residue before scraping it away.
- Use a solvent (if necessary): For adhesive residues that are difficult to remove, you may need to use a solvent specifically designed for adhesive removal. Apply the solvent according to the manufacturer’s instructions, using a sponge or cloth to gently dissolve and remove the residue.
- Clean the subfloor: Once all the mortar or adhesive residue is removed, thoroughly clean the subfloor using a damp sponge or mop. This will remove any remaining debris and ensure a clean surface for the next steps.
Removing the mortar or adhesive is an essential step to prepare the subfloor for the new flooring. Take your time and work diligently to ensure that all residue is completely removed, leaving a smooth and even surface for the next phase of the renovation.
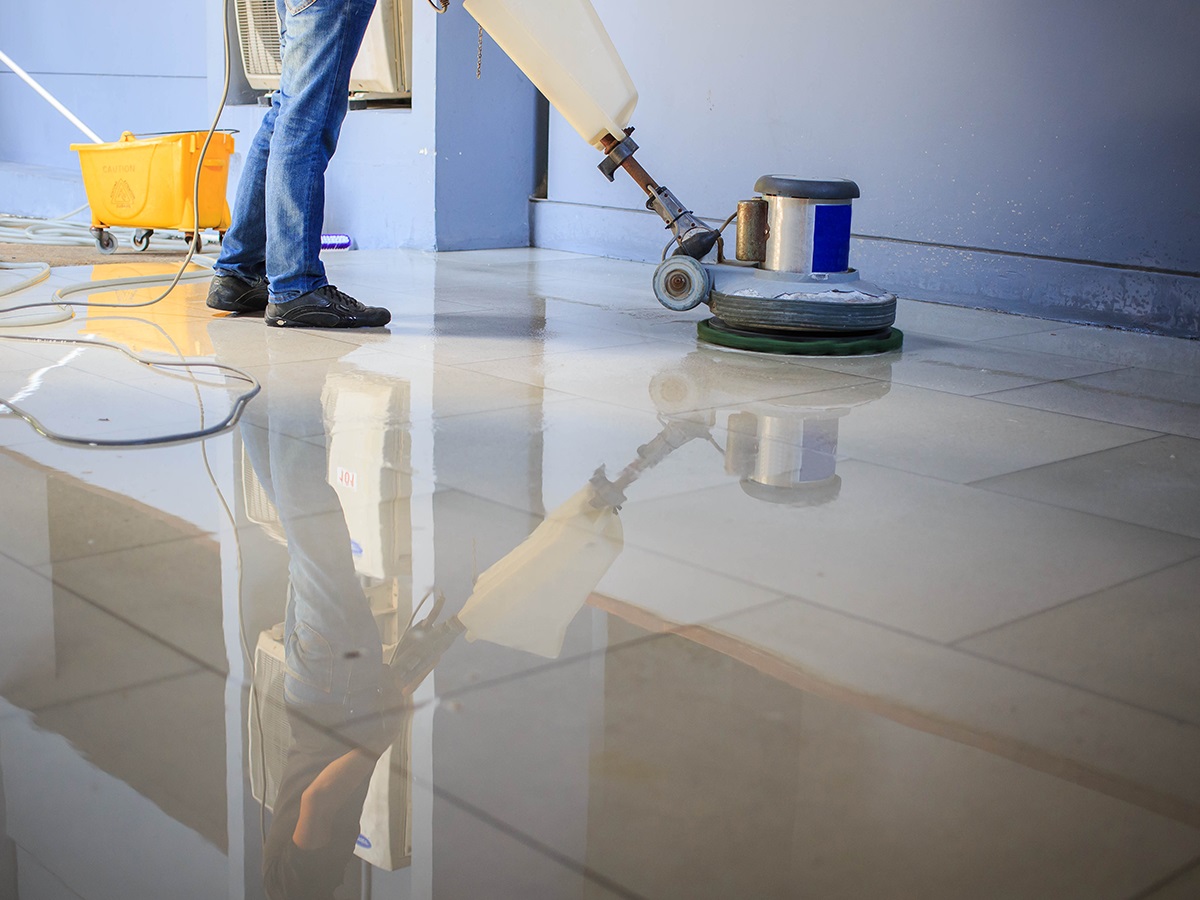
Step 6: Clean the Subfloor
Once the tiles and mortar or adhesive residue have been removed, it’s important to thoroughly clean the subfloor to ensure a clean and smooth surface for the new flooring. Follow these steps to clean the subfloor:
- Sweep or vacuum: Start by removing any loose debris, dust, or small particles from the subfloor. Use a broom or vacuum cleaner to thoroughly sweep or vacuum the entire area.
- Use a mild cleaner: Prepare a solution of warm water and a mild detergent suitable for the subfloor material. Dip a sponge or mop into the cleaning solution and wring out any excess water.
- Scrub the subfloor: Begin scrubbing the subfloor in small sections, working your way across the entire area. Use gentle pressure to remove any stubborn stains or residues. Take care not to oversaturate the subfloor with excessive water.
- Rinse with clean water: Once you have finished scrubbing, rinse the subfloor with clean water. Use a mop or sponge to remove any soapy residue. Make sure to wring out the mop or sponge thoroughly to avoid excessive moisture on the subfloor.
- Dry the subfloor: Allow the subfloor to air dry completely before proceeding with the next steps. Ensure proper ventilation in the room to facilitate the drying process and prevent moisture buildup.
Cleaning the subfloor is crucial to create a clean and well-prepared surface for the new flooring. By removing any dirt, dust, or residues, you’ll ensure proper adhesion and a smooth installation of the new flooring material.
Read more: How To Put Tile On Floor
Step 7: Repair any Damage
During the process of removing the tile floor, it’s possible to encounter damage to the subfloor or surrounding areas. It’s important to address and repair any damage before moving forward with the installation of the new flooring. Follow these steps to repair any damage:
- Inspect the subfloor: Carefully inspect the subfloor for any signs of damage, such as cracks, holes, or uneven sections. Take note of the extent and nature of the damage.
- Address minor damage: For minor damage, such as small cracks or chips, you can use a suitable filler material or wood putty to level out the surface. Apply the filler according to the manufacturer’s instructions and allow it to dry completely before proceeding.
- Repair significant damage: If the subfloor has significant damage, such as large cracks or rot, it may require more extensive repairs. Consult a professional contractor or flooring specialist for the best course of action. They may recommend replacing sections of the subfloor or performing additional repairs.
- Ensure a level subfloor: It’s essential to have a level subfloor for the new flooring installation. Use a leveling compound to fill in any low spots or uneven areas. Follow the manufacturer’s instructions for mixing and applying the leveling compound and allow it to dry or cure completely before proceeding.
By addressing and repairing any damage to the subfloor, you’ll ensure a stable and solid foundation for the new flooring. Take the necessary time and care to complete these repairs before moving ahead with the installation process.
Conclusion
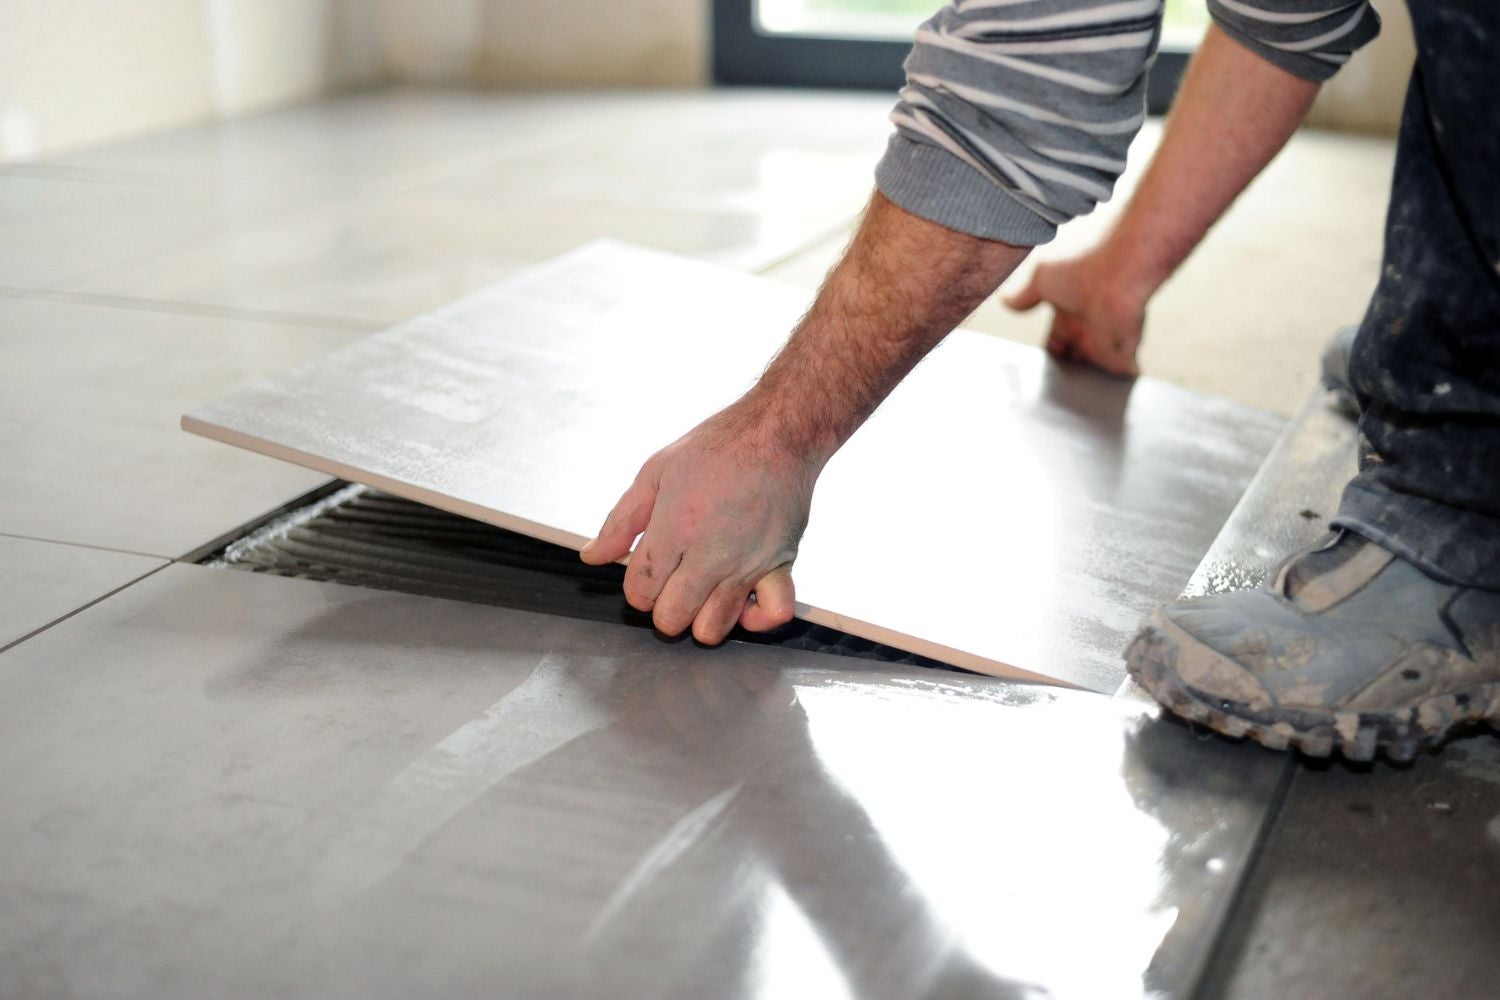
Removing a tile floor can be a labor-intensive process, but with the right tools, materials, and techniques, it’s a task that can be accomplished successfully. By following the step-by-step guide outlined in this article, you’ll be able to rip up a tile floor and prepare the area for your desired flooring option.
From preparing the work area to removing the tiles, scoring the grout lines, and cleaning the subfloor, each step plays a vital role in achieving a smooth and efficient tile floor removal. It’s important to prioritize safety throughout the process, wearing appropriate protective gear and taking necessary precautions.
Additionally, be prepared to address any damage to the subfloor and make necessary repairs before proceeding with the installation of the new flooring. This will ensure a stable and level surface for your new floor.
Remember, if you’re unsure about any aspect of the tile floor removal or repair process, it’s always a good idea to consult with a professional contractor or flooring specialist who can provide expert guidance and assistance.
By following the steps outlined in this guide and exercising caution, you’ll be well on your way to ripping up a tile floor and transforming your space with a fresh new look.
Frequently Asked Questions about How To Rip Up Tile Floor
Was this page helpful?
At Storables.com, we guarantee accurate and reliable information. Our content, validated by Expert Board Contributors, is crafted following stringent Editorial Policies. We're committed to providing you with well-researched, expert-backed insights for all your informational needs.


0 thoughts on “How To Rip Up Tile Floor”