Articles
How To Remove Carpet Tack Strips
Modified: February 25, 2024
Learn how to remove carpet tack strips with our helpful articles. Get step-by-step instructions and tips for a smooth carpet removal process.
(Many of the links in this article redirect to a specific reviewed product. Your purchase of these products through affiliate links helps to generate commission for Storables.com, at no extra cost. Learn more)
Introduction
Welcome to our comprehensive guide on how to remove carpet tack strips. If you’ve decided to replace your carpet or install a new flooring option, one of the essential steps is removing the old carpet and its tack strips. Carpet tack strips are narrow wooden or metal strips with sharp nails used to secure the carpet in place. While removing them may seem like a daunting task, with the right tools and techniques, you can easily tackle this project and prepare the floor for your new flooring.
In this article, we will walk you through the step-by-step process of removing carpet tack strips to ensure a smooth and clean removal. We will also highlight the necessary tools and materials you’ll need to accomplish the task efficiently. So, let’s dive in and learn how to remove carpet tack strips.
Key Takeaways:
- Proper preparation and the right tools are crucial for safely removing carpet tack strips. Prioritize safety by gathering protective gear and preparing the work area to ensure a smooth and efficient process.
- After removing the tack strips, thorough cleaning and responsible disposal are essential. Clean the area to create a debris-free surface and follow local waste management guidelines for proper disposal, contributing to a cleaner and safer environment.
Read more: How To Tack Carpet Back Down
Step 1: Gather the necessary tools and materials
Before you begin removing the carpet tack strips, it’s important to gather all the necessary tools and materials to ensure a smooth and efficient process. Here’s a list of items you’ll need:
- Protective gear: Wear safety goggles, gloves, and knee pads to protect yourself from any potential injuries.
- Hammer: A claw hammer will be handy for removing the nails from the tack strips.
- Pry bar or chisel: A pry bar or chisel can help you lift and loosen the tack strips from the floor.
- Pliers: Pliers will be useful for gripping and pulling out stubborn nails or staples.
- Utility knife: Use a utility knife to cut away any excess carpet or padding.
- Vacuum cleaner: A vacuum cleaner will help you clean up any debris or dust left after removing the tack strips.
- Trash bags: Have a few trash bags on hand to dispose of the removed tack strips and any other waste.
- Dust mask: If you’re working in a dusty environment, wearing a dust mask is advisable to protect your respiratory system.
Once you have gathered all the necessary tools and materials, you’ll be well-prepared to start the tack strip removal process. Having these items readily available will make the job easier and more efficient.
Step 2: Prepare the work area
Before diving into the removal process, it’s important to prepare the work area to ensure safety and efficiency. Follow these steps to get the work area ready:
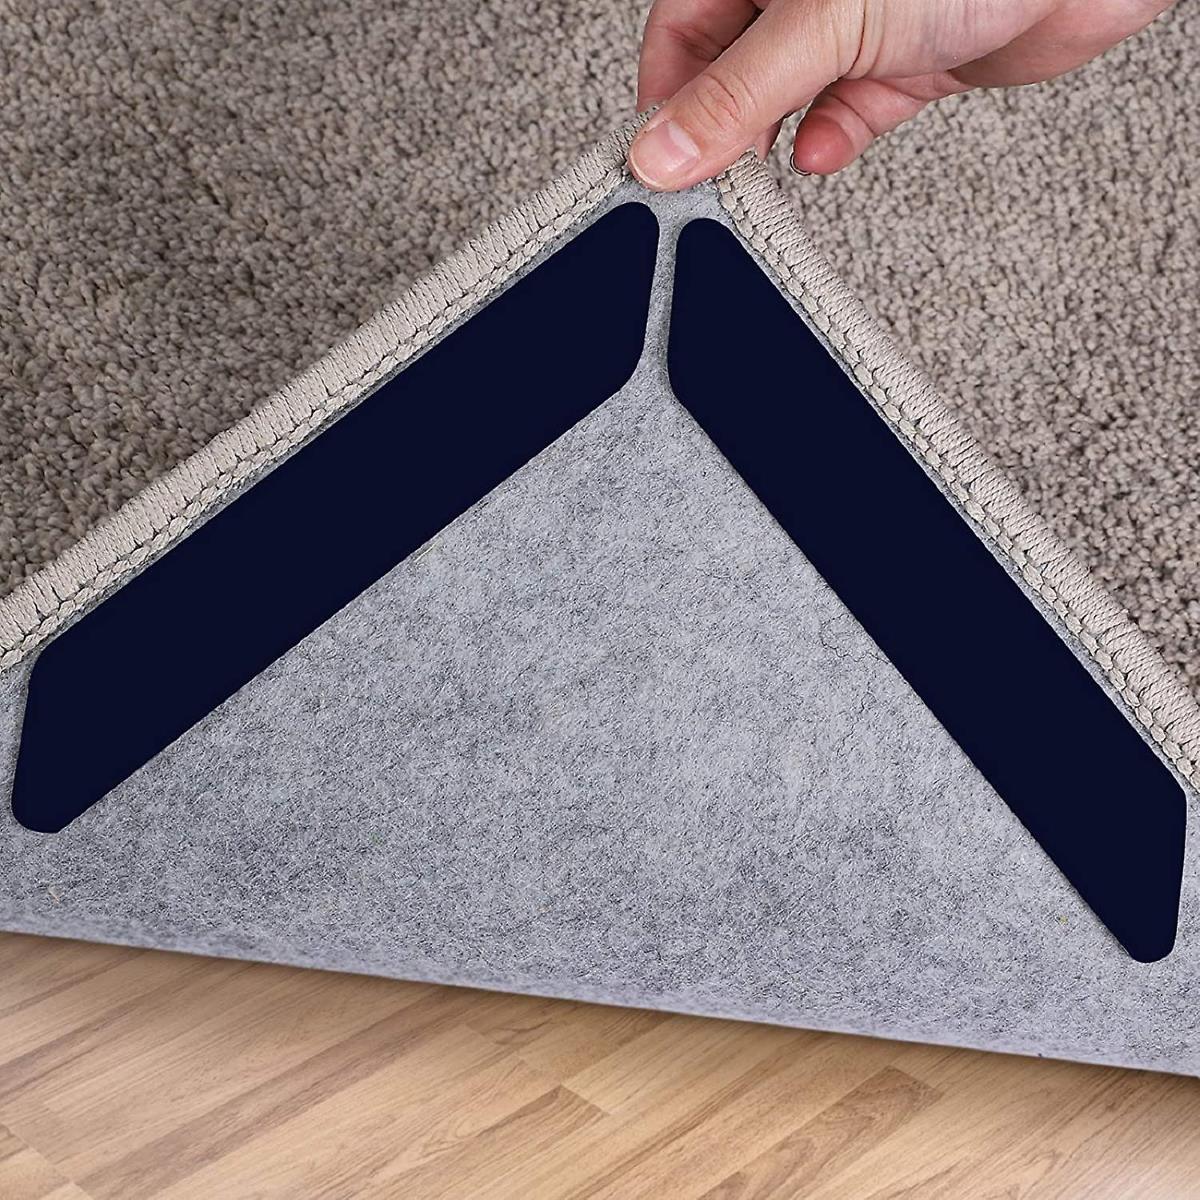
- Clear the room: Remove all furniture, rugs, or any other items that may obstruct your work area. This will give you ample space to maneuver and work comfortably.
- Inspect the floor: Take a close look at the floor where the carpet tack strips are installed. Check for any loose floorboards or uneven surfaces that may need to be fixed or addressed before removing the tack strips.
- Turn off the power: If you have any electrical outlets near the area you’ll be working on, turn off the power to avoid any accidents or mishaps with cords or tools.
- Protect the walls: Use painter’s tape or adhesive pads to cover baseboards and walls near the tack strips. This will prevent any damage while removing the strips.
- Put on protective gear: Prioritize your safety by wearing safety goggles, gloves, and knee pads before proceeding with the tack strip removal.
By properly preparing the work area, you can minimize the risk of accidents and create a safe and conducive environment for removing the carpet tack strips. Taking the time to complete these steps will make the overall process smoother and more efficient.
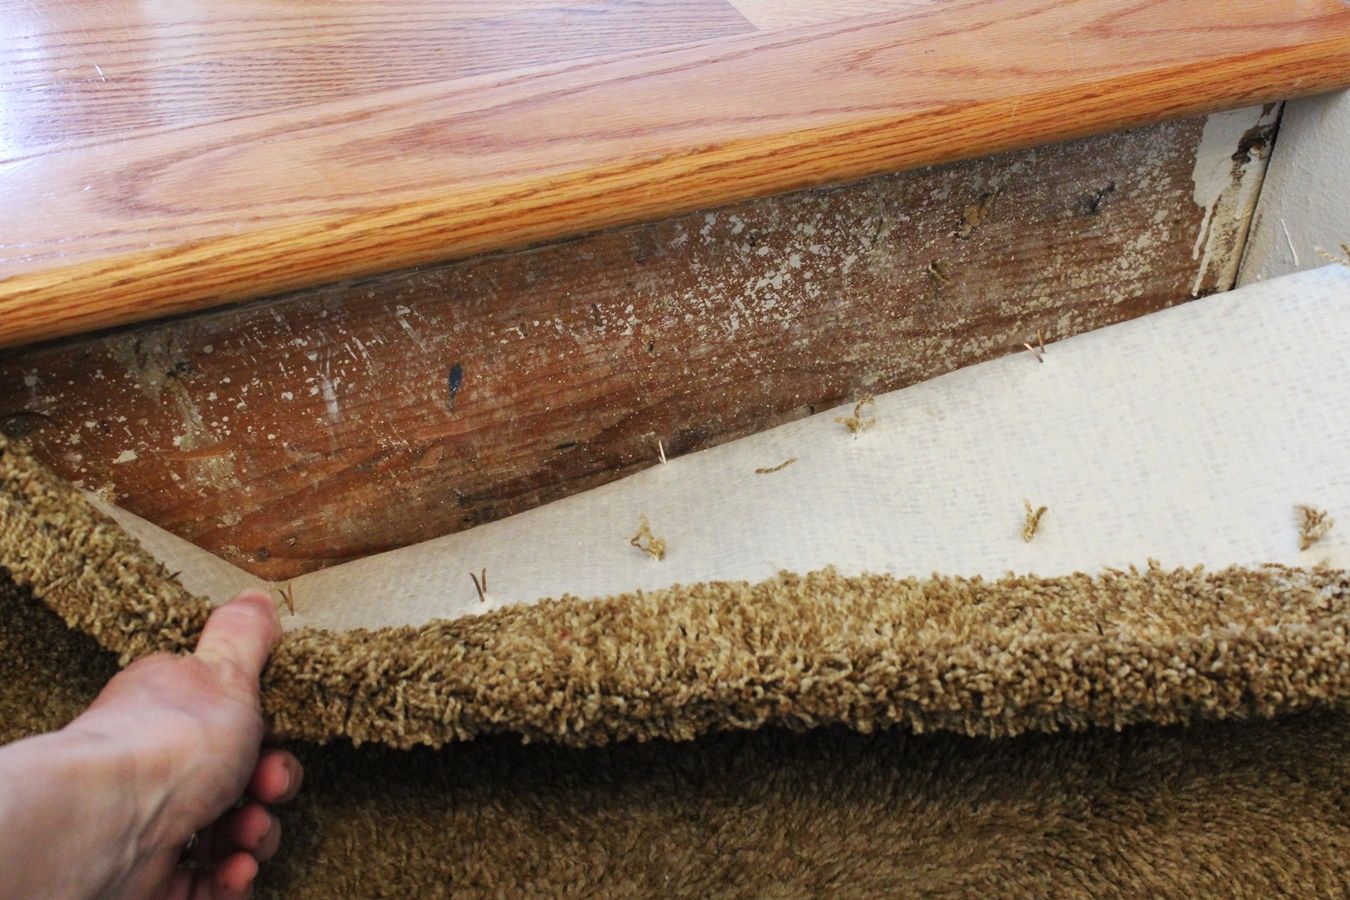
Step 3: Loosen the carpet
Before you can remove the carpet tack strips, it’s important to loosen the carpet from its secured position. Follow these steps to loosen the carpet:
- Start at a corner: Begin at one corner of the room and gently lift the edge of the carpet using a pry bar or your hands. Be careful not to tear or damage the carpet as you lift it.
- Work your way along the edges: Gradually work your way along the edges, lifting and loosening the carpet from the tack strips. Use a pry bar or chisel to help lift the carpet if needed.
- Be mindful of any seams or transitions: Pay attention to any seams or transitions where the carpet may be joined or connected to other flooring materials. Take extra care while loosening these areas to avoid any damage.
- Fold the carpet back: Once you have fully loosened one side of the carpet, fold it back onto itself. This will expose the tack strips and make the removal process easier.
By properly loosening the carpet, you’ll have better access to the carpet tack strips and reduce the risk of tearing or damaging the carpet during the removal process. Take your time and be gentle to ensure a successful transition to the next step.
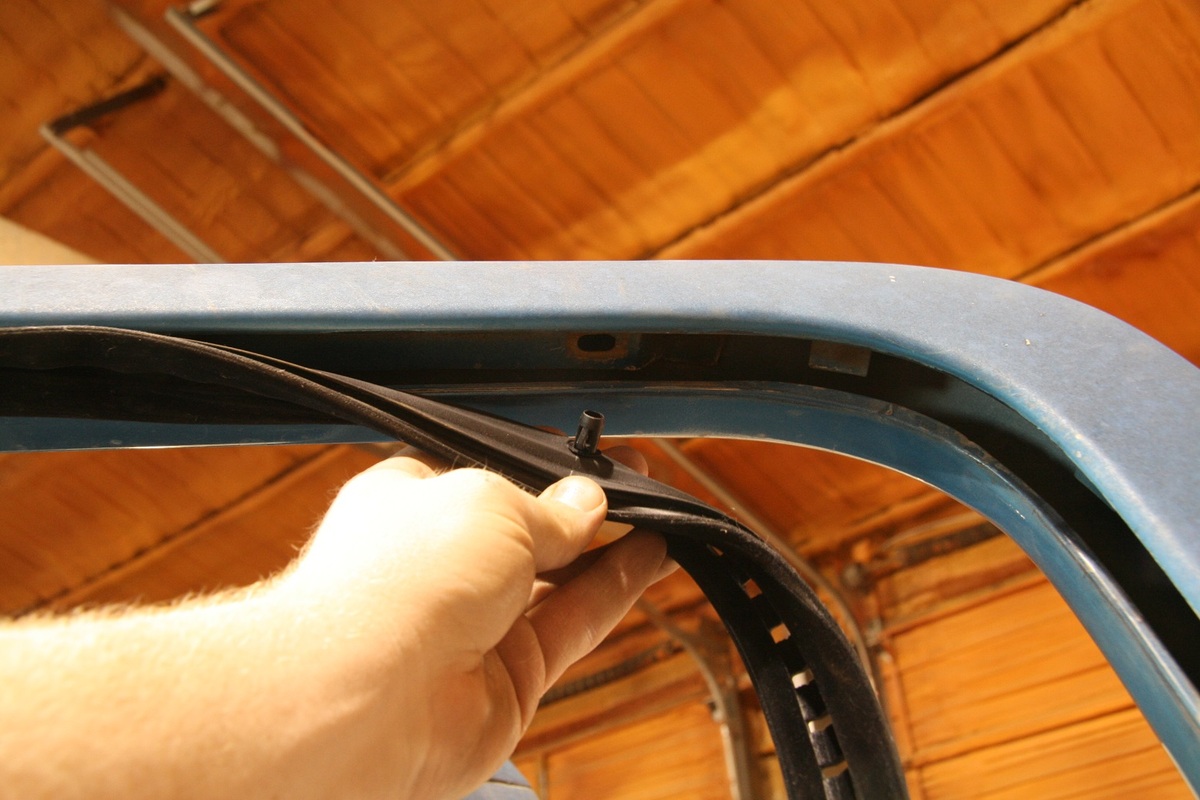
Wear heavy-duty gloves and use a pry bar to carefully lift and remove the carpet tack strips. Work slowly and be cautious of the sharp nails.
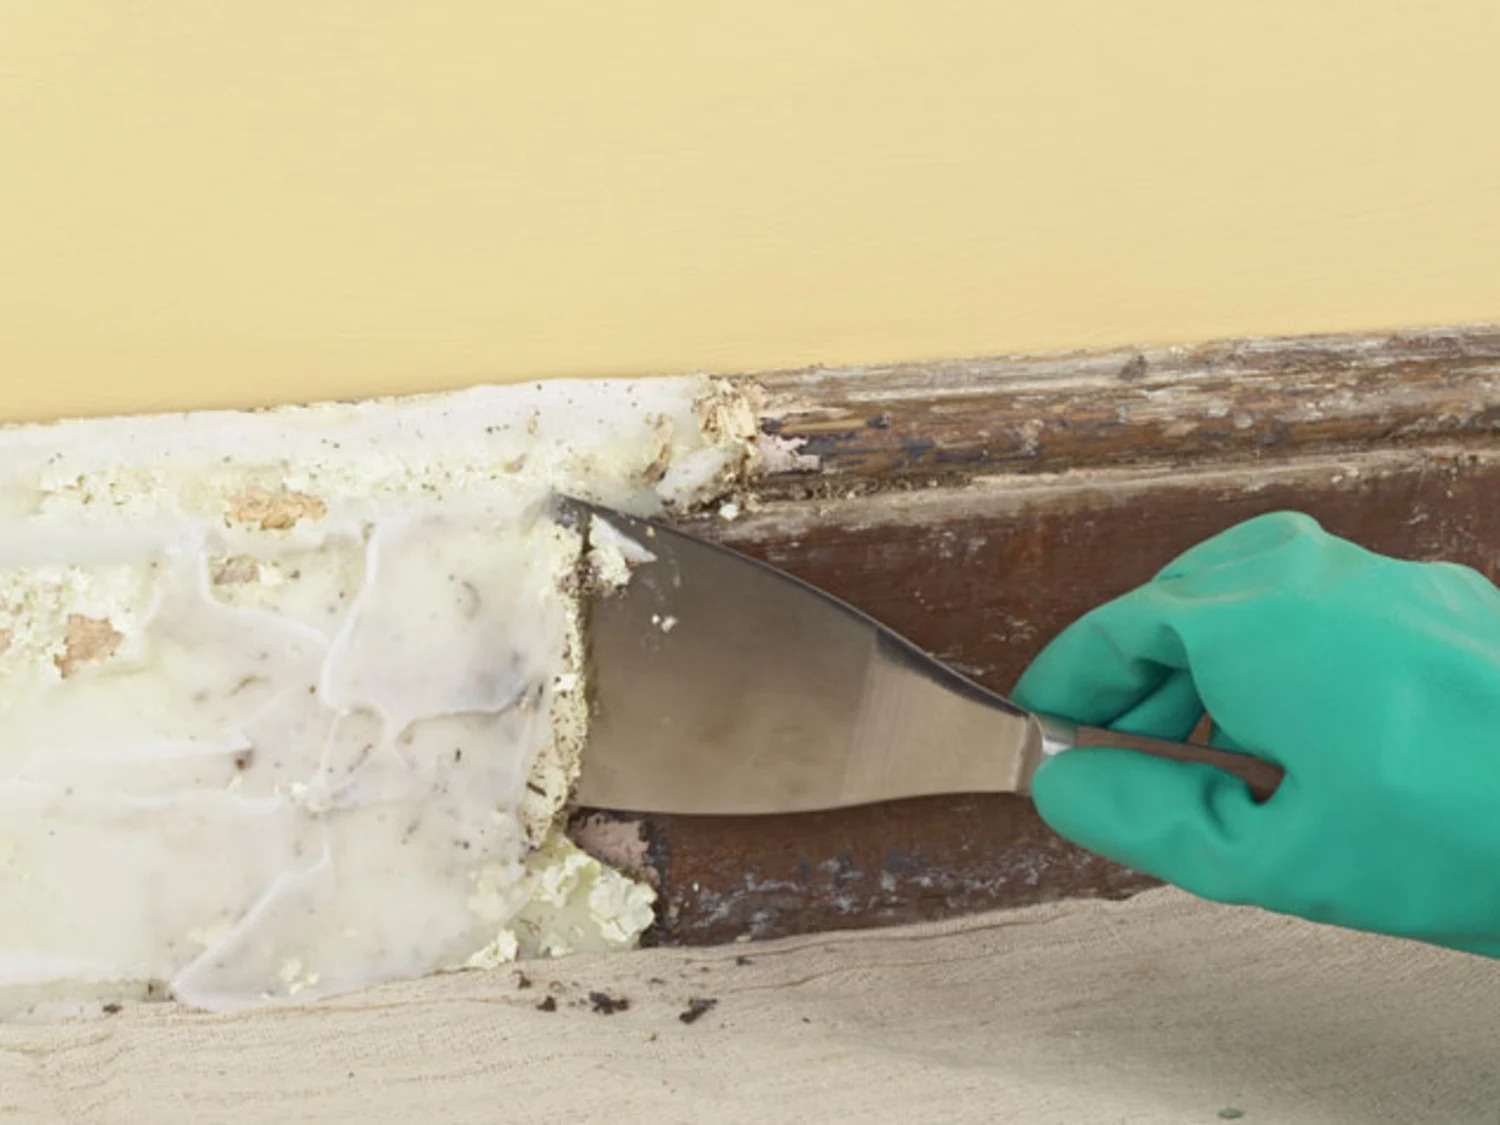
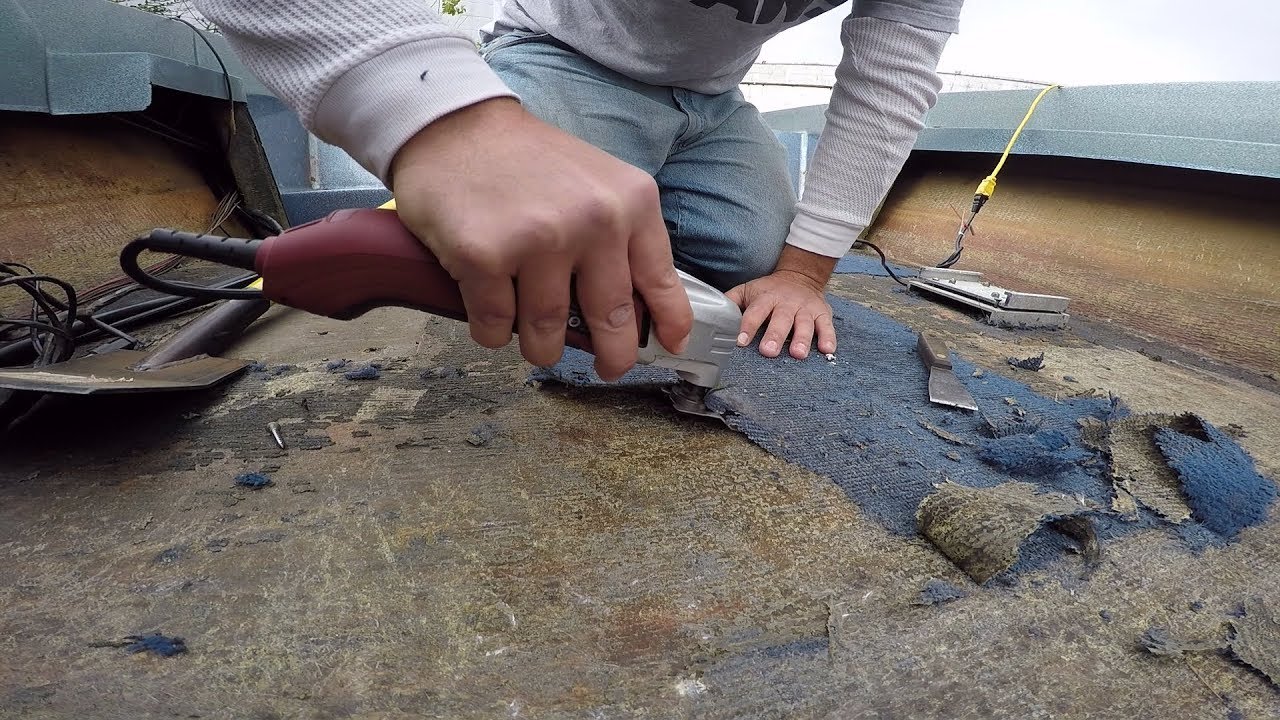
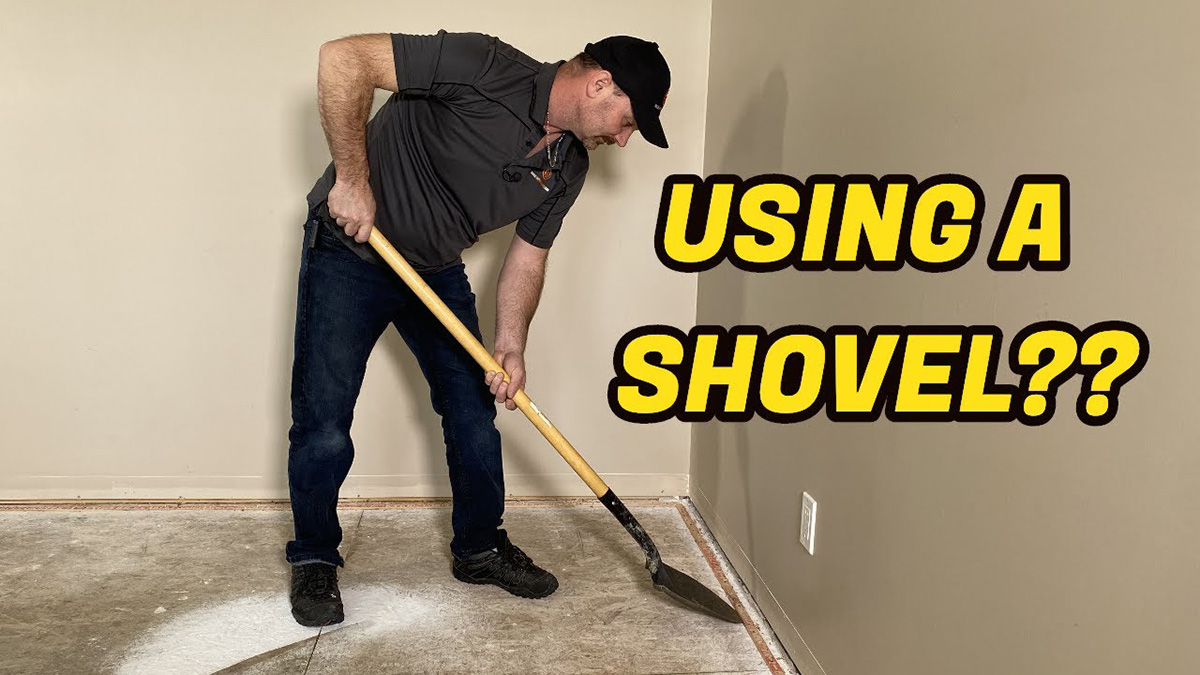
Step 4: Remove the carpet tack strips
Now that the carpet is loosened and folded back, it’s time to remove the carpet tack strips. Follow these steps to safely remove the tack strips:
- Locate the nails: Inspect the tack strips and locate the nails that are securing them to the floor. The nails are typically positioned about every 6 to 12 inches along the length of the strip.
- Use a hammer and pry bar: Place the pry bar under the tack strip near the first nail and apply gentle pressure to lift it off the floor. If needed, use a hammer to tap the pry bar to further loosen the strip.
- Continue prying and lifting: Work your way along the tack strip, using the pry bar and hammer to lift and loosen it from the floor. Be careful not to damage the subfloor in the process.
- Pull out the nails: Once the tack strip is lifted, use a pair of pliers to grip the exposed nail and pull it out. Dispose of the nails in a trash bag to prevent any injuries.
- Repeat the process: Repeat the above steps for each tack strip until they are all removed from the room.
It’s important to proceed with caution while removing the tack strips as they can have sharp nails that may cause injuries. Take your time, be mindful of your surroundings, and wear protective gloves to avoid any accidents.
Note: If you encounter tack strips that are secured with adhesive rather than nails, you may need to use a scraper or chisel to carefully lift and remove them from the floor. Exercise caution to prevent damaging the subfloor.
Read more: How To Install Carpet Tack Strips
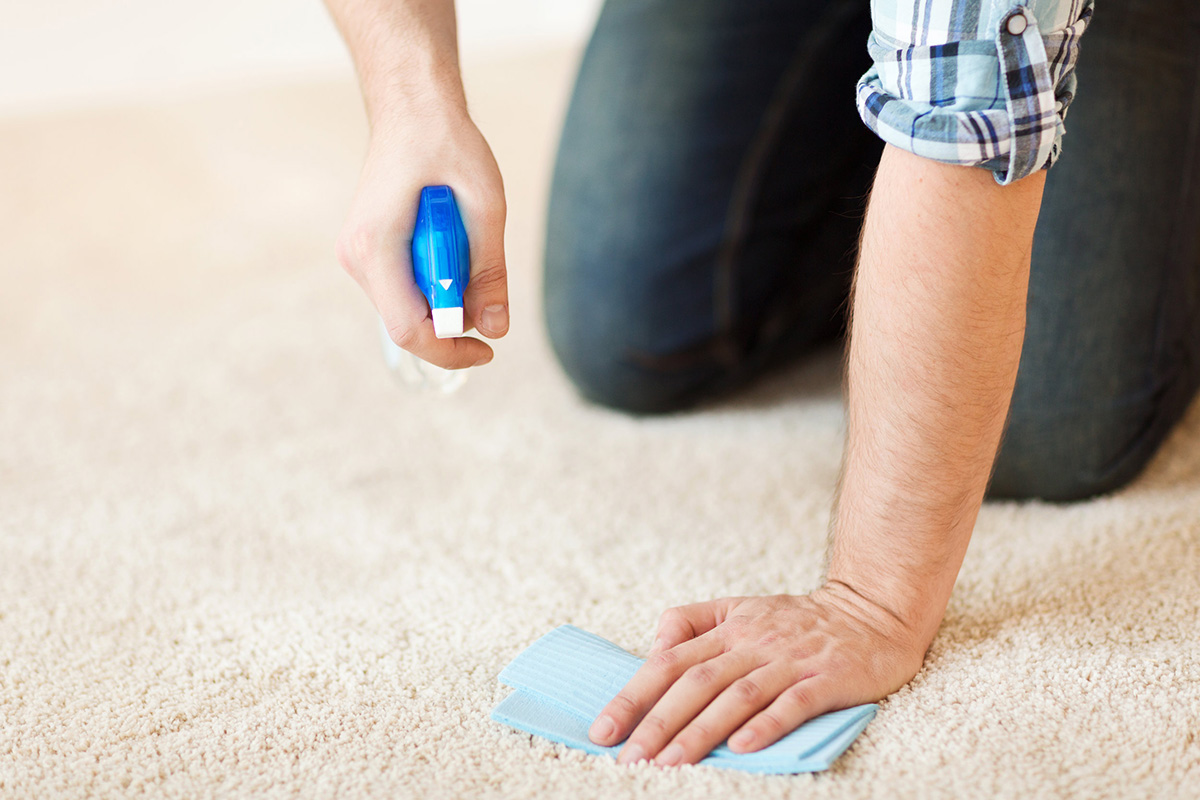
Step 5: Clean up the area
After the carpet tack strips have been removed, it’s important to clean up the area to ensure a smooth and debris-free surface. Follow these steps to clean up the area:
- Vacuum the floor: Use a vacuum cleaner to thoroughly clean the floor, removing any loose carpet fibers, dust, or debris that may have accumulated during the tack strip removal process.
- Inspect for remaining nails or staples: Carefully inspect the floor for any remaining nails or staples that may have been left behind. Use pliers to extract them and discard them safely.
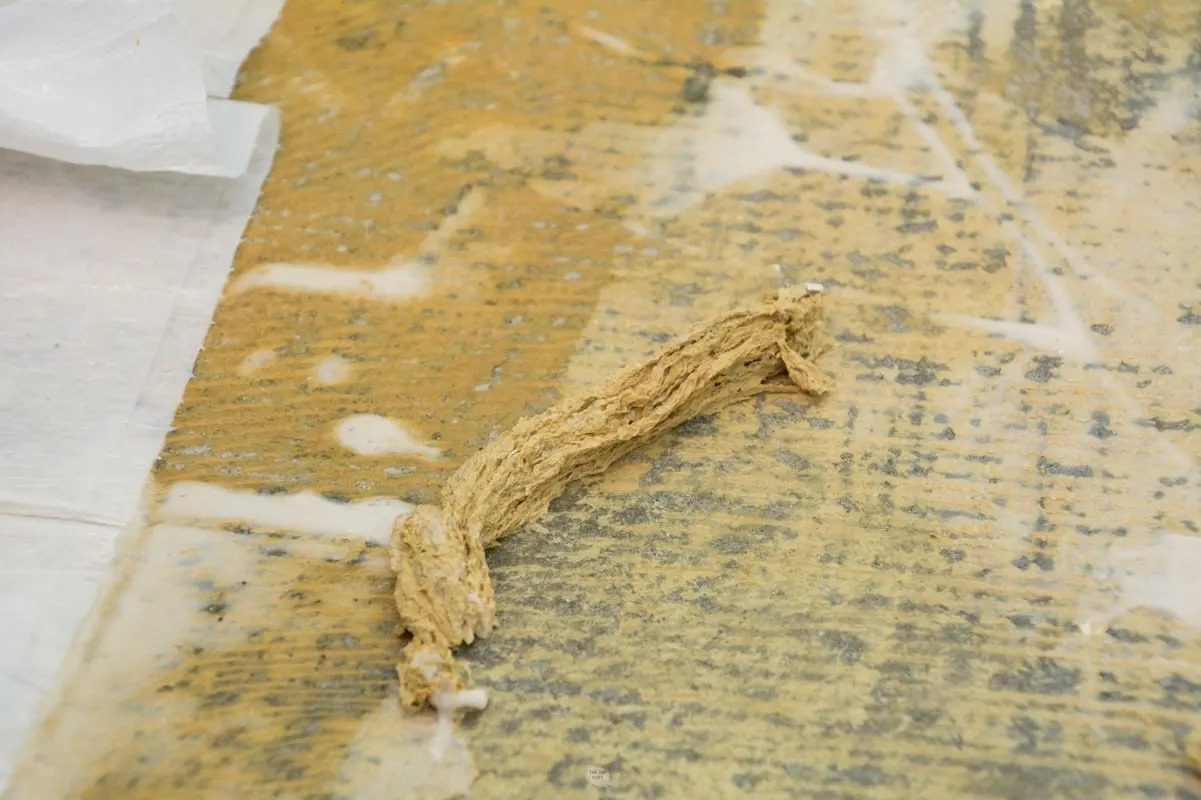
- Remove adhesive residue: If there is any adhesive residue left on the floor from the tack strips, use a scraper or adhesive remover to gently remove it. Follow the manufacturer’s instructions for the adhesive remover product.
- Sweep or mop the floor: Once the debris and adhesive residue are cleared, sweep or mop the floor to ensure it is clean and ready for the installation of your new flooring.
By thoroughly cleaning the area, you create a smooth and clean surface that is ready for the next steps of your flooring project. This will also help prevent any debris or remaining nails from causing damage or disrupting the installation process.
Step 6: Dispose of the tack strips properly
Proper disposal of the carpet tack strips is crucial to ensure a safe and clean environment. Follow these steps to dispose of the tack strips responsibly:
- Check local regulations: Before disposing of the tack strips, check with your local waste management facility or municipality regarding disposal guidelines. Some areas may have specific rules for construction materials or sharp objects.
- Secure the tack strips: Bundle or secure the tack strips together using tape or twine. This will prevent any sharp nails from protruding or causing harm to others during transportation or handling.
- Place in a sturdy container: Place the bundled tack strips in a sturdy container, such as a cardboard box or a heavy-duty trash bag, to prevent them from puncturing or damaging other trash bags. Make sure the container is strong enough to hold the sharp edges securely.
- Label the container: Clearly label the container as “Sharp Objects” or “Construction Debris” to alert waste management personnel or others that it contains potentially hazardous materials.
- Follow disposal guidelines: Follow the guidelines provided by your local waste management facility for disposing of the tack strips. This may include scheduling a special pickup or taking them to a designated disposal facility.
It’s important to follow proper disposal procedures to protect the environment, sanitation workers, and others from potential injuries. By taking the time to dispose of the tack strips responsibly, you contribute to creating a safer and cleaner community.
Conclusion
Removing carpet tack strips is an essential step when replacing old carpet or installing a new flooring option. By following the step-by-step process outlined in this guide and using the necessary tools and materials, you can safely and efficiently remove the tack strips from your floor.
Remember to gather all the necessary tools and materials before you begin, and take the time to prepare the work area to ensure safety and efficiency. Loosen the carpet carefully, and then proceed to remove the tack strips using a hammer, pry bar, and pliers.
Once the tack strips are removed, take the time to clean up the area to create a debris-free surface, and dispose of the tack strips responsibly, following local waste management regulations. By doing so, you contribute to a cleaner and safer environment.
We hope that this comprehensive guide has provided you with the knowledge and confidence to successfully remove carpet tack strips. Remember to always prioritize safety, wear protective gear, and proceed with caution throughout the process.
Now, armed with this information, you can confidently begin your flooring project and create a fresh and updated space in your home.
Frequently Asked Questions about How To Remove Carpet Tack Strips
Was this page helpful?
At Storables.com, we guarantee accurate and reliable information. Our content, validated by Expert Board Contributors, is crafted following stringent Editorial Policies. We're committed to providing you with well-researched, expert-backed insights for all your informational needs.