Home>Articles>What Happens If You Paint Vintage Stove Burners
Articles
What Happens If You Paint Vintage Stove Burners
Modified: September 1, 2024
Discover what happens when you paint vintage stove burners in this informative article. Transform your kitchen with this simple DIY project.
(Many of the links in this article redirect to a specific reviewed product. Your purchase of these products through affiliate links helps to generate commission for Storables.com, at no extra cost. Learn more)
Introduction
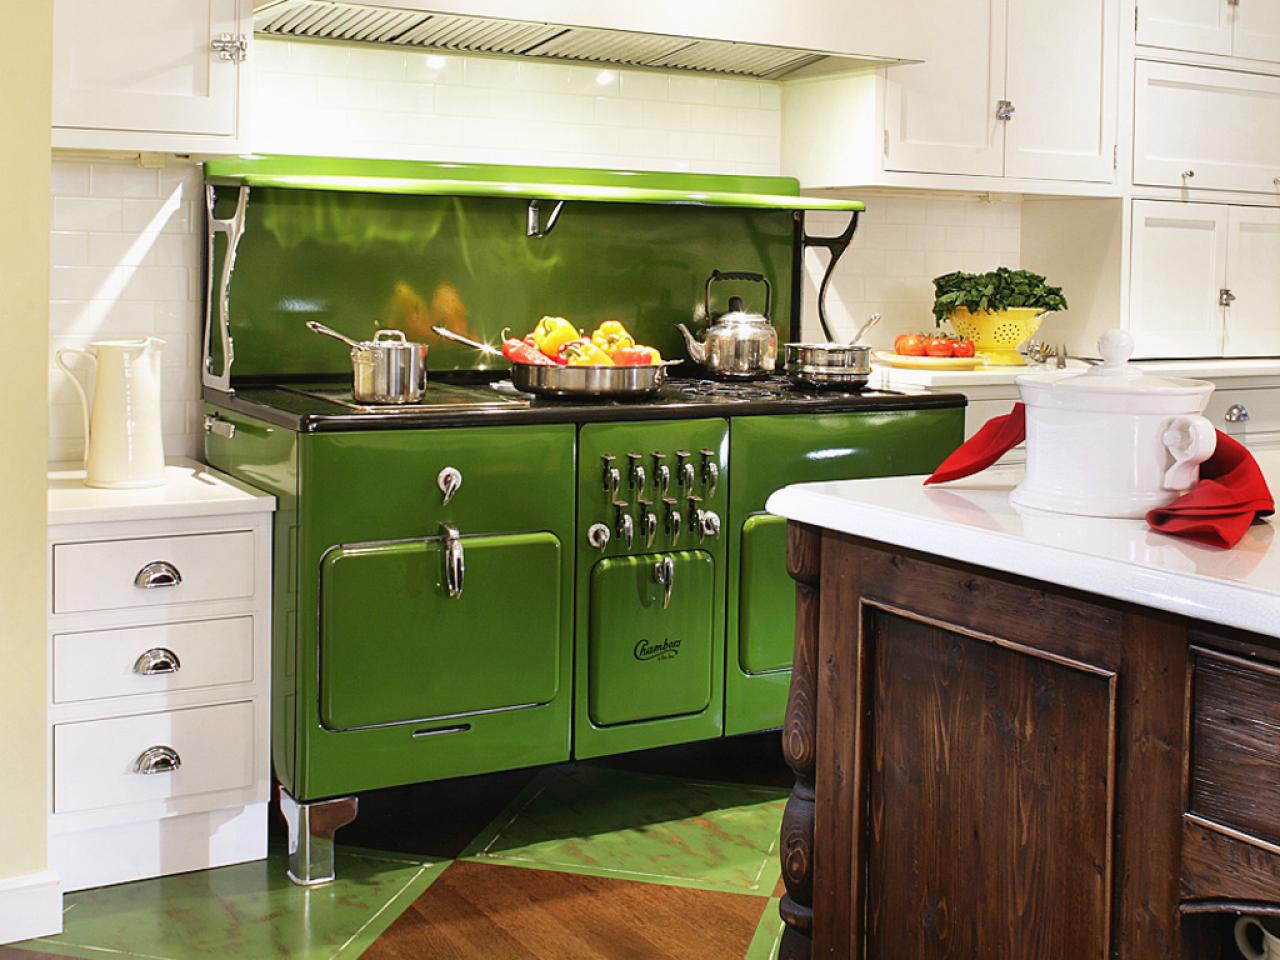
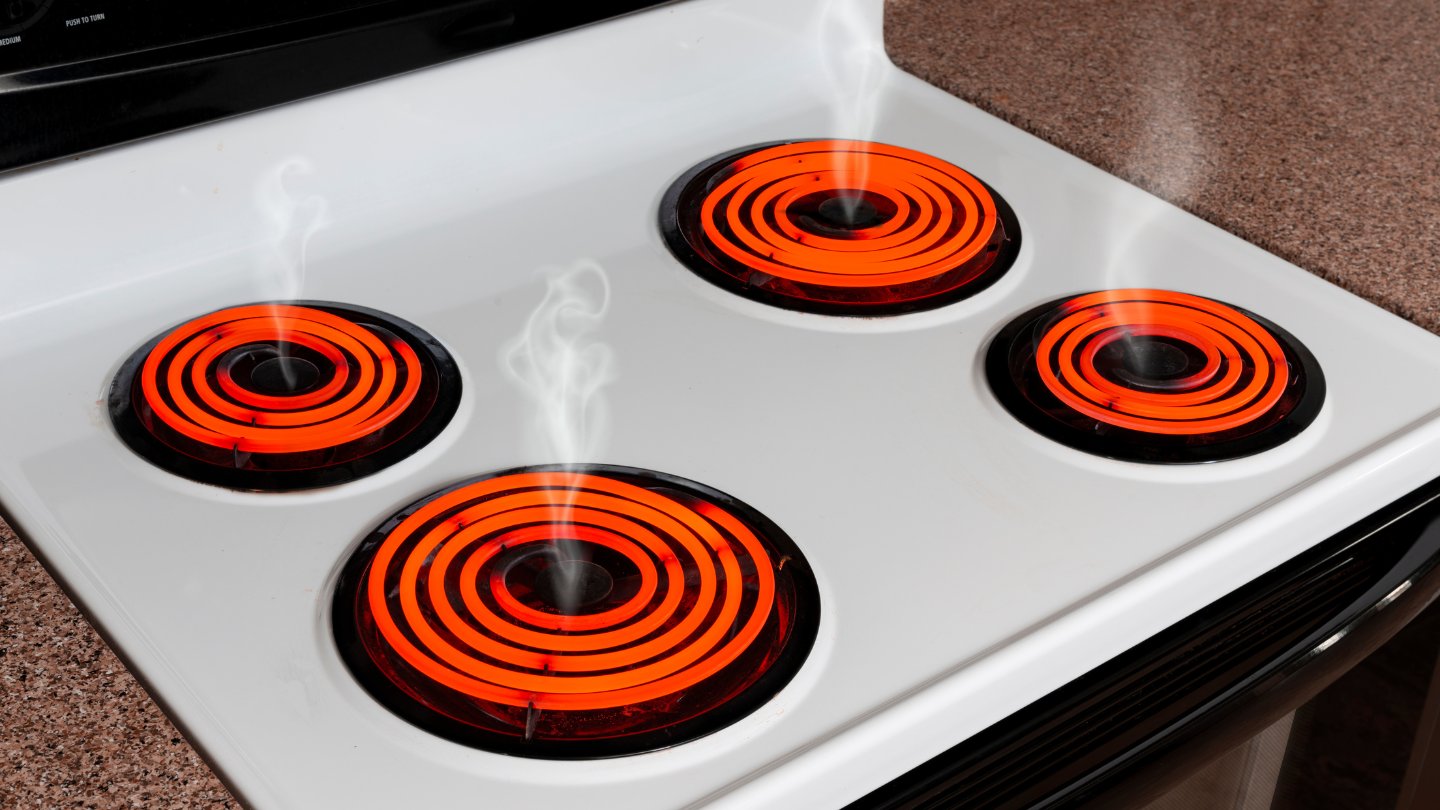
When it comes to reviving the charm of a vintage stove, one of the most noticeable features is the burners. These burners, with their unique designs and character, can bring a nostalgic touch to any kitchen. However, over time, the paint on the vintage stove burners can start to fade or peel, detracting from their overall appeal.
If you find yourself in this situation, you may be wondering what your options are. Can you paint vintage stove burners to restore their beauty and functionality? The answer is yes! Painting vintage stove burners is a popular DIY project that can breathe new life into your cherished appliance.
But before you pick up a brush and dive into this project, it’s important to understand the preparation, choosing the right paint, application techniques, and maintenance involved in painting vintage stove burners. In this article, we’ll walk you through the step-by-step process of transforming your worn-out burners into stunning focal points in your kitchen.
Keep in mind that while painting vintage stove burners can be a rewarding project, it is important to proceed with caution. Vintage stoves are valuable and delicate appliances, and any modifications or repairs should be done meticulously to preserve their authenticity and functionality.
Now, let’s get started on the journey of transforming your vintage stove burners with a fresh coat of paint!
Key Takeaways:
- Revive the charm of vintage stove burners by painting them with heat-resistant, durable paint. Proper preparation, application, and maintenance are crucial for achieving a professional, long-lasting finish.
- Transform worn-out vintage stove burners into stunning focal points in your kitchen with attention to detail, patience, and careful handling. Choose the right paint, allow for proper curing, and protect the painted surface for years of nostalgic charm.
Preparing the Vintage Stove Burners
Before you begin painting the vintage stove burners, it is crucial to ensure that they are properly prepared. This will help to create a smooth surface for the paint to adhere to and ensure the longevity of the new finish. Here are the steps to prepare the vintage stove burners:
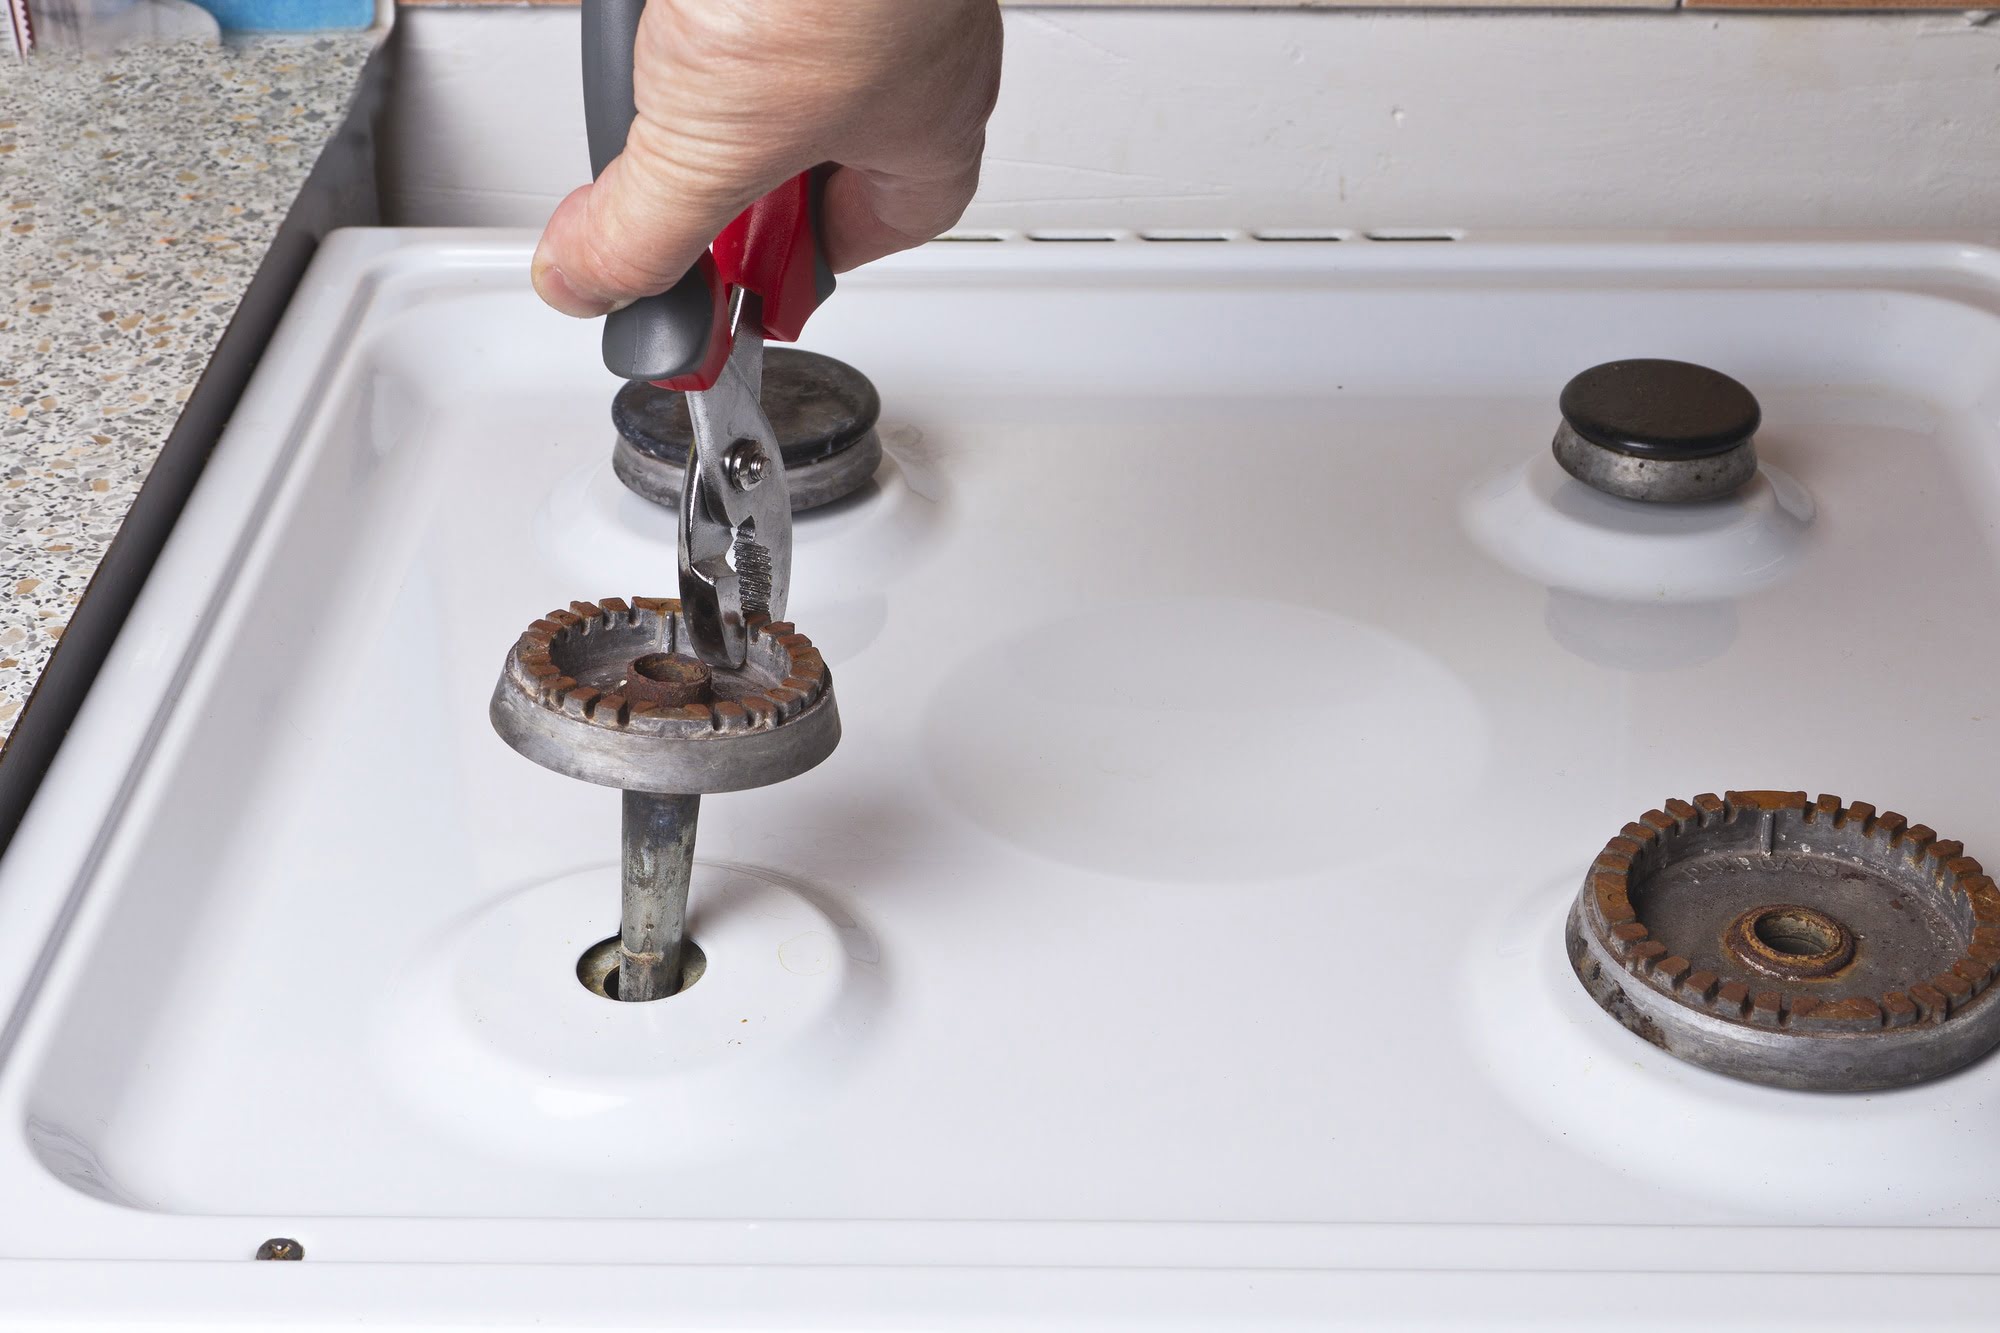
1. Remove the burners
Start by carefully removing the burners from the stove. Depending on the model, this can usually be done by unscrewing or lifting the burners off their fittings. Make sure to disconnect any gas or electrical connections safely.
2. Clean the burners
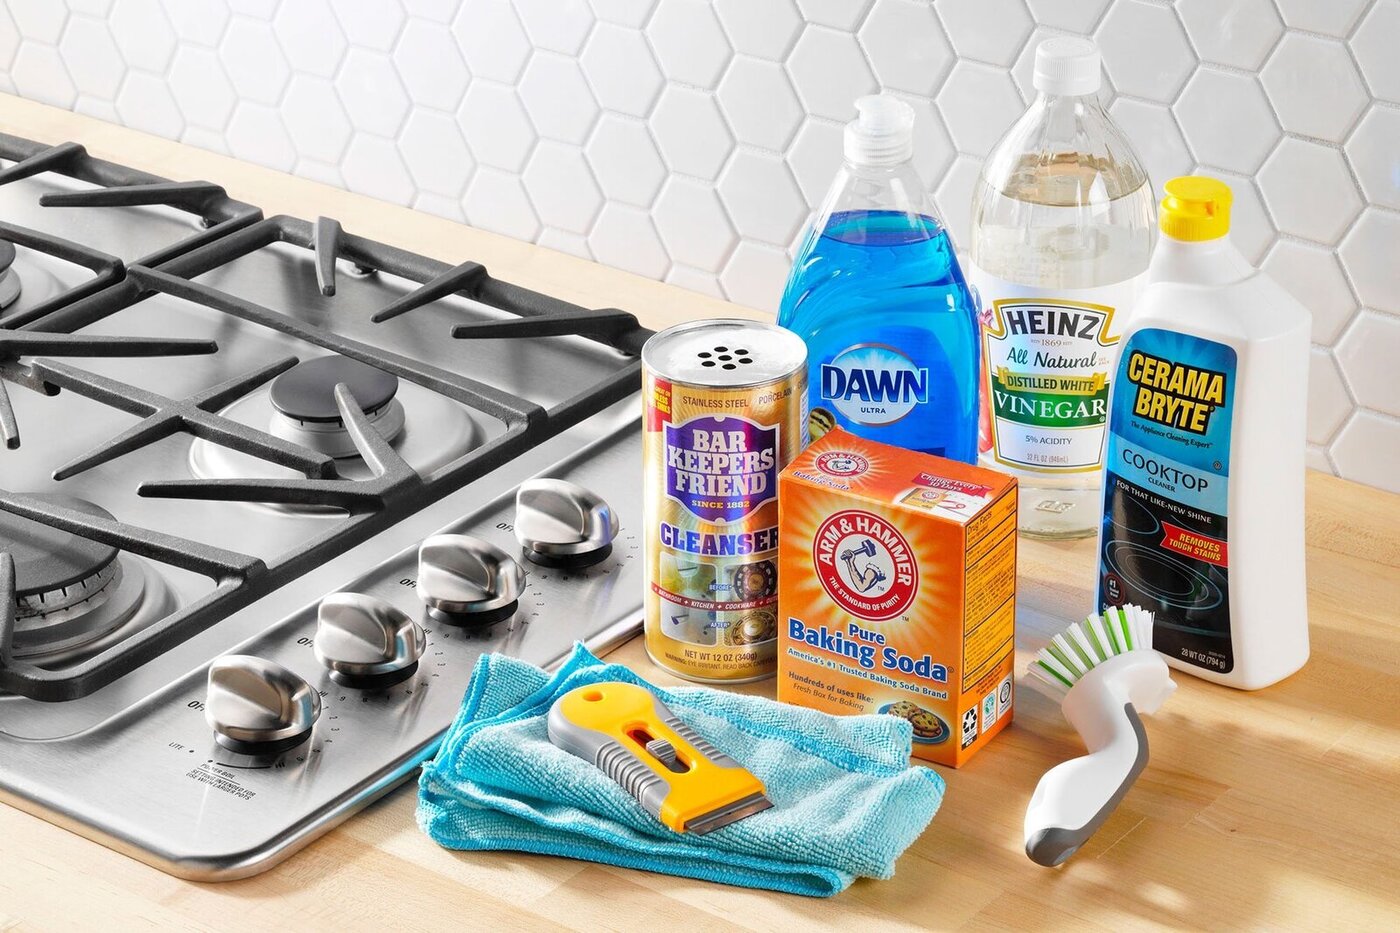
Next, thoroughly clean the burners to remove any dirt, grease, or grime. You can use a gentle dish soap and warm water solution to scrub the burners. For more stubborn stains or buildup, consider using a degreaser, but be cautious to choose a product that won’t damage the metal or finish of the burners.
3. Sand the surface
Using fine-grit sandpaper, gently sand down the surface of the burners. This will help to remove any remaining paint, smooth out any imperfections, and create a better surface for the new paint to adhere to. Be sure to wipe away any dust or debris from the surface after sanding.
4. Repair any damage
If you spot any dents, dings, or other damage on the burners, now is the time to repair them. Consider using a metal filler or epoxy to fill in any small imperfections. Sand the repaired areas once they are dry to ensure a smooth finish.
5. Mask off any areas
If there are any parts of the burner that you do not want to paint, such as the control knobs or gas fittings, carefully mask them off using painter’s tape. This will protect these areas from getting covered in paint or being damaged during the painting process.
By properly preparing the vintage stove burners, you will ensure that the paint adheres well and results in a professional-looking finish. Once the burners are cleaned, sanded, and any necessary repairs are made, you are ready to move on to the next step: choosing the right paint for your vintage stove burners.
Choosing the Right Paint
When it comes to painting vintage stove burners, selecting the right paint is crucial for achieving a durable and visually pleasing finish. Here are some considerations to keep in mind when choosing the paint for your vintage stove burners:
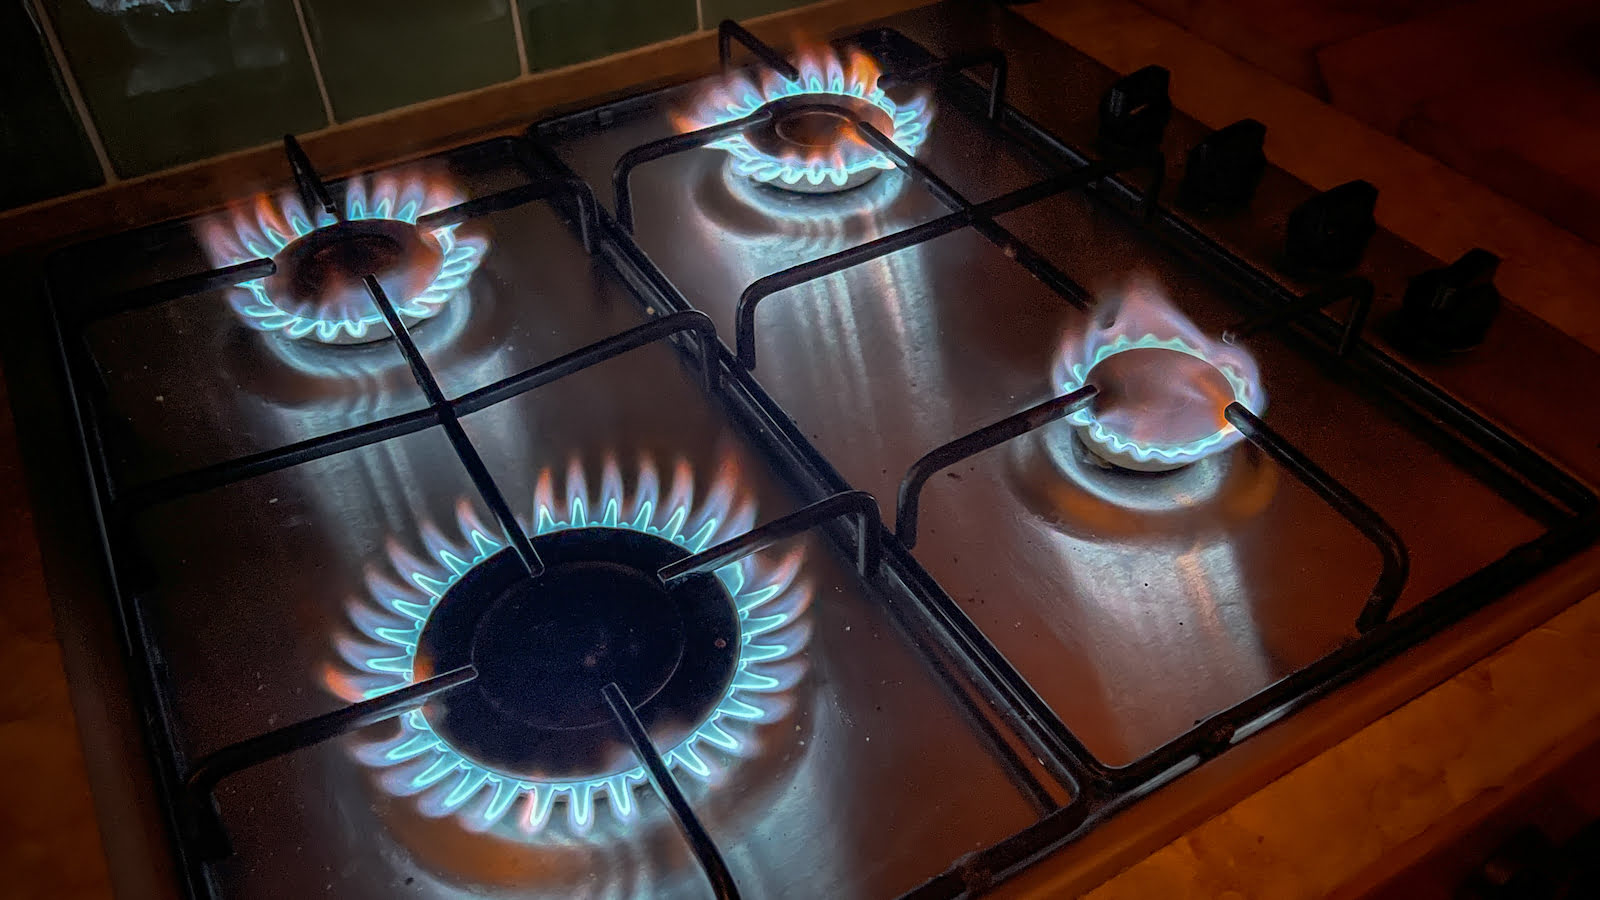
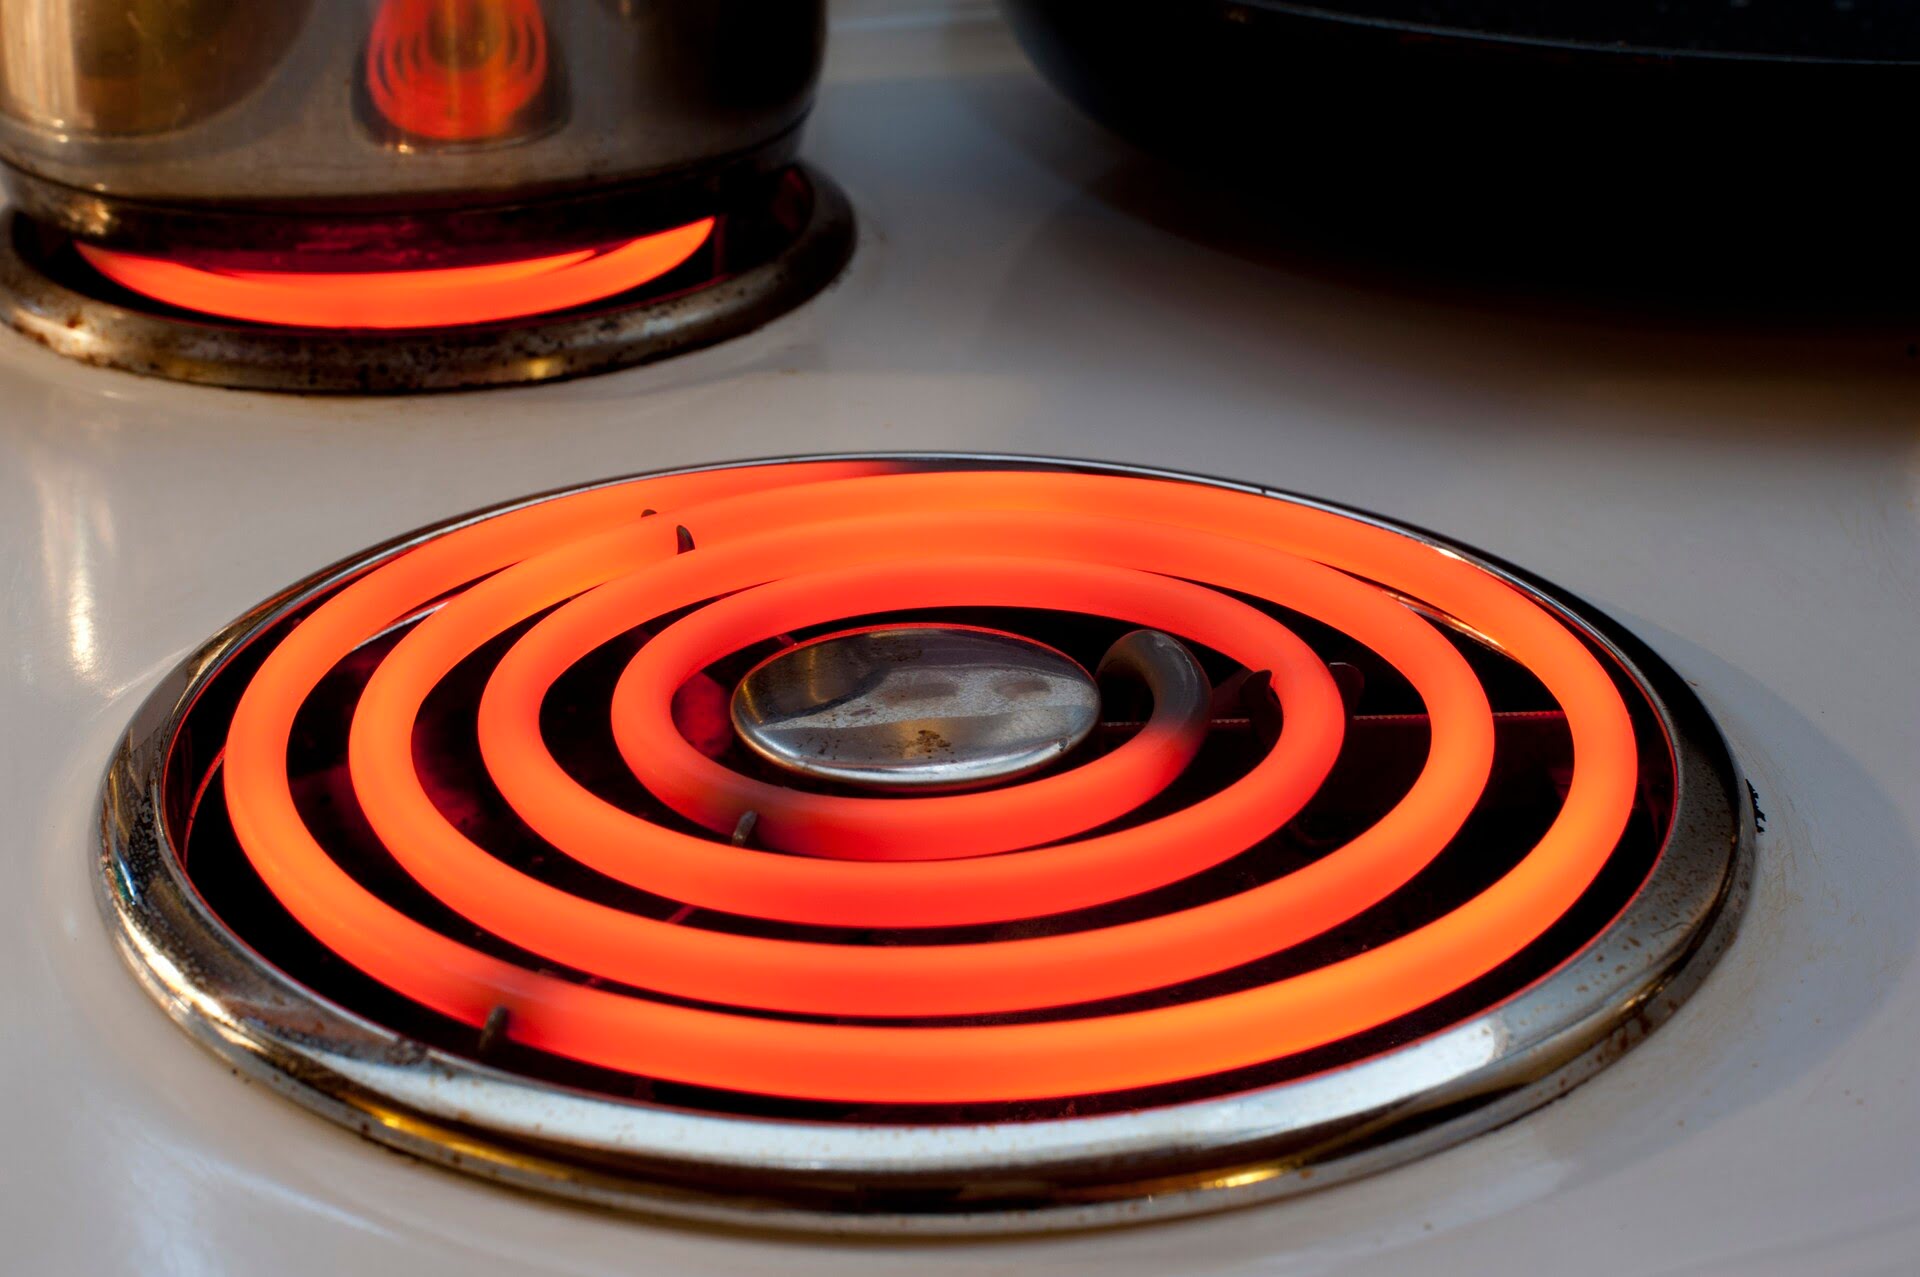
1. Heat resistance
Since stove burners generate heat, it is essential to choose a paint that can withstand high temperatures. Look for paints specifically designed for high-heat applications. These paints are formulated to withstand the intense heat produced by the burners and will prevent the paint from flaking or bubbling.
Read more: What Are Stove Burners Called
2. Compatibility
Ensure that the paint you choose is compatible with the material of the vintage stove burners. Different types of burners may require different paint formulations. For instance, if your burners are made of cast iron or steel, opt for a paint that is designed to adhere to these materials and provide durability.
3. Finish
Consider the desired finish for your vintage stove burners. You can choose from various options such as matte, satin, or glossy finishes. Keep in mind that a glossy finish may be more challenging to maintain and can show fingerprints or smudges more easily.
4. Color selection
Choose a color that complements the overall aesthetic of your kitchen and matches your personal style. Whether you want a classic black, a vibrant color, or even a metallic finish, there are plenty of options to choose from. Be sure to select a paint color that is specifically formulated for high-heat applications.
5. Quality and durability
Invest in a high-quality paint that is known for its durability. Look for paints that are resistant to chipping, peeling, or fading over time. This will ensure that your freshly painted vintage stove burners will maintain their beauty and integrity for years to come.
By considering these factors, you can select the right paint that will provide a long-lasting and visually pleasing finish for your vintage stove burners. Once you have chosen the paint, it’s time to move on to the next step: applying the paint to the burners.
Read more: What Are Stove Burners Made Of
Applying the Paint on Vintage Stove Burners
After preparing the vintage stove burners and selecting the right paint, it’s time to start applying the paint. This step requires attention to detail and careful application to achieve a smooth and professional finish. Here’s how to apply the paint on vintage stove burners:
1. Start with a primer (optional)
Applying a primer is optional but can help improve paint adhesion and increase the longevity of the finish. If you choose to use a primer, select one that is specifically formulated for high-heat applications and compatible with the chosen paint. Apply the primer evenly and allow it to dry according to the manufacturer’s instructions.
2. Paint in thin coats
When it comes to applying the paint, it’s best to do so in thin coats rather than one thick coat. This allows for better control and helps prevent drips or uneven coverage. Use a brush or a spray can, depending on personal preference and the type of paint chosen. Apply the paint evenly, following the contours of the burners.
3. Take your time and be patient
Patience is key when it comes to painting vintage stove burners. Take your time to ensure that each coat is fully dried before applying the next one. This will help prevent smudging, streaking, or lifting of the paint. Follow the manufacturer’s instructions for drying times between coats.
Read more: How Often Should You Clean The Stove Burners
4. Apply multiple coats if needed
Depending on the color and coverage desired, you may need to apply multiple coats of paint. Allow each coat to dry completely before applying the next one. This will help achieve a solid, even color and enhance the durability of the finish.
5. Let the paint cure
Once all the coats have been applied, allow the paint to cure thoroughly. This is important for the paint to fully bond and harden. Follow the manufacturer’s instructions for the recommended curing time. Keep in mind that it may take several days or even weeks for the paint to fully cure.
By following these steps, you can confidently apply the paint to your vintage stove burners and achieve a beautiful and durable finish. Once the paint has cured, it’s time to move on to the next crucial step: protecting and maintaining the painted burners.
Curing and Protecting the Painted Burners
Once you have applied the paint to your vintage stove burners, it’s important to allow the paint to cure completely before using the burners. Curing is the process of allowing the paint to fully bond and harden, ensuring durability and longevity. Here are some steps to effectively cure and protect the painted burners:
1. Follow the curing time
Refer to the manufacturer’s instructions for the recommended curing time for the specific type of paint you have used. It is crucial to give the paint enough time to cure, as premature use can damage the finish and affect its durability. This can range from a few days to a couple of weeks, depending on the paint type and conditions.
Read more: What To Put In Between Stove Burners
2. Avoid excessive heat
During the curing process, it’s important to avoid exposing the painted burners to excessive heat. This means refraining from using the stove or engaging in activities that generate high heat, such as broiling or using the self-cleaning function. Exposing the freshly painted burners to extreme heat can cause the paint to blister or peel.
3. Handle with care
While the paint is curing, handle the burners with care to prevent any scratches or damage to the newly painted surface. Avoid placing heavy objects on top of the burners and be cautious when reinstalling them into the stove.
4. Apply a protective coating (optional)
To provide additional protection to the painted burners, you may opt to apply a clear protective coating. This can help guard against scratches, stains, and general wear and tear. Select a clear coat that is designed for high-heat applications and follow the manufacturer’s instructions for proper application.
5. Clean with caution
When it comes to cleaning the painted burners, it’s crucial to be gentle and cautious. Avoid using abrasive cleaners, rough sponges, or harsh chemicals that can damage the paint. Instead, opt for mild dish soap, warm water, and a soft cloth to clean the burners. Dry them thoroughly after cleaning to prevent any moisture-related issues.
By following these steps to effectively cure and protect the painted burners, you can ensure their longevity and keep them looking fresh and beautiful for years to come. Now that you have successfully painted and protected your vintage stove burners, let’s move on to some cleaning and maintenance tips to help you preserve their pristine appearance.
Read more: What Size Are Electric Stove Burners
Cleaning and Maintenance Tips for Painted Vintage Stove Burners
Proper cleaning and maintenance are essential for preserving the beauty and longevity of your painted vintage stove burners. With regular care, you can keep your burners looking fresh and vibrant. Here are some cleaning and maintenance tips to follow:
1. Regular dusting
Dust can accumulate on your vintage stove burners, making them look dull and dirty. To prevent this, regularly dust the burners with a soft, dry cloth or a feather duster. This will help maintain their shine and prevent the buildup of debris.
2. Gentle cleaning
When it’s time to clean your painted vintage stove burners, opt for gentle methods. Avoid abrasive cleaners, scouring pads, or harsh chemicals as they can damage the paint. Instead, use a mild dish soap diluted with warm water and a soft sponge or cloth to gently clean the burners.
3. Wipe spills immediately
If any spills or drips occur while using the burners, it’s important to wipe them up immediately. Acidic or corrosive substances can potentially damage the paint if left for an extended period. Use a damp cloth or sponge to gently clean up any spills, being careful not to scrub vigorously.
4. Avoid soaking
Avoid soaking the burners in water or leaving them submerged. Excessive moisture can cause the paint to peel or fade. Instead, clean the burners with a damp cloth or sponge and dry them thoroughly with a soft cloth after cleaning.
5. Handle with care
When using or handling your vintage stove burners, be mindful and handle them with care. Avoid banging or dropping them, as this can chip or scratch the paint. Gently place the burners back into their fittings and avoid placing heavy objects on top of them.
6. Periodic touch-ups
Over time, the painted finish of your vintage stove burners may experience minor chips or wear. For small touch-ups, keep some extra paint in the original color handy. Apply the touch-up paint using a small brush, following the manufacturer’s instructions. This will help maintain the overall appearance and protect the burners from further damage.
By following these cleaning and maintenance tips, you can keep your painted vintage stove burners looking stunning for years to come. Remember, proper care and maintenance are essential for preserving the integrity and beauty of your cherished appliance.
Potential Issues and Troubleshooting
While painting vintage stove burners can be a rewarding project, it’s important to be aware of potential issues that may arise. Here are some common problems and troubleshooting tips to consider:
Read more: What Does Foil On Stove Burners Do
1. Paint bubbling or peeling
If you notice any bubbling or peeling of the paint, it may be due to improper surface preparation or using the wrong type of paint. In such cases, you may need to remove the old paint and start the painting process again, ensuring proper cleaning and using the appropriate heat-resistant paint.
2. Uneven coverage
If the paint appears patchy or uneven after it has dried, it may be due to inconsistent application. Make sure to apply thin and even coats of paint, allowing adequate drying time between each coat. If the issue persists, consider lightly sanding the surface and applying another coat of paint.
3. Paint color fading
Over time, the painted color may begin to fade due to exposure to sunlight or high heat. To prevent this, consider using a high-quality and UV-resistant paint. Additionally, keeping your vintage stove away from direct sunlight can help minimize color fading.
4. Paint chips or scratches
If you notice any chips or scratches on the painted surface, you can perform touch-ups using the same paint color. Use a small brush to carefully apply the touch-up paint to the affected areas, allowing it to dry completely before using the burners.
It’s important to address any issues promptly to maintain the quality and appearance of your painted vintage stove burners. With proper care and troubleshooting, you can enjoy the beauty and functionality of your painted burners for years to come.
Potential Issues and Troubleshooting
While painting vintage stove burners can be a rewarding project, it’s important to be aware of potential issues that may arise. Addressing these issues promptly will help ensure the best possible outcome for your painted burners. Here are some common problems that you may encounter and troubleshooting tips:
1. Paint Bubbling or Peeling
If you notice bubbling or peeling of the paint on your vintage stove burners, it’s likely due to improper surface preparation or using the wrong type of paint. To troubleshoot this issue, start by removing the old paint from the burners. Properly clean and sand the surface, ensuring it is smooth and free from any dirt or grease. Next, choose a high-quality, heat-resistant paint that is specifically designed for the material of your burners. Apply the paint in thin, even coats, allowing adequate drying time between each coat. Following these steps will help ensure better adhesion and prevent future bubbling or peeling.
2. Uneven Coverage
If you notice that the paint appears patchy or uneven after it has dried, it may be due to inconsistent application. To troubleshoot this issue, ensure that you are applying the paint in thin, even coats. Avoid applying too much paint at once, as this can lead to drips or pooling. Use smooth, even strokes or a spray can to achieve a uniform coverage. If the issue persists, lightly sand the surface and apply another coat of paint, making sure to maintain a consistent application technique.
3. Paint Color Fading
Over time, exposure to sunlight or high heat may cause the painted color on your vintage stove burners to fade. To troubleshoot this issue, choose a high-quality, UV-resistant paint that is specifically formulated for high-heat applications. These paints are designed to withstand sun exposure and retain their color for longer periods. Additionally, consider placing your vintage stove away from direct sunlight or using window treatments to minimize color fading.
4. Paint Chips or Scratches
If you notice any chips or scratches on the painted surface of your vintage stove burners, you can perform touch-ups using the same paint color. Start by cleaning the area around the chip or scratch by gently wiping it with a soft, damp cloth. Once the area is dry, use a small brush to carefully apply a thin layer of touch-up paint. Allow the paint to dry completely before using the burners. This will help blend the touch-up paint with the surrounding area and minimize the appearance of the chip or scratch.
By being aware of these potential issues and using the troubleshooting tips provided, you can address any problems that may arise during and after the painting process. Remember to be patient and take your time to achieve the best results for your painted vintage stove burners.
Conclusion
Painting vintage stove burners is a wonderful way to restore the beauty and charm of these cherished appliances. With the right preparation, paint selection, and application techniques, you can transform worn-out burners into stunning focal points in your kitchen. By following the steps outlined in this article, you can achieve a professional-looking finish that not only rejuvenates your vintage stove but also adds a touch of nostalgia to your cooking space.
Remember that the process of painting vintage stove burners requires attention to detail, patience, and careful handling. Properly preparing the burners, choosing the right heat-resistant paint, and applying it in thin, even coats are critical steps for achieving a long-lasting and visually pleasing result. Additionally, allowing the paint to cure fully and protecting the painted surface from excessive heat and damage will help maintain the beauty and durability of your burners over time.
Cleaning and maintaining your painted vintage stove burners is equally important. Regular dusting, gentle cleaning methods, and avoiding harsh chemicals or abrasive cleaners will help preserve the integrity of the paint. Handling the burners with care and performing periodic touch-ups for minor chips or scratches will ensure their continued attractiveness.
While you embark on the journey of painting your vintage stove burners, be aware of potential issues, such as paint bubbling, uneven coverage, color fading, or chips. However, rest assured that with proper troubleshooting techniques, you can overcome these challenges and achieve the desired results.
Ultimately, taking the time and effort to paint vintage stove burners is a labor of love that brings nostalgia, personality, and a sense of accomplishment to your kitchen. Enjoy the process, unleash your creativity, and relish in the satisfaction of transforming your vintage stove burners into beautiful works of art.
Now, gather your supplies, put on your creative hat, and give your vintage stove burners the makeover they deserve!
Frequently Asked Questions about What Happens If You Paint Vintage Stove Burners
Was this page helpful?
At Storables.com, we guarantee accurate and reliable information. Our content, validated by Expert Board Contributors, is crafted following stringent Editorial Policies. We're committed to providing you with well-researched, expert-backed insights for all your informational needs.
0 thoughts on “What Happens If You Paint Vintage Stove Burners”