Home>Furniture>Kitchen Furniture>How To Soak Aluminum Stove Burners
Kitchen Furniture
How To Soak Aluminum Stove Burners
Modified: January 6, 2024
Discover effective methods for soaking aluminum stove burners in this informative article. Learn how to remove stubborn stains and restore your burners to their original shine.
(Many of the links in this article redirect to a specific reviewed product. Your purchase of these products through affiliate links helps to generate commission for Storables.com, at no extra cost. Learn more)
Introduction
Keeping your stove burners clean is essential for maintaining their efficiency and extending their lifespan. Over time, grease, food residue, and other debris can accumulate on the burners, affecting their performance and even causing unpleasant odors when cooking. Regular cleaning of your stove burners is necessary to ensure optimal functionality and a clean cooking environment.
In this article, we will guide you through the process of soaking aluminum stove burners to remove stubborn stains and grime. Soaking the burners is an effective method that loosens the dirt, making it easier to scrub away. By following these steps, you can restore your burners to their original shine and improve their overall performance.
Before we start, it’s crucial to emphasize the importance of safety when dealing with any electrical appliance. Always ensure that your stove is turned off and cooled down completely before attempting any cleaning or maintenance.
To soak aluminum stove burners effectively, you will need some basic materials that are commonly found in most households. These materials include a cleaning solution, hot water, a sponge or brush, and a towel or cloth for drying. Once you have gathered these items, you will be ready to begin the cleaning process.
Key Takeaways:
- Regularly soaking aluminum stove burners in a cleaning solution and hot water helps to effectively remove stubborn stains and grime, restoring their original shine and improving overall performance.
- Thoroughly scrubbing and rinsing the soaked burners, followed by proper drying and reassembly, ensures clean and functional stove burners for an efficient and hygienic cooking experience.
Read more: How To Remove Stove Burners
Step 1: Gather Necessary Materials
Before you start soaking your aluminum stove burners, it’s essential to gather all the necessary materials. Having everything ready will make the process smoother and more efficient. Here are the materials you will need:
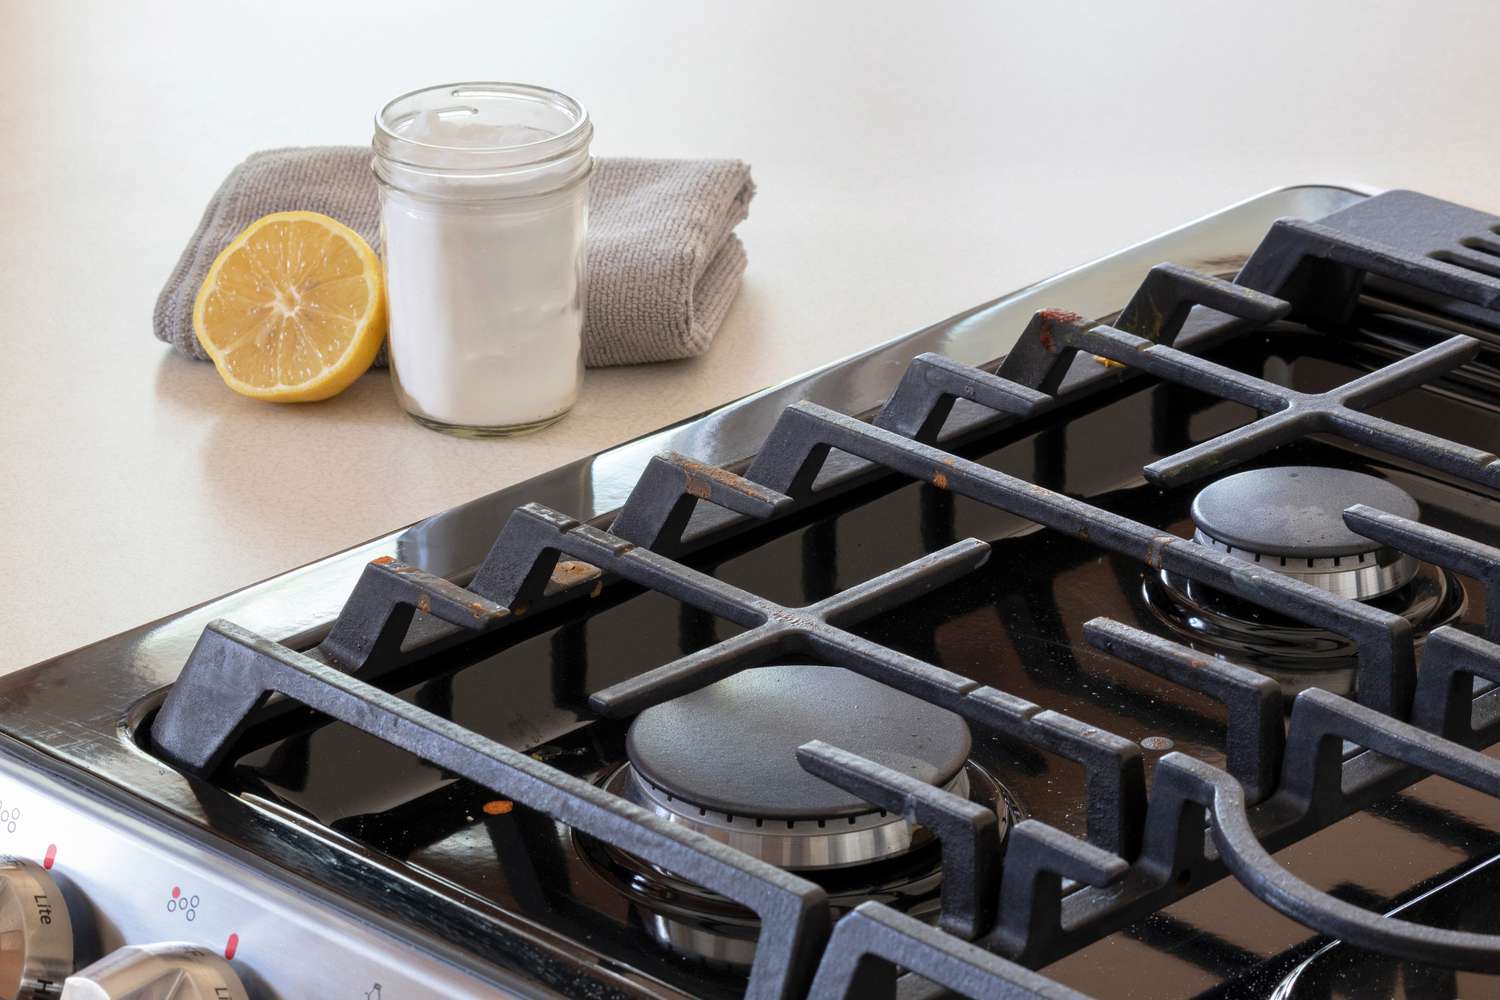
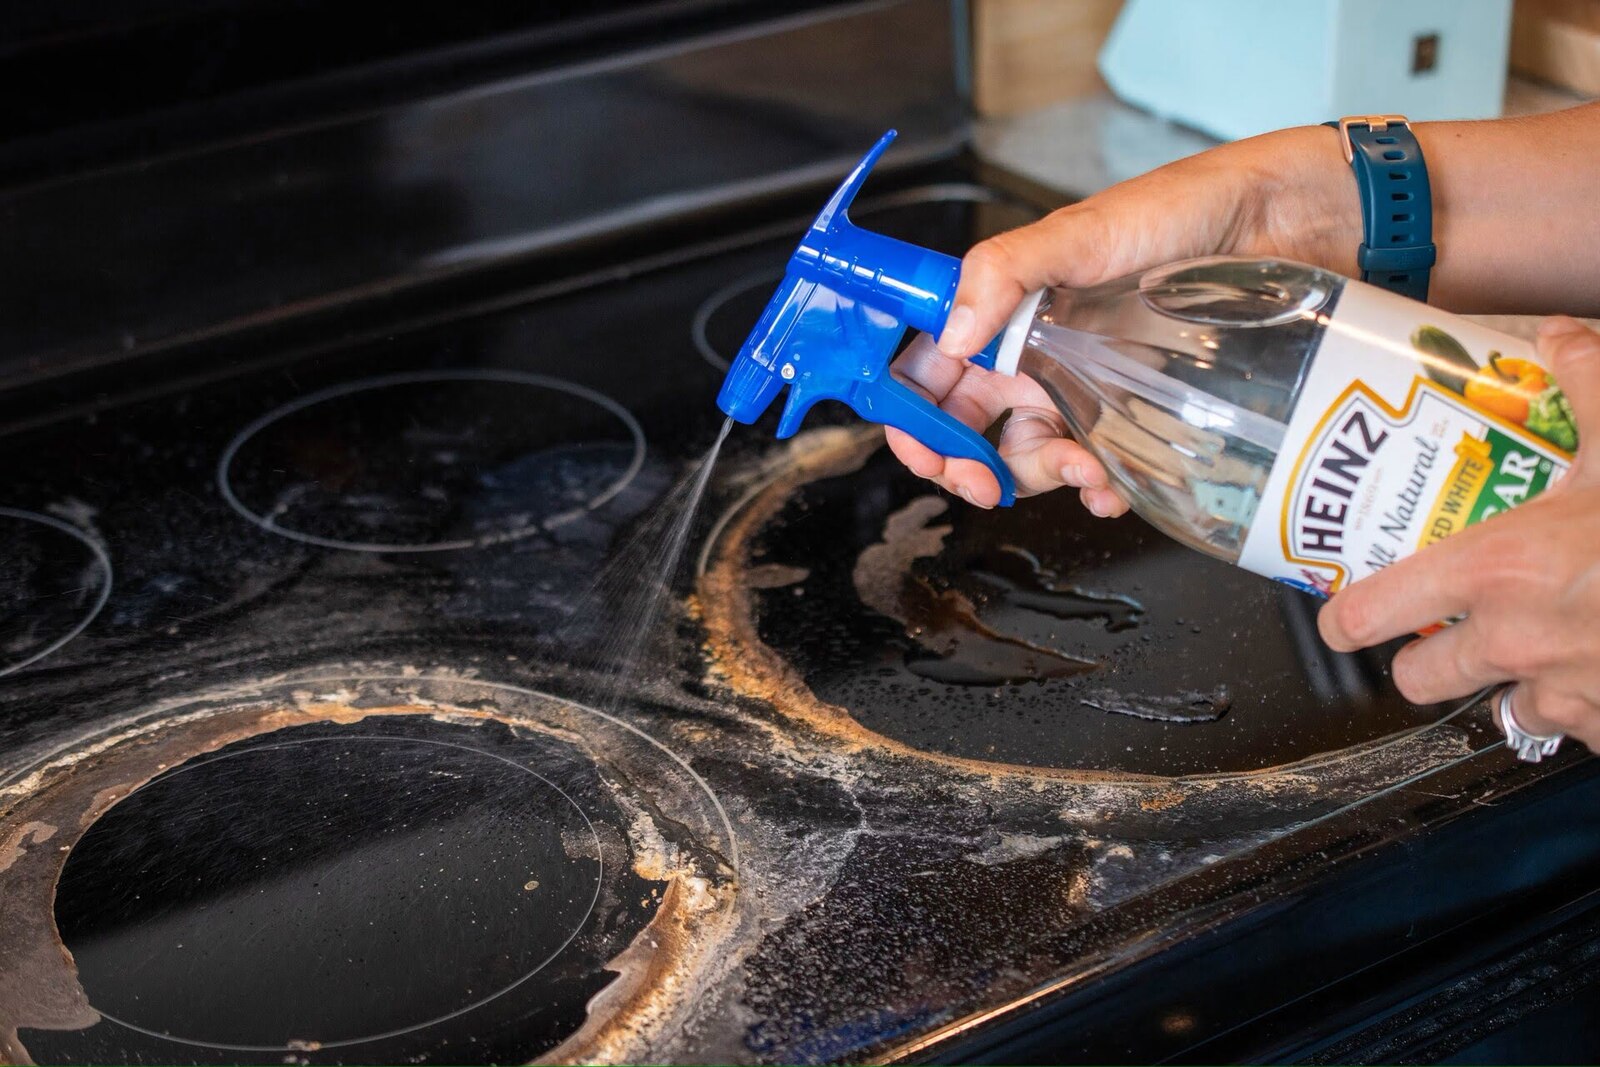
- Cleaning solution: Choose a cleaning solution that is suitable for removing grease and grime from stove burners. You can opt for a commercial cleaner or make your own using household ingredients like vinegar and dish soap.
- Hot water: Hot water is essential for creating the soaking solution and loosening the dirt on the burners. Ensure that the water is hot enough to be effective but not boiling.
- Sponge or brush: Select a soft sponge or brush that will be gentle on the aluminum surface of the burners but effective in removing stubborn stains and grime. Avoid using abrasive materials that could scratch or damage the burners.
- Towel or cloth: You will need a towel or cloth to dry the burners once the soaking and cleaning process is complete. Choose a clean, absorbent cloth to ensure the burners are thoroughly dried.
Having all these materials ready before you start will save you time and make the entire process more convenient. It’s always a good idea to double-check and ensure you have everything you need before moving on to the next steps.
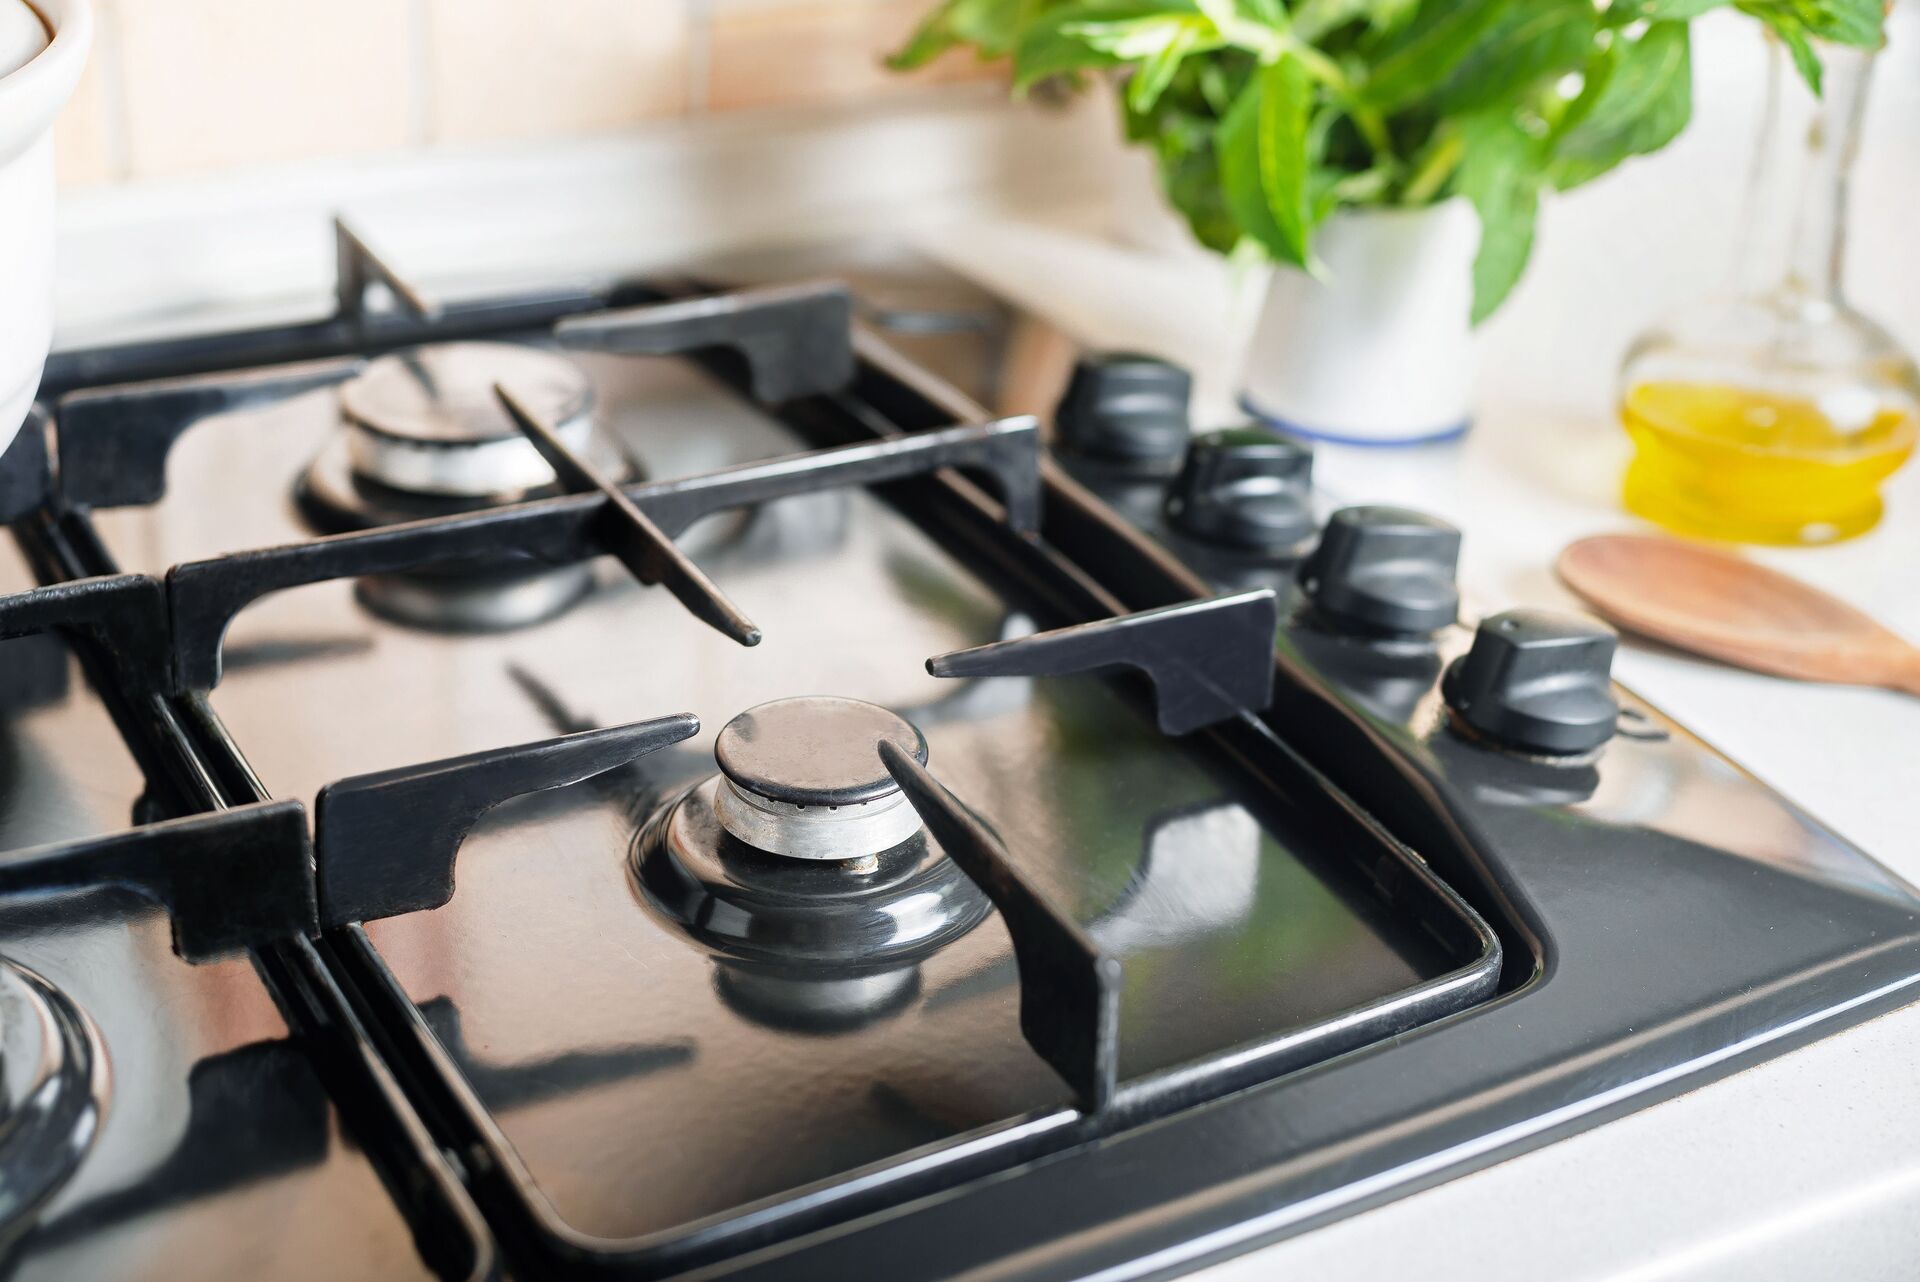
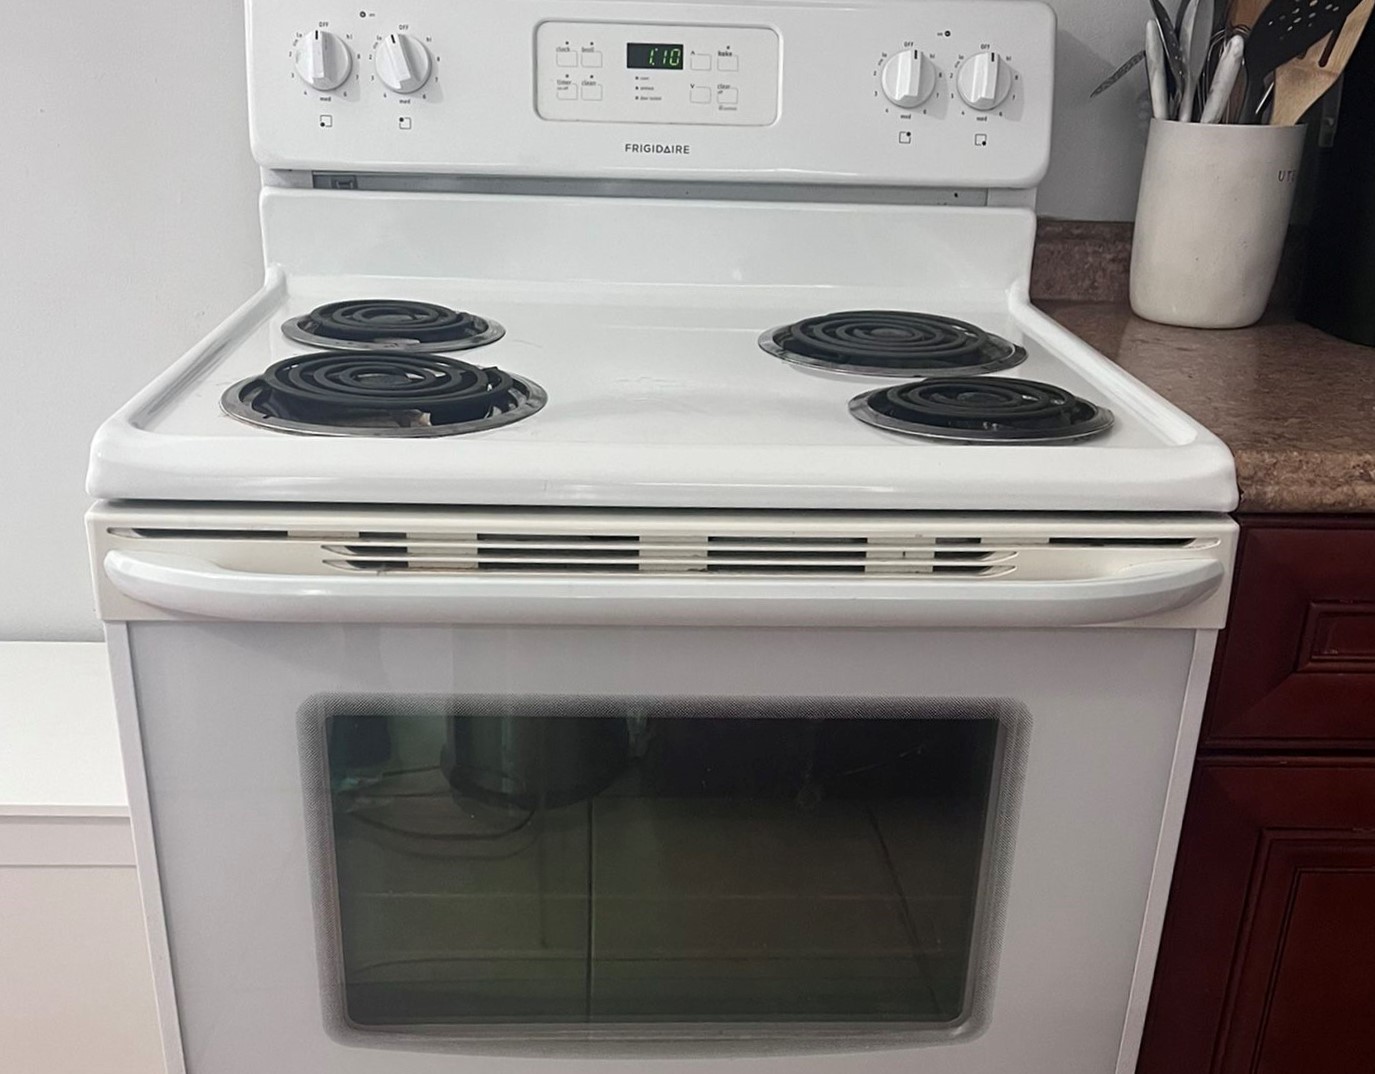
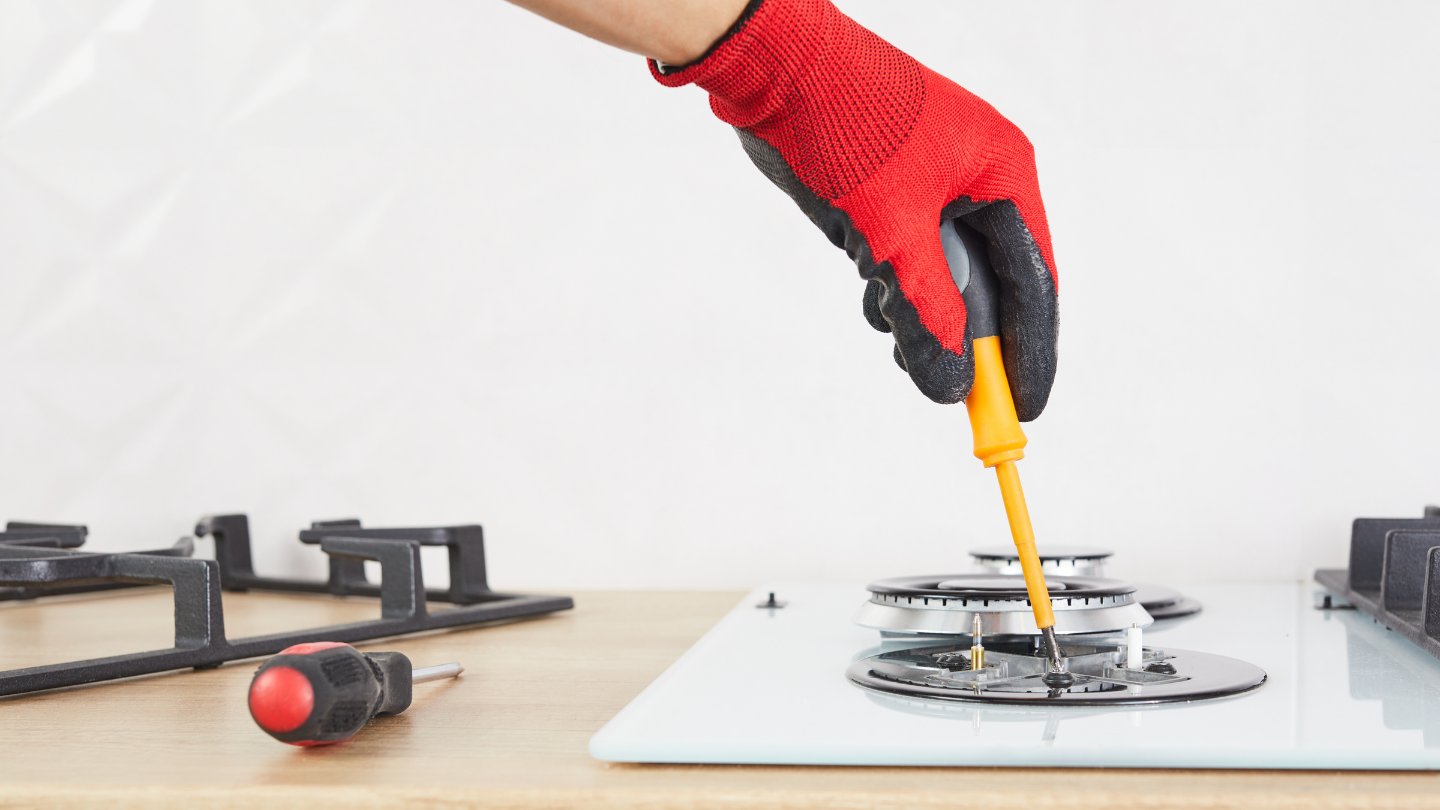
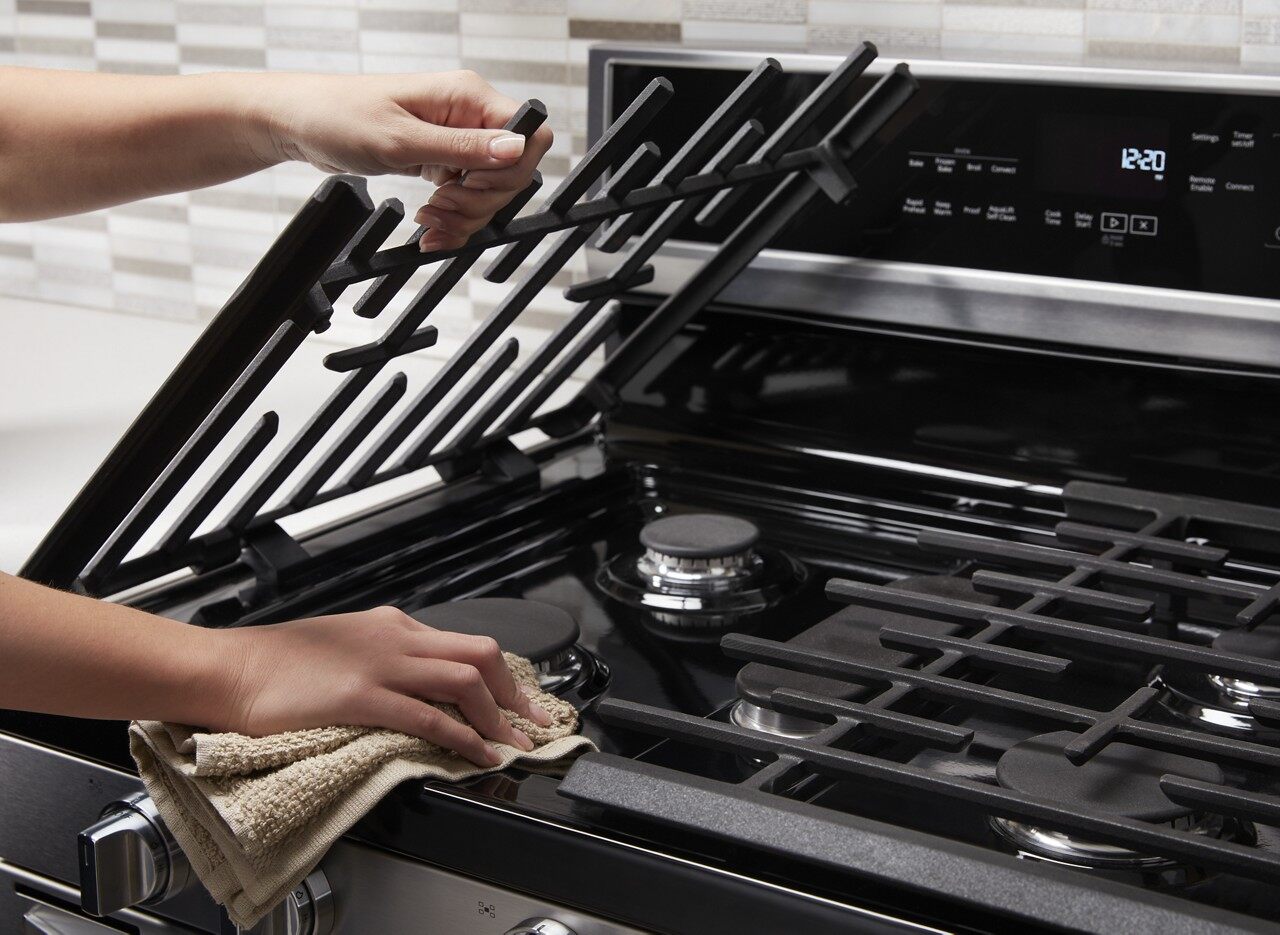
Step 2: Remove Burners from Stove
Before you can begin soaking the aluminum stove burners, you need to remove them from the stove. Follow these steps to safely detach the burners:
- Turn off the stove: Make sure the stove is turned off and cooled down completely. This is crucial for your safety and prevents any accidental burns while handling the burners.
- Lift the burner grates: Most stoves have burner grates that sit on top of the burners. Lift the grates carefully to expose the burners underneath. Take note of how the grates are positioned so that you can easily put them back later.
- Carefully detach the burners: The burners are usually secured in place with screws or clips. Depending on your stove’s design, you may need to use a screwdriver or simply lift and wiggle the burners to detach them. Take your time and be gentle, as excessive force can damage the burners or the stove itself.
Once you have successfully removed the burners from the stove, place them on a clean surface where you can easily work on them. It’s important to handle the burners with care to avoid any dents or scratches that could affect their performance.
By following these steps, you can safely and efficiently remove the burners from your stove and proceed to the next stage of the cleaning process.
Step 3: Prepare the Soaking Solution
Once you have removed the aluminum stove burners, it’s time to prepare the soaking solution. The soaking solution is a mixture of a cleaning solution and hot water that helps to loosen dirt and grime from the burners. Follow these steps to prepare the soaking solution:
- Mix the cleaning solution with hot water: Measure the appropriate amount of cleaning solution according to the instructions on the packaging or your homemade recipe. Fill a container with hot water, leaving enough room to accommodate the burners.
- Ensure the solution is well dissolved: Stir the cleaning solution and hot water together until the cleaning solution is fully dissolved. This will ensure that the soaking solution is evenly distributed and effective in removing stubborn stains and grime from the burners.
It’s important to note that different cleaning solutions may require different dilution ratios. Always refer to the instructions provided by the manufacturer or follow a trusted homemade recipe to ensure you achieve the desired concentration for optimal cleaning results.
By properly preparing the soaking solution, you can ensure that the cleaning process is effective in removing dirt and grime from the aluminum stove burners. Once you have prepared the solution, you are ready to move on to the next step of submerging the burners in the soaking solution.
Step 4: Submerge Burners in the Cleaning Solution
Now that you have prepared the soaking solution, it’s time to submerge the aluminum stove burners. Follow these steps to ensure the burners are fully immersed in the cleaning solution:
- Place the burners in a container: Select a container that is large enough to accommodate the burners without crowding them. This could be a basin, a sink, or a plastic container specifically designed for soaking purposes. Make sure the container is clean and free of any residue that could contaminate the soaking solution.
- Pour the soaking solution over the burners: Carefully pour the prepared soaking solution into the container, covering the burners completely. The solution should be deep enough to fully submerge the burners. Ensure that the burners are evenly spaced and not touching each other to allow for proper cleaning.
- Ensure the burners are completely submerged: Gently press down on the burners to ensure they are fully immersed in the soaking solution. This will help the solution penetrate and loosen any dirt or grime that has accumulated on the burners. If needed, add more solution to ensure the burners remain submerged throughout the soaking process.
Allowing the burners to soak in the cleaning solution will help break down grease and stubborn stains, making them easier to remove during the cleaning process. The duration of the soaking process will depend on the level of dirtiness of the burners, but a minimum of 30 minutes is typically recommended. For heavily soiled burners, you may need to extend the soaking time to ensure effective cleaning.
By properly submerging the aluminum stove burners in the cleaning solution, you can ensure they receive a thorough cleaning and restoration.
To soak aluminum stove burners, remove them from the stove and place them in a sink or tub filled with hot, soapy water. Let them soak for at least 30 minutes to loosen any built-up grease and grime before scrubbing them clean.
Read more: How Hot Are Stove Burners
Step 5: Let the Burners Soak
Once you have submerged the aluminum stove burners in the cleaning solution, it’s time to let them soak. Allowing the burners to soak is crucial for loosening dirt, grime, and other stubborn stains. Follow these guidelines for an effective soaking process:
- Allow the burners to soak for a minimum of 30 minutes: This minimum soaking time allows the cleaning solution to work its magic, breaking down grease and dirt on the burners. The solution will penetrate the stubborn stains, making them easier to remove during the subsequent cleaning steps.
- Leave them longer for heavily soiled burners: If your burners are heavily soiled or have considerable buildup, you may need to extend the soaking time. Adding an extra 15 to 30 minutes will provide more time for the cleaning solution to work effectively, ensuring a thorough cleaning.
While the burners are soaking, take this time to prepare for the next steps of the cleaning process. Ensure you have a sponge or brush ready for scrubbing, clean water for rinsing, and a towel or cloth for drying the burners once they are cleaned.
By allowing the burners to soak for an adequate amount of time, you are allowing the cleaning solution to work its magic and soften the dirt and grime, making the cleaning process much easier and more effective. Once the soaking time is over, you can proceed to the next step of scrubbing the burners for optimal cleanliness.
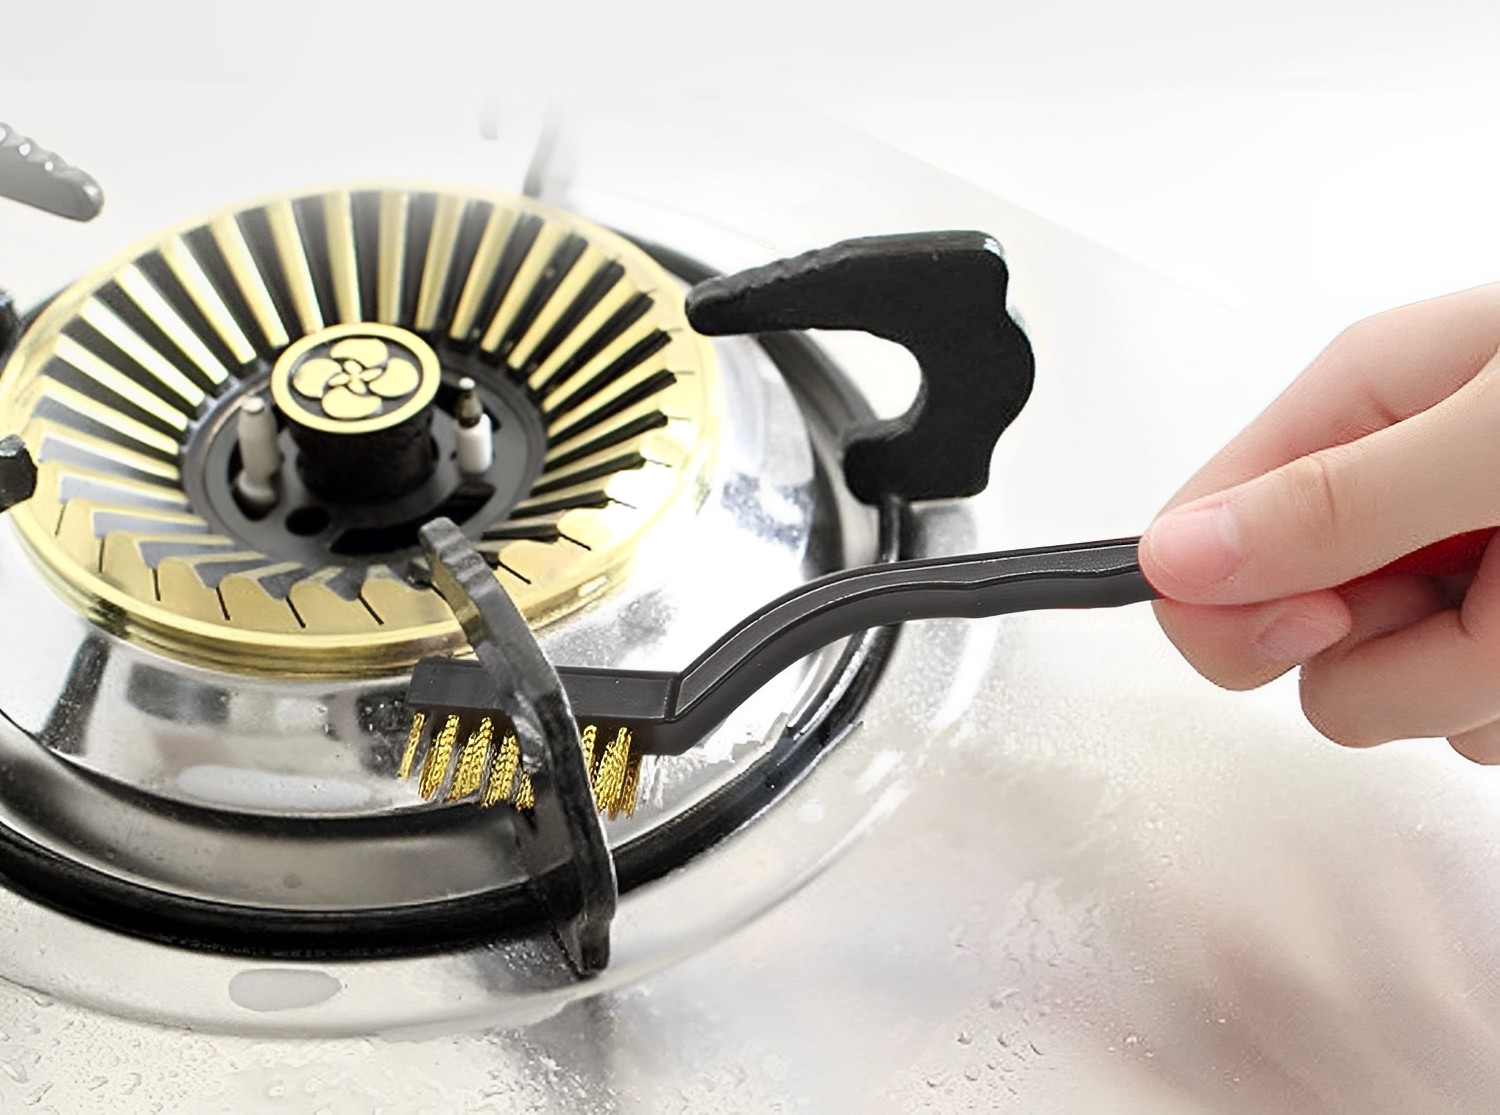
Step 6: Scrub the Burners
After the soaking process, it’s time to scrub the aluminum stove burners to remove any remaining grime. Follow these steps to effectively clean the burners:
- Take a sponge or brush: Select a soft sponge or brush that is suitable for cleaning and won’t scratch the surface of the burners. Avoid using abrasive materials that could damage the aluminum.
- Gently scrub the burners to remove any remaining grime: Start by scrubbing the burners in a circular motion, applying moderate pressure. Focus on areas with stubborn stains or buildup. Work your way around the entire surface of the burners, ensuring thorough cleaning.
- Pay attention to the crevices and hard-to-reach areas: Use the sponge or brush to clean the crevices and hard-to-reach spots on the burners. These areas can accumulate dirt and grease, so make sure to give them extra attention. You can also use an old toothbrush or a cotton swab to reach tight corners and edges.
While scrubbing, periodically rinse the sponge or brush in clean water to remove any loose dirt or grime. This will prevent it from spreading back onto the burners and allow you to continue scrubbing effectively.
Remember to be gentle when scrubbing the burners to avoid any damage. If you encounter stubborn stains or grime that won’t come off with gentle scrubbing, you can apply a small amount of the cleaning solution directly to the affected area and scrub again with slightly more pressure.
By thoroughly scrubbing the burners, paying attention to crevices and hard-to-reach areas, you can ensure all dirt and grime are removed, restoring the aluminum surface to its original shine.
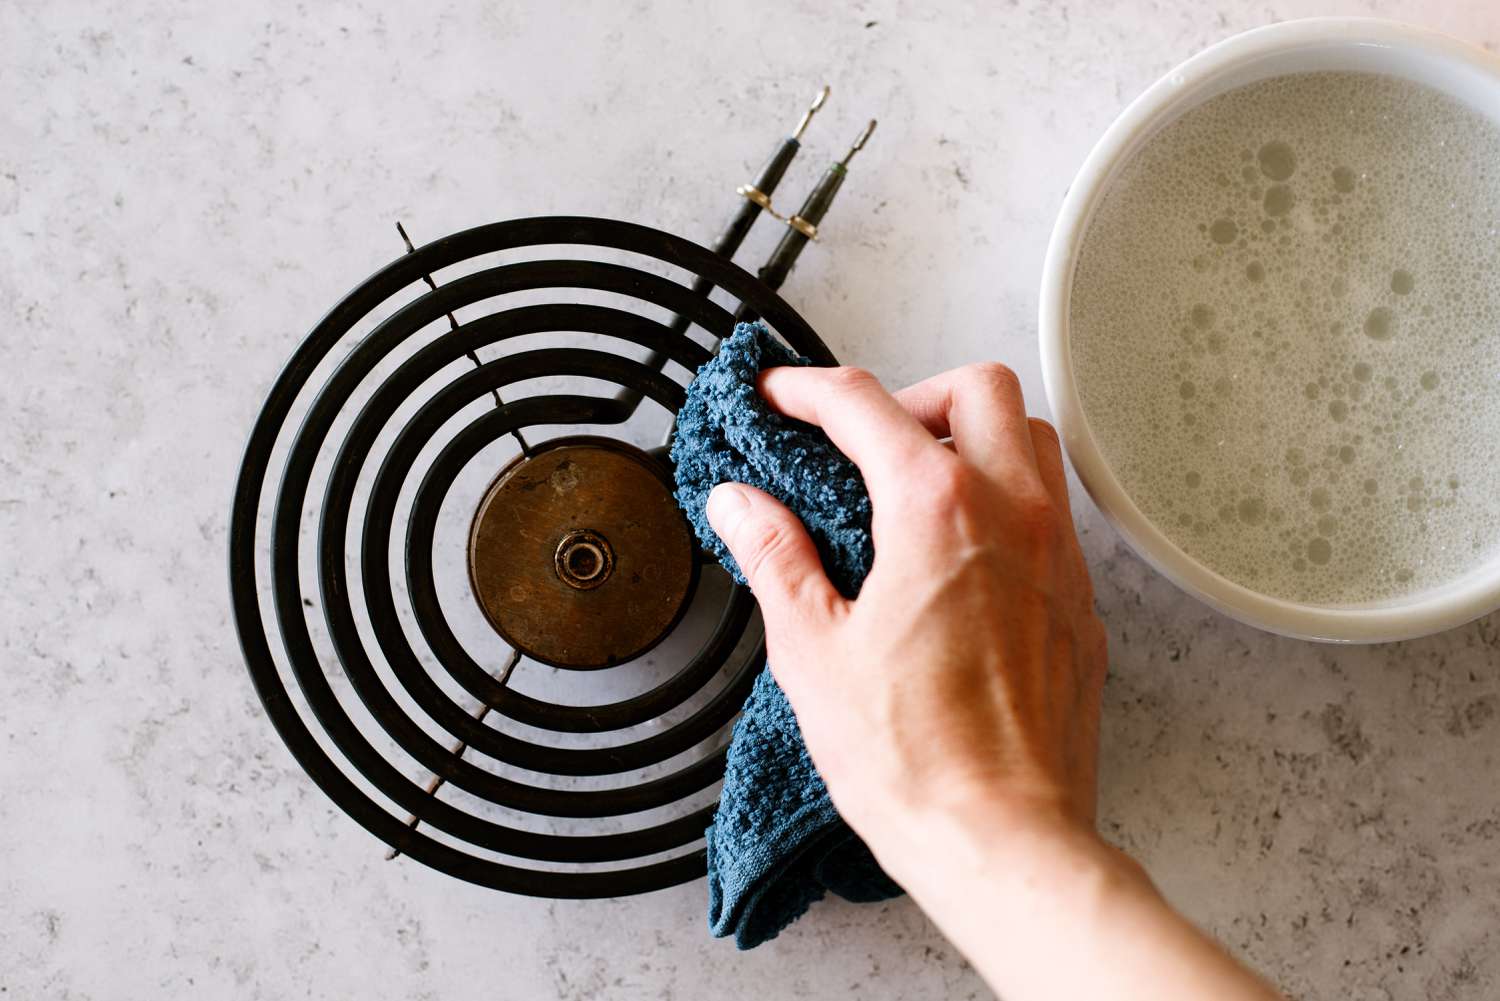
Step 7: Rinse and Dry the Burners
After scrubbing the aluminum stove burners, it’s important to rinse them thoroughly and ensure all cleaning solution residue is removed. Follow these steps to effectively rinse and dry the burners:
- Rinse the burners thoroughly with clean water: Use clean water to rinse off any remaining cleaning solution and dirt from the burners. You can do this by placing the burners under a running faucet or using a basin filled with fresh water. Make sure all surfaces of the burners are thoroughly rinsed.
- Ensure all cleaning solution residue is removed: While rinsing the burners, pay close attention to any areas where the cleaning solution may have pooled or accumulated. Use your fingers or a sponge to ensure there is no residue left behind. Remove all traces of the cleaning solution to prevent it from affecting the performance of the burners or leaving any unpleasant odors.
- Pat dry the burners with a towel or cloth: Once the rinse is complete, carefully pat dry the burners using a clean towel or cloth. Absorb any excess moisture to prevent water spots or potential rust formation. Ensure the burners are completely dry before reattaching them to the stove.
It’s important to dry the burners thoroughly to prevent any moisture from lingering on the surface, which could potentially lead to corrosion. Taking the time to dry them properly will help maintain the longevity and performance of the burners.
Once the burners are rinsed and dried, you can proceed to the final step of reassembling and testing them on the stove.
Step 8: Reassemble and Test
Now that you have thoroughly cleaned and dried the aluminum stove burners, it’s time to reattach them to the stove and ensure they are working properly. Follow these steps to reassemble and test the burners:
- Reattach the burners to the stove: Carefully align the burners with their respective slots on the stove. Depending on the design of your stove, you may need to slide the burners back into place or secure them with screws or clips. Ensure they are properly aligned and securely attached to the stove.
- Place the burner grates back in position: Take the burner grates that you previously removed and place them back in their original positions. Make sure they fit properly and sit evenly on top of the burners. This will provide support and stability during cooking.
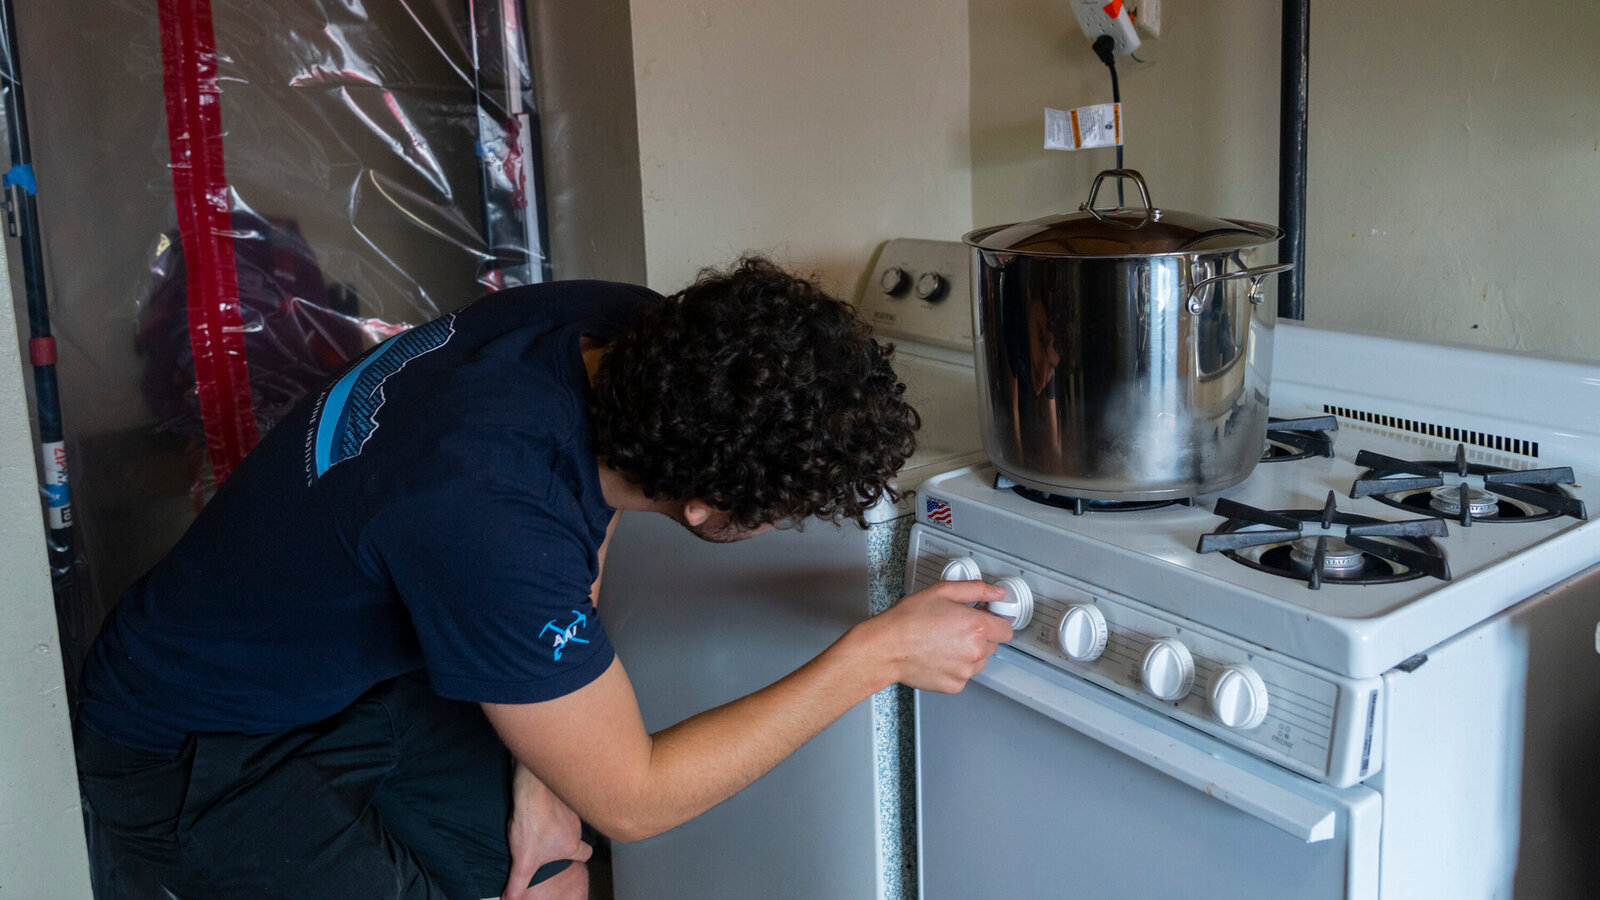
- Turn on the stove and test if the burners are working properly: Once the burners are reassembled, turn on the stove and test each burner individually. Check if they ignite and produce a steady flame. If any issues are encountered, double-check the connections and ensure that the burners are properly seated on the stove.
As you test the burners, pay attention to any abnormal sounds or smells that may indicate a problem. Ensure that the flame is consistent and reaches the desired intensity. If you notice any irregularities, consider cleaning the burners again or consulting a professional to address the issue.
By reassembling and testing the burners, you can confirm that they are in proper working condition and ready to be used for your cooking needs.
Read more: How To Clean Kitchen Stove Burners
Conclusion
Maintaining clean and functional stove burners is essential for an efficient cooking experience. By following these steps to soak your aluminum stove burners, you can effectively remove stubborn stains, grease, and grime, restoring them to their original shine. Regular cleaning of your burners will not only improve their performance but also enhance the overall cleanliness and hygiene of your kitchen.
Starting with gathering the necessary materials and preparing the soaking solution, you can ensure that you have everything you need to make the cleaning process smooth and convenient. Removing the burners from the stove allows for thorough cleaning and easy access to all areas. Submerging the burners in the cleaning solution and allowing them to soak for a minimum of 30 minutes (or longer for heavily soiled burners) helps to soften the dirt and grime, making them easier to scrub away.
Gently scrubbing the burners with a soft sponge or brush, paying attention to crevices and hard-to-reach areas, helps to remove any remaining grime and stains. Rinse the burners thoroughly with clean water to ensure all cleaning solution residue is eliminated. Pat dry the burners with a towel or cloth to prevent any moisture from causing damage or corrosion.
Finally, reassembling the burners back onto the stove and testing their functionality ensures that they are working properly and ready for use in your cooking endeavors. If any issues arise during the testing phase, don’t hesitate to seek professional assistance or reevaluate your cleaning process.
By implementing these steps regularly, you can maintain clean and efficient aluminum stove burners, ensuring enjoyable cooking experiences and a hygienic kitchen environment.
Frequently Asked Questions about How To Soak Aluminum Stove Burners
Was this page helpful?
At Storables.com, we guarantee accurate and reliable information. Our content, validated by Expert Board Contributors, is crafted following stringent Editorial Policies. We're committed to providing you with well-researched, expert-backed insights for all your informational needs.
0 thoughts on “How To Soak Aluminum Stove Burners”