Home>Furniture>Kitchen Furniture>How To Remove Stove Burners
Kitchen Furniture
How To Remove Stove Burners
Modified: October 20, 2024
Looking for articles on how to remove stove burners? Find step-by-step guides and helpful tips for safely removing stove burners in our comprehensive collection.
(Many of the links in this article redirect to a specific reviewed product. Your purchase of these products through affiliate links helps to generate commission for Storables.com, at no extra cost. Learn more)
Introduction
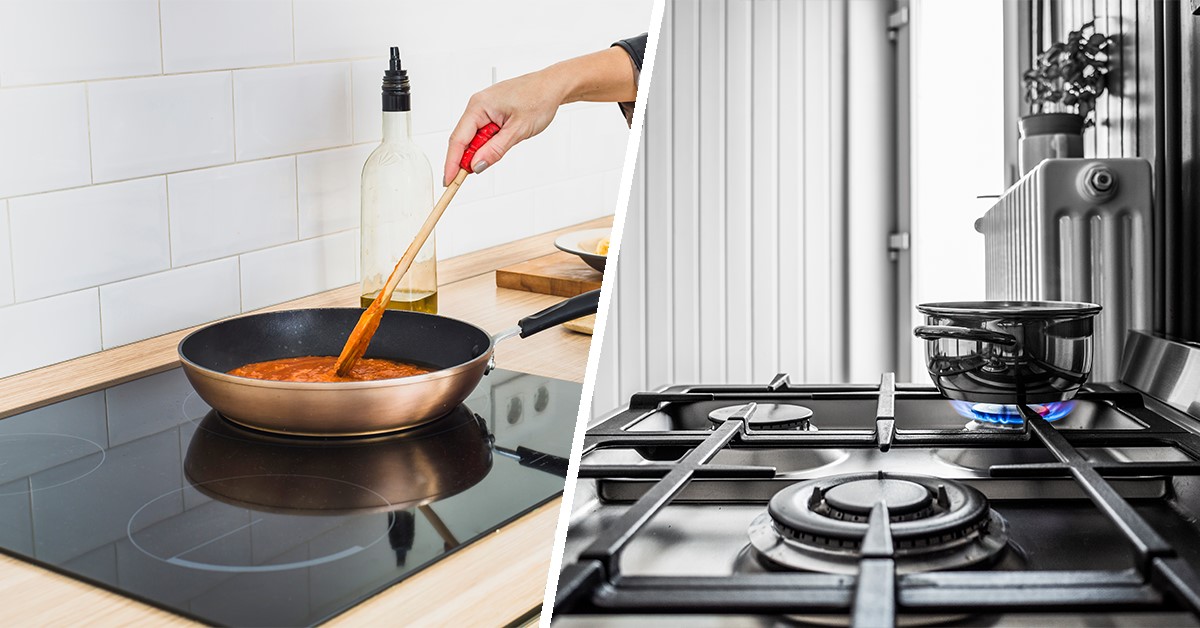
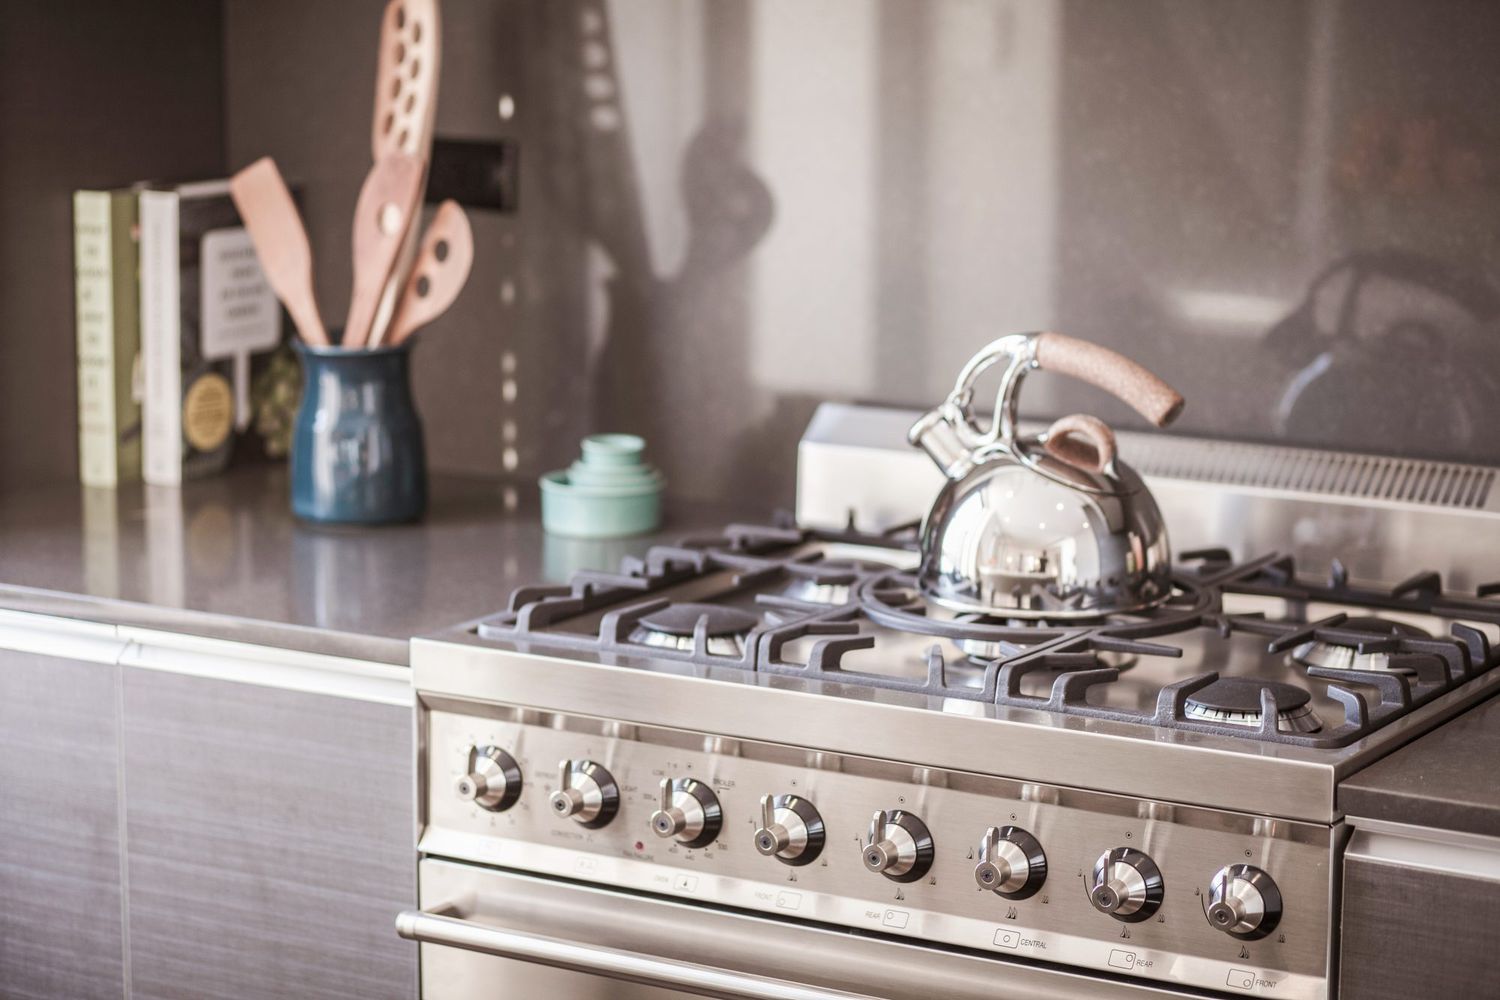
Stove burners are a crucial component of any kitchen, providing the heat necessary for cooking delicious meals. Over time, these burners can accumulate dirt, grease, and food debris, leading to decreased efficiency and potential safety hazards. Regularly removing and cleaning stove burners is an essential maintenance task that every homeowner should undertake.
While the process of removing stove burners may seem daunting, it is a relatively simple task that can be completed using basic tools and materials. In this article, we will guide you through the step-by-step process of safely removing stove burners, thoroughly cleaning them, and reassembling them for optimal performance.
Before you start, it is important to emphasize that safety is paramount. Always ensure that the stove is turned off and cool before attempting to remove or clean the burners. Additionally, if you have any doubts or concerns about the process, it is recommended to consult the user manual or seek professional assistance.
Now that we understand the importance of cleaning stove burners and the need for caution, let’s gather the necessary tools and materials before we begin.
Key Takeaways:
- Regularly cleaning stove burners is essential for safety and efficiency. Follow the step-by-step guide to maintain clean and efficient burners for optimal cooking experiences.
- Prioritize safety, gather necessary tools, and follow the process to remove, clean, and reassemble stove burners. Enjoy improved stove performance and longevity with regular maintenance.
Read more: How To Remove Rust From Stove Burners
Tools and Materials Needed
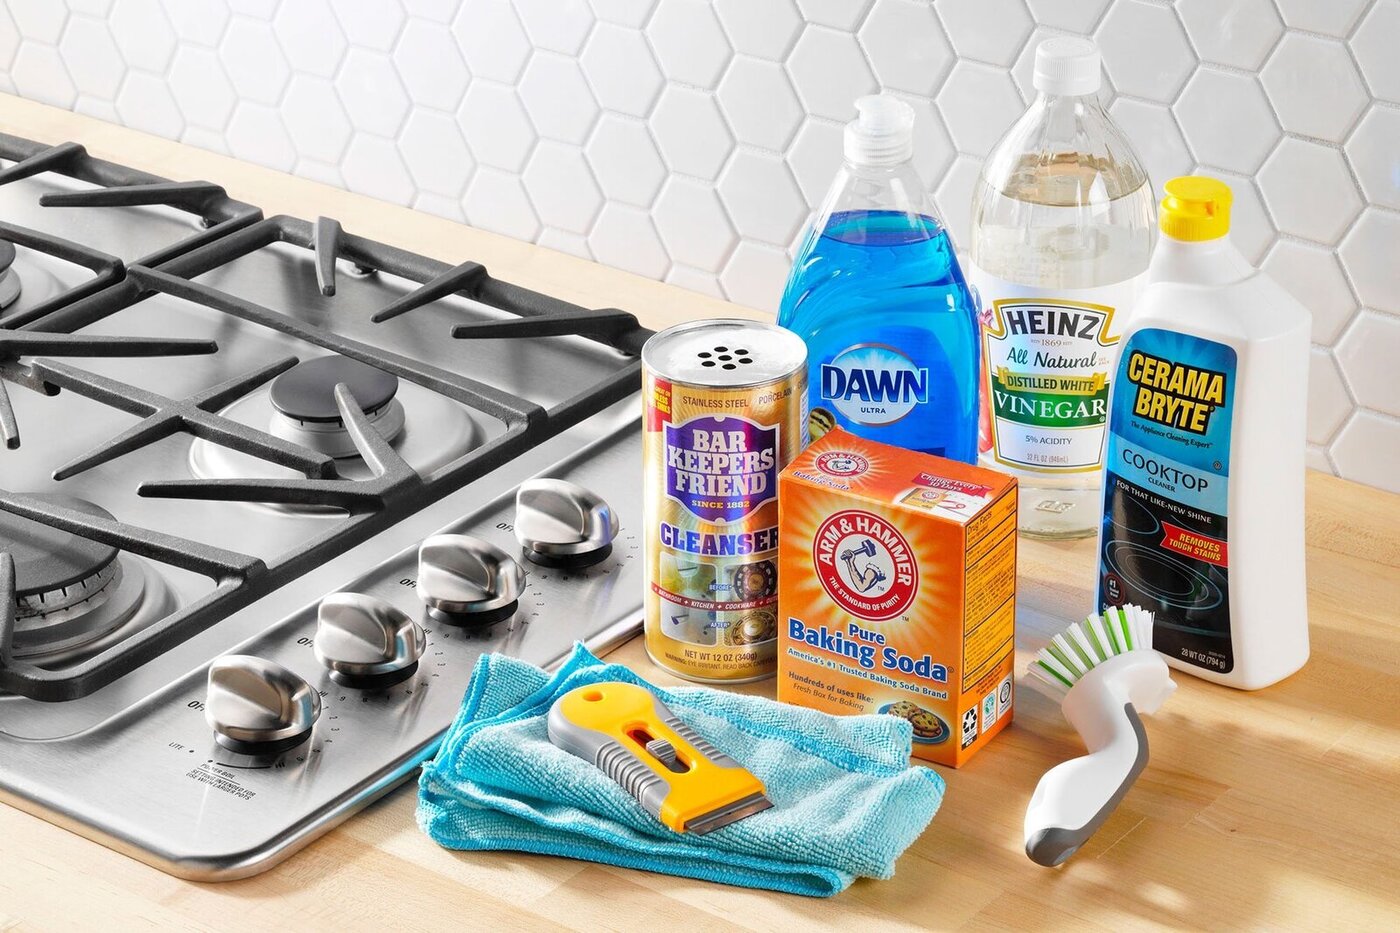
Before you start removing and cleaning your stove burners, it is essential to gather the following tools and materials:
- Screwdriver – You may need a screwdriver to remove any screws keeping the burners in place.
- Soft cleaning cloth or sponge – A soft cloth or sponge will be used to clean the burners and remove any grime or residue.
- Mild detergent or stove cleaner – Use a mild detergent or specifically designed stove cleaner to effectively remove grease and stains from the burners.
- Hot, soapy water – This will be used to clean the burner caps and grates.
- Old toothbrush – An old toothbrush can be handy for scrubbing hard-to-reach areas and removing stubborn stains.
- Microfiber cloth – A microfiber cloth is excellent for drying the burners and ensuring a streak-free finish.
It is worth mentioning that the tools required may vary depending on the type and model of your stove. For instance, some stoves may have a different type of fastening mechanism or specific cleaning requirements. Therefore, it is always a good idea to refer to the user manual or manufacturer’s instructions to ensure you have the correct tools and materials for your specific stove.
Now that you have gathered all the necessary tools and materials, let’s move on to the step-by-step process of removing the stove burners.
Step 1: Turn off the Stove and Allow Cooling
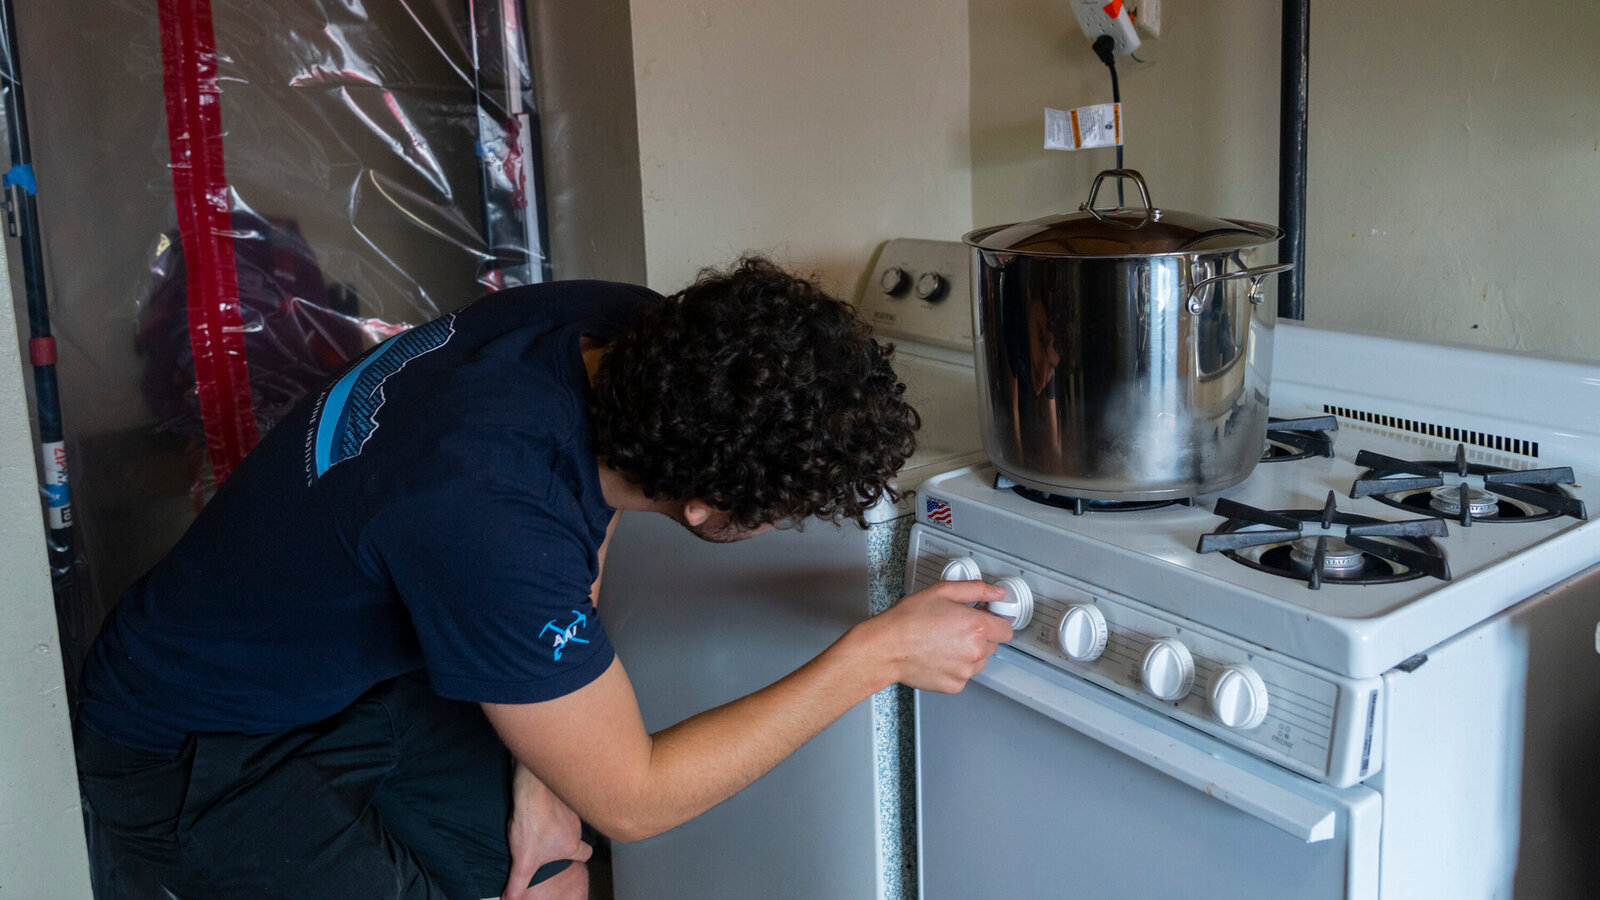
The first step in removing stove burners is to ensure that the stove is turned off and completely cooled down. This is crucial for your safety and to prevent any accidental burns or injuries.
Start by turning off all the burners and any controls on the stove. Make sure that no flame or heat is being emitted from the stove. Give it some time to cool down, allowing the parts to reach a safe temperature for handling.
While waiting for the stove to cool, take this opportunity to gather the necessary tools and materials mentioned earlier. Having everything prepared will save you time and make the process smoother.
Once you are confident that the stove has cooled down, you can proceed to the next step of removing the grates.
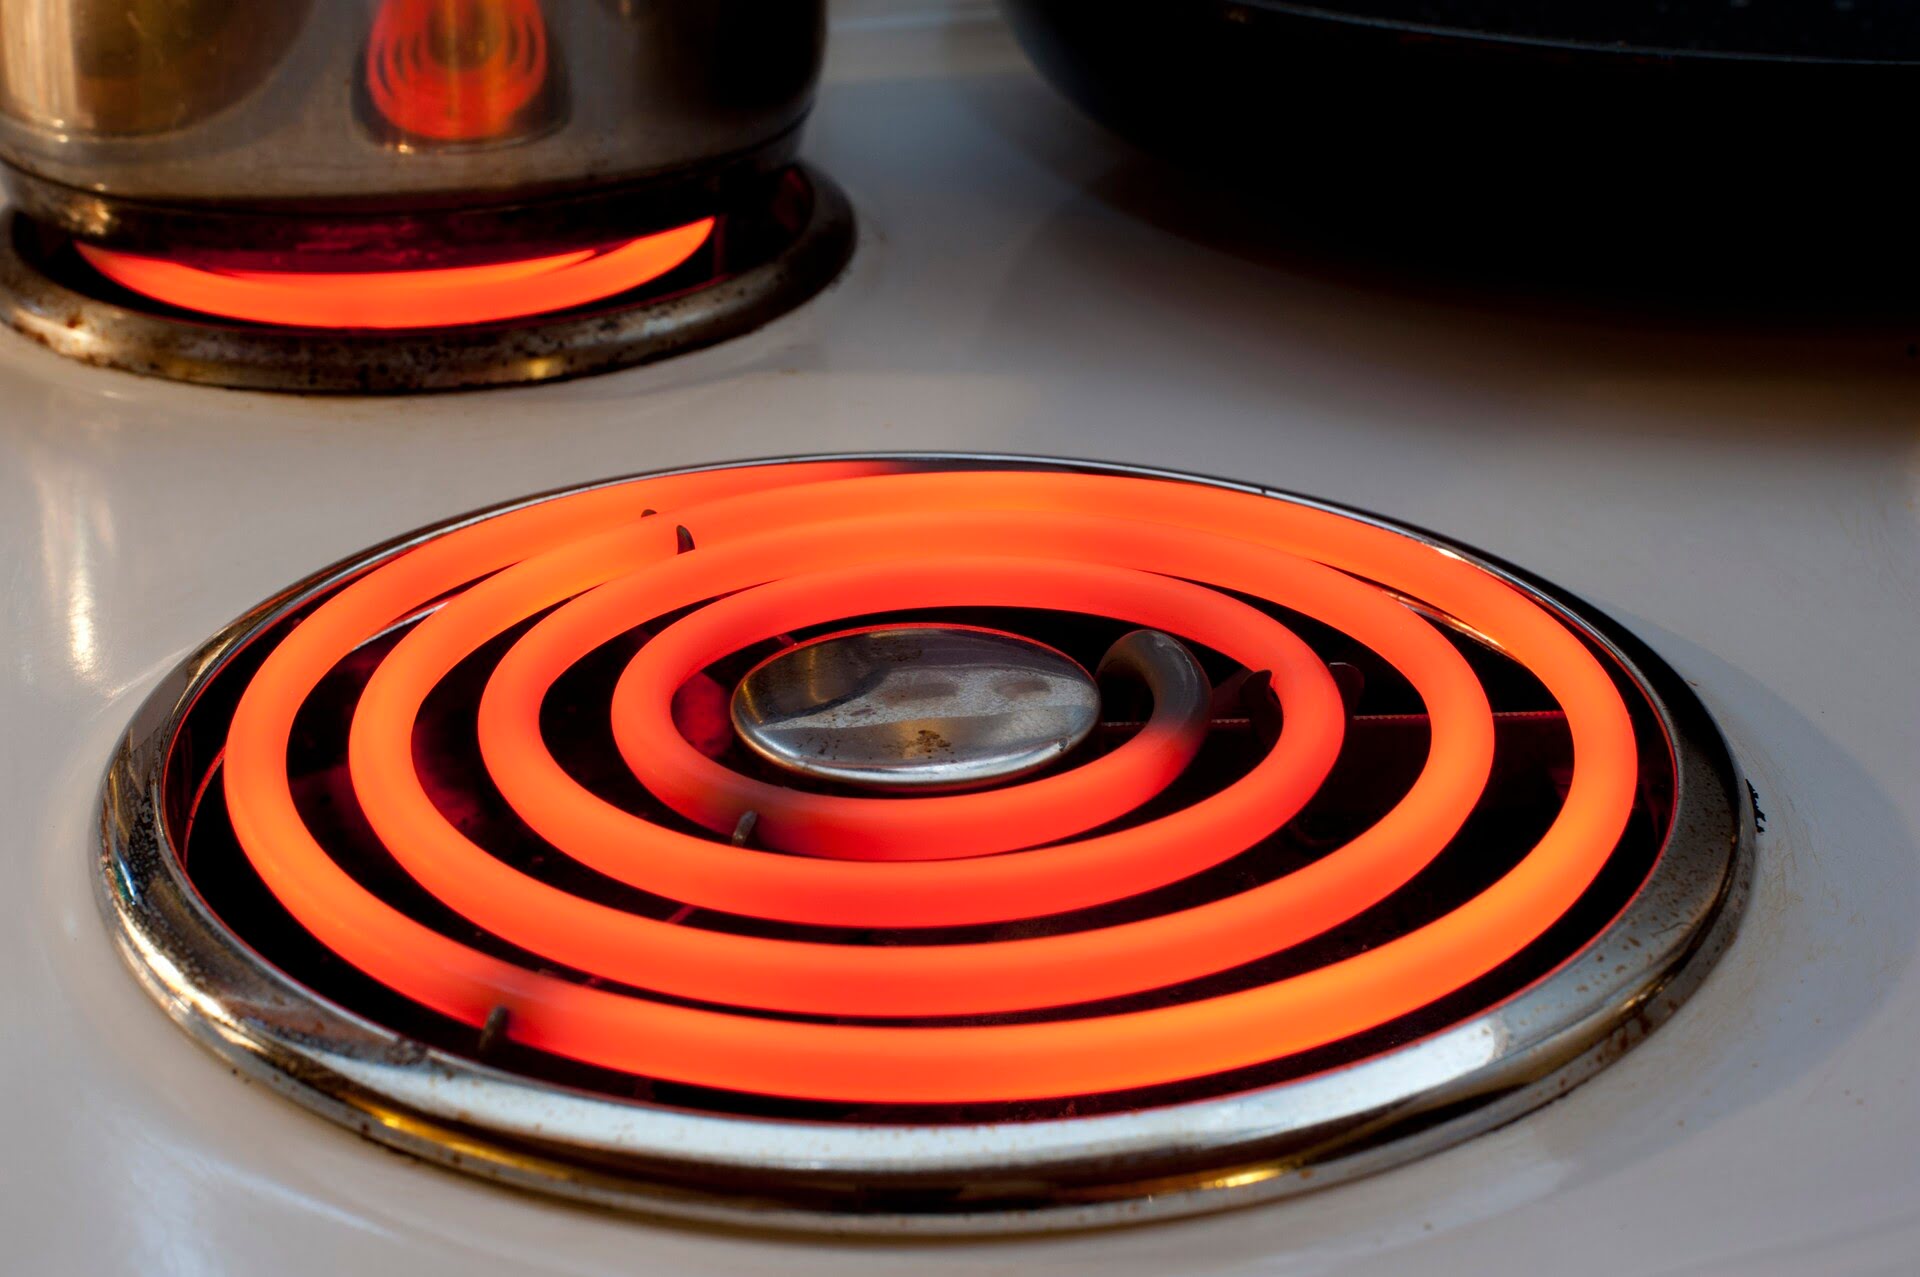
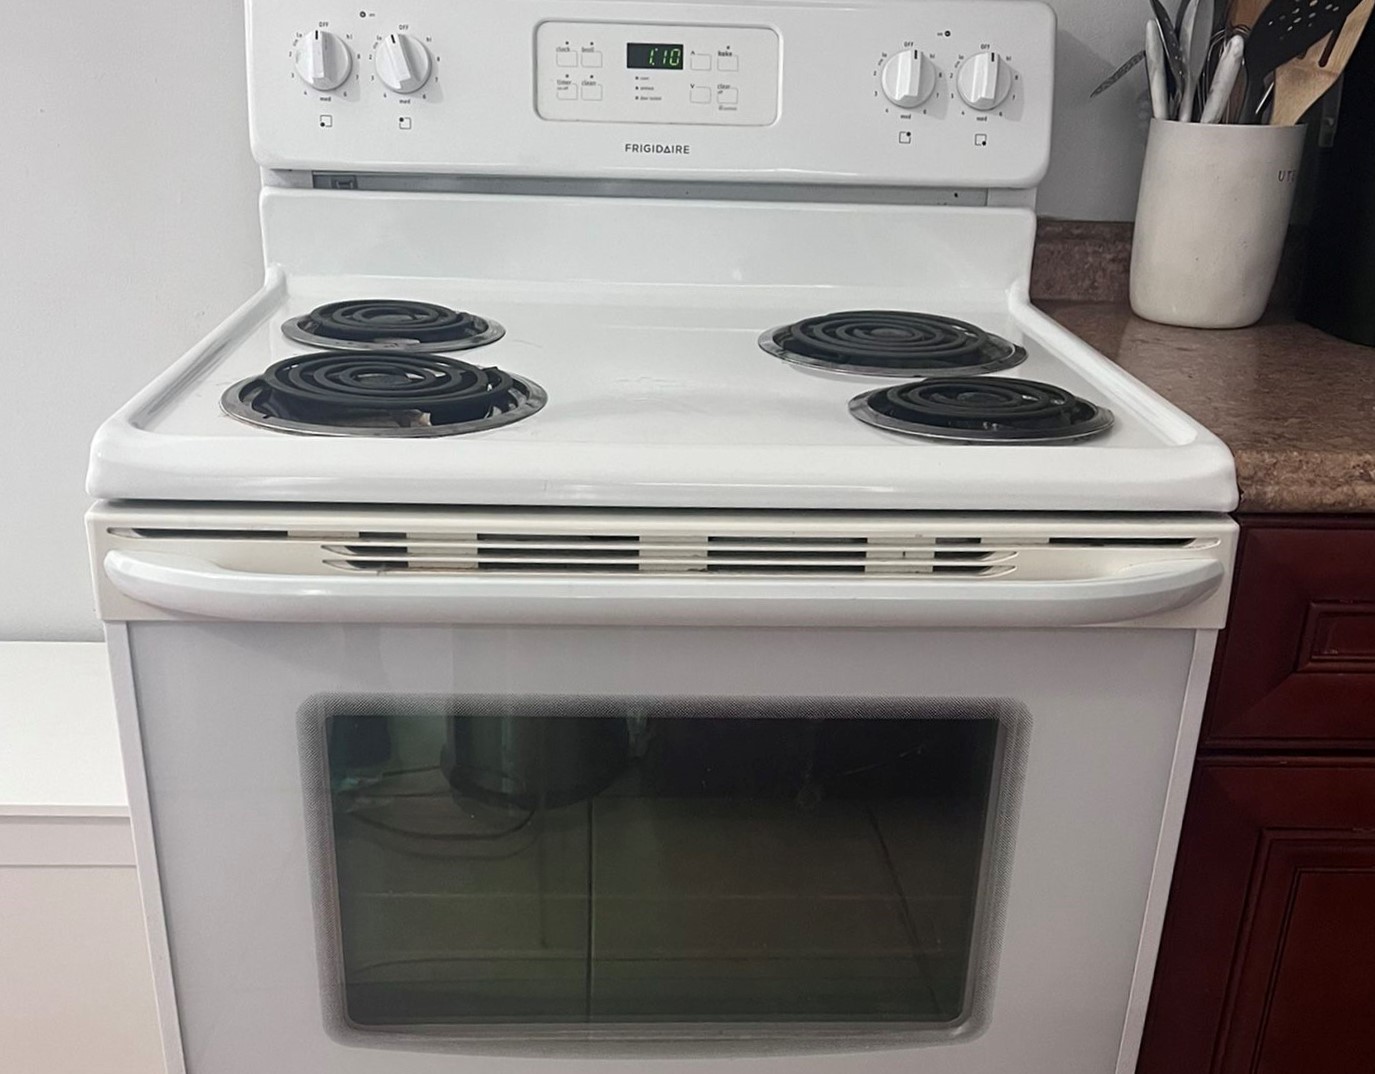
Note: If you have an electric stove, make sure to unplug it from the power source before starting the process.
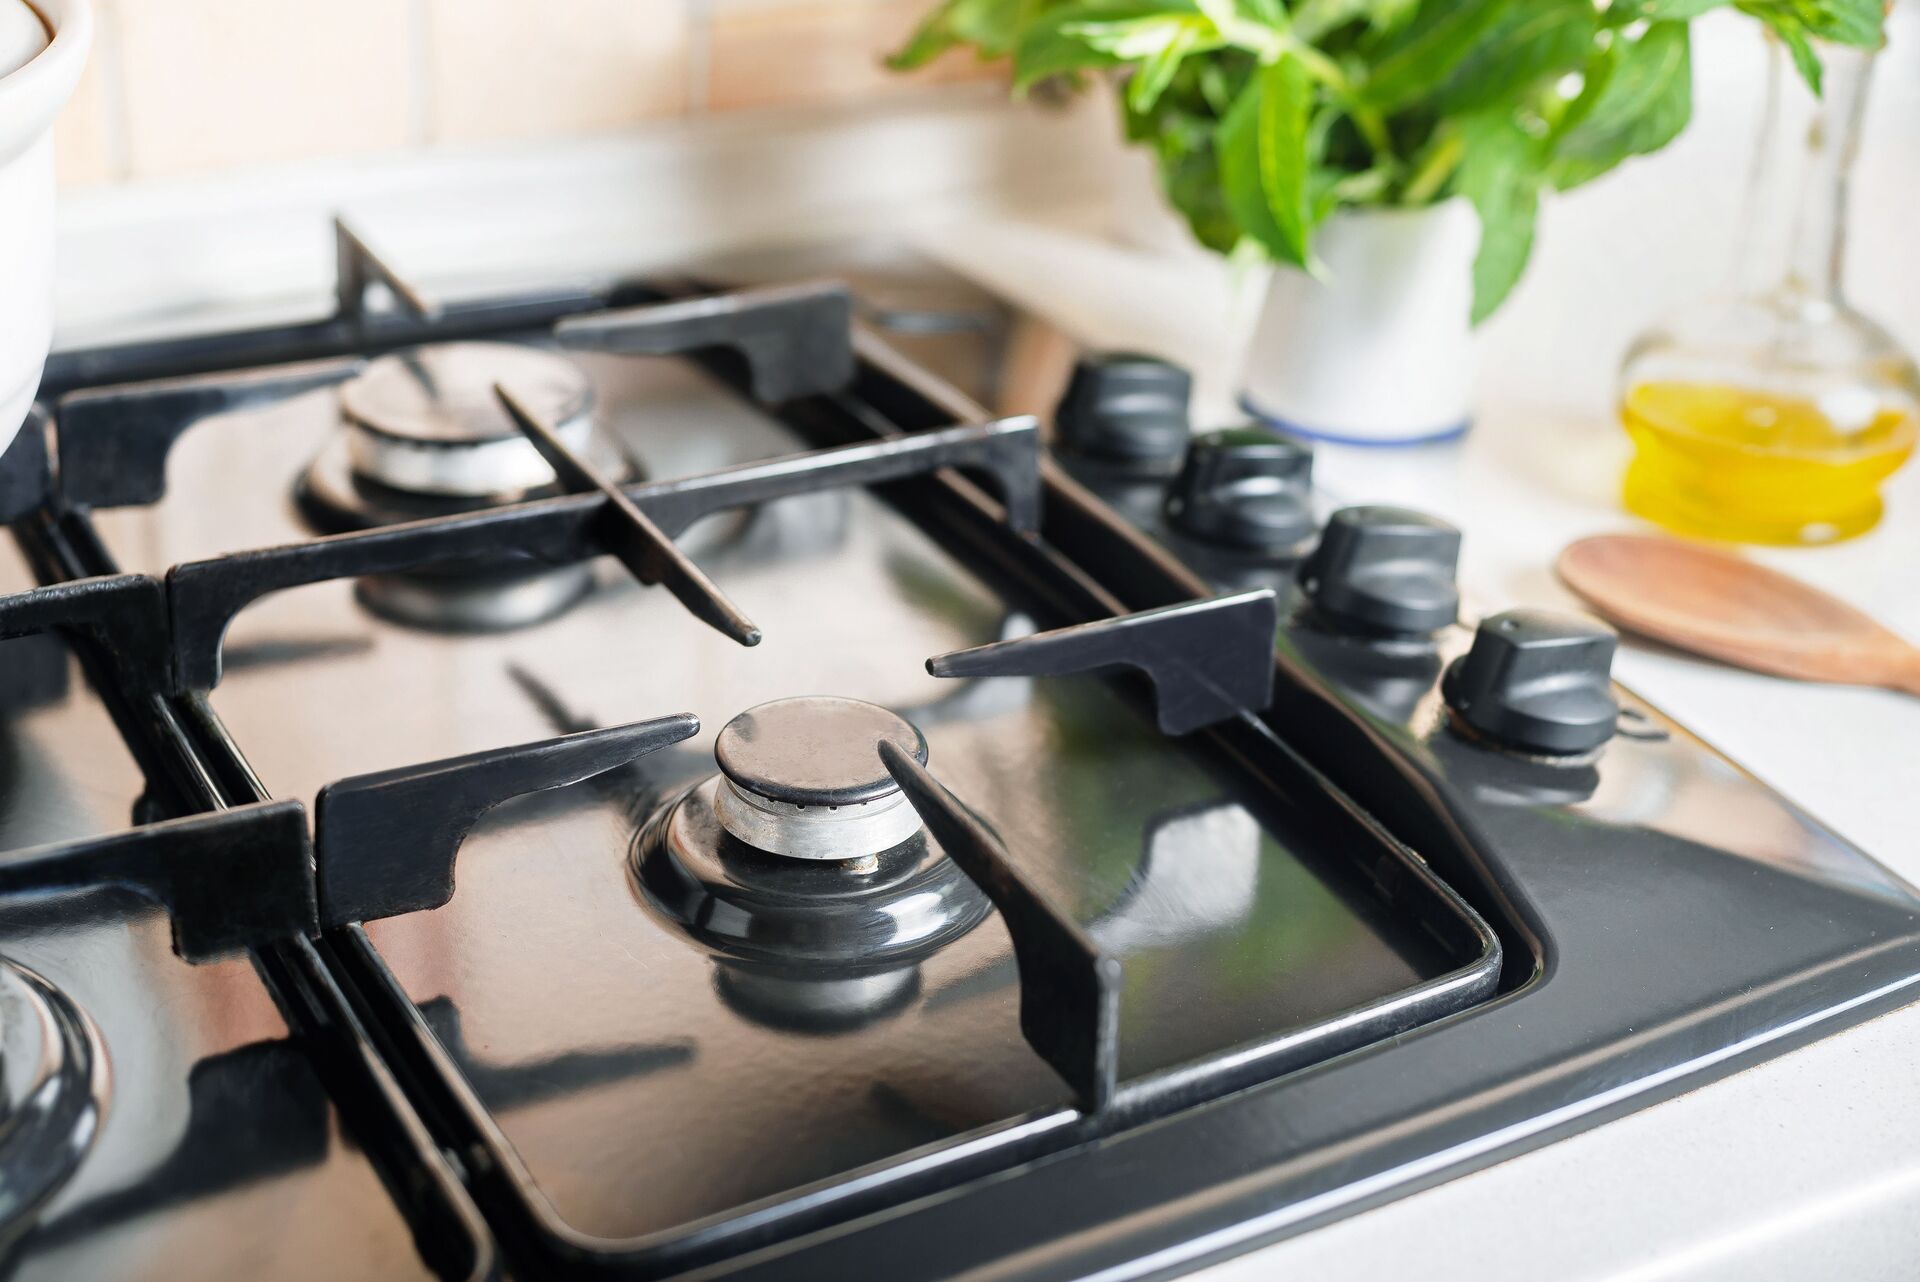
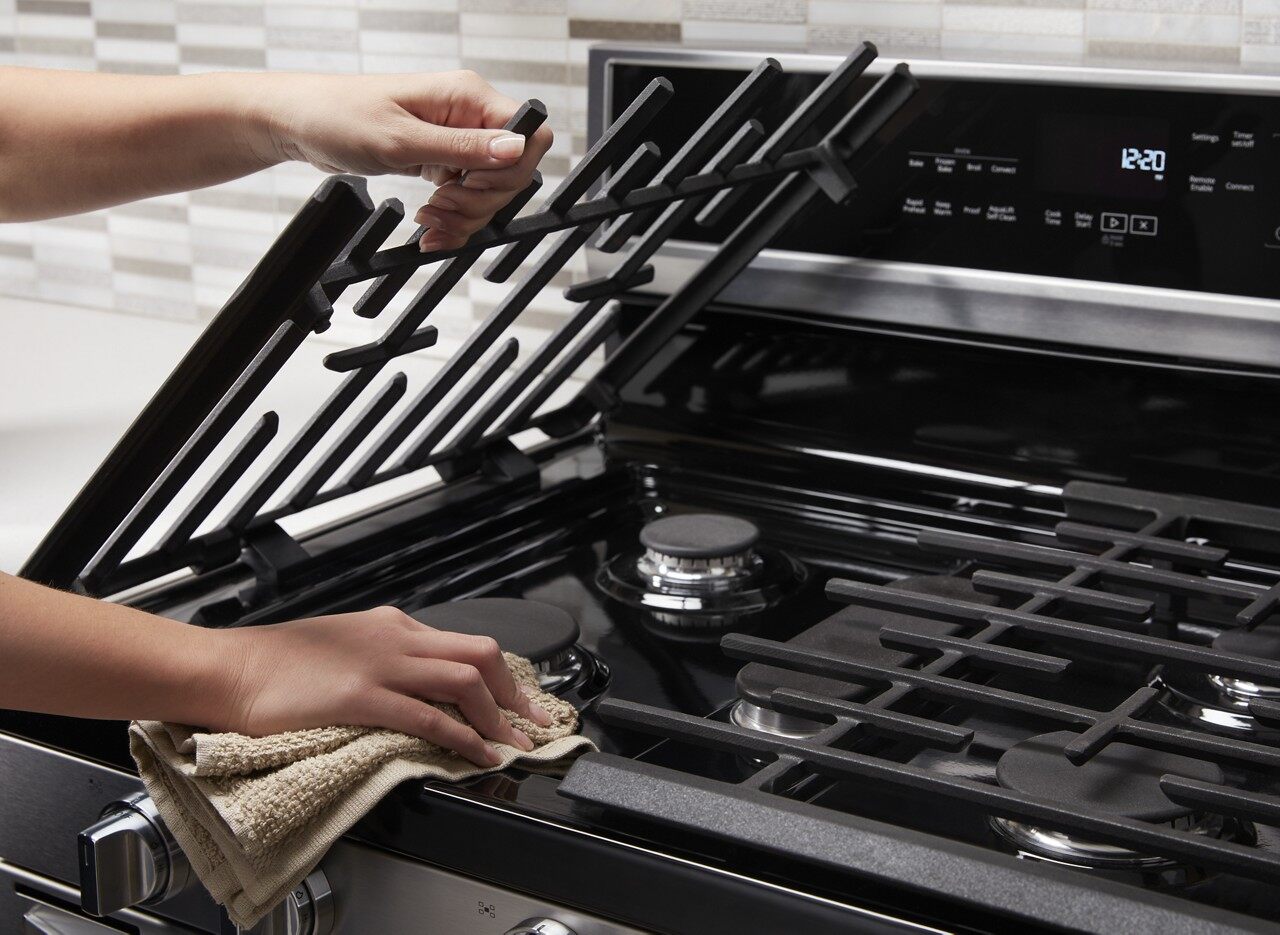
Step 2: Remove the Grates
After ensuring that the stove is turned off and completely cooled down, it’s time to remove the grates. The grates are the metal grids that sit on top of the burners and provide support for your pots and pans during cooking.
Follow these steps to remove the grates:
- Locate the grates on your stove. They are typically positioned above the burners.
- Grasp the grate firmly with both hands and lift it straight up. Some grates may require a slight twist or tilt to detach them from the stove.
- Place the removed grates on a clean and protected surface to prevent any damage or scratches.
Remember, grates can be heavy and may require some effort to lift. If you are having difficulty, double-check that the stove is completely cooled down and that you are using the correct technique.
With the grates removed, you will now have easier access to the burner caps, which we will discuss in the next step.
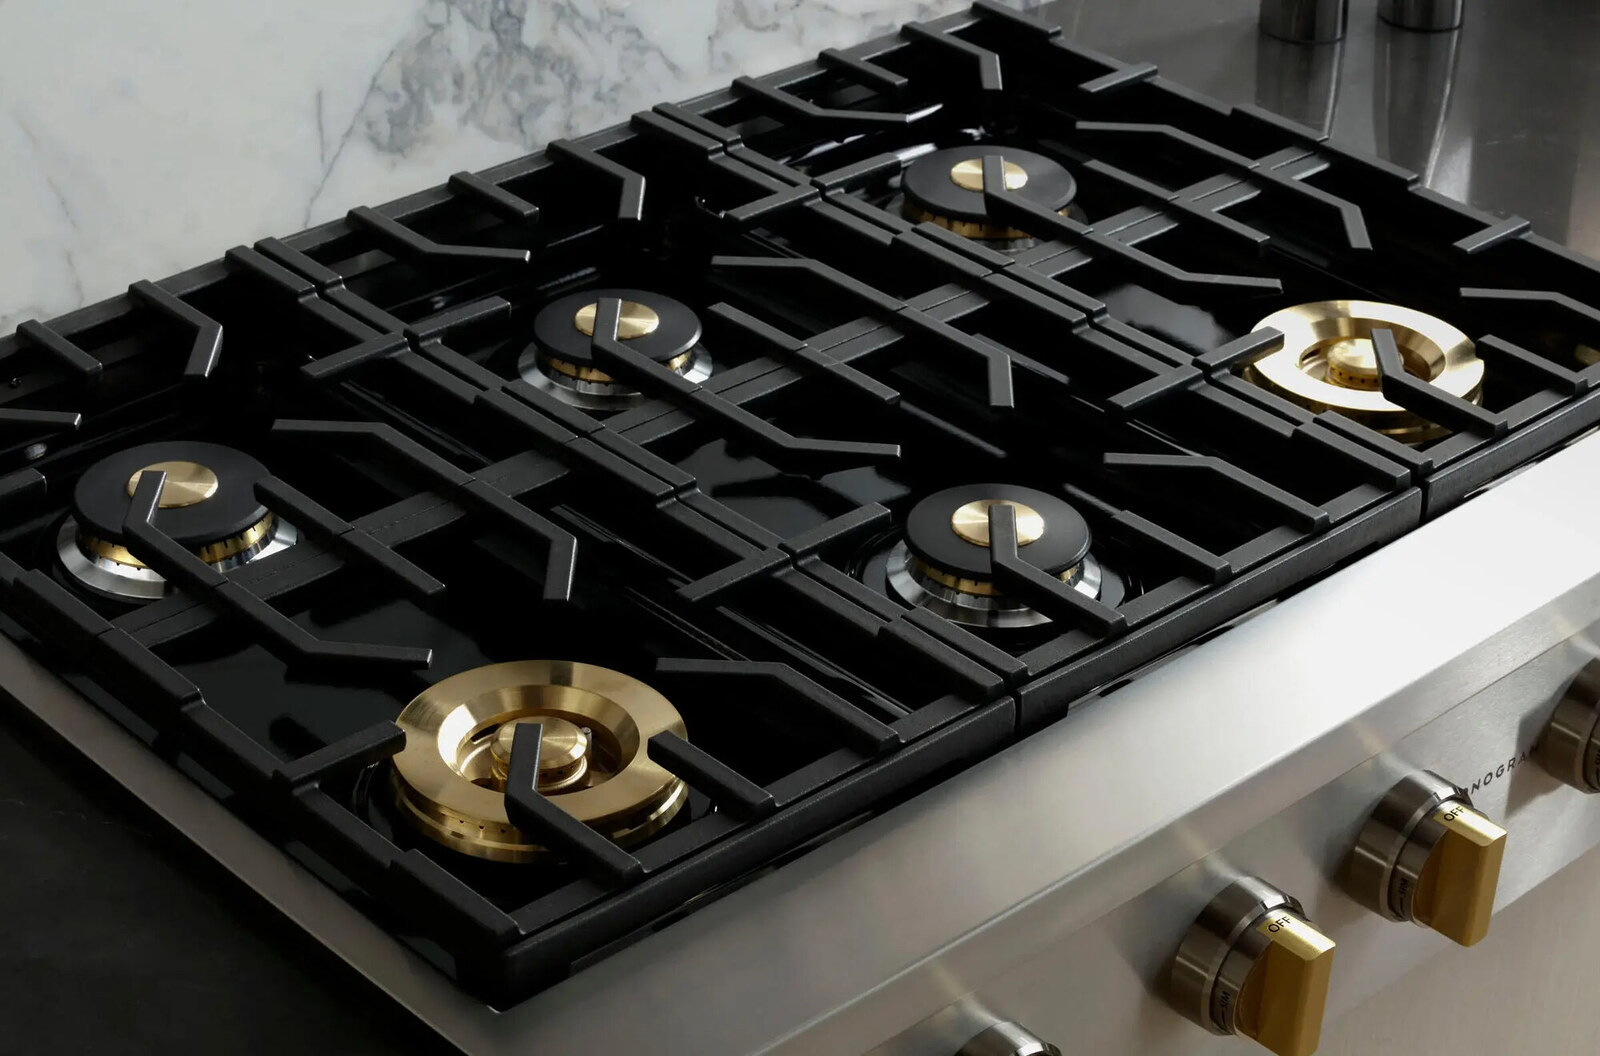
Step 3: Remove the Burner Caps
Once the grates have been safely removed, it’s time to remove the burner caps. The burner caps are typically located directly on top of the burners and help distribute the heat evenly during cooking.
Follow these steps to remove the burner caps:
- Identify the burner caps on your stove. They are usually circular or square-shaped and sit directly on top of the burners.
- Gently lift each burner cap straight up using your fingers. If the burner cap is stuck or difficult to lift, you can use a soft cloth or sponge for better grip.
- Place the removed burner caps on a safe surface, away from any potential damage or scratches.
It is important to handle the burner caps with care as they are fragile and can break if mishandled. Avoid using excessive force or dropping them on hard surfaces.
Now that the burner caps are removed, you can move on to the next step of disconnecting the burner heads.
To remove stove burners, first ensure the stove is turned off and cool. Then, gently lift and pull the burner away from the socket. If there are any clips or screws, carefully remove them before pulling the burner out.
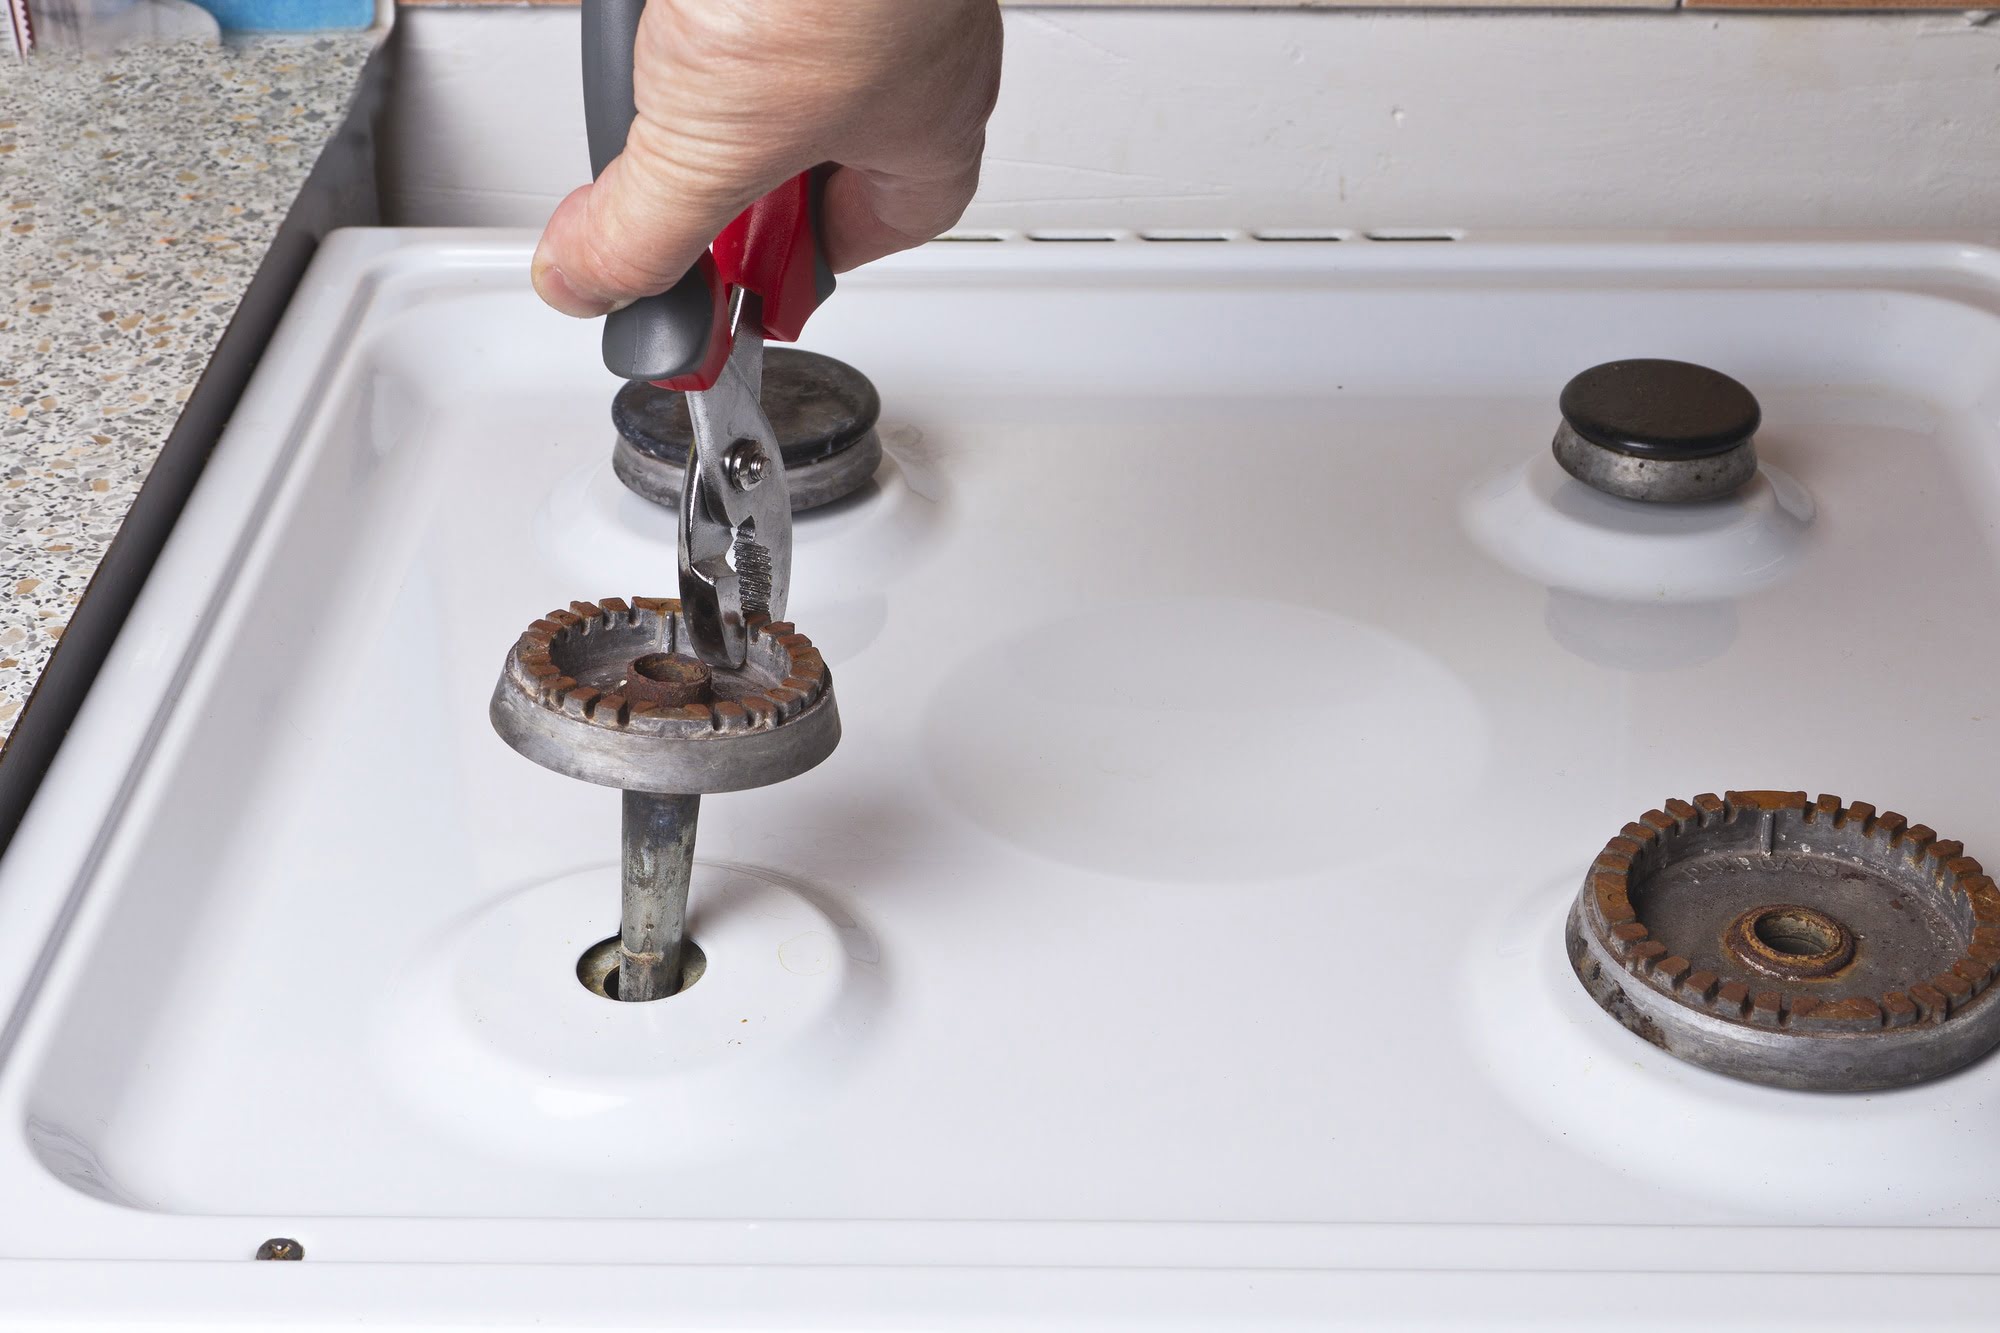
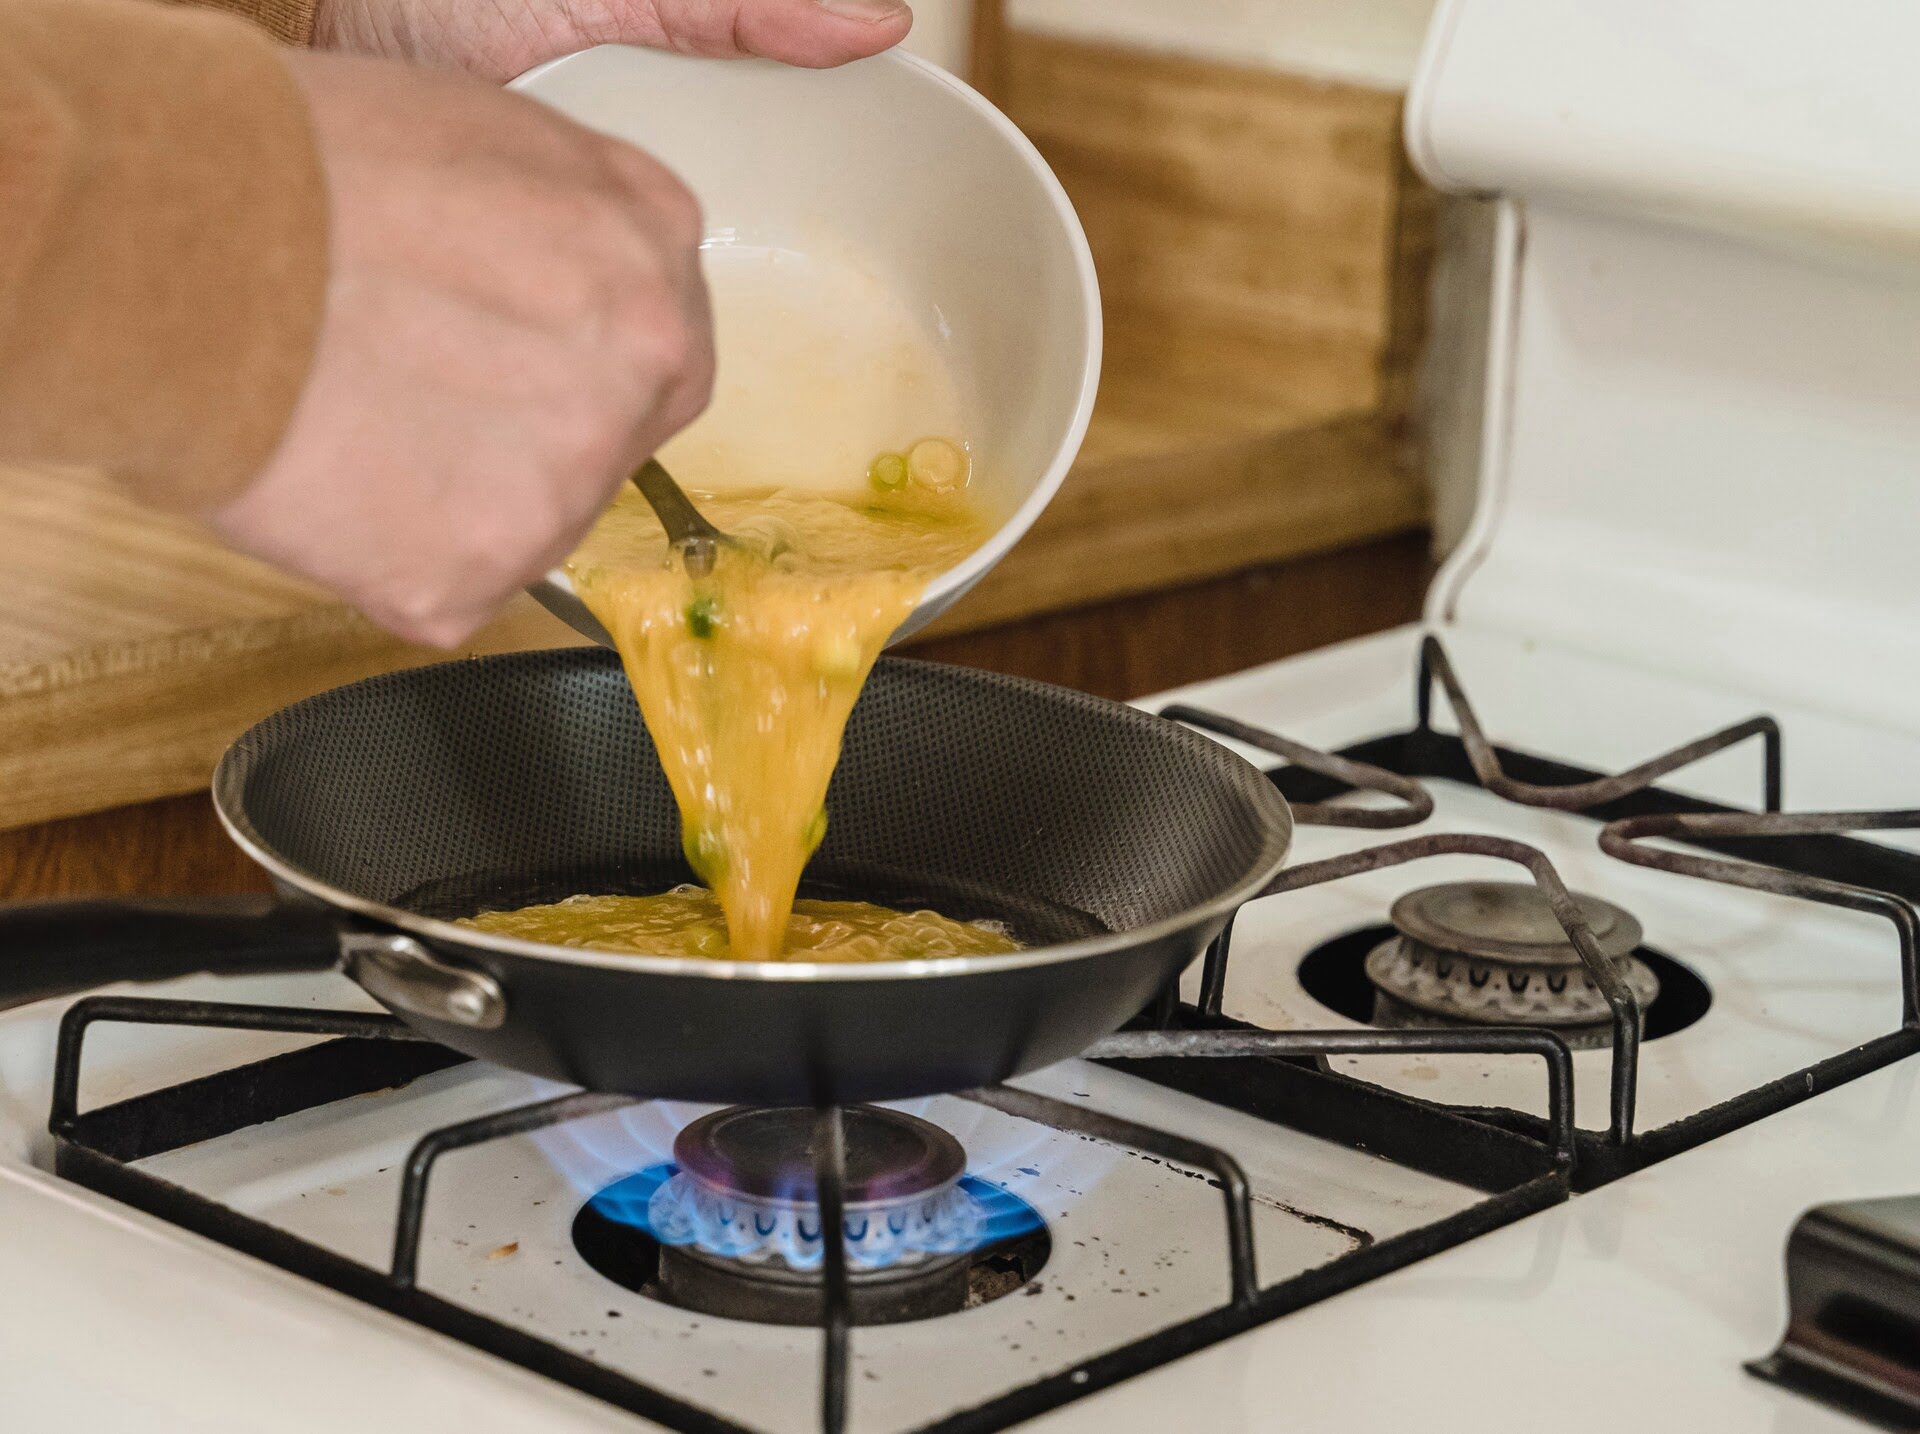
Step 4: Disconnect the Burner Heads
With the grates and burner caps removed, it’s time to disconnect the burner heads. The burner heads are the components that produce the flames and distribute the heat. Disconnecting them will allow for more thorough cleaning and maintenance.
Follow these steps to disconnect the burner heads:
- Locate the burner heads on your stove. They are typically positioned below the burner caps and are connected to the gas supply.
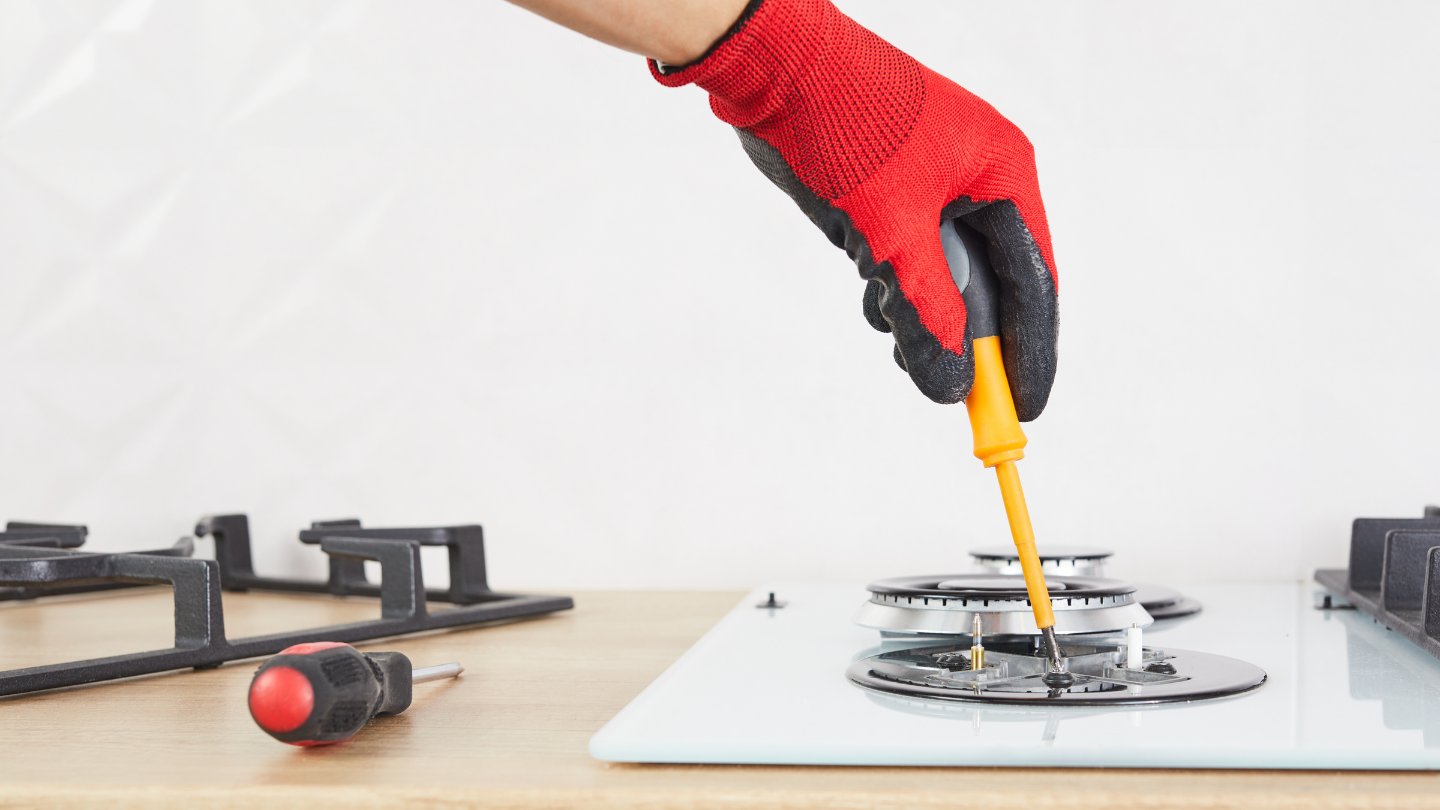
- Inspect the burner heads for any screws or fasteners holding them in place. Using a screwdriver, carefully remove any screws or fasteners.
- Once the screws or fasteners are removed, gently lift the burner heads away from the stove. If they’re stuck, you can use a gentle twisting motion to loosen them.
- Place the disconnected burner heads on a safe surface, making sure to keep them organized if there are multiple burners. This will make reassembly easier later on.
It is essential to be cautious while disconnecting the burner heads, as they may be connected to gas lines or electrical connections. If you have any uncertainty or concerns, consult the user manual or seek professional assistance to ensure a safe disconnection.
Now that the burner heads are disconnected, you are ready to move on to the next step of cleaning the stove burners.
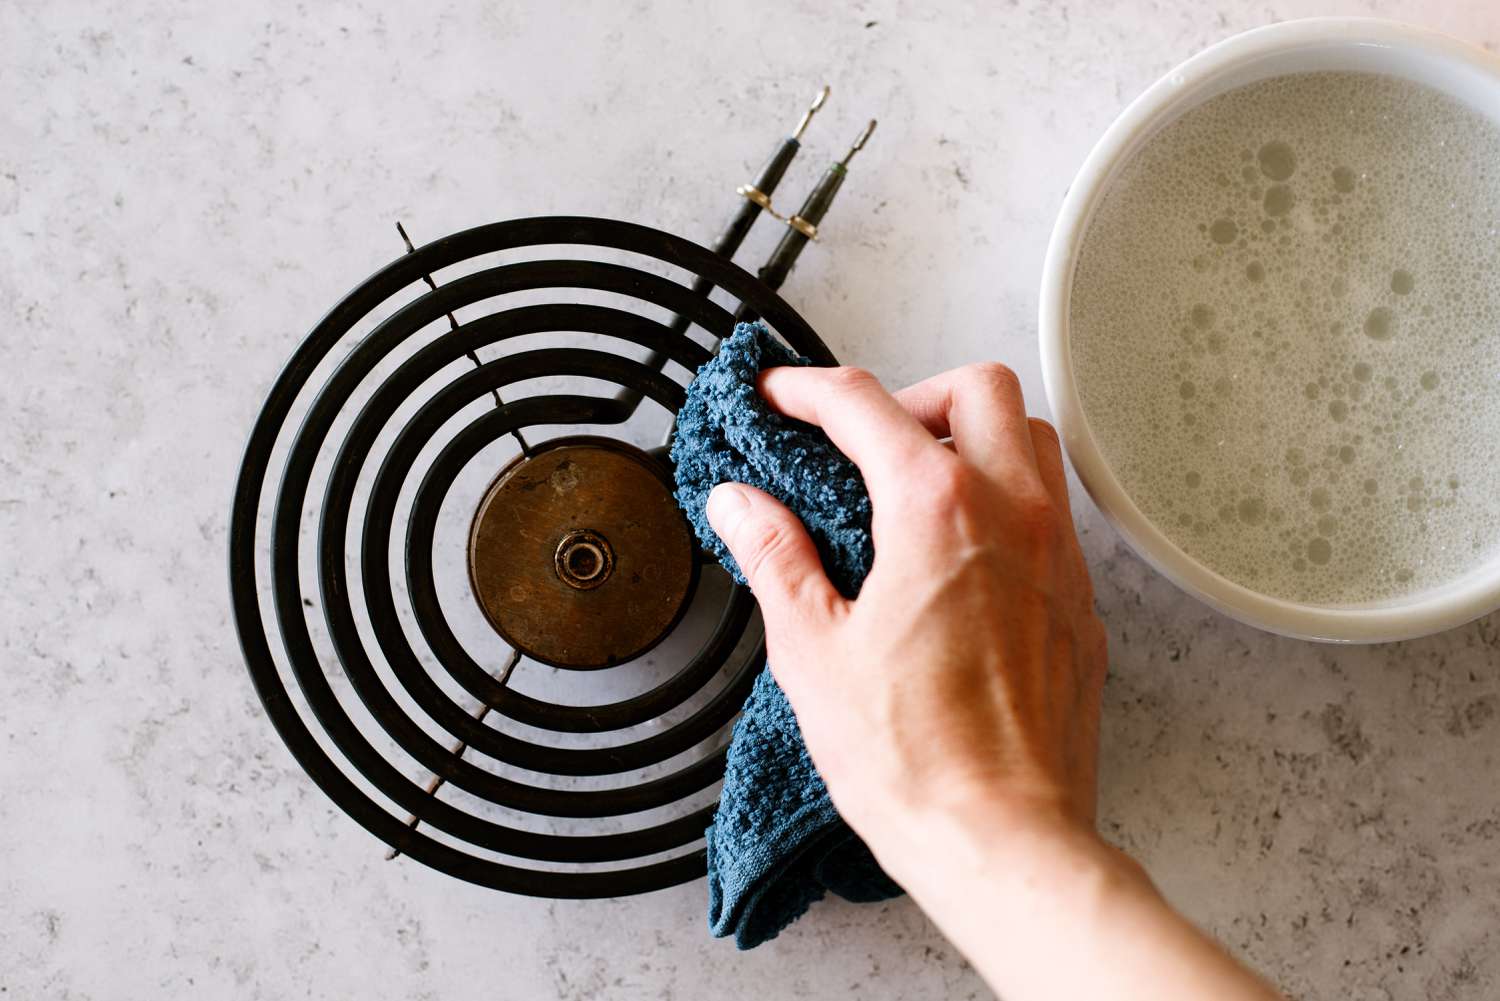
Step 5: Clean the Stove Burners
Now that the grates, burner caps, and burner heads are removed, it’s time to thoroughly clean the stove burners to remove any built-up dirt, grease, or food residue. Cleaning the burners will not only improve their performance but also enhance the safety and efficiency of your stove.
Follow these steps to clean the stove burners:
- Fill a sink or basin with hot, soapy water. Add a mild detergent or stove cleaner to create a cleaning solution.
- Submerge the burner caps and grates into the soapy water. Allow them to soak for a few minutes to loosen any stubborn stains or debris.
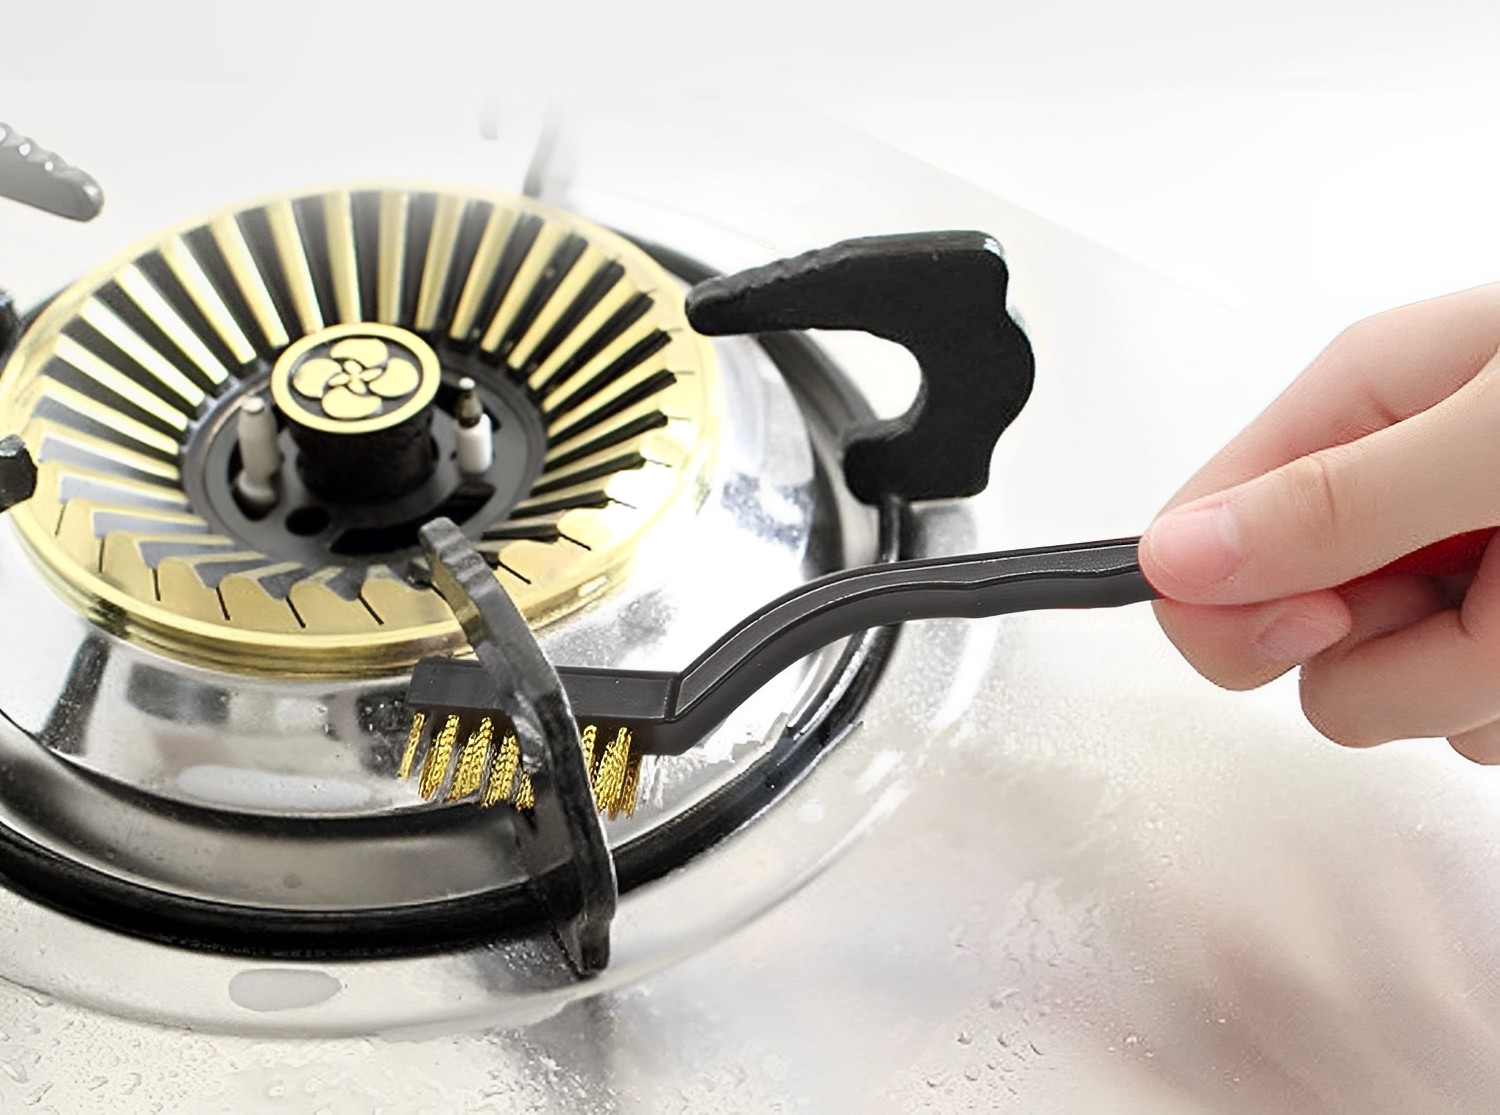
- Using a soft cleaning cloth or sponge, scrub the burner caps and grates to remove any remaining dirt or grease. Pay extra attention to areas with built-up residue.
- Rinse the burner caps and grates under running water to remove any soap or cleaner residue. Ensure they are thoroughly clean and free from any debris.
- For the burner heads, use the same cloth or sponge to wipe away any dirt or residue. If necessary, dip the cloth in the soapy water for deeper cleaning.
- After cleaning, rinse the burner heads with water and ensure they are completely dry before reassembly.
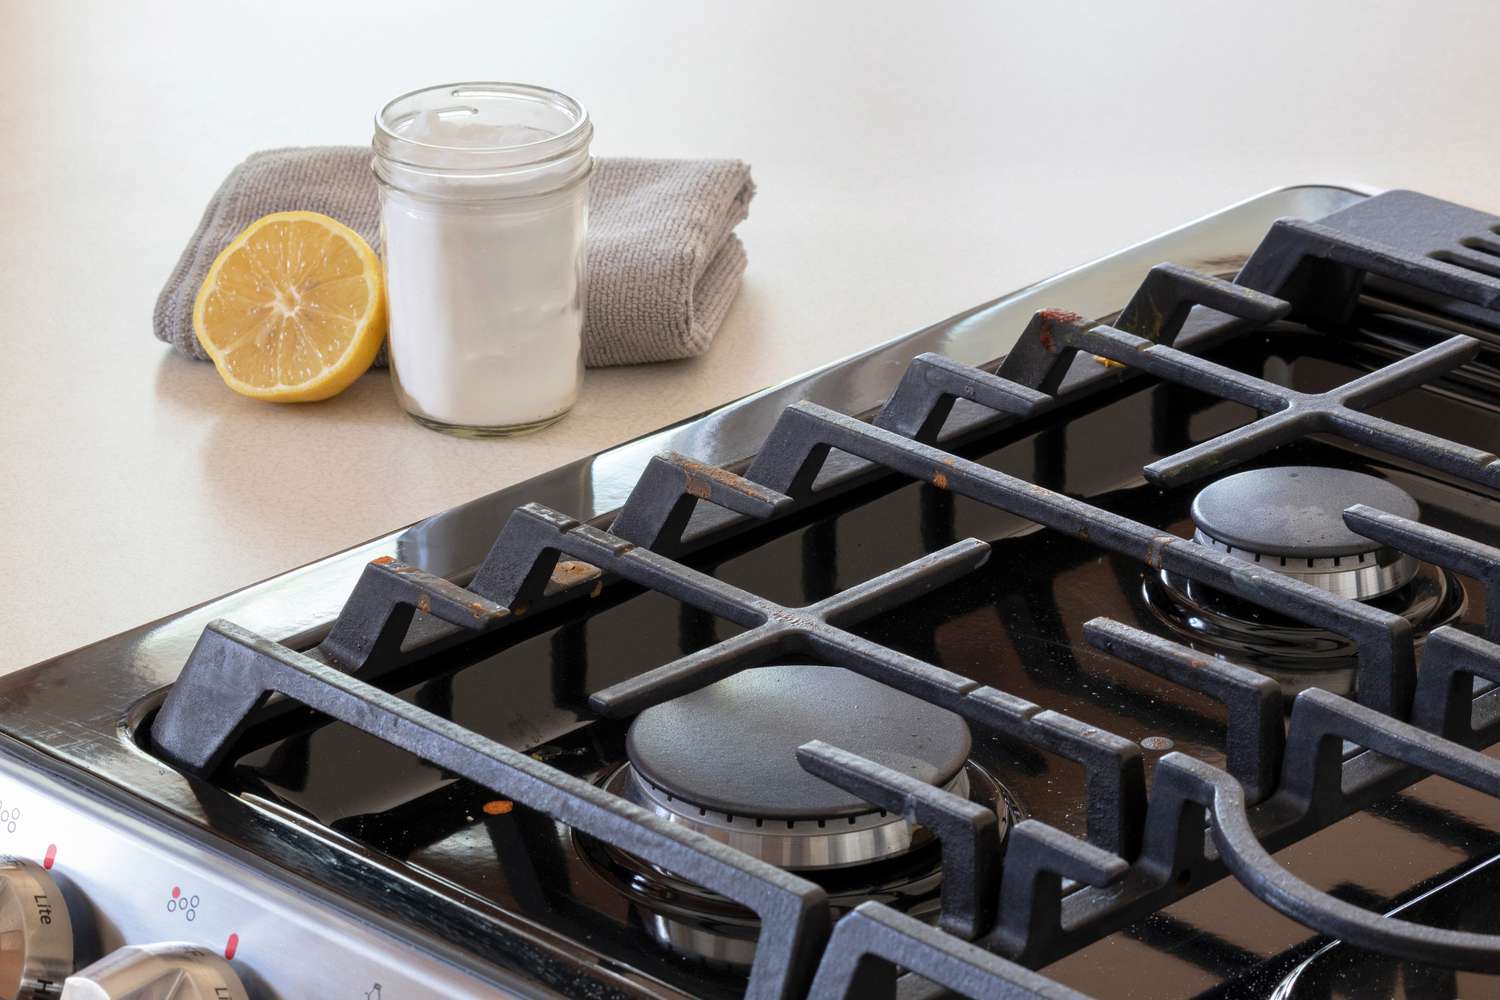
For tougher stains or burnt-on food, you can use a mix of baking soda and water as a paste. Apply the paste to the affected areas, let it sit for a few minutes, and then scrub gently with a sponge or toothbrush.
Once all the stove burners are clean and dry, you can proceed to the final step of reassembling them.
Step 6: Reassemble the Stove Burners
With the stove burners now clean and dry, it’s time to reassemble them and restore your stove to its full functionality. Reassembling the stove burners is a straightforward process that follows the reverse order of disassembly.
Follow these steps to reassemble the stove burners:
- Take each dried burner head and carefully align it with the corresponding burner opening on the stove. Make sure it sits properly and securely in place.
- If there were any screws or fasteners holding the burner heads, use the screwdriver to reattach them tightly. Ensure that the burner heads are securely fastened to avoid any issues when using the stove.
- Retrieve the cleaned burner caps from earlier and position them on top of the burner heads. Align them properly with the burner openings to ensure an even flame distribution during cooking.
- Gently lower the grates back onto the stove, aligning them with the burner caps. Make sure they sit securely and level on the stove’s surface.
- Double-check that all the components (burner heads, burner caps, and grates) are correctly and securely reassembled.
With the stove burners reassembled, you can now admire your clean and fully functional stove. It is a good practice to give the stove a quick test run to ensure that everything is working correctly before cooking any meals.
Remember to dispose of any cleaning materials appropriately and clean the sink or basin used for washing the burners. This will ensure a tidy and organized space for your next cooking adventure.
Congratulations! You have successfully removed, cleaned, and reassembled your stove burners. By following these steps regularly, you can maintain the performance, safety, and longevity of your stove.
Before we conclude, let’s summarize the key points:
- Turn off and allow the stove to cool before starting.
- Gather the necessary tools and materials.
- Remove the grates, burner caps, and burner heads.
- Clean the stove burners using hot, soapy water and a soft cloth or sponge.
- Rinse and dry all the components thoroughly.
- Reassemble the stove burners in the reverse order of disassembly.
With these steps in mind, you can maintain the cleanliness and efficiency of your stove burners, ensuring enjoyable cooking experiences for years to come.
Conclusion
Taking the time to remove, clean, and reassemble your stove burners is a simple yet essential task that can greatly enhance the performance and safety of your stove. By following the step-by-step guide outlined in this article, you can maintain clean and efficient burners, ensuring optimal cooking experiences and delicious meals every time.
Remember, safety should always be your priority when working with stoves and burners. Ensure the stove is turned off and completely cooled down before starting the cleaning process. If you have any doubts or concerns, consult the user manual or seek professional assistance.
Gathering the necessary tools and materials beforehand will save you time and make the process smoother. A screwdriver, soft cleaning cloth or sponge, mild detergent or stove cleaner, hot soapy water, an old toothbrush, and a microfiber cloth are the essential items you will need.
The step-by-step process involves turning off the stove and allowing it to cool, removing the grates, removing the burner caps, disconnecting the burner heads, cleaning the burners with soapy water and a soft cloth or sponge, and finally, reassembling the burners in the reverse order of disassembly.
This regular cleaning and maintenance routine will not only improve the performance and efficiency of your stove but also prolong its lifespan. Clean burners ensure a consistent and even heat distribution, allowing for better cooking results and preventing any potential safety hazards.
Make it a habit to clean your stove burners periodically, based on your usage and the accumulation of dirt and grease. A clean stove not only looks more appealing but also functions optimally, making your cooking experience more enjoyable.
To ensure the longevity of your stove and the maintenance of its warranty, always refer to the user manual provided by the manufacturer. It may provide specific instructions or additional tips tailored to your stove model.
By following these guidelines, you can keep your stove burners in top condition, providing you with efficient cooking and a clean kitchen environment for years to come.
Frequently Asked Questions about How To Remove Stove Burners
Was this page helpful?
At Storables.com, we guarantee accurate and reliable information. Our content, validated by Expert Board Contributors, is crafted following stringent Editorial Policies. We're committed to providing you with well-researched, expert-backed insights for all your informational needs.
0 thoughts on “How To Remove Stove Burners”