
Articles
What Is Roof Flashing
Modified: December 7, 2023
Learn about the importance of roof flashing in our informative articles. Discover how this vital component protects your home from leaks and water damage.
(Many of the links in this article redirect to a specific reviewed product. Your purchase of these products through affiliate links helps to generate commission for Storables.com, at no extra cost. Learn more)
Introduction
When it comes to keeping your home safe and secure, one crucial element that often gets overlooked is the roof. A well-built and well-maintained roof is essential for protecting your home from the elements, but it’s not just the shingles or tiles that play a role in this. Roof flashing is an integral part of any roofing system, ensuring that water and other potential threats are effectively channeled away from vulnerable areas.
Roof flashing is a term that might not be familiar to everyone, so let’s start with a definition.
Key Takeaways:
- Roof flashing is essential for protecting your home from water damage by creating a watertight seal and directing water away from vulnerable areas, preventing leaks, mold growth, and structural damage.
- Regular maintenance and inspection of roof flashing are crucial for preserving its integrity and protecting your roof. By following simple practices, you can ensure the longevity of your roof and effectively safeguard your home against water damage.
Read more: How To Install Roof Flashing Against A Wall
Definition of Roof Flashing
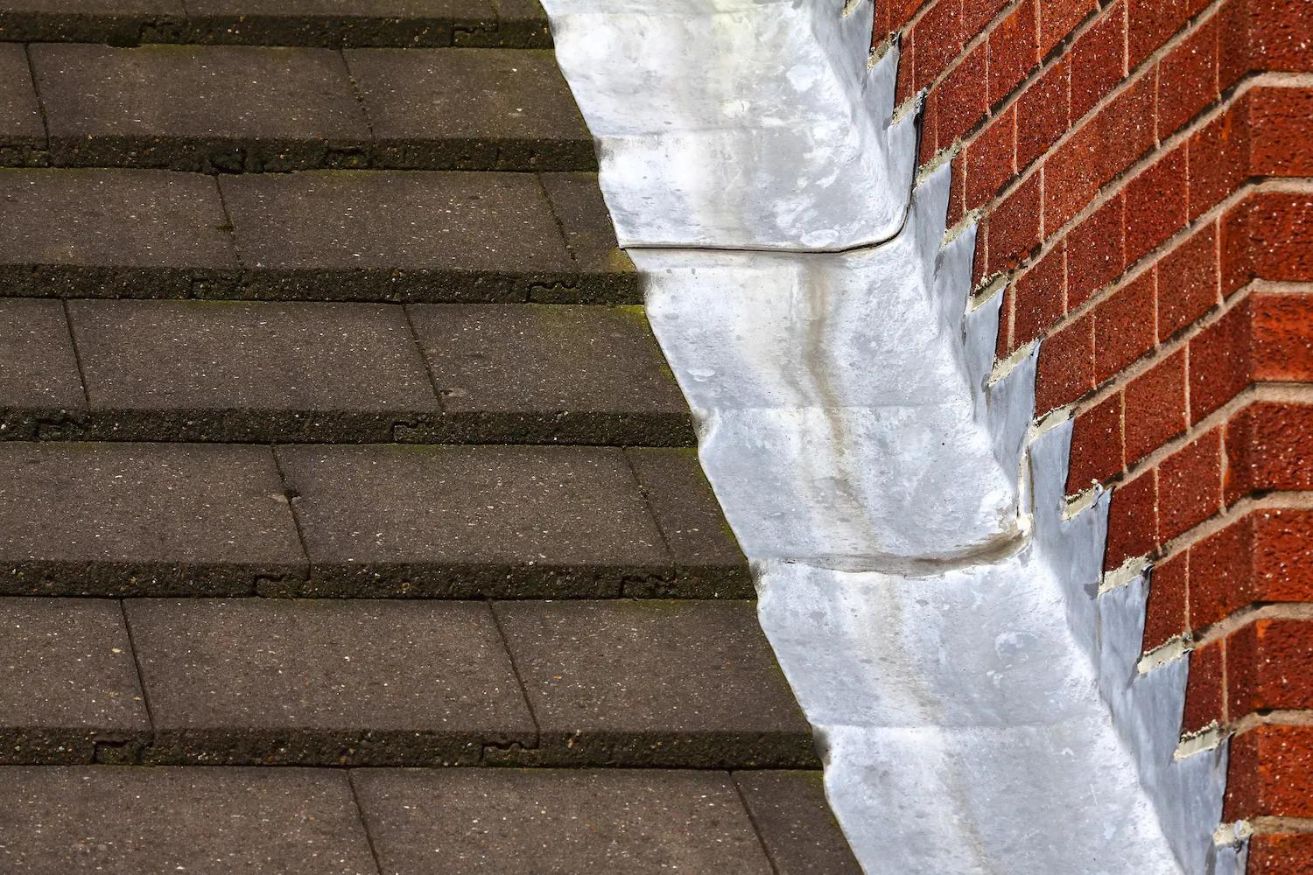
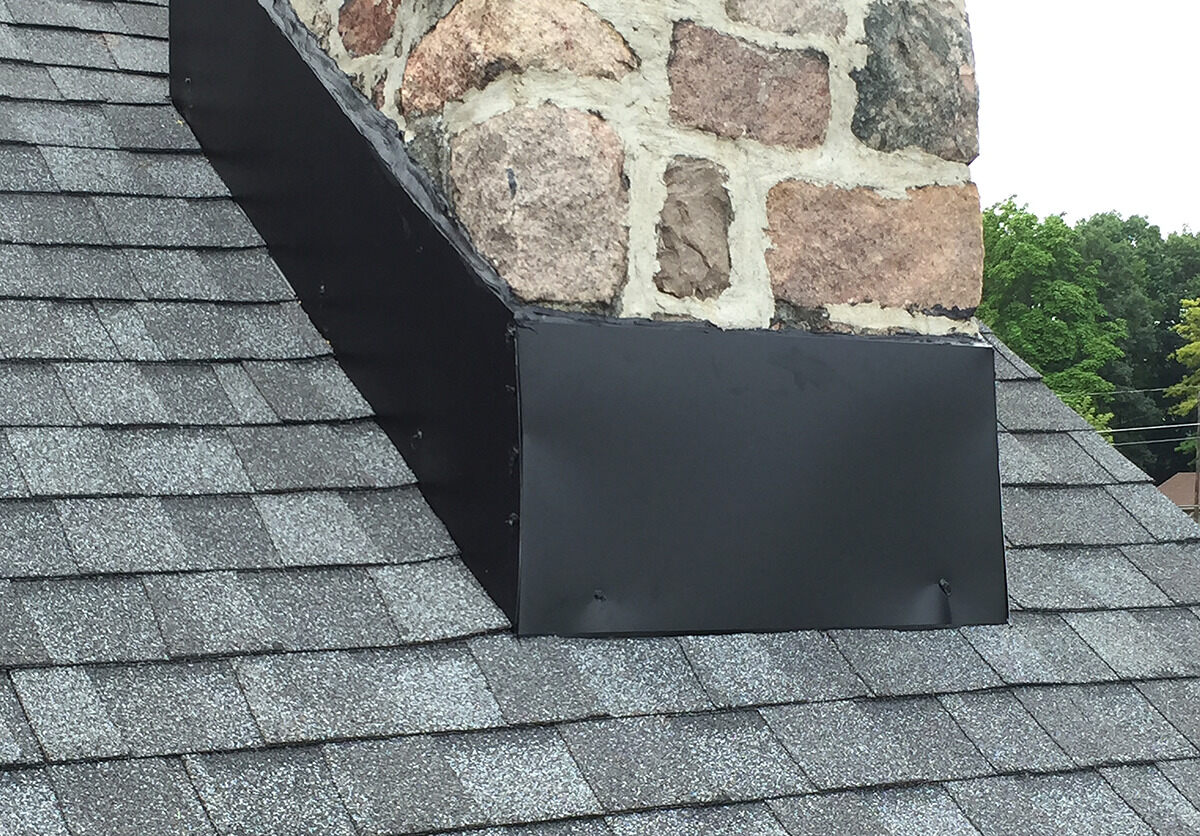
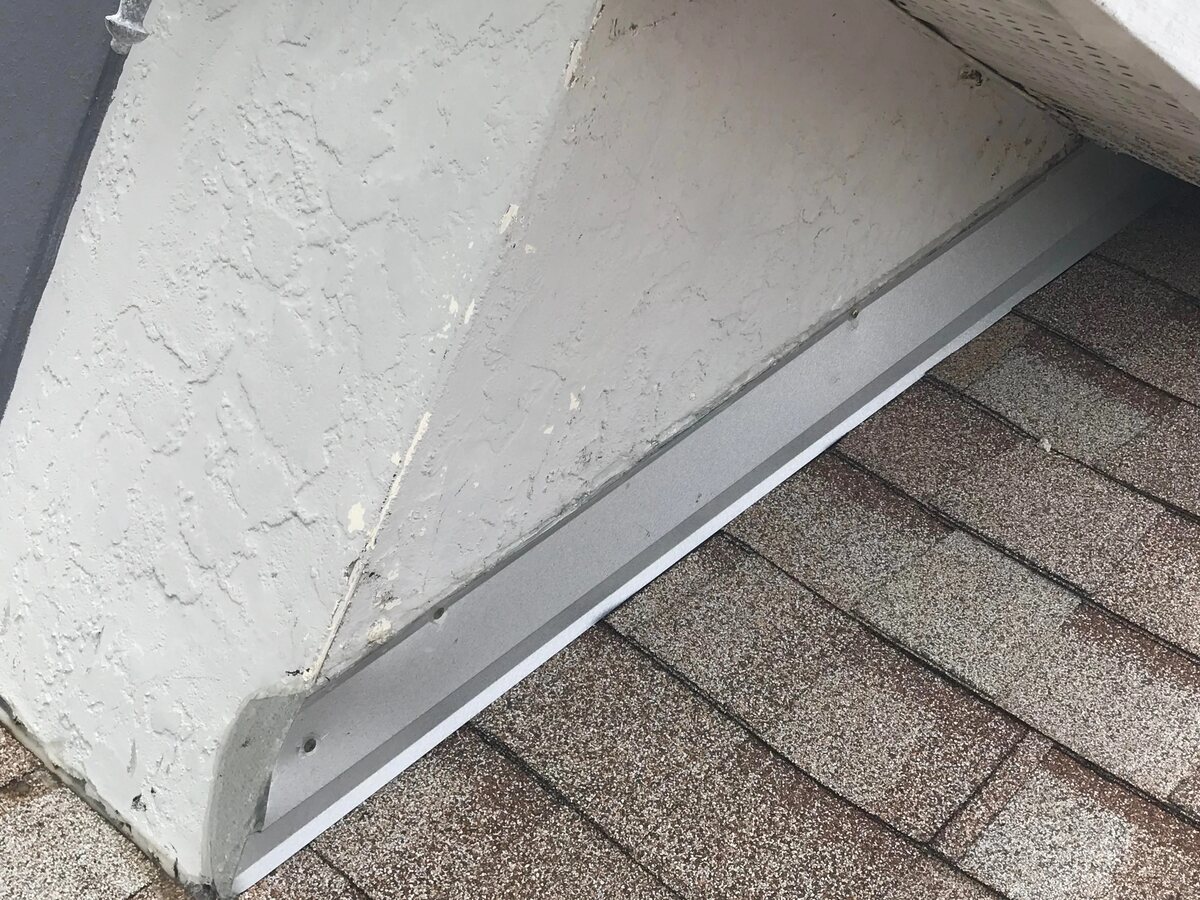
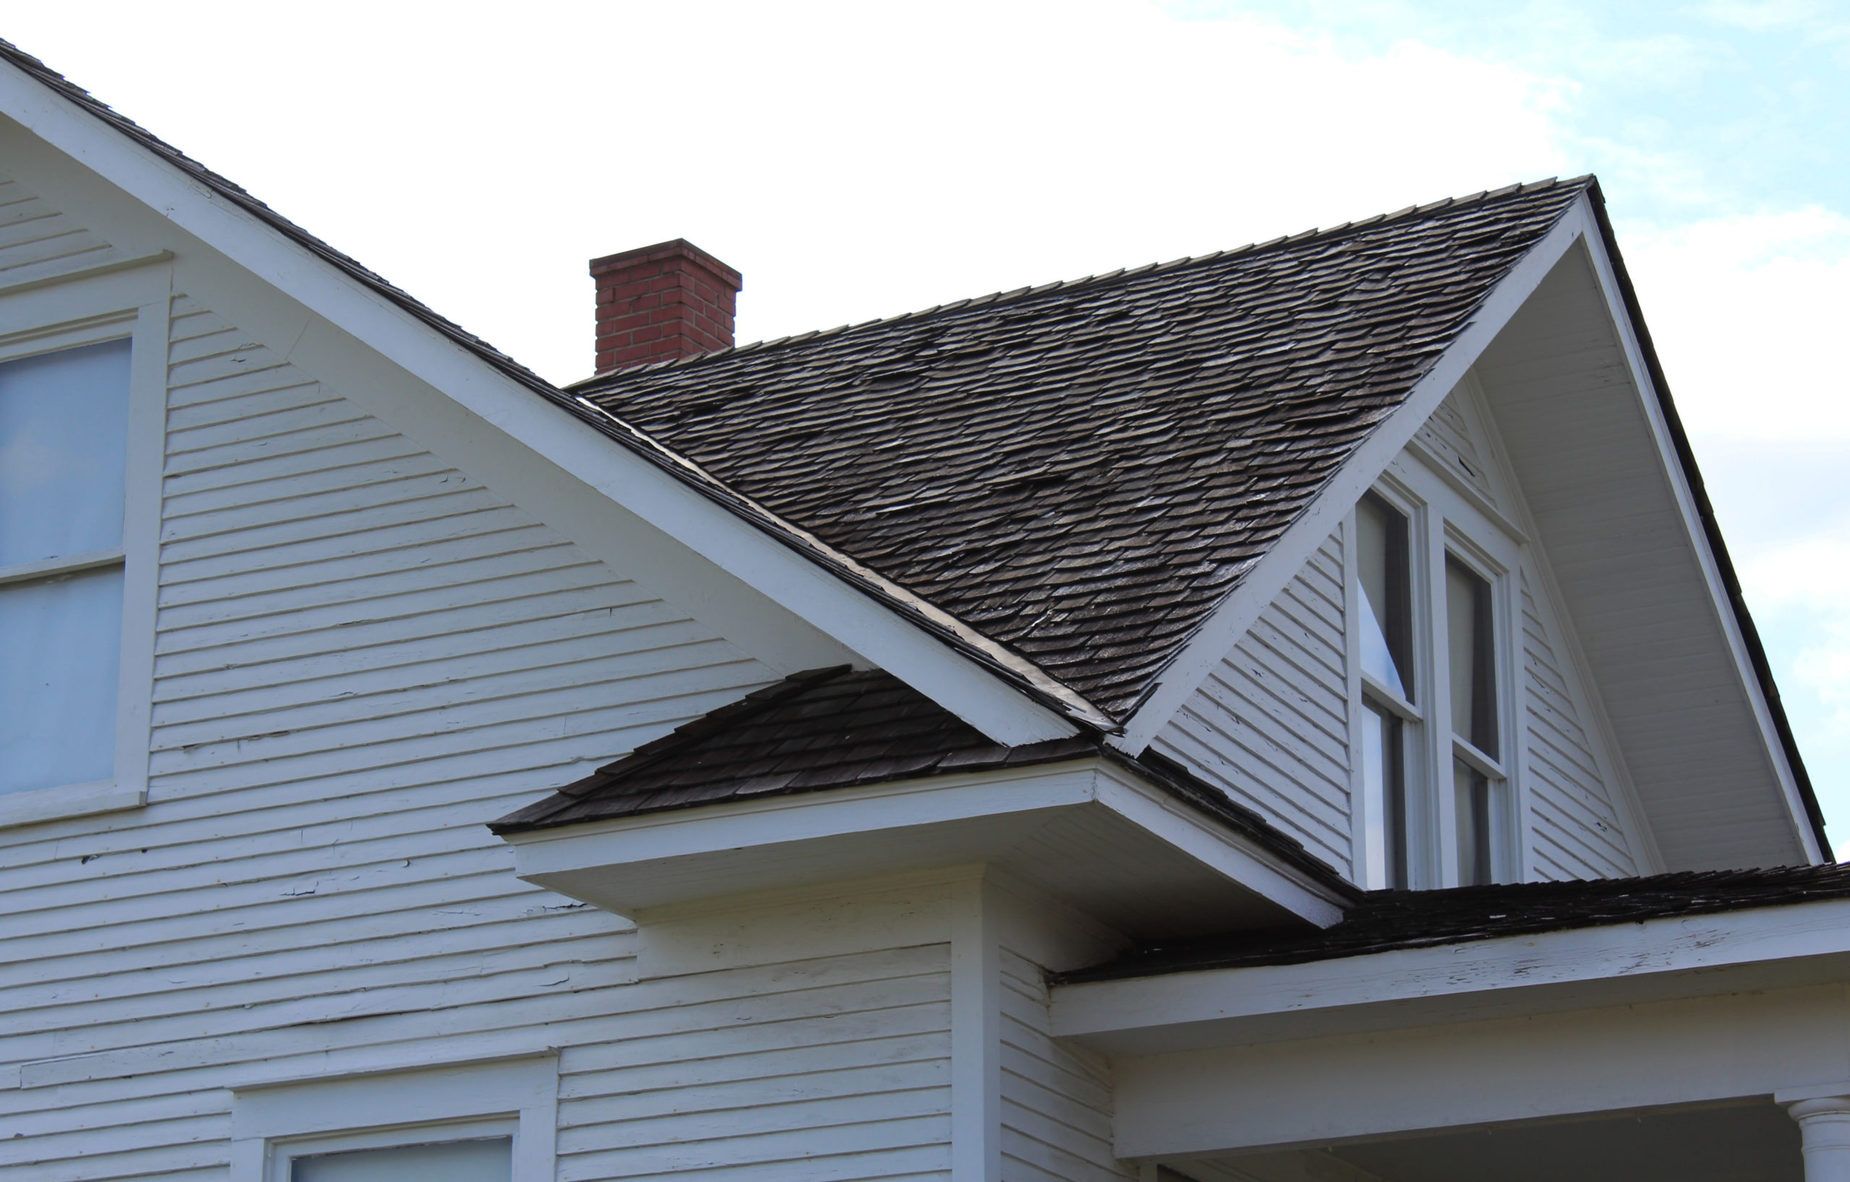
Roof flashing refers to the thin pieces of material, typically made of metal or plastic, that are used to create a watertight seal and direct water away from vulnerable areas of a roof. It is installed in areas where the roof meets vertical surfaces such as chimneys, skylights, vents, and walls, as well as in valleys and other areas where water runoff is concentrated.
The primary purpose of roof flashing is to prevent water from seeping into the underlying layers of the roof and causing damage. It acts as a barrier, redirecting water away from potential entry points and ensuring that it flows safely off the roof. Additionally, roof flashing helps to protect against other potential issues such as leaks, mold growth, and structural damage.
Roof flashing comes in various shapes and forms, depending on the specific needs of the roof. Common types of flashing include step flashing, which is used along with shingles to redirect water around chimneys, and drip edge flashing, which is installed at the edges of a roof to prevent water from getting under the roofing materials. Other types of flashing include valley flashing, pipe flashing, and saddle flashing, all serving different purposes and providing protection for specific areas of the roof.
Importance of Roof Flashing
Roof flashing plays a critical role in maintaining the integrity and longevity of your roof. Here are some key reasons why roof flashing is important:
- Waterproofing: The primary purpose of roof flashing is to create a waterproof barrier that prevents water from infiltrating vulnerable areas of the roof. By directing water away from these areas, flashing helps to minimize the risk of leaks and water damage inside your home.
- Protecting against moisture: Moisture can be a significant threat to the structural integrity of your roof. Without proper flashing, water can seep into gaps or cracks around chimneys, skylights, and other roof penetrations, leading to rot, decay, and mold growth. Roof flashing creates a secure seal that keeps moisture out and prevents these issues.
- Preventing leaks: Roof leaks can cause extensive damage to your home, including damage to the ceilings, walls, and electrical systems. Flashing acts as a barrier, diverting water away from vulnerable areas and reducing the likelihood of leaks.
- Preserving the lifespan of the roof: By protecting the roof from water damage, flashing helps to extend the lifespan of the entire roofing system. It prevents premature deterioration of roofing materials and reduces the need for costly repairs or roof replacements.
- Ensuring energy efficiency: Flashing also contributes to the energy efficiency of your home. By preventing water infiltration, it helps to maintain the insulation’s effectiveness and prevents heat loss, ultimately lowering your energy bills.
- Aesthetic appeal: Besides its functional benefits, roof flashing can also enhance the aesthetic appeal of your home. Well-installed flashing can provide a clean, finished look to your roofline and improve the overall appearance of your property.
Considering these important factors, it is clear that roof flashing is not something that should be overlooked. Investing in quality flashing materials and proper installation is crucial for maintaining the overall well-being of your roof and your home.
Common Types of Roof Flashing
Roof flashing comes in various types, each designed to address specific areas and potential vulnerabilities on a roof. Here are some of the most commonly used types of roof flashing:
- Step Flashing: Step flashing is commonly used in areas where the roof meets vertical surfaces, such as chimneys or walls. It consists of small, individual pieces of metal that are interwoven with shingles to create a step-like pattern. Step flashing redirects water away from these critical areas and prevents water infiltration.
- Drip Edge Flashing: Drip edge flashing is installed along the edges of a roof to prevent water from seeping underneath the roofing materials. It directs water away from the fascia and into the gutters, protecting the underlying layers of the roof from potential water damage.
- Valley Flashing: Valley flashing is used in roof valleys, where two roof slopes come together. It serves the purpose of channeling water from the valley area to prevent pooling and the potential for leaks. Valley flashing is typically made of metal and is designed to be durable and weather-resistant.
- Pipe Flashing: Pipe flashing is used around vent pipes and other roof penetrations to create a watertight seal. It often consists of a rubber boot that fits around the pipe and a metal flashing that is secured to the roof surface. Pipe flashing prevents water from entering the roof through these openings.
- Saddle Flashing: Saddle flashing, also known as cricket flashing, is used to divert water around large objects on the roof, such as chimneys or skylights. It is installed on the uphill side of the object, creating a barrier that forces water to flow around, reducing the risk of water infiltration.
These are just a few examples of the common types of roof flashing that are used to protect different areas of a roof. The specific type of flashing needed will depend on the design of the roof and any unique features or penetrations present. Ensuring the proper installation of the appropriate flashing for your roof is essential for maintaining its integrity and protecting against potential water damage.
Materials Used for Roof Flashing
Roof flashing can be made from a variety of different materials, each with its own unique properties and benefits. The choice of flashing material depends on factors such as the climate, budget, and specific requirements of the roofing project. Here are some commonly used materials for roof flashing:
- Metal: Metal flashing is one of the most popular choices due to its durability and longevity. Materials like aluminum, copper, and galvanized steel are commonly used. Metal flashing is resistant to corrosion and can withstand extreme weather conditions, making it suitable for long-lasting protection.
- PVC: Polyvinyl chloride (PVC) flashing is a synthetic material that offers excellent resistance to moisture and UV rays. It is lightweight, easy to work with, and less expensive compared to metal flashing. PVC flashing is commonly used in areas with high moisture, such as around vent pipes or skylights.
- Rubber: Rubber flashing, often made from ethylene propylene diene monomer (EPDM), is known for its flexibility and superior resistance to moisture. It can conform to irregular shapes and is commonly used for pipe flashing and other curved areas on the roof.
- Bituminous Membrane: Bituminous membrane flashing, also known as rolled roofing, is made of asphalt-impregnated material. It is commonly used in commercial roofing applications and can be found in peel-and-stick or torch-applied forms. Bituminous membrane flashing provides excellent waterproofing and is resistant to harsh weather conditions.
- Lead: Lead flashing has been used for many years due to its durability and malleability. It can be shaped to fit complex roof structures and offers excellent resistance to corrosion. However, lead flashing is less commonly used today due to environmental concerns associated with lead exposure.
Each material has its own advantages and considerations, so it is important to choose the appropriate flashing material based on the specific requirements of your roof. Discussing options with a roofing professional can help you make an informed decision about the best material for your flashing needs.
Tip: Roof flashing is a crucial component of a roofing system, designed to prevent water from seeping into vulnerable areas such as chimneys, vents, and skylights. It is typically made of metal and should be regularly inspected and maintained to ensure its effectiveness in protecting against water damage.
Installation Process of Roof Flashing
The proper installation of roof flashing is essential for its effectiveness in providing a watertight seal and protecting vulnerable areas of the roof. Here is a general guide to the installation process of roof flashing:
- Prepare the surface: Start by cleaning and preparing the area where the flashing will be installed. Ensure that the surface is free of debris, dirt, and loose materials.
- Measure and cut: Take accurate measurements of the area and cut the flashing material accordingly, allowing for some overlap to ensure complete coverage.
- Apply the flashing: Begin by positioning the first piece of flashing in the intended area, making sure it fits snugly and covers the necessary joints and intersections. Secure it in place using appropriate fasteners or adhesives, depending on the type of material and roofing system.
- Overlap and seal: If multiple pieces of flashing are required in the area, ensure that they overlap each other correctly to create a continuous barrier. Use sealants or roofing cement to seal the joints and edges, providing additional protection against water infiltration.
- Secure the flashing: Use nails, screws, or other recommended fasteners to secure the flashing firmly but without causing damage to the roofing materials or the flashing itself. Make sure the fasteners are properly placed, allowing for expansion and contraction of the materials with temperature changes.
- Inspect and test: After the flashing is installed, thoroughly inspect the area to ensure that all connections are secure and there are no gaps or loose areas. Test the flashing by directing water onto it and observing if it is effectively channeling water away from the vulnerable areas.
- Professional assistance: For complex or larger-scale flashing installations, it is recommended to seek the assistance of a professional roofing contractor who has expertise and experience in proper flashing installation techniques.
Keep in mind that the specific installation process may vary depending on the type of flashing, roofing materials, and the design of the roof. It is always best to follow manufacturer’s instructions and consult with professionals for guidance to ensure a correct and long-lasting installation.
Common Issues with Roof Flashing
While roof flashing is designed to protect your roof from water damage, it is not immune to its own set of problems. Here are some common issues that can arise with roof flashing:
- Improper installation: One of the most significant issues with roof flashing is improper installation. If the flashing is not correctly installed, it can lead to improper sealing, gaps, or loose areas that allow water to penetrate the roof. This can result in leaks and water damage.
- Corrosion and rust: Metal flashing, such as aluminum or steel, is susceptible to corrosion and rust over time. Corrosion weakens the flashing and compromises its effectiveness in diverting water. Regular maintenance and inspection can help identify any areas of corrosion and allow for timely repairs or replacements.
- Cracking or deterioration: Flashing materials, such as rubber or PVC, can deteriorate over time due to exposure to the sun’s UV rays and changing weather conditions. Cracking or deterioration of the flashing material can lead to water infiltration and leaks. Regular inspections can help identify any signs of deterioration and prompt the necessary repairs.
- Separation or shifting: Flashing can separate or shift due to the expansion and contraction of roofing materials with temperature changes. This can create gaps or openings where water can enter. Maintenance and regular inspections can help ensure that the flashing remains properly secured and in place.
- Blocked or clogged flashing: Leaves, debris, or other objects can accumulate and block the flow of water around the flashing. This can lead to pooling or backups of water, increasing the risk of leaks. Regular cleaning and maintenance of the flashing can help prevent such blockages.
- Damaged or missing flashing: Severe weather conditions, impact, or improper maintenance can cause damage to the flashing or even result in missing sections of flashing. This exposes vulnerable areas of the roof, increasing the likelihood of leaks and water damage. Prompt replacement or repair of damaged or missing flashing is crucial to maintain the integrity of the roof.
- Age-related wear and tear: Over time, all types of flashing can experience wear and tear due to aging. This can result in cracks, gaps, or weakened areas that allow water to penetrate the roof. Regular inspections can help identify any signs of age-related deterioration and prompt the necessary repairs or replacements.
It is important to address any issues with roof flashing promptly to avoid further damage to your roof and home. Regular inspections and proper maintenance can help prevent these common problems and ensure that your roof flashing remains in good condition for optimal protection.
Maintenance and Inspection of Roof Flashing
Maintaining and regularly inspecting your roof flashing is crucial for ensuring its effectiveness in protecting your roof from water damage. Here are some key maintenance and inspection practices to follow:
- Regular visual inspections: Conduct visual inspections of your roof flashing at least twice a year, preferably in the spring and fall. Look for any signs of damage, such as cracks, gaps, or corrosion. Pay attention to areas where the flashing meets other surfaces, such as chimneys or walls.
- Clean debris: Remove any debris, leaves, or dirt that may accumulate on or around the flashing. A build-up of debris can block water flow, leading to potential leaks and water damage.
- Check for proper sealing: Ensure that the flashing is properly sealed to the roof and other surfaces. Look for any loose or lifted sections. If you notice any gaps or openings, apply an appropriate roofing sealant or caulking to create a watertight seal.
- Inspect surrounding areas: In addition to inspecting the flashing itself, examine the surrounding roofing materials for any signs of damage or wear. Pay attention to shingles or tiles that could potentially compromise the flashing’s effectiveness.
- Address any issues promptly: If you notice any damage or issues with the flashing during your inspection, take immediate action to address them. Repair or replace damaged sections of flashing to prevent further water infiltration and potential roof damage.
- Trim nearby tree branches: Trim any overhanging tree branches that could potentially damage or dislodge the flashing during high winds or storms. Falling branches can cause significant damage to the flashing and compromise its protective capabilities.
- Consult a professional: For more complex maintenance or repairs, it is advisable to consult a professional roofing contractor with experience in working with roof flashing. They have the expertise and knowledge to identify and resolve any issues effectively.
- Keep records: Maintain a record of maintenance and inspection dates and the actions taken. This will help you keep track of your roof flashing’s maintenance history and identify any patterns or recurring issues over time.
By incorporating these maintenance practices into your regular routine, you can help ensure that your roof flashing remains in good condition and provides reliable protection for your home.
Conclusion
Roof flashing is a vital component of any roofing system, playing a crucial role in protecting your home from water damage. It creates a watertight seal and directs water away from vulnerable areas of the roof, preventing leaks, mold growth, and structural damage.
Understanding the importance of roof flashing and its various types is essential for homeowners and property owners. Step flashing, drip edge flashing, valley flashing, pipe flashing, and saddle flashing are some of the common types used to provide protection in specific areas of the roof.
Roof flashing materials such as metal, PVC, rubber, bituminous membrane, and lead each possess unique qualities and considerations. The choice of flashing material depends on various factors, including climate, budget, and specific requirements of the roof.
Proper installation of roof flashing is crucial for its effectiveness. Following the installation process, ensuring secure attachment, and conducting regular inspections can help identify and address any issues promptly. Issues such as improper installation, corrosion, cracking, separation, and age-related wear and tear are common flashing problems that require attention.
Maintaining and inspecting roof flashing regularly is necessary to preserve its integrity and protect your roof. Regular visual inspections, cleaning debris, checking for proper sealing, addressing issues promptly, and consulting professionals when needed are essential maintenance practices.
In conclusion, roof flashing is an integral component of a well-built roofing system. By understanding its importance, utilizing the right materials, and implementing proper maintenance and inspection practices, you can ensure the longevity of your roof and effectively safeguard your home against water damage.
Frequently Asked Questions about What Is Roof Flashing
Was this page helpful?
At Storables.com, we guarantee accurate and reliable information. Our content, validated by Expert Board Contributors, is crafted following stringent Editorial Policies. We're committed to providing you with well-researched, expert-backed insights for all your informational needs.








0 thoughts on “What Is Roof Flashing”