Home>Construction & Tools>Building Materials>How To Install Roof Flashing Against A Stucco Wall

Building Materials
How To Install Roof Flashing Against A Stucco Wall
Modified: February 17, 2024
Learn how to properly install roof flashing against a stucco wall using high-quality building materials. Follow our step-by-step guide for a secure and durable installation.
(Many of the links in this article redirect to a specific reviewed product. Your purchase of these products through affiliate links helps to generate commission for Storables.com, at no extra cost. Learn more)
Introduction
When it comes to protecting your home from the elements, ensuring that your roof is properly sealed is paramount. One crucial aspect of this is the installation of roof flashing against a stucco wall. This process not only enhances the aesthetic appeal of your home but also plays a pivotal role in preventing water infiltration and subsequent damage to the interior structure.
Properly installed roof flashing acts as a barrier against water, effectively channeling it away from vulnerable areas and safeguarding the integrity of your home. Whether you are undertaking a new construction project or renovating an existing property, understanding the intricacies of this process is essential for long-term structural stability.
In this comprehensive guide, we will delve into the nuances of installing roof flashing against a stucco wall. From understanding the purpose of roof flashing to the meticulous steps involved in the installation process, this article will equip you with the knowledge and confidence to undertake this task with precision.
So, let's embark on this enlightening journey, where we will unravel the art of safeguarding your home through the seamless installation of roof flashing against a stucco wall.
Key Takeaways:
- Properly installed roof flashing protects your home from water damage by directing water away from vulnerable areas. Understanding its purpose and meticulous installation process is crucial for long-term structural stability.
- Thoroughly assessing the stucco wall, preparing the installation area, and sealing the flashing with precision are essential steps in safeguarding your home against potential water infiltration.
Read more: How To Install Roof Flashing Against A Wall
Understanding Roof Flashing
Roof flashing is a crucial component of any well-constructed roofing system. It serves as a protective barrier, preventing water from seeping into vulnerable areas and causing damage to the underlying structure. When it comes to installing roof flashing against a stucco wall, a clear understanding of its purpose and functionality is essential.
Roof flashing is typically made from durable, weather-resistant materials such as galvanized steel, aluminum, or copper. These materials are chosen for their ability to withstand the elements and provide long-term protection for your home. The flashing is strategically placed in areas where water penetration is most likely to occur, such as roof intersections, valleys, and, in the case of this guide, against stucco walls.
When installed against a stucco wall, roof flashing acts as a barrier, directing water away from the intersection between the roof and the wall. This is crucial, as stucco, while an attractive and durable siding material, can be susceptible to water damage if not properly protected. The flashing ensures that any water running down the roof is diverted away from the stucco, preventing potential leaks and structural issues.
Understanding the role of roof flashing in protecting your home against water infiltration is the foundation upon which the installation process is built. By comprehending its significance in maintaining the integrity of your home, you are better equipped to execute the installation with precision and care.
Now that we have established the importance of roof flashing and its specific role in safeguarding a stucco wall, let’s delve into the crucial steps involved in assessing the stucco wall to prepare for the installation process.
Assessing the Stucco Wall
Before embarking on the installation of roof flashing against a stucco wall, it is imperative to thoroughly assess the condition of the wall. This meticulous evaluation ensures that any existing issues are addressed, and the flashing can be installed on a stable and sound surface, maximizing its effectiveness in preventing water infiltration.
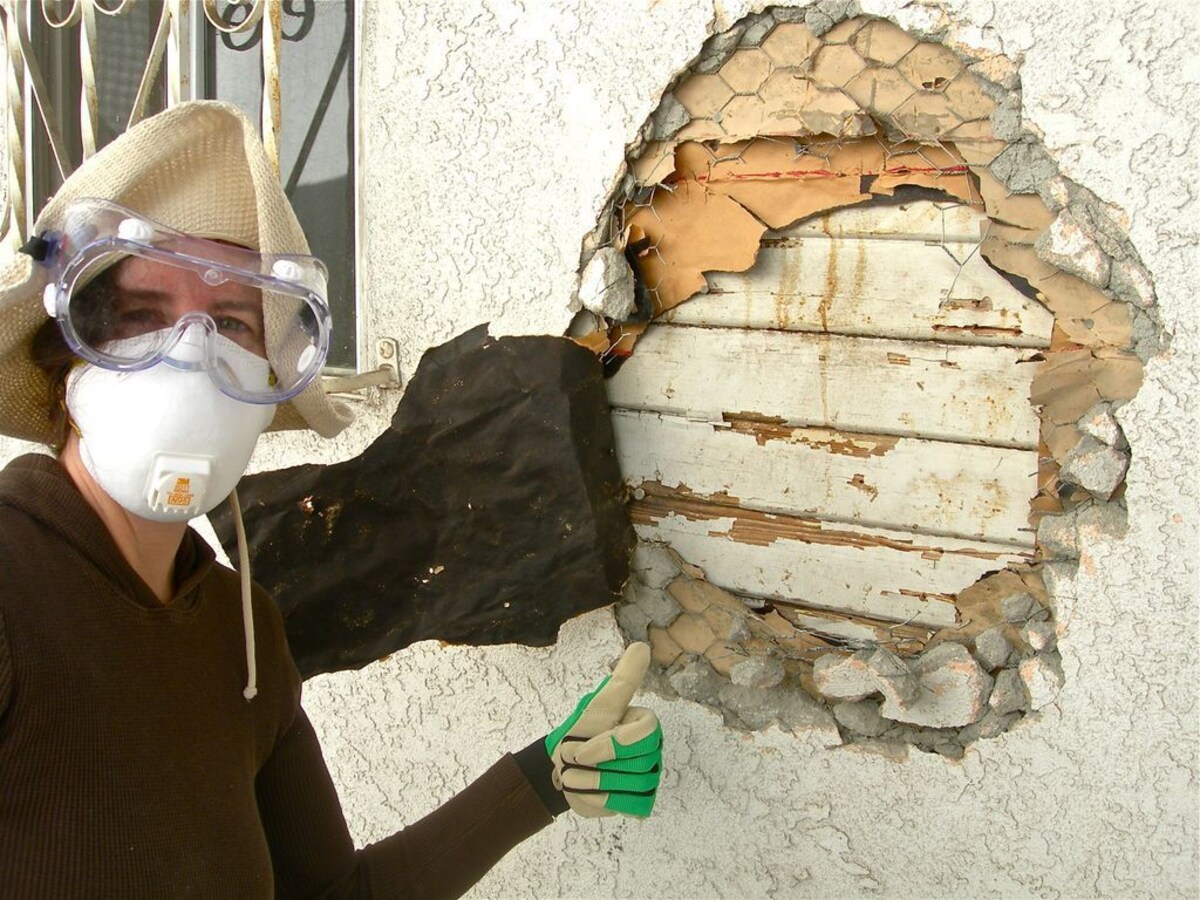
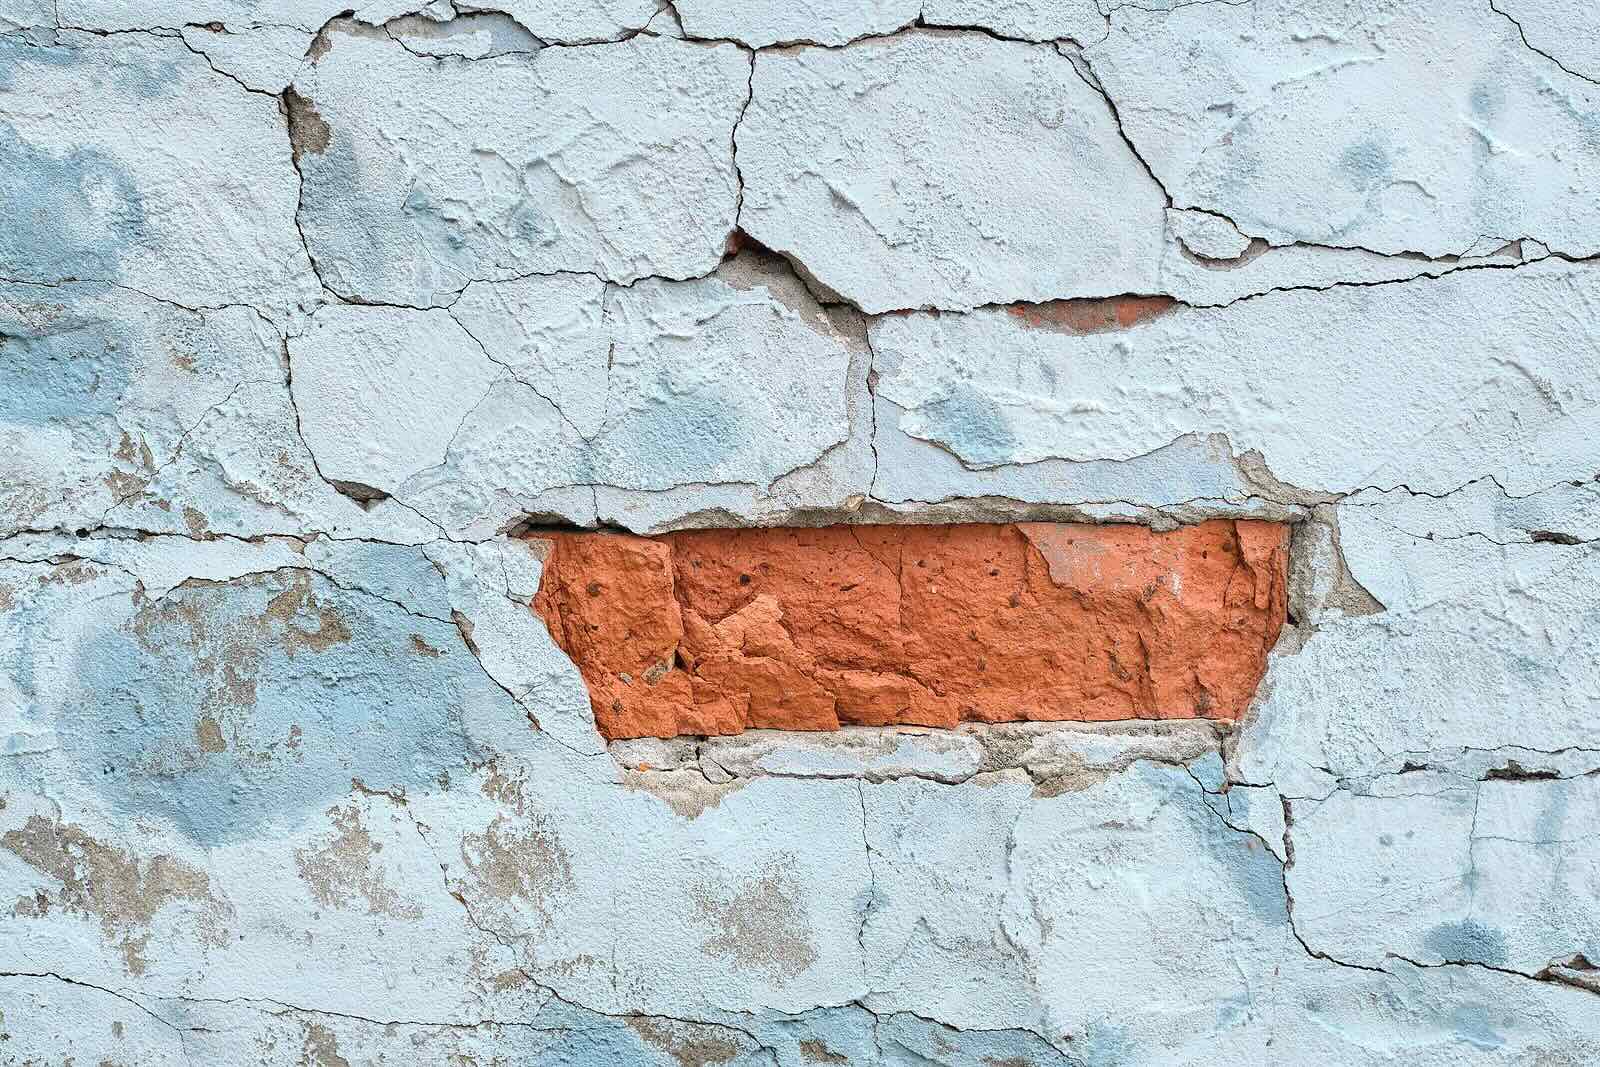
Begin by visually inspecting the stucco wall for any signs of damage, such as cracks, chips, or areas where the stucco has become detached from the underlying structure. These areas should be carefully examined and repaired as necessary before proceeding with the installation of the flashing. Any compromised areas can potentially allow water to seep behind the flashing, leading to water damage and compromising the structural integrity of the wall.
Additionally, it is essential to assess the slope and condition of the roof above the stucco wall. Ensure that the roofing material is in good condition and that the slope allows for proper water runoff. Any issues with the roof should be addressed before installing the flashing to prevent potential water-related problems in the future.
Furthermore, take note of any existing flashing or sealant around the intersection of the roof and the stucco wall. If there is old flashing present, assess its condition and determine if it needs to be replaced or supplemented with new flashing. Similarly, inspect the sealant for any signs of deterioration and reseal as needed to ensure a watertight barrier.
By meticulously assessing the stucco wall and the surrounding roofing elements, you can identify and address any potential vulnerabilities before proceeding with the installation of the roof flashing. This proactive approach sets the stage for a seamless and effective installation process, ensuring long-term protection for your home against water infiltration.
With a thorough understanding of the condition of the stucco wall and the necessary preparations in place, we are now ready to delve into the meticulous steps involved in preparing the area for the installation of the flashing.
Preparing the Area
Proper preparation of the area where the roof flashing will be installed is crucial to ensure a secure and effective application. This phase of the process sets the foundation for a watertight seal and long-term protection against potential water infiltration. Let’s explore the meticulous steps involved in preparing the area for the installation of roof flashing against a stucco wall.
1. Cleaning the Surface:
Begin by thoroughly cleaning the area where the flashing will be installed. Remove any dirt, debris, or old sealant to ensure a clean and smooth surface. This step is essential for promoting adhesion and creating a secure bond between the stucco wall and the flashing material.
Read more: What Is Roof Flashing
2. Applying Primer:
Once the surface is clean, apply a high-quality primer designed for use with stucco and the specific flashing material being installed. The primer enhances adhesion and creates a strong bond between the stucco and the flashing, further fortifying the barrier against water infiltration.
3. Measuring and Cutting the Flashing:
Accurately measure the dimensions of the area where the flashing will be installed and carefully cut the flashing material to the appropriate size. Precision in this step is crucial to ensure a seamless fit and optimal protection against water intrusion.
4. Preparing End Joints:
If multiple pieces of flashing will be used, prepare the end joints by carefully overlapping and sealing them according to the manufacturer’s recommendations. This ensures a continuous and watertight barrier along the stucco wall.
5. Creating a Drip Edge:
Where the flashing meets the roof, create a drip edge by bending the flashing material to direct water away from the intersection of the roof and the stucco wall. This prevents water from accumulating at this critical junction, further enhancing the protective capabilities of the flashing.
By meticulously preparing the area for the installation of roof flashing, you establish the groundwork for a secure and effective barrier against water infiltration. With the area primed and the flashing material ready, we are now poised to delve into the intricate process of installing the flashing against the stucco wall.
Read more: How To Install Dormer Flashing
Installing the Flashing
With the area meticulously prepared, it’s time to embark on the precise and crucial process of installing the roof flashing against the stucco wall. This step is pivotal in creating a watertight barrier that effectively safeguards your home from potential water infiltration. Let’s explore the meticulous steps involved in installing the flashing with precision and care.
1. Positioning the Flashing:
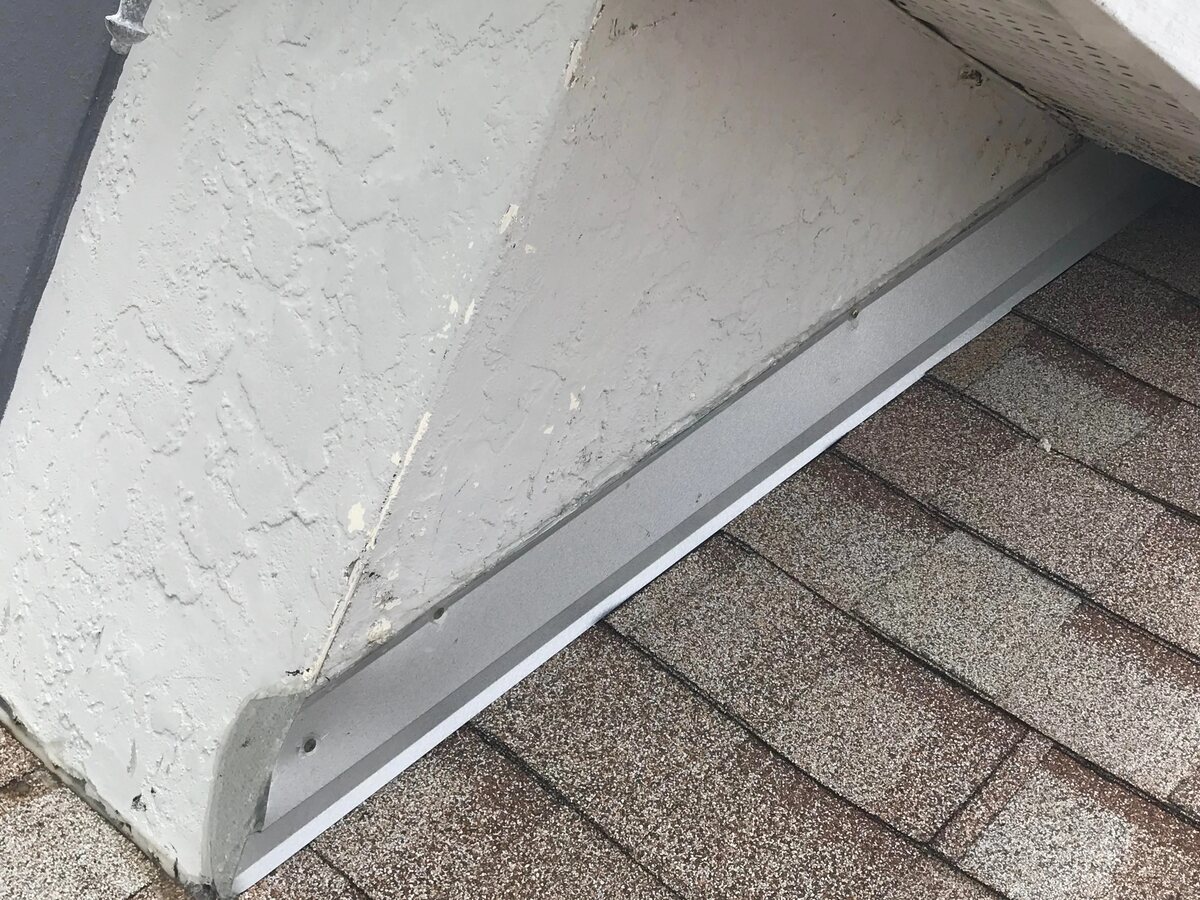
Carefully position the prepared flashing against the stucco wall, ensuring that it aligns seamlessly with the intersection of the roof and the wall. Take time to verify that the flashing is level and securely positioned before proceeding with the installation process.
2. Securing the Flashing:
Using appropriate fasteners such as roofing nails or screws, secure the flashing in place along the stucco wall. Be mindful of the spacing and placement of the fasteners to ensure a secure and uniform attachment that effectively seals the intersection.
3. Sealing the Edges:
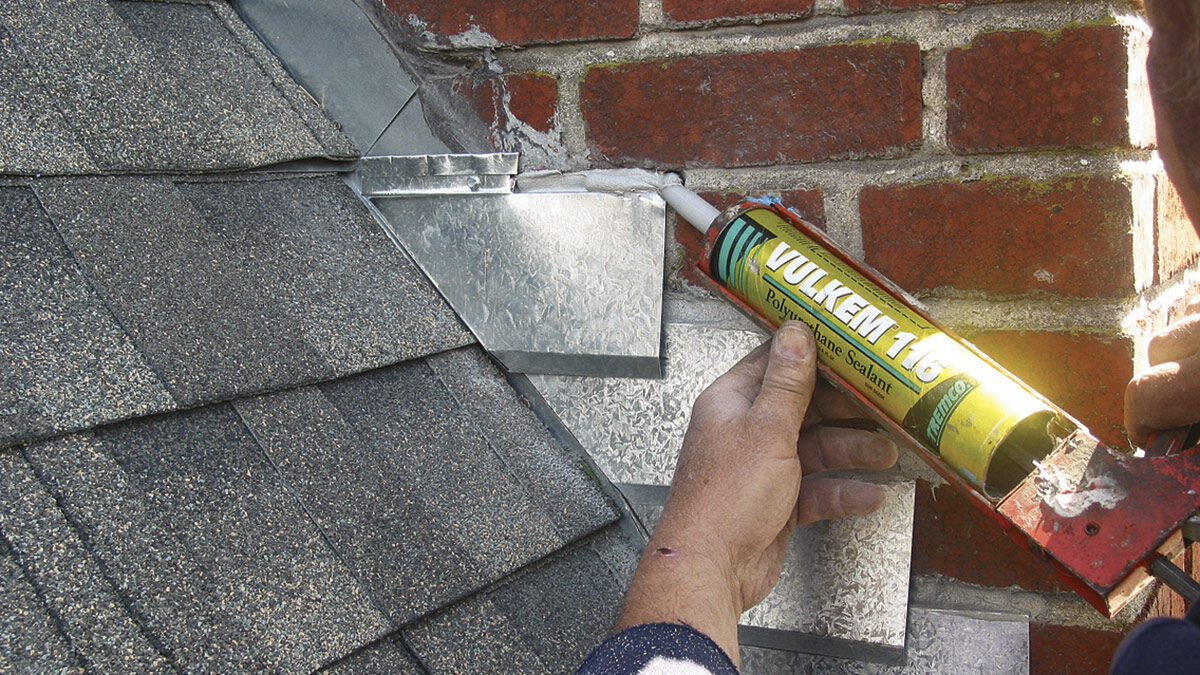
Apply a high-quality sealant along the edges and joints of the flashing to create a watertight seal. Pay close attention to the areas where the flashing meets the stucco wall and the roof, ensuring that the sealant forms a continuous barrier against water infiltration.
Read more: How To Install Chimney Flashing
4. Overlapping Sections:
If multiple sections of flashing are being installed, ensure that they overlap appropriately to create a continuous and seamless barrier. Seal the overlapping sections according to the manufacturer’s recommendations to prevent water from seeping between the joints.
5. Inspecting the Installation:
Thoroughly inspect the installed flashing to ensure that it is securely attached, properly sealed, and free from any potential points of water entry. This meticulous inspection is crucial for identifying and addressing any issues before they compromise the effectiveness of the flashing.
By methodically following these steps, you can install the roof flashing against the stucco wall with precision and care, creating a robust barrier against water infiltration. With the flashing securely in place, we now turn our attention to the critical step of sealing and finishing the installation to ensure long-term protection for your home.
Sealing and Finishing
As the installation of the roof flashing against the stucco wall nears completion, the crucial step of sealing and finishing the installation takes center stage. This phase is essential for fortifying the integrity of the flashing, creating a watertight seal, and ensuring long-term protection against potential water infiltration. Let’s explore the meticulous steps involved in sealing and finishing the installation with precision and care.
1. Applying Sealant:
Thoroughly apply a high-quality sealant along the entire length of the installed flashing, ensuring that it forms a continuous and robust barrier against water infiltration. Pay close attention to the edges, joints, and any overlapping sections, applying the sealant generously to create a secure seal.
Read more: What Is A Stucco Wall
2. Smoothing the Sealant:
After applying the sealant, carefully smooth it with a putty knife or a specialized tool to create an even and uniform seal. This step not only enhances the effectiveness of the sealant but also contributes to the visual appeal of the finished installation.
3. Inspecting the Seal:
Thoroughly inspect the applied sealant to ensure that it adheres securely to the flashing and the stucco wall, forming a seamless and watertight seal. Address any areas that may require additional sealant to eliminate potential points of water entry.
4. Finishing Touches:
Once the sealant has been applied and inspected, take the time to address any finishing touches that may be necessary. This may include cleaning off any excess sealant, ensuring that the flashing is visually appealing, and making any final adjustments to optimize the effectiveness of the installation.
5. Allowing for Cure Time:
Allow the applied sealant to cure according to the manufacturer’s recommendations before subjecting the installation to potential exposure to water or adverse weather conditions. This ensures that the sealant fully sets and provides the intended level of protection.
By meticulously sealing and finishing the installation, you fortify the integrity of the roof flashing against the stucco wall, creating a robust barrier against water infiltration. With the sealant in place and the installation complete, you can take pride in knowing that your home is safeguarded against potential water-related issues.
With the installation process now concluded, we will reflect on the essential aspects covered in this guide as we draw our journey to a close.
Read more: How To Store A Mattress Against A Wall
Conclusion
Congratulations! You have successfully delved into the intricate process of installing roof flashing against a stucco wall, equipping yourself with the knowledge and skills to safeguard your home from potential water infiltration. Throughout this enlightening journey, we have explored the fundamental aspects of this process, from understanding the purpose of roof flashing to the meticulous steps involved in its installation and sealing.
By comprehending the significance of roof flashing in protecting your home against water infiltration, you have laid the groundwork for long-term structural stability and peace of mind. The meticulous assessment of the stucco wall, the precise preparation of the installation area, and the careful installation and sealing of the flashing have collectively contributed to the creation of a robust barrier against potential water-related issues.
As you reflect on this journey, remember the importance of attention to detail, precision, and proactive maintenance in safeguarding your home. Whether you are undertaking a new construction project or renovating an existing property, the knowledge and skills you have acquired in this guide will serve as valuable assets in protecting your home from the elements.
As you admire the seamless integration of the roof flashing against the stucco wall, take pride in knowing that you have taken a proactive step in fortifying your home against potential water infiltration. Your dedication to understanding and executing this process with precision underscores your commitment to maintaining the integrity and longevity of your home.
As you continue your journey as a vigilant homeowner, may the knowledge and skills gained from this guide serve as a source of empowerment and confidence in addressing future home maintenance and improvement projects. Remember, the protection of your home begins with a solid foundation and meticulous attention to detail.
With the installation of the roof flashing against the stucco wall now complete, take a moment to appreciate the seamless integration of functionality and aesthetics, knowing that your home is fortified against the elements. Your dedication to the well-being of your home is a testament to your role as a conscientious homeowner.
Embrace the peace of mind that comes with knowing that your home is safeguarded against potential water-related issues, and carry forward the knowledge and skills gained from this guide as you embark on future endeavors to protect and enhance your living space.
Frequently Asked Questions about How To Install Roof Flashing Against A Stucco Wall
Was this page helpful?
At Storables.com, we guarantee accurate and reliable information. Our content, validated by Expert Board Contributors, is crafted following stringent Editorial Policies. We're committed to providing you with well-researched, expert-backed insights for all your informational needs.






0 thoughts on “How To Install Roof Flashing Against A Stucco Wall”