Home>Articles>What Is The Ideal Notch Trowel Size For 12X24 Floor Tiles
Articles
What Is The Ideal Notch Trowel Size For 12X24 Floor Tiles
Modified: December 7, 2023
Looking for articles on what size notch trowel to use for 12x24 floor tile? Find all the information you need to ensure a successful tile installation.
(Many of the links in this article redirect to a specific reviewed product. Your purchase of these products through affiliate links helps to generate commission for Storables.com, at no extra cost. Learn more)
Introduction
The installation of floor tiles is an important and exciting project that can enhance the aesthetic appeal and functionality of any space. However, it is crucial to ensure that the installation is done correctly for the tiles to not only look great but also be long-lasting and durable. One key aspect of successful tile installation is choosing the right tools, and the size of the notch trowel plays a vital role in the process.
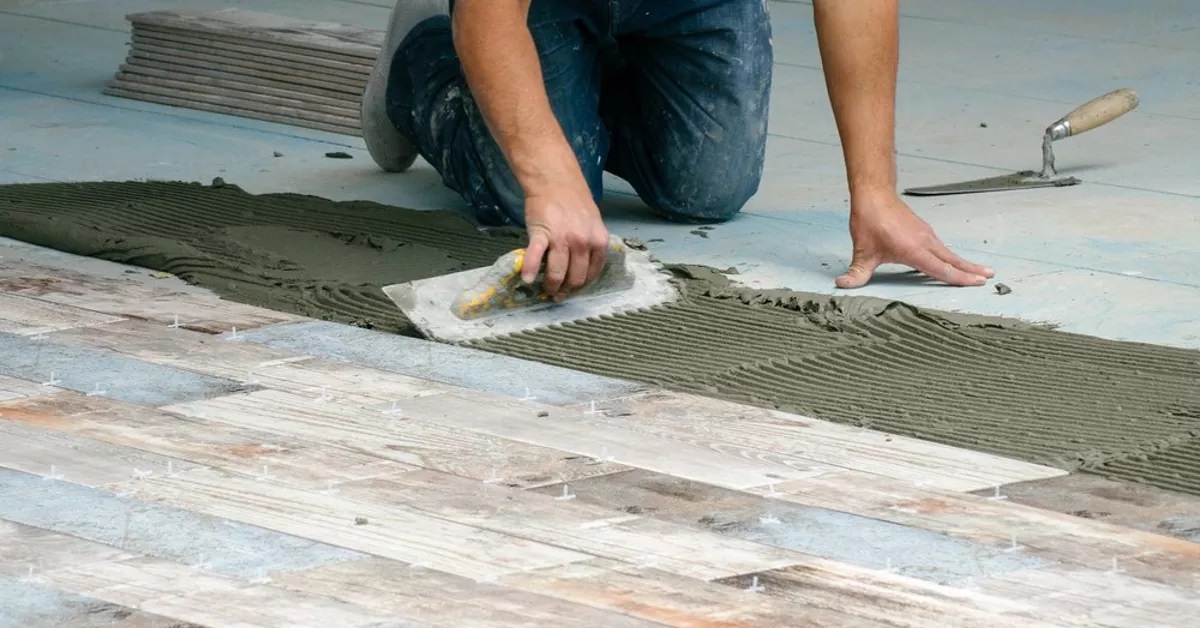
A notch trowel is a specialized tool used to apply adhesive or mortar to the back of the tiles before placing them on the floor. The notches on the trowel create ridges in the adhesive, allowing for proper bonding between the tile and the floor. The size of the notches on the trowel determines the amount of adhesive applied, which directly influences the coverage and support for the tiles.
Choosing the correct size notch trowel is crucial for proper bonding between the tiles and the floor surface. Using the wrong size trowel can lead to a variety of issues, such as poor adhesion, lippage (unevenness between tiles), or weakened overall stability. In the case of 12X24 floor tiles, selecting the appropriate notch trowel size becomes even more important due to the larger format of the tiles.
In this article, we will delve into the significance of selecting the right size notch trowel for 12X24 floor tiles and explore the factors to consider before making a choice. We will also discuss commonly used notch trowel sizes for 12X24 floor tiles and provide guidance on how to properly use a notch trowel for their installation.
By understanding these key elements, you will be equipped with the knowledge necessary to achieve a successful and visually appealing 12X24 floor tile installation.
Key Takeaways:
- Choosing the right size notch trowel is crucial for a successful 12X24 floor tile installation, ensuring proper adhesive coverage, minimizing lippage, and enhancing stability and efficiency.
- Factors such as tile size, type, adhesive consistency, and substrate condition must be considered when selecting the correct notch trowel size for 12X24 floor tiles, ensuring a visually appealing and durable installation.
Understanding Notch Trowels
Notch trowels are specifically designed tools used in tile installation to create uniform ridges or notches in the adhesive or mortar. These ridges are essential for ensuring proper bonding between the tiles and the substrate or floor surface.
Notch trowels feature a flat metal blade with notches along one edge. The spacing and size of these notches are what determine the amount of adhesive or mortar applied to the surface. They come in various sizes, each with specific purposes depending on the tile size and type of installation.
The two most common types of notch trowels are square-notch and V-notch. Square-notch trowels have square-shaped notches, while V-notch trowels have triangular-shaped notches. The choice between square-notch and V-notch trowels depends on the consistency and thickness of the adhesive or mortar being used.
The notches on the trowel serve a dual purpose. Firstly, they allow for proper coverage of the adhesive or mortar, ensuring that the entire back of the tile is in contact with the bonding material. Secondly, they provide air pockets, allowing for the release of any trapped air during the tile installation process, which helps prevent voids and weak spots.
When using a notch trowel, it’s important to hold it at a consistent angle and apply even pressure to achieve uniform coverage and ridges. This ensures that the tiles are properly adhered and avoid any potential issues such as tiles popping up or failing to bond properly.
By understanding the purpose and function of notch trowels, you can choose the right tool for your specific tile installation needs and ensure a successful installation process.
Importance of Selecting the Right Size Notch Trowel
Choosing the right size notch trowel is crucial for a successful tile installation. The size of the notches directly affects the amount of adhesive or mortar applied to the back of the tiles. Here are the key reasons why selecting the correct size notch trowel is important:
- Proper Adhesive Coverage: Using the right notch trowel size ensures that the adhesive or mortar is evenly spread across the tile surface, allowing for proper adhesion. Inadequate coverage can lead to weak bonding and potential tile failure in the future.
- Prevention of Lippage: Lippage refers to the unevenness or height differences between adjacent tiles. Using a notch trowel with the correct size notches helps minimize lippage by ensuring consistent adhesive thickness and coverage. This results in a level and aesthetically pleasing tile installation.
- Stability and Strength: Proper adhesive coverage and a level tile installation contribute to the overall stability and strength of the tiled floor. By using the right size notch trowel, you can achieve a solid bond between the tiles and the substrate, ensuring a durable and long-lasting floor.
- Efficiency and Cost-Effectiveness: Selecting the appropriate notch trowel size allows you to optimize adhesive usage. Using too much adhesive can be wasteful and increase project costs, while using too little can compromise the performance and longevity of the installation. By using the right notch trowel size, you can achieve an efficient and cost-effective tile installation.
Additionally, using the wrong size notch trowel can lead to challenges during the installation process. It can result in difficulties aligning tiles, excessive adhesive squeeze-out, or insufficient coverage, all of which can compromise the overall quality of the installation.
Hence, taking the time to select the correct notch trowel size based on the tile size and type of installation is essential for a successful and professional-looking tile project. It ensures proper adhesion, minimizes lippage, enhances stability, and optimizes material usage, facilitating a seamless and durable tile installation.
Factors to Consider Before Choosing a Notch Trowel Size
Before selecting a notch trowel size for your tile installation project, it’s important to consider various factors to ensure you choose the right size for optimal results. Here are the key factors to consider:
- Tile Size and Type: The size and type of tile you are installing play a critical role in determining the appropriate notch trowel size. Larger tiles, such as 12X24 floor tiles, often require a larger notch size to provide adequate adhesive coverage and support. Smaller tiles, on the other hand, may require smaller notch sizes to ensure proper bonding.
- Tile Backing: The backing material of the tile, such as ceramic, porcelain, or natural stone, can impact the choice of notch trowel size. Some tiles may have uneven surfaces or variations in thickness, requiring a larger notch size to accommodate for these irregularities and ensure proper adhesion.
- Thinset or Adhesive Consistency: The consistency of the thinset or adhesive you are using can affect the flow and coverage during application. Thicker adhesives may require larger notches to ensure adequate coverage, while thinner adhesives may require smaller notches to prevent excessive adhesive squeeze-out.
- Substrate Condition: The condition and smoothness of the substrate or floor surface should also be taken into account. Uneven or rough surfaces may require larger notches to compensate for the irregularities and achieve proper contact between the tile and the substrate.
- Manufacturer Recommendations: It’s important to consult the manufacturer’s recommendations and guidelines for the specific tile and adhesive being used. They often provide suggestions or requirements for notch trowel size to ensure the best possible installation results.
Considering these factors will help you narrow down the options and select a notch trowel size that is most suitable for your tile installation. It’s also a good practice to test the adhesive coverage and bond strength before proceeding with the full installation.
Remember, choosing the correct notch trowel size is crucial to achieve proper adhesion, prevent lippage, ensure stability, and optimize material usage. Take the time to assess these factors and make an informed decision for a successful tile installation.
Use a 1/2 inch notch trowel for 12×24 floor tiles to ensure proper coverage of thinset mortar. This size notch will help create a strong bond between the tile and the floor.
Determining the Correct Notch Trowel Size for 12X24 Floor Tile
When it comes to installing 12X24 floor tiles, selecting the correct notch trowel size is crucial for a successful installation. To determine the appropriate size, consider the following factors:
- Tile Thickness: Measure the thickness of your 12X24 floor tiles. Thicker tiles typically require larger notches to ensure proper adhesive coverage and support. It’s important to choose a notch trowel size that matches the thickness of your tiles.
- Tile Backing Material: Consider the type of material used for the backing of your tiles, such as ceramic, porcelain, or natural stone. Different materials may have different requirements for notch trowel size due to variations in their density and surface characteristics.
- Mortar/Adhesive Consistency: The consistency of the mortar or adhesive you are using is an important consideration. Thicker mortars may require larger notches to achieve proper coverage, while thinner adhesives may require smaller notches. Follow the manufacturer’s instructions and guidelines for the recommended consistency of the mortar or adhesive.
- Substrate Condition: Assess the condition of the substrate or floor surface where the tiles will be installed. Uneven or rough surfaces may require larger notches to accommodate for the irregularities and achieve proper contact between the tiles and the substrate.
- Manufacturer Recommendations: Consult the manufacturer’s recommendations for the specific tile and adhesive being used. They may provide specific guidelines for notch trowel size based on the size and characteristics of the tiles.
It’s important to note that there can be variations in notch trowel size recommendations depending on the specific tile manufacturer and adhesive manufacturer. Therefore, it’s always a good idea to cross-reference the recommendations to ensure the best results.
As a starting point, a commonly used notch trowel size for 12X24 floor tile is a 1/2-inch square notch trowel. However, it’s important to consider the factors mentioned above to determine the best size for your specific tile installation project.
Ultimately, using the correct notch trowel size will ensure proper adhesive coverage, minimize lippage, and provide a secure and long-lasting installation for your 12X24 floor tiles.
Read more: What Size Fan For 12X12 Room
Commonly Used Notch Trowel Sizes for 12X24 Floor Tile
Choosing the right notch trowel size is essential for installing 12X24 floor tiles effectively. While the specific size may vary depending on factors such as tile thickness and adhesive consistency, there are commonly used notch trowel sizes that provide reliable results for this tile size. Here are some popular options:
- 1/2-Inch Square Notch: A 1/2-inch square notch trowel is a frequently used size for 12X24 floor tiles. It is suitable for tiles with regular thickness and works well with most standard tile adhesives or thin-set mortars. The square notches provide a good balance between adhesive coverage and avoiding excessive adhesive squeeze-out.
- 1/2-Inch U-Notch: Another option is a 1/2-inch U-notch trowel. This trowel has U-shaped notches instead of square notches. The U-notch design helps to reduce adhesive squeeze-out and is ideal for tiles with slightly irregular backs or for areas with an uneven substrate. It provides good coverage and support for 12X24 floor tiles.
- 3/8-Inch Square Notch: For thinner 12X24 floor tiles, a 3/8-inch square notch trowel may be suitable. This smaller size allows for less adhesive or mortar coverage, which is beneficial for tiles with thinner profiles. It helps to prevent excess adhesive squeeze-out and provides adequate support for the tiles.
- 1/4-Inch Square Notch: In some cases, a 1/4-inch square notch trowel may be used for very thin 12X24 floor tiles. This smaller notch size ensures minimal adhesive coverage and is typically used with specific adhesives that require a thinner layer. It is important to note that using this size may require additional back buttering of the tiles to ensure proper adhesion.
When deciding on the notch trowel size, it’s crucial to consider factors like the thickness of the tiles, the type of adhesive or mortar being used, and the condition of the substrate. It’s always recommended to refer to the manufacturer’s guidelines and specific tile requirements for the most accurate recommendations.
Remember, the goal is to achieve proper adhesive coverage, prevent lippage, and ensure a secure bond between the 12X24 floor tiles and the substrate. Choosing an appropriate notch trowel size is a crucial step in achieving a successful tile installation.
How to Properly Use a Notch Trowel for 12X24 Floor Tile Installation
Properly using a notch trowel is essential for achieving a successful and professional-looking installation of 12X24 floor tiles. Here are the steps to follow to ensure the correct usage:
- Prepare the Substrate: Ensure the substrate or floor surface is clean, level, and free of any debris, dust, or grease. Repair any cracks or uneven areas before starting the installation.
- Choose the Right Notch Trowel: Select the appropriate notch trowel size based on factors such as tile thickness, adhesive consistency, and manufacturer recommendations. This ensures proper adhesive coverage and support for the 12X24 floor tiles.
- Apply the Adhesive: Using the flat edge of the notch trowel, spread a layer of adhesive or mortar onto the substrate. Hold the trowel at a consistent angle (typically 45 degrees) to create even ridges or notches in the adhesive.
- Work in Small Sections: Begin with a small section of the floor at a time to ensure the adhesive does not dry out before you lay the tiles. This allows you to maintain proper adhesion and work at a manageable pace.
- Hold the Trowel at a Consistent Angle: As you apply the adhesive, maintain a consistent angle with the notch trowel to create uniform ridges. This ensures consistent adhesive coverage and helps prevent lippage between the tiles.
- Press the Tiles into the Adhesive: Press the 12X24 floor tiles firmly into the adhesive, aligning them properly with the previously installed tiles or layout lines. Apply slight twisting or sliding motions to help the tiles settle into place and achieve a solid bond.
- Check for Proper Adhesive Coverage: After placing each tile, lift it slightly to check the adhesive coverage on the back. Ideally, you should see substantial coverage across the entire back of the tile. Adjust the amount of adhesive or the angle of the trowel if necessary.
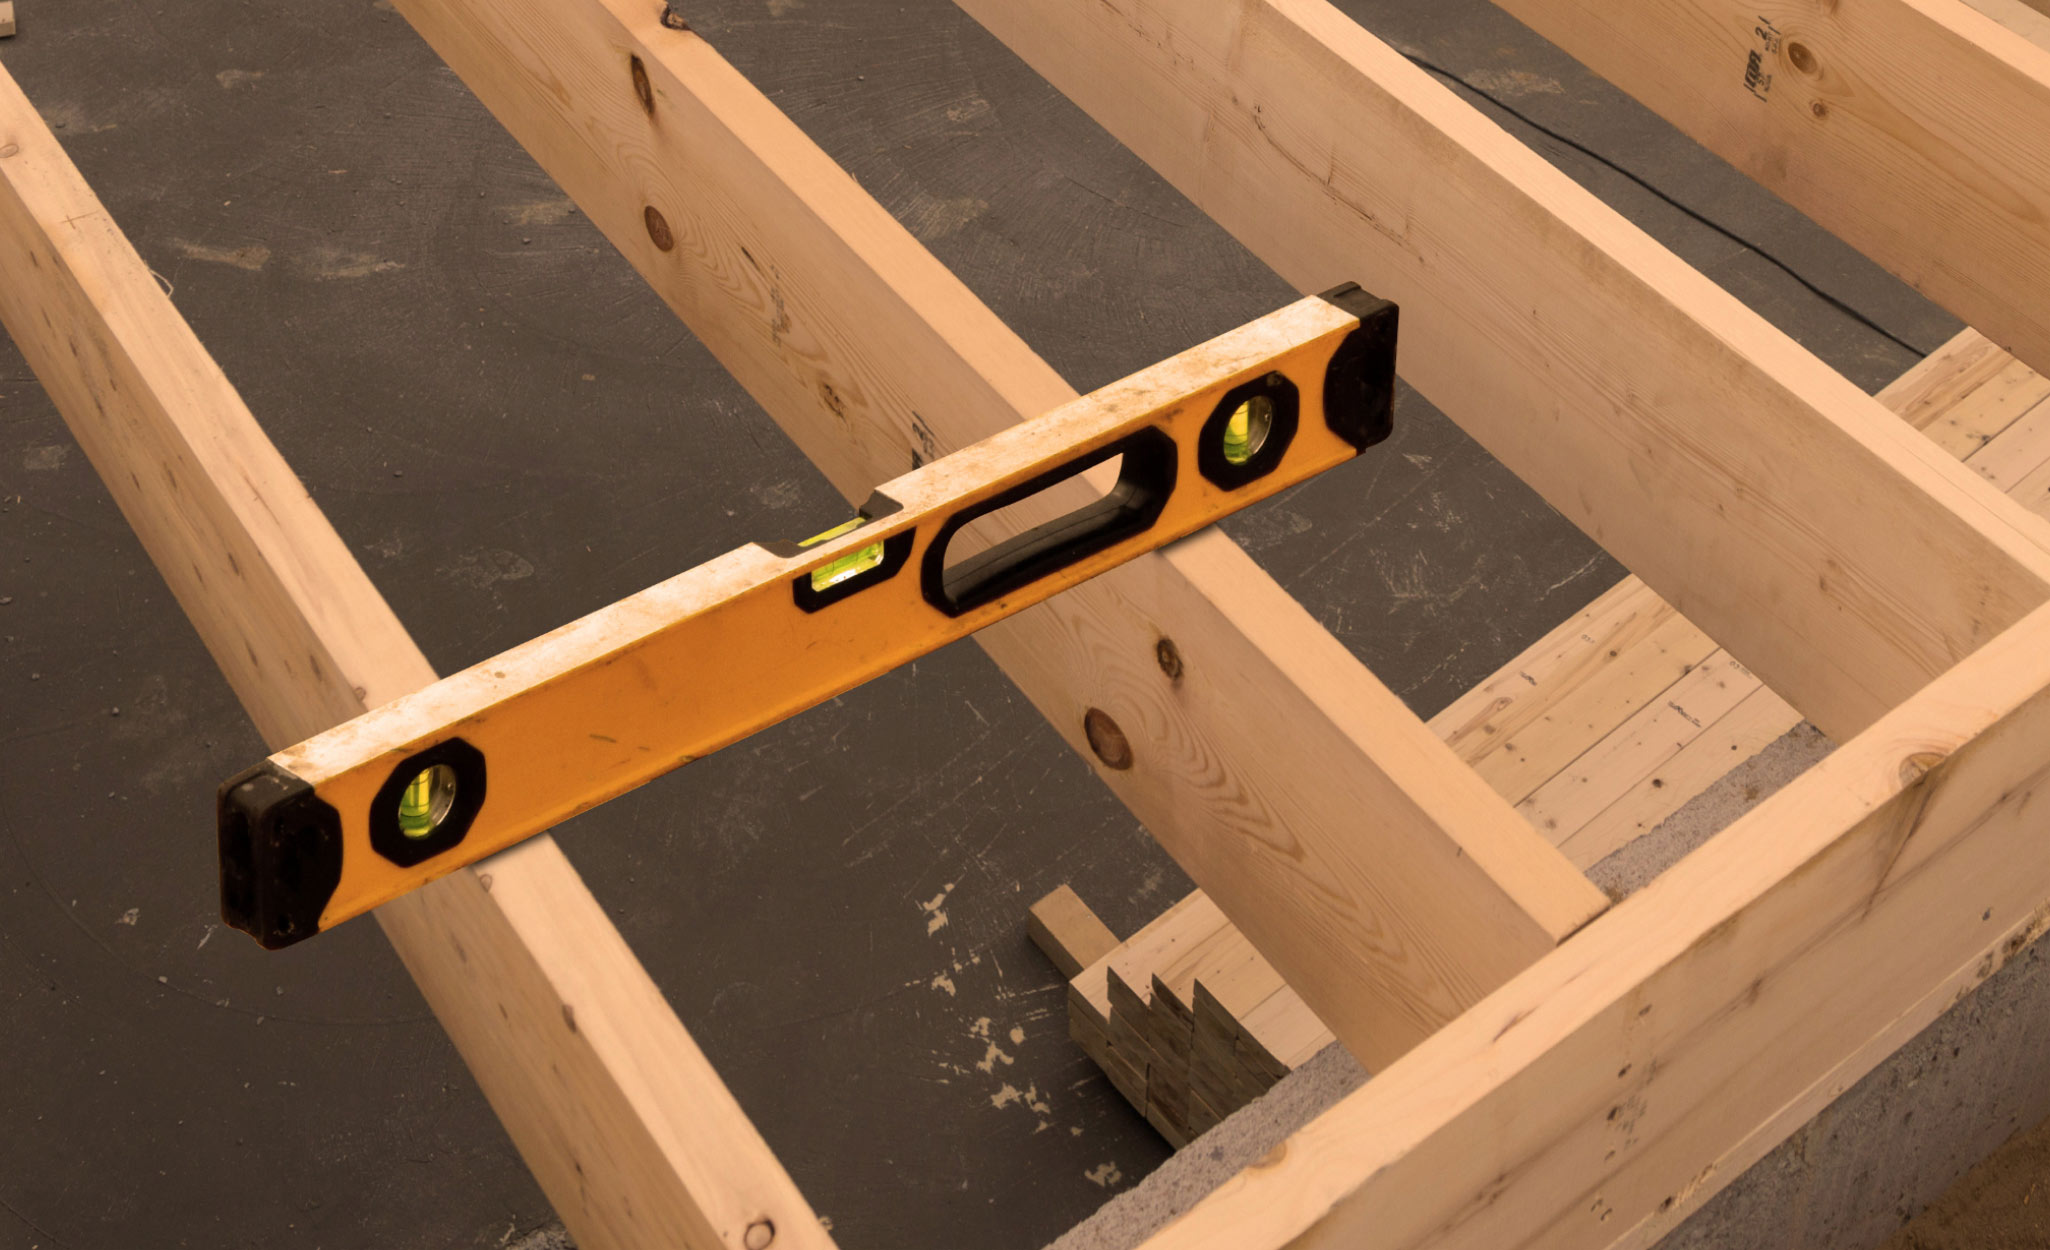
- Level the Tiles: Use a level or straightedge to ensure that the tiles are level and there are no visible lippage between adjacent tiles. Adjust the placement or add/subtract adhesive as needed to achieve a flat and even surface.
- Clean Excess Adhesive: Remove any excess adhesive or mortar that may have squeezed out from between the tiles. This can be done with a damp sponge or a trowel, ensuring not to disturb the newly laid tiles.
- Allow Sufficient Drying Time: Follow the adhesive manufacturer’s instructions for the recommended drying or curing time. Avoid walking on or applying any pressure to the tiles before the adhesive has fully set.
By following these steps, you can ensure proper usage of a notch trowel for 12X24 floor tile installation. Remember to work carefully and methodically, paying attention to adhesive coverage and tile alignment. Taking the time to properly use a notch trowel will result in a beautiful and durable tile installation.
Conclusion
Selecting the right size notch trowel is a vital step in achieving a successful and visually appealing installation of 12X24 floor tiles. The notch trowel plays a critical role in ensuring proper adhesive coverage, preventing lippage, and creating a secure bond between the tiles and the substrate.
Understanding the purpose and function of notch trowels, as well as considering factors such as tile size, type, substrate condition, and manufacturer recommendations, are crucial in determining the correct notch trowel size for your specific project.
Commonly used notch trowel sizes for 12X24 floor tiles include 1/2-inch square notch and U-notch trowels, as well as 3/8-inch square notch trowels for thinner tiles. These sizes provide the right balance of adhesive coverage, support, and efficiency.
Proper usage of a notch trowel involves preparing the substrate, selecting the appropriate size, applying the adhesive in small sections, holding the trowel at a consistent angle, pressing the tiles firmly into the adhesive, checking for proper adhesive coverage, leveling the tiles, cleaning excess adhesive, and allowing sufficient drying time.
By following these guidelines and considering all relevant factors, you can ensure a successful 12X24 floor tile installation that is not only visually appealing but also long-lasting and durable.
Remember, a well-installed tile floor not only enhances the aesthetic appeal of the space but also adds value to your home or commercial property. Taking the time to choose the right notch trowel size and properly install the tiles will ensure a beautiful and functional flooring that you can enjoy for years to come.
Frequently Asked Questions about What Is The Ideal Notch Trowel Size For 12X24 Floor Tiles
Was this page helpful?
At Storables.com, we guarantee accurate and reliable information. Our content, validated by Expert Board Contributors, is crafted following stringent Editorial Policies. We're committed to providing you with well-researched, expert-backed insights for all your informational needs.


0 thoughts on “What Is The Ideal Notch Trowel Size For 12X24 Floor Tiles”