Home>Articles>What Is The Recommended Spacer Size For 12×24 Floor Tiles
Articles
What Is The Recommended Spacer Size For 12×24 Floor Tiles
Modified: December 7, 2023
Looking for articles on what size spacers to use for 12x24 floor tile? Find all the information you need to ensure a successful tile installation.
(Many of the links in this article redirect to a specific reviewed product. Your purchase of these products through affiliate links helps to generate commission for Storables.com, at no extra cost. Learn more)
Introduction
When it comes to installing floor tiles, proper spacing is crucial to ensure a professional-looking and long-lasting result. This is where tile spacers come into play. Tile spacers are small tools placed between tiles during installation to create consistent and uniform gaps. These gaps allow for the application of grout, which not only provides a finished look but also helps to protect the tiles from movement and potential damage.
Choosing the right size of spacers is essential to achieve the desired aesthetic and functionality. In this article, we will specifically focus on the recommended size of spacers for 12×24 floor tiles. We will delve into the factors to consider when selecting spacers, the importance of proper spacing, and provide handy tips for installing 12×24 floor tiles with spacers.
Before diving into the specifics, it’s important to note the benefits of using spacers in tile installation. Spacers help to ensure even spacing between tiles, which enhances the overall appearance of the floor. They also aid in achieving proper alignment, preventing tiles from unevenly sitting or shifting over time. Additionally, spacers facilitate the application of grout, allowing for better adhesion and preventing moisture from seeping through the gaps.
Now that we understand the importance of spacers, let’s explore the factors to consider when choosing the right ones for 12×24 floor tiles.
Key Takeaways:
- Proper spacing of 12×24 floor tiles with the right size spacers is crucial for achieving a visually appealing and durable installation, enhancing the overall aesthetics and longevity of the tiled floor.
- Careful consideration of tile size, material, grout color, layout, and personal preference is essential when selecting the appropriate spacer size for 12×24 floor tiles, ensuring a balanced and visually pleasing result.
Understanding Floor Tile Spacers
Before delving into the specifics of selecting the right spacers for 12×24 floor tiles, it’s important to have a clear understanding of what floor tile spacers are and how they work.
Tile spacers are small, usually cross-shaped, plastic tools that are positioned between tiles during installation. Their primary function is to create consistent and uniform gaps between tiles, ensuring a professional and visually pleasing result.
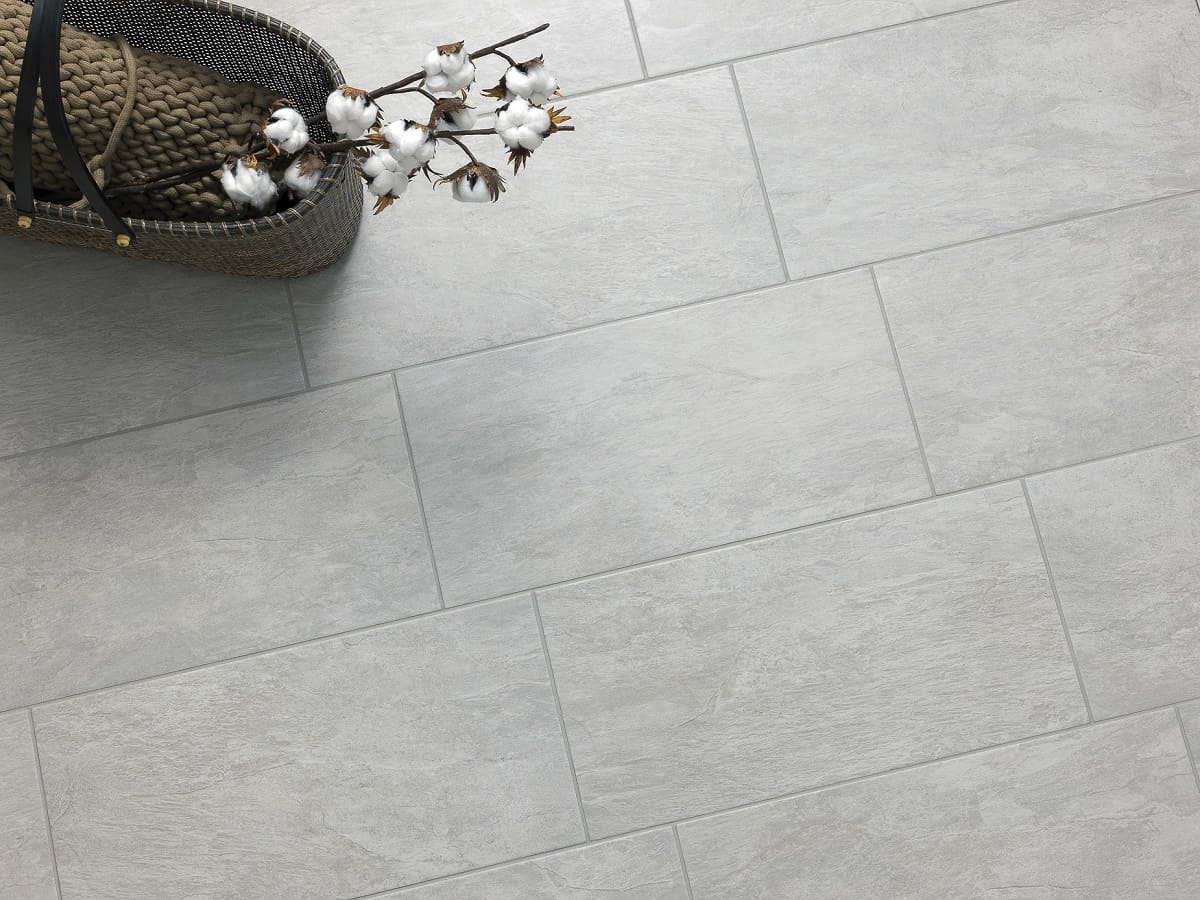
The size of the spacer determines the width of the grout line between the tiles. The grout line not only provides an aesthetic appeal but also serves a practical purpose by preventing the tiles from rubbing against each other and potentially cracking due to movement or shifting of the subfloor.
Spacers are available in different sizes and can vary between manufacturers. The most common sizes range from 1/16 inch to 1/2 inch. It’s important to note that the size of the spacer you choose will ultimately depend on the specific tile size and the desired look you want to achieve.
For 12×24 floor tiles, the most suitable spacer size will depend on several factors, including the style and pattern of the tile, the overall design aesthetic, and personal preferences. Let’s now take a look at some of the key factors to consider when selecting the right spacers for your 12×24 floor tile installation.
- Tile Size: The size of the tile is an essential factor to consider. In the case of 12×24 floor tiles, the ideal spacer size should be proportionate to the dimensions of the tile. It’s important to select spacers that create enough space for grouting while maintaining a balanced and visually appealing look.
- Tile Material: Different tile materials may require different spacer sizes. For example, natural stone tiles tend to have irregular edges, requiring larger spacers to compensate for the variation in size and shape. On the other hand, porcelain or ceramic tiles usually have more consistent edges, allowing for smaller spacers.
- Grout Color: The color of the grout can significantly impact the overall look of the tiled floor. Light-colored grout tends to accentuate the individual tiles, creating a more seamless and contemporary appearance. In this case, smaller spacers may be preferred to achieve a tightly spaced look. Conversely, if you opt for a darker grout color, larger spacers can provide a more defined and contrasted grout line.
- Cutting and Layout: If you plan to cut the 12×24 tiles into smaller pieces or use them in a particular pattern, consider how the spacers will fit into the layout. Depending on the design, you may need to adjust the spacer size accordingly to maintain consistency and alignment throughout the installation.
By carefully considering these factors, you can choose the right size spacers for your 12×24 floor tiles that will enhance the overall look and functionality of your tiled floor. In the next section, we will discuss the importance of proper spacing in tile installation.
Factors to Consider When Choosing Spacers for 12×24 Tiles
Choosing the right spacers for 12×24 tiles is crucial to achieve a professional and visually appealing installation. Here are some key factors to consider when selecting spacers for your 12×24 floor tiles:
- Tile Size: The size of your tiles plays a significant role in determining the appropriate spacer size. In the case of 12×24 tiles, it’s important to choose spacers that create a gap wide enough to accommodate grout while maintaining a balanced and aesthetically pleasing look. Too small of a spacer can result in tight grout lines, making the floor appear crowded, while too large of a spacer can create overly wide grout lines, which may not be visually appealing.
- Tile Material: Different tile materials require different spacer sizes. Natural stone tiles, for example, often have irregular edges and may need larger spacers to accommodate for their variations in size and shape. Conversely, porcelain or ceramic tiles with more consistent edges can typically be installed using smaller spacers.
- Grout Color: The color of your grout can significantly affect the overall look of your tiled floor. Light-colored grout tends to make individual tiles stand out, creating a more contemporary and seamless appearance. In such cases, smaller spacers are often preferred to achieve a tightly spaced look. Conversely, if you opt for a darker grout color, larger spacers can provide a more defined and contrasted grout line.
- Tile Layout: The layout and pattern for your 12×24 tiles will influence the spacer size you choose. If you plan to cut the tiles into smaller pieces or create intricate patterns, it’s important to consider how the spacers will fit within the layout. You may need to adapt the spacer size to ensure consistent spacing and alignment throughout the installation.
- Personal Preference: Ultimately, your personal preference and desired aesthetic should play a role in spacer selection. Some individuals prefer thin grout lines for a sleek, modern look, while others may prefer wider grout lines for a more traditional appearance. Consider your own style and vision for your tiled floor to help guide your spacer size choice.
These factors should be taken into account when choosing the right spacers for your 12×24 tiles. It’s important to strike a balance between aesthetics and functionality to achieve the desired outcome. In the next section, we will explore the importance of maintaining proper spacing during tile installation.
The Importance of Proper Spacing
Proper spacing is a critical aspect of tile installation that should not be underestimated. Whether you’re working with 12×24 floor tiles or any other size, maintaining correct spacing offers several important benefits:
- Aesthetics: Properly spaced tiles create an aesthetically pleasing and visually appealing result. Consistent and uniform gaps between tiles allow for a clean and professional look, enhancing the overall appearance of the finished floor. On the other hand, uneven spacing can make the installation appear sloppy and unprofessional.
- Alignment: Spacing tiles correctly helps ensure proper alignment across the floor. By using spacers, you can ensure that the tiles are evenly positioned, avoiding any noticeable discrepancies. This is particularly important when working with larger-format tiles like 12×24 tiles, as any alignment issues can be magnified due to their size.
- Grout Application: The primary purpose of spacing tiles is to allow for the application of grout. Grout not only fills in the gaps between tiles but also adds stability and helps to distribute weight evenly across the floor. Without proper spacing, there would be insufficient room for grout, hindering its ability to hold the tiles in place and potentially causing them to shift or crack over time.
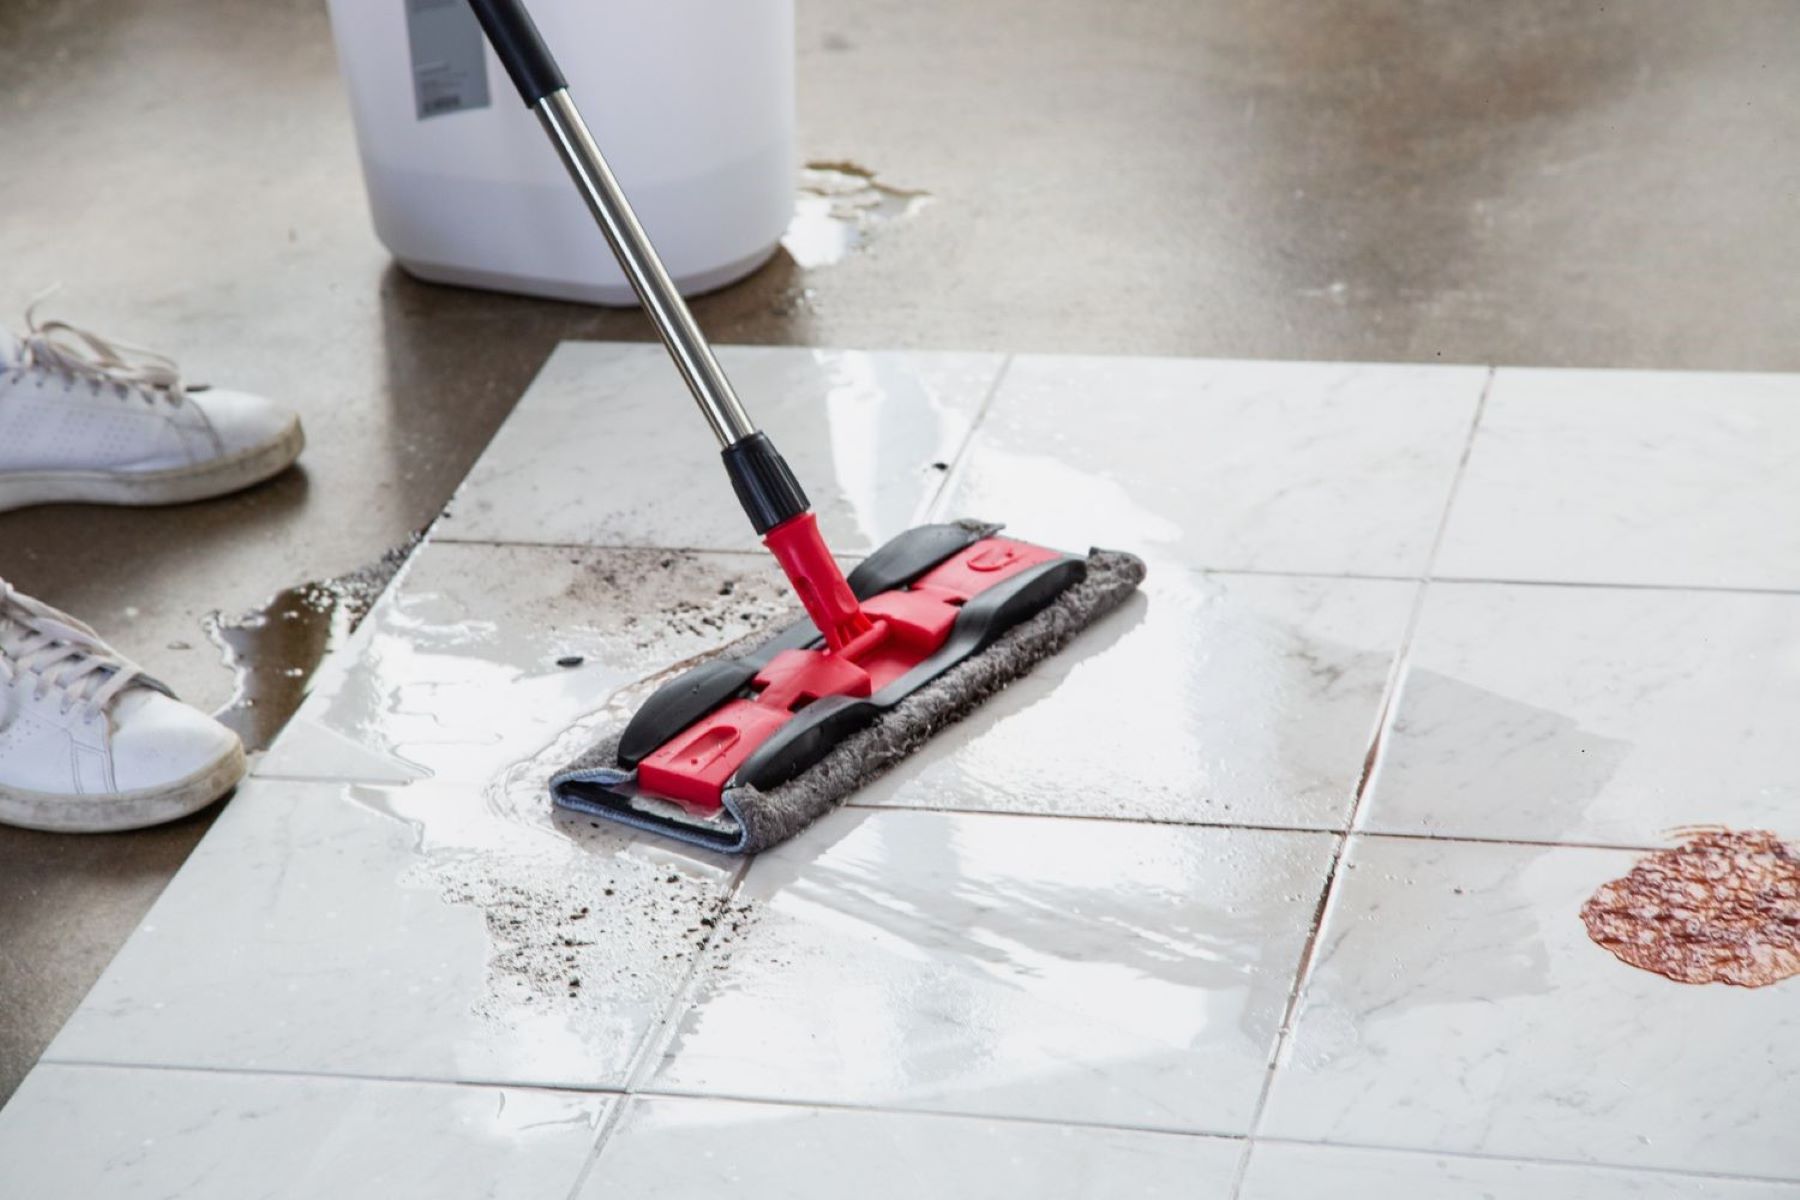
- Maintenance: Proper spacing and grout lines make maintenance much easier. It allows for easier cleaning of the grout and reduces the likelihood of debris buildup, which can be challenging to remove from tight spaces. Well-spaced tiles also provide a neater surface for sealing, preventing moisture from seeping into the subfloor and causing issues in the long run.
- Tile Durability: Correct spacing helps to protect the tiles themselves. By allowing for expansion and contraction, the right amount of spacing reduces the likelihood of tiles cracking or breaking due to fluctuations in temperature and moisture levels. Additionally, proper spacing facilitates even weight distribution, minimizing the risk of tiles becoming loose or dislodged under heavy foot traffic or other external forces.
Overall, proper spacing is crucial for achieving a visually appealing and durable tile installation. It not only enhances the overall aesthetics of the floor but also provides stability, alignment, and longevity. Consequently, taking the time to properly space your 12×24 tiles using the appropriate spacers is essential for a successful and long-lasting project. In the next section, we will discuss the recommended size of spacers specifically for 12×24 floor tiles.
When choosing spacers for 12×24 floor tiles, it’s recommended to use 1/8 inch spacers for a standard installation. However, if you prefer a narrower or wider grout line, adjust the spacer size accordingly.
Recommended Size Spacers for 12×24 Floor Tiles
Choosing the right size spacers for your 12×24 floor tiles is crucial to achieve an optimal balance between aesthetics and functionality. While individual preferences and project-specific factors may influence your final decision, here are some general guidelines to consider when selecting spacers for 12×24 tiles:
- 1/8 inch: The 1/8 inch spacer size is a popular choice for 12×24 floor tiles. This size provides a balanced and visually pleasing grout line that is not too thin or too wide. It allows for sufficient spacing to apply grout evenly, ensuring stability and durability in the long run. The 1/8 inch spacer is often recommended for achieving a modern and streamlined look.
- 3/16 inch: The 3/16 inch spacer size is slightly larger than the 1/8 inch option and creates a wider grout line. This size is preferred by those who want to highlight the individual tiles and create a more pronounced pattern. The 3/16 inch spacer can add a touch of elegance and visual appeal to your 12×24 floor tile installation.
- 1/4 inch: The 1/4 inch spacer size is the largest among the commonly used options for 12×24 floor tiles. This size results in a wider grout line, offering a more traditional and classic appearance. The 1/4 inch spacer size is often favored for creating a distinct separation between tiles and adding a decorative element to the overall design.
It’s important to note that these spacer sizes are recommendations and may vary based on individual preferences and specific project requirements. Additionally, ensure that the spacers you choose are suitable for the thickness of your tiles, as some spacers are designed for thinner tiles and may not be compatible with 12×24 tiles. Always refer to the manufacturer’s instructions and guidelines when selecting spacers for your specific tile type.
Remember, the ultimate goal is to achieve a visually appealing and functional tile installation. Take into account the size, material, layout, and personal preference to determine the spacer size that best suits your needs. Don’t be afraid to experiment with different spacer sizes or seek professional advice to help you make an informed decision.
Now that we have explored the recommended spacer sizes for 12×24 floor tiles, let’s discuss how you can adjust the spacing for your desired tile layout in the next section.
Read more: What Are Floor Tiles Made Of
Adjusting Spacing for Desired Tile Layout
When installing 12×24 floor tiles, you may have a specific tile layout or pattern in mind. Adjusting the spacing between tiles allows you to achieve your desired design. Here are a few tips on how to adjust spacing for your desired tile layout:
- Dry Layout: Before beginning the installation, it’s always a good idea to do a dry layout of your tiles. Lay them out on the floor without adhesive to get a visual representation of how the final design will look. This step allows you to assess the spacing and make any necessary adjustments before permanently adhering the tiles.
- Modify Spacers: If you have a specific pattern or desired spacing between tiles, you can modify the spacer size accordingly. For instance, if you want a tighter spacing, you can opt for a smaller spacer than the recommended size. Conversely, if you want a wider gap, you can choose a larger spacer. Just remember to maintain consistency throughout the installation to ensure a cohesive look.
- Offset Pattern: One common layout for 12×24 tiles is the offset pattern. In this layout, the center of one tile is aligned with the edge of the adjacent tile in a staggered fashion. Adjusting the spacing for this pattern involves positioning the tiles so that the grout lines are aligned diagonally rather than horizontally or vertically. This can create a unique and visually appealing design while maintaining proper spacing between tiles.
- Herringbone Pattern: Another popular layout for 12×24 tiles is the herringbone pattern. This pattern creates a zigzag effect by diagonally positioning the tiles. When adjusting the spacing for the herringbone pattern, pay attention to the angles and gaps between the tiles to maintain a consistent look. Adjusting the spacer size can help achieve the desired spacing for this intricate pattern.
- Mosaic Patterns: If you plan to create mosaic patterns or incorporate smaller tiles with your 12×24 tiles, the spacing will need to be adjusted accordingly. In this case, it’s important to consider the overall design and spacing between different tile sizes to achieve an aesthetically pleasing and harmonious finish.
Remember to take your time and carefully plan the spacing adjustments before starting the installation. It’s essential to maintain consistency and alignment throughout the floor to achieve a professional and visually pleasing result. If you’re unsure about how to adjust the spacing for your desired tile layout, consulting a professional or a tile specialist can provide valuable guidance and ensure a successful outcome.
Now that we’ve covered adjusting spacing for your desired tile layout, let’s move on to some helpful tips for installing 12×24 floor tiles with spacers in the next section.
Tips for Installing 12×24 Floor Tiles with Spacers
Installing 12×24 floor tiles with spacers requires attention to detail and careful execution to achieve a professional-looking and long-lasting result. Here are some tips to help you during the installation process:
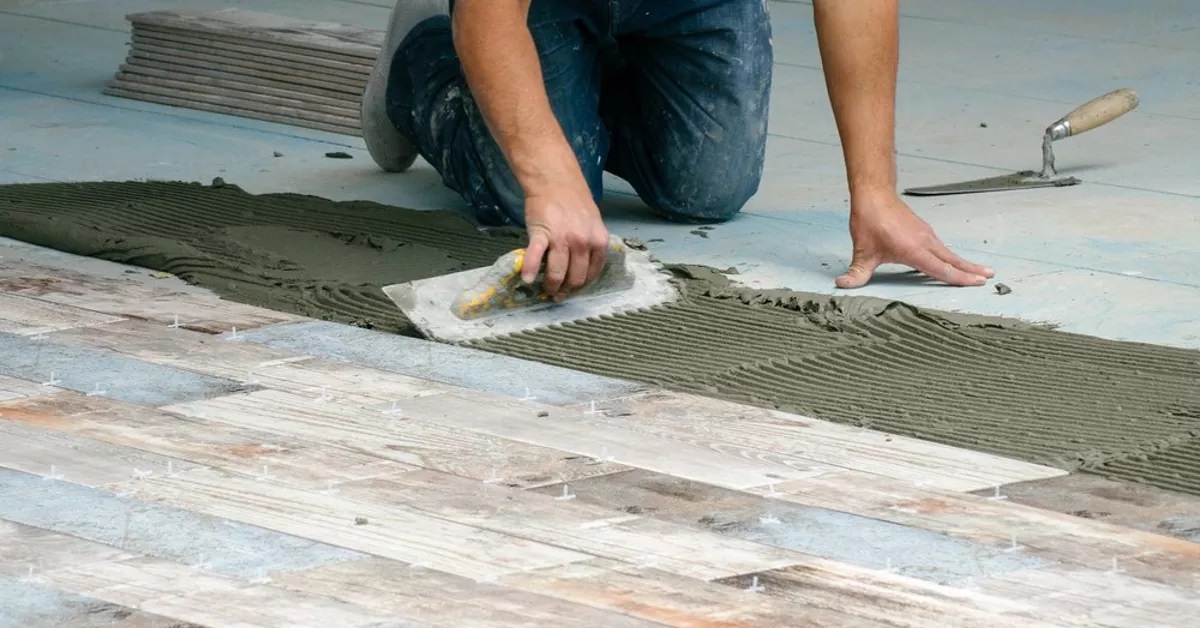
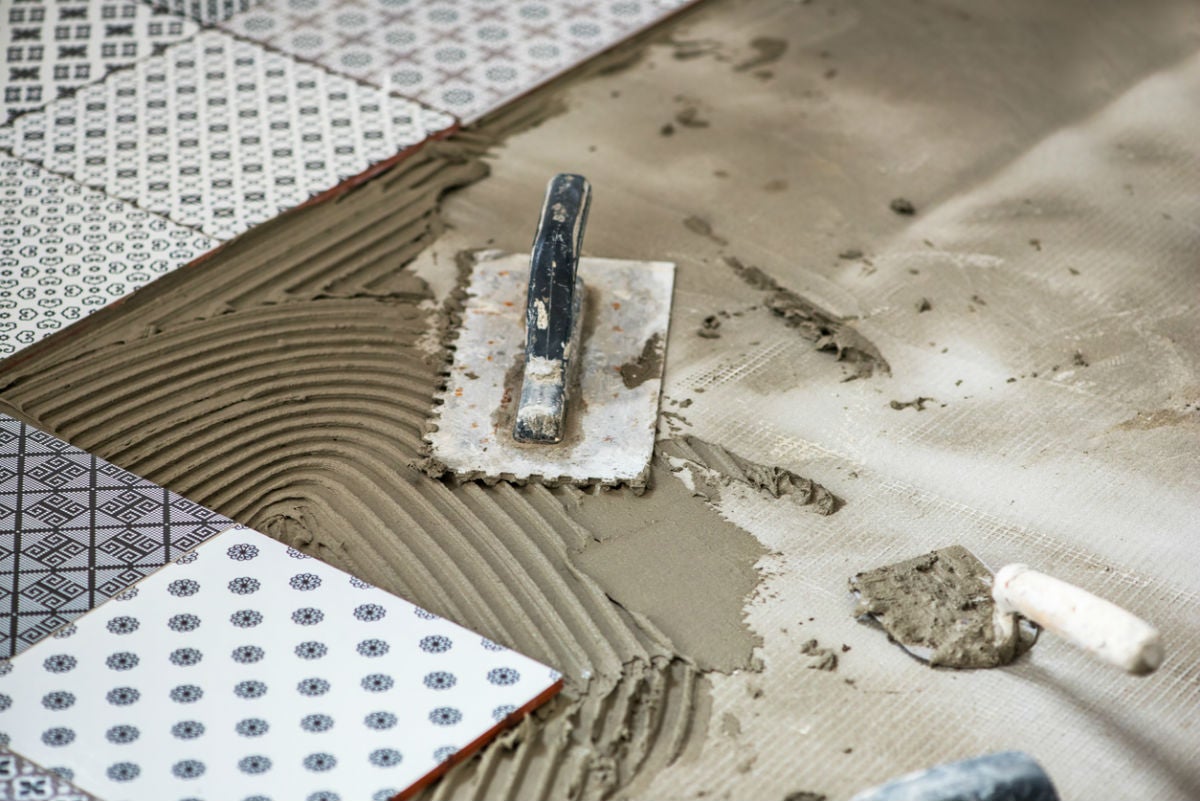
- Prepare the Surface: Before installing the tiles, make sure the surface is clean, level, and free of any debris or dirt. A smooth and properly prepared surface ensures that the tiles adhere well and that the spacing remains consistent throughout the installation.
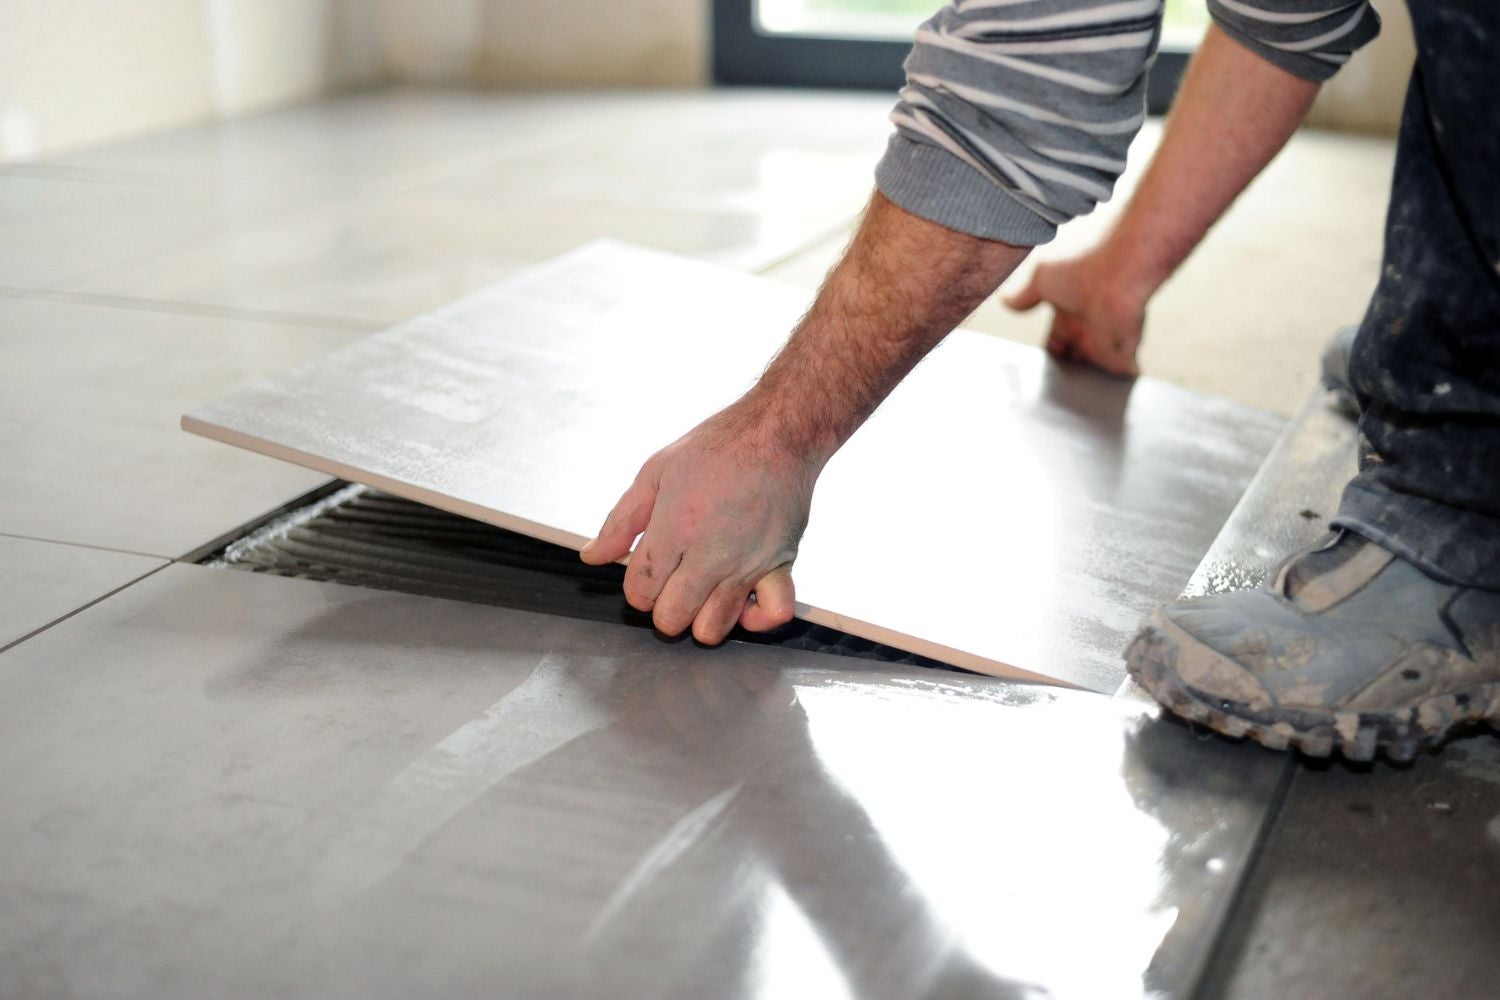
- Use the Right Adhesive: Select a high-quality adhesive that is suitable for your specific tile type and the subfloor material. Follow the manufacturer’s instructions for proper mixing and application. Using the right adhesive ensures that the tiles bond securely and minimizes the risk of movement or dislodging in the future.
- Start with a Dry Layout: As mentioned earlier, lay out the tiles without adhesive first to get a visual representation of the final design. This allows you to make any necessary adjustments to the spacing and ensures a symmetrical layout before committing with adhesive.
- Place Spacers Correctly: When placing the spacers between tiles, make sure they are positioned evenly and consistently. The spacers should be placed at each corner of the tiles, creating equal gaps on all sides. This ensures that the spacing remains consistent and the grout lines appear uniform.
- Check for Level and Alignment: Regularly check that the tiles are level and aligne d properly as you install them. Use a level to ensure that the tiles are flat and the grout lines are straight. Adjust and make any necessary corrections before the adhesive dries.
- Remove Excess Adhesive: Wipe off any excess adhesive that might squeeze up through the grout lines using a damp sponge or cloth. This will help ensure that the grout lines are clean and unobstructed, allowing for proper grout application.
- Grout with Care: Once the tiles are securely in place and the adhesive has dried, it’s time to apply the grout. Follow the manufacturer’s instructions for mixing and applying the grout. Use a rubber grout float to spread the grout evenly over the tiles, ensuring that the grout lines are completely filled. Remove any excess grout before it dries using a grout sponge or cloth.
- Allow Sufficient Drying Time: Give the grout ample time to dry and cure according to the manufacturer’s instructions. Avoid walking on the tiled floor or putting any heavy objects on it until the grout has fully set to prevent any damage or shifting of the tiles.
- Seal the Grout: Once the grout has dried, it’s recommended to seal it to protect against stains and moisture penetration. Choose a grout sealer that is compatible with your grout type and follow the application instructions carefully. Regularly resealing the grout can help maintain its appearance and longevity.
Following these tips will help ensure a successful installation and a beautiful end result. If you’re unsure about any step of the process, don’t hesitate to seek guidance from a professional or consult with a tile specialist for further assistance.
As a final note, remember that patience and attention to detail are key when working with 12×24 floor tiles and spacers. Take your time, double-check your measurements and spacing, and enjoy the process of transforming your space into a stunning tiled floor.
Now that you’re equipped with these tips, go ahead and confidently install your 12×24 floor tiles with spacers for a visually appealing and long-lasting result!
Conclusion
Properly spaced floor tiles not only enhance the overall aesthetics of a space but also provide stability, durability, and ease of maintenance. When working with 12×24 floor tiles, choosing the right size spacers is crucial to achieve a balanced and visually pleasing result. By considering factors such as tile size, material, grout color, tile layout, and personal preference, you can select the appropriate spacer size for your specific project.
Proper spacing ensures even alignment, allows for the application of grout, and promotes the long-term durability of the tiles. Whether you opt for a thin and modern look with 1/8 inch spacers or a wider and more traditional appearance with 1/4 inch spacers, maintaining accurate spacing is key to a successful tile installation.
Adjusting spacing for your desired tile layout, such as the offset or herringbone pattern, requires careful planning and attention to detail. Performing a dry layout beforehand and making modifications to the spacer size as needed will help you achieve your desired design.
During the installation process, it is essential to prepare the surface properly, use the appropriate adhesive, and ensure level and aligned tiles. Placing the spacers correctly, removing excess adhesive, and grouting with care are also crucial steps. Lastly, allowing sufficient drying time and sealing the grout will contribute to the longevity and maintenance of your tiled floor.
By following these tips and recommendations, you can confidently install 12×24 floor tiles with spacers, creating a beautiful, functional, and long-lasting floor for your space.
Remember, if you’re unsure about any step of the process, seeking guidance from a professional or consulting with a tile specialist is always a good idea. With proper planning, attention to detail, and a bit of patience, you’ll achieve a stunning tiled floor that adds value and beauty to any room.
Now it’s time to put your knowledge into action and enjoy the process of transforming your space with 12×24 floor tiles and spacers. Happy tiling!
Frequently Asked Questions about What Is The Recommended Spacer Size For 12x24 Floor Tiles
Was this page helpful?
At Storables.com, we guarantee accurate and reliable information. Our content, validated by Expert Board Contributors, is crafted following stringent Editorial Policies. We're committed to providing you with well-researched, expert-backed insights for all your informational needs.


0 thoughts on “What Is The Recommended Spacer Size For 12×24 Floor Tiles”