Articles
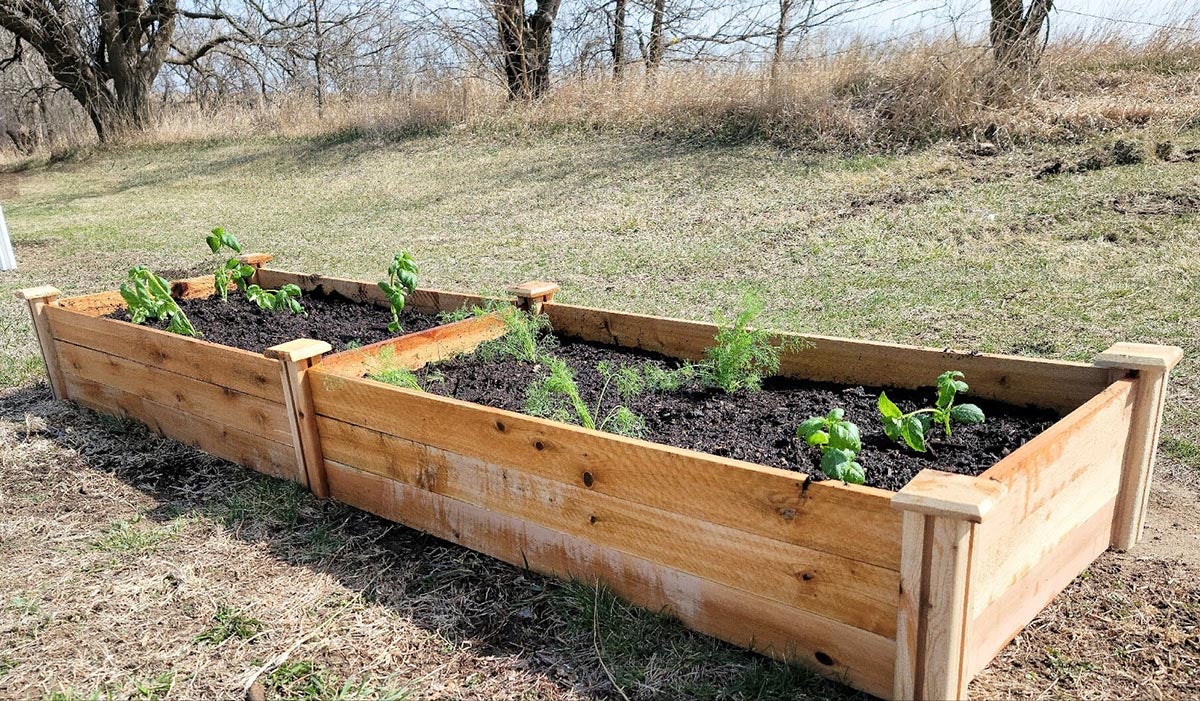
What To Put On Bottom Of Raised Garden Bed
Modified: March 24, 2024
Discover what to put at the bottom of your raised garden bed to improve drainage and prevent weeds. Essential gardening tips for a successful garden.
(Many of the links in this article redirect to a specific reviewed product. Your purchase of these products through affiliate links helps to generate commission for Storables.com, at no extra cost. Learn more)
Introduction
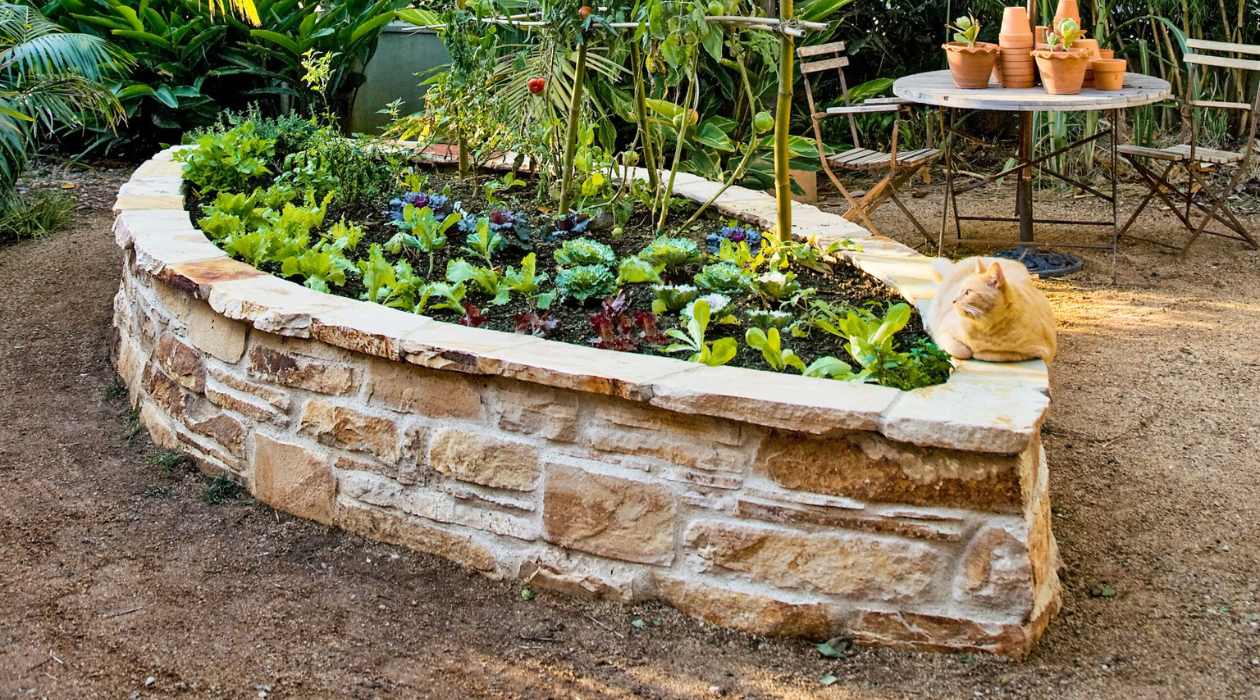
When it comes to creating a successful and thriving raised garden bed, the quality of the soil is crucial. However, many gardeners overlook an important aspect of ensuring healthy plant growth – what to put on the bottom of a raised garden bed. The bottom layer of your garden bed plays a significant role in drainage, weed suppression, and overall soil health.
In this article, we will explore the importance of what to put on the bottom of a raised garden bed, discuss factors to consider, and provide you with a list of suitable materials for the task. By understanding these principles and implementing the right practices, you can create an optimal environment for your plants to flourish.
So, let’s delve into the world of raised garden beds and discover why what you put on the bottom is equally as important as what goes on top!
Key Takeaways:
- Choose the right materials for the bottom of your raised garden bed to promote proper drainage, weed control, and soil health. Consider factors like sustainability and garden bed purpose for optimal plant growth.
- Layer the bottom of your raised garden bed systematically, incorporating materials like landscape fabric, gravel, and compost. Proper installation and maintenance create a healthy, weed-free foundation for thriving plants.
Importance of What to Put on the Bottom of a Raised Garden Bed
Choosing the right materials to place on the bottom of your raised garden bed is crucial for several reasons. Let’s explore the importance of this step in more detail:
1. Drainage: A proper drainage system is essential for the health of your plants. Without adequate drainage, excess water can accumulate in the bed, leading to root rot and other water-related issues. Placing the correct materials on the bottom ensures that water can freely drain away, preventing waterlogging and providing a healthy environment for your plants.
2. Weed Suppression: Weeds can quickly take over a garden bed, competing with your plants for essential nutrients and sunlight. By using suitable materials on the bottom, you can create a barrier to prevent weed growth from underneath. This saves you time and effort in weed management, allowing your plants to thrive without undue competition.
3. Soil Health: The bottom layer of your raised garden bed contributes to the overall health of the soil. By using the right materials, you can enhance soil fertility, structure, and nutrient retention. This allows your plants to access the necessary nutrients and promotes healthy root development.
4. Pest Prevention: Some pests, such as burrowing animals, can damage the roots of your plants if they gain access from underneath the bed. Using suitable materials on the bottom helps deter these pests and protects your garden from unwanted disturbances.
5. Longevity: Investing time and effort into choosing the right materials for the bottom of your raised garden bed can contribute to its overall longevity. By preventing issues such as water damage, weed infestation, and soil degradation, you ensure that your garden bed lasts longer and provides a sustainable growing environment for years to come.
By understanding the importance of what goes on the bottom of a raised garden bed, you can make informed decisions that will support the health and success of your plants. So, let’s explore the factors you need to consider when choosing the materials for your garden bed’s bottom layer.
Factors to Consider
When selecting the materials to put on the bottom of your raised garden bed, there are a few important factors to consider:
- Drainage: Ensure that the materials you choose allow for proper drainage. Look for options that won’t retain excess water, as this can lead to waterlogged soil and root rot.
- Weed Control: Consider materials that effectively inhibit weed growth. This will help minimize the need for constant weeding and prevent weeds from competing with your plants for resources.
- Pest Prevention: If you have issues with burrowing animals or pests, choose materials that act as a deterrent. This will protect the roots of your plants and maintain the integrity of your garden bed.
- Sustainability: Opt for environmentally friendly materials that align with your sustainability goals. Choose options that are biodegradable or can be reused, reducing waste and minimizing your ecological footprint.
- Availability and Cost: Consider the availability and cost of the materials. Some options may be more readily accessible and affordable than others, making them a practical choice for your garden bed.
- Garden Bed Purpose: Consider the specific plants you’ll be growing and the characteristics they require. Different plants may necessitate different materials to create the optimal growing environment.
By taking these factors into account, you’ll be able to choose the most suitable materials for your raised garden bed and create an environment that promotes healthy plant growth. Now let’s explore some of the common materials that gardeners use on the bottom of their raised garden beds.
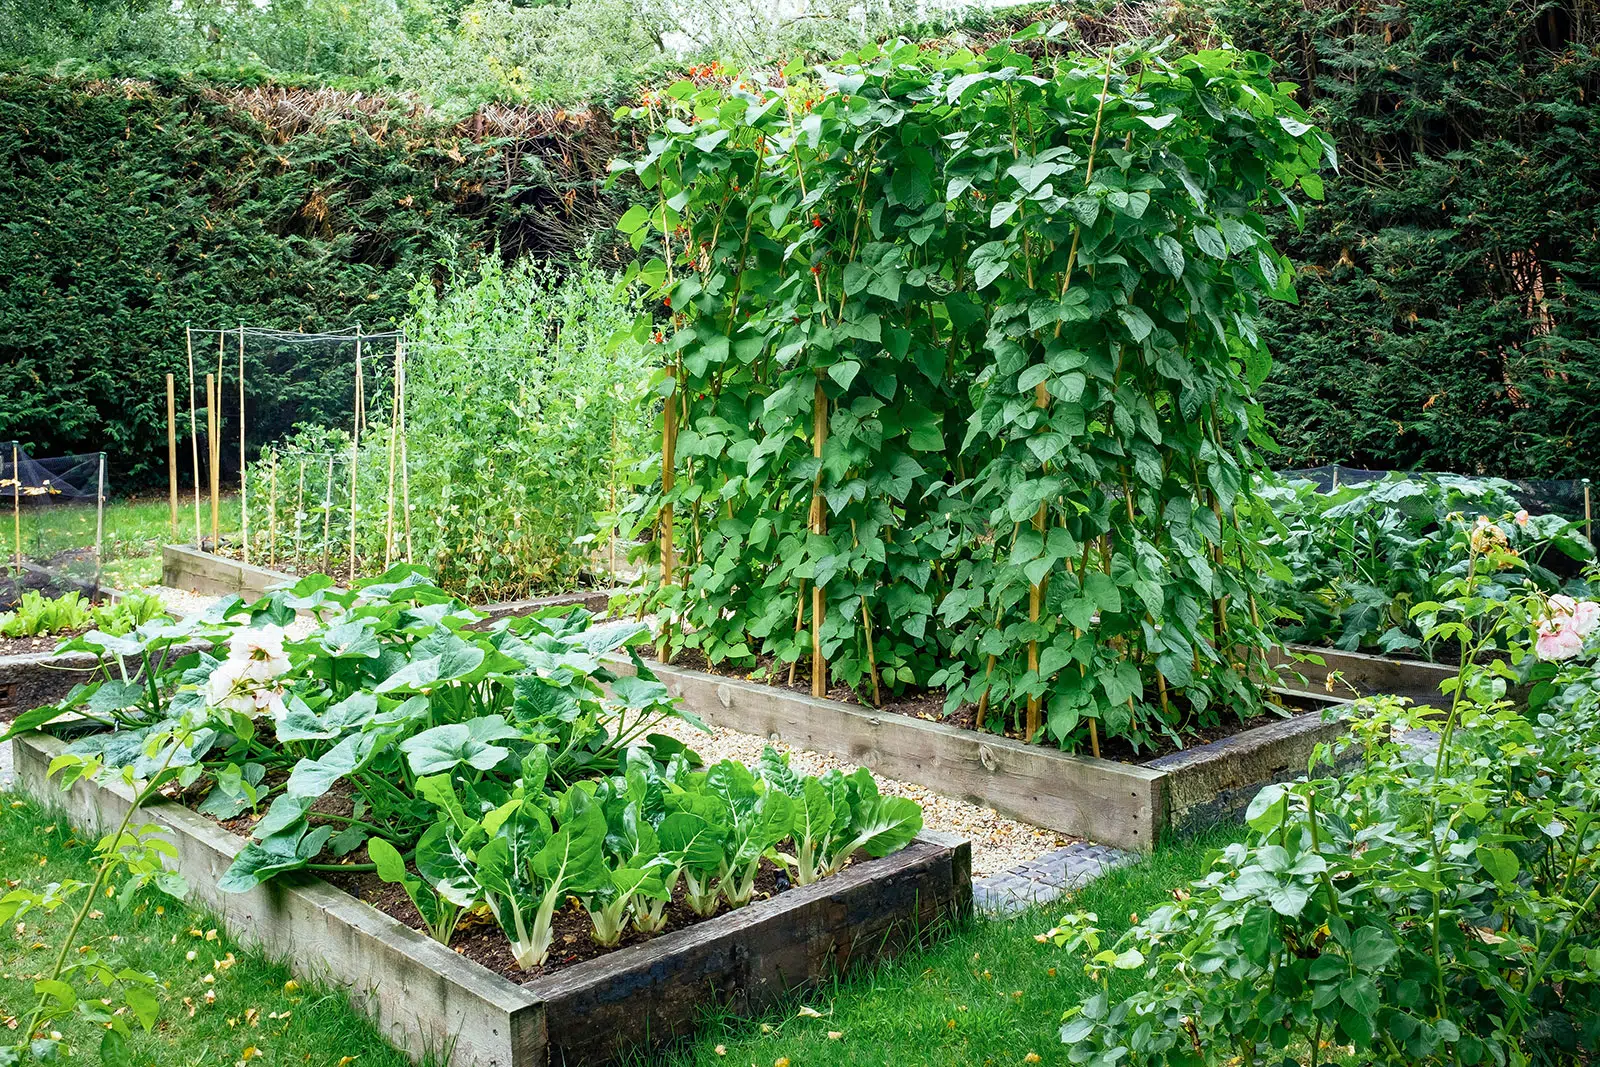
Suitable Materials for the Bottom of a Raised Garden Bed
There are several materials that are commonly used on the bottom of a raised garden bed to promote proper drainage, suppress weeds, and enhance soil health. Let’s take a look at some of these materials:
- Landscape Fabric: Landscape fabric is a popular choice for the bottom of a raised garden bed. It allows water to drain through while preventing weed growth. Landscape fabric is typically made of a permeable material that allows air circulation, maintaining soil health.
- Weed Mat: Similar to landscape fabric, weed mats are designed to suppress weed growth. They are typically made of a durable synthetic material and can be an effective barrier against weeds while still allowing water to drain through.
- Cardboard or Newspaper: Recycling cardboard or newspaper is another budget-friendly option for the bottom of your raised garden bed. These materials act as a weed barrier and eventually break down over time, enriching the soil with organic matter.
- Gravel or Pebbles: For improved drainage, you can add a layer of gravel or pebbles to the bottom of your raised garden bed. This allows excess water to drain away quickly and helps prevent waterlogging, particularly in areas with heavy clay soils.
- Chicken Wire or Hardware Cloth: If you have issues with burrowing animals or pests, chicken wire or hardware cloth can be placed on the bottom of the garden bed as a deterrent. This prevents animals from digging into the bed, protecting your plants and their roots.
- Compost or Organic Matter: Incorporating compost or organic matter into the bottom layer of your garden bed can improve soil fertility and structure. This provides a nutrient-rich environment that promotes healthy plant growth and root development.
It’s important to choose materials that align with your specific gardening needs and preferences. Consider the factors we discussed earlier, such as drainage, weed control, and sustainability, when selecting the most suitable materials for your raised garden bed.
Once you’ve chosen the materials, the next step is to properly layer them on the bottom of your garden bed. Let’s delve into the process of layering the bottom of a raised garden bed for optimal results.
Landscape Fabric
Landscape fabric is a versatile and commonly used material for the bottom of a raised garden bed. It offers several benefits, including effective weed control, improved drainage, and soil protection. Here’s what you need to know about using landscape fabric:
Weed Control: One of the primary reasons gardeners choose landscape fabric is its ability to suppress weeds. The fabric acts as a physical barrier, preventing weed seeds from germinating and growing in your garden bed. This reduces the need for frequent weeding, saving you time and effort in maintaining your raised bed.
Drainage: Landscape fabric is permeable, allowing water to pass through while keeping soil particles in place. This helps maintain proper drainage by preventing the soil from becoming compacted and waterlogged. Proper drainage is crucial for preventing root rot and ensuring optimal plant growth.
Soil Protection: By placing landscape fabric on the bottom of your raised garden bed, you provide an extra layer of protection for the soil. It helps prevent erosion and nutrient leaching, keeping the soil intact and nutrient-rich for your plants to thrive.
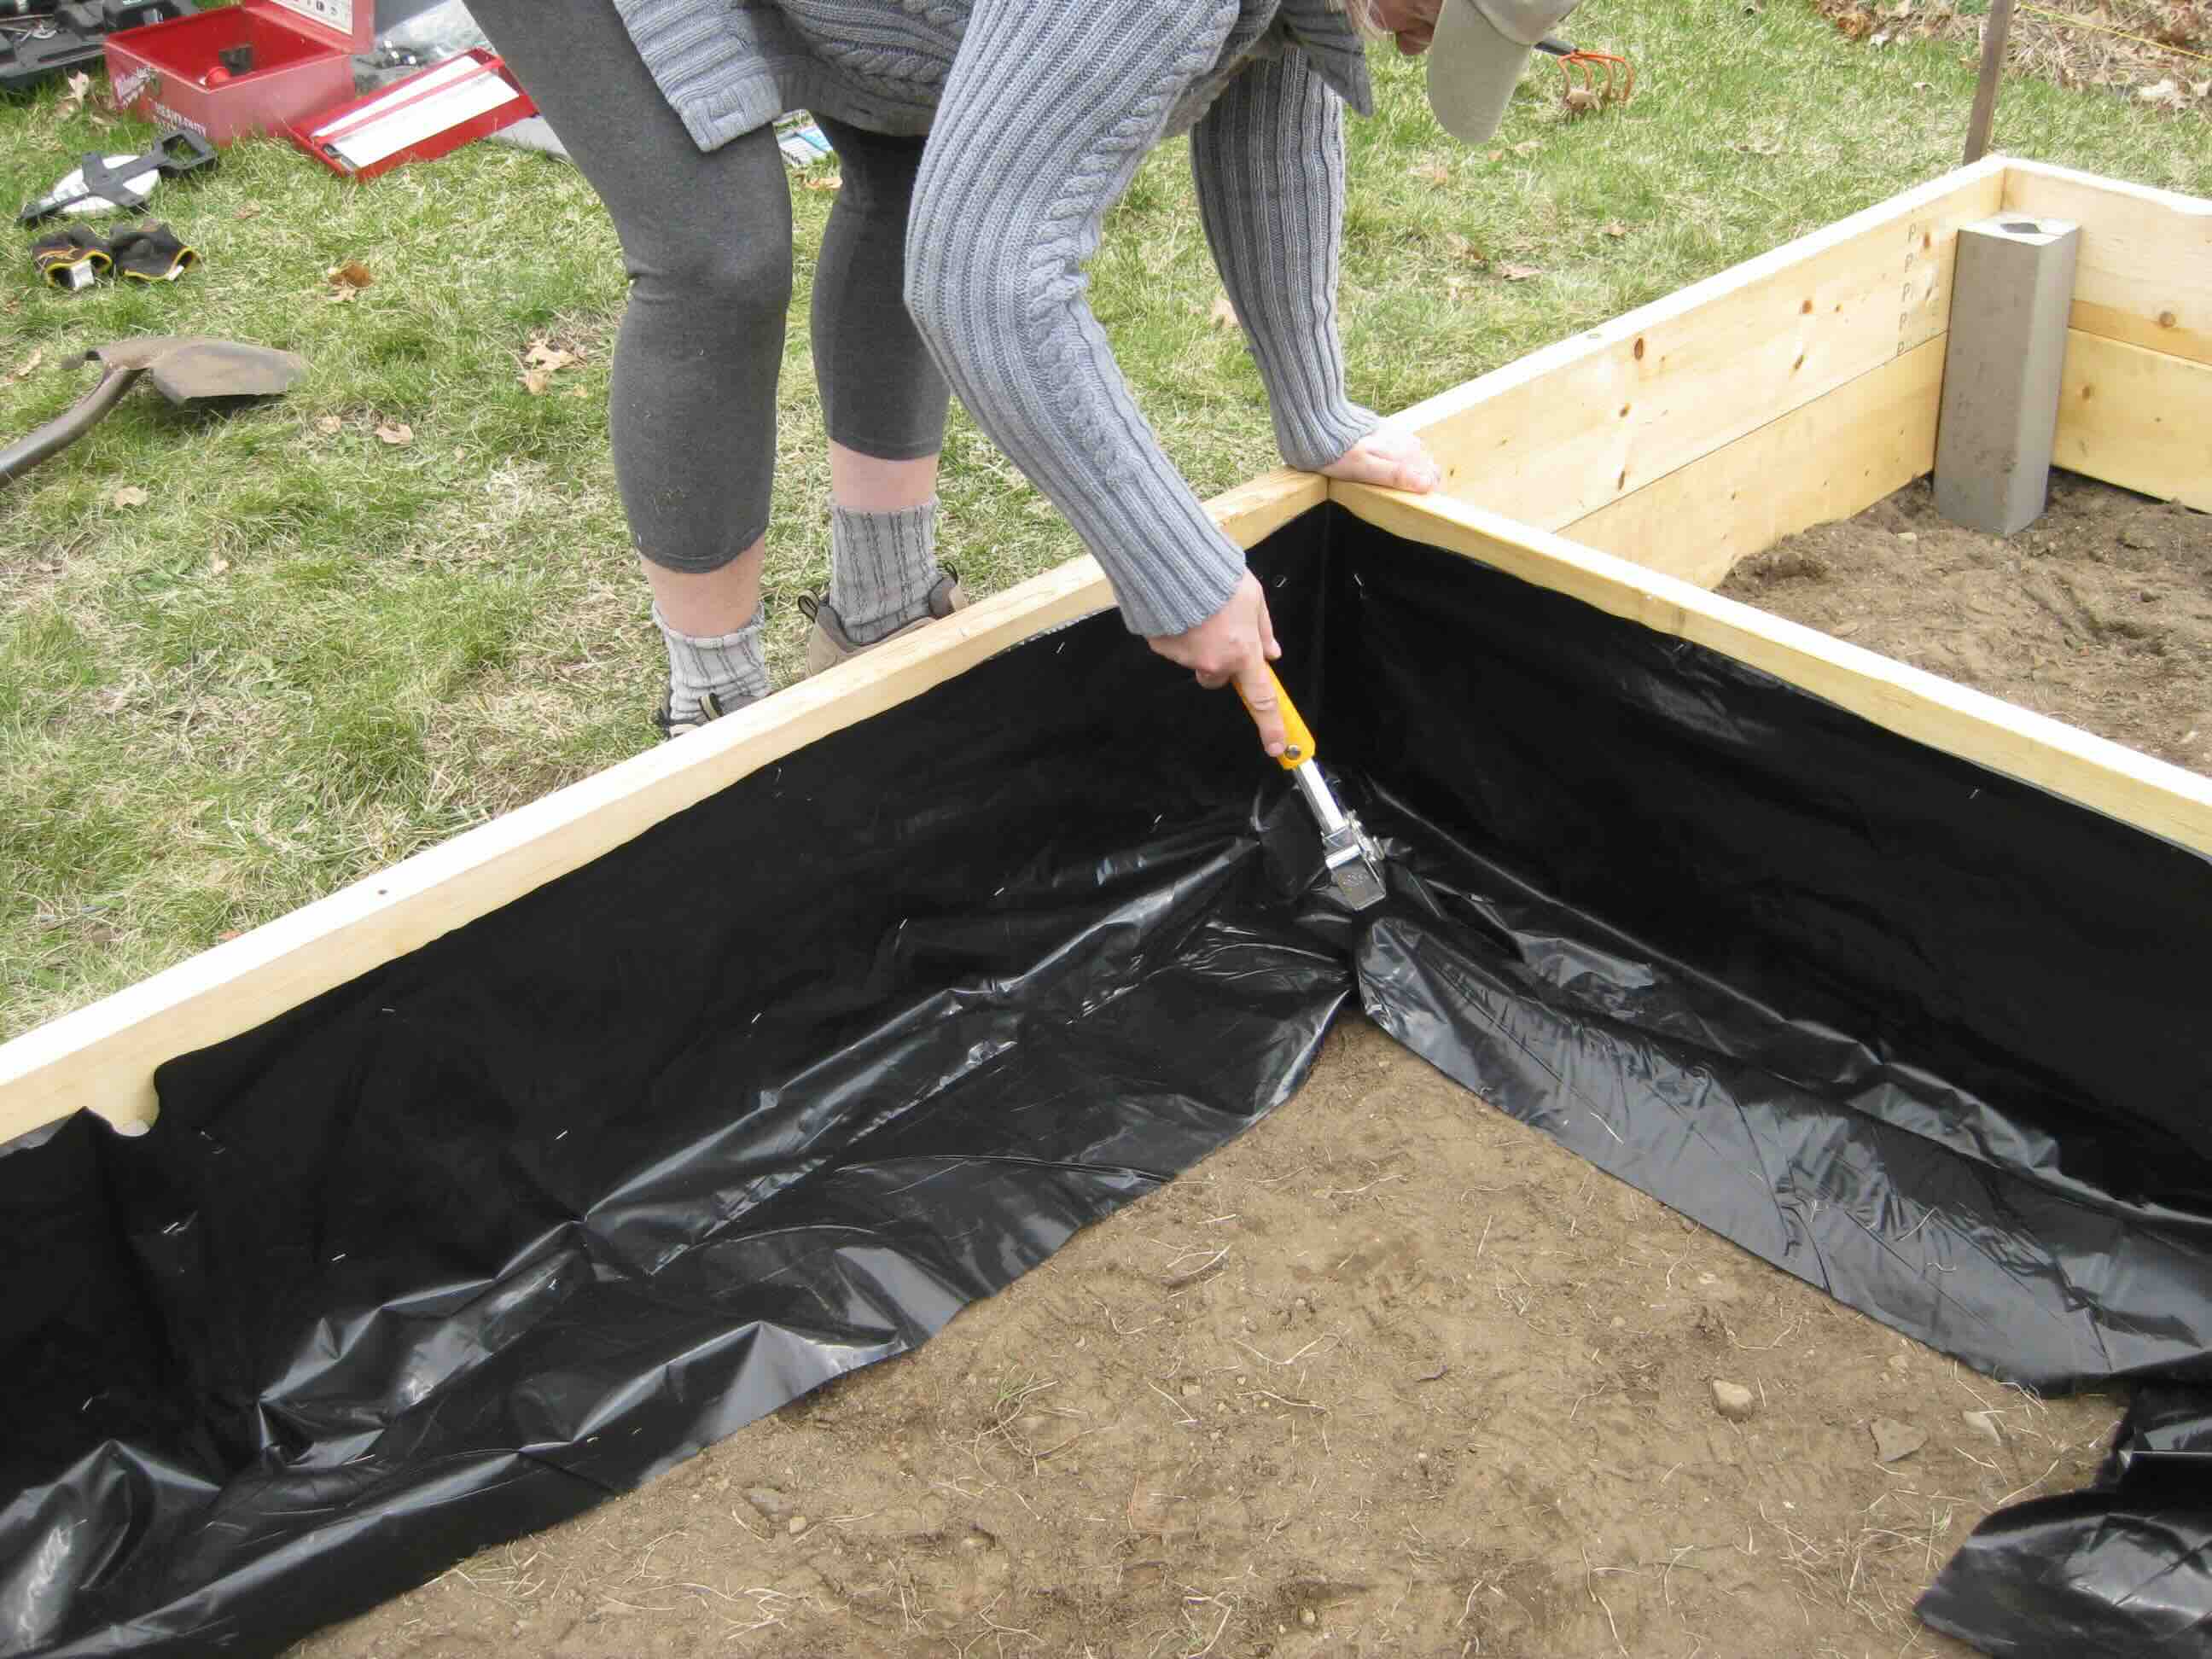
Installation: To use landscape fabric, first, clear the area where your raised garden bed will be located. Remove any existing vegetation and level the ground. Cut the landscape fabric to fit the dimensions of your bed, allowing for a few inches of overlap at the edges. Lay the fabric flat on the ground, ensuring it covers the entire bottom surface of the bed.
Pinning or Tucking: Secure the landscape fabric in place by pinning it to the ground using landscape fabric pins or tucking the edges under the sides of the raised bed. This helps prevent shifting of the fabric and ensures it stays in place throughout the growing season.
Puncturing for Planting: When it’s time to plant, simply cut through the landscape fabric and create an opening for your seedlings or transplants. Be careful not to disturb the fabric any more than necessary, as this may create gaps where weeds can potentially grow.
Maintenance: While landscape fabric significantly reduces weed growth, it is not entirely foolproof. Weeds can still emerge from the top layer of soil or blow in from the surrounding area. Regularly inspect your raised garden bed for any weed growth and promptly remove them to prevent them from spreading.
Landscape fabric is an effective and popular choice for the bottom of a raised garden bed, providing excellent weed control and enhancing drainage. By properly installing and maintaining landscape fabric, you can create a healthy environment for your plants to flourish.
Weed Mat
A weed mat, also known as a weed barrier or weed control fabric, is a durable material commonly used on the bottom of raised garden beds to prevent weed growth. It offers numerous benefits and is a popular alternative to landscape fabric. Here’s what you need to know about using a weed mat:
Weed Suppression: The primary purpose of a weed mat is to suppress weed growth in your raised garden bed. The thick, woven fabric blocks sunlight and prevents weed seeds from germinating. This reduces the competition for nutrients and sunlight, allowing your plants to thrive without excessive weed interference.
Drainage: Weed mats are designed to be permeable, allowing water to penetrate through the fabric. This ensures proper drainage, preventing water from pooling at the bottom of the bed and causing waterlogged conditions. Adequate drainage is crucial for the health of your plants and prevents root rot.
Durability: Weed mats are typically made from durable synthetic materials that can withstand years of use. They are resistant to UV damage, tearing, and general wear and tear, making them a long-lasting choice for your raised garden bed.
Installation: To use a weed mat, prepare the bottom of your raised garden bed by removing any existing vegetation and leveling the soil. Cut the weed mat to fit the dimensions of your bed, allowing for a few inches of overlap at the edges. Lay the fabric on the prepared soil, ensuring full coverage of the bottom surface.
Anchoring: Secure the weed mat in place by placing garden staples or pegs along the edges and at regular intervals throughout the bed. This prevents the fabric from shifting or lifting due to wind or heavy rain. Make sure to cover every exposed corner and edge to maintain a tight fit.
Planting Holes: When it’s time to plant, cut through the weed mat to create holes for your seedlings or transplants. Make incisions large enough to accommodate the plant’s root system while minimizing damage to the fabric. Ensure the plants sit firmly in the holes, with the fabric surrounding the stems.
Maintenance: While weed mats significantly reduce weed growth, some weeds may still manage to find their way through the fabric. It’s essential to inspect your raised garden bed regularly and remove any emerging weeds promptly. Additionally, monitor for any signs of water pooling or drainage issues, as this may indicate a clogged or damaged weed mat that requires attention.
With its weed-suppressing abilities and drainage benefits, a weed mat is an excellent choice for the bottom of a raised garden bed. It offers long-term weed control and a healthier growing environment for your plants. By properly installing and maintaining a weed mat, you can focus more on enjoying your garden and less on battling weeds.
When filling the bottom of a raised garden bed, use a layer of cardboard or newspaper to smother any existing grass or weeds. This will help prevent them from growing up into your garden bed.
Cardboard or Newspaper
Cardboard or newspaper is a cost-effective and environmentally friendly option for the bottom of a raised garden bed. Using these readily available materials helps to suppress weed growth, promote decomposition, and improve soil health. Here’s what you need to know about using cardboard or newspaper:
Weed Suppression: Both cardboard and newspaper act as effective weed barriers. By layering these materials on the bottom of your raised garden bed, you create a barrier that blocks sunlight, preventing weed seeds from germinating. This reduces the need for frequent weeding and saves you time and effort in maintaining your garden bed.
Moisture Retention: Cardboard and newspaper also help to retain moisture in the soil. They act as mulch, preventing water from evaporating quickly and maintaining a more consistent level of moisture in the garden bed. This is particularly beneficial during hot and dry periods, ensuring your plants have access to the water they need for healthy growth.
Soil Improvement: Another advantage of using cardboard or newspaper is that they break down over time, adding organic matter to the soil. As these materials decompose, they enrich the soil with essential nutrients and improve its structure. This creates a fertile environment for plant roots, leading to healthier and more productive plants.
Installation: To use cardboard or newspaper, start by removing any existing vegetation from the area where your raised garden bed will be located. Level the ground and lay down a layer of organic matter, such as leaves or grass clippings, to enhance decomposition. Next, wet the cardboard or newspaper to make it easier to handle and prevent it from flying away.
Layering: Place a thick layer of cardboard or several sheets of newspaper on the bottom of the garden bed, ensuring complete coverage. Overlap the edges to prevent weeds from finding gaps. If using newspaper, slightly dampen each sheet as you layer to help them stick together and form a solid barrier.
Additional Organic Matter: For enhanced soil health, consider adding additional organic matter, such as compost or aged manure, on top of the cardboard or newspaper layer. This provides extra nutrients and encourages earthworm activity, further improving the structure and fertility of the soil.
Planting: Once the cardboard or newspaper layer is in place, you can proceed with planting. Using a sharp knife or scissors, cut “X”-shaped or “T”-shaped holes in the cardboard or newspaper to accommodate your plants. Gently spread the edges of the hole and plant your desired vegetables, herbs, or flowers.
Maintenance: Over time, the cardboard or newspaper will break down and decompose. Occasionally check the raised garden bed for any exposed areas where weeds may emerge. If weeds do manage to grow, simply pull them out, ensuring you remove the roots as well.
Cardboard and newspaper are an economical and environmentally friendly choice for the bottom of a raised garden bed. By suppressing weeds and improving soil health, these materials create a fertile foundation for your plants to thrive.
Gravel or Pebbles
Gravel or pebbles can be utilized on the bottom of a raised garden bed to improve drainage and prevent waterlogged soil. This option is particularly beneficial for gardeners dealing with heavy clay soils or areas prone to excessive moisture. Here’s what you need to know about using gravel or pebbles:
Drainage Improvement: One of the primary advantages of using gravel or pebbles on the bottom of a raised garden bed is their ability to enhance drainage. These materials create air pockets within the soil, allowing excess water to drain away more efficiently. By improving drainage, you help prevent waterlogging and ensure optimal growing conditions for your plants.
Prevention of Waterlogged Soil: Waterlogged soil can lead to root rot and hinder plant growth. By adding a layer of gravel or pebbles at the bottom of your raised garden bed, you create a space where excess water can accumulate, preventing it from saturating the soil above. This is particularly useful if you have heavy clay soil that tends to retain water.
Soil Aeration: In addition to improving drainage, gravel or pebbles also promote soil aeration. They create gaps and crevices within the soil, allowing oxygen to reach the plant roots more easily. Adequate oxygen supply is essential for root growth and overall plant health.
Size and Type: When choosing gravel or pebbles for your raised garden bed, opt for a size that allows for effective drainage without compacting the soil. Small to medium-sized pebbles or gravel works well for most raised beds. Also, consider using a type of gravel or pebbles that complements the overall aesthetics of your garden.
Installation: Start by clearing any existing vegetation from the bottom of your raised garden bed. Level the soil and spread a layer of landscape fabric or weed mat to prevent weeds from growing. Pour a layer of gravel or pebbles that is about 2 to 3 inches thick over the fabric or mat, ensuring the entire bottom surface is covered.
Top Layer: Once the layer of gravel or pebbles is in place, add the remaining layers of soil, compost, and other organic amendments on top. The gravel or pebbles will interface with the soil above, facilitating proper drainage while still allowing the plants’ roots to access necessary nutrients and water.
Maintenance: Over time, it is possible for debris or sediment to accumulate in the gaps between the gravel or pebbles. Periodically check the garden bed and remove any debris to maintain optimal drainage. Additionally, monitor the moisture levels in the bed to ensure it remains well-drained and adjust watering accordingly.
Using gravel or pebbles on the bottom of a raised garden bed provides significant benefits like improved drainage, prevention of waterlogged soil, and enhanced soil aeration. Consider this option, especially if you are dealing with heavy clay soils or areas with excess moisture, to create a healthy growing environment for your plants.
Chicken Wire or Hardware Cloth
Chicken wire or hardware cloth can be a useful material to use on the bottom of a raised garden bed to deter burrowing animals and protect the roots of your plants. If you have issues with pests or critters digging into your garden beds, this option provides an effective barrier. Here’s what you need to know about using chicken wire or hardware cloth:
Pest Prevention: One of the main benefits of using chicken wire or hardware cloth on the bottom of your raised garden bed is its ability to deter burrowing animals, such as gophers, moles, or rabbits. The wire mesh creates a physical barrier that prevents these pests from accessing your plants and damaging their roots.
Root Protection: By installing chicken wire or hardware cloth at the bottom of your raised bed, you provide a layer of protection for the roots of your plants. Burrowing animals can cause extensive damage to the roots, which can lead to weakened plants or even plant death. The wire mesh acts as a defense, keeping pests out and your plants safe.
Material Options: Chicken wire is typically made of thin, galvanized wire, while hardware cloth is a heavier gauge wire mesh. Both options work effectively to prevent pests from entering your raised garden bed. Choose the material that suits your needs and the type of pests you are dealing with in your garden.
Installation: Start by clearing the area where your raised garden bed will be located, removing any vegetation or debris. Level the ground and lay the chicken wire or hardware cloth over the bottom of the bed, ensuring complete coverage. If necessary, cut the mesh to fit the dimensions of the bed.
Securing the Wire Mesh: To keep the chicken wire or hardware cloth in place, secure it by attaching it to the sides of the raised bed. Use staples, nails, or clips to fasten the mesh securely. This will prevent pests from burrowing under the wire and accessing your garden bed.
Overlap: If you have multiple pieces of chicken wire or hardware cloth, overlap the edges to ensure there are no gaps for pests to get through. This extra precaution helps to reinforce the barrier and maximize protection.
Planting: Once the wire mesh is properly installed, proceed with planting your desired vegetation. Cut openings in the mesh to accommodate the plants, making sure to provide sufficient space for their root systems to grow. Plant the seedlings or transplants, gently pushing the roots through the openings and into the soil.
Maintenance: Regularly inspect your raised garden bed for any signs of pest activity or damage to the wire mesh. Repair or replace any damaged sections promptly to maintain the integrity of the barrier. Additionally, monitor the area around the raised bed for signs of pests attempting to burrow or dig around the perimeter.
By using chicken wire or hardware cloth on the bottom of your raised garden bed, you can effectively deter burrowing animals and protect your plants’ roots. This additional layer of defense ensures a safer and more secure environment for your garden to thrive.
Read more: What To Put In A Raised Garden Bed For Soil
Compost or Organic Matter
Using compost or organic matter on the bottom of a raised garden bed provides numerous benefits, including improved soil fertility, enhanced water retention, and increased nutrient availability for your plants. Here’s what you need to know about utilizing compost or organic matter in the bottom layer of your raised garden bed:
Soil Fertility: Adding compost or organic matter to the bottom layer of your raised garden bed helps enrich the soil with essential nutrients. Compost is a well-balanced mixture of decomposed organic materials, such as vegetable scraps, yard waste, and leaves. It improves soil structure and nutrient content, creating a fertile environment for plant growth.
Water Retention: Organic matter, including compost, has high water holding capacity. This helps the soil retain moisture, ensuring that your plants have access to consistent hydration. As the organic matter in the bottom layer decomposes, it releases water slowly over time, reducing the need for frequent watering and providing a more stable growing environment.
Enhanced Soil Structure: The addition of compost or organic matter to the bottom layer of a raised garden bed promotes improved soil structure. Organic matter helps create pore spaces, allowing for better aeration and root penetration. It also prevents compaction, ensuring that the soil remains loose and friable for healthy root development.
Feeding Soil Microorganisms: Compost and organic matter provide a food source for beneficial soil microorganisms. These microorganisms break down organic matter further, releasing nutrients in a form that plants can easily absorb. They also contribute to the overall health of the soil ecosystem, supporting a balanced and thriving soil environment.
Installation: Before adding compost or organic matter to the bottom of your raised garden bed, ensure that the bed is built or constructed correctly to hold the materials in place. Once you have prepared the bed, spread a layer of compost or organic matter at the bottom, aiming for a thickness of about 2 to 3 inches.
Layering: It’s important to remember that compost or organic matter is not intended to be the sole material used on the bottom of the bed. It is typically layered on top of other materials like landscape fabric or weed mat. The compost layer acts as a nutrient-rich foundation for the plants, promoting their growth and supporting the overall health of the garden bed.
Top Dressing: In addition to placing compost or organic matter in the bottom layer, consider using it as a top dressing throughout the growing season. This provides a continuous supply of nutrients to the plants as the organic matter continues to break down and release its goodness into the soil.
Continual Addition: Over time, the organic matter in the bottom layer will decompose, contributing to the overall soil health. As you continue gardening, it’s beneficial to periodically add more compost or organic matter, replenishing the soil’s nutrient content and further improving its structure.
Using compost or organic matter in the bottom layer of a raised garden bed is a sustainable and effective way to improve soil fertility, enhance water retention, and promote healthy plant growth. By incorporating these organic materials, you create a thriving ecosystem within your raised bed.
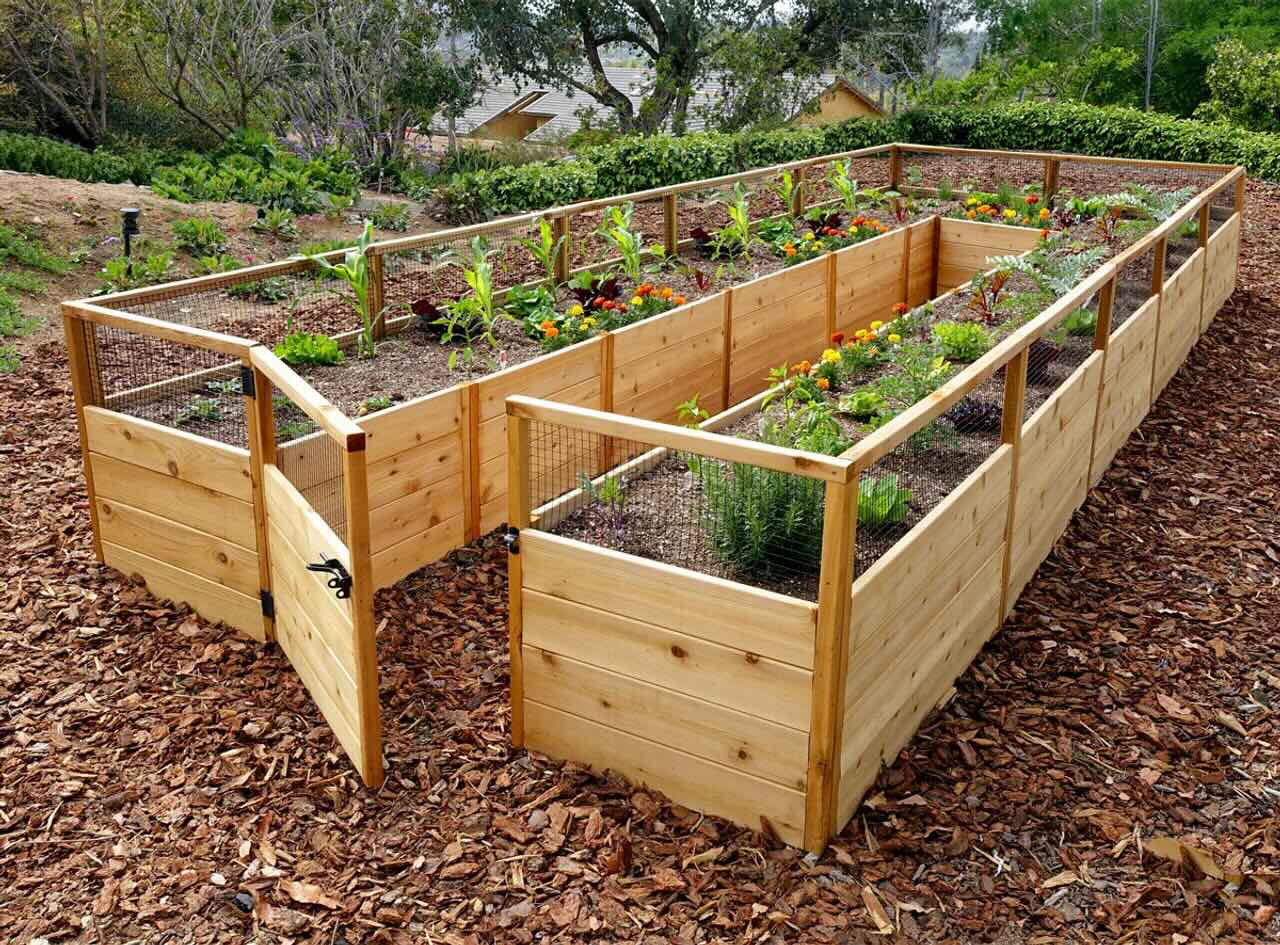
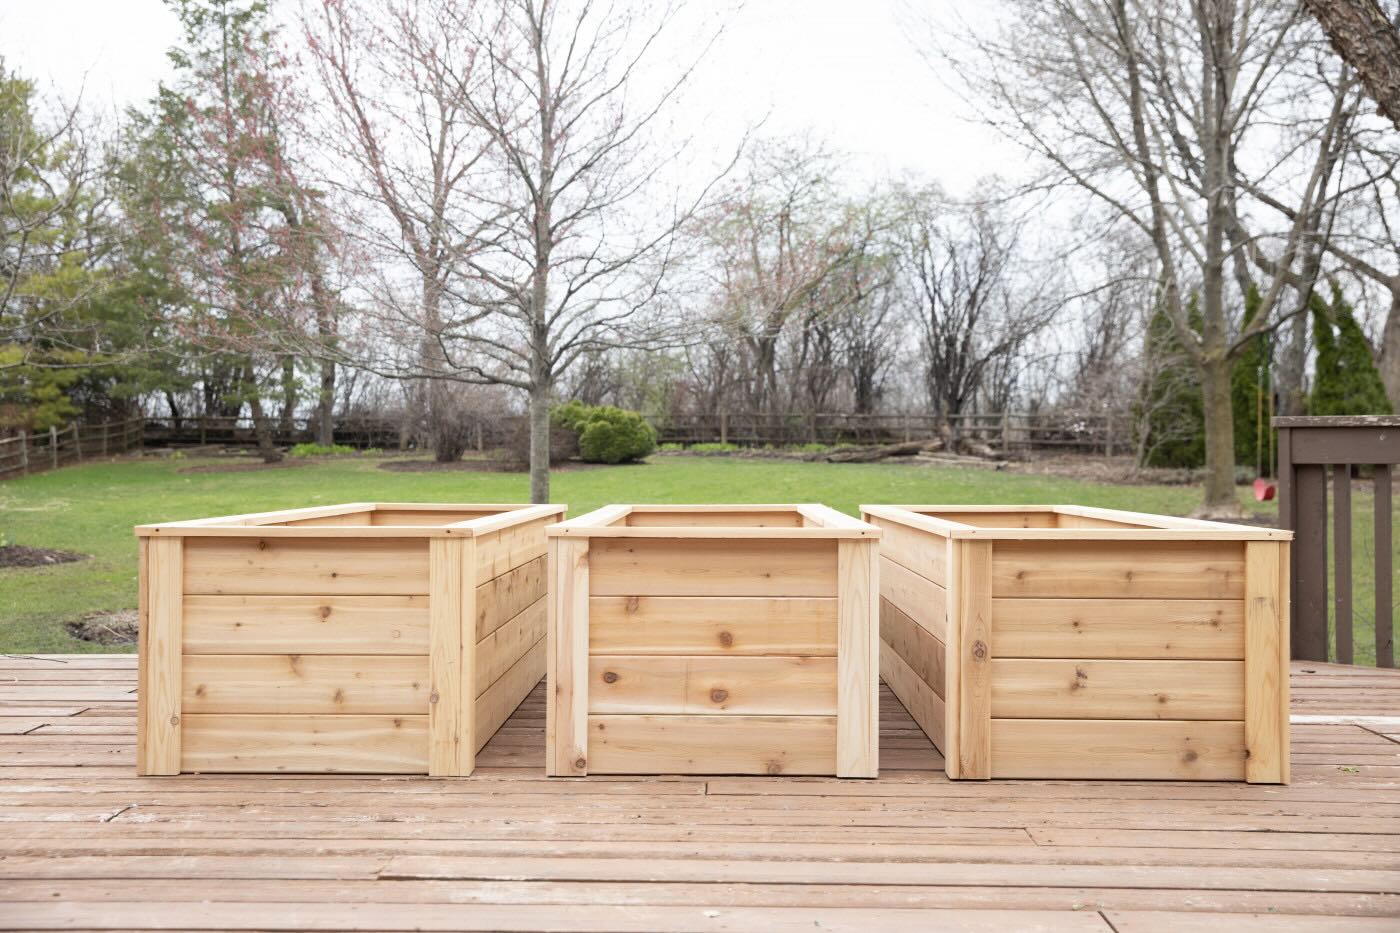
How to Layer the Bottom of a Raised Garden Bed
Layering the bottom of a raised garden bed is an essential step that helps create optimal growing conditions for your plants. By following a systematic approach, you can ensure proper drainage, weed control, and overall soil health. Here’s a step-by-step guide on how to layer the bottom of a raised garden bed:
1. Clear the Area: Start by clearing the area where you plan to install the raised garden bed. Remove any existing vegetation, rocks, or debris to create a clean and level surface.
2. Weed Control: To prevent weed growth, it’s important to lay down a weed barrier. This can be in the form of landscape fabric, weed mat, cardboard, or newspaper, depending on your preference and availability. Place the weed barrier directly on the cleared ground, ensuring it covers the entire bottom surface of the bed.
3. Secure the Weed Barrier: Use garden staples, pins, or weights to secure the weed barrier in place. This will prevent shifting or movement during the growing season, ensuring it remains effective in suppressing weed growth.
4. Optional Layer: Gravel or Pebbles: If you are dealing with heavy clay soils or poor drainage, adding a layer of gravel or pebbles can further enhance drainage. Spread a 2 to 3-inch layer of gravel or pebbles over the weed barrier. This layer will allow excess water to drain away from the root zone, preventing waterlogging.
5. Pest Protection: If you have issues with burrowing animals or pests, consider adding a layer of chicken wire or hardware cloth. Place the wire mesh over the gravel or pebbles, ensuring it covers the entire bottom surface and extends up the sides of the bed. Secure the wire mesh by attaching it to the sides of the raised bed, making sure there are no gaps for pests to enter.
6. Organic Matter: To improve soil fertility and structure, add a layer of compost or organic matter on top of the weed barrier or wire mesh layer. Spread a 2 to 3-inch layer of compost or organic matter over the previous layers. This will enrich the soil, provide essential nutrients for plant growth, and promote healthy root development.
7. Main Soil Layer: Finally, top the raised garden bed with a layer of high-quality gardening soil. This layer should be deep enough to provide ample space for the plant roots to grow and access nutrients. Aim for a soil depth of at least 8 to 12 inches, but this can vary depending on the specific needs of your plants.
8. Planting: Once the layers are complete, it’s time to plant your desired vegetables, herbs, or flowers. Dig holes in the soil layer, following the recommended spacing for your chosen plants. Carefully place the seedlings or transplants in the holes, backfilling with soil and gently firming it around the roots.
9. Watering and Maintenance: After planting, water the raised garden bed thoroughly to settle the soil and ensure proper moisture distribution. Throughout the growing season, monitor the moisture level in the bed and water as needed. Regularly inspect the garden bed for any signs of weed growth or pests, and promptly address any issues that arise.
By following these steps and layering the bottom of your raised garden bed properly, you create an environment that promotes healthy plant growth, optimal drainage, and effective weed control. With a well-prepared bed, you’ll be on your way to a successful and thriving garden.
Conclusion
Choosing the right materials for the bottom of your raised garden bed is crucial for creating a healthy and thriving gardening environment. Each material discussed – landscape fabric, weed mat, cardboard or newspaper, gravel or pebbles, chicken wire or hardware cloth, and compost or organic matter – offers unique benefits for promoting proper drainage, weed control, pest prevention, and soil health.
By considering factors such as drainage, weed suppression, sustainability, and garden bed purpose, you can make an informed decision about which material or combination of materials to use. Remember to properly install and maintain the chosen materials to ensure their effectiveness in creating an optimal growing environment.
Layering the bottom of a raised garden bed is a systematic process that involves clearing the area, adding a weed barrier, incorporating optional layers for drainage or pest protection, and finally, applying organic matter and topsoil. Following these steps will help create a well-structured, nutrient-rich, and weed-free foundation for your plants to thrive.
As you tend to your raised garden bed, continue to monitor its health and make necessary adjustments. Regularly inspect for signs of weed growth, pests, or any issues with drainage. Proper maintenance will ensure optimal growing conditions and provide a fruitful gardening experience.
Remember, gardening is both an art and a science. Each gardener may have specific preferences and unique circumstances to consider. By understanding the importance of what to put on the bottom of a raised garden bed and carefully selecting appropriate materials, you’ll be on your way to creating a successful and bountiful garden that you can enjoy for years to come.
Frequently Asked Questions about What To Put On Bottom Of Raised Garden Bed
Was this page helpful?
At Storables.com, we guarantee accurate and reliable information. Our content, validated by Expert Board Contributors, is crafted following stringent Editorial Policies. We're committed to providing you with well-researched, expert-backed insights for all your informational needs.


0 thoughts on “What To Put On Bottom Of Raised Garden Bed”