Home>Gardening & Outdoor>Landscaping Ideas>How To Drain A Raised Garden Bed

Landscaping Ideas
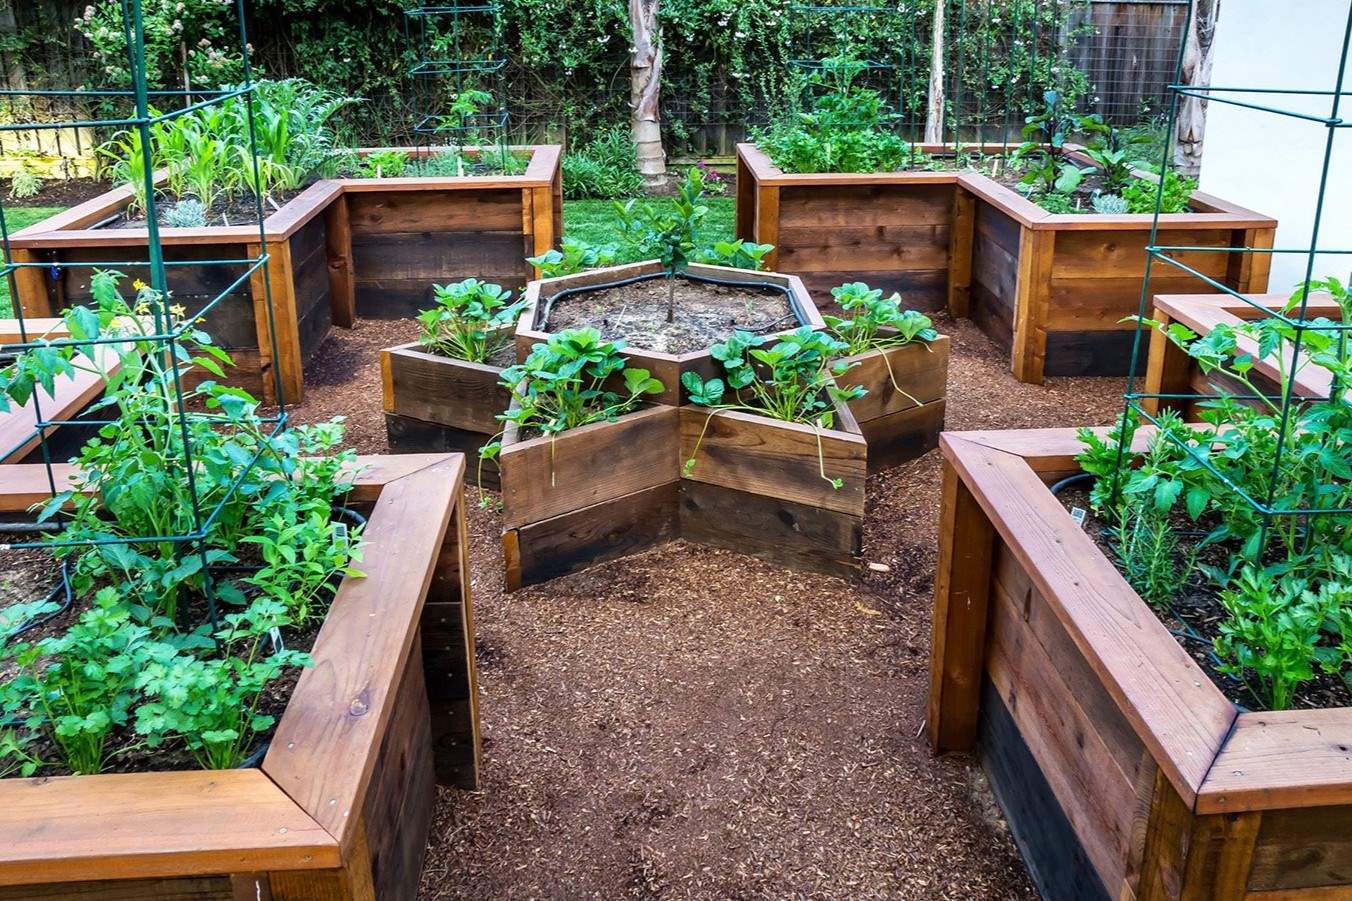
How To Drain A Raised Garden Bed
Modified: October 19, 2024
Learn how to properly drain a raised garden bed with our expert landscaping ideas. Discover the best techniques for maintaining healthy soil and plants.
(Many of the links in this article redirect to a specific reviewed product. Your purchase of these products through affiliate links helps to generate commission for Storables.com, at no extra cost. Learn more)
Introduction
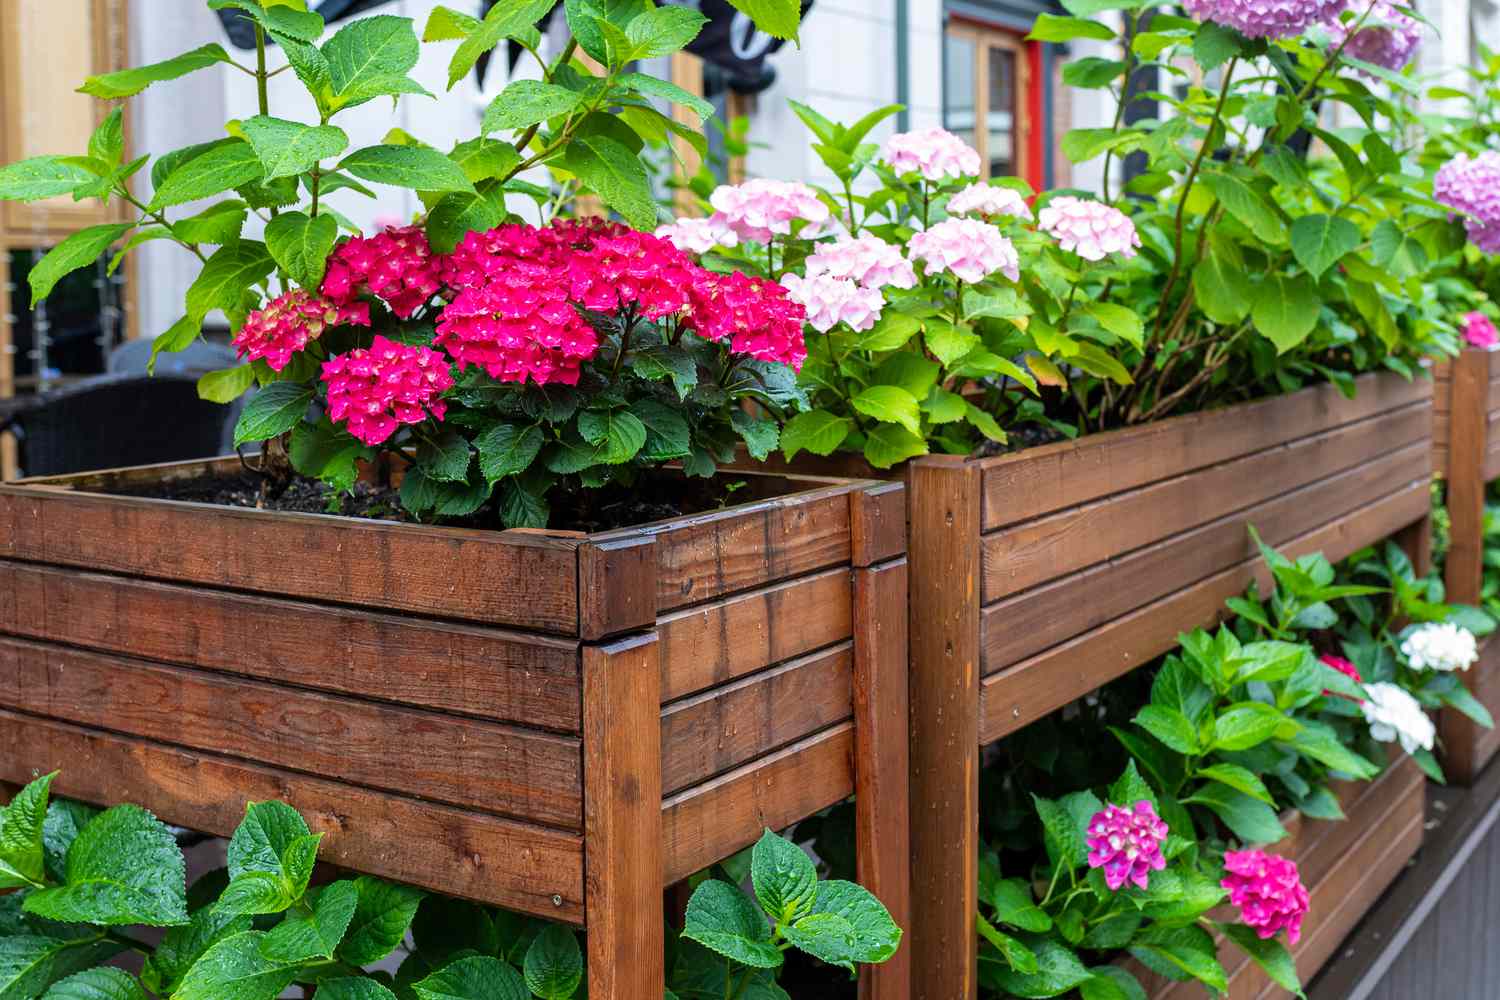
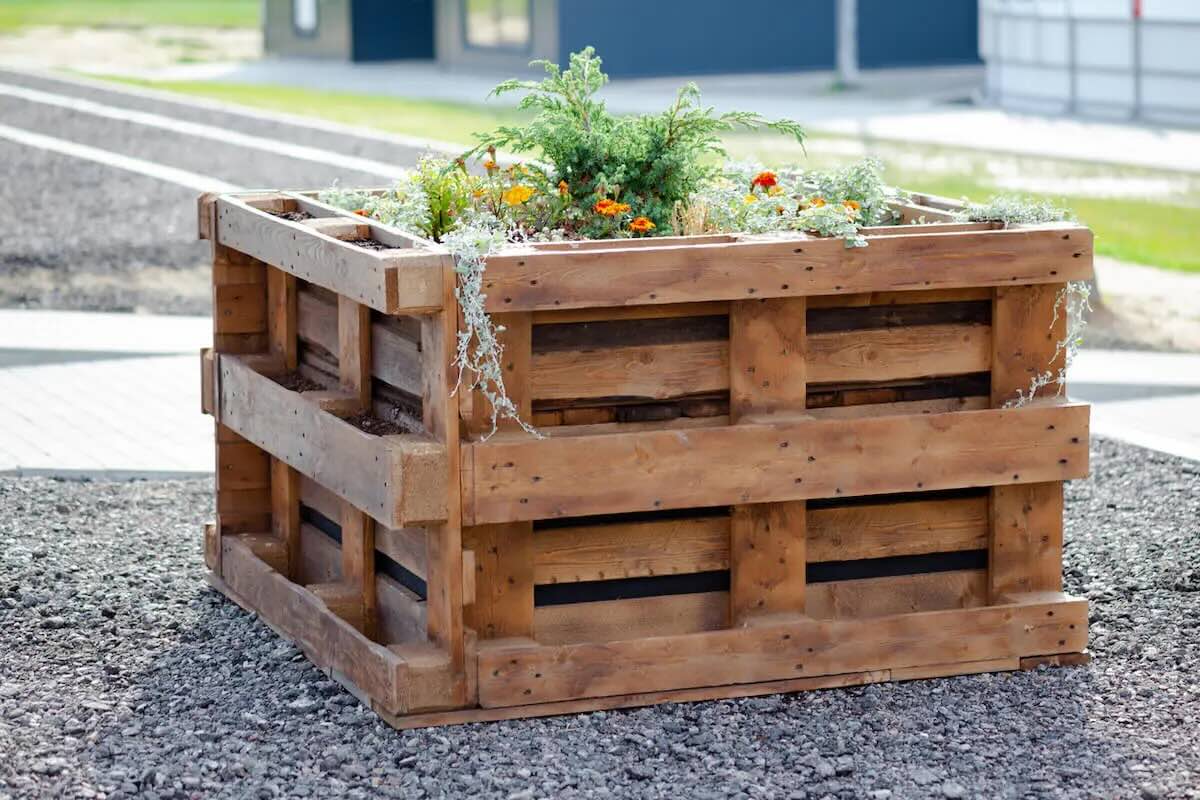
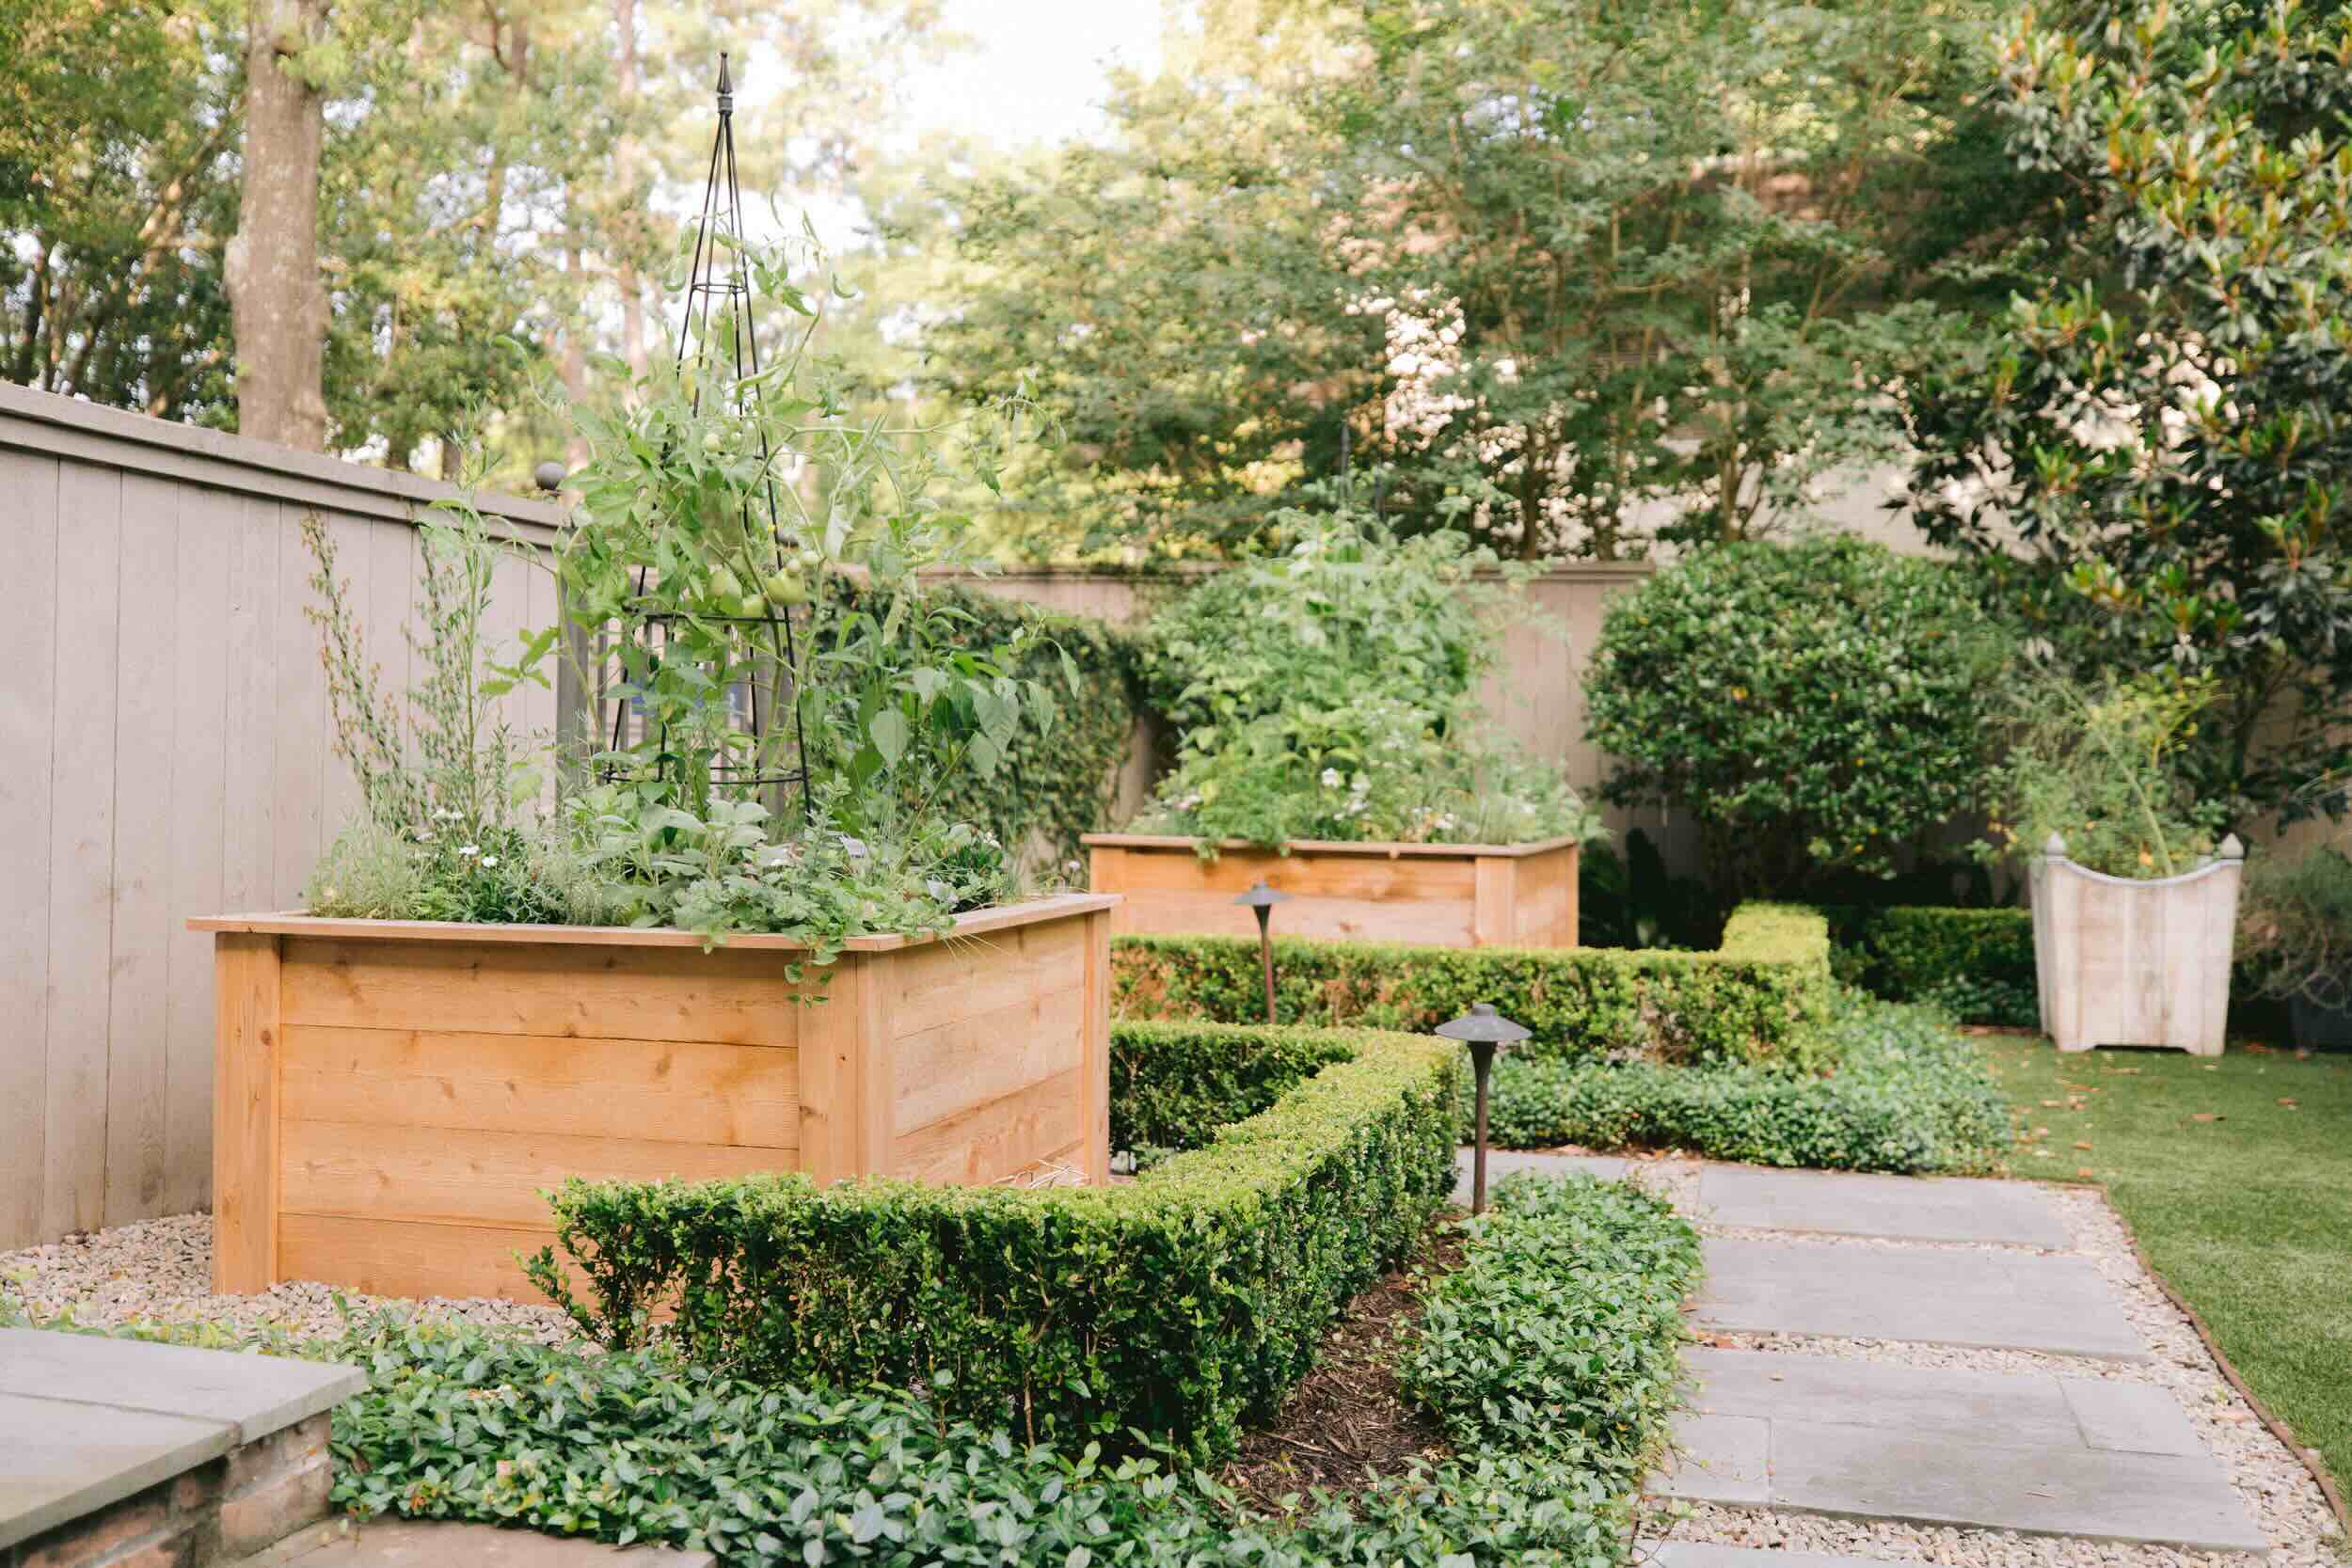
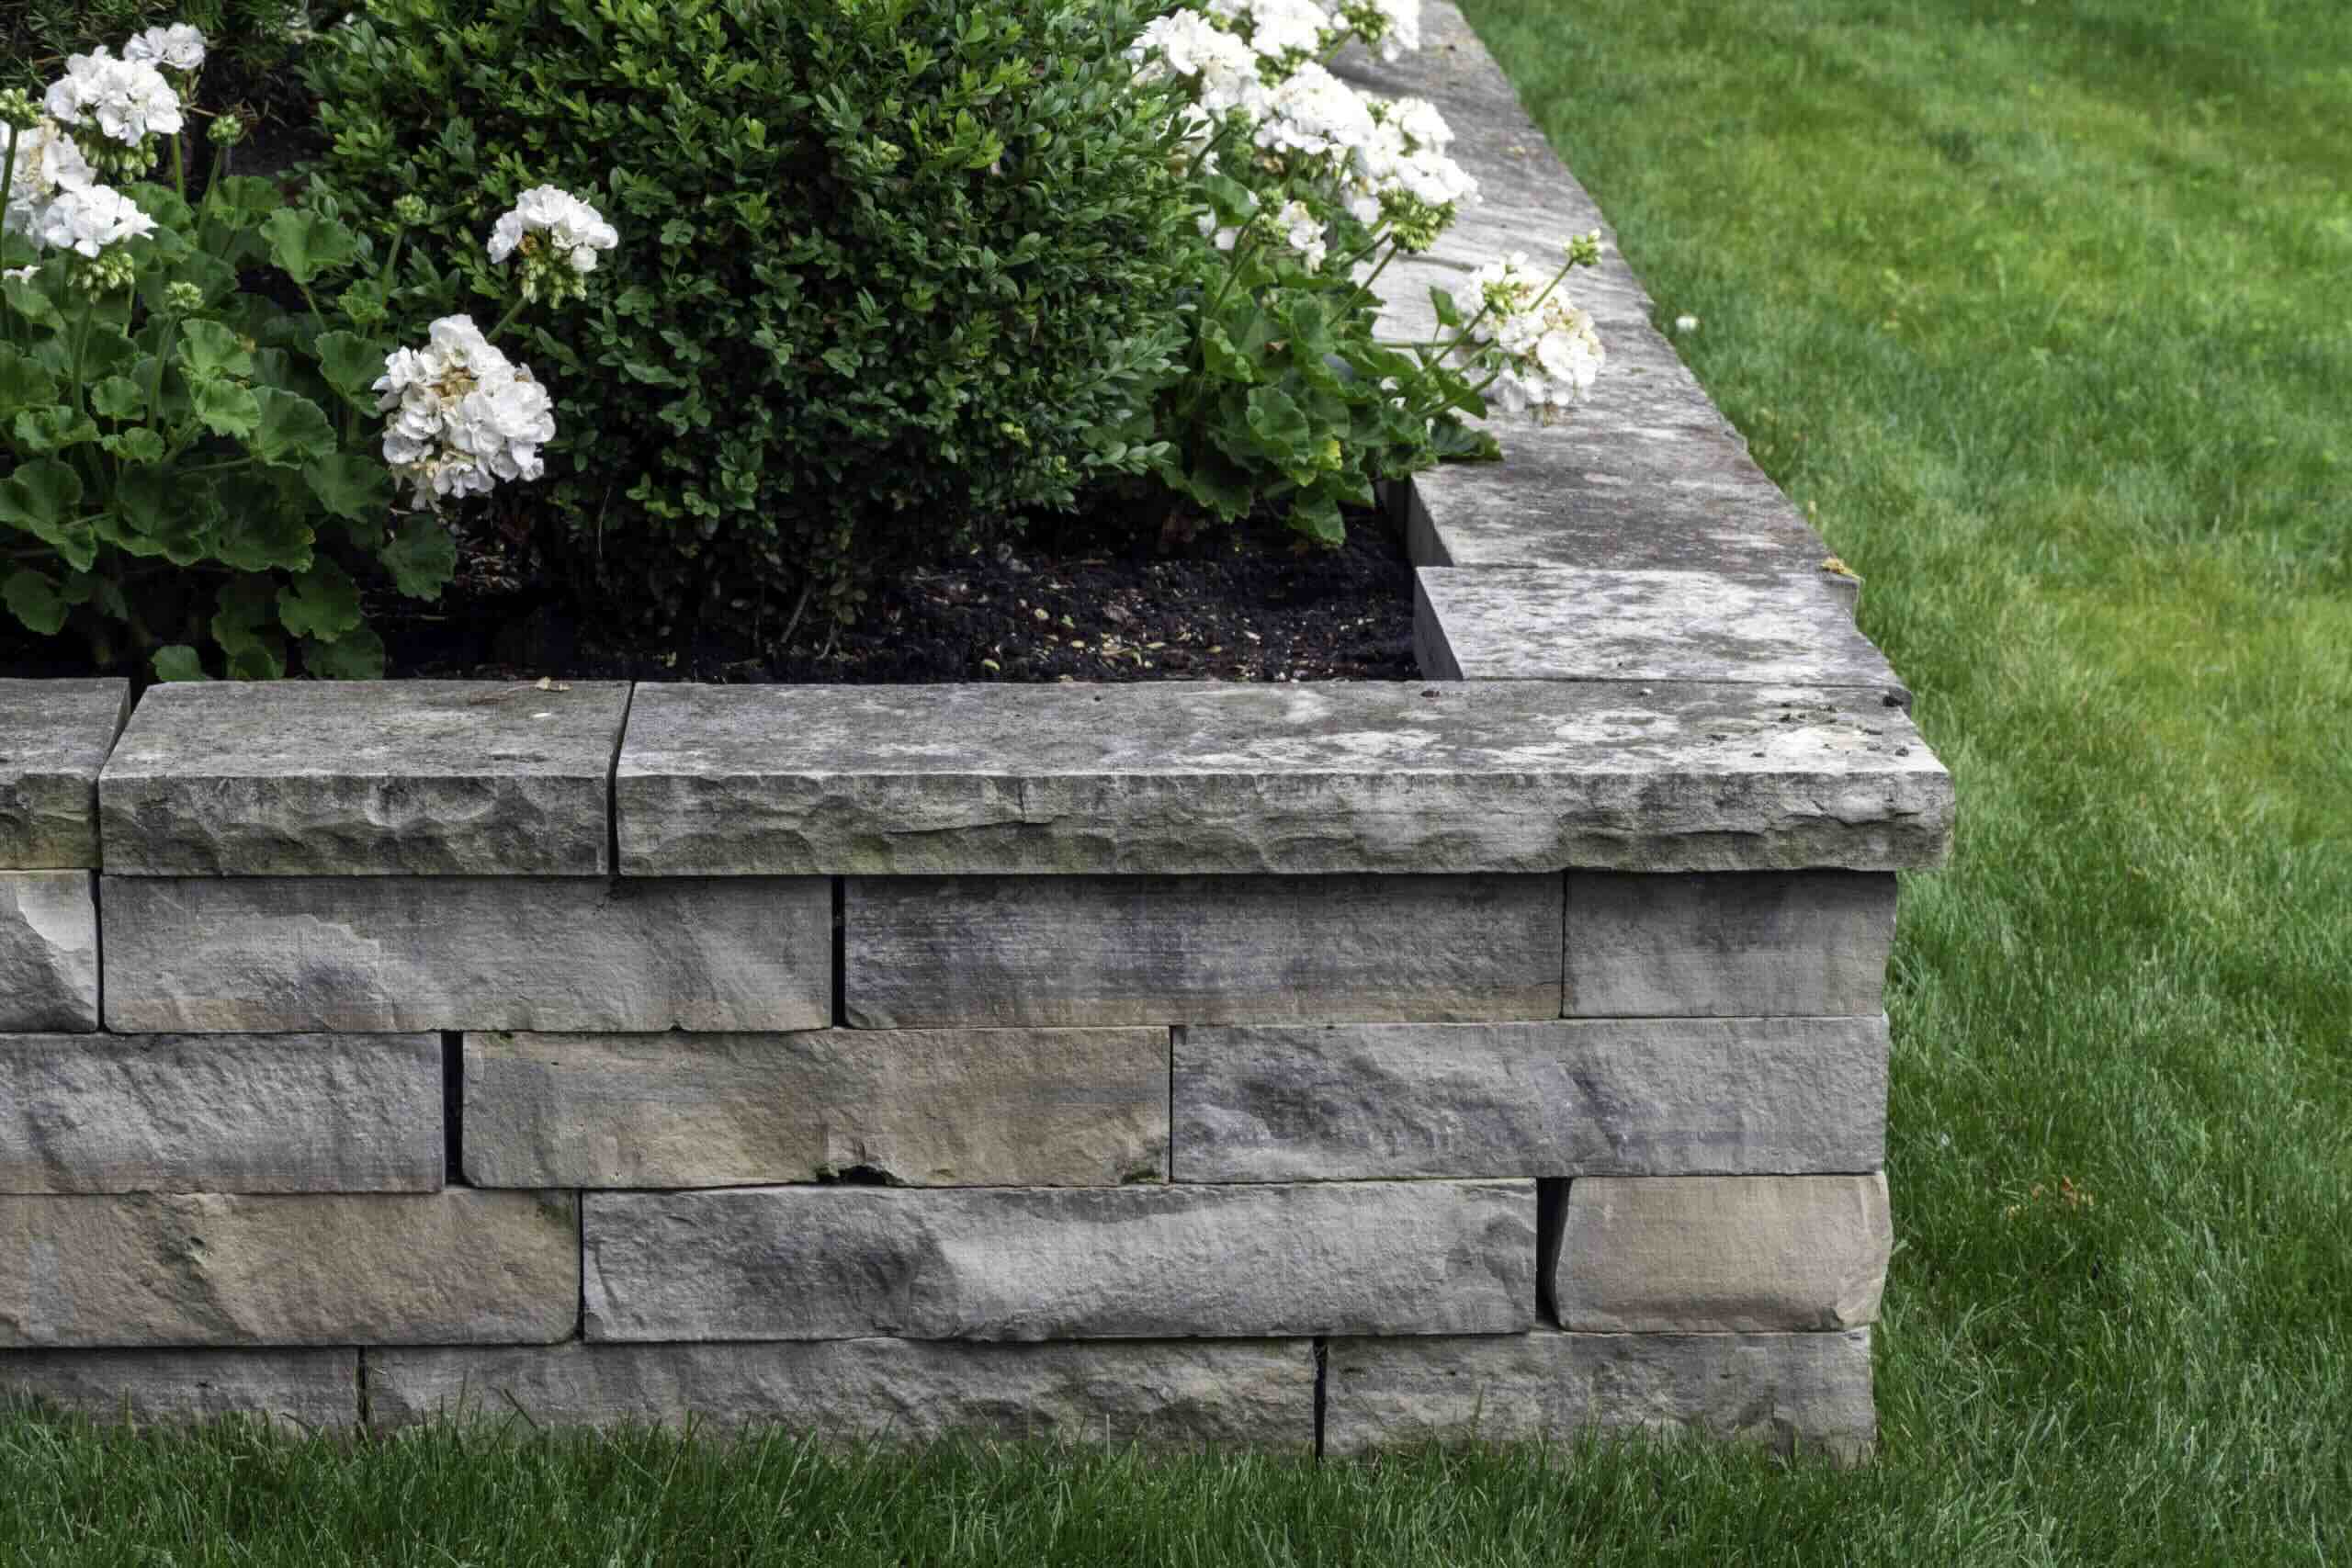
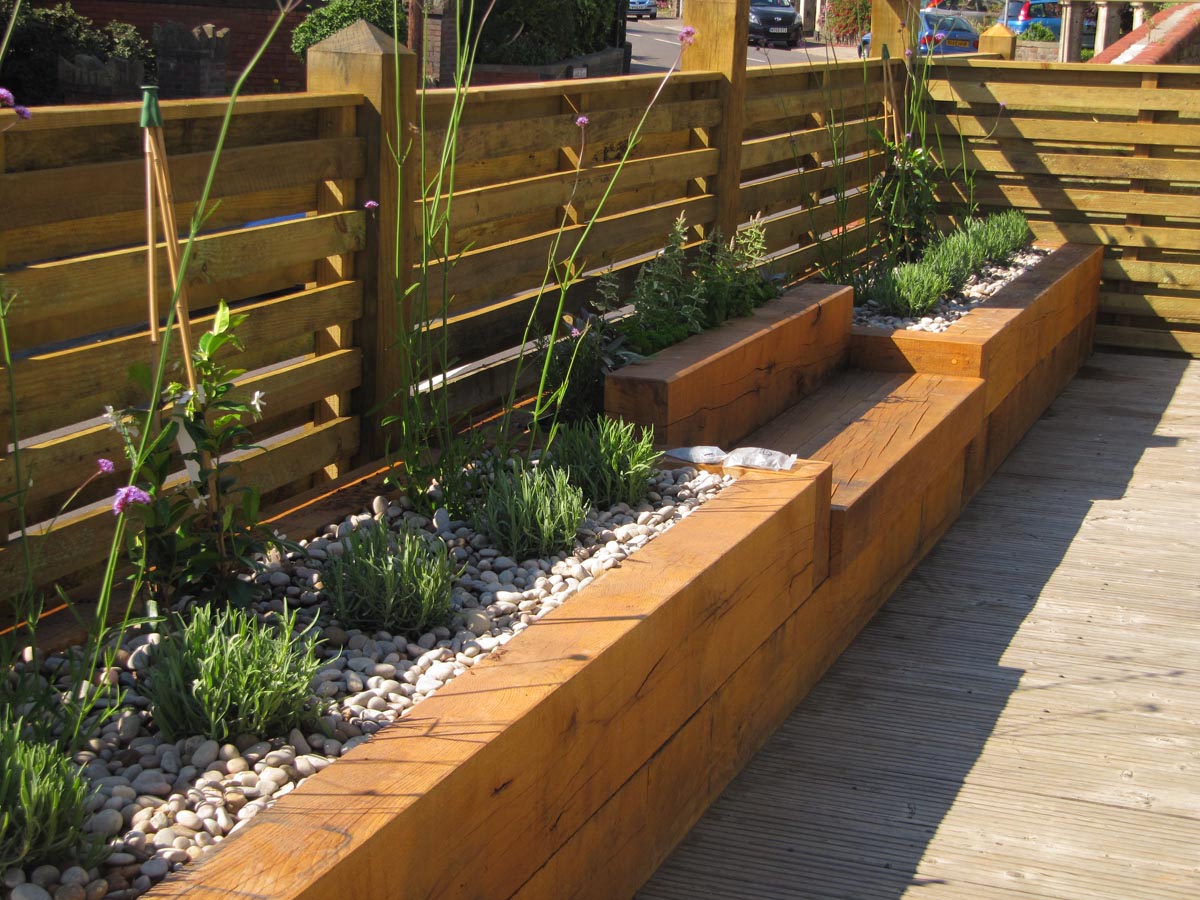
When it comes to gardening, raised garden beds are a popular choice for many enthusiasts. These elevated planting areas offer numerous benefits, such as improved drainage, better soil quality, and easier access for planting and maintenance. However, despite their advantages, raised garden beds can sometimes face issues with excess water retention, which can lead to root rot and other plant health problems. To address this concern, it's essential to understand how to effectively drain a raised garden bed.
In this comprehensive guide, we will explore the step-by-step process of draining a raised garden bed to maintain optimal growing conditions for your plants. By following these instructions, you can ensure that your raised garden bed remains a thriving environment for your beloved flora.
So, let's dive into the details and learn how to enhance the drainage of your raised garden bed, allowing your plants to flourish and thrive in a well-balanced and healthy ecosystem.
Key Takeaways:
- Preparing the raised garden bed by clearing debris, assessing soil, elevating the bed, creating a slope, and installing a barrier sets the stage for effective drainage and healthy plant growth.
- By removing soil, installing drainage material like gravel or perforated pipes, and refilling with amended soil, gardeners can create an optimal environment for plant growth and minimize water-related issues.
Read more: What Is A Raised Garden Bed
Step 1: Prepare the Garden Bed
Before addressing the drainage issues in a raised garden bed, it's crucial to start with proper preparation. This initial step sets the foundation for effective water management and ensures the long-term health of your plants.
Clear the Area
Begin by clearing the surrounding area of any debris, weeds, or unwanted vegetation. This process allows for easy access to the garden bed and prevents potential obstructions during the drainage improvement process.
Assess the Soil
Next, assess the existing soil in the raised garden bed. Check for any signs of compaction or poor drainage, as these issues can exacerbate water retention problems. Additionally, evaluate the overall quality of the soil to determine if any amendments, such as organic matter or compost, are needed to enhance its structure and drainage capabilities.
Elevate the Bed
If the raised garden bed is not already elevated, consider raising it further to promote better drainage. Elevating the bed can prevent waterlogging and minimize the risk of water accumulation during heavy rainfall or irrigation. This step is particularly important for beds located in areas prone to water stagnation.
Read more: Why A Raised Garden Bed
Create a Slope
To facilitate natural water runoff, ensure that the garden bed has a slight slope. This slope allows excess water to drain away from the bed, preventing it from pooling around the plant roots. By incorporating a gentle incline, you can effectively mitigate water retention issues and promote a healthier growing environment for your plants.
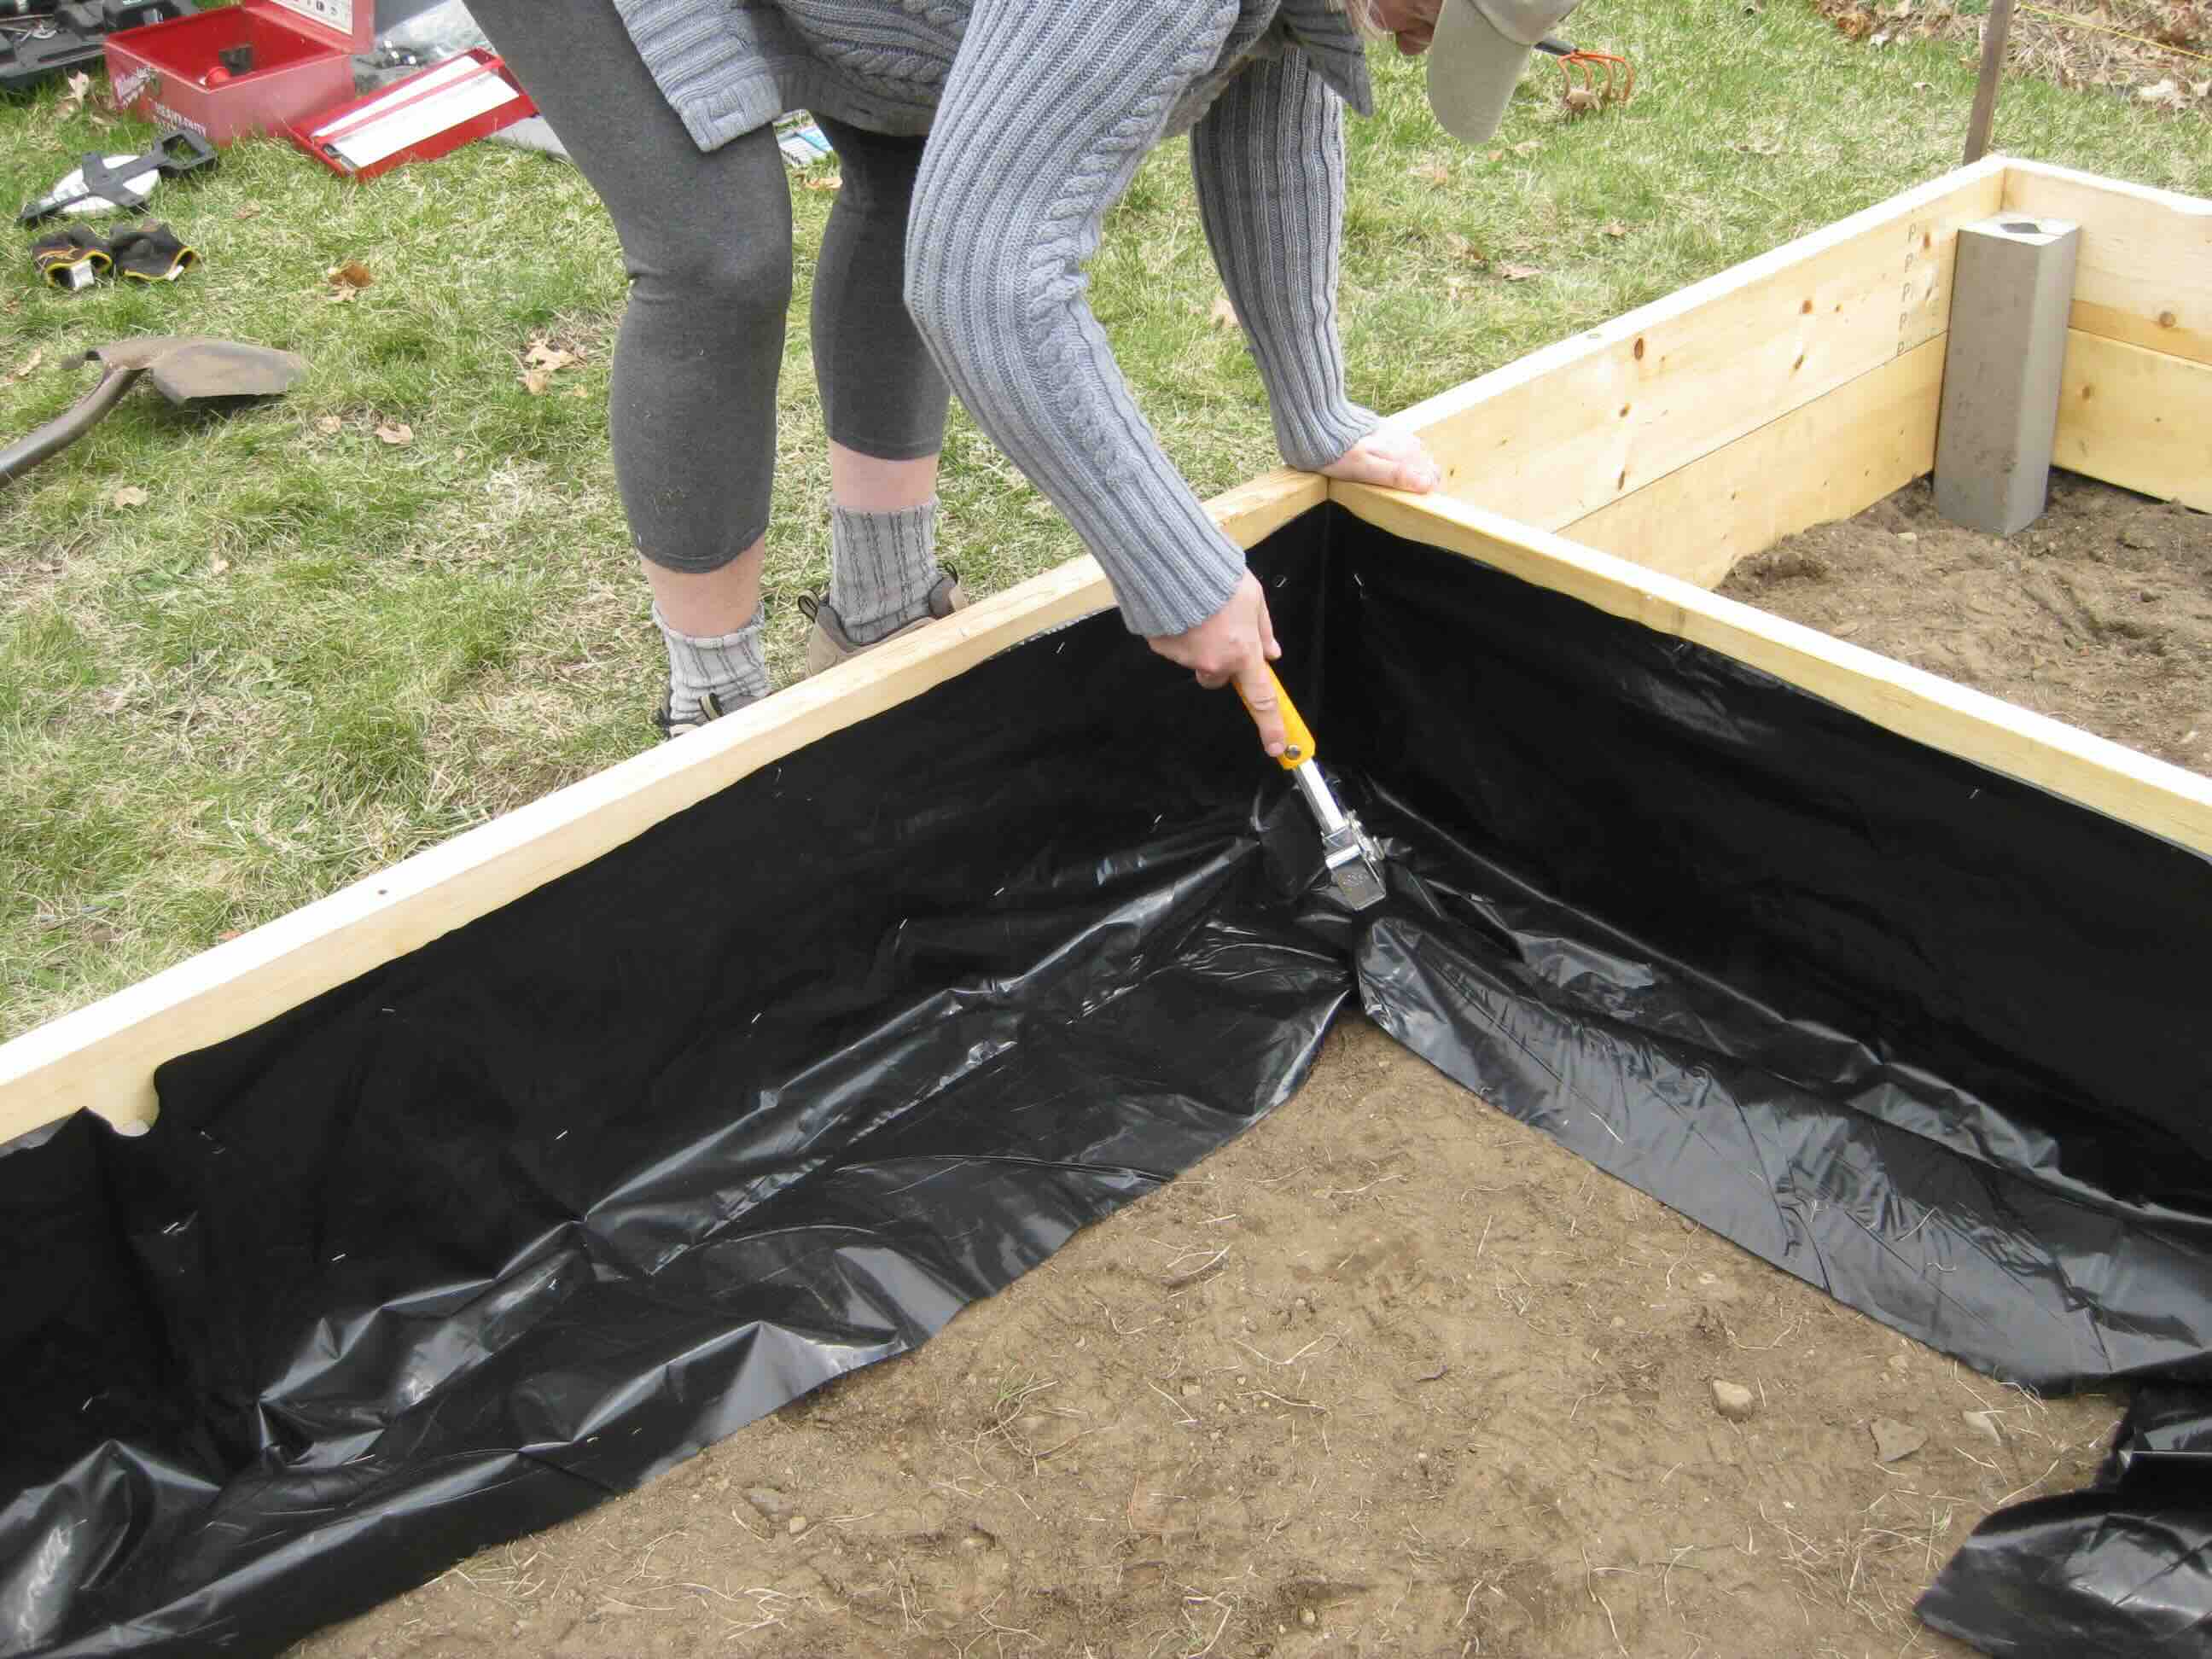
Install a Barrier
Consider installing a barrier at the base of the garden bed to prevent soil erosion and maintain proper drainage. A geotextile fabric or permeable membrane can serve as an effective barrier, allowing water to pass through while retaining the soil in place. This barrier helps to stabilize the soil structure and prevents it from being washed away during heavy rainfall or watering.
By meticulously preparing the garden bed, you establish a solid groundwork for addressing drainage concerns and creating an optimal environment for plant growth. This proactive approach sets the stage for the subsequent steps in improving the raised garden bed's drainage system.
Step 2: Remove the Soil
When it comes to addressing drainage issues in a raised garden bed, the process of removing the soil is a critical step that allows for the implementation of effective drainage solutions. By carefully excavating the existing soil, you create the opportunity to assess the underlying conditions and make necessary adjustments to improve water flow and prevent waterlogging.
To begin, use a garden shovel or spade to carefully remove the top layer of soil from the raised garden bed. As you excavate the soil, take note of its moisture content and texture. Excessively compacted or waterlogged soil can impede drainage, leading to detrimental effects on plant health. By removing the soil, you gain insight into the underlying factors contributing to poor drainage, enabling you to take targeted measures to rectify the situation.
As you delve deeper into the bed, pay attention to any signs of water accumulation or compaction. These indicators can help identify areas that require specific attention during the drainage improvement process. Additionally, inspect the soil for any debris, roots, or other obstructions that may hinder proper water movement within the bed.
Once the initial layer of soil has been removed, take the time to assess the overall depth of the bed and the condition of the soil beneath the surface. This evaluation provides valuable information for determining the extent of the drainage issue and guides the subsequent steps in the remediation process.
As you proceed with the soil removal, maintain a systematic approach to ensure thoroughness and precision. By methodically excavating the soil, you create a clean canvas for implementing effective drainage measures, setting the stage for the next phase of enhancing the raised garden bed's water management system.
In summary, the process of removing the soil from a raised garden bed is a fundamental step in addressing drainage concerns and creating an optimal growing environment for plants. By carefully excavating the soil, you gain valuable insights into the underlying conditions and pave the way for implementing targeted drainage solutions to promote healthy plant growth.
Step 3: Install Drainage Material
With the soil removed, the next crucial step in enhancing the drainage of a raised garden bed involves the installation of appropriate drainage material. This strategic addition serves to facilitate efficient water movement, prevent waterlogging, and create an optimal environment for plant roots to thrive.
Read more: How To Seal A Raised Garden Bed
Selecting the Right Drainage Material
When choosing drainage material for a raised garden bed, it's essential to opt for options that promote effective water drainage while maintaining soil integrity. Commonly used materials include:
-
Gravel or Pebbles: These coarse materials provide excellent drainage capabilities, allowing water to percolate through the soil and prevent water accumulation. Additionally, gravel and pebbles aid in maintaining soil aeration, which is vital for root health.
-
Perforated Pipes: Installing perforated pipes at the base of the garden bed can significantly enhance drainage by facilitating the efficient removal of excess water. These pipes serve as conduits for water flow, preventing waterlogging and associated issues.
-
Coarse Sand: Incorporating coarse sand into the bed's lower layers can improve drainage and prevent soil compaction. The granular nature of sand promotes water percolation, contributing to a balanced moisture level within the soil.
Implementation Process
Once the appropriate drainage material has been selected, it's time to integrate it into the raised garden bed. Follow these steps for effective installation:
-
Layering: Begin by adding a layer of the chosen drainage material, such as gravel or pebbles, to the base of the bed. This initial layer serves as a reservoir for excess water, preventing it from saturating the soil above.
-
Distribution: Ensure an even distribution of the drainage material throughout the bed, paying particular attention to areas prone to water accumulation. By strategically placing the material, you can create a uniform drainage system that effectively mitigates water retention.
-
Perforated Pipe Placement: If utilizing perforated pipes, carefully position them within the bed to optimize water drainage. These pipes should be strategically placed to intercept and redirect excess water, preventing it from stagnating within the soil.
-
Covering: Once the drainage material and pipes are in place, cover them with a permeable barrier, such as geotextile fabric, to prevent soil intrusion while allowing water to pass through freely.
By meticulously installing the appropriate drainage material, you establish a robust water management system within the raised garden bed, effectively addressing drainage concerns and creating an environment conducive to healthy plant growth. This proactive approach sets the stage for the subsequent steps in enhancing the bed's overall drainage capabilities.
In summary, the installation of drainage material is a pivotal step in optimizing the drainage of a raised garden bed, ensuring that excess water is effectively managed to promote a balanced and healthy growing environment for plants.
Step 4: Re-fill the Garden Bed
After addressing the drainage concerns and installing the necessary drainage material, the next crucial step is to re-fill the raised garden bed with soil. This process involves carefully reintroducing the amended soil while ensuring proper integration with the drainage components to create an optimal growing environment for plants.
Soil Amendment
Before re-filling the garden bed, it's essential to amend the soil to enhance its overall quality and promote healthy plant growth. Incorporating organic matter, such as compost or well-rotted manure, can improve soil structure, nutrient content, and water retention capacity. Additionally, adding a balanced fertilizer at this stage can provide essential nutrients for the plants, ensuring their vigor and resilience.
Read more: How To Cover A Raised Garden Bed
Layering Technique
When re-filling the garden bed, employ a strategic layering technique to integrate the amended soil with the installed drainage material. Begin by adding a layer of the amended soil, ensuring even distribution throughout the bed. As you layer the soil, pay attention to the incorporation of the drainage material, such as gravel or pebbles, to create a harmonious blend that promotes efficient water movement and root development.
Soil Compaction
As the bed is re-filled, take measures to prevent excessive soil compaction, which can impede drainage and root growth. Gently tamp the soil layers to ensure adequate firmness without compacting it excessively. This careful approach maintains soil porosity and facilitates proper water percolation, contributing to an optimal growing environment for the plants.
Final Leveling
Once the bed is re-filled, perform a final leveling to ensure uniformity and stability. Smooth out the soil surface, creating an even and consistent planting area for the upcoming flora. This meticulous leveling process sets the stage for seamless planting and maintenance, allowing for easy access and optimal plant care.
By re-filling the garden bed with amended soil and integrating it with the drainage components, you establish a balanced and nurturing environment for plant growth. This step marks the culmination of the drainage improvement process, setting the stage for the successful cultivation of a diverse array of plants within the raised garden bed.
In summary, the re-filling of the garden bed is a pivotal step that completes the comprehensive process of enhancing the bed's drainage system. By integrating amended soil with the installed drainage material, you create an optimal environment for plant growth, ensuring the long-term health and vitality of the garden.
Conclusion
In conclusion, the effective drainage of a raised garden bed is essential for creating an optimal environment that promotes healthy plant growth and overall vitality. By following the step-by-step process outlined in this guide, garden enthusiasts can address drainage concerns and establish a well-balanced ecosystem within their raised beds.
The initial preparation of the garden bed sets the stage for successful drainage improvement, allowing for thorough assessment and proactive measures to enhance water management. Clearing the area, assessing the soil, elevating the bed, creating a slope, and installing a barrier are foundational steps that contribute to the overall effectiveness of the drainage system.
The meticulous removal of the soil provides valuable insights into the underlying conditions and allows for targeted interventions to address water retention issues. By excavating the soil, gardeners gain a comprehensive understanding of the bed's drainage dynamics, paving the way for strategic enhancements.
The installation of appropriate drainage material, such as gravel, pebbles, perforated pipes, or coarse sand, serves as a critical component in optimizing water movement within the raised garden bed. This step facilitates efficient drainage, prevents waterlogging, and creates an environment conducive to robust root development and plant health.
Re-filling the garden bed with amended soil and integrating it with the installed drainage material completes the comprehensive process, ensuring a harmonious blend that promotes efficient water movement and root development. This final step sets the stage for successful cultivation and maintenance of a diverse array of plants within the raised garden bed.
By addressing drainage concerns and implementing targeted solutions, gardeners can create an environment that fosters healthy plant growth, minimizes the risk of water-related issues, and enhances the overall aesthetics of the garden. With proper drainage in place, raised garden beds can thrive as vibrant and flourishing spaces for cultivating a wide range of plants, from vibrant flowers to bountiful vegetables.
In essence, the effective drainage of a raised garden bed is a fundamental aspect of successful gardening, ensuring that plants receive the optimal balance of moisture, nutrients, and aeration. By following the guidelines outlined in this guide, gardeners can embark on a journey to create thriving and resilient ecosystems within their raised garden beds, fostering a deep connection with nature and the joy of nurturing vibrant plant life.
Frequently Asked Questions about How To Drain A Raised Garden Bed
Was this page helpful?
At Storables.com, we guarantee accurate and reliable information. Our content, validated by Expert Board Contributors, is crafted following stringent Editorial Policies. We're committed to providing you with well-researched, expert-backed insights for all your informational needs.


0 thoughts on “How To Drain A Raised Garden Bed”