Home>Gardening & Outdoor>Landscaping Ideas>How To Seal A Raised Garden Bed
Landscaping Ideas
How To Seal A Raised Garden Bed
Modified: August 30, 2024
Discover the best landscaping ideas for sealing a raised garden bed with our step-by-step guide. Enhance your outdoor space with these practical tips and techniques.
(Many of the links in this article redirect to a specific reviewed product. Your purchase of these products through affiliate links helps to generate commission for Storables.com, at no extra cost. Learn more)
Introduction
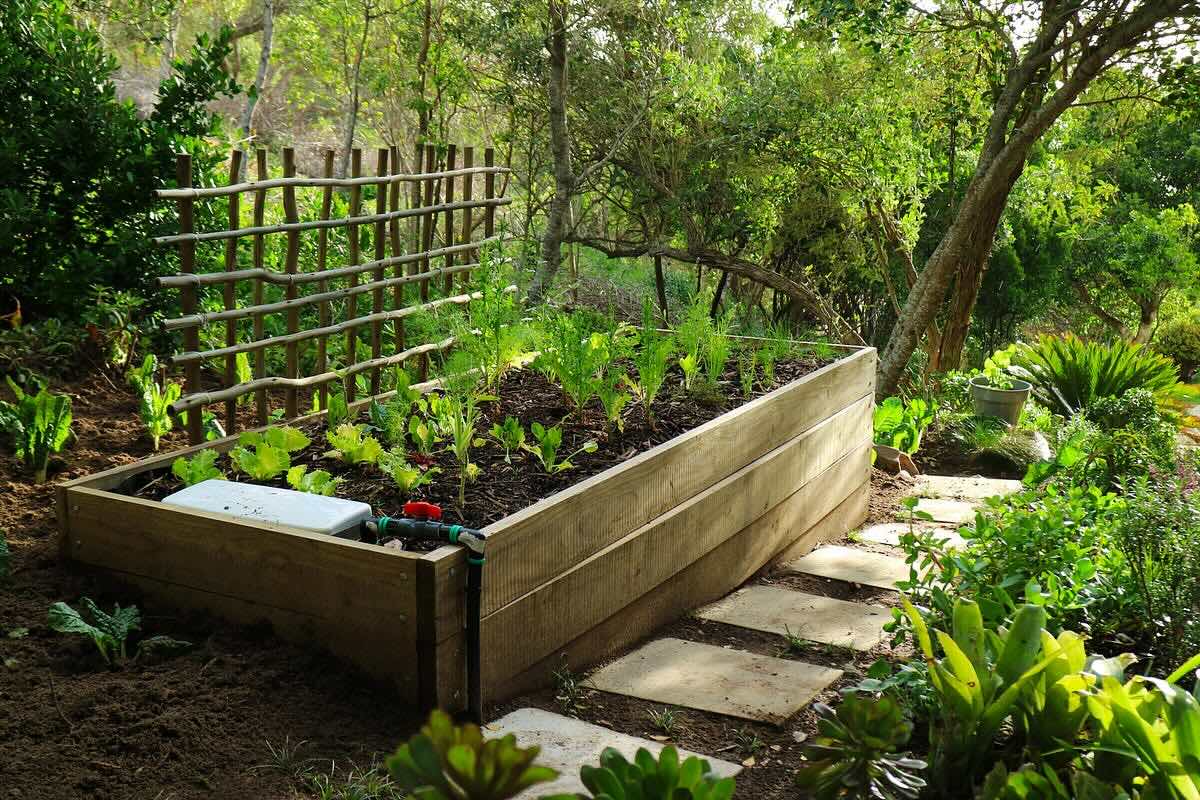
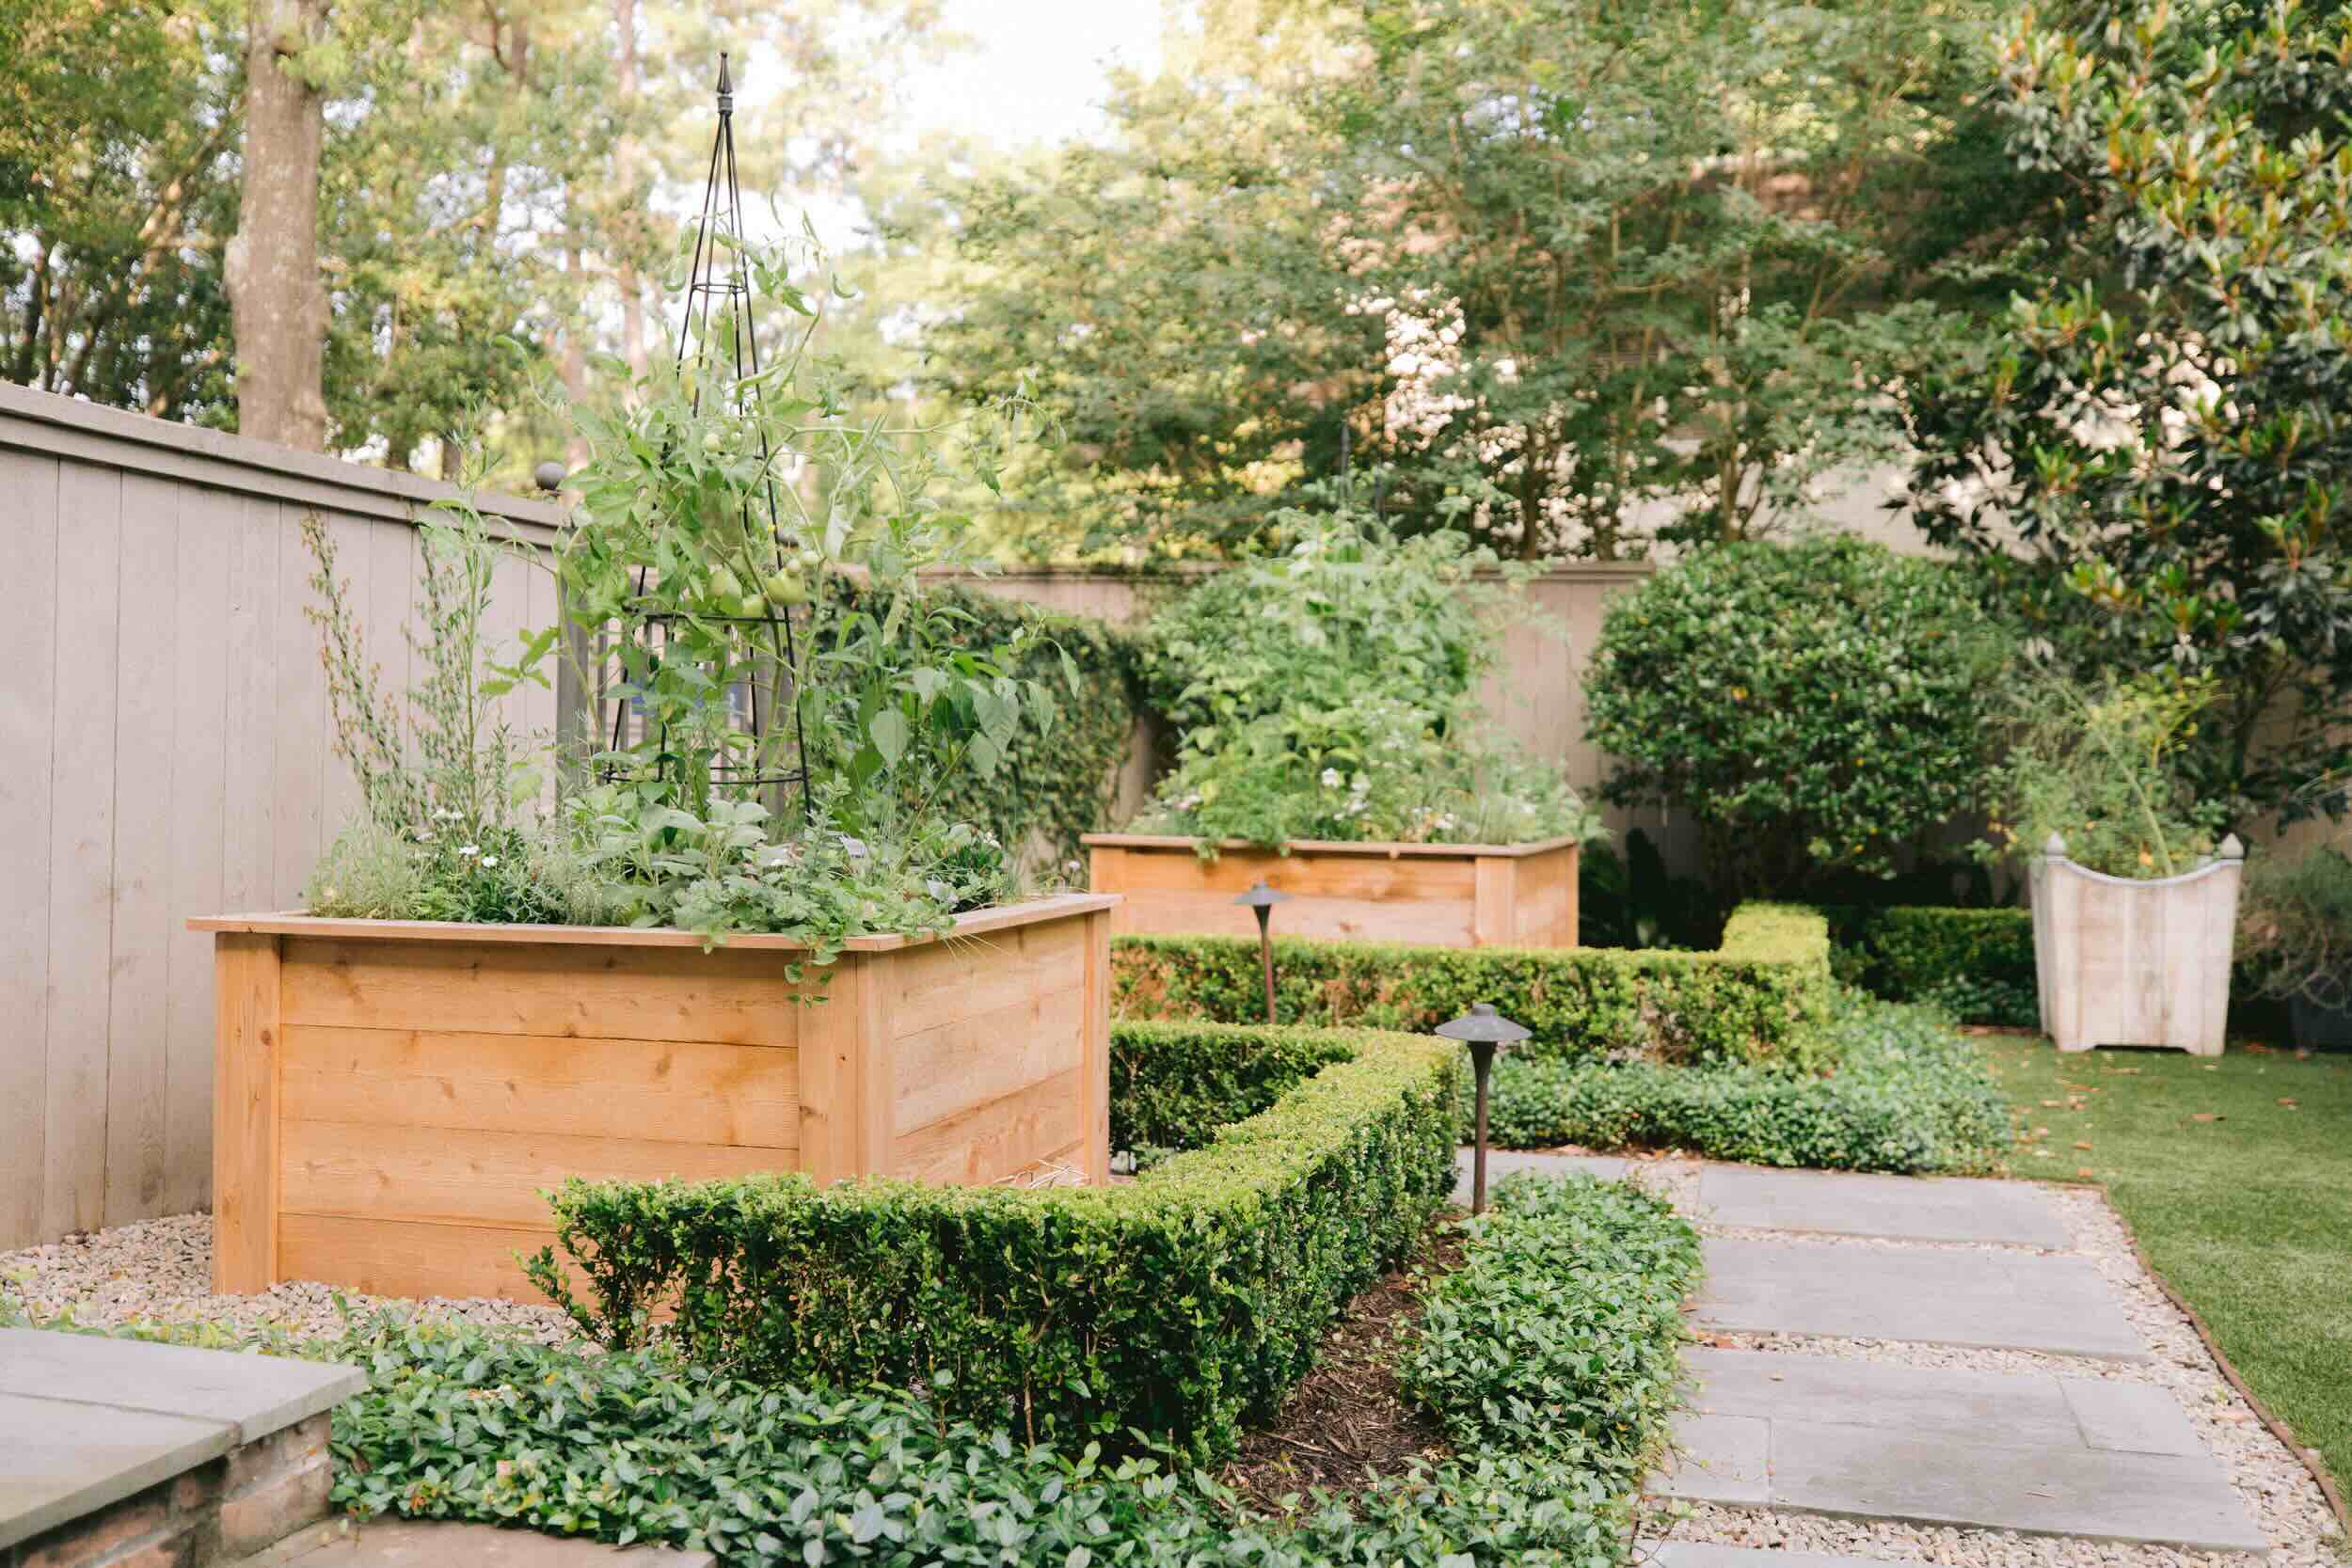
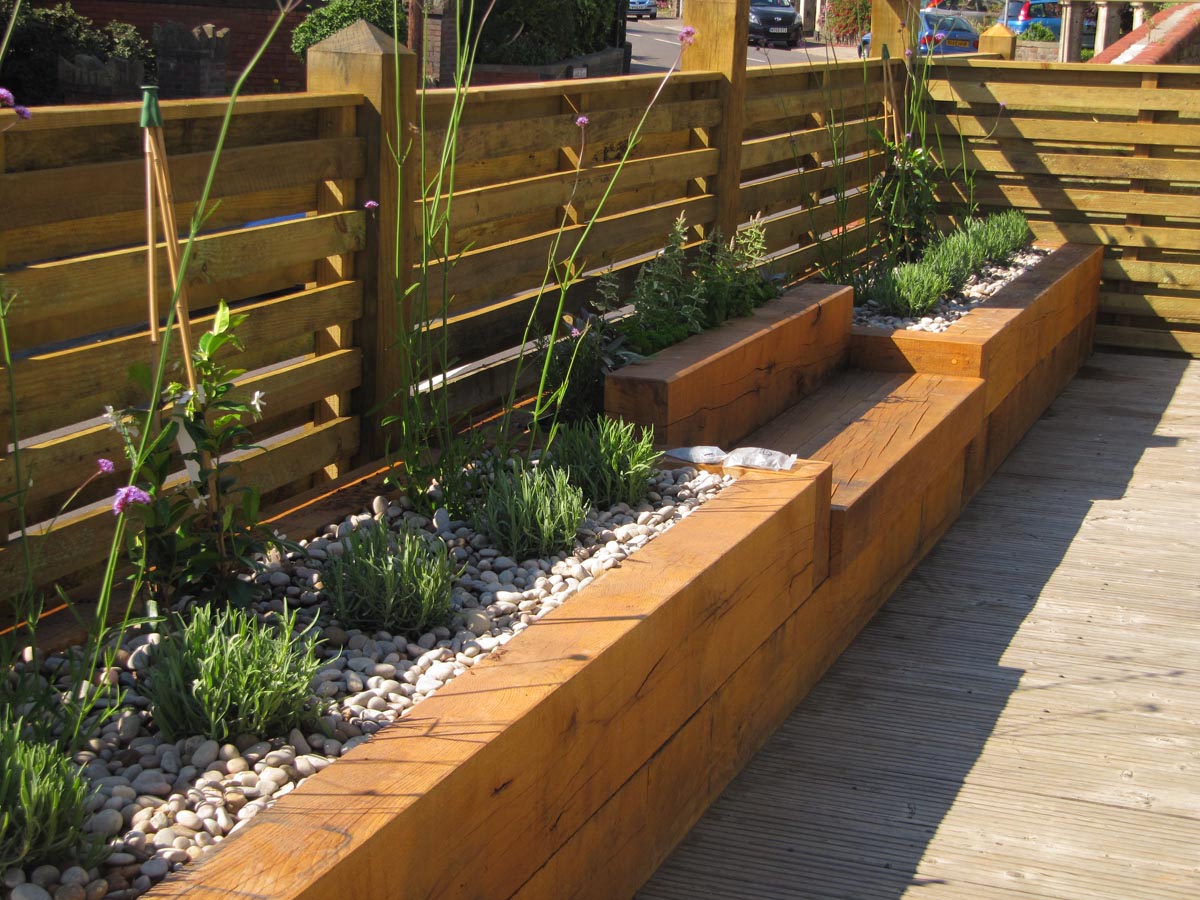
Creating a raised garden bed is a fantastic way to add visual interest and functionality to your outdoor space. Whether you're a seasoned gardener or just starting out, a raised garden bed offers numerous benefits, including improved drainage, better soil quality, and easier access for planting and maintenance. However, to ensure the longevity and structural integrity of your raised garden bed, it's essential to seal it properly.
Sealing a raised garden bed not only enhances its durability but also helps to prevent moisture damage and decay, ultimately extending its lifespan. By following a few simple steps, you can effectively seal your raised garden bed and set the stage for a thriving garden oasis.
In this comprehensive guide, we'll walk you through the process of sealing a raised garden bed, from gathering the necessary materials to adding the finishing touches. Whether you're working with wood, metal, or another material, the principles of sealing remain consistent, allowing you to protect your investment and create an environment where your plants can flourish.
By the end of this guide, you'll have the knowledge and confidence to seal your raised garden bed effectively, ensuring that it not only looks stunning but also stands the test of time. So, let's dive in and discover how to seal a raised garden bed to create a beautiful and resilient foundation for your gardening endeavors.
Key Takeaways:
- Sealing a raised garden bed protects it from damage and helps plants thrive by following simple steps like cleaning, sanding, and applying the right sealant.
- After sealing, adding soil and plants completes the process, creating a beautiful and resilient garden space for you to enjoy and nurture.
Read more: What Is A Raised Garden Bed
Step 1: Gather Materials
Before embarking on the process of sealing your raised garden bed, it's crucial to gather all the necessary materials. By ensuring that you have everything at hand, you can streamline the sealing process and avoid unnecessary interruptions. Here's a comprehensive list of materials you'll need:
1. Sealant:
Selecting the right sealant is paramount to the success of your project. Opt for a high-quality, weather-resistant sealant that is specifically designed for outdoor use. Look for products that offer protection against moisture, UV rays, and temperature fluctuations to safeguard your garden bed against the elements.
2. Protective Gear:
Prioritize safety by equipping yourself with protective gear, including gloves, safety goggles, and a mask. These items will shield you from potential skin irritation and harmful fumes during the sealing process, ensuring a safe and comfortable experience.
3. Cleaning Supplies:
Prepare the surface of your garden bed by gathering cleaning supplies such as a stiff brush, mild detergent, and water. Thoroughly clean the interior and exterior of the garden bed to remove any dirt, debris, or previous sealant residue, creating a clean canvas for the new sealant application.
Read more: Why A Raised Garden Bed
4. Sandpaper or Sanding Block:
To achieve optimal adhesion, it's essential to smooth out any rough or uneven surfaces on the garden bed. Utilize sandpaper or a sanding block to gently sand the wood or metal, promoting better adherence and a more uniform sealant application.
5. Paintbrushes or Rollers:
Select high-quality paintbrushes or rollers suitable for the type of sealant you're using. Ensure that the brushes or rollers are clean and in good condition to facilitate a smooth and even application of the sealant, resulting in a professional finish.
6. Drop Cloth or Tarp:
Protect the surrounding area from accidental spills or drips by laying down a drop cloth or tarp. This precaution will safeguard your outdoor space from potential sealant stains and simplify the cleanup process.
By gathering these materials, you'll be well-prepared to commence the sealing process with confidence and efficiency. With the necessary tools and protective gear in hand, you're ready to move on to the next step: preparing the garden bed for sealing.
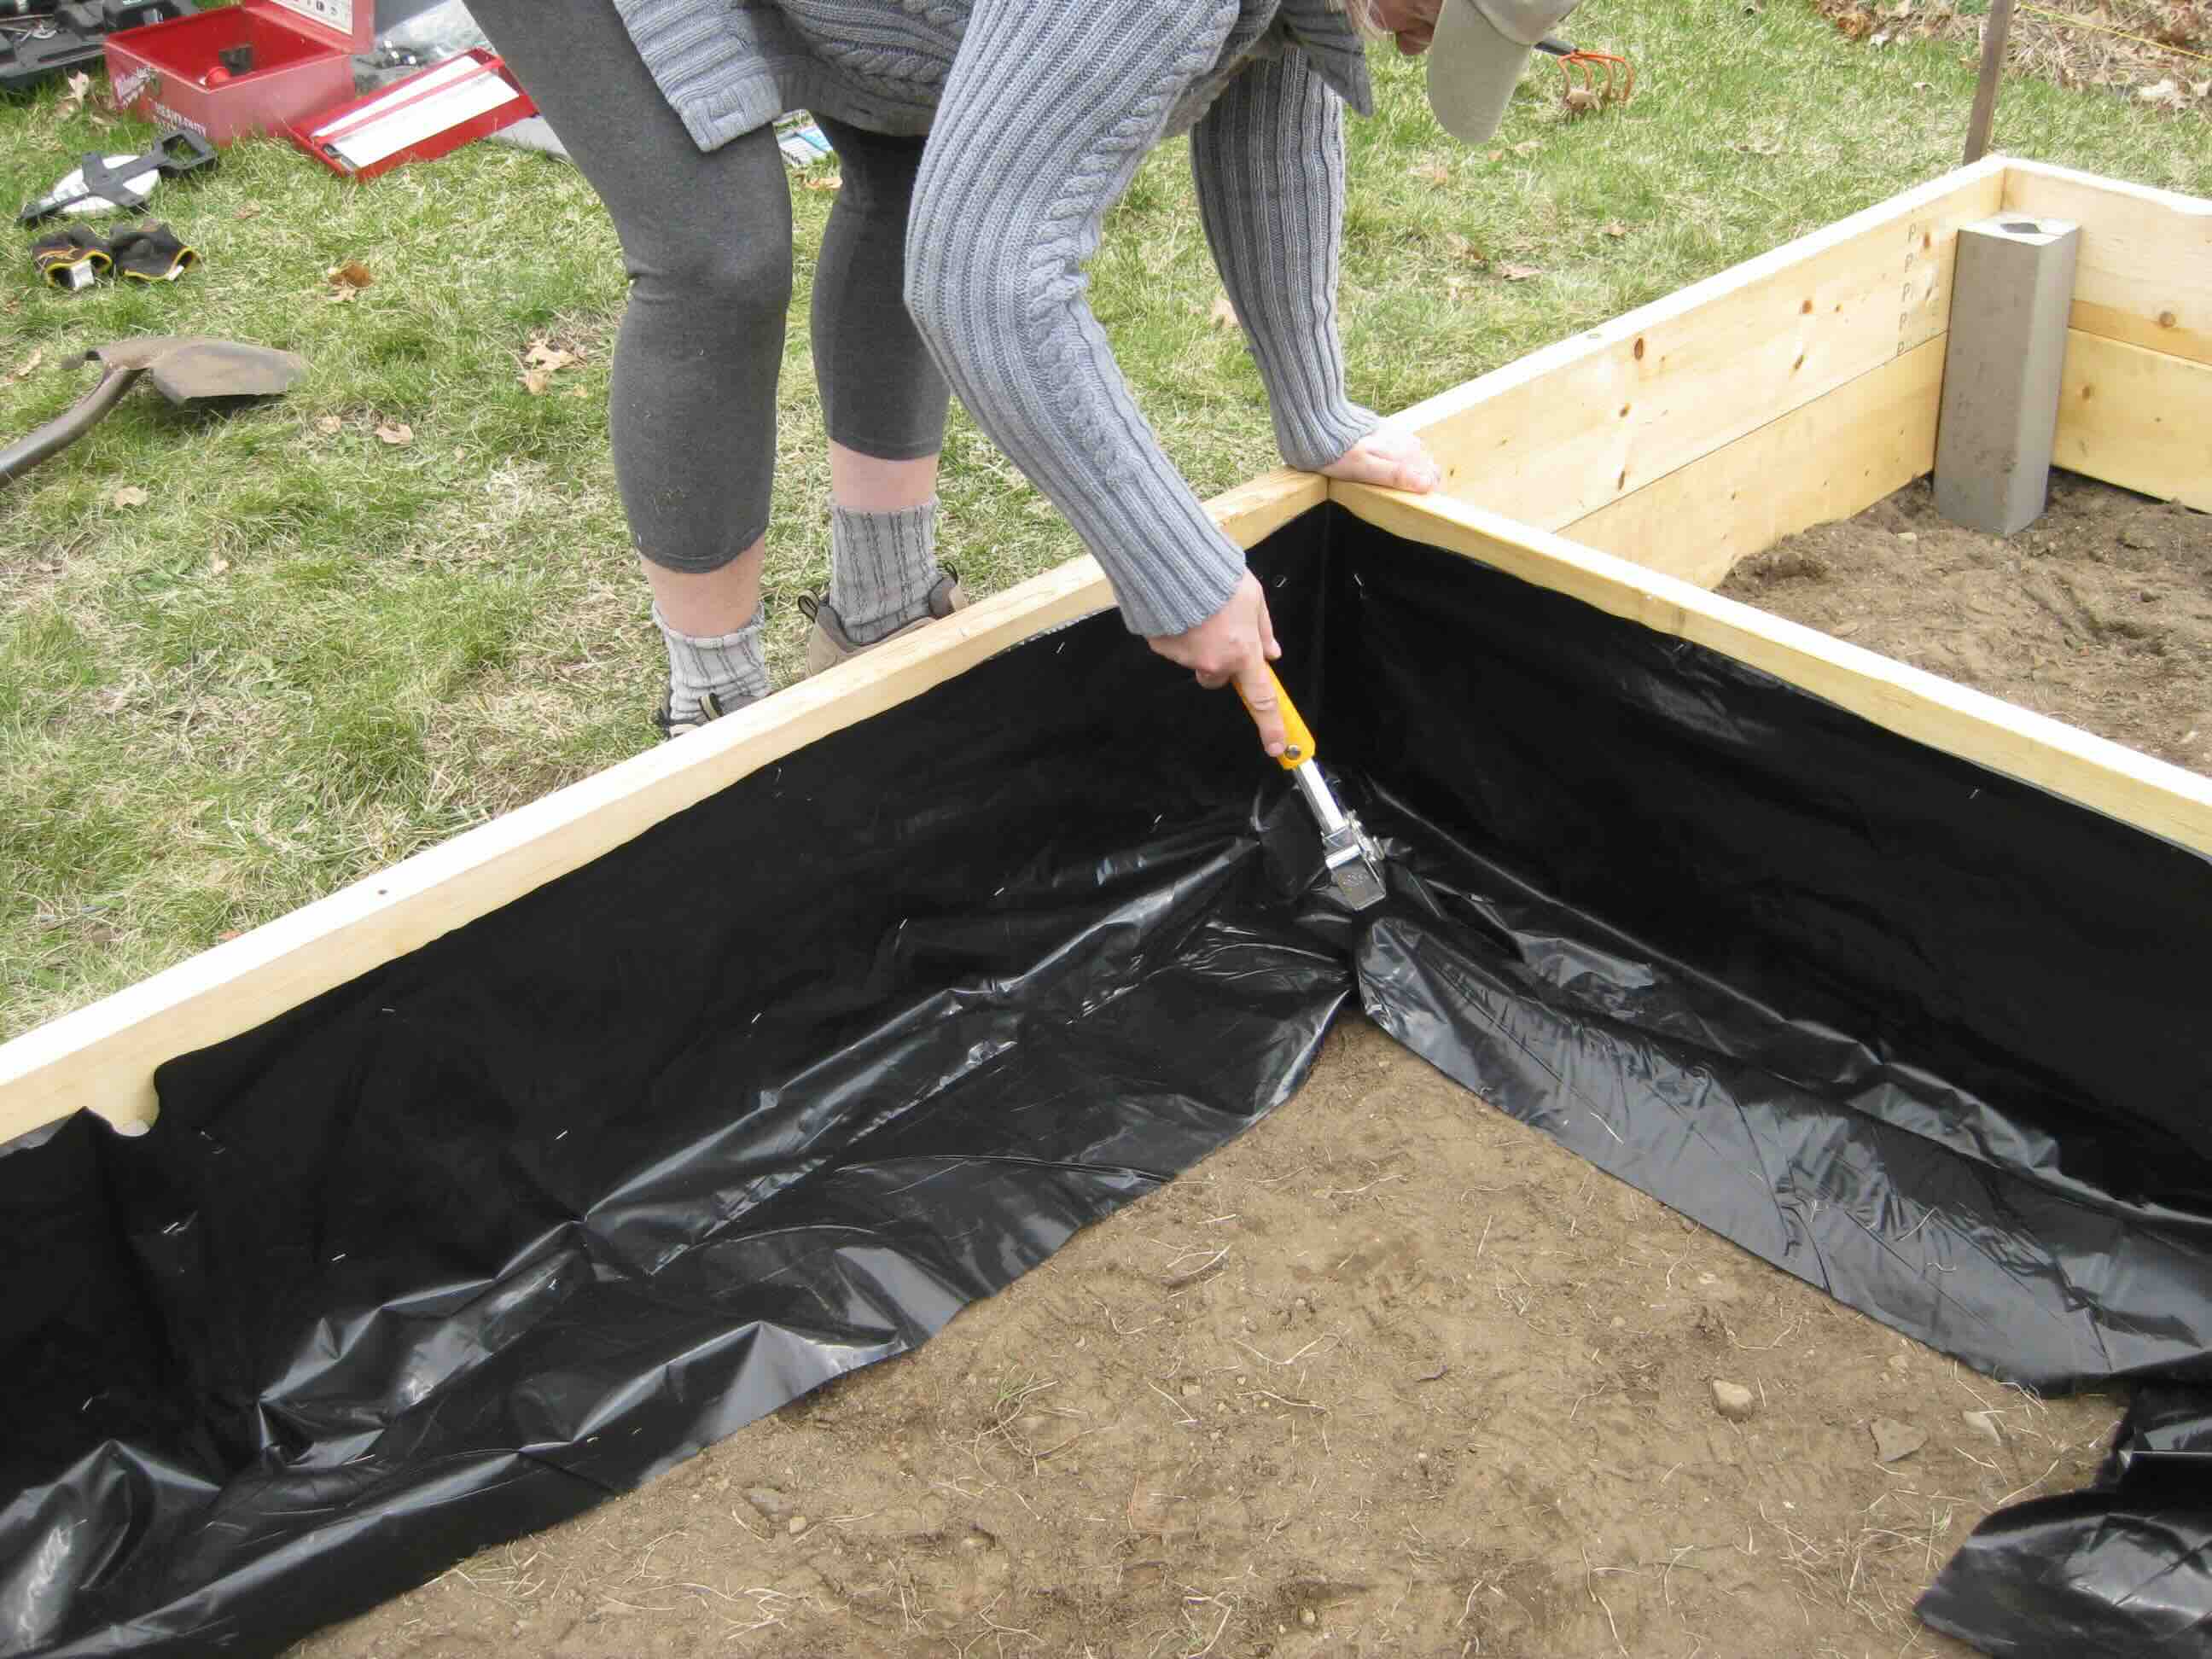
Step 2: Prepare the Garden Bed
Before applying the sealant, it's essential to thoroughly prepare the garden bed to ensure optimal adhesion and long-lasting results. Proper preparation sets the stage for a seamless sealing process and contributes to the overall durability of the raised garden bed. Here's a detailed breakdown of the preparatory steps:
-
Inspect the Surface: Begin by carefully examining the surface of the garden bed. Look for any signs of damage, such as cracks, splinters, or rust on metal surfaces. Addressing these issues before sealing will help prevent further deterioration and ensure a smooth, uniform application of the sealant.
-
Clean the Garden Bed: Using a stiff brush, remove any dirt, debris, or loose particles from both the interior and exterior of the garden bed. For stubborn grime or residue, consider using a mild detergent and water to thoroughly clean the surfaces. This step is crucial for promoting strong adhesion and preventing the sealant from adhering to unwanted contaminants.
-
Sand the Surface: If working with wood, use sandpaper or a sanding block to gently smooth out any rough spots or imperfections on the surface. This process not only enhances the appearance of the wood but also creates a clean, receptive surface for the sealant. For metal garden beds, sanding can help remove rust and corrosion, allowing the sealant to adhere more effectively.
-
Remove Previous Sealant (if applicable): If the garden bed has been previously sealed, it's important to remove any old sealant that may be peeling or deteriorating. Use a suitable solvent or stripping agent to eliminate the old sealant, ensuring that the new sealant can bond directly to the surface without interference.
-
Protect Surrounding Areas: Safeguard the surrounding area by placing a drop cloth or tarp underneath the garden bed. This precautionary measure prevents accidental spills or drips from reaching the ground, minimizing cleanup efforts and protecting the immediate environment.
By meticulously preparing the garden bed, you're laying the groundwork for a successful sealing process. These preparatory steps not only contribute to the aesthetic appeal of the garden bed but also play a vital role in ensuring the effectiveness and longevity of the sealant application. With the garden bed primed and ready, you're now poised to move on to the next crucial phase: applying the sealant.
Read more: How To Cover A Raised Garden Bed
Step 3: Apply the Sealant
With the garden bed meticulously prepared, it's time to proceed with the application of the sealant. This pivotal step not only enhances the visual appeal of the garden bed but also serves as a protective barrier against environmental elements, ensuring its longevity and resilience. Here's a detailed guide on how to effectively apply the sealant to your raised garden bed:
-
Choose the Right Conditions: Select a day with favorable weather conditions for the sealant application. Ideally, aim for a dry day with mild temperatures and minimal wind. Avoid applying the sealant under direct sunlight, as this can lead to premature drying and potential unevenness in the finish.
-
Stir and Prepare the Sealant: If using a sealant that requires mixing, thoroughly stir the product according to the manufacturer's instructions. Ensure that the sealant is well-blended and at the appropriate consistency for smooth application.
-
Start with the Interior: Begin by applying the sealant to the interior of the garden bed. Use a high-quality paintbrush or roller to achieve even coverage, working methodically from one end to the other. Pay close attention to corners and crevices, ensuring that the sealant reaches all areas for comprehensive protection.
-
Apply to the Exterior: Once the interior is fully coated and has had sufficient time to dry, proceed to apply the sealant to the exterior of the garden bed. Employ the same meticulous approach, ensuring that the entire surface is evenly covered to create a uniform and protective seal.
-
Follow Recommended Application Thickness: Adhere to the recommended thickness of the sealant application as specified by the manufacturer. Avoid over-application, as this can lead to prolonged drying times and potential issues with the finish. Conversely, insufficient application may compromise the protective capabilities of the sealant.
-
Allow for Proper Drying Time: After applying the sealant, allow ample time for it to dry thoroughly. Follow the manufacturer's guidelines regarding drying times and avoid any contact with the sealed surfaces during this period. Adequate drying time is crucial for the sealant to form a durable and resilient barrier.
By following these steps, you can effectively apply the sealant to your raised garden bed, safeguarding it against moisture, UV exposure, and other environmental factors. The application process not only contributes to the visual appeal of the garden bed but also plays a vital role in ensuring its long-term durability and protection. With the sealant successfully applied, you're now ready to proceed to the next phase of the project: letting the sealant dry.
Step 4: Let the Sealant Dry
After the meticulous application of the sealant to your raised garden bed, it's crucial to allow for proper drying time to ensure the formation of a durable and resilient protective barrier. The drying process is a critical phase that directly impacts the effectiveness and longevity of the sealant. Here's a detailed overview of the steps involved in letting the sealant dry:
-
Follow Manufacturer's Guidelines: Refer to the manufacturer's instructions regarding the recommended drying time for the specific sealant product you've used. Different sealants may have varying drying times based on factors such as temperature, humidity, and application thickness. Adhering to the manufacturer's guidelines is essential for achieving optimal results.
-
Avoid Disturbance: Once the sealant has been applied, refrain from any activities that may disturb or come into contact with the sealed surfaces. This includes refraining from placing objects on the garden bed, leaning against it, or engaging in any activities that could compromise the integrity of the sealant. Maintaining a clear and undisturbed drying environment is key to achieving a uniform and durable finish.
-
Monitor Environmental Conditions: Keep an eye on the environmental conditions during the drying period. Ensure that the garden bed is positioned in a well-ventilated area with moderate temperature and low humidity. Avoid exposing the sealed surfaces to direct sunlight, as excessive heat can impact the drying process and potentially lead to uneven drying or premature curing.
-
Assess Dryness: To determine if the sealant has fully dried, perform a visual and tactile assessment. Look for a consistent appearance across the entire surface, free from any signs of tackiness or wetness. Additionally, gently touch a small inconspicuous area to ensure that the sealant has cured to the desired level of hardness and resilience.
-
Exercise Patience: While it may be tempting to expedite the process, exercising patience is crucial when letting the sealant dry. Rushing the drying phase can compromise the quality of the finish and may necessitate reapplication, ultimately prolonging the overall project timeline. Allowing the sealant to dry at its natural pace is essential for achieving the best results.
By carefully overseeing the drying process and ensuring that the sealant cures effectively, you're taking proactive steps to safeguard your raised garden bed against the elements and promote its long-term durability. Once the sealant has thoroughly dried and cured, you'll be ready to proceed with the final phase: adding soil and plants to transform your sealed raised garden bed into a flourishing oasis.
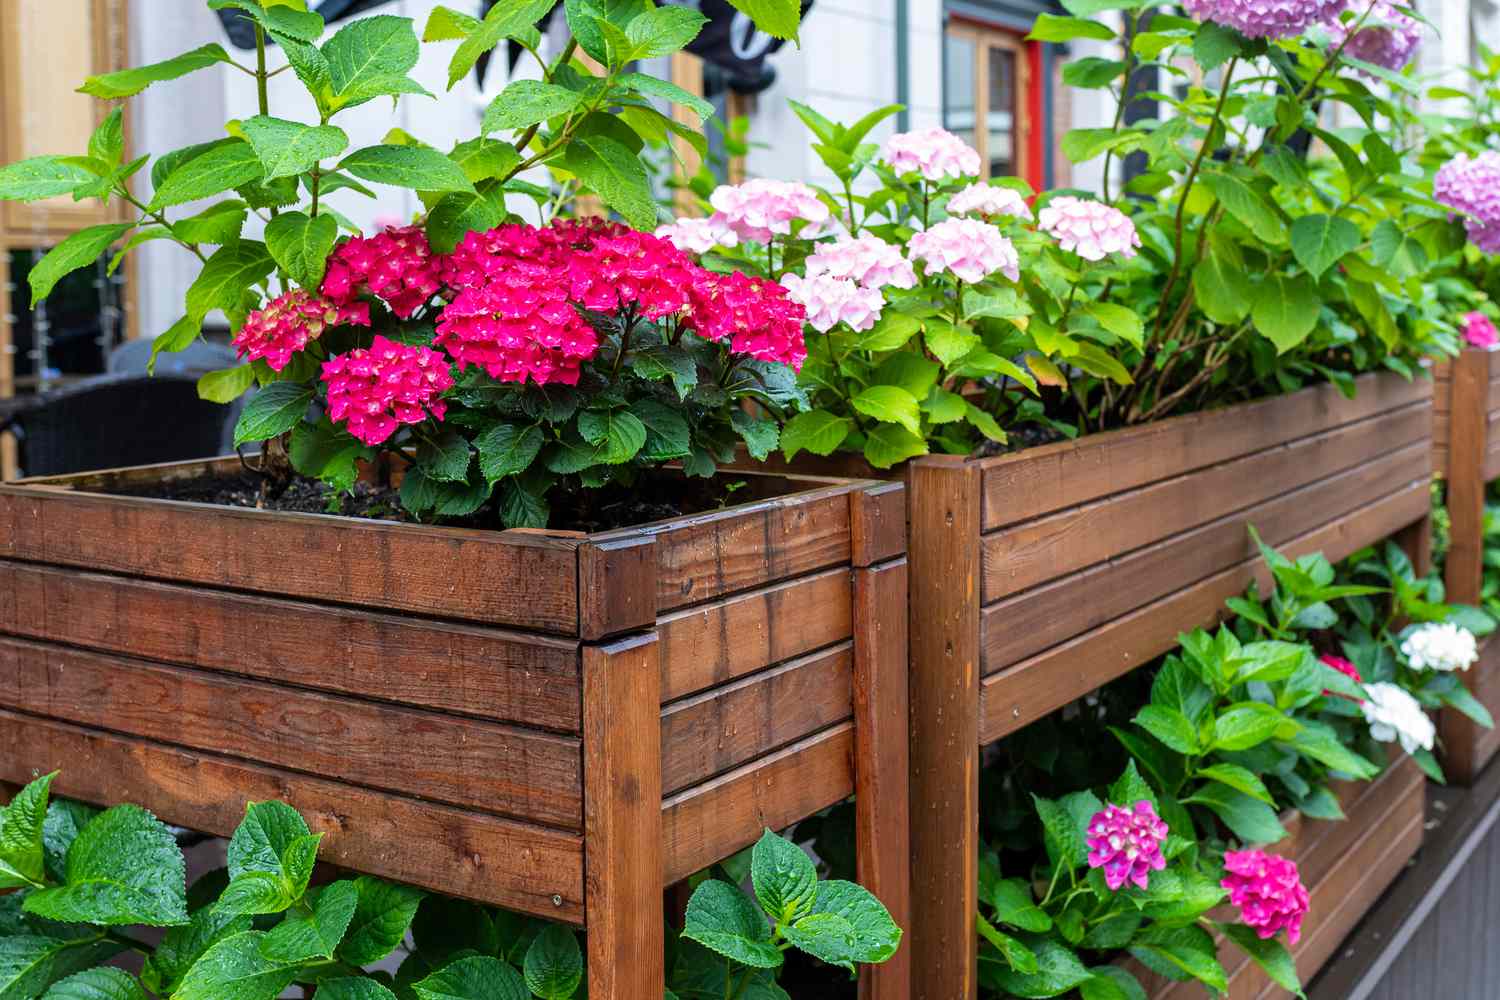
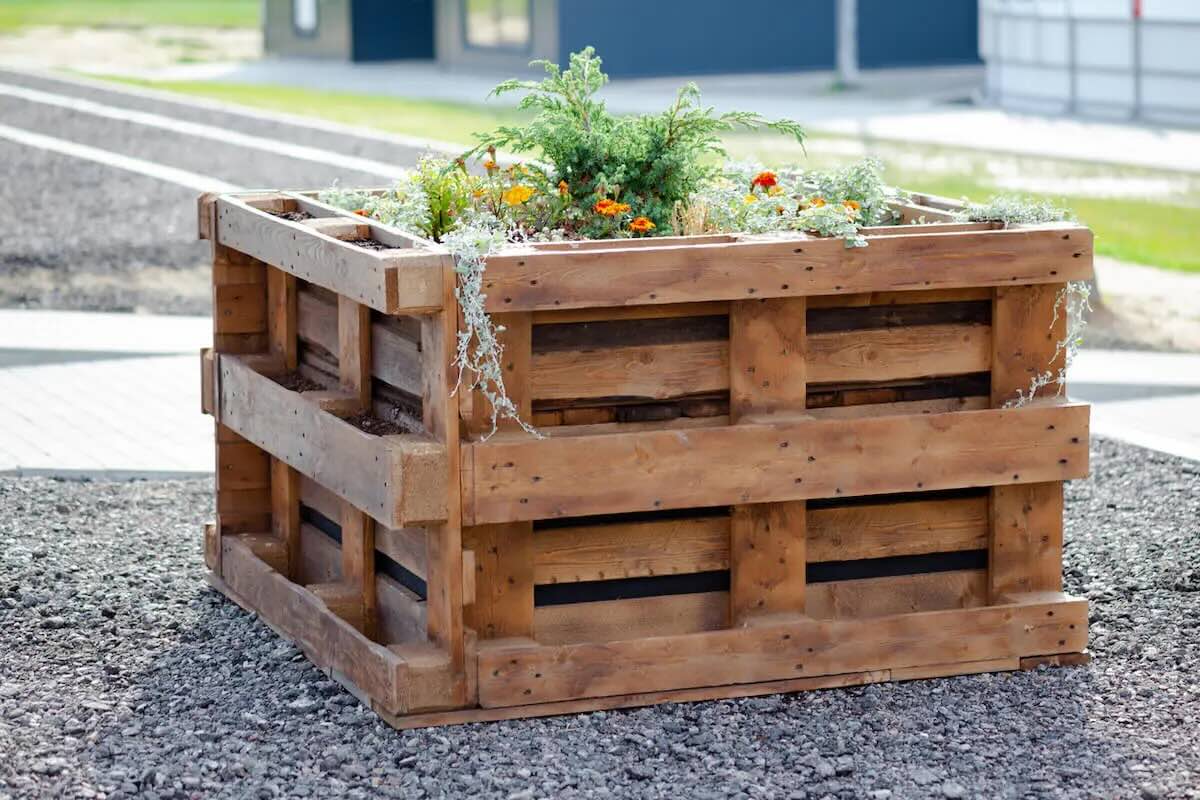
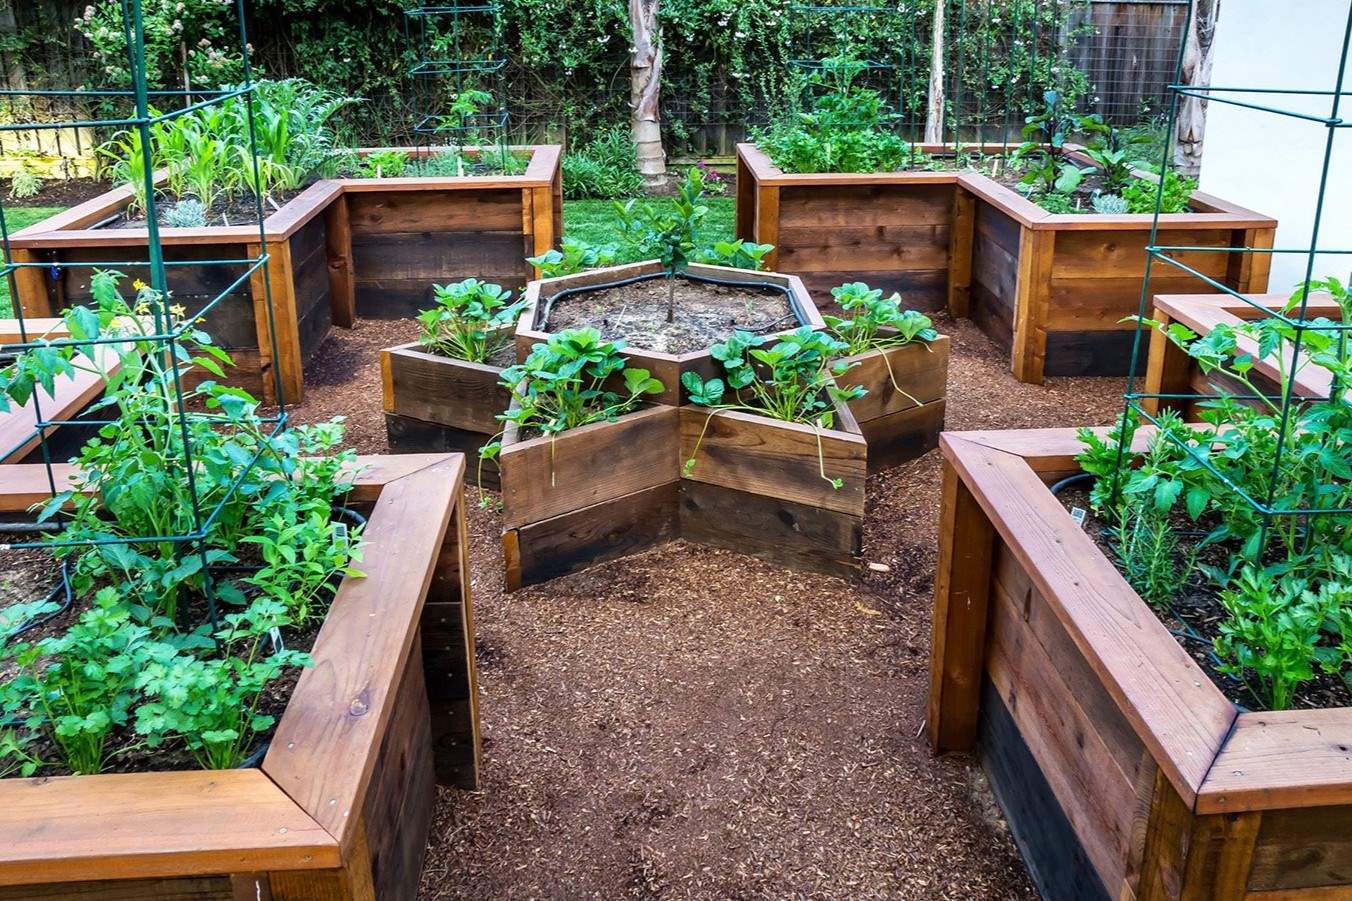
Step 5: Add Soil and Plants
With the raised garden bed successfully sealed and fully dried, it's time to bring life to your outdoor oasis by adding soil and plants. This transformative step not only completes the visual appeal of the garden bed but also sets the stage for a thriving and bountiful garden. Here's a detailed guide on how to effectively add soil and plants to your sealed raised garden bed:
-
Select High-Quality Soil: Choose nutrient-rich, well-draining soil to provide an optimal growing environment for your plants. Consider a balanced mix of topsoil, compost, and organic matter to promote healthy root development and robust plant growth.
-
Layer the Soil: Begin by layering the prepared soil mixture evenly within the sealed garden bed. Ensure that the soil is distributed uniformly, reaching all corners and edges to create a level and fertile planting surface.
-
Consider Plant Placement: Plan the placement of your plants based on their individual sunlight and spacing requirements. Take into account factors such as plant height, spread, and compatibility to create a harmonious and visually appealing garden layout.
-
Plant with Care: Gently transplant or sow your chosen plants into the prepared soil, taking care to position them at the appropriate depth and spacing. Handle the plants delicately to minimize root disturbance and encourage seamless acclimatization to their new environment.
-
Water Thoroughly: After planting, water the soil generously to provide essential hydration to the newly introduced plants. Ensure that the soil is adequately moist but not waterlogged, promoting healthy establishment and growth.
-
Mulch for Protection: Consider applying a layer of organic mulch around the base of the plants to conserve moisture, suppress weed growth, and protect the soil. Mulching also contributes to the overall aesthetic appeal of the garden bed.
-
Monitor and Maintain: Regularly monitor the moisture levels, growth progress, and overall health of the plants. Implement a consistent watering and maintenance routine to nurture your garden and address any potential issues promptly.
By following these steps, you can seamlessly transition from sealing your raised garden bed to creating a vibrant and flourishing garden space. The addition of soil and plants not only enhances the visual allure of the garden bed but also marks the beginning of a rewarding journey as you nurture and enjoy the natural beauty and abundance of your garden oasis.
Conclusion
In conclusion, the process of sealing a raised garden bed is a transformative endeavor that not only enhances the visual appeal of your outdoor space but also contributes to the long-term durability and resilience of the garden bed. By following the comprehensive steps outlined in this guide, you've gained valuable insights into the meticulous preparation, application, and post-sealing care required to create a sealed raised garden bed that serves as a sturdy foundation for your gardening aspirations.
Sealing your raised garden bed is a proactive measure that safeguards it against the elements, including moisture, UV exposure, and temperature fluctuations. This protective barrier not only prolongs the lifespan of the garden bed but also creates an environment conducive to healthy plant growth and flourishing greenery.
As you embark on the journey of sealing your raised garden bed, remember that attention to detail during the preparatory phase sets the stage for a successful sealing process. Thoroughly inspecting, cleaning, and preparing the garden bed ensures optimal adhesion and a uniform sealant application, laying the groundwork for a visually appealing and resilient finish.
The application of the sealant demands precision and care, from choosing the right conditions for application to ensuring even coverage and adhering to recommended drying times. By following these steps diligently, you're not only enhancing the aesthetic appeal of the garden bed but also fortifying it against environmental wear and tear.
Allowing the sealant to dry thoroughly is a crucial phase that requires patience and vigilance. By monitoring the drying process and ensuring that the sealant cures effectively, you're taking proactive steps to safeguard your raised garden bed against the elements and promote its long-term durability.
Finally, the addition of soil and plants marks the culmination of your efforts, transforming the sealed raised garden bed into a vibrant and flourishing oasis. By selecting high-quality soil, carefully planning plant placement, and providing essential care, you're nurturing the growth of a thriving garden that reflects your dedication and passion for gardening.
In essence, the process of sealing a raised garden bed is a labor of love that culminates in the creation of a resilient and inviting outdoor space. By embracing the principles of proper sealing and post-sealing care, you're not only enhancing the beauty of your garden but also sowing the seeds for a flourishing and bountiful harvest. So, as you embark on this journey, may your sealed raised garden bed become a testament to your commitment to creating a sustainable and vibrant natural haven.
Frequently Asked Questions about How To Seal A Raised Garden Bed
Was this page helpful?
At Storables.com, we guarantee accurate and reliable information. Our content, validated by Expert Board Contributors, is crafted following stringent Editorial Policies. We're committed to providing you with well-researched, expert-backed insights for all your informational needs.


0 thoughts on “How To Seal A Raised Garden Bed”