
Articles
Which Five Tools Are Most Common To Plumbing?
Modified: October 19, 2024
Discover the top five essential plumbing tools in this informative article. Equip yourself with the necessary knowledge to tackle plumbing projects with ease.
(Many of the links in this article redirect to a specific reviewed product. Your purchase of these products through affiliate links helps to generate commission for Storables.com, at no extra cost. Learn more)
Introduction
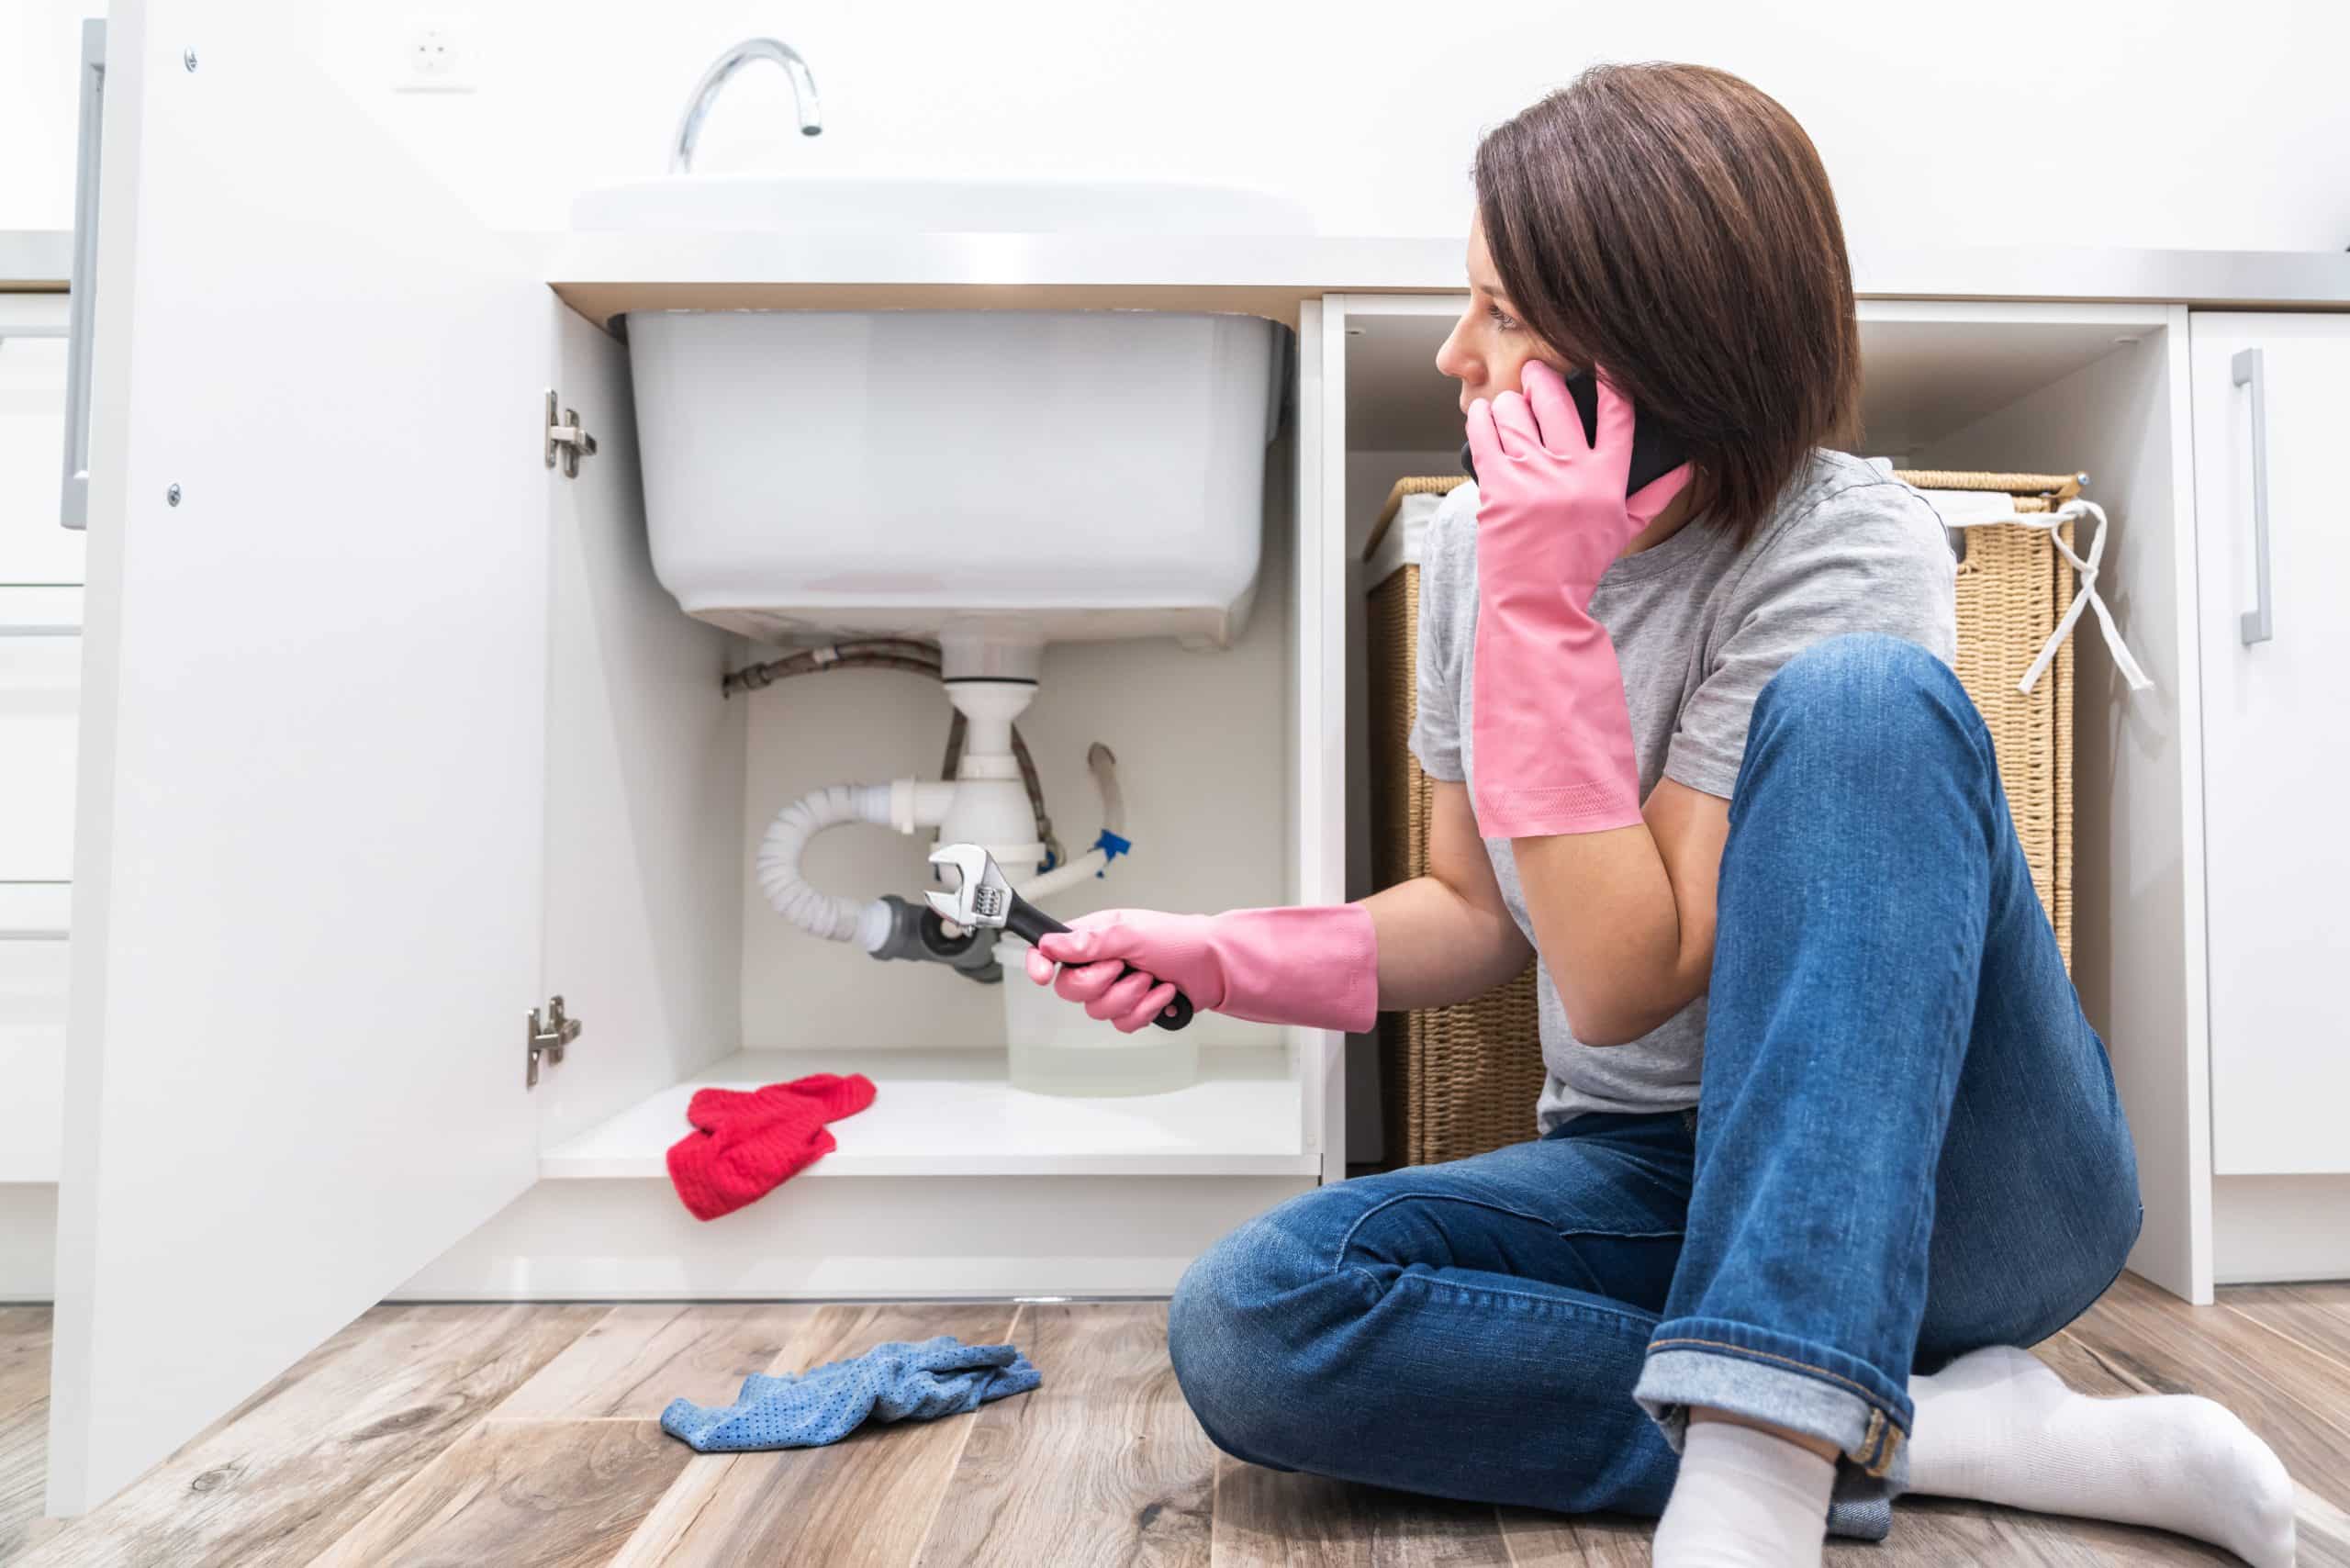
When it comes to plumbing, having the right tools on hand is essential. Plumbing jobs can range from simple DIY fixes to complex installations, and having the proper tools can make all the difference in getting the job done efficiently and effectively. Whether you’re a professional plumber or a DIY enthusiast, having a set of essential tools is crucial to tackle any plumbing project that comes your way.
In this article, we will explore five of the most common tools used in plumbing and discuss their importance and functionality. From tightening and loosening pipes to unclogging drains, these tools are a plumber’s best friend. So, let’s dive in and discover the top five tools every plumber should have in their arsenal!
Key Takeaways:
- Essential plumbing tools include pipe wrench, adjustable wrench, plunger, pipe cutter, and pliers. These versatile tools are crucial for tightening, unclogging, cutting, and manipulating plumbing components.
- Quality tools like pipe wrench, adjustable wrench, plunger, pipe cutter, and pliers are essential for both professional plumbers and DIY enthusiasts. Investing in these tools ensures readiness for any plumbing project.
Tool 1: Pipe Wrench
One of the quintessential tools in a plumber’s toolkit is the pipe wrench. Designed for gripping and turning pipes and fittings, a pipe wrench provides the necessary leverage to tighten or loosen plumbing connections. It has adjustable serrated jaws that securely grip onto pipes of various sizes.
The key feature of a pipe wrench is its adjustable jaw, which allows it to be used on pipes with different diameters. This versatility makes it an indispensable tool for any plumbing job. The long handle provides excellent leverage, enabling plumbers to apply the necessary force to tighten or loosen stubborn fittings.
Pipe wrenches come in different sizes, ranging from 10 to 48 inches in length. The choice of size depends on the diameter of the pipes you are working with. Larger pipe wrenches are ideal for heavy-duty applications, while smaller ones are more suitable for tight spaces and smaller pipes.
When using a pipe wrench, it’s important to position it correctly on the pipe to ensure a secure grip. The jaws should be placed perpendicular to the pipe to prevent slippage and minimize the risk of damaging the pipe or fittings. Plumbers often use pipe wrenches in pairs – one to grip the pipe and the other to provide additional leverage.
Overall, a pipe wrench is an essential tool for any plumber. It provides the necessary grip and torque needed to tighten or loosen stubborn pipes and fittings. Whether you’re working on residential or commercial plumbing systems, having a good quality pipe wrench in your toolkit is a must.
Tool 2: Adjustable Wrench
Another indispensable tool found in every plumber’s toolbox is the adjustable wrench. This versatile tool is designed to tighten or loosen nuts, bolts, and fittings of various sizes. It has a movable jaw that can be adjusted to fit different sizes, making it a go-to tool for a wide range of plumbing tasks.
The adjustable wrench is often referred to as a crescent wrench due to the shape of its jaw, which resembles a crescent moon. It features a thumbwheel or a screw mechanism that allows the user to adjust the jaw width to fit different fasteners. This flexibility eliminates the need for multiple wrench sizes, making it a convenient and space-saving tool to have on hand.
The jaws of an adjustable wrench are serrated to provide a secure grip on nuts and bolts, preventing slippage during tightening or loosening. This feature is particularly useful when working with hard-to-reach or recessed fittings where access is limited. The long handle of the wrench provides ample leverage, allowing plumbers to apply the necessary torque without straining their wrists.
Adjustable wrenches come in various sizes, typically ranging from 6 to 18 inches in length. The choice of size depends on the specific application and the size of the fasteners being worked on. It’s important to choose the right size adjustable wrench to ensure a snug fit on the nut or bolt, minimizing the risk of rounding off or damaging the fastener.
Whether you’re tightening a loose connection or loosening a stubborn nut, the adjustable wrench is a versatile tool that can handle a wide range of plumbing tasks. Its adjustability and strong grip make it an essential tool for any plumber or DIY enthusiast working on plumbing projects.
Tool 3: Plunger
When it comes to dealing with clogged drains or toilets, the trusty plunger is a must-have tool for every plumber. A plunger consists of a rubber cup attached to a handle and is used to create suction and dislodge blockages in plumbing fixtures.
The rubber cup of the plunger creates a seal around the drain or toilet opening, allowing the plumber to apply pressure and force air or water through the pipe. This pressure creates suction, which can help clear minor clogs or obstructions. Plungers work best on flat surfaces, so they are perfect for unclogging sinks, bathtubs, and shower drains.
There are two common types of plungers: the cup plunger and the flange plunger. The cup plunger is designed for flat surfaces, while the flange plunger, also known as a toilet plunger, has an additional soft rubber flange that fits into the toilet drain opening. This flange provides a better seal and allows for more effective plunging in toilet bowls.
To use a plunger effectively, you should start by ensuring there is enough water in the sink, bathtub, or toilet bowl to cover the cup or flange of the plunger. This water helps create a tighter seal and improves the plunging action. Next, place the plunger over the drain opening, making sure it forms a seal.
With proper positioning, you can begin to push and pull the plunger in a rhythmic motion. The goal is to create suction and pressure to dislodge the clog. For toilets, plunge with a slightly more forceful motion to break up the obstruction effectively. Repeat the process several times until the water starts to drain freely.
A plunger is an affordable and effective tool for unclogging drains and toilets. It is a handy tool for tackling minor blockages without the need for harsh chemicals or calling a professional plumber. Every homeowner should have a plunger on hand for those unexpected plumbing emergencies.
The five most common tools for plumbing are a pipe wrench, adjustable wrench, pliers, pipe cutter, and a plunger. These tools are essential for most plumbing tasks and should be part of any plumber’s toolkit.
Tool 4: Pipe Cutter
When it comes to working with pipes, a pipe cutter is an essential tool for plumbers. As the name suggests, a pipe cutter is used to cut pipes to the desired length quickly and accurately. It allows for clean and precise cuts, ensuring a proper fit and seamless connection.
A pipe cutter typically consists of a sharp cutting wheel mounted on a frame with adjustable handles. The cutting wheel is designed to score the surface of the pipe as it is rotated around, gradually cutting through the material. Pipe cutters are available in different sizes, allowing for cutting pipes of various diameters.
The process of using a pipe cutter is relatively straightforward. First, you need to mark the pipe at the desired cutting point using a measuring tape or a marker. Then, open the jaws of the pipe cutter and place it on the pipe, aligning the cutting wheel with the marked cutting point. Once the cutter is in position, tighten the handles to engage the wheel with the pipe.
Next, rotate the cutter around the pipe, gradually tightening the handles as you go. This will score the surface of the pipe until it is cut through completely. It’s important to maintain a steady and even pressure while rotating the cutter to ensure a clean and precise cut. Once the cut is complete, release the handles and remove the cutter from the pipe.
A pipe cutter offers several advantages over other cutting methods, such as hacksaws or reciprocating saws. It provides a smoother, cleaner cut with minimal burring, reducing the need for additional filing or deburring. The precise cut ensures a proper fit and a tight connection when joining pipes or fittings.
Whether you’re working with copper, PVC, or steel pipes, a pipe cutter is a versatile tool that simplifies the pipe cutting process. It is a must-have tool for plumbers, allowing them to make accurate cuts quickly and efficiently.
Tool 5: Pliers
Pliers are a versatile tool found in every plumber’s toolbox. They are a must-have for gripping, bending, and manipulating various plumbing components. With their adjustable jaws and strong grip, pliers are essential for a wide range of plumbing tasks.
There are different types of pliers used in plumbing, each with its specific purpose. One of the most common types is the slip-joint pliers, which feature adjustable jaws that can be set to different widths. These pliers are ideal for grasping and turning nuts, bolts, and fittings of different sizes.
Another type of pliers commonly used in plumbing is the tongue and groove pliers, also known as channel-lock pliers. These pliers have a set of serrated jaws that can be adjusted to different positions. The adjustable jaws allow for a secure grip on various pipe sizes and shapes, making them perfect for tightening or loosening plumbing connections.
Pliers can also be used for bending and straightening pipes. For example, when installing water supply lines, a plumber may need to bend the pipe into a specific shape, and pliers can provide the leverage and grip needed to achieve the desired bend.
When working on delicate or small plumbing components, needle-nose pliers are often used. These pliers have long, slender jaws that can reach into tight spaces and grasp small objects with precision. They are excellent for tasks such as installing small washers or tightening small screws.
In addition to these specific types of pliers, it’s always helpful to have a pair of standard pliers in the toolbox. They come in handy for a variety of tasks, such as pulling nails, twisting wires, or holding objects securely in place.
Overall, pliers are an essential tool for any plumber. With their versatility and strong grip, they enable plumbers to handle a wide range of tasks, from tightening and loosening fittings to bending and shaping pipes. Having a selection of pliers in different sizes and types equips plumbers for any plumbing challenge that may arise.
Conclusion
In the world of plumbing, having the right tools at your disposal is crucial for success. The five tools discussed in this article – pipe wrench, adjustable wrench, plunger, pipe cutter, and pliers – are among the most commonly used and essential tools for plumbers. Each tool serves a specific purpose and plays a vital role in carrying out plumbing tasks efficiently and effectively.
The pipe wrench is a versatile tool that provides the necessary grip and torque for tightening or loosening pipes and fittings. Its adjustable jaws make it suitable for pipes of different sizes, making it an indispensable tool for any plumbing project.
The adjustable wrench, also known as a crescent wrench, provides flexibility and convenience with its adjustable jaw width. This tool is essential for tightening or loosening nuts, bolts, and fittings of various sizes, making it a go-to tool for plumbers in a wide range of applications.
When it comes to unclogging drains and toilets, the plunger is a plumber’s best friend. Its design creates suction and pressure, allowing plumbers to clear minor blockages without the use of chemicals or professional help.
A pipe cutter is invaluable when it comes to cutting pipes to the desired length. It provides clean and precise cuts, ensuring proper fit and seamless connections in plumbing systems, making it an essential tool for plumbers.
Last but not least, pliers are versatile tools useful for gripping, bending, and manipulating various plumbing components. From tightening and loosening fittings to bending and straightening pipes, pliers offer a strong grip and enable plumbers to handle a wide range of tasks.
By equipping yourself with these essential tools, you’ll be well-prepared to tackle a variety of plumbing projects with confidence. Remember, investing in quality tools is crucial for both professional plumbers and DIY enthusiasts alike. So, stock your toolbox with these five essential plumbing tools, and you’ll be ready to take on any plumbing challenge that comes your way!
Frequently Asked Questions about Which Five Tools Are Most Common To Plumbing?
Was this page helpful?
At Storables.com, we guarantee accurate and reliable information. Our content, validated by Expert Board Contributors, is crafted following stringent Editorial Policies. We're committed to providing you with well-researched, expert-backed insights for all your informational needs.


0 thoughts on “Which Five Tools Are Most Common To Plumbing?”