
Articles
How To Tighten Kitchen Faucet
Modified: March 1, 2024
Discover effective ways to tighten your kitchen faucet with these helpful articles. Explore step-by-step instructions and expert tips for a leak-free and secure faucet installation.
(Many of the links in this article redirect to a specific reviewed product. Your purchase of these products through affiliate links helps to generate commission for Storables.com, at no extra cost. Learn more)
Introduction
Having a kitchen faucet that is loose or wobbly can be frustrating and inconvenient. Not only can it affect the functionality of the faucet, but it can also lead to leaks or other plumbing issues if left untreated. Fortunately, tightening a kitchen faucet is a relatively simple task that can be done by anyone with basic DIY skills and a few tools.
In this article, we will guide you through the step-by-step process of tightening a kitchen faucet. We will walk you through the necessary tools and materials you will need, as well as each individual step to ensure that your faucet is secure and sturdy once again.
Before we dive into the details, please note that the specific steps may vary depending on the make and model of your kitchen faucet. It’s always a good idea to consult the manufacturer’s instructions or contact their customer support if you have any concerns or questions.
Now, let’s gather our tools and materials and get started on tightening your kitchen faucet!
Key Takeaways:
- Easily tighten your kitchen faucet by following simple DIY steps. Remember to gather the necessary tools, shut off the water supply, and reassemble the faucet components for a secure and reliable fixture.
- Regular maintenance and proactive repairs can extend your kitchen faucet’s lifespan. Enjoy peace of mind with a securely fastened faucet and worry-free kitchen use.
Read more: How To Tighten A Delta Kitchen Faucet
Tools and Materials Needed
Before you begin tightening your kitchen faucet, make sure you have the following tools and materials ready:
- Adjustable wrench or basin wrench
- Phillips head screwdriver
- Plumber’s tape
- Clean cloth or towel
- Bucket or container
- Penetrating oil (optional)
The adjustable wrench or basin wrench will be used to hold and manipulate the nuts and bolts that secure the faucet to the sink. The Phillips head screwdriver is necessary for removing the handle and other screws. Plumber’s tape will help create a watertight seal when reassembling the faucet, and a clean cloth or towel will come in handy for wiping away any excess water or dirt.
A bucket or container will be useful for catching any water that may spill when you shut off the water supply. Lastly, if your faucet parts are particularly stubborn or corroded, you may want to use a penetrating oil to aid in loosening them. This is optional but can make the process smoother.
Once you have gathered all the necessary tools and materials, you are ready to move on to the next step and start tightening your kitchen faucet.
Step 1: Shutting off the Water Supply
Before you can begin tightening your kitchen faucet, you will need to shut off the water supply to prevent any leaks or water damage. Follow these steps to safely turn off the water:
- Locate the shut-off valves located underneath your sink. These are usually found on the hot and cold water supply lines.
- Rotate the valves clockwise to close them fully. This will stop the water flow to the faucet.
- Turn on the faucet handles to release any remaining water pressure in the lines. This will help prevent any unexpected bursts of water when you start disassembling the faucet.
It’s important to note that not all sinks may have shut-off valves. In this case, you will need to shut off the main water supply to your house. Locate the main shut-off valve, usually found in your basement or near the water meter, and turn it off.
Once you have successfully shut off the water supply, you can proceed to the next step of removing the handle of your kitchen faucet.
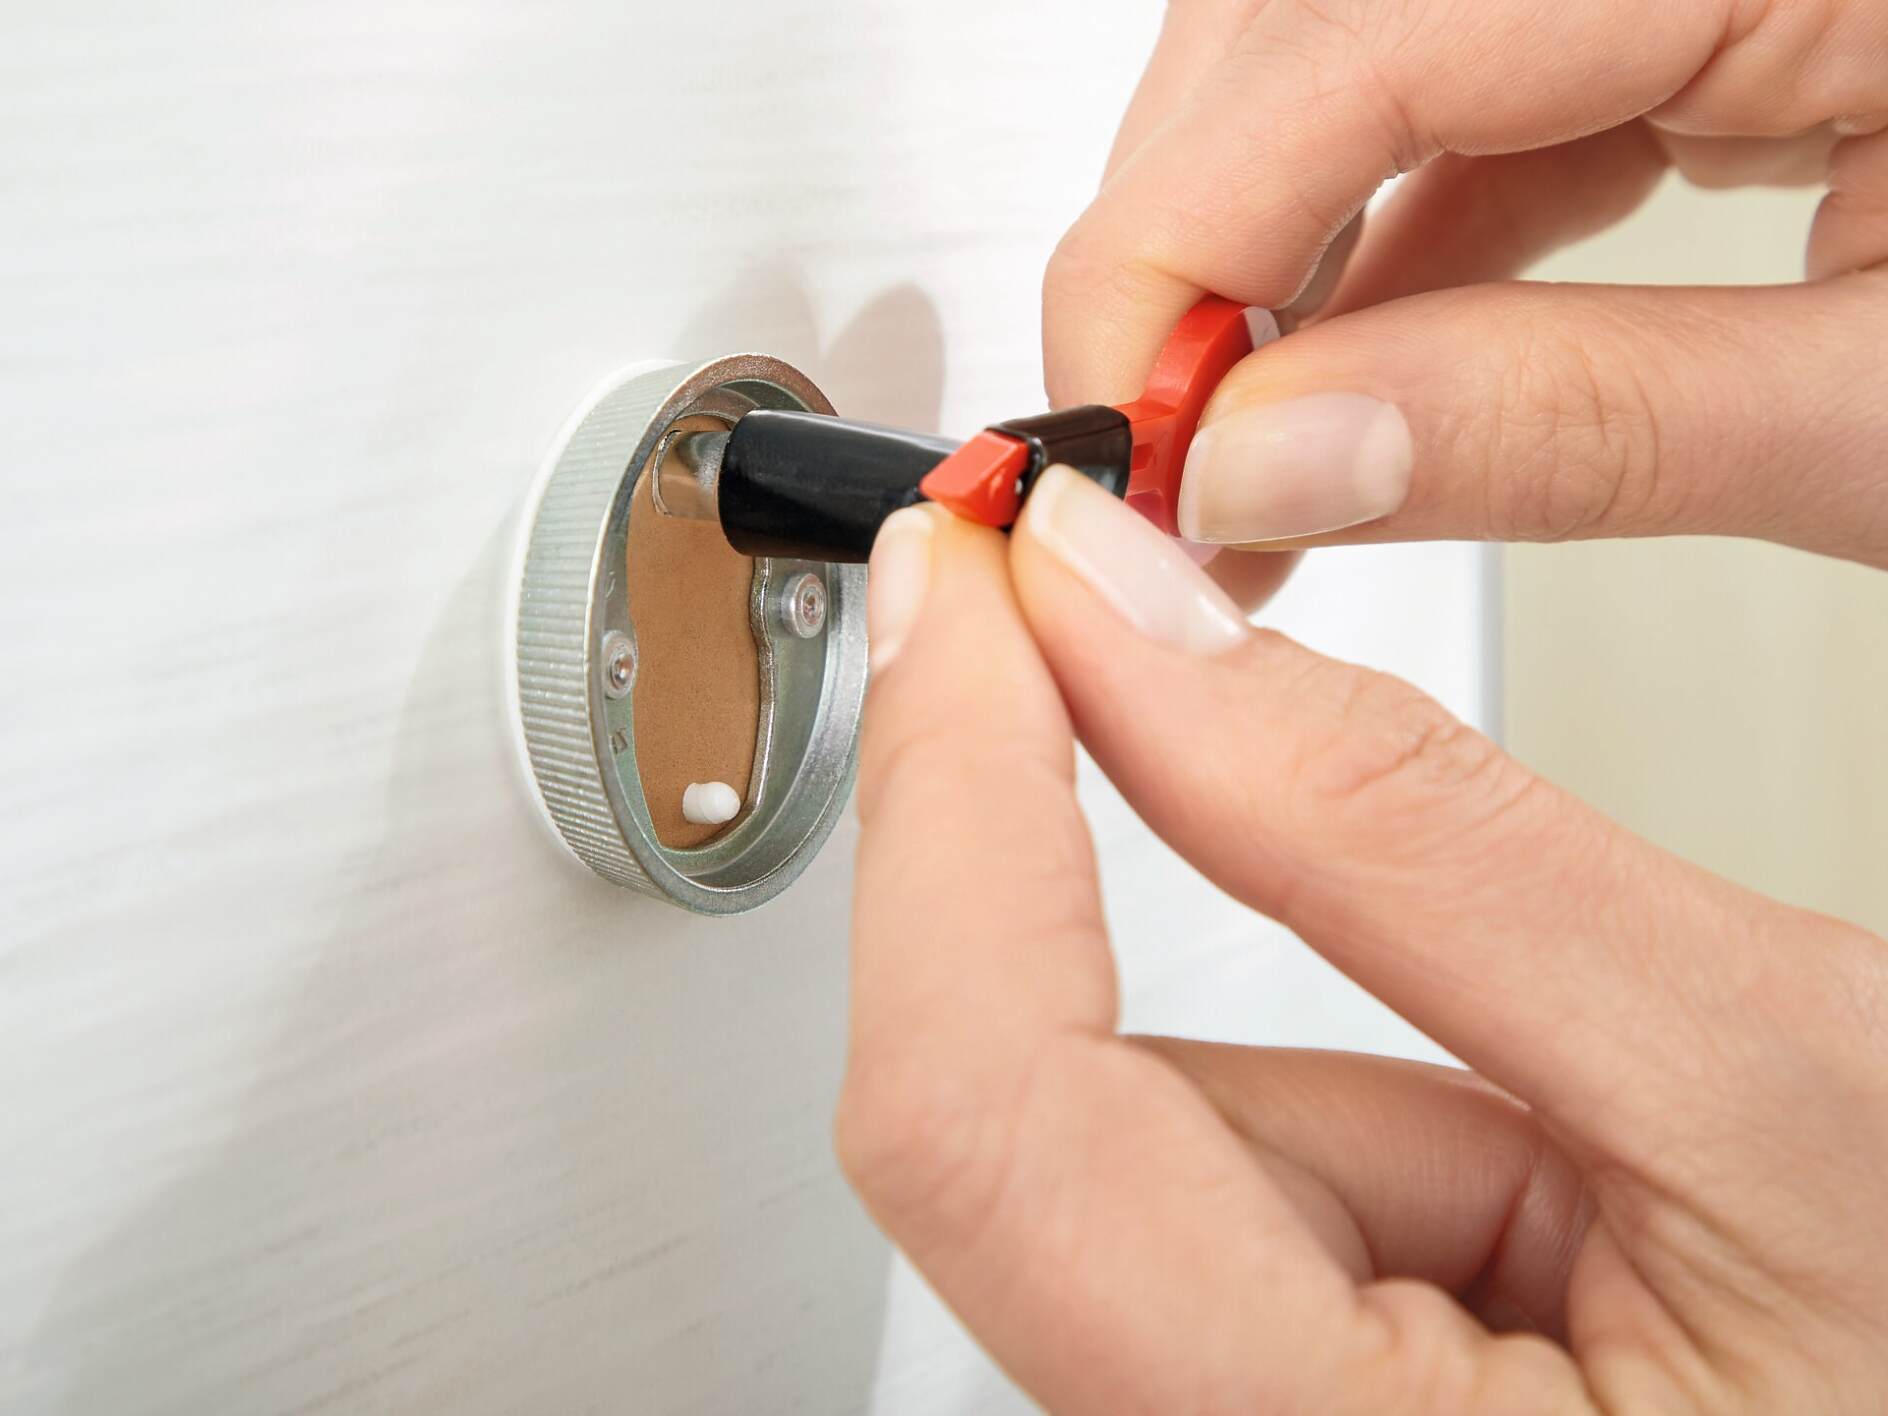
Step 2: Removing the Handle
Now that the water supply is shut off, it’s time to remove the handle of your kitchen faucet. Follow these steps:
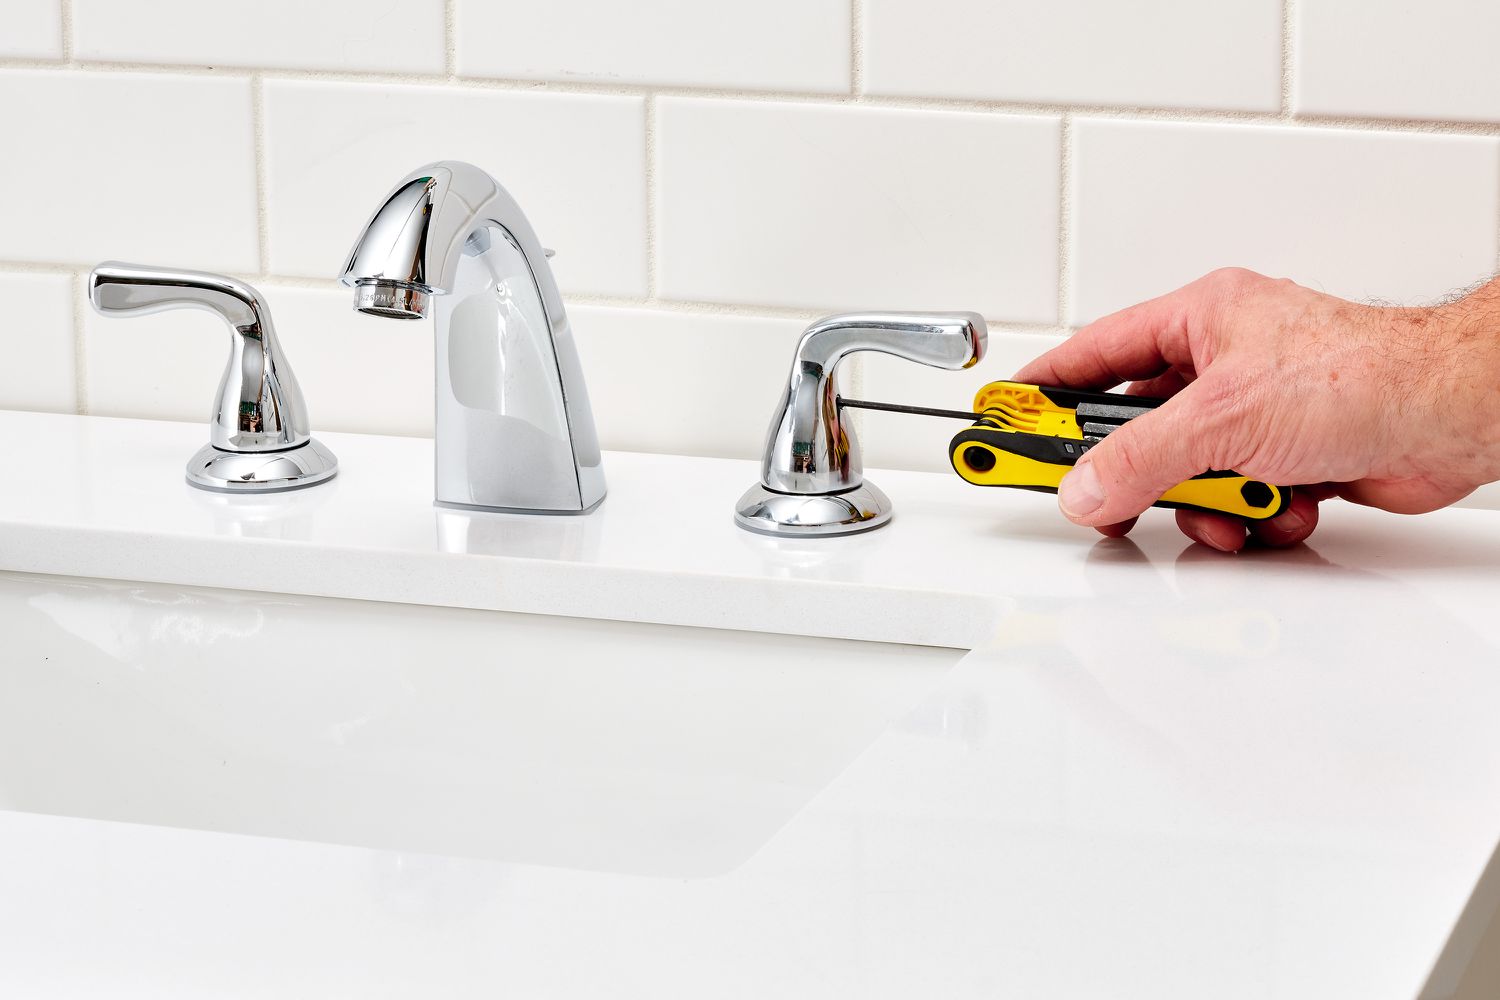
- Locate a small screw or set screw on the handle. This is usually located either on the top, underneath a cap, or at the base of the handle.
- Using a Phillips head screwdriver, unscrew the screw counterclockwise until it is loose enough to remove.
- Once the screw is removed, carefully lift and pull the handle off the faucet. Some handles may require a little force or wiggling to loosen them.
With the handle removed, you will now have access to the base of the faucet where the nuts and bolts are located. It’s important to handle the handle and other parts with care to avoid any damage or scratches.
If you have difficulty loosening the screw due to rust or corrosion, you can try using a penetrating oil. Apply a small amount of oil to the screw and allow it to sit for a few minutes before attempting to remove it again.
Once the handle is successfully removed, you can proceed to the next step, which involves tightening the base of the faucet.
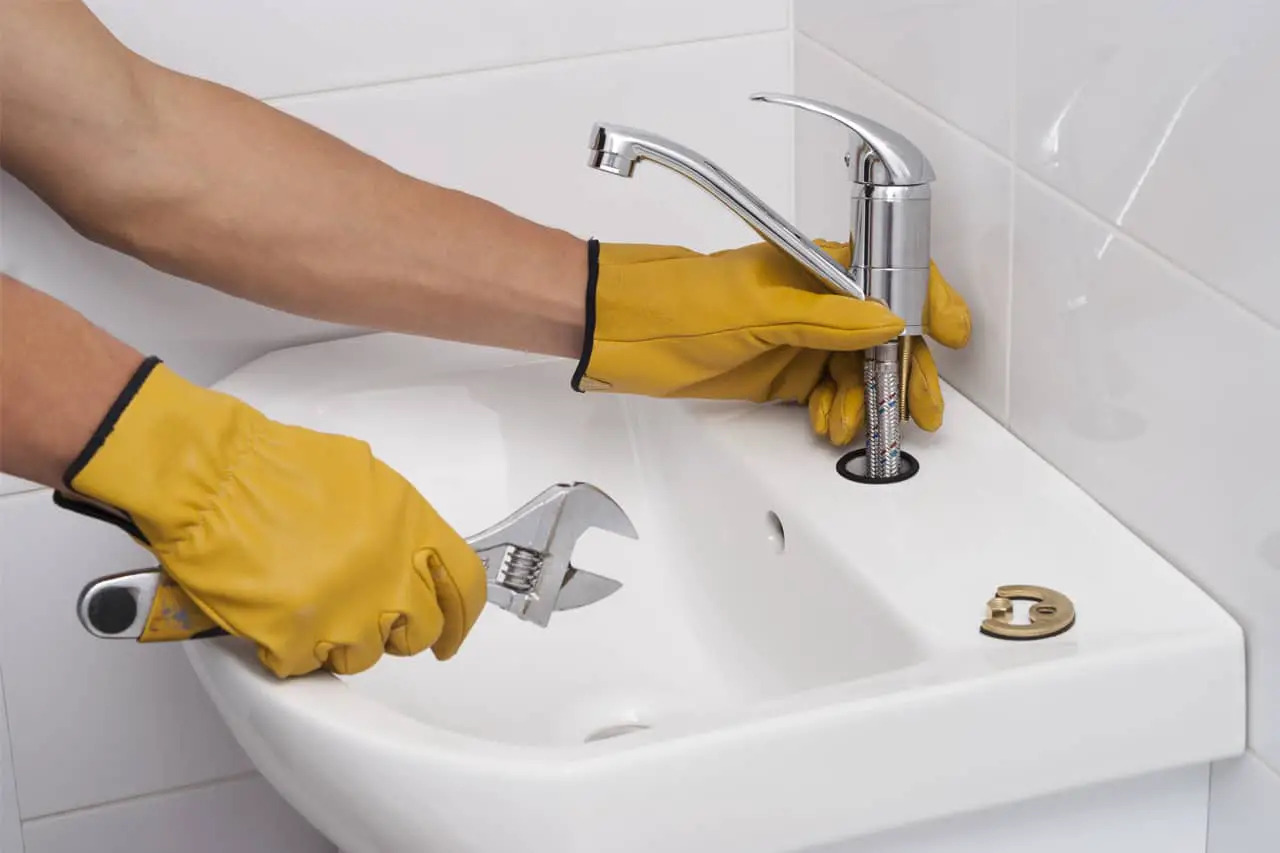
To tighten a kitchen faucet, first, turn off the water supply. Then, use a wrench to tighten the mounting nut underneath the sink. Check for any leaks after tightening.
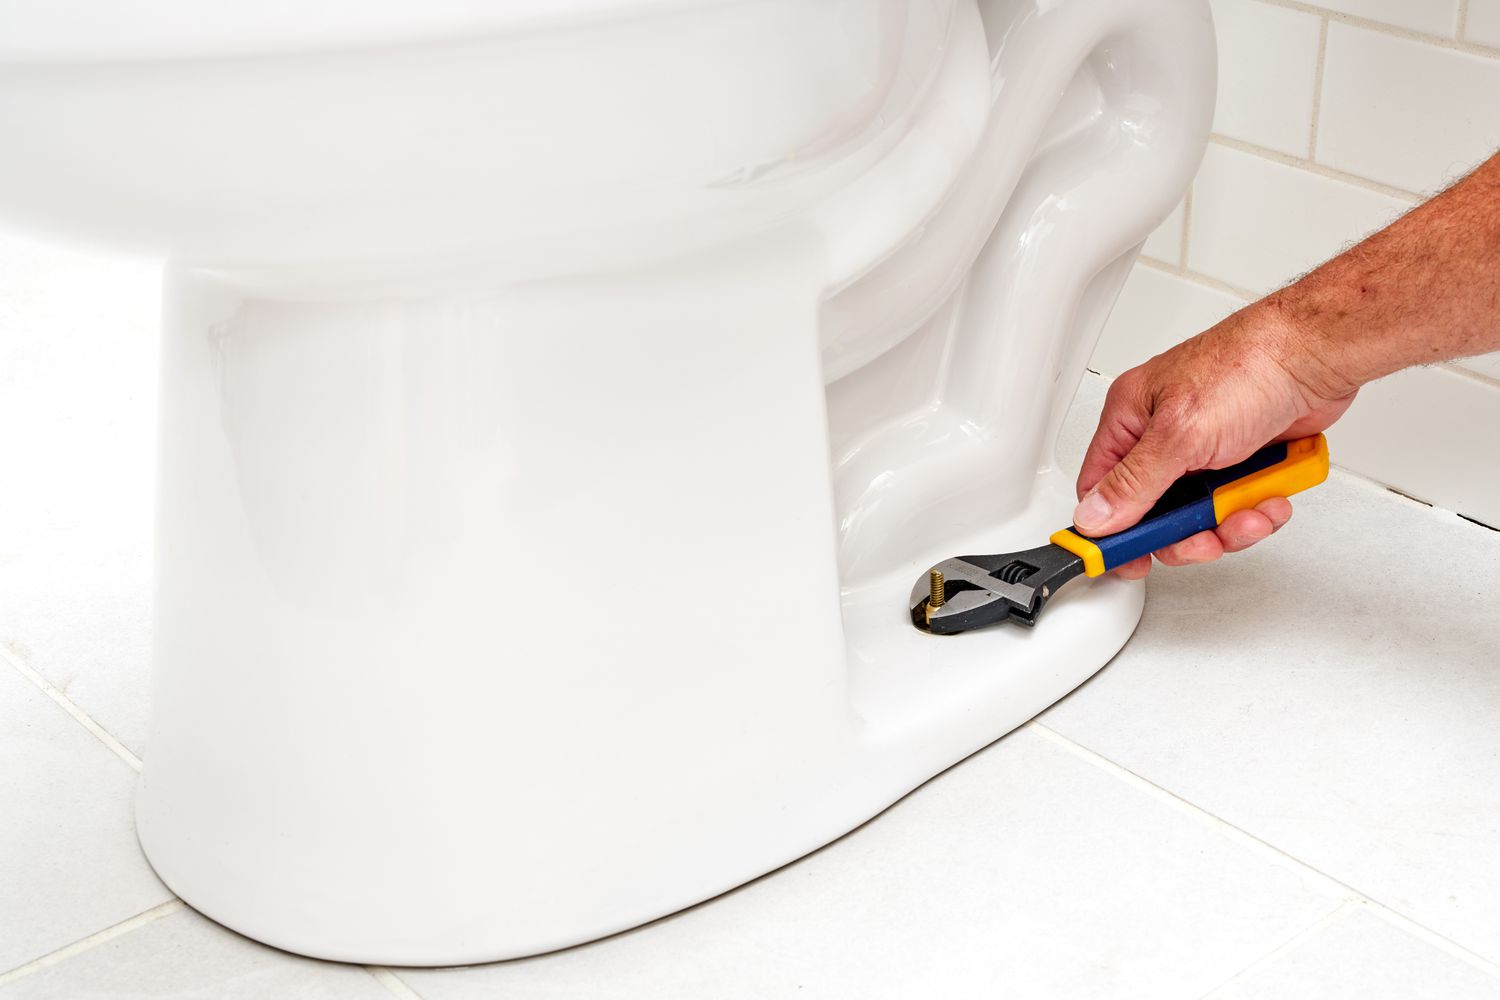
Step 3: Tightening the Base
With the handle removed, you can now focus on tightening the base of your kitchen faucet. Follow these steps:
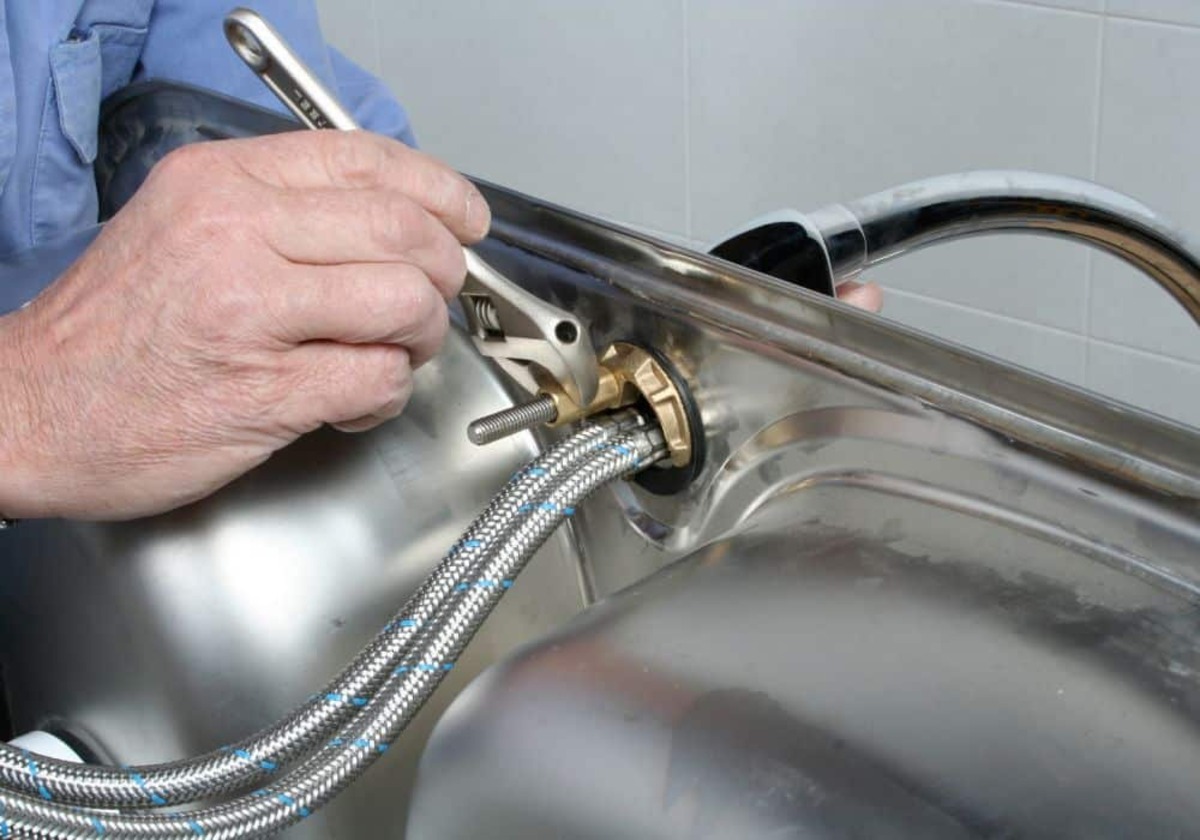
- Locate the nuts or bolts that are securing the faucet base to the sink. These are usually found underneath the sink, near the base of the faucet.
- Using an adjustable wrench or a basin wrench, grip the nuts or bolts and turn them clockwise to tighten.
- Make sure to tighten the nuts or bolts evenly to ensure a secure fit. Avoid overtightening, as this may cause damage to the faucet or the sink.
If you notice any gaps or spaces between the base of the faucet and the sink, you can place a small piece of plumber’s tape around the base to create a tighter seal.
If the faucet parts are particularly stubborn or corroded, you can apply a small amount of penetrating oil to help loosen them before attempting to tighten them. Allow the oil to sit for a few minutes, then try tightening the nuts or bolts again.
Once you have successfully tightened the base of the faucet, you can proceed to the next step, which involves reassembling the faucet.
Read more: How To Tighten Sink Faucet Handle
Step 4: Reassembling the Faucet
Now that you have tightened the base of your kitchen faucet, it’s time to reassemble the various components. Follow these steps:
- Start by placing the handle back onto the faucet and aligning it properly.
- Secure the handle in place by tightening the screw or set screw with a Phillips head screwdriver. Turn the screw clockwise until it is snug but avoid overtightening.
- If your faucet has any additional components, such as an aerator or spray head, reattach them according to the manufacturer’s instructions. Make sure they are securely fastened.
- Inspect the base of the faucet, ensuring that all the nuts or bolts are tightened and there are no gaps or spaces.
- If you had applied plumber’s tape earlier, make sure it is evenly distributed and creating a tight seal around the base of the faucet.
Take a moment to visually check the entire faucet to ensure that everything is properly aligned and securely attached. This will help prevent any leaks or loose parts in the future.
Once you have reassembled the faucet, you are ready to move on to the final step, which involves turning the water supply back on.
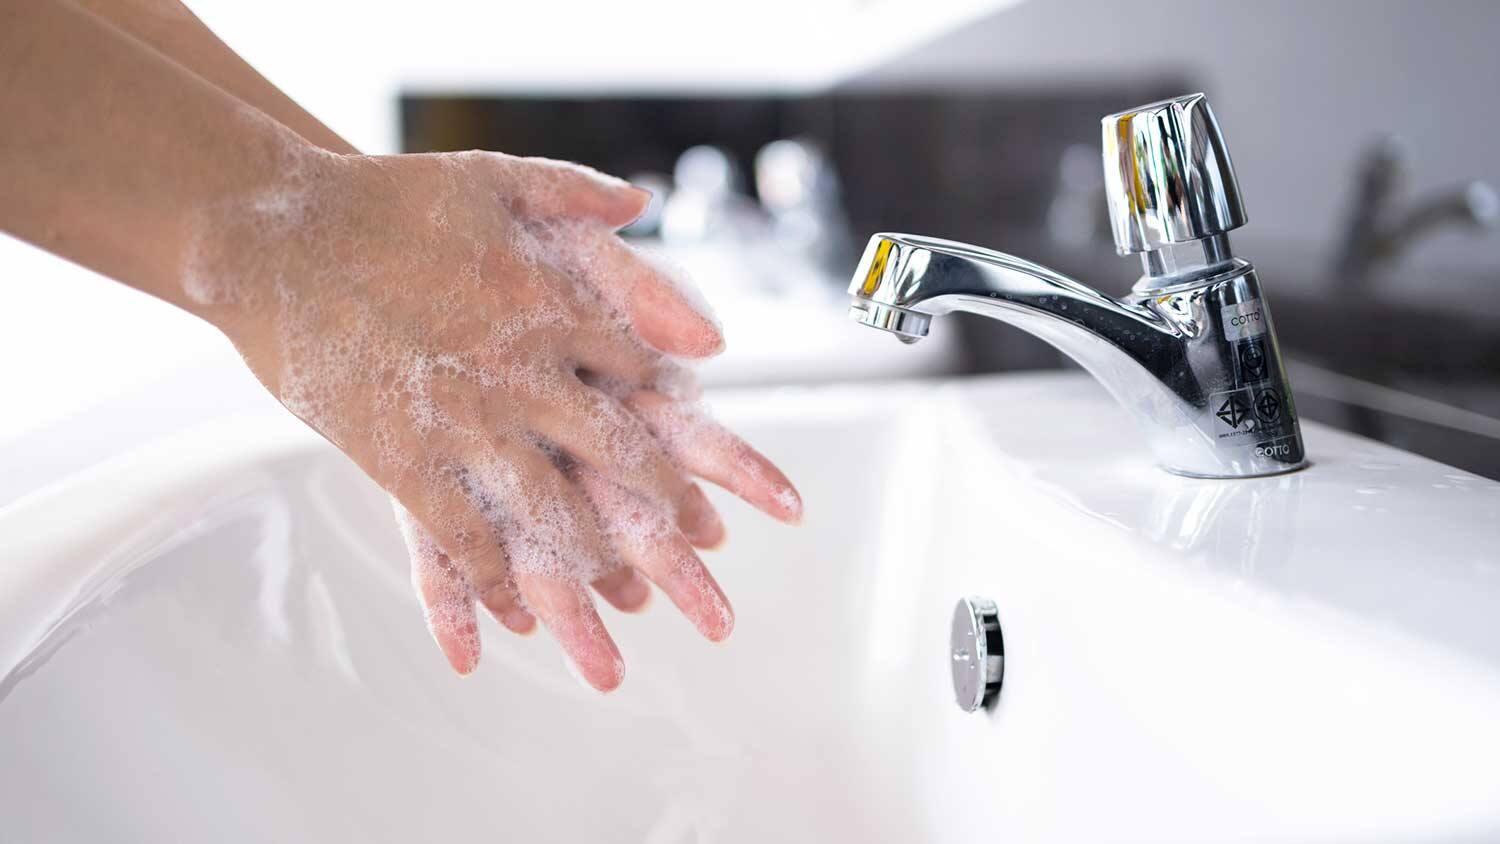
Step 5: Turning the Water Supply Back On
Now that you have successfully tightened and reassembled your kitchen faucet, it’s time to turn the water supply back on. Follow these steps:
- Locate the shut-off valves underneath the sink.
- Rotate the valves counterclockwise to open them and allow the water to flow.
- Slowly turn on the faucet handles to allow the water to flow through the faucet.
- Check for any leaks or drips around the base of the faucet or any other connections. If you notice any leaks, try tightening the affected area further or consult a professional plumber for assistance.
- Once you are confident that there are no leaks and the water is flowing smoothly, you can consider the task complete.
It’s always a good idea to run the water for a few minutes to help flush out any air or sediment that may have accumulated during the repair process. This will ensure optimal performance of your kitchen faucet.
Congratulations! You have successfully tightened your kitchen faucet and restored its stability. Enjoy the peace of mind that comes with a securely fastened faucet and worry-free use in your kitchen.
If you encounter any difficulties during the tightening process or if the problem persists even after tightening, it may be a sign of a more significant issue. In such cases, it’s advisable to seek professional help from a licensed plumber to diagnose and repair the problem.
Remember, regular maintenance and inspections of your kitchen faucet can help prevent future issues and extend its lifespan. Stay proactive and address any problems early on to avoid costly repairs down the line.
Thank you for following this guide. Happy cooking and washing in your kitchen!
Conclusion
Having a loose or wobbly kitchen faucet can be a nuisance, but with a little DIY know-how, you can easily tighten it up and restore its stability. By following the step-by-step guide outlined in this article, you have learned how to tighten your kitchen faucet and ensure its secure placement.
Remember, before you begin any repairs, it’s important to shut off the water supply to prevent any leaks or water damage. Additionally, gather the necessary tools and materials to make the process smooth and efficient.
By tightening the base of the faucet and reassembling its components, you can eliminate any wobbling or looseness and enjoy a reliable and properly functioning kitchen faucet. Take your time during the process to ensure everything is tightened properly and aligned correctly.
Don’t forget to turn the water supply back on and check for any leaks or drips after completing the repair. If you encounter any issues or if the problem persists, it’s always wise to seek professional assistance from a licensed plumber.
Maintaining your kitchen faucet is essential to its longevity and performance. Regular inspections and proactive repairs will help prevent any major issues and ensure smooth operation for years to come.
We hope that this guide has been helpful in tightening your kitchen faucet and restoring its stability. Now you can enjoy a secure and reliable faucet while cooking, cleaning, and going about your daily kitchen activities. Happy fixing!
Frequently Asked Questions about How To Tighten Kitchen Faucet
Was this page helpful?
At Storables.com, we guarantee accurate and reliable information. Our content, validated by Expert Board Contributors, is crafted following stringent Editorial Policies. We're committed to providing you with well-researched, expert-backed insights for all your informational needs.


0 thoughts on “How To Tighten Kitchen Faucet”