Articles
Why My Dryer Not Getting Hot
Modified: October 20, 2024
Learn about common reasons why your dryer is not getting hot and how to fix it. Find helpful articles and tips to troubleshoot your dryer and get it working again.
(Many of the links in this article redirect to a specific reviewed product. Your purchase of these products through affiliate links helps to generate commission for Storables.com, at no extra cost. Learn more)
Introduction
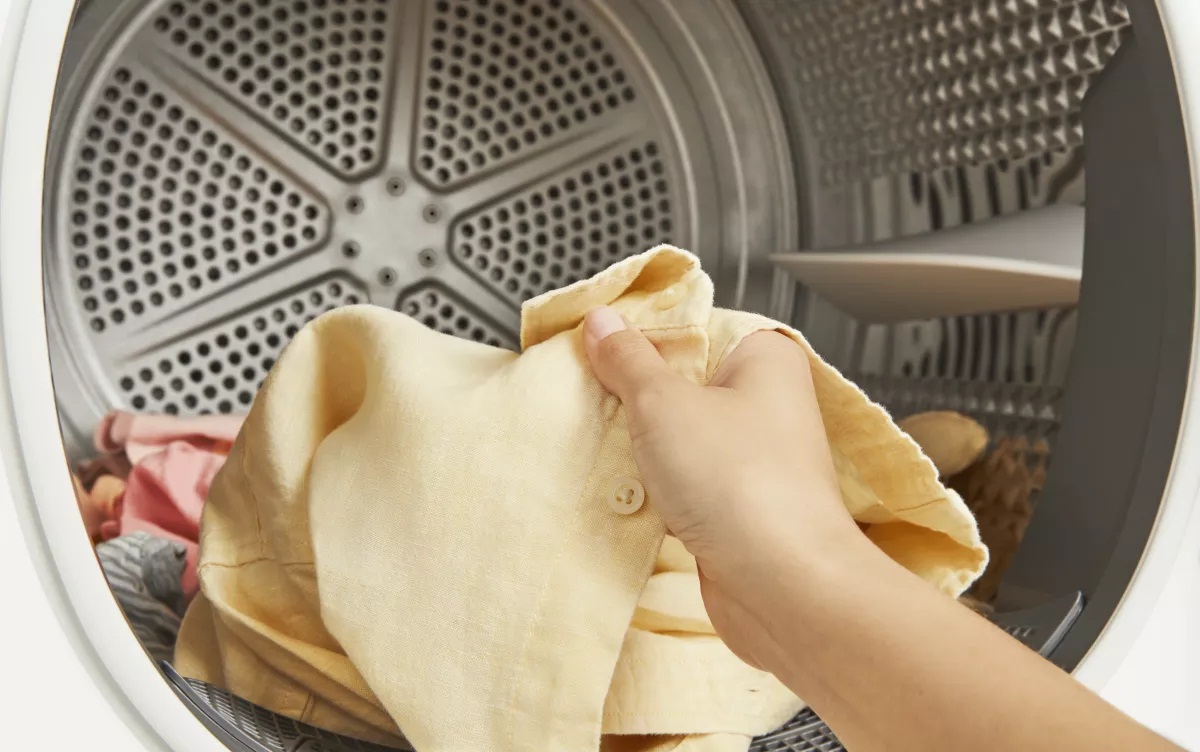
A malfunctioning dryer can be a frustrating problem to deal with, especially when it’s not getting hot. When your dryer fails to produce heat, it can lead to damp, unwearable clothes and longer drying times. Understanding the reasons behind a dryer not getting hot is crucial in order to effectively troubleshoot and fix the issue.
There can be a variety of factors that contribute to a dryer not heating up properly. These can range from simple power supply issues to more complex problems like a malfunctioning heating element or thermostat. In this article, we will explore some of the possible reasons your dryer is not getting hot and provide troubleshooting steps to fix the problem.
Key Takeaways:
- Ensure proper power supply, inspect heating element, test thermostat, replace thermal fuse, clean vent, and examine timer/control panel to troubleshoot and fix a dryer not getting hot effectively.
- Prioritize safety, unplug the dryer before troubleshooting, and consider professional assistance if unsure or uncomfortable with the process.
Read more: Why Is My Hot Tub Getting Too Hot
Possible Reasons for a Dryer Not Getting Hot
When your dryer is not producing heat, there are several possible reasons to consider. Here are some common culprits:
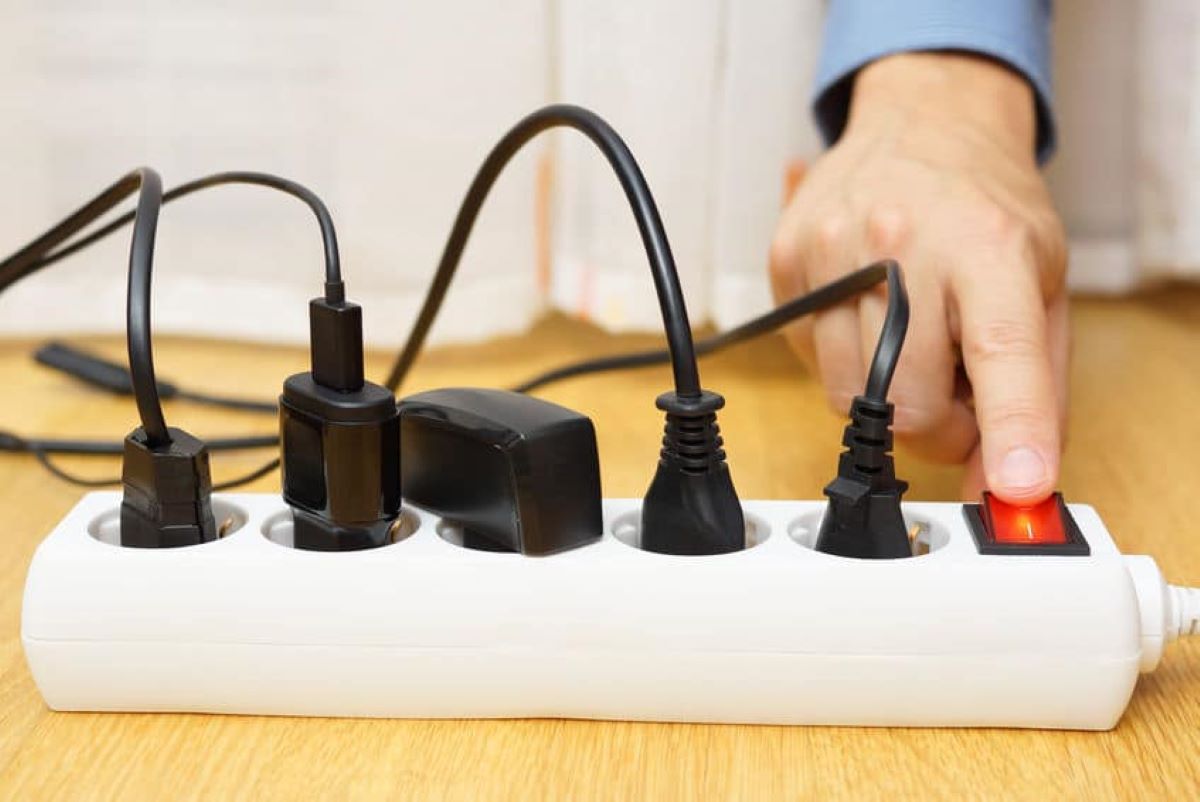
- Power supply issues: One of the first things to check is whether your dryer is receiving power. Make sure it is plugged in correctly and that the circuit breaker hasn’t tripped. A power outage or surge could also affect the electrical supply to your dryer.
- Heating element malfunction: The heating element is responsible for generating heat inside the dryer. If it becomes faulty or damaged, it will fail to produce heat. A burned-out heating element may need to be replaced to restore proper functionality.
- Thermostat failure: The thermostat regulates the temperature inside the dryer. If it malfunctions or loses its calibration, it may not signal the heating element to turn on, resulting in no heat. Testing and replacing a faulty thermostat may be necessary to fix the issue.
- Thermal fuse blown: The thermal fuse is a safety feature designed to prevent overheating. If the dryer’s temperature exceeds a certain limit, the thermal fuse will blow, cutting off the power to the heating element. A blown thermal fuse will need to be replaced to restore heat to the dryer.
- Clogged vent or exhaust duct: A restricted airflow due to a clogged vent or exhaust duct can hinder the proper function of the dryer. When the hot air cannot escape, it can cause the temperature inside the dryer to rise, triggering a safety mechanism that shuts off the heat. Regularly cleaning out the vent and exhaust duct can prevent this issue.
- Faulty timer or control panel: In some cases, a malfunctioning timer or control panel can prevent the dryer from heating up correctly. If the timer or control panel is not sending the proper signals to the heating element or thermostat, it may result in a lack of heat. Repairing or replacing these components may be necessary.
These are just a few possible reasons why your dryer might not be getting hot. Understanding these causes will help you narrow down and troubleshoot the issue effectively. In the following sections, we will provide troubleshooting steps to fix a dryer that is not getting hot.
Power supply issues
When it comes to troubleshooting a dryer that’s not getting hot, the first thing to check is the power supply. Here are some steps to help you identify and resolve power supply issues:
- Check the power outlet: Ensure that the dryer is securely plugged into a functioning power outlet. Sometimes, the plug may become loose or there may be a problem with the outlet itself. Try plugging in another appliance to determine if the outlet is working correctly.
- Inspect the circuit breaker: Locate the circuit breaker panel in your home and check if the breaker that controls the dryer’s circuit has tripped. If it has, switch it off and then back on to reset it. This can restore power to the dryer and fix the heating issue.
- Verify the power cord: Examine the power cord for any damage or frayed wires. If the cord is damaged, it can cause an interruption in the power supply to the dryer. In such cases, it’s essential to replace the power cord with a new one to ensure a safe and reliable electrical connection.
- Consider a power outage: If other electrical appliances in your home are not working either, there could be a power outage in your area. Contact your electricity provider to find out if there are any known issues or if the power outage is isolated to your home.
- Hire a professional: If you have checked all the above steps and are still experiencing power supply issues with your dryer, it may be time to call a qualified electrician. They will have the expertise to diagnose and fix any electrical problems that may be affecting your dryer’s performance.
By following these steps, you can determine if there are any power supply issues causing your dryer to not get hot. Resolving these problems will ensure that your dryer receives the necessary power to heat up properly. If the power supply is not the root cause, then it’s time to investigate other potential culprits like the heating element or thermostat.
Heating element malfunction
The heating element is a vital component of your dryer that is responsible for generating heat. If it becomes faulty or damaged, it can result in your dryer not getting hot. Here are some steps to help you troubleshoot and address a heating element malfunction:
- Disconnect the dryer: Before performing any work on the dryer, ensure that it is unplugged from the power source. This will prevent any electrical accidents or injuries.
- Access the heating element: The heating element is typically located at the back of the dryer, behind the drum. Consult your dryer’s manual for specific instructions on how to access the heating element. In some dryers, you may need to remove a back panel to reach it.
- Inspect the heating element: Once you have access to the heating element, visually examine it for any signs of damage, such as visible breaks or discoloration. A damaged heating element is a clear indication that it needs to be replaced.
- Test the heating element for continuity: To test the heating element further, you can use a multimeter set to the ohms setting. Touch one probe to each terminal of the heating element. If the multimeter shows a reading of “infinity,” it means the heating element is faulty and needs to be replaced. A reading of low resistance indicates that the heating element is functioning properly.
- Replace the heating element if necessary: If the heating element is indeed faulty, you will need to purchase a replacement. Consult your dryer’s manual or contact the manufacturer to find the specific heating element model that is compatible with your dryer. Follow the instructions provided to install the new heating element correctly.
By inspecting and testing the heating element, you can determine if it is the reason why your dryer is not getting hot. If the heating element is indeed faulty, replacing it should restore your dryer’s heating function. However, if the heating element is functioning properly, it’s time to move on to other potential causes, such as a malfunctioning thermostat or a blown thermal fuse.
Thermostat failure
The thermostat in your dryer is responsible for regulating the temperature inside the drum. If the thermostat malfunctions or loses its calibration, it may fail to signal the heating element to turn on, resulting in a dryer that is not getting hot. Here are some steps to troubleshoot and address thermostat failure:
- Disconnect the dryer: Before working on the dryer, make sure it is unplugged to prevent any accidents.
- Locate the thermostat: The thermostat is usually located near the heating element or on the blower housing. Consult your dryer’s manual for the exact location of the thermostat in your specific model.
- Test the continuity of the thermostat: Use a multimeter set to the ohms setting to test the continuity of the thermostat. Disconnect the wires connected to the thermostat and touch the multimeter probes to the terminals. If the multimeter shows no continuity, it indicates that the thermostat is not functioning correctly and needs to be replaced.
- Replace the faulty thermostat: If the thermostat fails the continuity test, you will need to replace it. Make note of the model number of your dryer and find a compatible thermostat replacement. Follow the manufacturer’s instructions to install the new thermostat properly.
- Verify the calibration: After installing the new thermostat, it is important to ensure that it is properly calibrated. Consult your dryer’s manual or the thermostat manufacturer’s instructions for the recommended calibration process. Proper calibration will ensure accurate temperature regulation and prevent further heating issues.
By testing the thermostat for continuity and replacing it if necessary, you can address thermostat failure and restore proper heating to your dryer. However, if the thermostat is functioning correctly, it’s important to explore other possible causes for your dryer not getting hot, such as a blown thermal fuse or a clogged vent/exhaust duct.
Read more: Why Are My Breakers Hot
Thermal fuse blown
The thermal fuse in a dryer is a safety device designed to prevent overheating. If the temperature inside the dryer exceeds a certain limit, the thermal fuse will blow, cutting off the power to the heating element. This can result in the dryer not getting hot. Here’s how you can troubleshoot and address a blown thermal fuse:
- Disconnect the dryer: Before starting any work, make sure the dryer is unplugged to avoid any electrical accidents.
- Locate the thermal fuse: The thermal fuse is typically located on the blower housing or near the dryer’s heating element. Refer to your dryer’s manual for the exact location of the thermal fuse in your specific model.
- Check for continuity: Use a multimeter set to the ohms setting to test the continuity of the thermal fuse. Remove the wires connected to the thermal fuse and touch the multimeter probes to the terminals of the fuse. If the multimeter shows no continuity, it indicates that the thermal fuse has blown and needs to be replaced.
- Replace the thermal fuse: If the thermal fuse is blown, it will need to be replaced. Make note of the model number of your dryer and purchase a compatible thermal fuse replacement. Follow the manufacturer’s instructions to safely install the new thermal fuse.
- Address the underlying cause: It’s important to address the underlying cause that led to the thermal fuse blowing. Excessive lint buildup in the dryer’s exhaust system, a restricted airflow due to clogged vents, or a malfunctioning thermostat can all contribute to the thermal fuse blowing. Clean the vent and exhaust duct, ensure proper airflow, and check the functioning of other components to avoid future issues.
By testing the thermal fuse for continuity and replacing it if necessary, you can resolve a blown thermal fuse and restore heat to your dryer. However, it’s important to address the root cause of the thermal fuse blowing to prevent the issue from recurring. Regular maintenance and cleaning of the dryer’s vent and exhaust system can help maintain proper airflow and mitigate the risk of a blown thermal fuse.
Clogged vent or exhaust duct
A clogged vent or exhaust duct can significantly impact the performance of your dryer, leading to it not getting hot. When the airflow is restricted, the hot air produced by the dryer cannot escape efficiently, resulting in longer drying times and inadequate heating. Here are steps to troubleshoot and address a clogged vent or exhaust duct:
- Disconnect the dryer: Before starting any maintenance work, ensure that the dryer is unplugged to avoid any accidental mishaps.
- Locate the vent and exhaust duct: The vent is typically located on the back of the dryer, while the exhaust duct extends to the outside of your home. You may need to move the dryer away from the wall to access these components.
- Inspect for any obstructions: Check the vent and exhaust duct for any blockages. Common obstructions include lint buildup, debris, or even small animals nesting inside. Use a flashlight or a mirror to get a clear view of the inside of the vent and duct.
- Remove any debris or lint: If you notice any obstructions, use a vent brush, vacuum cleaner, or a specialized lint removal tool to clear out the debris. Be thorough in your cleaning to ensure optimal airflow.
- Check the exterior vent cover: Inspect the exterior vent cover for any obstructions or damage. Clean or replace the vent cover if necessary to ensure unrestricted airflow.
- Ensure proper installation: Check that the vent and exhaust duct are properly connected and sealed. Loose or disconnected ducts can disrupt airflow and lead to heating issues.
- Regular maintenance routine: To prevent future clogs, establish a regular maintenance routine for cleaning the vent and exhaust duct. This can include scheduling yearly professional cleanings or performing DIY cleanings every few months.
By inspecting and clearing any obstructions in the vent and exhaust duct, you can restore proper airflow and allow the dryer to generate heat effectively. Regular maintenance and cleaning of the vent and duct will also prevent future clogs and improve the overall performance of your dryer.
Faulty timer or control panel
A faulty timer or control panel can also be responsible for a dryer not getting hot. These components are responsible for controlling the duration and temperature settings of the drying cycle. Here’s how you can troubleshoot and address issues with a faulty timer or control panel:
- Disconnect the dryer: Before starting any repair work, ensure that the dryer is unplugged from the power source.
- Examine the control panel: Inspect the control panel for any visible signs of damage, such as cracked buttons or malfunctioning displays. If there are any physical defects, it may indicate a problem with the control panel.
- Perform a reset: Sometimes, a simple reset can fix minor issues with the control panel. Try unplugging the dryer for a few minutes, then plugging it back in. This can help reset the control panel and resolve any temporary glitches.
- Test the timer: Using a multimeter, test the continuity of the timer. Remove the wires connected to the timer and touch the multimeter probes to the terminals. If the multimeter shows no continuity or erratic readings, it indicates a faulty timer that needs to be replaced.
- Replace the timer or control panel: If the timer or control panel is indeed faulty, you will need to purchase a replacement. Refer to your dryer’s manual or contact the manufacturer to find the specific model that is compatible with your dryer. Follow the provided instructions to install the new timer or control panel properly.
- Professional assistance: If you are unsure about performing these repairs yourself or if the problem persists after replacing the timer or control panel, it’s advisable to seek the assistance of a qualified professional. They will have the necessary expertise and tools to diagnose and fix the issue.
By examining and testing the timer and control panel, you can identify and address any faults that may be causing your dryer to not get hot. Replacing these components, if necessary, will help restore proper functionality and ensure that your dryer operates efficiently during the drying cycle.
Check the power source and make sure the dryer is plugged in. Also, clean the lint trap and exhaust vent to ensure proper airflow. If the issue persists, it may be a faulty heating element or thermostat.
Troubleshooting Steps to Fix a Dryer Not Getting Hot
If your dryer is not getting hot, it can be a frustrating experience. To help you troubleshoot and fix the issue, here are some steps you can take:
- Check the power supply: Make sure your dryer is properly plugged in and that the circuit breaker hasn’t tripped. Test the power outlet to ensure it is providing the correct voltage. Power supply issues can often be a simple fix.
- Inspect the heating element: If the power supply is not the problem, examine the heating element. Look for any visible signs of damage such as breaks or discoloration. Use a multimeter to test for continuity. If the heating element is faulty, replace it with a compatible replacement part.
- Test the thermostat: A malfunctioning thermostat can prevent the heating element from activating. Use a multimeter to test the thermostat for continuity. If it fails the test, replace it to restore proper temperature regulation.
- Check the thermal fuse: The thermal fuse is a safety device that can blow if the dryer becomes too hot. Test the fuse for continuity using a multimeter. If it is blown, replace it with a new one and address the underlying cause that led to the overheating, such as a clogged vent or a faulty thermostat.
- Clean the vent and exhaust duct: A clogged vent or exhaust duct can restrict airflow and cause the dryer to not heat up effectively. Use a vent brush or vacuum cleaner to remove any lint or debris. Ensure that the exterior vent cover is also clear of obstructions.
- Inspect the timer or control panel: Faulty timer or control panel can result in a dryer not getting hot. Check for any visible damage and perform a reset. Test the timer or control panel for continuity. If necessary, replace them with compatible replacements.
Following these troubleshooting steps can help you identify and address the problem causing your dryer to not get hot. Remember to always prioritize safety by unplugging the dryer and following proper electrical precautions. If you’re unsure or uncomfortable with any of the steps, it’s best to consult a professional technician who can diagnose and fix the issue for you.
Read more: Why Is My Dimmer Switch Hot
Check the power supply
When troubleshooting a dryer that’s not getting hot, the first step is to check the power supply. Here are some important considerations:
- Ensure proper plug connection: Make sure the dryer is securely plugged into a functioning power outlet. Over time, the plug may become loose or dislodged, resulting in a poor electrical connection. Confirm that the plug is inserted correctly and tightly secured in the outlet.
- Check the circuit breaker: Locate the circuit breaker panel in your home and check if the breaker that controls the dryer’s circuit has tripped. Sometimes, a power surge or overload can trip the breaker, cutting off the power supply to the dryer. If the breaker has tripped, switch it off and then back on to reset it.
- Inspect the power cord: Examine the power cord for any visible damage or frayed wires. If you notice any issues, it is essential to replace the power cord immediately. A damaged power cord can pose a safety hazard and may lead to the dryer not receiving adequate power.
- Verify power outage: If your dryer is not getting hot and other electrical appliances in your home are also not working, it’s possible that there is a power outage in your area. Check with your electricity provider to determine if there are any known outages affecting your location.
- Consult a professional electrician: If you have checked all the above steps and are still experiencing power supply issues with your dryer, it may be necessary to contact a qualified electrician. They have the expertise to diagnose any electrical problems that may be affecting your dryer’s performance and can ensure the issue is resolved safely.
Checking the power supply is a crucial first step in troubleshooting a dryer that is not getting hot. By ensuring that the dryer is receiving a consistent power supply, you can eliminate one possible cause of the problem and move on to investigating other potential culprits.
Inspect the heating element
When troubleshooting a dryer that’s not getting hot, it’s important to inspect the heating element. The heating element is responsible for generating the heat needed to dry your clothes. Here’s how you can inspect the heating element:
- Disconnect the dryer: Before conducting any inspection or maintenance, ensure that the dryer is unplugged from the power source to prevent any electrical accidents.
- Locate the heating element: The heating element is usually located at the back of the dryer behind the drum. Consult your dryer’s manual or schematic diagram to find the exact location of the heating element in your specific model.
- Visually examine the heating element: Inspect the heating element for any visible signs of damage, such as discoloration or broken wires. If you notice any breaks or damage, it is a clear indication that the heating element needs to be replaced.
- Perform a continuity test: To further test the heating element, you can use a multimeter set to the ohms setting. Disconnect the wires connected to the heating element and touch the multimeter probes to the terminals. A reading of low resistance indicates that the heating element is functioning properly. However, if the multimeter shows no continuity or a high resistance reading, it means that the heating element is faulty and should be replaced.
- Replace the heating element if necessary: If the heating element is damaged or fails the continuity test, it is advisable to replace it. Refer to your dryer’s manual or consult with a professional for the specific replacement part and installation instructions. Make sure to follow the manufacturer’s guidelines to ensure a proper and safe replacement.
By visually examining and performing a continuity test on the heating element, you can determine if it is the cause of your dryer not getting hot. If the heating element is damaged or not functioning properly, replacing it should restore heat to your dryer and allow it to dry your clothes efficiently. However, if the heating element is in good condition, it’s time to explore other potential causes, such as a faulty thermostat or a blown thermal fuse.
Test the thermostat
When troubleshooting a dryer that’s not getting hot, it’s important to test the thermostat. The thermostat is responsible for regulating the temperature inside the dryer. Here’s how you can test the thermostat:
- Disconnect the dryer: Before conducting any testing or maintenance, ensure that the dryer is unplugged from the power source to prevent any electrical accidents.
- Locate the thermostat: The thermostat is typically located near the heating element or on the blower housing. Consult your dryer’s manual or schematic diagram to find the exact location of the thermostat in your specific model.
- Access the thermostat: Depending on your dryer model, you may need to remove the back panel or front control panel to access the thermostat. Follow the manufacturer’s instructions or refer to the dryer’s manual to properly access the thermostat.
- Test the continuity of the thermostat: Use a multimeter set to the ohms setting to test the continuity of the thermostat. Disconnect the wires connected to the thermostat and touch the multimeter probes to the terminals of the thermostat. If the multimeter shows no continuity, it indicates that the thermostat is not functioning correctly and needs to be replaced.
- Replace the faulty thermostat: If the thermostat fails the continuity test, it is advisable to replace it. Consult your dryer’s manual or contact the manufacturer to find the specific replacement thermostat suitable for your dryer model. Follow the provided instructions to safely install the new thermostat.
By testing the continuity of the thermostat, you can determine if it is the cause of your dryer not getting hot. If the thermostat fails the continuity test, it means it is not properly regulating the temperature inside the dryer, resulting in no heat production. Replacing the faulty thermostat should help restore proper temperature control, allowing your dryer to generate heat effectively.
Remember to always prioritize safety when working with electrical components and disconnect the dryer from the power source before conducting any testing or maintenance. If you are unsure or uncomfortable performing these procedures, it is recommended to consult a professional technician for assistance.
Replace the thermal fuse
If your dryer is not getting hot, a blown thermal fuse could be the culprit. The thermal fuse is a safety device that cuts off power to the heating element if the temperature inside the dryer exceeds a certain limit. Here’s how you can replace the thermal fuse:
- Disconnect the dryer: Before replacing any components, ensure that the dryer is unplugged from the power source to prevent any electrical accidents.
- Locate the thermal fuse: The thermal fuse is usually located on the blower housing or near the dryer’s heating element. Refer to your dryer’s manual or schematic diagram to find the exact location of the thermal fuse in your specific model.
- Test the thermal fuse: To confirm if the thermal fuse is blown, use a multimeter set to the ohms setting. Remove the wires connected to the thermal fuse and touch the multimeter probes to the terminals of the fuse. If the multimeter shows no continuity, it indicates that the thermal fuse has blown and needs to be replaced.
- Order a replacement thermal fuse: Note down the model number of your dryer and purchase a compatible replacement thermal fuse. You can find the model number in your dryer’s manual or on a label located on the appliance itself. Ensure that the replacement thermal fuse matches the specifications of your specific dryer model.
- Replace the thermal fuse: Once you have the replacement thermal fuse, carefully disconnect the old thermal fuse from the wires and remove it from its mounting. Install the new thermal fuse in its place, reconnecting the wires as they were connected to the original fuse.
- Test the dryer: Once the thermal fuse is replaced, plug in the dryer and test it to ensure that it is now getting hot. Start a drying cycle and monitor the heating element to ensure it is functioning properly and providing sufficient heat.
Replacing a blown thermal fuse should resolve the issue of a dryer not getting hot. However, it’s essential to address the underlying cause of the thermal fuse blowing. Excessive lint buildup in the dryer’s exhaust system, a restricted airflow due to clogged vents, or a malfunctioning thermostat can contribute to the overheating and blowing of the thermal fuse. Ensure that the vent and exhaust duct are clean and clear of obstructions to prevent future thermal fuse failures.
If you are unsure about replacing the thermal fuse or if the issue persists after replacement, it is recommended to consult a professional technician for further assistance.
Read more: Why Do My Electric Stove Burners Get Too Hot
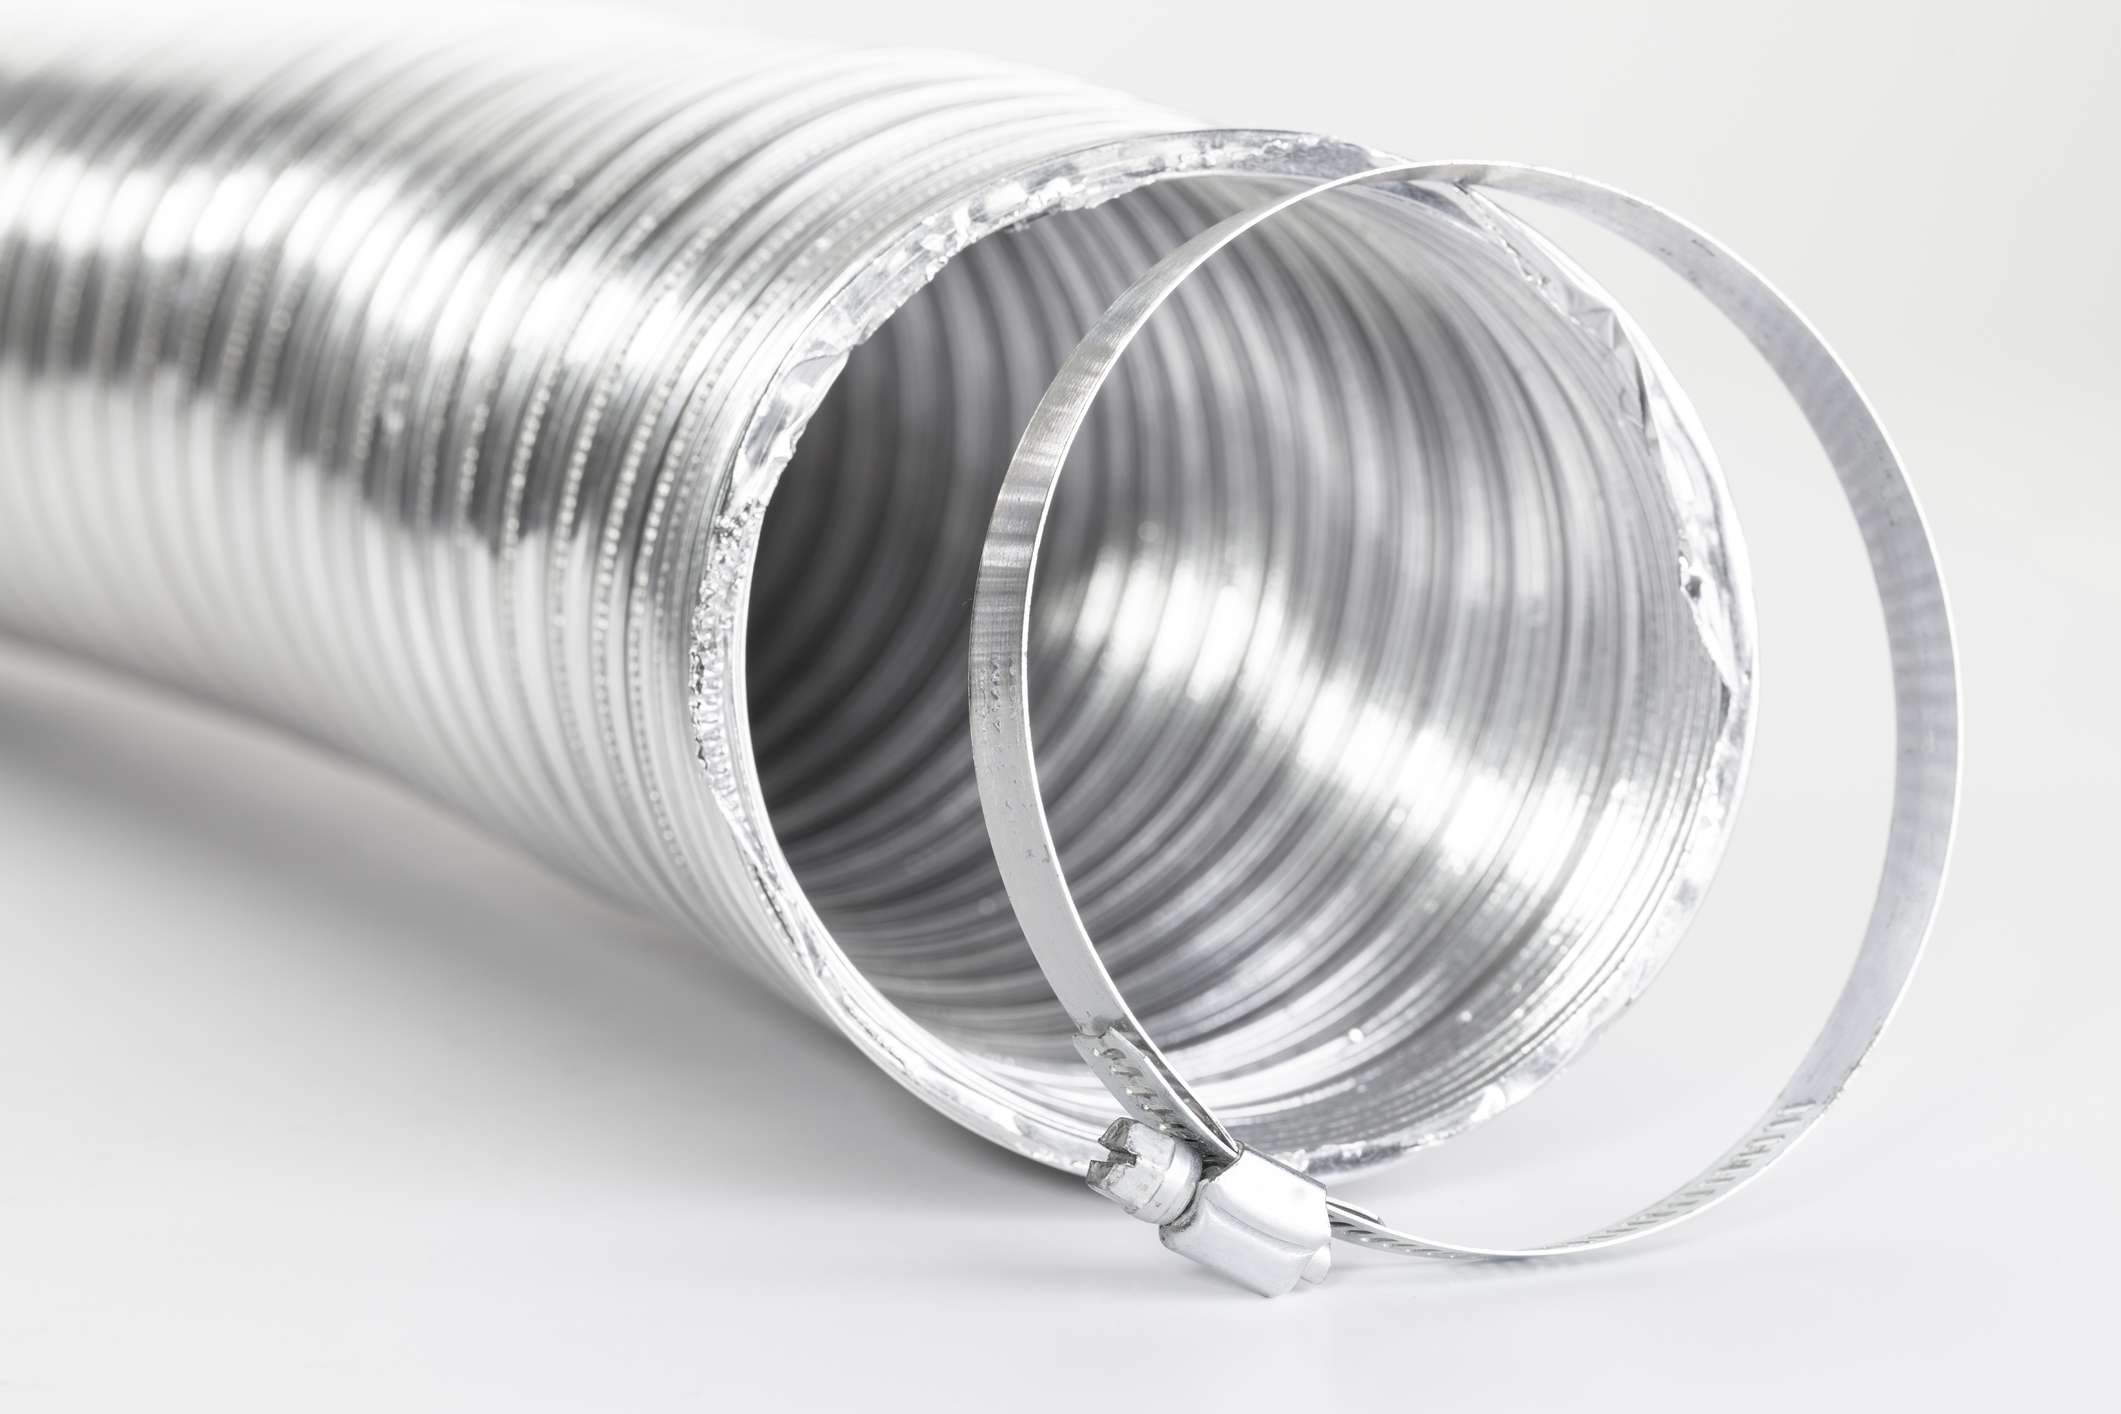
Clean the vent and exhaust duct
A clogged vent or exhaust duct can cause your dryer to not get hot. When the airflow is restricted, the hot air produced by the dryer cannot escape efficiently, leading to longer drying times and inadequate heating. Follow these steps to clean the vent and exhaust duct:
- Disconnect the dryer: Always ensure that the dryer is unplugged before performing any maintenance to avoid electrical hazards.
- Locate the vent and exhaust duct: The vent is typically located on the back of the dryer, while the exhaust duct extends to the outside of your home. You may need to move the dryer away from the wall to access these components.
- Remove any lint buildup: Start by removing the vent cover and using a brush or vacuum cleaner to remove any visible lint or debris. Pay special attention to the inside of the vent and the exhaust duct. You can also use a vent cleaning kit with flexible rods to reach deeper into the vent and remove built-up lint.
- Clean the exhaust duct: Disconnect the exhaust duct from the back of the dryer and the exterior vent if possible. Use a vent cleaning brush or vacuum cleaner to remove any lint or debris from inside the duct. If necessary, you can also use a leaf blower or compressed air to blow out any stubborn lint.
- Reassemble and secure the components: Once the vent and exhaust duct are clean, reattach them to the dryer and secure them tightly. Ensure that the connections are secure and free from any leaks or gaps.
- Perform regular maintenance: To prevent future clogs, establish a regular maintenance routine for cleaning the vent and exhaust duct. This can include scheduling yearly professional cleanings or performing DIY cleanings every few months.
By cleaning the vent and exhaust duct, you can restore proper airflow and ventilation, allowing the hot air produced by the dryer to escape effectively. This will help your dryer generate heat efficiently and reduce drying times. Regular maintenance of the vent and exhaust duct will also prevent future clogs and ensure optimal dryer performance.
If you’re unsure about performing these cleaning steps or if the issue persists after cleaning, it’s recommended to seek professional assistance to properly diagnose and address any underlying issues with your dryer.
Examine the timer or control panel function
If your dryer is not getting hot, a faulty timer or control panel could be the cause. The timer and control panel are responsible for controlling the duration and temperature settings of the drying cycle. Take the following steps to examine the function of the timer or control panel:
- Disconnect the dryer: Always ensure that the dryer is unplugged before inspecting or working on any electrical components to prevent accidents or injuries.
- Visually inspect the control panel: Carefully examine the control panel for any signs of damage, such as cracked buttons, loose connections, or a malfunctioning display. If you notice any physical defects or irregularities, it may indicate a problem with the control panel.
- Perform a reset: In some cases, a simple reset can resolve minor issues with the control panel. Unplug the dryer from the power source and leave it disconnected for a few minutes. Then, plug it back in and test if the control panel is functioning properly.
- Test the timer function: Rotate the timer knob or press the buttons on the control panel to check if the timer progresses through the drying cycle as it should. If the timer gets stuck or doesn’t move smoothly through the cycle, it may be a sign of a faulty timer component.
- Check for error codes: Some dryer models have built-in error code displays. Consult your dryer’s manual to determine if it has this feature and how to interpret any error codes that may be shown. Error codes can provide valuable insight into specific control panel or timer issues.
- If necessary, replace the timer or control panel: If you have identified a malfunctioning timer or control panel as the cause of your dryer not getting hot, you may need to replace the faulty component. Obtain the correct replacement part by referencing your dryer’s manual or consulting with a professional technician. Follow the manufacturer’s instructions to safely install the new timer or control panel.
By examining the function and condition of the timer and control panel, you can identify potential issues that may be preventing your dryer from getting hot. In some cases, a simple reset or troubleshooting step can resolve the problem. However, if the timer or control panel is malfunctioning and a replacement is necessary, it’s advisable to consult a professional technician if you require assistance or do not feel confident in completing the task on your own.
Remember to prioritize safety measures and always unplug the dryer before working on any electrical components.
Conclusion
A dryer not getting hot can be a frustrating problem, but with proper troubleshooting, you can address the issue and restore your dryer’s functionality. By systematically examining potential causes and following the appropriate steps, you can identify and resolve the underlying problems. Here are the key takeaways:
1. Check the power supply: Ensure that your dryer is properly plugged in, the circuit breaker is not tripped, and the power cord is in good condition. Power supply issues are often a simple fix.
2. Inspect the heating element: Visually examine the heating element for any signs of damage and test it for continuity with a multimeter. Replace the heating element if it is faulty.
3. Test the thermostat: Test the continuity of the thermostat with a multimeter and replace it if it fails the test. A malfunctioning thermostat can prevent proper temperature regulation.
4. Replace the thermal fuse: If the thermal fuse is blown, it needs to be replaced. Address any underlying issues, such as clogged vents or a faulty thermostat, to prevent future blowouts.
5. Clean the vent and exhaust duct: Clear out any lint or debris from the vent and exhaust duct to ensure proper airflow. Regular maintenance will prevent clogs and improve dryer efficiency.
6. Examine the timer or control panel function: Inspect the control panel for physical damage and reset it if necessary. Test the timer’s functionality and replace the timer or control panel if they are malfunctioning.
Remember, safety should always be a priority when working with electrical appliances. Always unplug the dryer before conducting any inspections or repairs, and consider consulting a professional technician if you’re unsure or uncomfortable with the troubleshooting process.
By following these troubleshooting steps, you can effectively identify and address the reasons why your dryer is not getting hot. With a little diligence and patience, you can get your dryer back to fully functioning and enjoy dry, warm clothes once again.
Frequently Asked Questions about Why My Dryer Not Getting Hot
Was this page helpful?
At Storables.com, we guarantee accurate and reliable information. Our content, validated by Expert Board Contributors, is crafted following stringent Editorial Policies. We're committed to providing you with well-researched, expert-backed insights for all your informational needs.


0 thoughts on “Why My Dryer Not Getting Hot”