
Articles
How To Replace A Dryer Vent Cover
Modified: August 16, 2024
Learn how to replace a dryer vent cover with our informative articles.
(Many of the links in this article redirect to a specific reviewed product. Your purchase of these products through affiliate links helps to generate commission for Storables.com, at no extra cost. Learn more)
Introduction
Welcome to this guide on how to replace a dryer vent cover. The dryer vent cover plays a crucial role in ensuring proper ventilation for your dryer, preventing lint buildup and maintaining the efficiency of your machine. Over time, these vent covers can become worn out or damaged, requiring replacement to maintain optimal performance. Fortunately, replacing a dryer vent cover is a relatively simple task that can be done with a few basic tools and materials.
In this article, we will take you through a step-by-step process on how to replace a dryer vent cover. We will help you gather the necessary tools and materials, guide you through removing the old vent cover, cleaning the vent opening, measuring and cutting the new vent cover, and finally, attaching and testing the new cover. By following these steps, you can ensure that your dryer is functioning safely and efficiently.
Before we dive into the steps, it’s important to note that safety should always be your top priority. Make sure to turn off and unplug your dryer before starting any work. Additionally, take necessary precautions such as wearing gloves and goggles to protect yourself from any sharp edges or flying debris. Now, let’s get started!
Key Takeaways:
- Regularly replacing your dryer vent cover is crucial for maintaining efficient and safe dryer operation. Follow the step-by-step guide to ensure proper ventilation and prevent potential fire hazards caused by lint buildup.
- Prioritize safety by gathering the necessary tools, removing the old vent cover, cleaning the vent opening, measuring and cutting the new vent cover, securely attaching it, and testing for proper functioning. Regular maintenance promotes hassle-free drying for years to come.
Read more: How To Replace Dryer Vent
Step 1: Gather the necessary tools and materials
Before you begin the process of replacing your dryer vent cover, it’s important to gather all the necessary tools and materials. Having everything ready beforehand will make the task much easier and smoother. Here’s what you’ll need:
- Screwdriver (flathead or Phillips depending on your vent cover)
- Wire brush or vacuum cleaner
- Tape measure
- Safety gloves
- Safety goggles
- Pencil or marker
- Tin snips or a saw (depending on the material of your new vent cover)
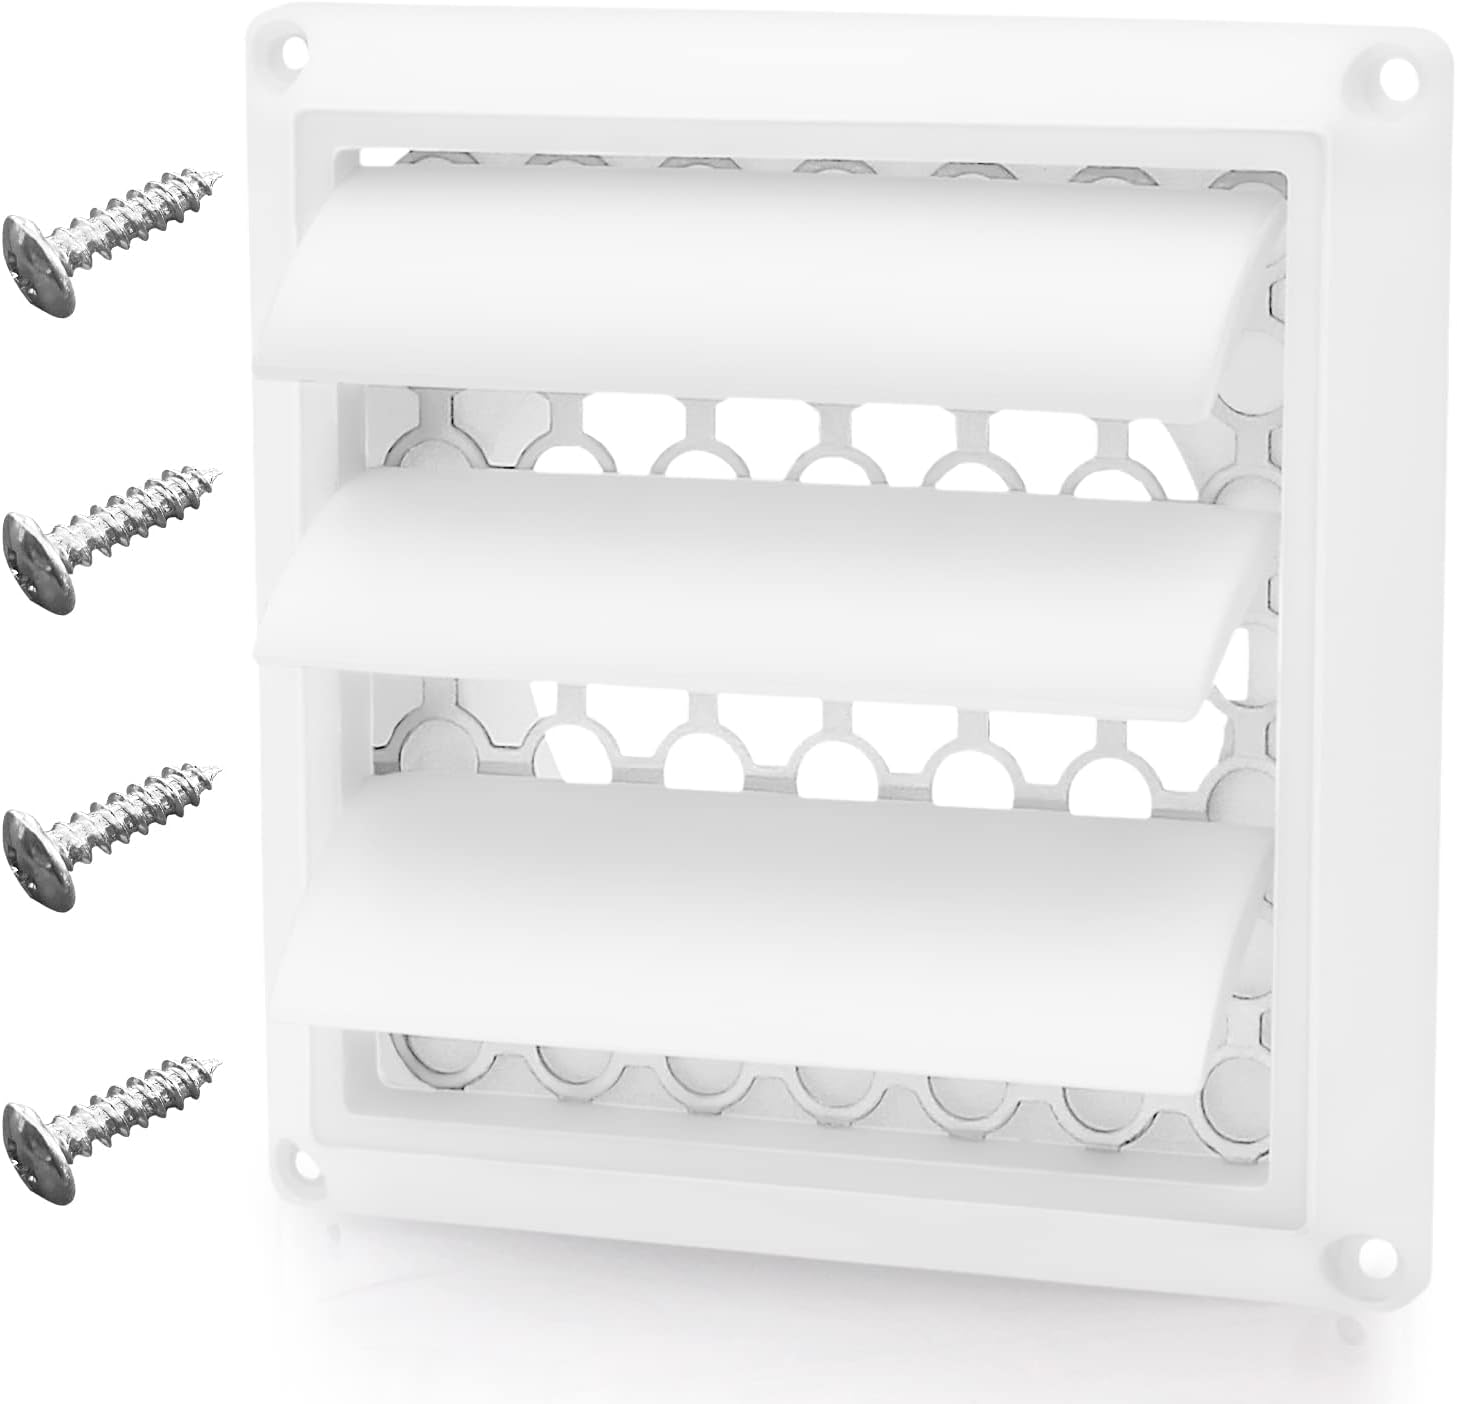
- New dryer vent cover
- Screws or nails (if not provided with the new vent cover)
Once you have gathered all the necessary tools and materials, you are ready to move on to the next step. It’s important to note that the specific tools and materials required may vary depending on the type of dryer vent cover you have and the specific instructions provided by the manufacturer. Always refer to the manufacturer’s instructions for any specific requirements.
Now that you have everything you need, you can proceed to the next step, which involves removing the old dryer vent cover. This is an essential step in the process of replacing the vent cover and ensuring proper ventilation for your dryer. Let’s move on to step 2!
Step 2: Remove the old dryer vent cover
Now that you have gathered all the necessary tools and materials, it’s time to remove the old dryer vent cover. Removing the old cover will allow you to clean the vent opening and prepare it for the installation of the new cover. Follow these steps:
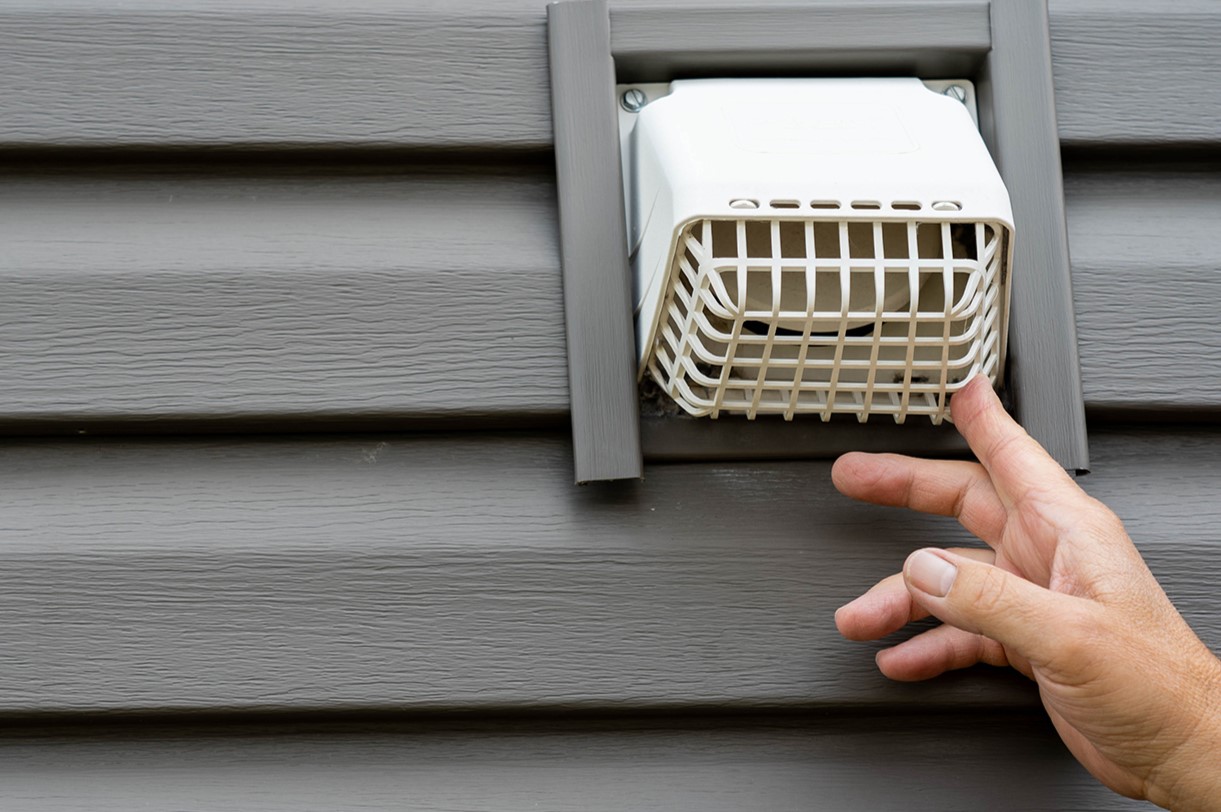
- Locate the screws or nails that secure the old vent cover in place. These are typically located on the outer edges of the cover.
- Using a screwdriver or the appropriate tool, carefully remove the screws or nails by turning them counterclockwise. Set them aside in a safe place, as you may need them later.
- Once the fasteners have been removed, gently pull the old vent cover away from the wall or vent opening. Be cautious not to force it or cause any damage.
- Inspect the opening for any debris or lint buildup. Use a wire brush or vacuum cleaner to remove any accumulated lint, ensuring clear airflow.
Removing the old dryer vent cover allows you to assess the condition of the vent opening and clean it before installing the new cover. It’s crucial to remove any obstructions or buildup to maintain proper ventilation and prevent potential fire hazards.
If you notice any significant damage to the vent opening or surrounding area, such as cracks or deterioration, it may be necessary to repair or replace additional components. In such cases, it’s recommended to consult a professional to ensure the proper functioning and safety of your dryer vent system.
With the old vent cover removed and the vent opening cleaned, you are now ready to move on to the next step—measuring and cutting the new vent cover. This step ensures a proper fit for the new cover and allows for optimal functionality. Let’s proceed to step 3!
Step 3: Clean the vent opening
With the old dryer vent cover removed, it’s important to take the time to clean the vent opening thoroughly. This will ensure proper airflow and prevent any blockages that could potentially affect the performance of your dryer. Follow these steps to clean the vent opening:
- Using a wire brush or a vacuum cleaner with a narrow attachment, remove any visible lint or debris from the vent opening. Pay special attention to removing any buildup along the edges of the opening.
- If there is an excessive amount of lint or debris that cannot be easily removed, consider using a flexible dryer vent cleaning brush or hiring a professional vent cleaning service to thoroughly clean the vent system.
- Inspect the vent opening for any signs of damage or wear. Look for cracks, holes, or deteriorating sections that may need to be repaired or replaced. It’s crucial to address any issues to maintain the integrity of the vent system.
- Once the vent opening is clean and any necessary repairs have been made, use a damp cloth or sponge to wipe away any remaining dust or residue from the area.
Taking the time to clean the vent opening ensures that your dryer will have unobstructed airflow, allowing it to operate efficiently and preventing potential safety issues. Regular maintenance and cleaning of the vent system are essential for the optimal performance of both your dryer and the overall ventilation of your home.
Now that the vent opening is clean and prepared, you are ready to move on to the next step—measuring and cutting the new vent cover. This step ensures a proper fit for the new cover and ensures optimal functionality. Let’s move on to step 4!
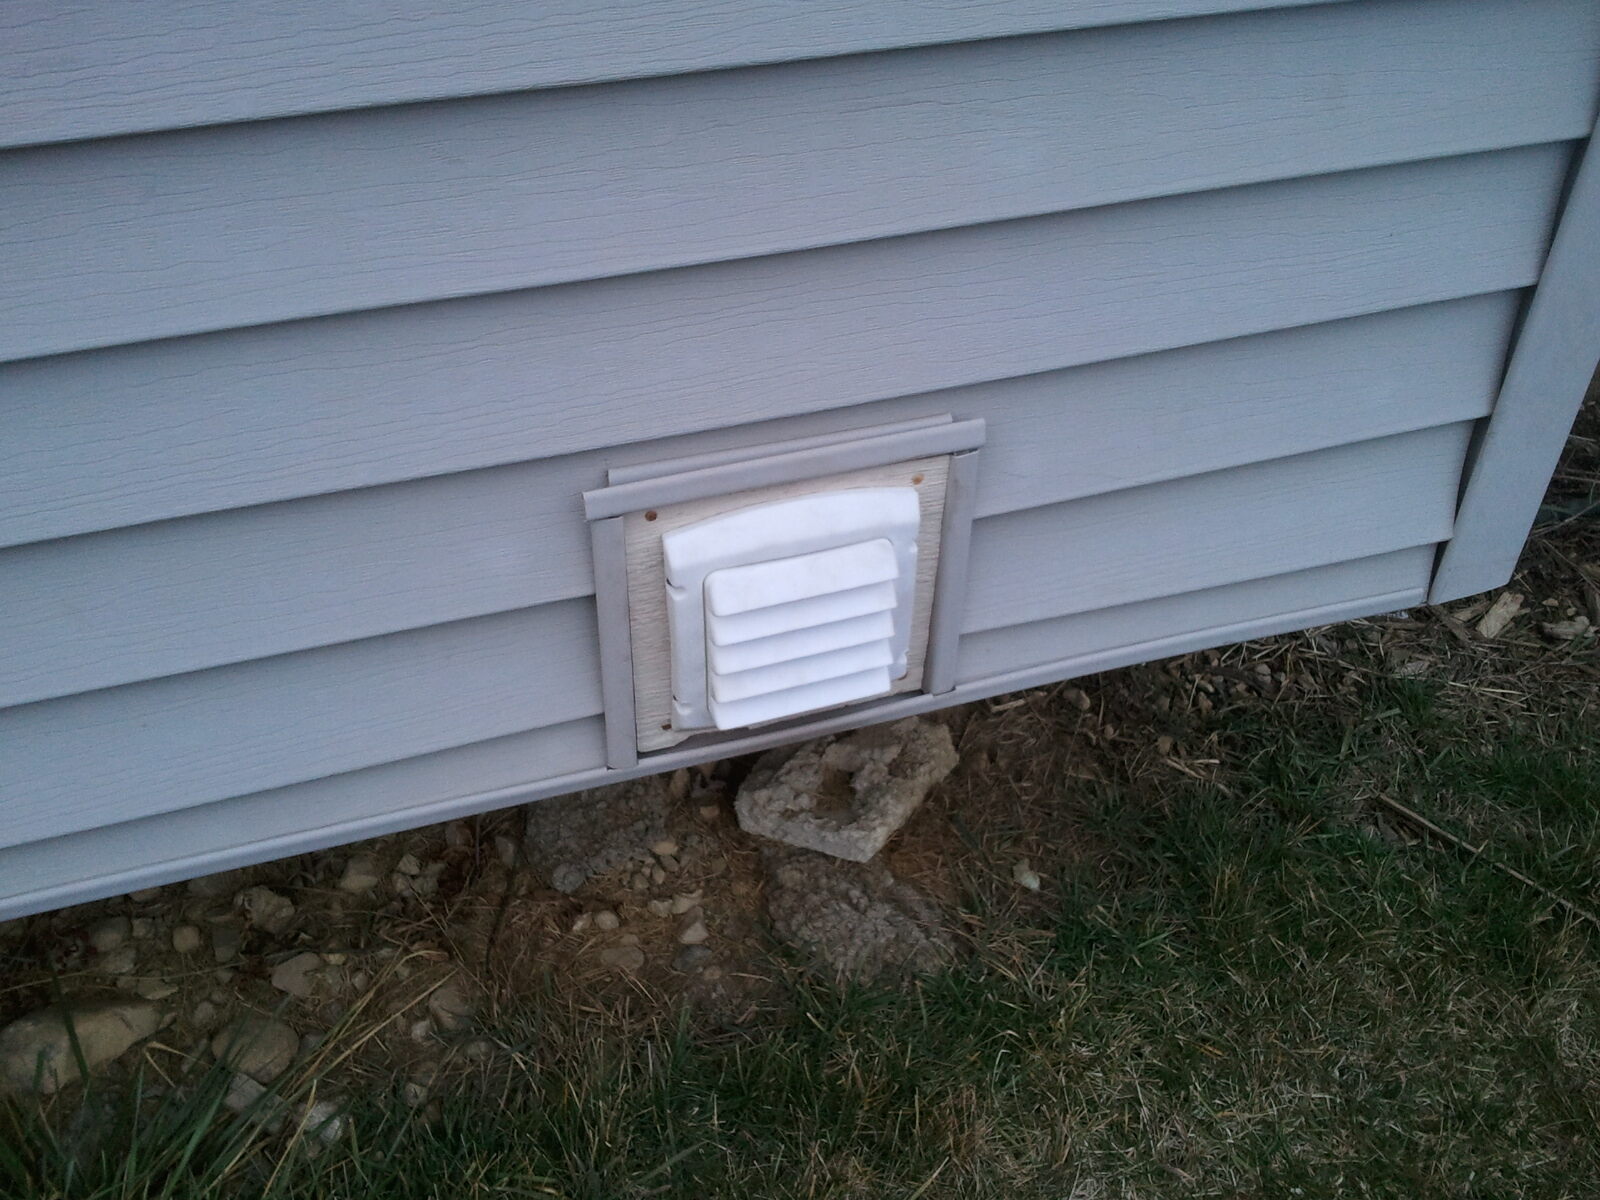
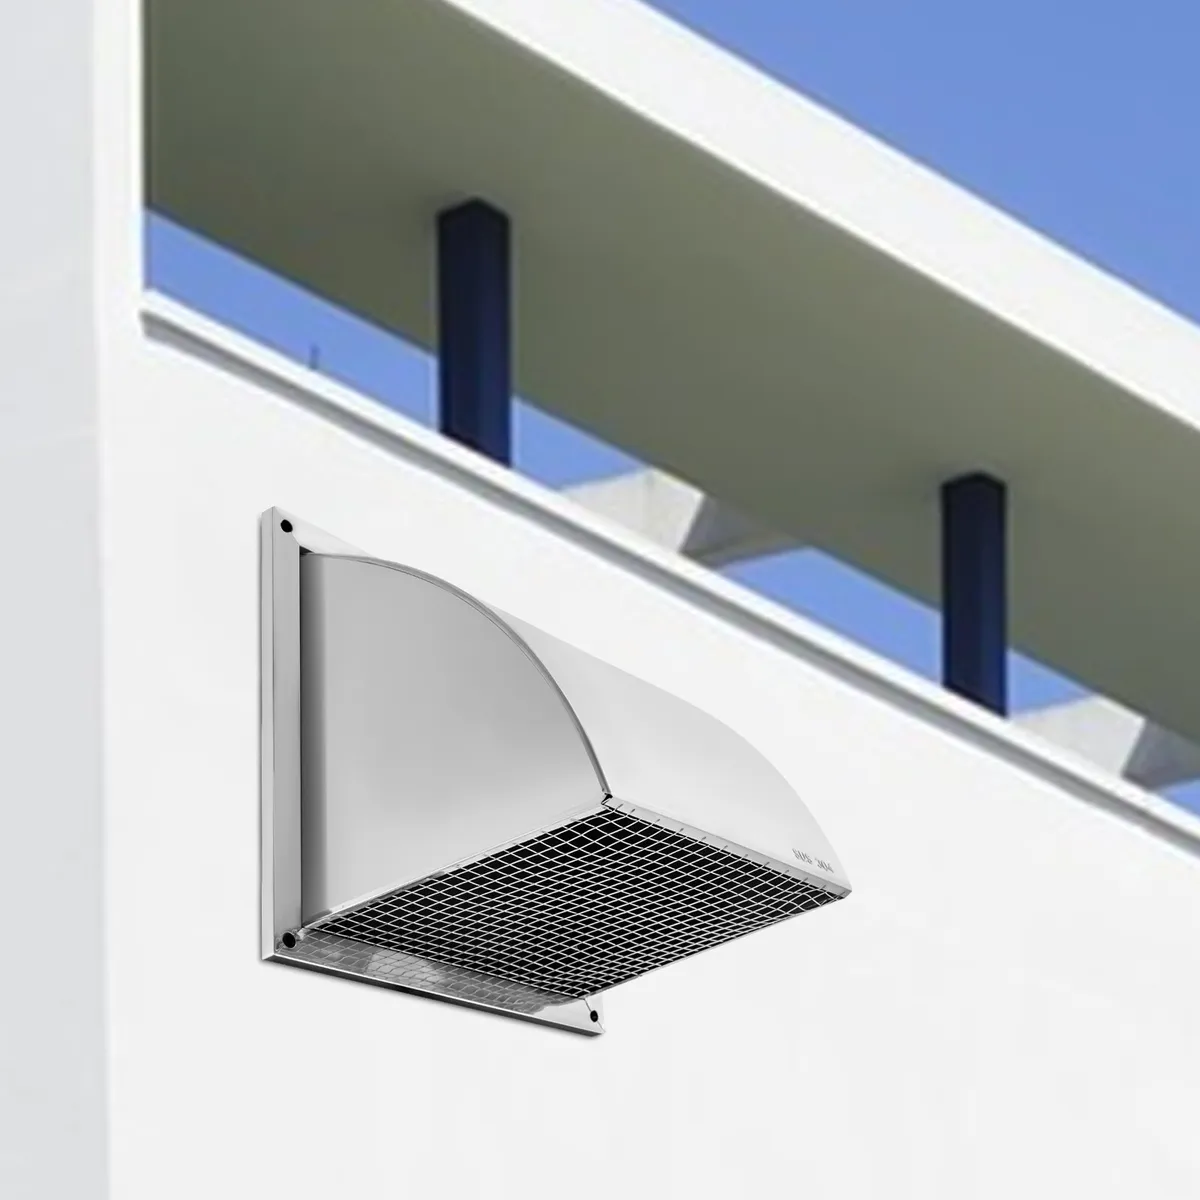
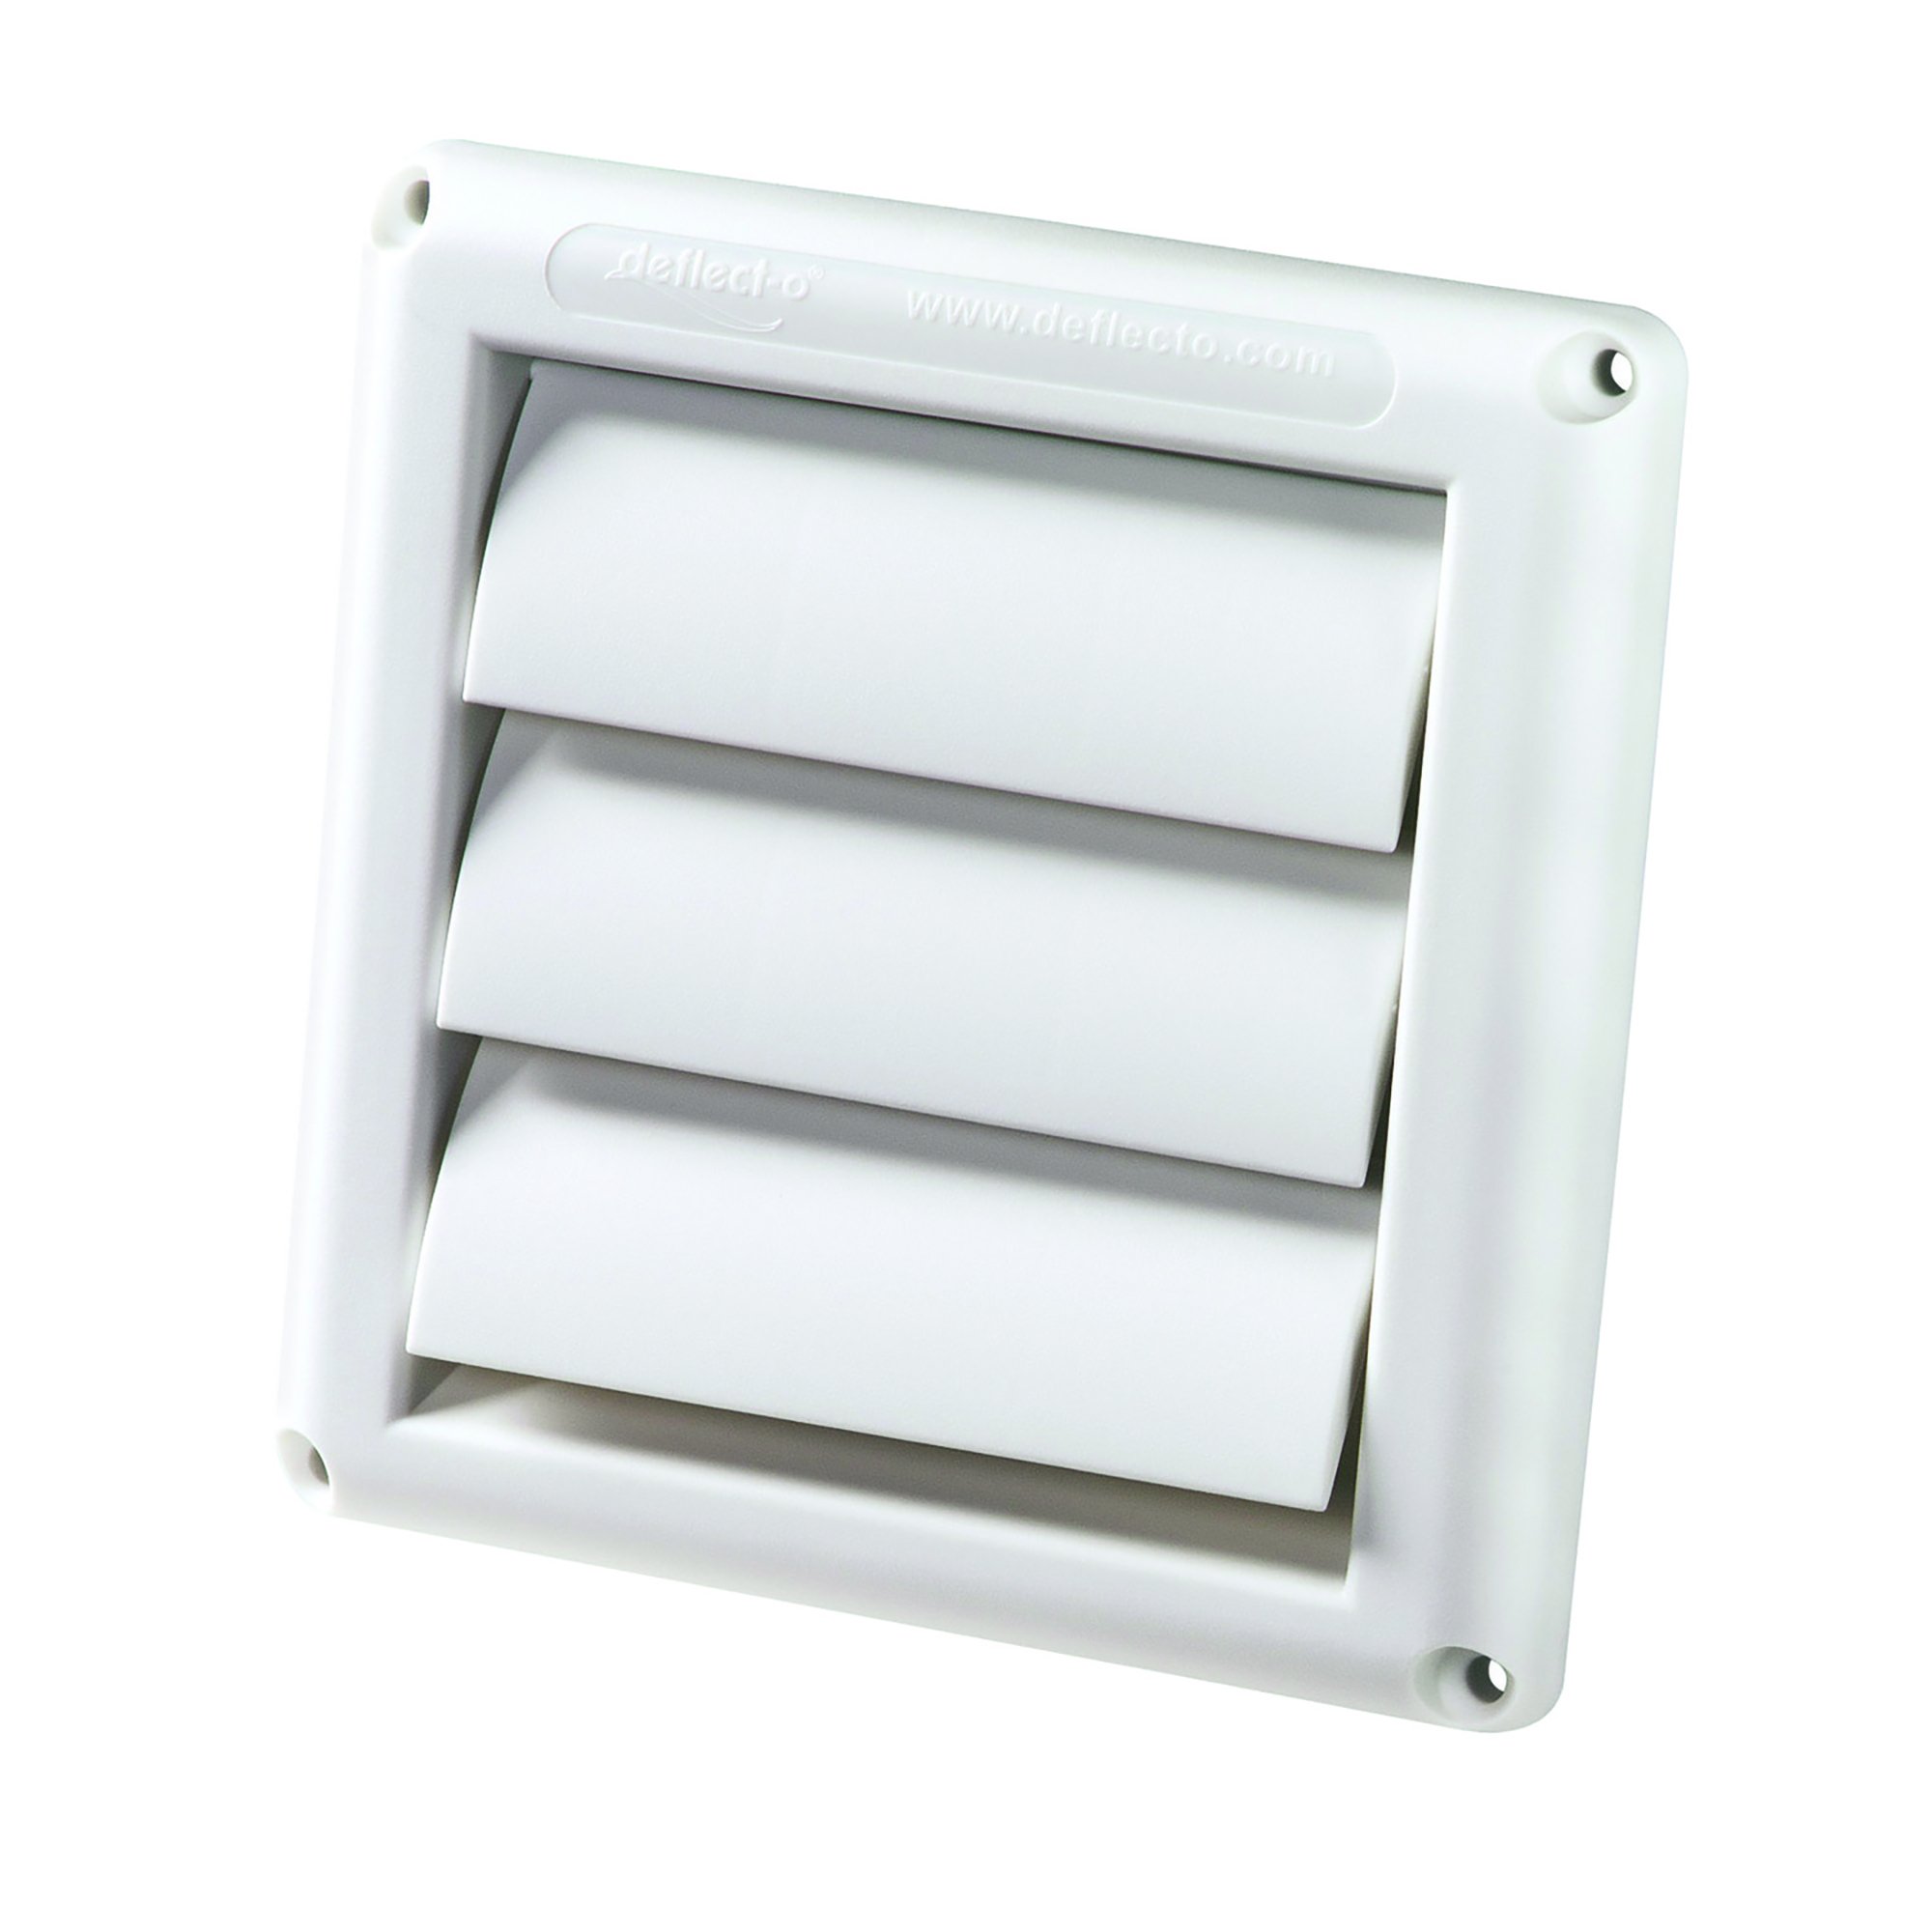
When replacing a dryer vent cover, make sure to choose a cover that is durable and weather-resistant to protect against the elements. Additionally, ensure that the cover is the correct size for your vent opening to prevent any air leaks.
Step 4: Measure and cut the new vent cover
With the vent opening cleaned and prepared, it’s time to measure and cut the new vent cover. This step ensures that the new cover will fit securely over the vent opening and provide proper ventilation. Follow these steps:
- Using a tape measure, measure the dimensions of the vent opening. Take accurate measurements of the width and height of the opening.
- Transfer these measurements onto the new vent cover. Use a pencil or a marker to mark the dimensions on the cover, ensuring that you have the correct size needed.
- If the new vent cover is made from a material that can be easily cut, such as plastic or aluminum, use tin snips or a saw to carefully cut along the marked lines. Make smooth, clean cuts to ensure a precise fit.
- If the new vent cover requires any additional modifications, such as drilling holes for screws or nails, follow the manufacturer’s instructions and make these adjustments as needed.
It’s crucial to measure and cut the new vent cover accurately to ensure a proper fit. A snug and secure fit will prevent any air leaks and ensure that the vent cover functions optimally.
Once you have measured and cut the new vent cover to the correct dimensions, you are ready to move on to the next step—attaching the new vent cover. This step will secure the cover in place and complete the installation process. Let’s proceed to step 5!
Read more: How To Cover A Dryer Vent Outside
Step 5: Attach the new vent cover
With the new vent cover cut to the correct size, it’s time to attach it to the vent opening. Proper attachment ensures that the cover is secure and functions effectively. Follow these steps to attach the new vent cover:
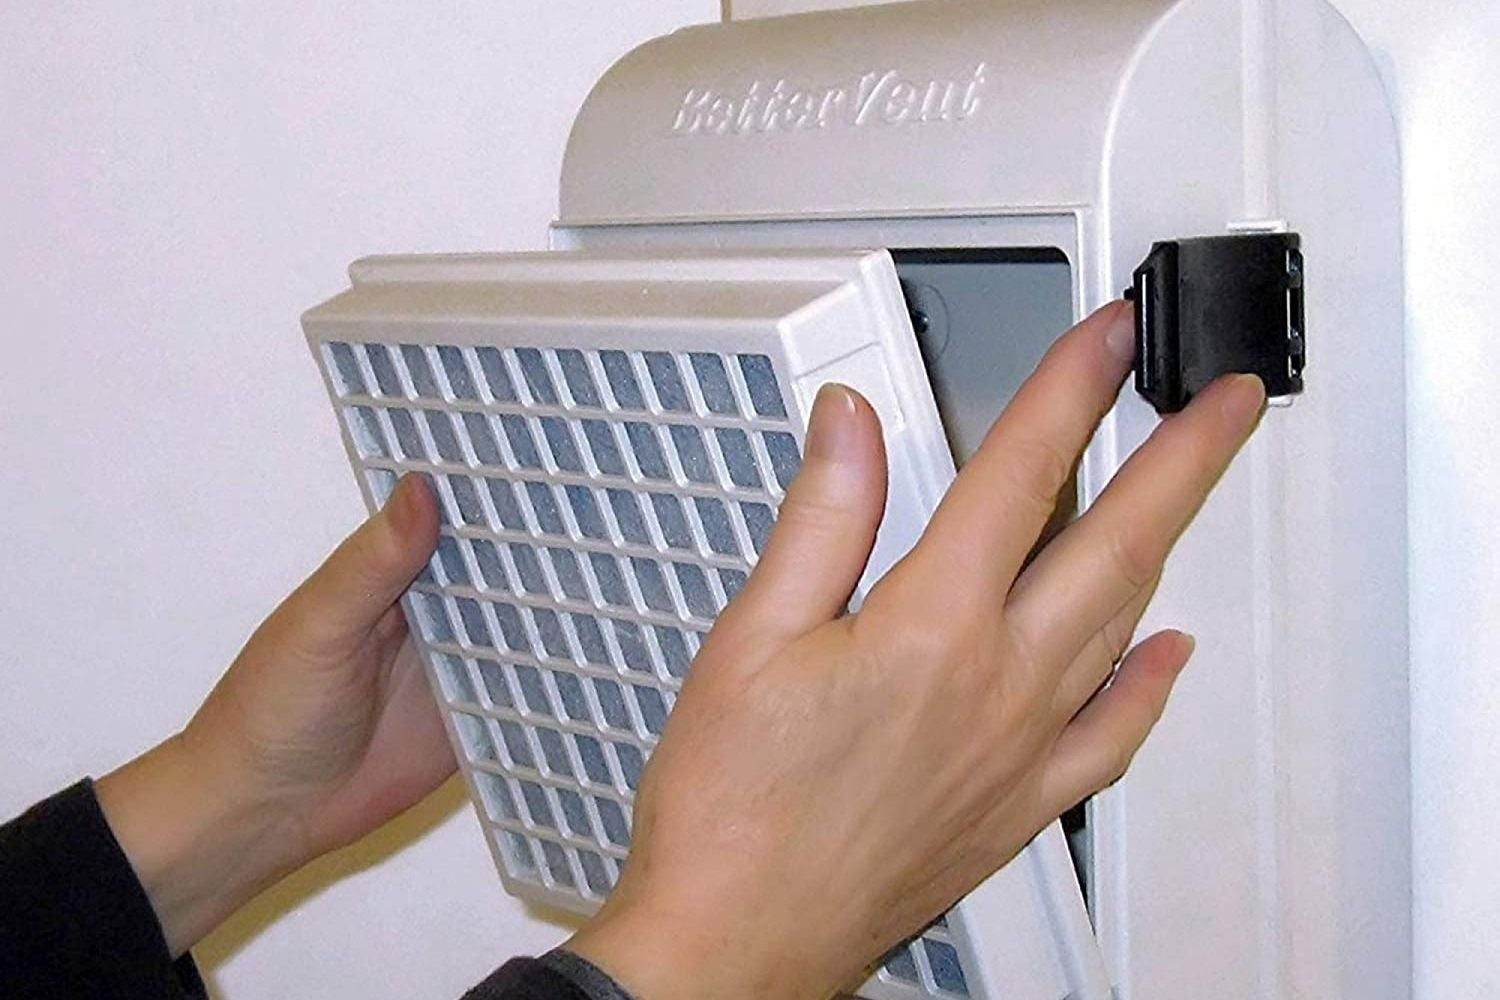
- Position the new vent cover over the vent opening, aligning it properly.
- If your new vent cover comes with built-in screw holes, align these holes with the corresponding holes in the vent opening.
- If your new vent cover does not have pre-drilled holes, mark the positions where the screws or nails will go, using a pencil or a marker.
- If necessary, use a screwdriver or a drill to attach the new vent cover to the wall or the vent opening. Insert screws or nails through the holes and tighten them securely.
- Ensure that the new vent cover is tightly secured in place, with no gaps or loose connections.
Properly attaching the new vent cover is crucial for its functionality. A secure attachment ensures that the cover will not come loose, and it will effectively prevent any debris or pests from entering the vent system.
Once the new vent cover is securely attached, you can move on to the final step—testing the vent cover for proper functioning. This step ensures that the cover is working as intended and allows for the proper ventilation of your dryer. Let’s proceed to step 6!
Step 6: Test the vent cover for proper functioning
Now that you have successfully attached the new vent cover, it’s important to test it for proper functioning. Testing ensures that the cover allows for proper airflow while preventing any debris or pests from entering the vent system. Follow these steps to test the vent cover:
- Turn on your dryer and allow it to run for a few minutes.
- Observe the airflow coming out of the vent cover. It should be strong and steady, with no signs of obstruction or restriction.
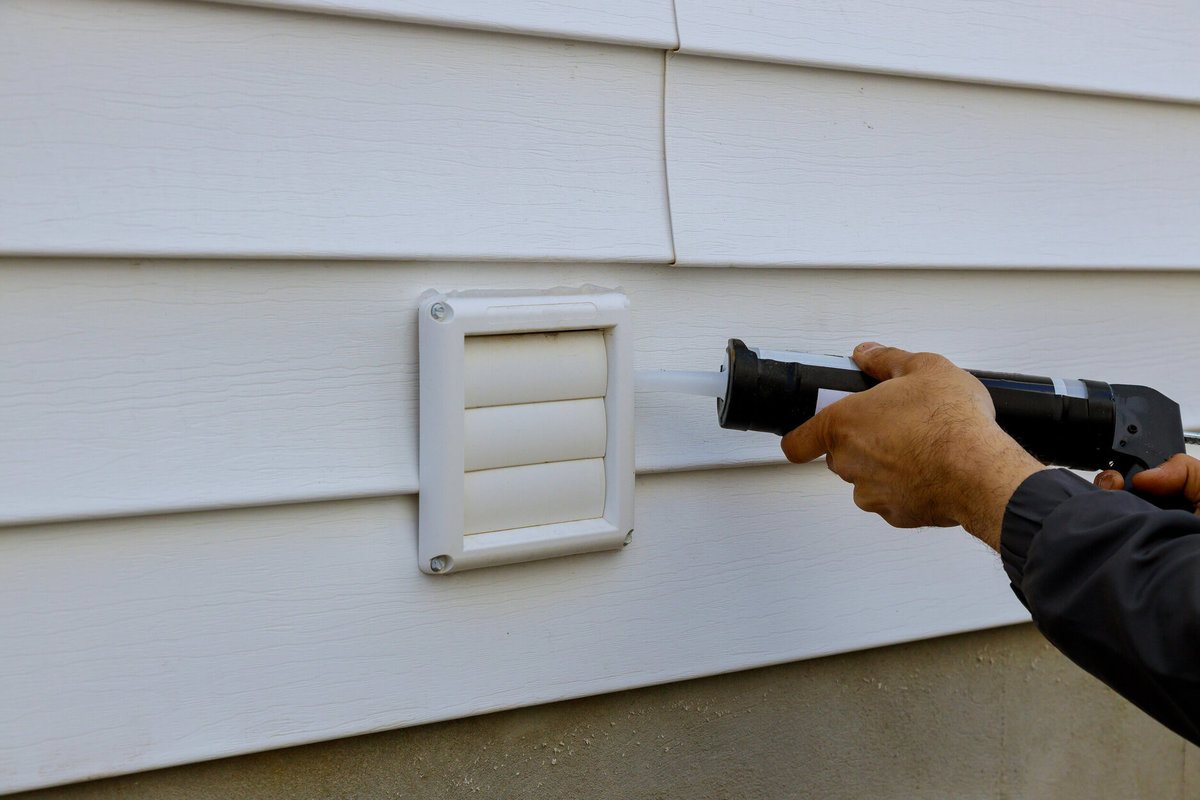
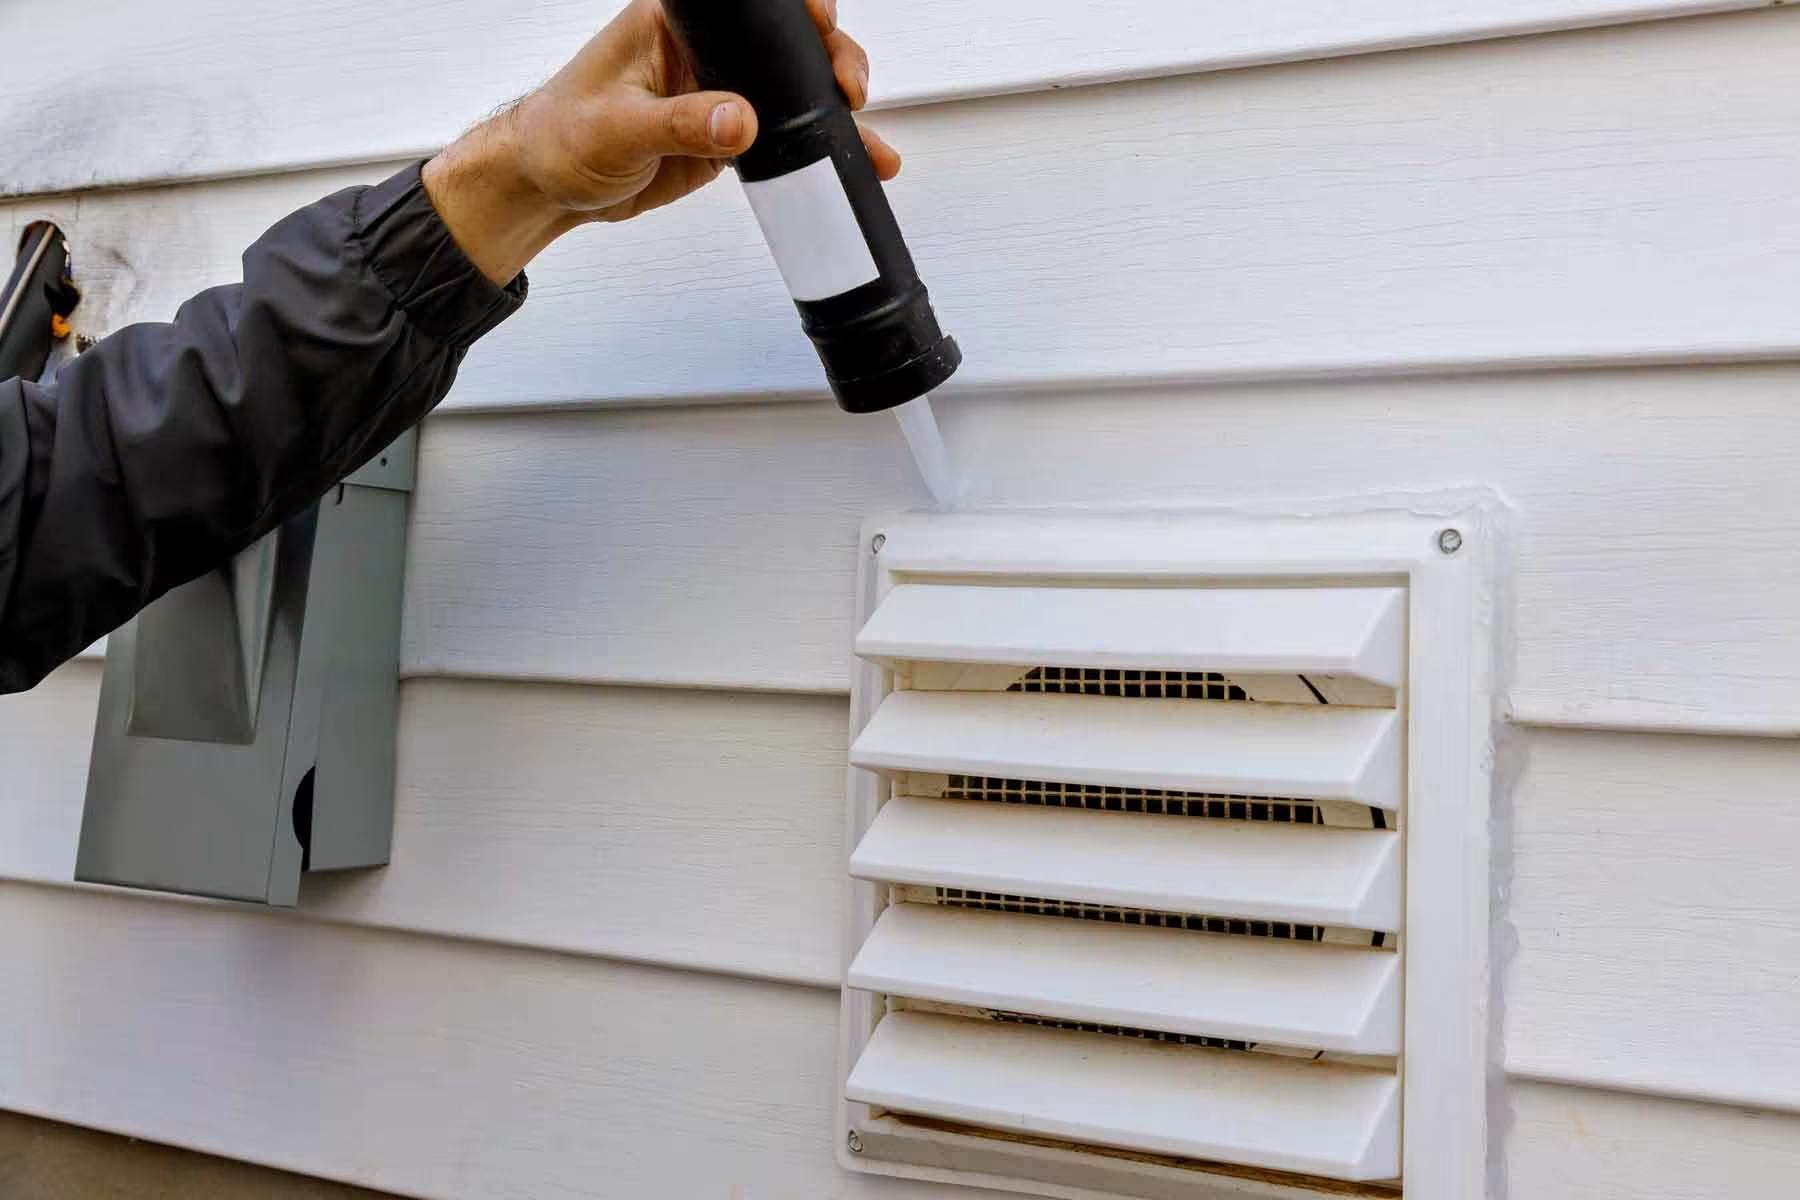
- Check for any signs of air leaks around the edges of the vent cover. If you detect any, reposition the cover to create a tighter seal or consider using caulking or weatherstripping to seal the gaps.
- Inspect the surrounding area for any loose screws or nails. Ensure that all fasteners are securely tightened.
Testing the vent cover is crucial to ensure that it is functioning properly and that there are no issues affecting the performance of your dryer. Proper ventilation is essential for your dryer’s efficiency and safety.
If you notice any problems during the testing process, such as weak airflow or air leaks, investigate the issue further or consider seeking professional assistance. It’s important to address any ventilation concerns promptly to maintain the optimal performance of your dryer and prevent potential hazards.
Congratulations! You have successfully replaced your dryer vent cover. By following these steps and taking the necessary precautions, you have ensured the efficient and safe operation of your dryer. Regular maintenance and cleaning of the vent system will promote longevity and prevent potential issues down the line.
Remember, if you are unsure about any aspect of the replacement process or if you encounter any difficulties, it’s always a good idea to consult a professional. They will be able to provide guidance and ensure that the task is completed correctly.
Thank you for using this guide, and we hope it has been helpful to you. Happy drying!
Conclusion
Replacing a dryer vent cover is a simple task that can greatly improve the efficiency and safety of your dryer. By following the step-by-step process outlined in this guide, you have learned how to gather the necessary tools and materials, remove the old vent cover, clean the vent opening, measure and cut the new vent cover, attach it securely, and test it for proper functioning.
Remember, maintaining a clear and unobstructed vent opening is essential for the optimal performance of your dryer. Regularly cleaning the vent system and replacing the vent cover as needed will ensure proper airflow and prevent fire hazards caused by lint buildup.
Throughout the process, prioritize safety by turning off and unplugging your dryer and wearing protective gear such as gloves and goggles. Additionally, consult the manufacturer’s instructions for any specific requirements.
Should you encounter any difficulties or are unsure about any aspect of the replacement process, do not hesitate to seek professional assistance. They will provide expert guidance and ensure that the job is done correctly.
By taking the time to replace your dryer vent cover, you have taken an important step in maintaining the efficiency and safety of your dryer. Remember to regularly inspect and clean your vent system to prevent future issues and enjoy hassle-free drying for years to come.
Thank you for using this guide, and we hope it has been informative and helpful. Happy drying!
Frequently Asked Questions about How To Replace A Dryer Vent Cover
Was this page helpful?
At Storables.com, we guarantee accurate and reliable information. Our content, validated by Expert Board Contributors, is crafted following stringent Editorial Policies. We're committed to providing you with well-researched, expert-backed insights for all your informational needs.
0 thoughts on “How To Replace A Dryer Vent Cover”