Home>Dining>Table Decor>How To Make Pumpkin Floral Arrangements
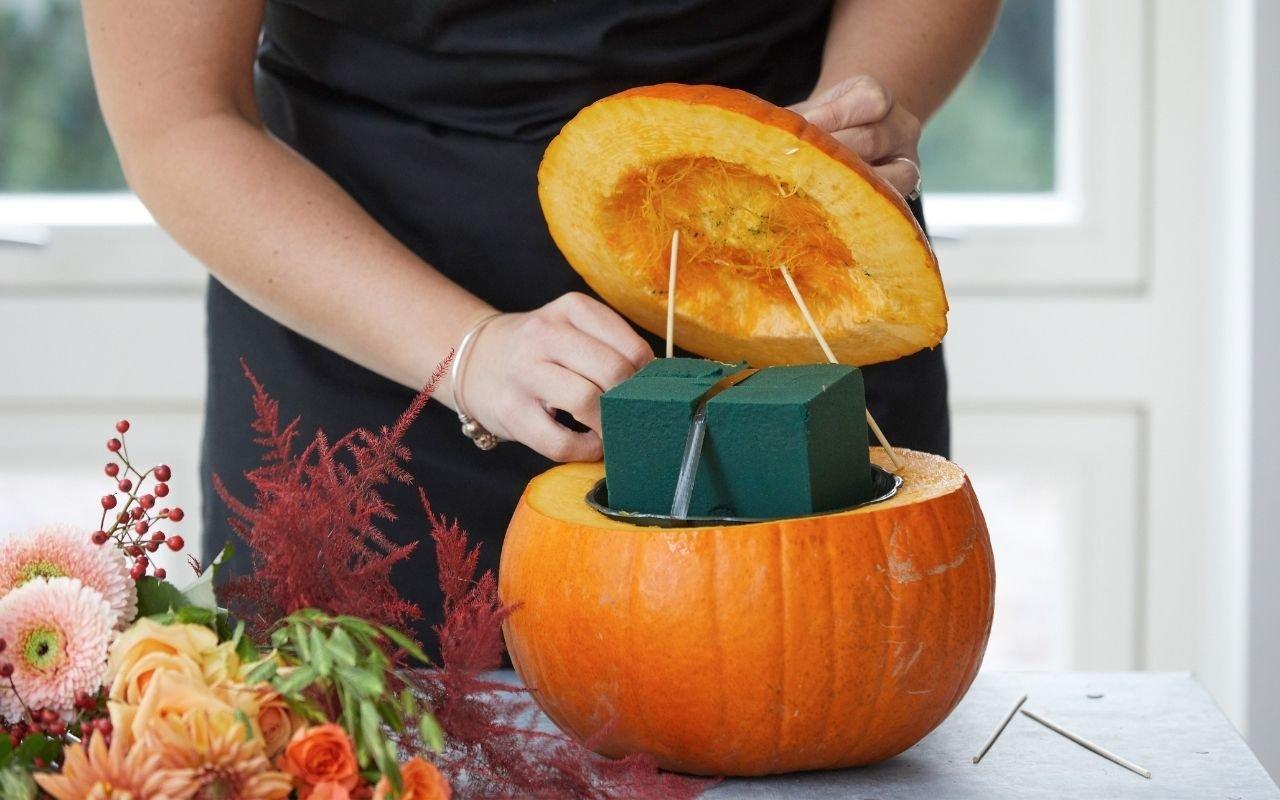
Table Decor
How To Make Pumpkin Floral Arrangements
Modified: December 7, 2023
Get creative with your table decor and learn how to make stunning pumpkin floral arrangements that will impress your guests. Perfect for fall weddings and Thanksgiving celebrations.
(Many of the links in this article redirect to a specific reviewed product. Your purchase of these products through affiliate links helps to generate commission for Storables.com, at no extra cost. Learn more)
Introduction
Table decor plays a crucial role in setting the ambiance and enhancing the visual appeal of any space. Whether you’re hosting a dinner party, a wedding reception, or simply want to spruce up your dining table, utilizing floral arrangements can add a touch of elegance and beauty.
When it comes to floral arrangements, there’s a unique and creative way to incorporate them into your table decor – by using pumpkins as vases. Yes, you heard that right! Pumpkin floral arrangements are a popular trend in table decor, especially during the autumn season.
Imagine a dining table adorned with vibrant fall-colored flowers nestled inside carved pumpkins. It adds a festive and cozy vibe to any event or gathering. From Halloween-themed parties to Thanksgiving dinners, pumpkin floral arrangements have become a popular choice for table centerpieces.
In this article, we will guide you through the process of creating stunning pumpkin floral arrangements. With just a few simple steps, you can transform ordinary pumpkins into unique and eye-catching vases that effortlessly blend with any table decor style.
So, grab your supplies and let’s get started on this fun and creative DIY project that will elevate your table decor to a whole new level.
Key Takeaways:
- Elevate your table decor with stunning pumpkin floral arrangements, adding elegance and seasonal charm to any event. Follow simple steps to transform ordinary pumpkins into eye-catching vases for your favorite flowers.
- Embrace creativity and experimentation to create unique and inviting pumpkin floral arrangements. Personalize your centerpiece with final touches and care for it to maintain its beauty and freshness for days to come.
Read more: How To Make Hydrangea Floral Arrangements
Materials Needed
Before we begin, gather the following materials to create your pumpkin floral arrangements:
- Medium-sized pumpkins (choose pumpkins with a flat and stable base)
- Sharp knife or pumpkin carving tools
- Spoon or scooping tool
- Floral foam or a small block of Oasis foam
- Waterproof floral tape
- Floral shears or sharp scissors
- A selection of fresh flowers and foliage (choose varieties that complement your desired color scheme and style)
- Clear cellophane wrap or plastic liner (optional, but recommended to protect the inside of the pumpkin)
- Waterproof container or tray (to hold the pumpkin and prevent any water leakage)
- Optional: Decorative accents like ribbon, twine, or autumn-themed embellishments
Make sure to have all these materials ready before starting the project. It’s always helpful to have everything organized and within reach to ensure a smooth and enjoyable crafting experience.
Step 1: Choosing the Perfect Pumpkin
The first step in creating a stunning pumpkin floral arrangement is selecting the right pumpkin. When choosing a pumpkin, consider the size, shape, and overall condition.
Look for medium-sized pumpkins with a flat and stable base. This will ensure that your floral arrangement sits securely on the table without any wobbling or toppling over. The pumpkin should also have a smooth surface and be free from any soft spots or blemishes.
Keep in mind that the color and texture of the pumpkin can also play a role in the overall aesthetic of your arrangement. Traditional orange pumpkins work well for a classic and vibrant look, while white or pastel-colored pumpkins can add a touch of elegance and sophistication.
Additionally, if you want to create a more dramatic effect, consider using different-sized pumpkins for a varied and layered arrangement. Mixing small, medium, and large pumpkins can add visual interest and dimension to your table decor.
Once you’ve chosen your pumpkins, place them on a flat surface and assess how they look together. Make sure they complement each other and fit well within your desired table decor theme.
With your perfect pumpkins in hand, you’re ready to move on to the next step and start preparing them for the floral arrangement.
Step 2: Prepping the Pumpkin
Now that you have your pumpkins selected, it’s time to prepare them for the floral arrangement. Follow these steps to ensure your pumpkins are ready to be transformed into beautiful vases:
- Begin by deciding whether you want to completely carve out the top of the pumpkin or create a smaller opening. A larger opening will accommodate more flowers, while a smaller opening can create a more delicate and refined look.
- Using a sharp knife or pumpkin carving tools, carefully cut around the stem of the pumpkin. Take your time and make slow and precise cuts to avoid any accidents.
- Gently remove the top of the pumpkin and set it aside. If desired, clean the inside of the pumpkin by scooping out the seeds and pulp using a spoon or scooping tool. Be sure to scrape the walls of the pumpkin to create a smooth and clean surface.
- If you prefer to protect the inside of the pumpkin from moisture, line it with clear cellophane wrap or a plastic liner. This will create a barrier between the pumpkin and the floral foam to prevent any water leakage or damage.
- Now, let’s prepare the pumpkin to hold the floral arrangement securely in place. Take a small block of floral foam or Oasis foam and soak it in water until it becomes saturated. Allow any excess water to drain before placing it inside the pumpkin.
- Position the soaked floral foam inside the pumpkin, ensuring it fits snugly. If necessary, use a knife to trim the foam to the desired size, making sure it fills the cavity of the pumpkin without protruding too much.
- Finally, use waterproof floral tape to secure the top of the pumpkin back in place. This will help hold the floral foam in position and prevent any movement.
With the pumpkin prepped and ready, you’re now ready to move on to the exciting step of selecting and preparing the flowers for your arrangement.
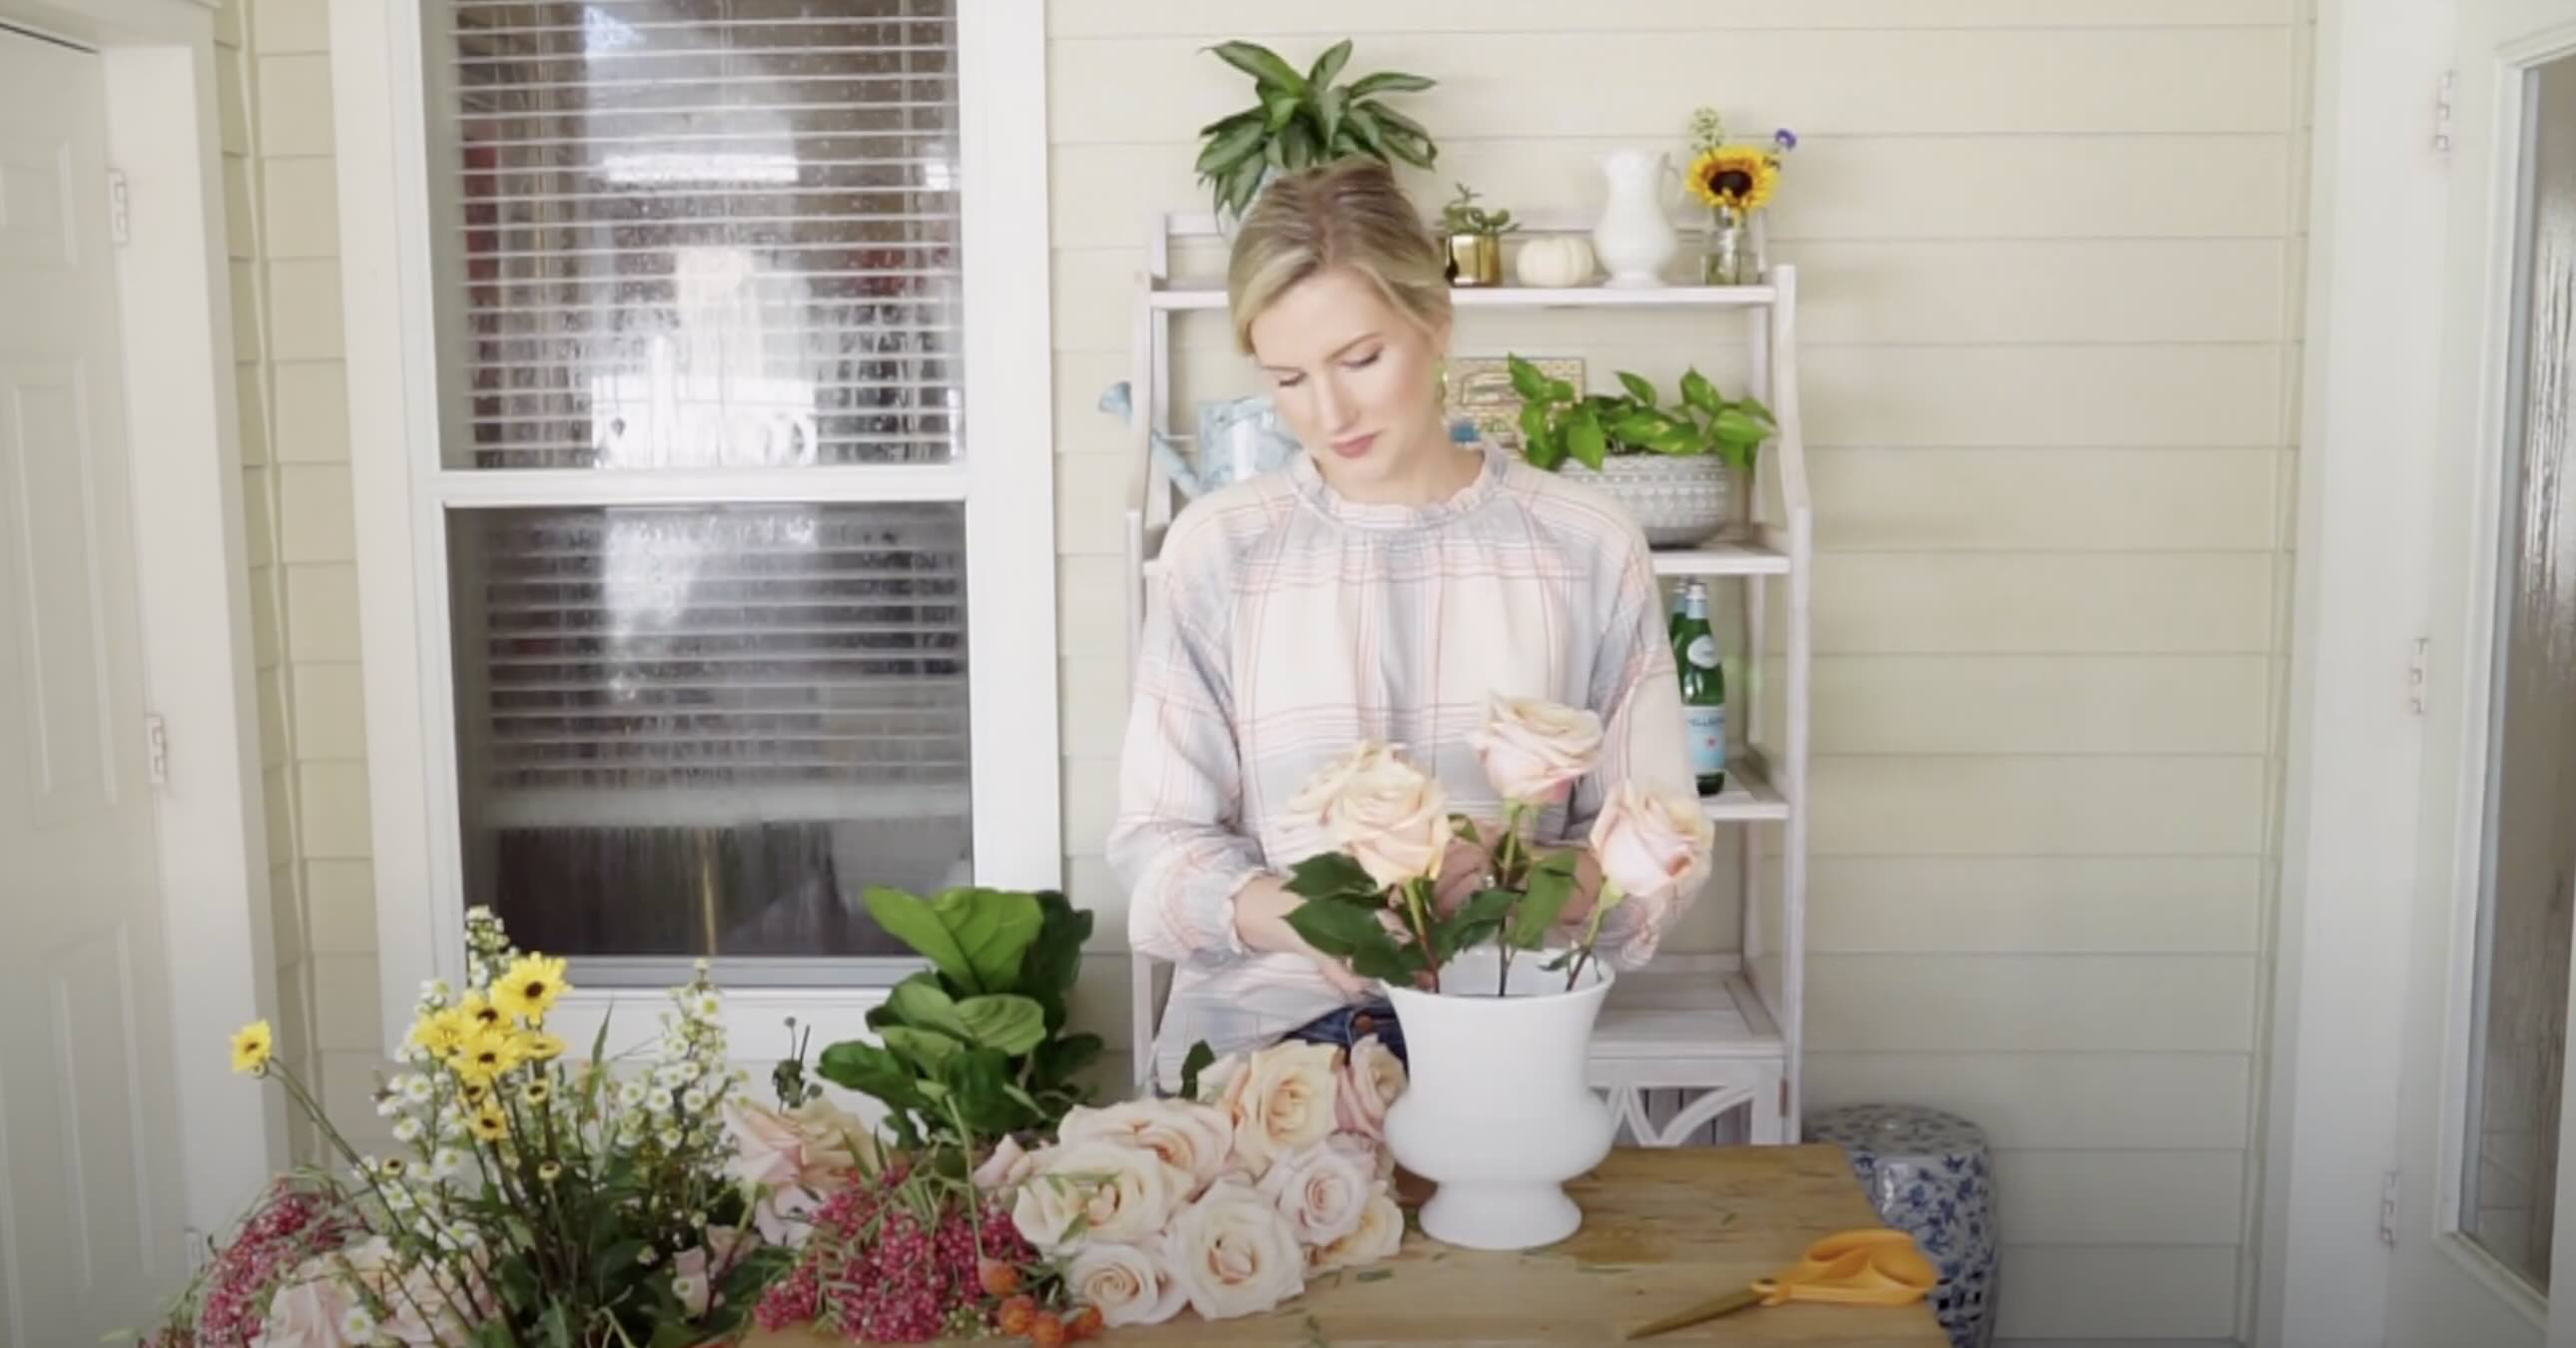
Step 3: Selecting and Preparing Flowers
Once you have your pumpkin prepped, it’s time to choose the flowers for your arrangement. Consider the color scheme, style, and theme you want to achieve.
It’s a good idea to start with a focal flower, such as roses, sunflowers, or dahlias. These bold and beautiful blooms will anchor your arrangement and set the tone for the rest of the flowers.
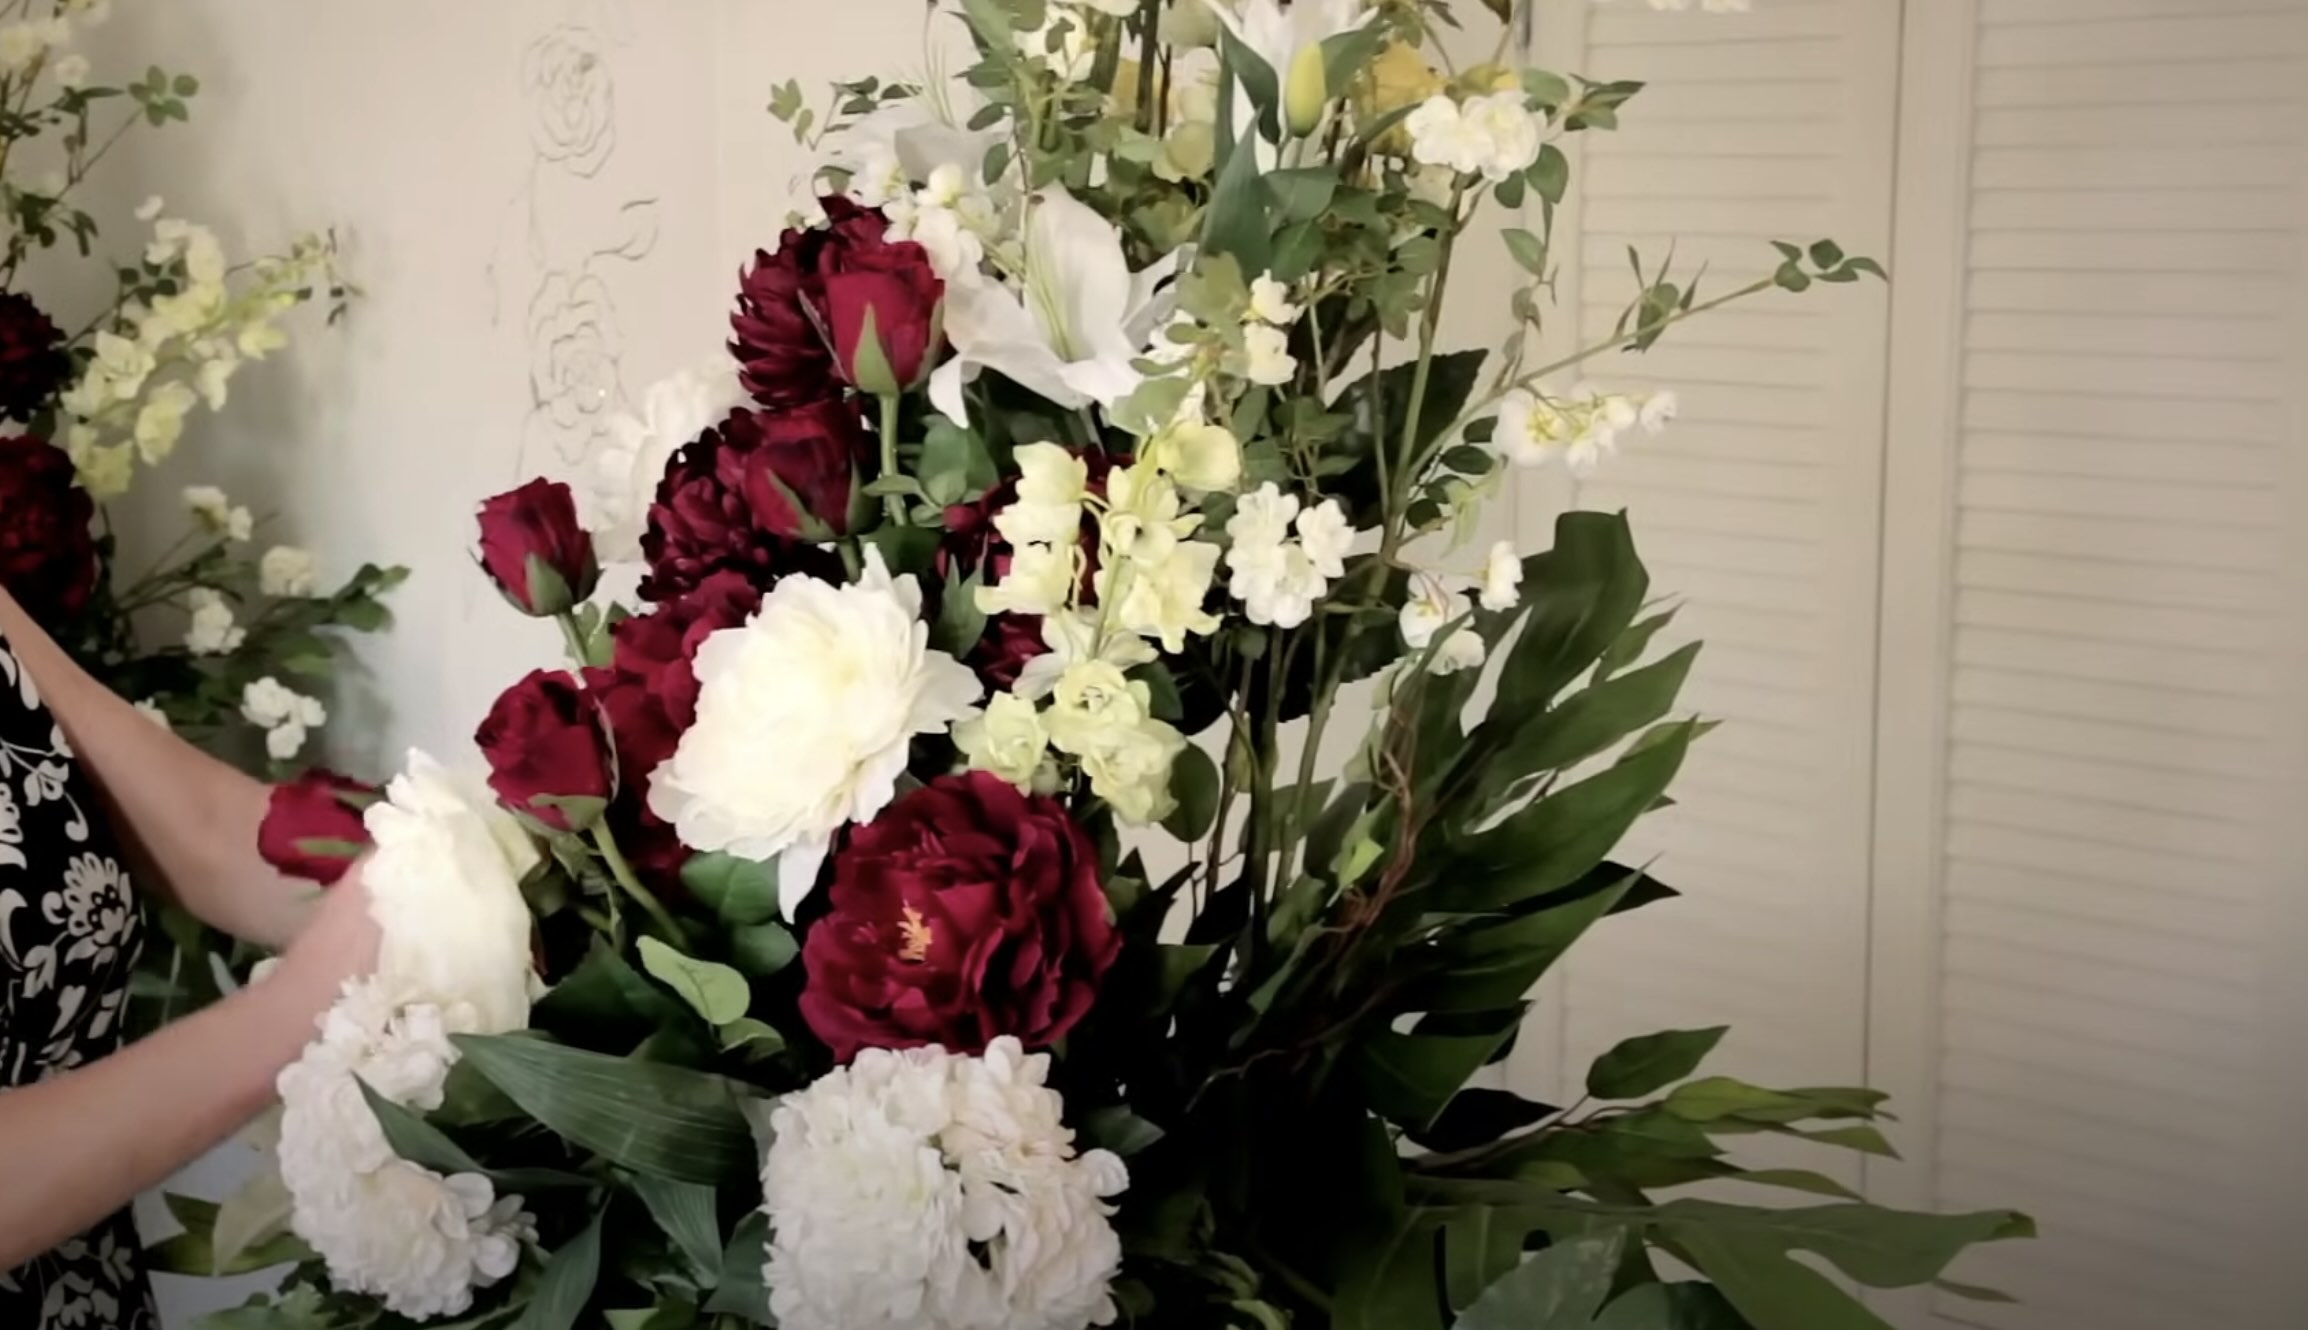
Next, select a variety of complementary flowers and foliage to add depth and texture to your arrangement. Consider using flowers such as chrysanthemums, carnations, hydrangeas, or autumnal blooms like marigolds or asters. Incorporate different shapes, sizes, and colors to create visual interest.
Before placing the flowers into the pumpkin, it’s essential to prepare them properly. Here’s how:
- Fill a clean bucket or sink with water and add floral preservative according to the instructions on the package. This will help prolong the life of your flowers.
- Using floral shears or sharp scissors, trim the stems of the flowers at an angle. This angle allows for better water absorption, ensuring your flowers stay fresh.
- Remove any leaves or thorns that will be below the waterline. This helps prevent bacteria growth and keeps the water clean.
- Place the prepared flowers in the bucket or sink filled with water and let them hydrate for at least 2-3 hours. This step is crucial to ensure your flowers are fully hydrated and remain fresh throughout your event.
Now that your flowers are prepared, it’s time to start creating your beautiful pumpkin floral arrangement.
When making pumpkin floral arrangements, be sure to hollow out the pumpkin and insert a water-soaked floral foam to keep the flowers hydrated. This will help your arrangement last longer.
Read more: How To Make Easter Floral Arrangements
Step 4: Creating a Base Layer
Now that you have your pumpkin prepped and flowers prepared, it’s time to start assembling your pumpkin floral arrangement. Begin by creating a base layer using foliage or greenery.
Choose a variety of foliage that complements the colors and style of your flowers. Options like eucalyptus, ferns, or ivy can add texture and depth to your arrangement.
Here’s how to create the base layer:
- Take a few stems of foliage and trim them to a desired length. Remove any excess leaves or branches that may hinder the arrangement.
- Start placing the foliage stems around the edges of the floral foam inside the pumpkin. Angle the stems so they radiate outward, creating a natural and organic look.
- Continue adding foliage stems, working your way inward toward the center of the pumpkin. Make sure to distribute the foliage evenly to create a balanced and lush base layer.
- If necessary, trim the stems further to ensure they fit securely in the floral foam and sit at the desired height.
The base layer of foliage will provide a backdrop for your main floral arrangement, adding volume and dimension to the overall design. Once you’re satisfied with the base layer, you can move on to the next step of adding the main floral arrangement.
Step 5: Adding the Main Floral Arrangement
Now that you have a beautiful base layer of foliage, it’s time to add the main floral arrangement to your pumpkin centerpiece. This will be the focal point of your arrangement, so choose your flowers accordingly.
Here’s how to add the main floral arrangement:
- Select your focal flowers, such as roses, sunflowers, or dahlias, and trim their stems to the desired length. Keep in mind that you want them to be taller than the foliage to create depth.
- Start by placing your focal flowers in the center of the pumpkin. Insert their stems into the floral foam, making sure they are secure and stand tall.
- Continue adding the focal flowers around the center, working your way outward. Angle the stems and vary the heights to create a natural and visually pleasing arrangement.
- Once your main flowers are in place, fill in the gaps with smaller flowers or blooms of different shapes and colors. Use flowers like chrysanthemums, carnations, or seasonal blooms to add texture and fill out the arrangement.
- Take a step back and assess the overall look of your arrangement. Make any necessary adjustments to ensure the flowers are evenly distributed and create a balanced composition.
As you add each flower, consider the placement and how they interact with the foliage and other flowers. Play around with different arrangements until you achieve the desired look.
Remember to step back and view your arrangement from different angles to ensure it looks beautiful from all sides.
With the main floral arrangement added, your pumpkin centerpiece is starting to come to life. It’s time to move on to the next step and fill in any remaining gaps.
Step 6: Filling in the Gaps
Now that you’ve created the base layer of foliage and added the main floral arrangement, it’s time to fill in any remaining gaps and add extra detail to your pumpkin floral arrangement.
Follow these steps to fill in the gaps:
- Take a closer look at your arrangement and identify any areas that may need additional flowers or foliage to fill out the design.
- Select smaller blooms, baby’s breath, or filler flowers that complement the colors and style of your arrangement.
- Cut the stems of the filler flowers to the desired length and gently insert them into any visible gaps or areas that need a bit more volume.
- Consider using long and cascading foliage or vines to gracefully drape along the sides of the pumpkin for added visual interest.
- Step back and assess your arrangement to ensure it looks full and balanced from all angles.
Filling in the gaps will help create a cohesive and lush appearance for your pumpkin floral arrangement. It’s an opportunity to add additional pops of color, texture, and depth to the overall design.
Don’t be afraid to experiment and add different flowers or foliage to achieve the desired look. As you add each element, step back and evaluate to maintain overall harmony within the arrangement.
Once you’re satisfied with how the gaps are filled, it’s time to add the final touches to your pumpkin centerpiece.
Step 7: Adding Final Touches
Now that your pumpkin floral arrangement is taking shape, it’s time to add the final touches to bring it to completion. These finishing touches will elevate the overall look and add a personal touch to your centerpiece.
Consider these ideas for adding final touches to your pumpkin floral arrangement:
- Wrap a decorative ribbon or twine around the base of the pumpkin to add a festive or elegant touch. Choose colors that complement your flowers and overall table decor theme.
- Attach a small tag or name card to the ribbon for a personalized touch, especially if you’re using the arrangement for a special event like a wedding or dinner party.
- Add autumn-themed embellishments such as miniature pumpkins, acorns, or fall leaves to enhance the seasonal vibe of your arrangement.
- Place the pumpkin floral arrangement on a decorative tray or plate to elevate its presentation and catch any water runoff.
- Consider adding candles or fairy lights around the arrangement to create a cozy and romantic ambiance, especially for evening events.
These final touches will allow you to customize your pumpkin floral arrangement and make it uniquely yours. Remember to be creative and have fun with the process!
Once you’ve added the final touches, step back and admire your stunning pumpkin floral arrangement. It’s now ready to be showcased and become the centerpiece of your table decor.
Remember to take proper care of your arrangement by keeping it hydrated and away from direct sunlight or extreme temperatures. With proper maintenance, your pumpkin floral arrangement will continue to bring beauty and joy to your space for several days.
Now that you’ve completed all the steps, enjoy the fruits of your labor and bask in the admiration of your guests as they marvel at your exquisite pumpkin floral arrangement.
Happy decorating!
Read more: How To Make Bows For Floral Arrangements
Conclusion
Creating pumpkin floral arrangements is a delightful and creative way to add a touch of elegance and seasonal charm to your table decor. By following these simple steps, you can transform ordinary pumpkins into stunning vases that beautifully showcase your favorite flowers.
From choosing the perfect pumpkin to prepping it, selecting and preparing the flowers, and creating layers of foliage, every step contributes to the overall beauty of your arrangement. The final touches truly personalize the centerpiece and make it a standout feature of your table decor.
Whether you’re hosting a fall-themed dinner party, a Halloween bash, or a Thanksgiving gathering, pumpkin floral arrangements are a wonderful addition to any festive occasion. They bring a sense of warmth, freshness, and natural beauty to the table, creating an inviting atmosphere for your guests.
Don’t be afraid to experiment with different flower combinations, colors, and styles to create unique and eye-catching arrangements. Let your creativity flow and have fun with the process!
Remember to care for your pumpkin floral arrangement by keeping it hydrated and ensuring it is placed in a suitable location away from direct sunlight and extreme temperatures. This will help your arrangement maintain its freshness and beauty for as long as possible.
Now, armed with the knowledge and steps outlined in this article, you have the tools to create breathtaking pumpkin floral arrangements that will impress your guests and bring joy to your table decor.
So, gather your materials, carve those pumpkins, and let your creativity bloom as you embark on this exciting DIY project. Happy decorating!
Frequently Asked Questions about How To Make Pumpkin Floral Arrangements
Was this page helpful?
At Storables.com, we guarantee accurate and reliable information. Our content, validated by Expert Board Contributors, is crafted following stringent Editorial Policies. We're committed to providing you with well-researched, expert-backed insights for all your informational needs.
0 thoughts on “How To Make Pumpkin Floral Arrangements”