Home>Dining>Table Decor>How To Make Hydrangea Floral Arrangements
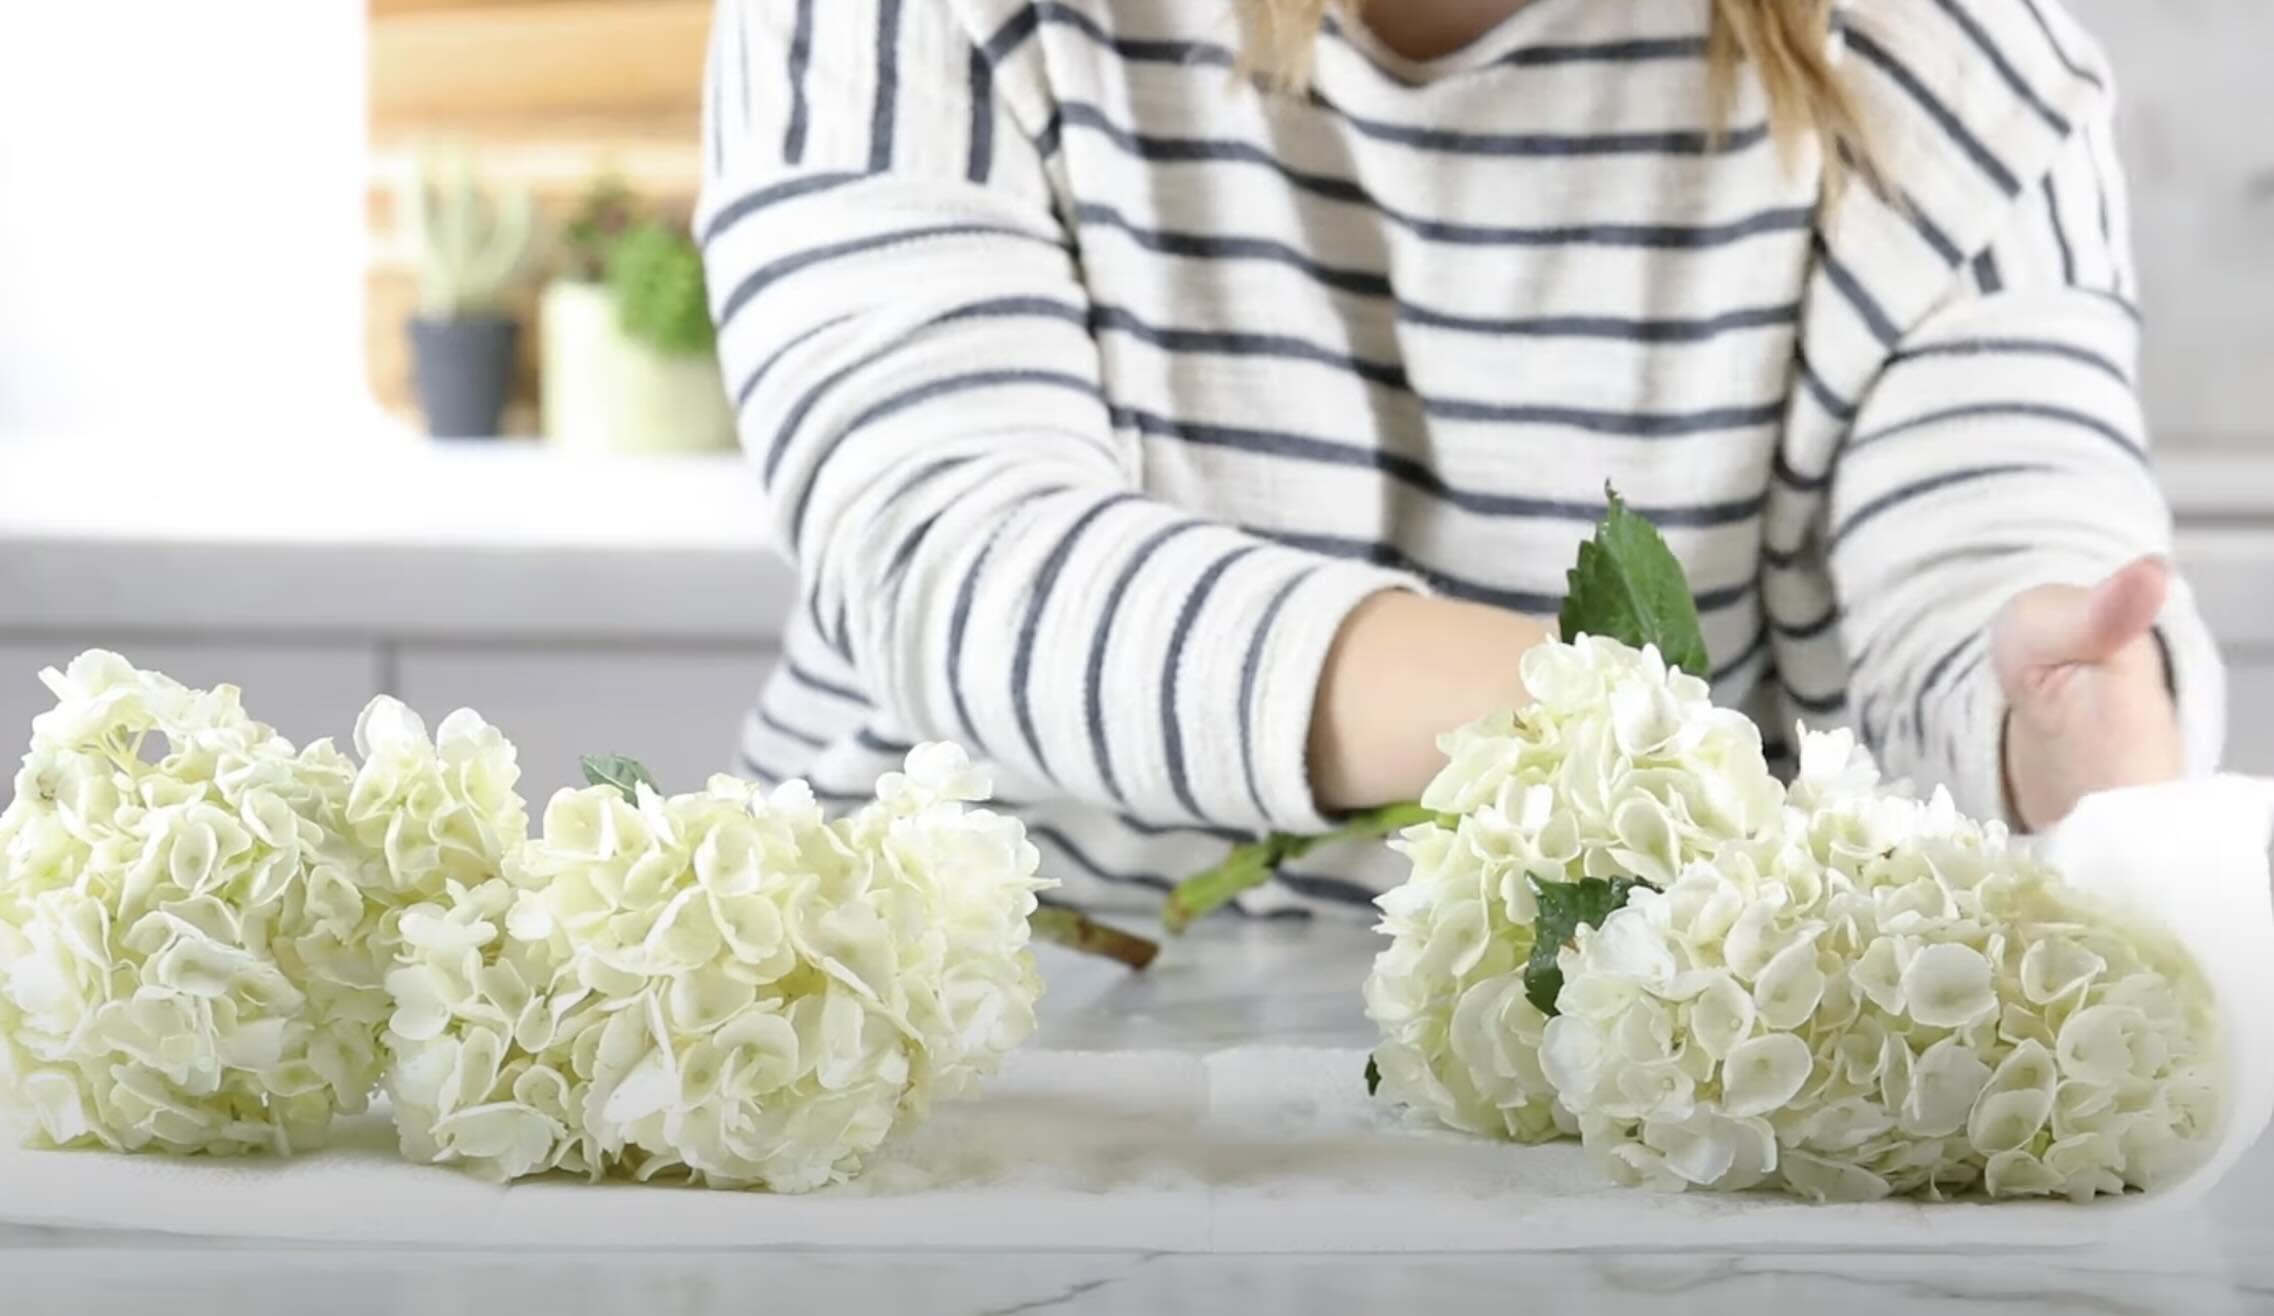
Table Decor
How To Make Hydrangea Floral Arrangements
Modified: October 19, 2024
Learn how to create stunning hydrangea floral arrangements for your table decor. Step-by-step guide on selecting, arranging, and maintaining these beautiful blooms.
(Many of the links in this article redirect to a specific reviewed product. Your purchase of these products through affiliate links helps to generate commission for Storables.com, at no extra cost. Learn more)
Introduction
Welcome to the world of stunning and elegant table decor with hydrangea floral arrangements. Whether you’re planning a special event, hosting a dinner party, or simply looking for ways to beautify your home, hydrangeas can be the perfect choice to add a touch of natural beauty and sophistication to any setting.
Hydrangeas are beloved for their large, colorful blooms and lush foliage, making them a versatile choice for creating stunning floral arrangements. From vibrant pinks and blues to delicate whites and greens, hydrangeas come in a variety of beautiful hues, allowing you to easily match them with your existing color scheme or create a contrasting centerpiece that captures attention.
In this article, we will guide you through the process of creating captivating hydrangea floral arrangements that will surely impress your guests. We will discuss how to choose the right hydrangeas, prepare the materials, and explore different techniques for creating stunning arrangements such as centerpieces, bouquets, and wreaths. Additionally, we’ll share some tips to help your hydrangea arrangements last longer, so you can enjoy their beauty for days to come.
So, whether you’re a seasoned flower enthusiast or just starting your journey into the world of floral design, let’s dive in and discover the art of creating beautiful and breathtaking hydrangea arrangements that will elevate any table setting.
Key Takeaways:
- Elevate any table setting with stunning hydrangea floral arrangements, whether for special events or everyday beauty. Choose the right hydrangeas, prepare materials, and use basic techniques for breathtaking results.
- Extend the lifespan of your hydrangea arrangements with proper care. Water, use floral preservatives, avoid direct sunlight, and consider drying for long-lasting decor. Embrace the enchanting allure of hydrangeas in table decor.
Read more: How To Make Easter Floral Arrangements
Choosing the Right Hydrangeas
When it comes to creating stunning hydrangea floral arrangements, one of the first and most important steps is choosing the right hydrangeas. Here are some key factors to consider:
- Variety of Hydrangeas: There are several different varieties of hydrangeas available, each with its own unique characteristics. Some popular options include the bigleaf hydrangea (Hydrangea macrophylla), the panicle hydrangea (Hydrangea paniculata), and the oakleaf hydrangea (Hydrangea quercifolia). Consider the size, shape, and color of the hydrangea blooms you prefer for your arrangement.
- Color Selection: Hydrangeas come in a wide range of colors, including shades of pink, blue, purple, white, and green. Choose the colors that best complement your table decor or the theme of your event. Keep in mind that the color of some hydrangeas can be influenced by the soil pH, so it’s worth discussing this with your florist or doing some research if you’re planning on growing your own hydrangeas.
- Bloom Size: Hydrangea blooms can vary greatly in size, from small and delicate to large and showy. Consider the scale of your arrangement and the impact you want to create. Smaller blooms can be great for creating dainty bouquets or filling in gaps, while larger blooms can be the star of a centerpiece arrangement.
- Blooming Time: It’s important to consider the blooming time of the hydrangeas you choose, especially if you have a specific event or occasion in mind. Some hydrangea varieties bloom in the spring or early summer, while others bloom later in the summer or even into the fall. Plan accordingly to ensure you have the desired blooms available at the right time.
- Condition of the Blooms: When selecting hydrangeas, examine the blooms closely to ensure they are fresh, healthy, and free from any signs of wilting, browning, or damage. Healthy blooms will have vibrant colors, firm petals, and no signs of discoloration or decay.
Remember, the right choice of hydrangeas will set the foundation for a stunning arrangement. Take your time to consider these factors and select hydrangeas that best fit your aesthetic vision and desired ambiance.
Preparing the Materials
Before you start creating your hydrangea floral arrangements, it’s crucial to ensure that you have all the necessary materials prepared. Here are some key steps to follow to prepare your materials:
- Gather the Tools: Gather all the essential tools you’ll need for arranging hydrangeas. These may include floral shears or scissors, floral tape, floral foam (if using), a container or vase, and any decorative elements you plan to incorporate, such as ribbons or greenery.
- Cut and Condition the Hydrangeas: Once you have your hydrangeas, it’s important to properly prepare them for arranging. Begin by giving the stems a fresh cut at a 45-degree angle. This helps to create a larger surface area for water absorption. Remove any excess leaves from the stems that would be submerged in water, as these can cause bacterial growth and shorten the lifespan of your arrangement.
- Water and Hydrate the Hydrangeas: Fill a clean container with fresh water and place the hydrangea stems in the water immediately after cutting. Let the hydrangeas hydrate in water for about 1-2 hours before arranging them. This step ensures that the flowers are well-hydrated and will stay fresh for longer in the arrangement.
- Prepare the Container: If you’re using a vase or container for your arrangement, clean it thoroughly and fill it with clean water. If you’re using floral foam, soak it in water until it is fully saturated. This will provide a water source for your hydrangea stems and help them stay hydrated throughout the arrangement.
- Prep any Additional Materials: If you plan to incorporate any additional materials like greenery or decorative accents, make sure they are clean, trimmed, and ready to be used. This includes removing any thorns from roses, trimming excess foliage from greenery, and untangling any ribbons or decorative elements.
By taking the time to properly prepare your materials, you’ll set the stage for a successful and visually stunning hydrangea floral arrangement. Paying attention to these details will ensure that your arrangement stays fresh, vibrant, and long-lasting.
Basic Techniques for Hydrangea Arrangements
Creating beautiful hydrangea floral arrangements involves more than just selecting the right hydrangeas and preparing the materials. It’s also about how you set your table with these stunning blooms. The arrangement techniques you use are crucial in bringing your vision to life. Here are some basic techniques to consider when arranging hydrangeas:
- Layering and Building: Start by adding a base of greenery or filler flowers to your container or vase. This will provide a foundation for your hydrangeas and add depth to the arrangement. Position the hydrangeas at varying heights to create dimension. Layer the blooms, placing some closer to the rim and others deeper within the arrangement for a natural and full look.
- Creating a Symmetrical or Asymmetrical Design: Decide whether you prefer a symmetrical or asymmetrical arrangement. For a symmetrical design, position the hydrangeas evenly on both sides of the center and maintain a consistent shape. Asymmetrical designs create an organic and whimsical feel, with hydrangeas placed more randomly for an effortless look.
- Considering Proportions: Pay attention to the proportions of the hydrangeas in relation to the container or vase. Ensure that the size of the blooms complements the size and shape of the vessel. A general rule of thumb is that the arrangement should be approximately one and a half times the height of the vessel for a pleasing balance.
- Mixing with Other Flowers and Foliage: Hydrangeas can be beautifully complemented by other flowers and foliage. Consider adding contrasting or complementary blooms such as roses, peonies, or baby’s breath to enhance the overall look. Incorporate different textures and colors to create visual interest and depth within the arrangement.
- Securing the Stems: Depending on the vessel and arrangement style, you may need to anchor the hydrangea stems in place. Floral foam or floral tape can be useful for securing the stems in a more structured arrangement, while looser designs may not require the same level of anchoring.
Remember, these techniques serve as a guide, and you can experiment and adapt them to suit your personal style and creativity. The key is to have fun and let your artistic vision shine through as you arrange the beautiful hydrangeas.
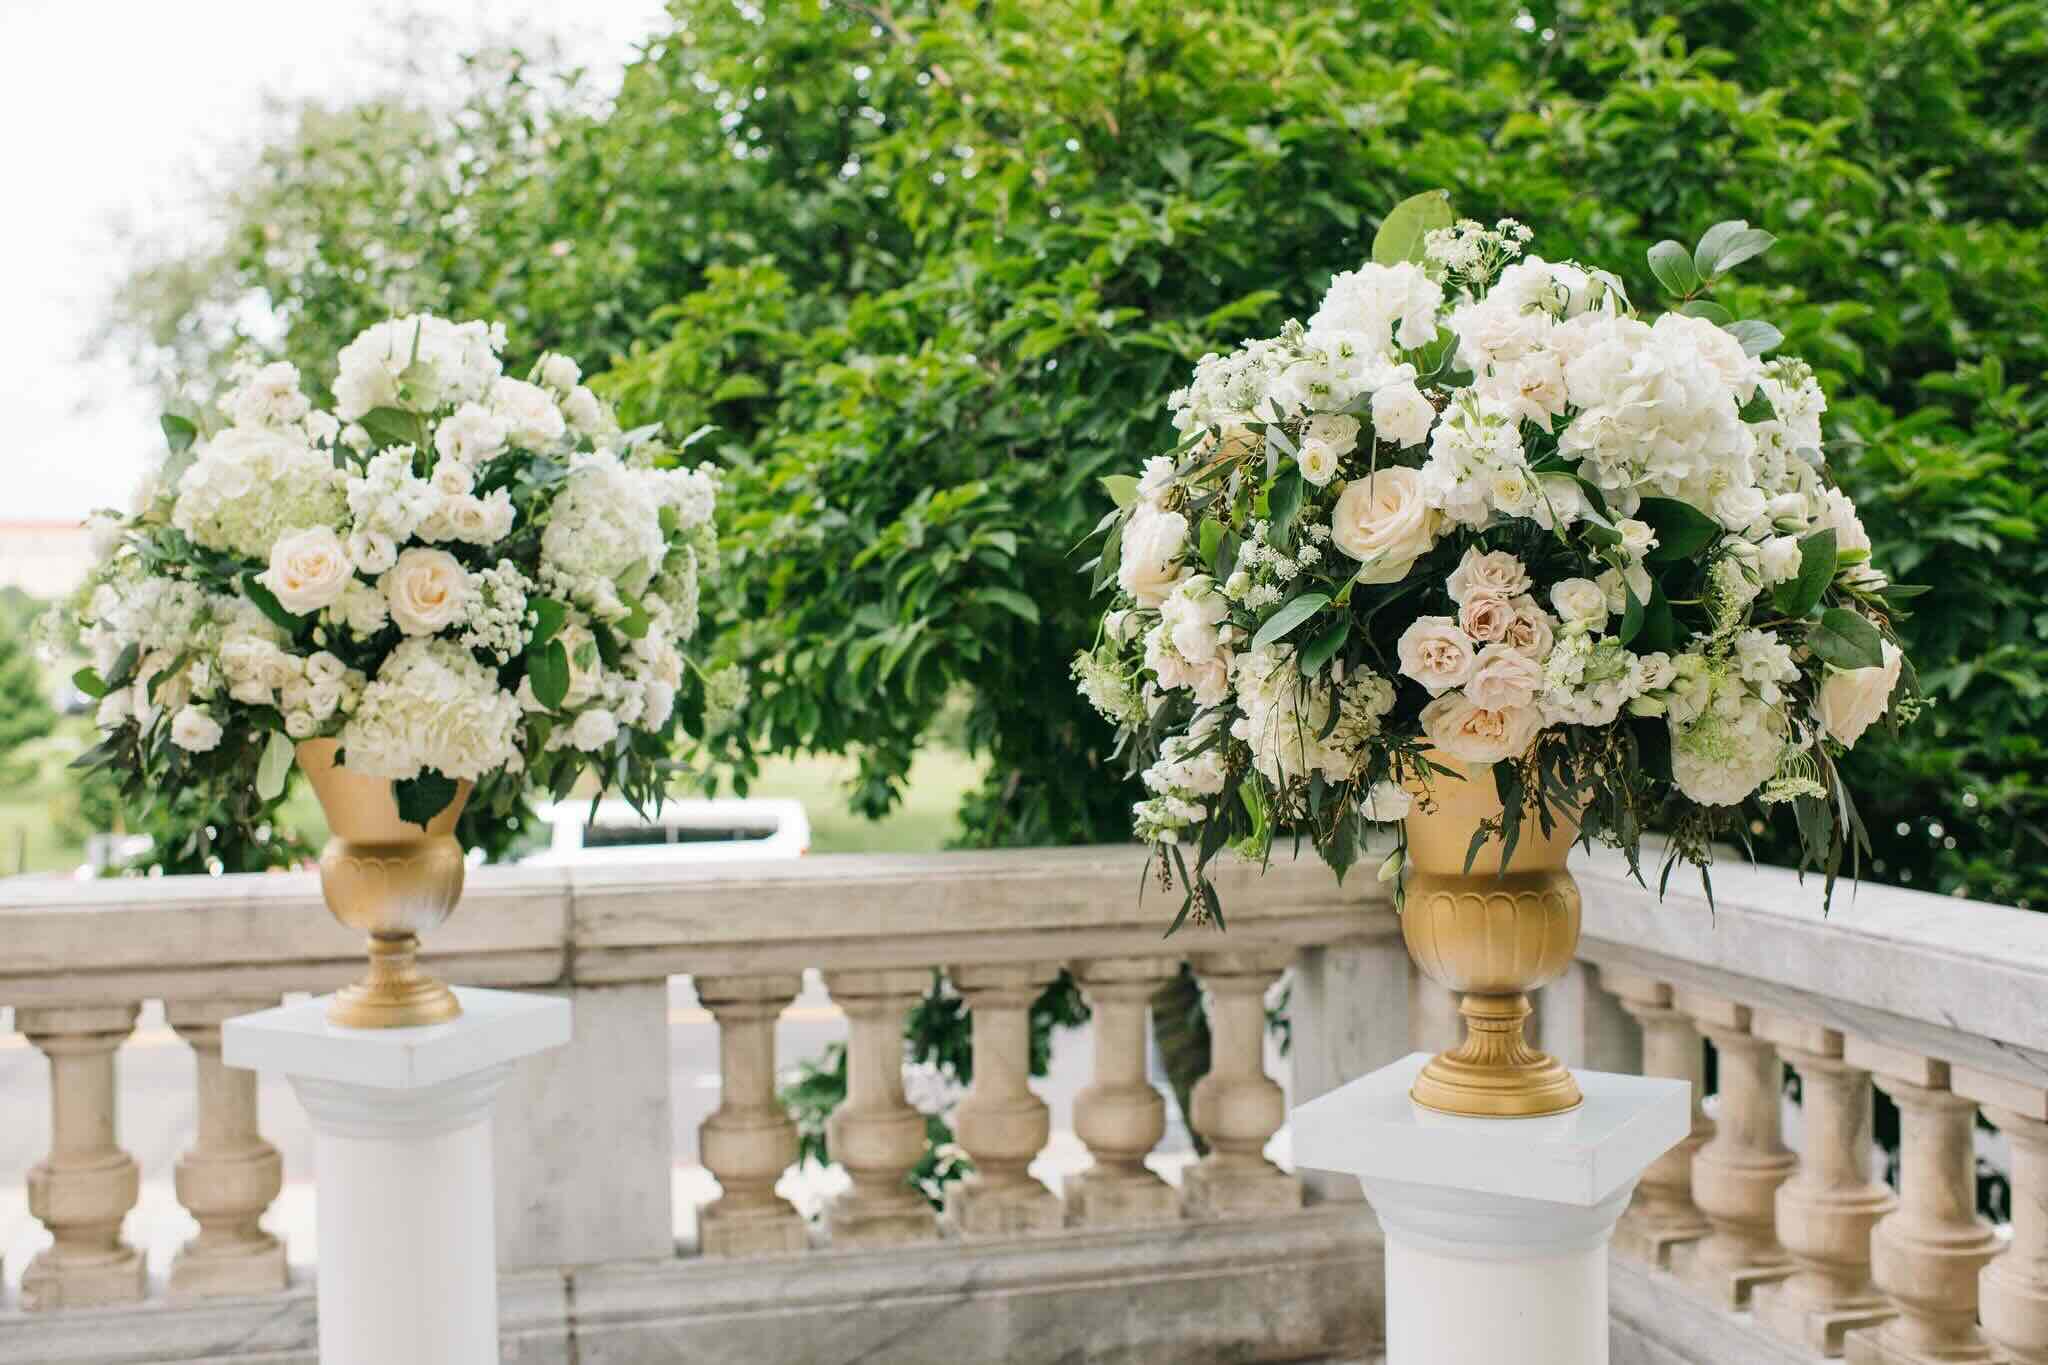
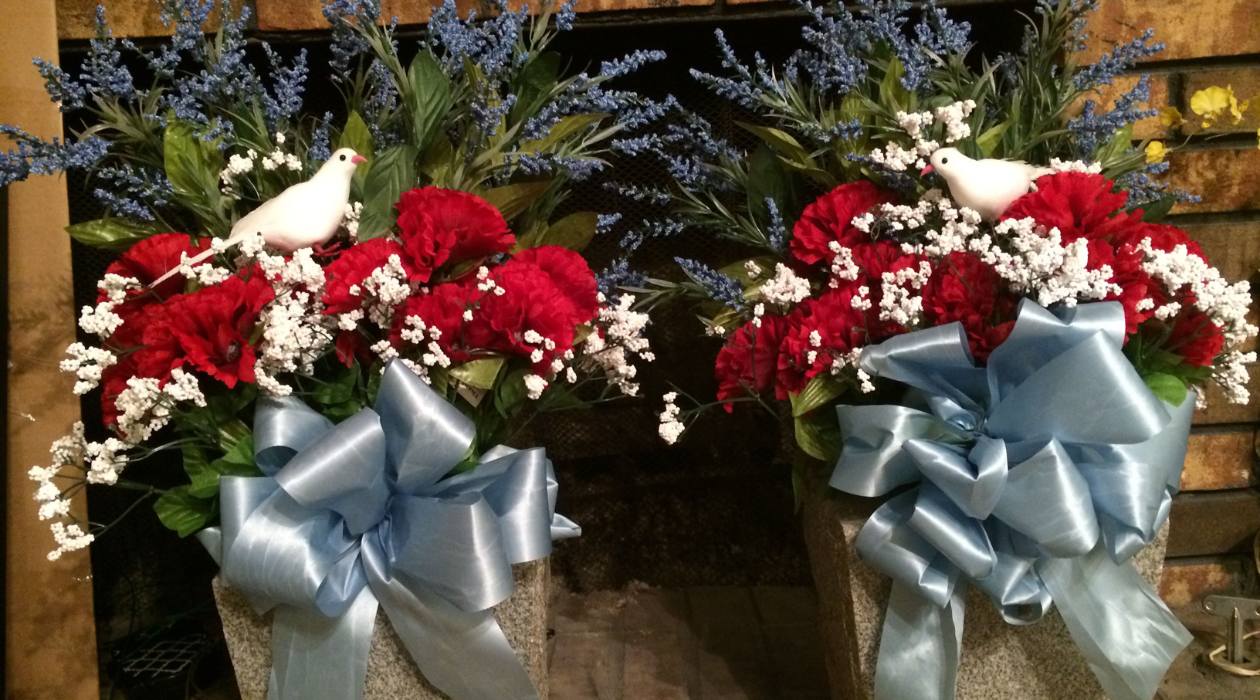
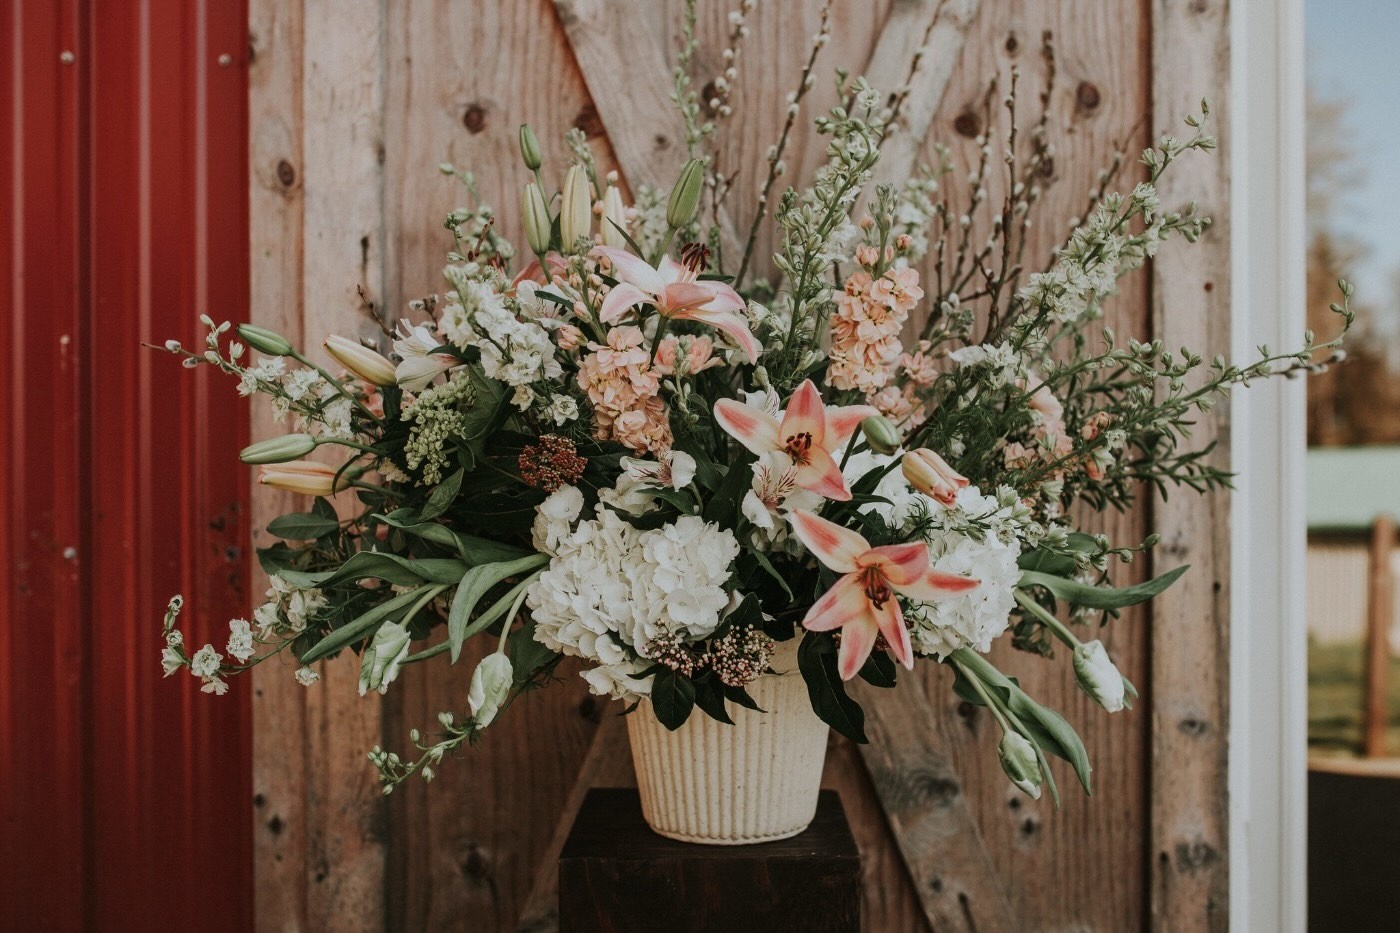
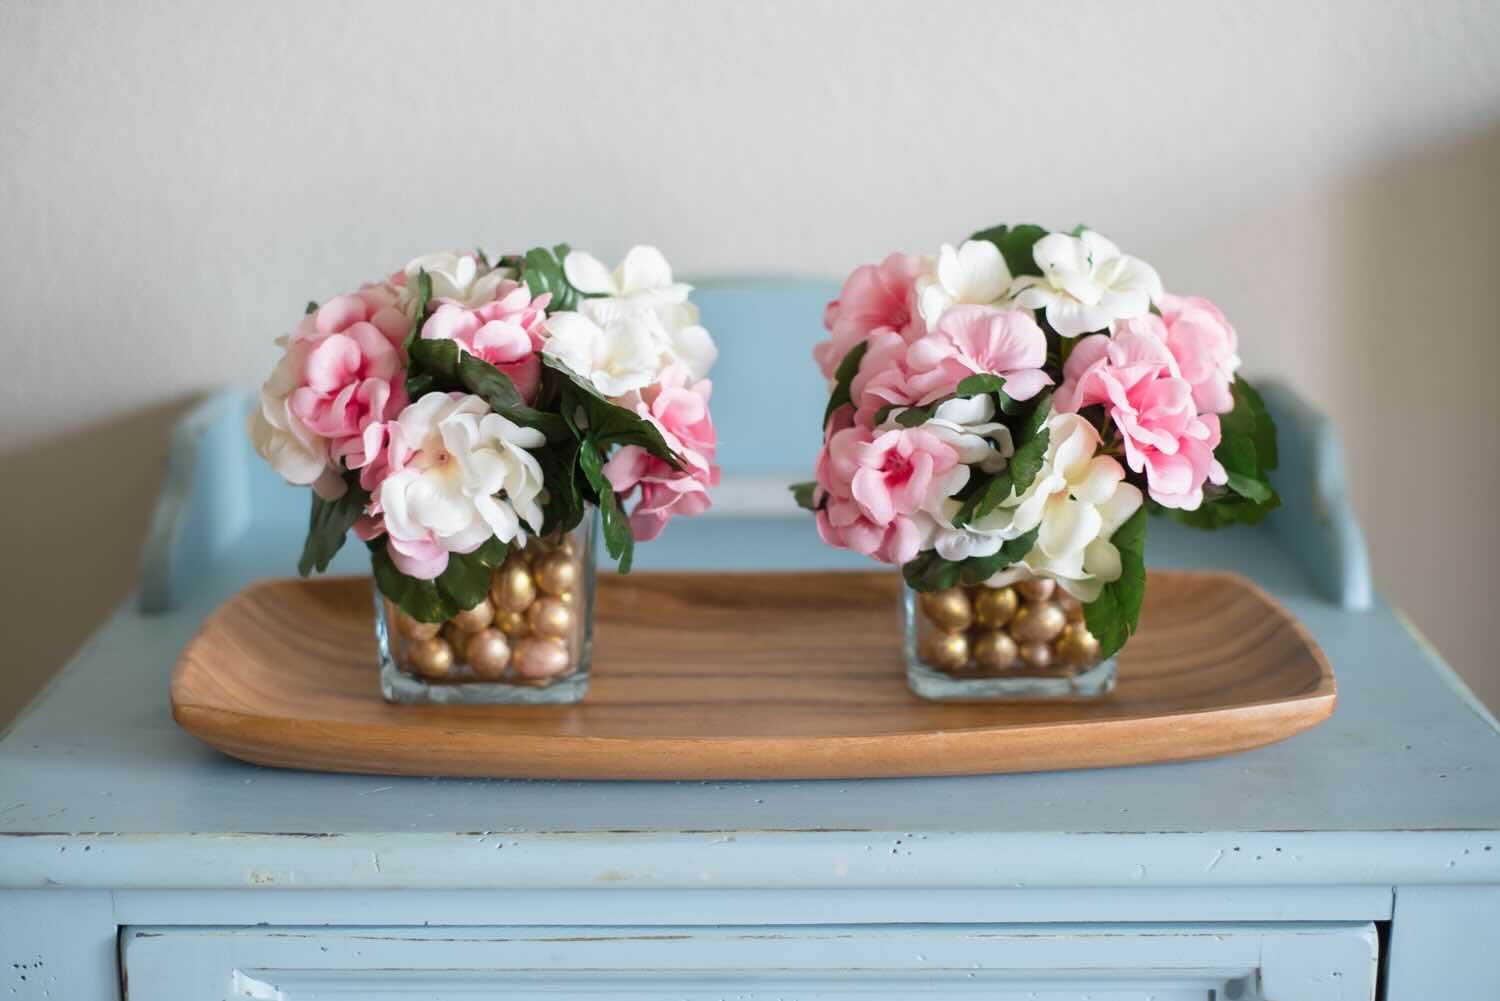
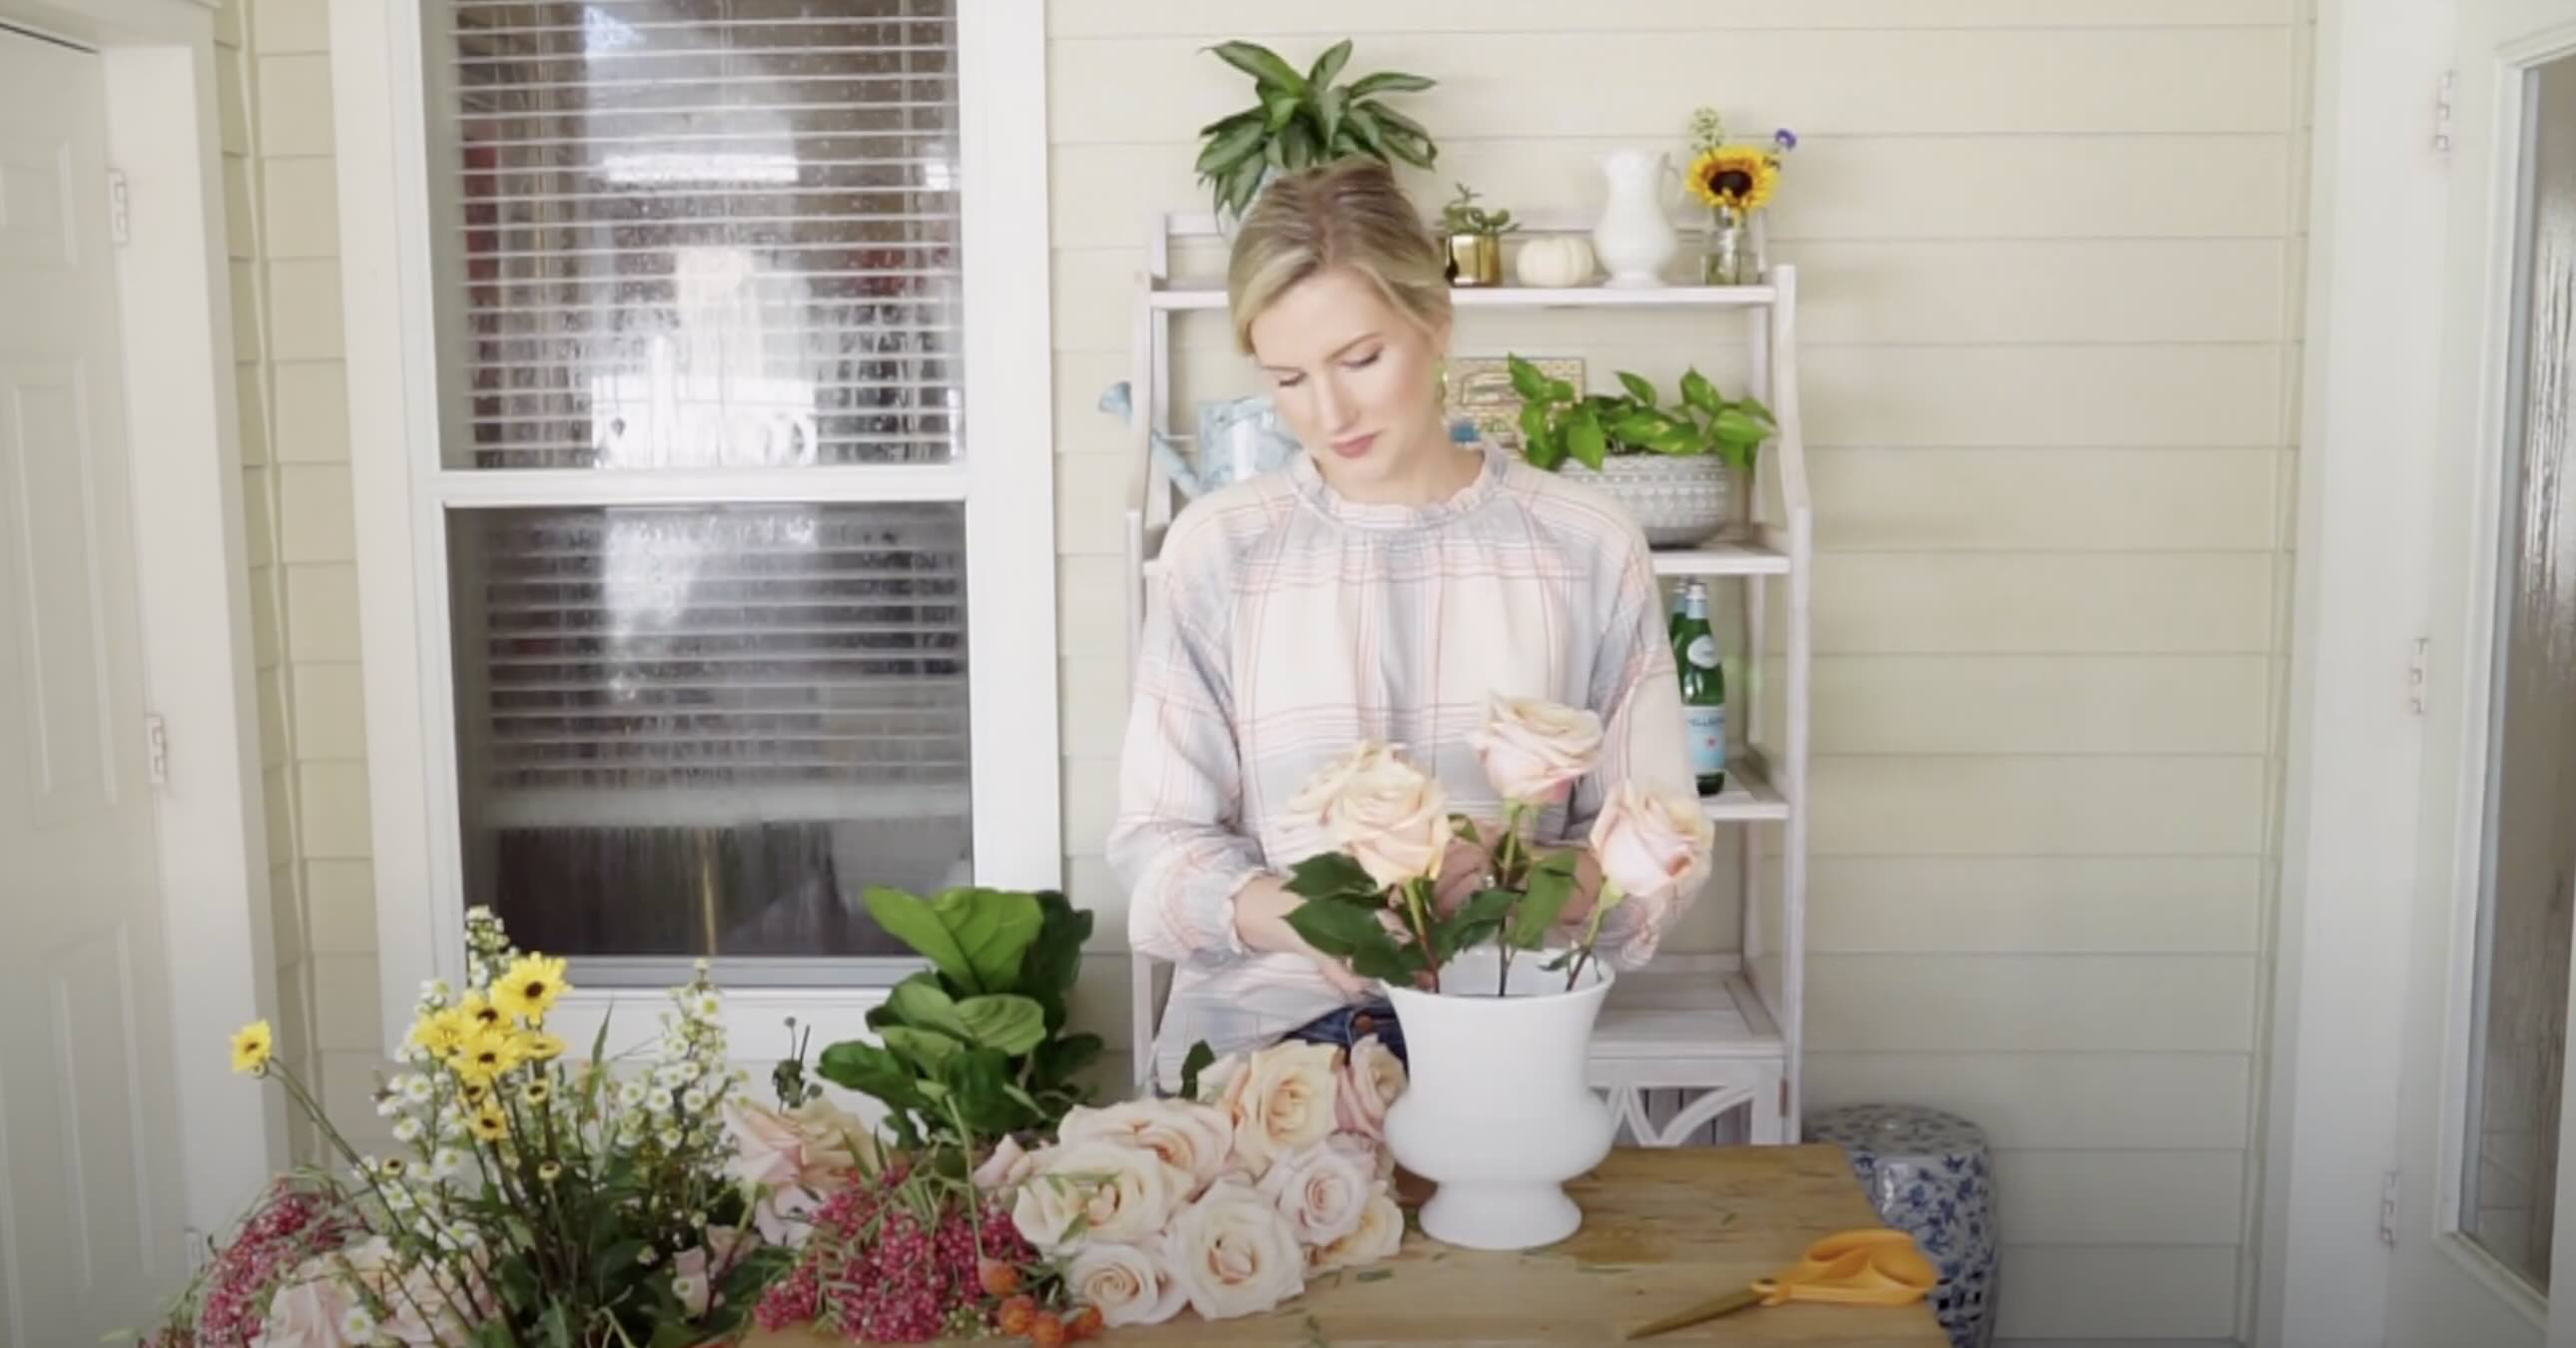
Creating a Hydrangea Centerpiece
A hydrangea centerpiece can be a show-stopping focal point on any table. It adds elegance and natural beauty to your dining experience or special event. Here are some steps to create a stunning hydrangea centerpiece:
- Select the right container: Choose a container that suits the style of your event or the ambiance you want to create. It can be a classic vase, a rustic wooden box, or even a decorative bowl. Ensure that the container is wide enough to accommodate the size of your hydrangea blooms and has enough height for the arrangement to stand tall.
- Prepare the base: Fill the container with water if using fresh hydrangeas or add floral foam if you prefer a more structured arrangement. Make sure the foam is soaked in water and fits snugly into the container.
- Add greenery or filler flowers: Begin by adding some greenery or filler flowers to create a base and add volume to the arrangement. This can be sprigs of eucalyptus, ferns, or baby’s breath. Arrange them in a circular or radial pattern, ensuring that they cover the entire base of the container.
- Add the hydrangeas: Trim the hydrangea stems to the desired length and remove any excess leaves. Start placing the hydrangea blooms into the container, taking care to position them at varying heights and angles. This will create a visually appealing arrangement with depth and dimension.
- Fill in the gaps: As you place the hydrangeas, make sure to fill in any gaps or bare spots with additional greenery or smaller filler flowers. This will create a fuller and more balanced centerpiece.
- Balance and symmetry: Step back and assess the arrangement from different angles. Check for balance and symmetry, making any necessary adjustments to ensure that the hydrangeas are evenly distributed and the arrangement looks visually pleasing from all sides.
- Finishing touches: If desired, you can add decorative elements such as ribbons, twine, or accents of dried flowers to enhance the overall look of the centerpiece. These final touches can add a personal touch and tie in with your table decor or event theme.
Remember to regularly change the water in the container and give the hydrangeas fresh cuts every few days to keep them hydrated and looking their best. With these steps, you can create a stunning hydrangea centerpiece that will be the highlight of your table setting.
When arranging hydrangeas, cut stems at a 45-degree angle and place in water immediately. To keep them hydrated, mist with water and store in a cool area.
Read more: How To Make Bows For Floral Arrangements
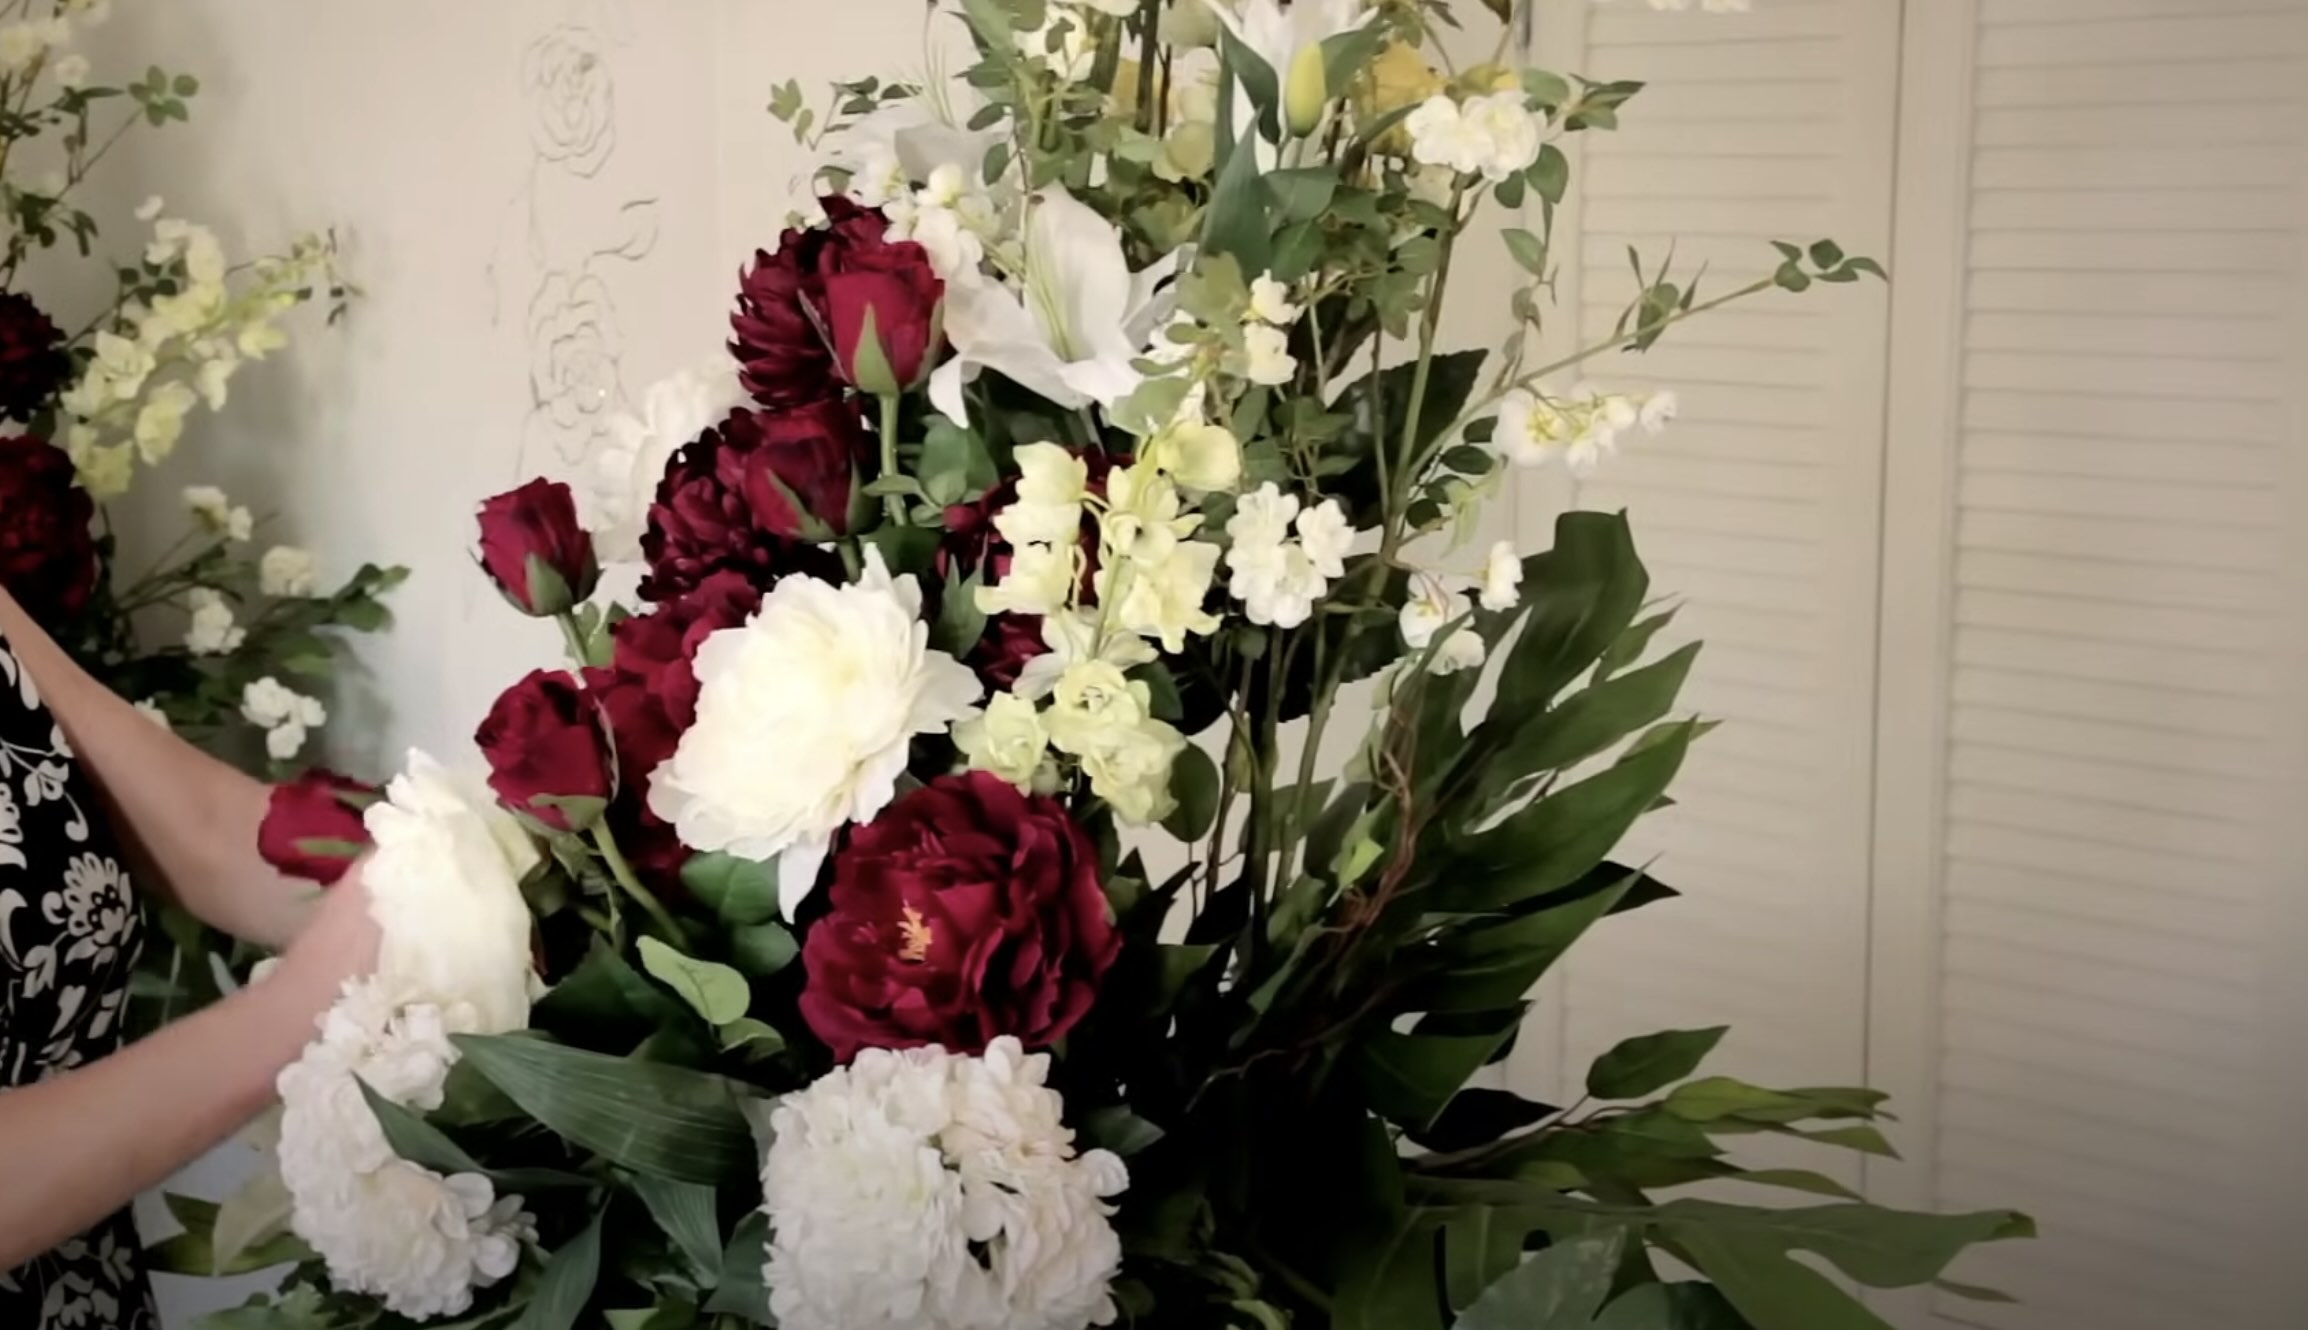
Designing a Hydrangea Bouquet
A hydrangea bouquet is a timeless and romantic floral arrangement that can brighten up any space or make for a stunning gift. Here are some steps to design a beautiful hydrangea bouquet:
- Choose the right hydrangeas: Select hydrangeas in colors and varieties that match your aesthetic or the recipient’s preferences. Consider the size and shape of the blooms to create a balanced and visually appealing arrangement.
- Select the accompanying flowers: Hydrangeas can be combined with other flowers to create an enchanting bouquet. Choose blooms that complement the color and texture of the hydrangeas, such as roses, lilies, or peonies. Consider using filler flowers and greenery to add volume and dimension to the arrangement.
- Prepare the stems: Give each hydrangea stem a fresh cut at a 45-degree angle and remove any excess leaves that would be below the water line. Place the hydrangeas in a vase filled with fresh water for a few hours to ensure they are well-hydrated and ready to be arranged.
- Start with a focal point: Choose a large hydrangea bloom to serve as the focal point of the bouquet. This bloom will be the center of attention and will dictate the shape and direction of the bouquet. Hold it in your hand, slightly angled upwards, as it will form the central point of the arrangement.
- Build the bouquet: Gradually add additional hydrangea blooms and accompanying flowers around the focal point. Rotate the bouquet as you go to create a round and balanced shape. Alternate the placement of the stems to avoid any clumping or overcrowding in one area.
- Incorporate filler flowers and greenery: As you continue building the bouquet, add filler flowers and greenery to fill in any gaps and add texture. Baby’s breath, ferns, or eucalyptus are great options to enhance the overall look.
- Secure the stems: Once you’re satisfied with the arrangement, use floral tape or ribbon to secure the stems together. Wrap it tightly around the stems, starting from just below the flower heads and continue down towards the bottom. Trim any excess stem length if desired.
- Wrap and present the bouquet: To finish off the bouquet, cover the stems with a decorative wrap, such as tissue paper or cellophane, and tie a ribbon or twine around it for a polished look. Consider adding a personal touch, such as a handwritten note or a small gift tag.
Remember to mist the bouquet with water regularly and keep it in a cool place to prolong its freshness. With these steps, you’ll create a stunning hydrangea bouquet that will bring joy and beauty to any occasion.
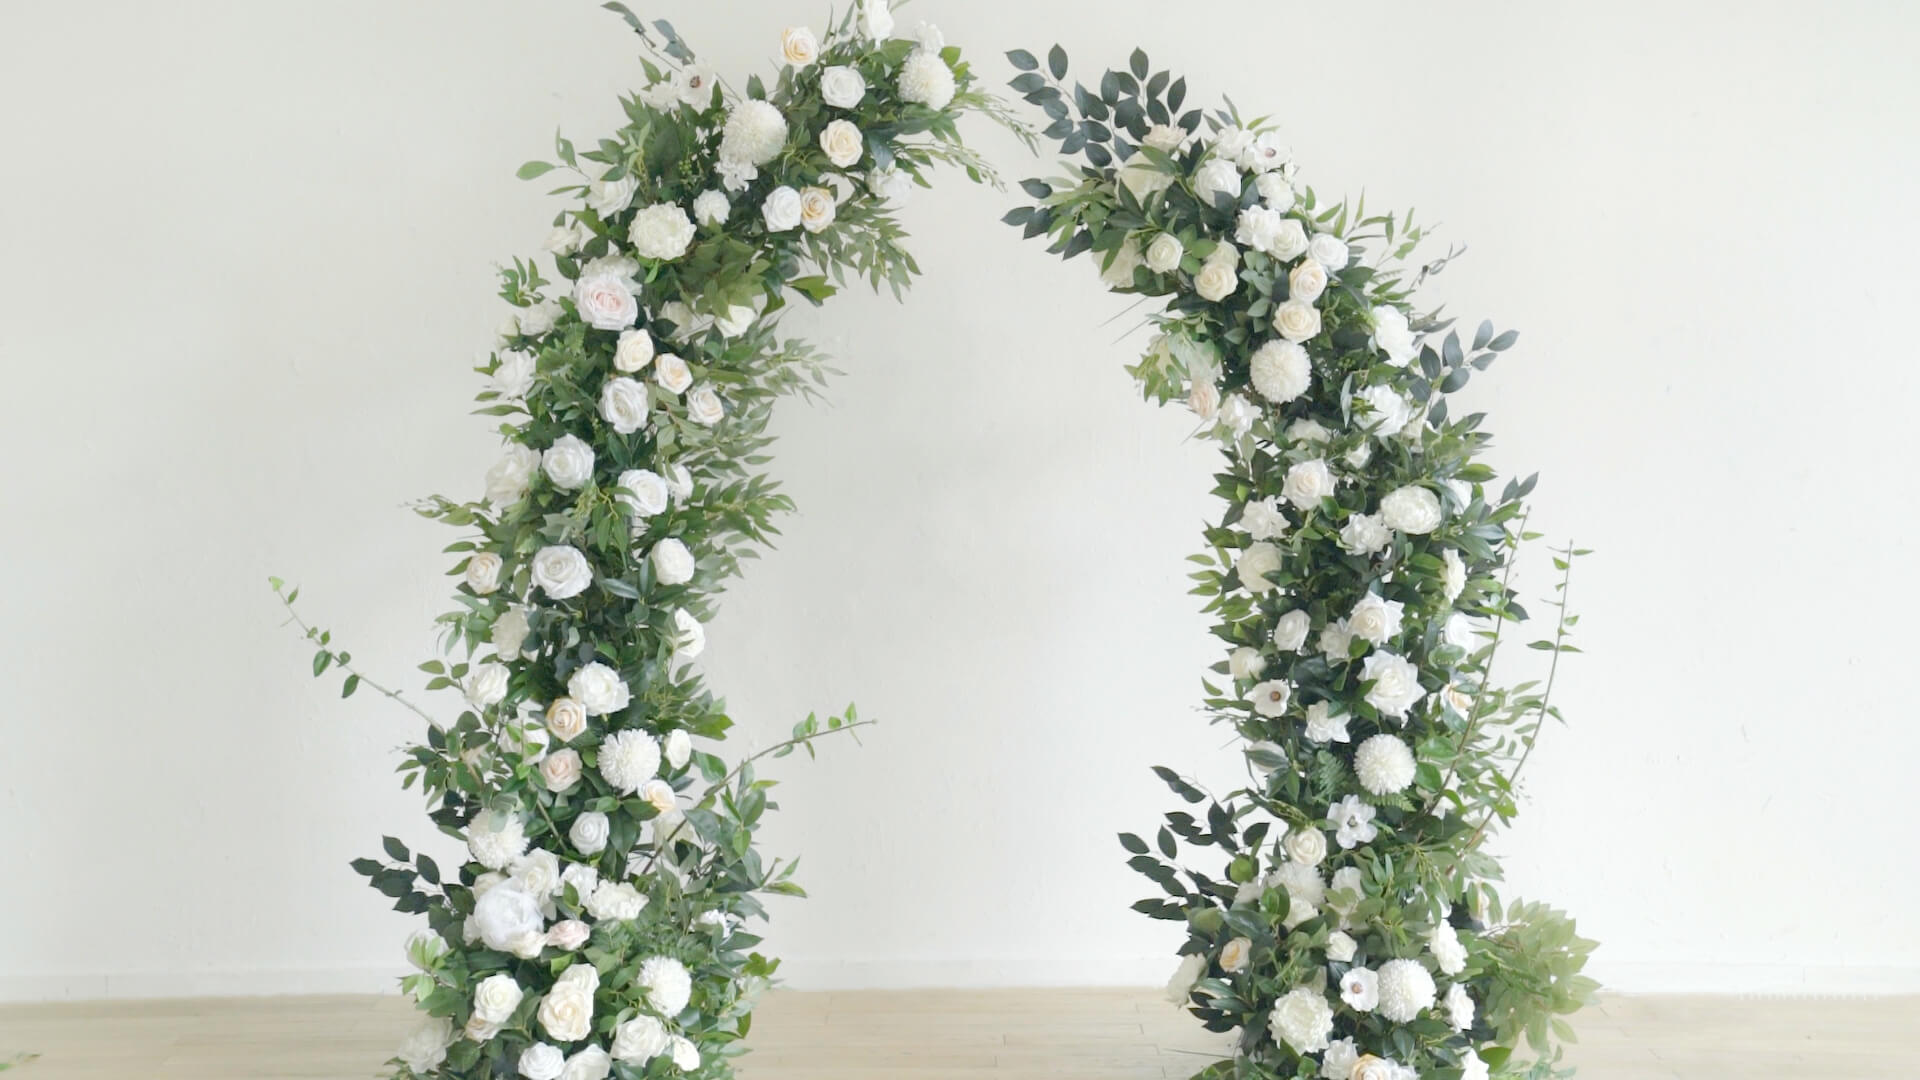
Making a Hydrangea Wreath
A hydrangea wreath is a lovely way to adorn your front door or any wall in your home. It adds a touch of natural beauty and can be customized to suit different seasons or occasions. Here’s a step-by-step guide on how to create your own hydrangea wreath:
- Gather the materials: Start by gathering the necessary materials, including a wreath base (such as a grapevine or foam wreath), floral wire, wire cutters, and of course, hydrangea blooms in your preferred colors.
- Prepare the hydrangeas: Give the hydrangea stems a fresh cut at a 45-degree angle and remove any leaves from the lower part of the stem. Place the stems in a container filled with fresh water while you work on the wreath.
- Secure the wreath base: If you’re using a grapevine wreath, it may already have wire or twine that can be used to hang the wreath. If you’re using a foam wreath, attach a wire or ribbon loop at the back to serve as a hanger.
- Create small bunches of hydrangeas: Group 2-3 hydrangea blooms together, with the stems overlapping slightly. Use floral wire to secure the stems of each bunch together. Make several of these small bunches, ensuring a variety of sizes for added visual interest.
- Attach the hydrangea bunches: Beginning at the bottom of the wreath, use floral wire to attach the hydrangea bunches to the wreath base. Take one bunch and position it on the wreath, securing the stems by wrapping the floral wire around them and the base. Repeat this process with the remaining hydrangea bunches, working your way around the wreath.
- Fill in the gaps: Once all the hydrangea bunches are attached, assess the wreath for any gaps or uneven areas. With additional hydrangea blooms, fill in any bare spots by attaching them to the wreath base using floral wire.
- Add greenery or filler flowers: For added texture and depth, consider adding sprigs of greenery, such as eucalyptus or ferns, or filler flowers like baby’s breath or lavender. Tuck them in between the hydrangea blooms and secure with floral wire as needed.
- Finishing touches: Once you’re satisfied with the arrangement, trim any excess stems or stray foliage to create a clean and polished look. Give the wreath a gentle shake to make sure everything is securely attached.
- Hang and enjoy: Finally, hang your hydrangea wreath on your front door or a wall in your home. Admire your creation and embrace the beauty that hydrangeas bring to your space.
Remember to mist the wreath with water periodically to keep the hydrangeas hydrated and looking their best. With these steps, you can create a stunning hydrangea wreath that will welcome guests and add a touch of natural elegance to your home.
Tips for Long-lasting Hydrangea Arrangements
Hydrangeas are known for their exquisite beauty, but they can be a bit temperamental when it comes to maintaining their freshness. With these tips, you can extend the lifespan of your hydrangea arrangements and enjoy their beauty for even longer:
- Water properly: Hydrangeas are thirsty flowers, so it’s crucial to provide them with an adequate water supply. Check the water level in the container regularly and top it up as needed. Make sure the water is clean and change it every few days to prevent bacterial growth.
- Use floral preservative: Consider adding a floral preservative to the water before placing the hydrangeas in the container. Floral preservatives contain nutrients and antimicrobials that can help prolong the life of the flowers. Follow the instructions on the package for the proper amount to use.
- Keep away from direct sunlight and heat: Hydrangeas are sensitive to direct sunlight and excessive heat, which can cause them to wilt more quickly. Display your hydrangea arrangements in a cool area away from direct sunlight and sources of heat like radiators or vents.
- Mist the blooms with water: Hydrangeas love moisture, so spritzing the blooms with water can help keep them hydrated and fresh. Fill a clean spray bottle with water and mist the blooms lightly, especially during hot and dry weather.
- Re-cut the stems: Every few days, trim a small portion off the bottom of the hydrangea stems. Cut at a 45-degree angle to allow for better water absorption. Removing the ends will also help prevent blockages in the stems, allowing the hydrangeas to take up water more effectively.
- Avoid placing near ripening fruits: Hydrangeas are ethylene-sensitive, which means they can be affected by the ethylene gas emitted by ripening fruits. Keep your hydrangea arrangements away from fruit bowls or areas where fruits are ripening to prevent premature wilting.
- Limit handling and movement: Hydrangea blooms can be delicate, and excessive handling or movement can cause damage and bruising. Handle the blooms with care and avoid unnecessary touching or shaking of the arrangement.
- Remove wilted blooms: As the hydrangea arrangement ages, some blooms may naturally start to wilt. Remove any wilted or browning blooms from the arrangement to maintain its overall freshness and appearance.
- Dry hydrangeas for long-lasting decor: If you want to preserve the hydrangea blooms for long-term enjoyment, consider drying them. Hang the hydrangeas upside down in a well-ventilated area until they are fully dried. Once dried, they can be used in various decor projects or displayed as beautiful dried flowers.
By following these tips, you can maximize the lifespan of your hydrangea arrangements and enjoy their vibrant beauty for an extended period. With proper care, your hydrangeas will continue to enchant and bring joy to your surroundings.
Conclusion
Hydrangea floral arrangements have the power to transform any space into a captivating and elegant setting. Their vibrant blooms and lush foliage make them a versatile choice for creating stunning centerpieces, bouquets, wreaths, and more. With the right selection of hydrangeas, proper preparation of materials, and knowledge of basic arranging techniques, you can create beautiful and long-lasting hydrangea arrangements.
Remember to choose the right hydrangeas based on color, variety, and bloom size. Prepare the materials by giving the stems a fresh cut and ensuring they are well-hydrated. When arranging, consider techniques such as layering, building, and balancing to create visually appealing designs. Whether you’re making a hydrangea centerpiece, bouquet, or wreath, these techniques can help you achieve stunning results.
To extend the life of your hydrangea arrangements, provide them with proper care. Water them regularly, use floral preservatives, keep them away from direct sunlight and heat, and mist the blooms with water to maintain hydration. Re-cutting the stems and removing wilted blooms will also help prolong their freshness. If you want to preserve their beauty long-term, consider drying hydrangeas for use in dried flower arrangements or decor projects.
Embrace the beauty and versatility of hydrangeas as you explore the art of table decor. Whether you’re hosting a special event, celebrating a milestone, or simply enhancing your everyday surroundings, hydrangea floral arrangements will add a touch of natural elegance and sophistication. So unleash your creativity and let the enchanting allure of hydrangeas mesmerize and inspire you on your journey to creating stunning table decor!
Frequently Asked Questions about How To Make Hydrangea Floral Arrangements
Was this page helpful?
At Storables.com, we guarantee accurate and reliable information. Our content, validated by Expert Board Contributors, is crafted following stringent Editorial Policies. We're committed to providing you with well-researched, expert-backed insights for all your informational needs.
0 thoughts on “How To Make Hydrangea Floral Arrangements”