Home>Dining>Table Decor>How To Make Bows For Floral Arrangements
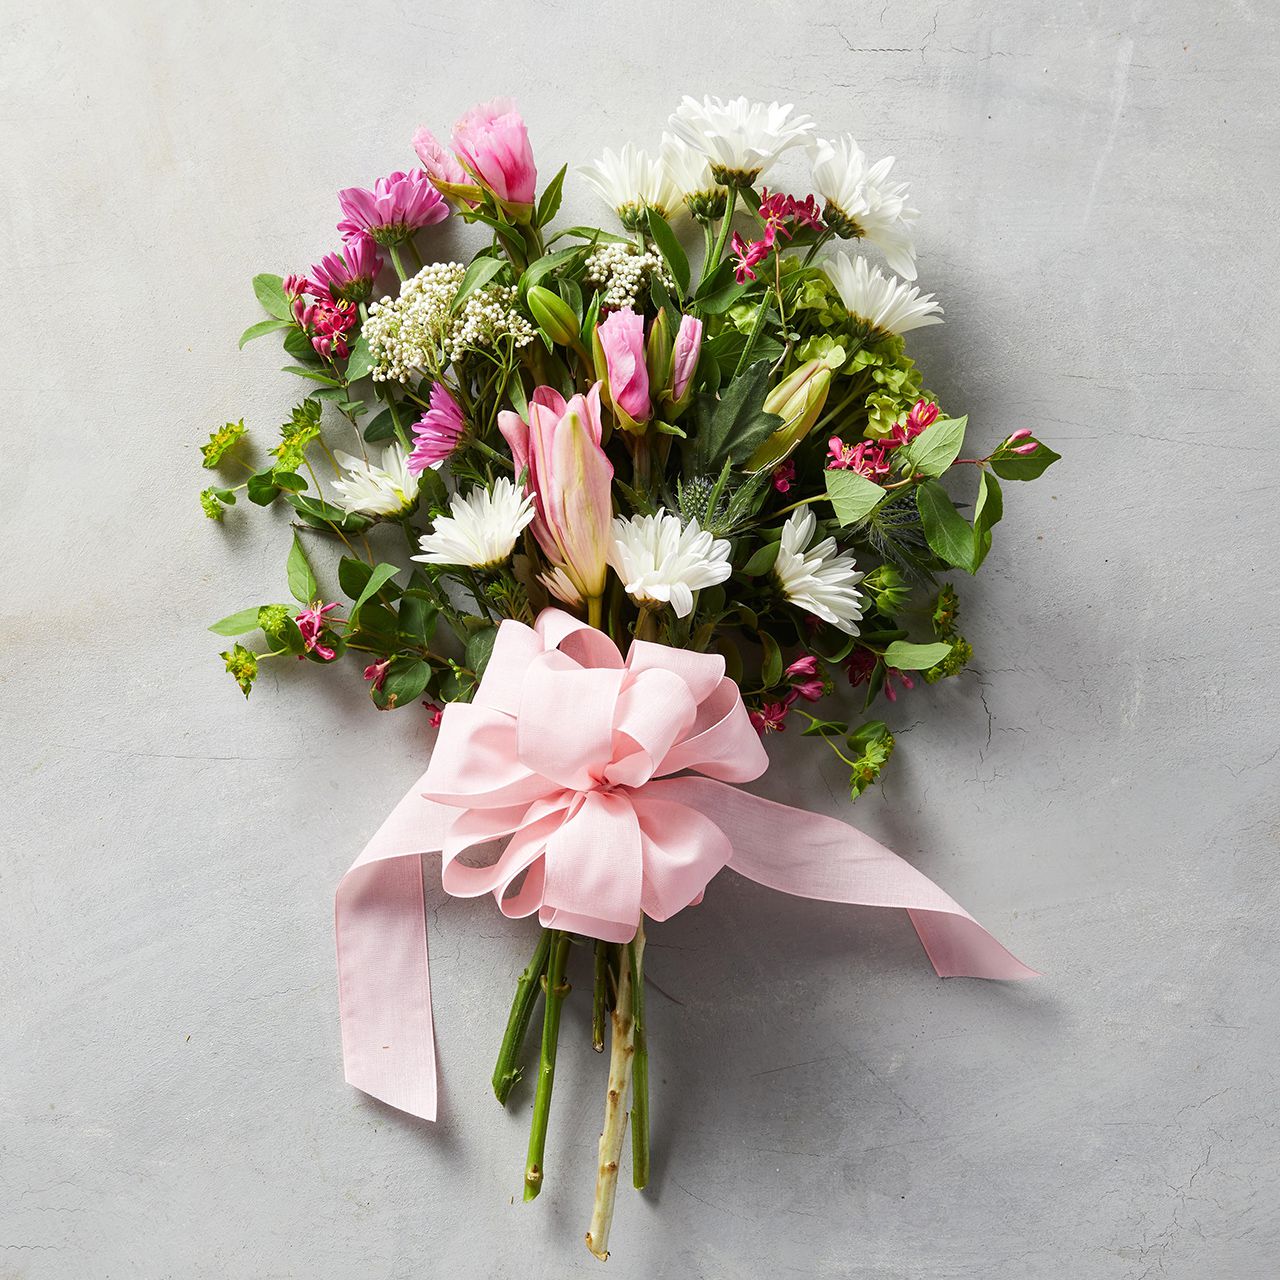
Table Decor
How To Make Bows For Floral Arrangements
Modified: December 7, 2023
Learn how to make beautiful bows for your floral arrangements and add the perfect finishing touch to your table decor. Enhance any event with this simple and elegant technique.
(Many of the links in this article redirect to a specific reviewed product. Your purchase of these products through affiliate links helps to generate commission for Storables.com, at no extra cost. Learn more)
Introduction
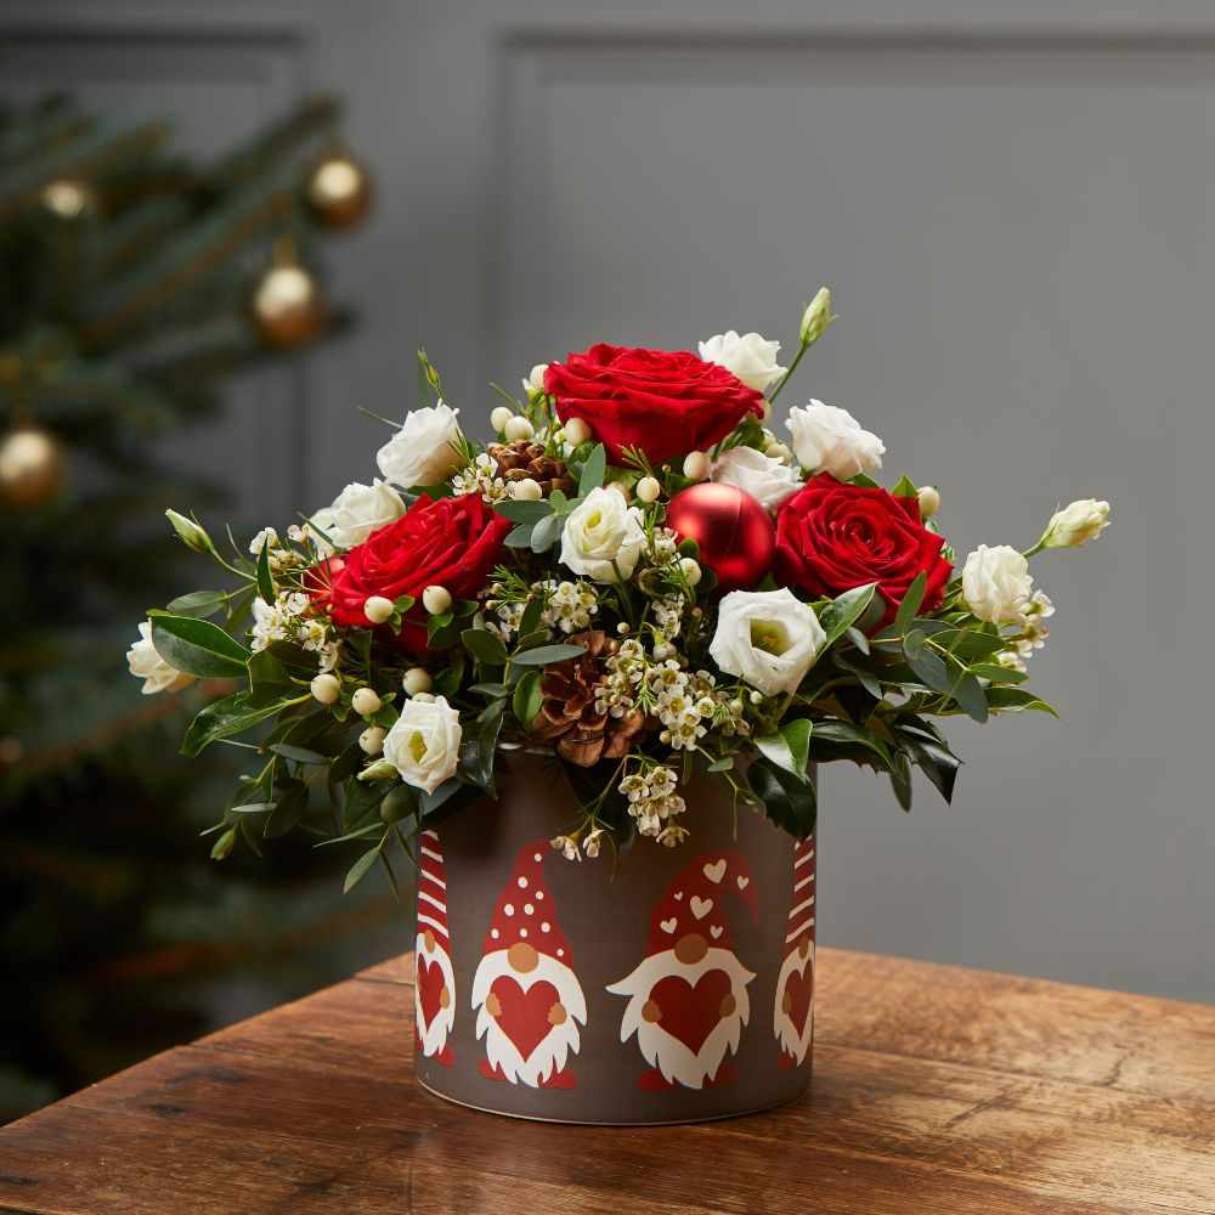
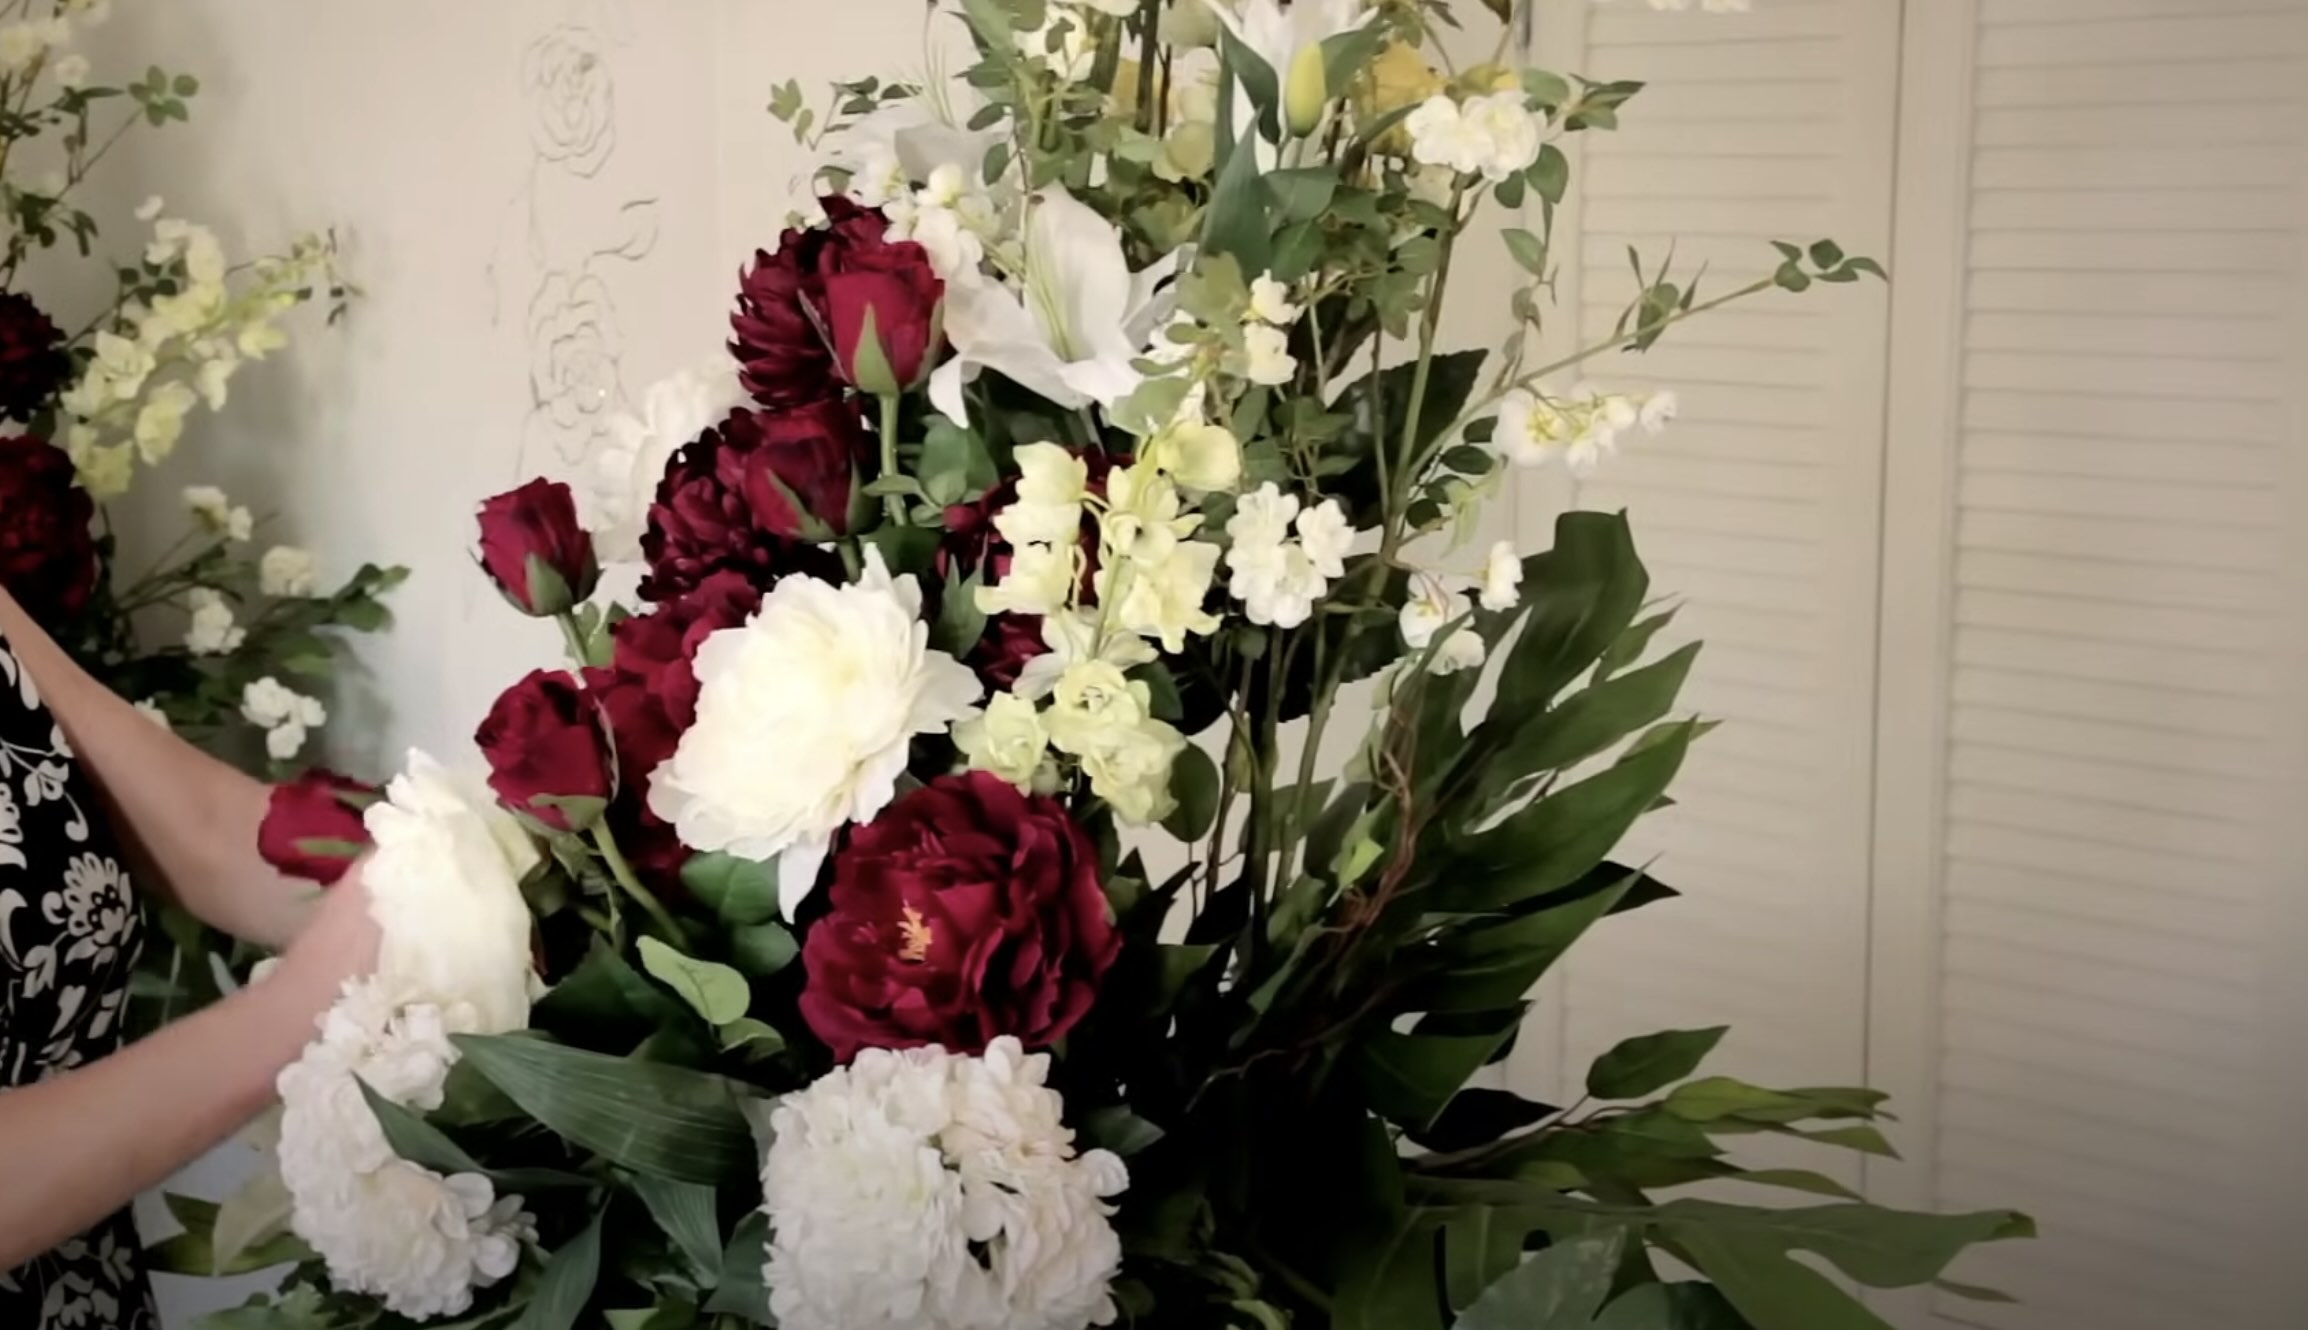
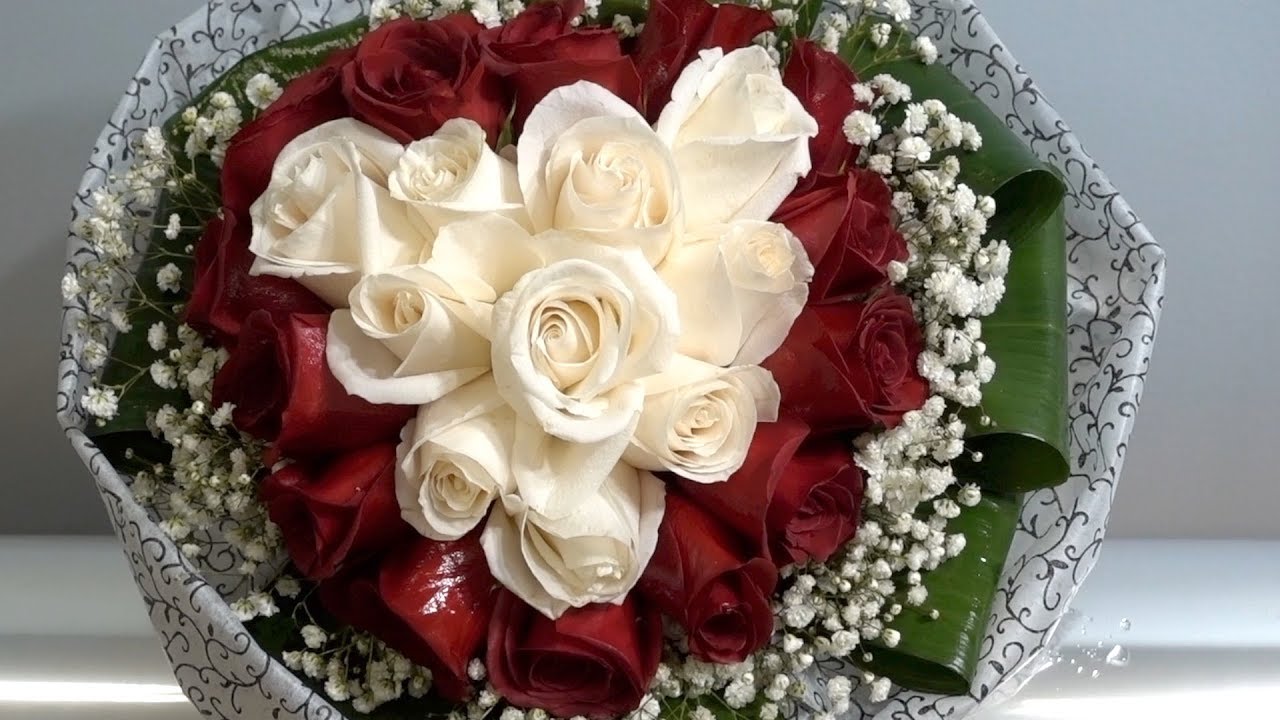
Welcome to the world of table decor! When it comes to adding that extra touch of elegance to your special occasions, table decor plays a vital role. And what better way to elevate your table setting than with beautiful floral arrangements. While flowers are undoubtedly the star of the show, adding a perfectly crafted bow can take it to a whole new level.
Whether you are preparing for a wedding, a birthday party, or a simple dinner gathering, learning how to make bows for your floral arrangements can be a game-changer. A well-designed bow not only adds visual appeal but also creates a sense of sophistication and class.
In this article, we will guide you through the step-by-step process of creating exquisite bows for your floral arrangements. From choosing the perfect ribbon to attaching the bow flawlessly, you will soon become a master at this art form.
So, let’s dive in and discover the secrets to crafting beautiful bows for your table decor.
Key Takeaways:
- Elevate your table decor with stunning floral arrangement bows. Master the art of bow-making by choosing the perfect ribbon, crafting symmetrical loops, and securing the bow for a polished finish.
- Impress your guests with beautifully crafted bows for any occasion. From weddings to dinner gatherings, learn how to create elegant bows that add sophistication and charm to your floral arrangements.
Read more: How To Make Hydrangea Floral Arrangements
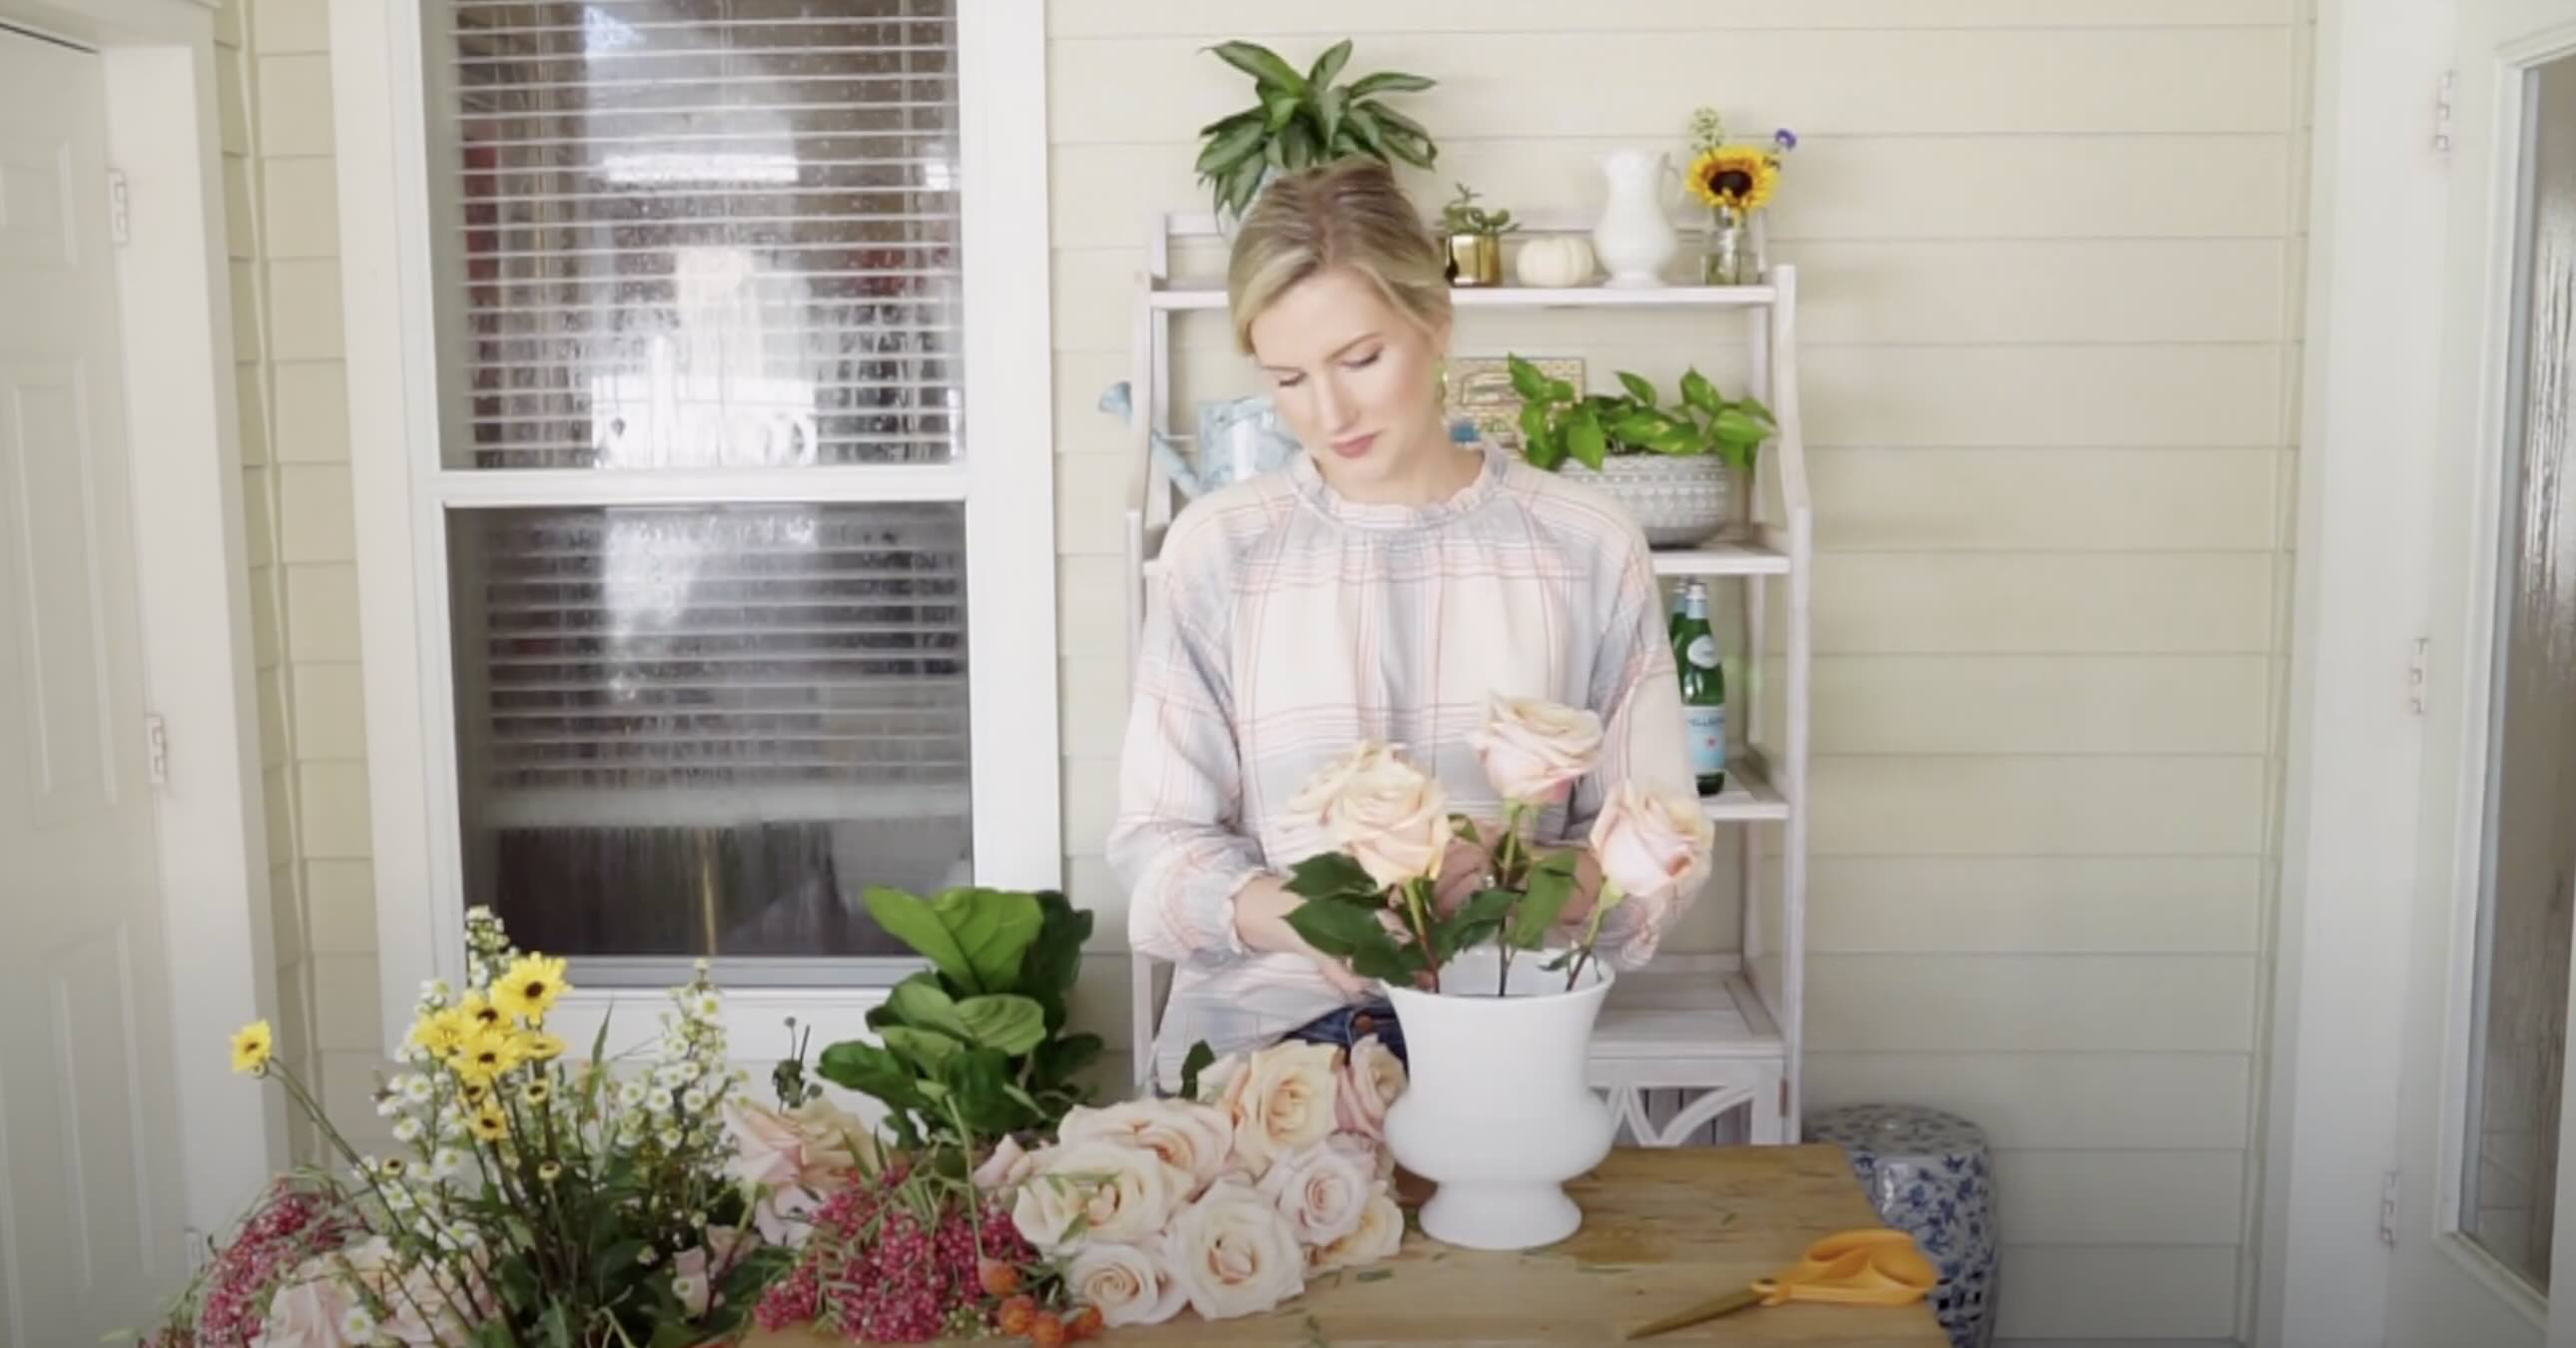
Materials Needed
Before we get started, let’s make sure you have all the necessary materials at hand. Here’s a list of items you’ll need to create your stunning floral arrangement bows:
- Ribbon: Choose a ribbon that complements your floral arrangement. Satin, organza, and grosgrain ribbons are popular options.
- Scissors: A good pair of sharp scissors is essential for cutting the ribbon accurately.
- Floral wire: This will be used to secure the bow and attach it to your arrangement.
- Wire cutters: You’ll need wire cutters to trim the floral wire to the desired length.
- Optional embellishments: Depending on your personal preference, you can add decorative elements like beads, pearls, or feathers to further enhance your bows.
Make sure you have all these materials within reach before you start creating your bows. Having everything prepared will help streamline the process and ensure a smooth crafting experience.
Step 1: Choosing the Ribbon
The first step in creating beautiful bows for your floral arrangements is selecting the perfect ribbon. The choice of ribbon can greatly impact the overall look and feel of your bow. Here are some tips to help you make the right decision:
1. Consider the occasion: Think about the theme and mood of the event. For formal and elegant occasions like weddings, satin ribbons are a popular choice. For a more rustic and natural vibe, consider using burlap or linen ribbons.
2. Coordinate with colors: Take into account the colors of your flowers and table decor. Choose a ribbon that complements or contrasts with these colors. For a classic look, opt for ribbons in neutral shades. If you want to add a pop of color, go for vibrant or pastel ribbons.
3. Determine the width: The width of the ribbon will depend on the size of your floral arrangement and the desired impact. Thicker ribbons create a more prominent and luxurious look, while thinner ribbons provide a delicate and dainty appearance.
4. Consider the texture: Different ribbon materials have different textures. Satin ribbons have a smooth and shiny finish, while organza ribbons are sheer and lightweight. Consider how the texture of the ribbon will complement the overall aesthetic of your arrangement.
5. Don’t forget durability: Ensure that the ribbon you choose is strong and durable to withstand the handling and transport of the floral arrangement. You don’t want your bow to fall apart during the event!
Once you’ve considered all these factors, you’ll be ready to purchase or gather the perfect ribbon for your bows. Remember, the ribbon you choose sets the foundation for creating a stunning bow that will enhance your table decor and leave a lasting impression on your guests.
Step 2: Measuring and Cutting
Now that you have selected the ideal ribbon for your floral arrangement bows, it’s time to move on to the next step: measuring and cutting the ribbon. Proper measurement and accurate cutting are crucial for creating symmetrical and visually appealing bows. Here’s how to do it:
1. Determine the bow size: Decide how big you want your bow to be. Consider the size of your floral arrangement and the overall aesthetic you’re aiming for. A general rule of thumb is to have the loop tails (the hanging ends) be at least three times the size of the loop itself.
2. Measure and cut the ribbon: Using a ruler or measuring tape, measure the desired length for your bow loop and tails. It’s a good idea to add a couple of extra inches to your measurements, so you have some room for adjustments and creating a perfect finish.
3. Mark the measurements: Once you have determined the length, mark the cutting points on your ribbon using a pen or a temporary marker. This will ensure consistency and accuracy in your bow-making process.
4. Cut the ribbon: With a sharp pair of scissors, carefully cut the ribbon at the marked points. Take your time to cut as straight as possible to achieve clean and polished edges.
Remember to double-check your measurements before cutting to avoid any mistakes. It’s always better to have a little extra length to work with than to end up with a bow that’s too small for your arrangement.
Now that you’ve successfully measured and cut your ribbon, you’re ready to move on to the next step: creating the center loop of your bow. Stay tuned for our next step in mastering the art of bow-making for floral arrangements!
Step 3: Creating the Center Loop
Now that you have your ribbon cut to the desired length, it’s time to start crafting your bow. The first element to create is the center loop, which forms the foundation of your bow. Follow these steps to create a perfectly balanced center loop:
1. Take the cut ribbon and find the midpoint. Fold the ribbon in half, bringing the two cut ends together, and hold them firmly with your fingers.
2. Gently twist the ribbon at the midpoint, creating a loop with one side of the ribbon facing up and the other side facing down. The width of the center loop will depend on your preference and the overall size of the bow.
3. Secure the twist by pinching the loop at the base between your fingers. Hold it firmly to ensure the center loop maintains its shape.
4. Adjust the length of the loop tails by gently pulling on the two cut ends of the ribbon. You can make them longer or shorter, depending on how you want the tails to hang and the overall proportion of the bow.
5. Take a small piece of floral wire and wrap it tightly around the pinched base of the center loop. Twist the wire to secure it in place, ensuring that the wire is hidden behind the loop.
6. Trim off any excess wire using wire cutters, making sure to leave a small tail for securing the bow to your floral arrangement later on.
With your center loop created and secured, your bow is starting to take shape! The center loop is the focal point of the bow and serves as a guide for creating the side loops in the next steps. Stay tuned as we continue our journey towards crafting exquisite bows for your floral arrangements.
Read more: How To Make Easter Floral Arrangements
Step 4: Creating the First Side Loop
With the center loop of your bow securely crafted, it’s time to move on to creating the first side loop. This step adds dimension and volume to your bow, giving it a fuller and more dynamic appearance. Follow these steps to create a stunning first side loop:
1. Hold the center loop firmly between your thumb and forefinger, making sure it stays intact.
2. Take the longer end of the ribbon that is attached to the center loop and bring it up and over the center loop, forming a loop on one side. The length of this loop will depend on the size and desired look of your bow.
3. Hold the loop in place with one hand while using your other hand to twist the ribbon once, creating a twist between the center loop and the first side loop. This twist will add structure and keep the loops in position.
4. Bring the longer end of the ribbon down and around the back of the center loop, crossing over the shorter end of the ribbon.
5. Once again, bring the longer end of the ribbon up and over the center loop, forming a loop on the opposite side. This loop should mirror the size and shape of the first side loop.
6. Hold the loop in place with one hand while twisting the ribbon once between the center loop and the second side loop.
7. Bring the longer end of the ribbon down and towards the back, crossing it over the shorter end of the ribbon.
8. Secure the first side loop by wrapping a small piece of floral wire tightly around the base of the loop. Make sure to hide the wire behind the loops, so it remains invisible.
9. Use wire cutters to trim off any excess wire, leaving a small tail for securing the bow to your floral arrangement.
By following these steps, you have successfully created the first side loop of your bow. This adds volume and elegance to the design, enhancing the overall aesthetic of your floral arrangement. Stay tuned for the next step, where we will create the second side loop to complete your beautifully crafted bow.
When making bows for floral arrangements, use wired ribbon for better shaping and durability. Create loops and secure the center with floral wire for a professional finish.
Step 5: Creating the Second Side Loop
Now that you have created the first side loop of your bow, it’s time to move on to the second side loop. This step will balance out the design and create a symmetrical and visually pleasing look. Follow these steps to create the second side loop:
1. With the first side loop secured in place, hold the center loop and the first side loop firmly between your thumb and forefinger.
2. Take the longer end of the ribbon that is attached to the center loop and bring it up and over the center loop, forming a loop on the opposite side.
3. Hold the loop in place with one hand while using your other hand to twist the ribbon once, creating a twist between the center loop and the second side loop.
4. Bring the longer end of the ribbon down and around the back of the center loop, crossing over the shorter end of the ribbon. This will complete the second side loop.
5. Hold the loop in place with one hand while twisting the ribbon once between the center loop and the second side loop.
6. Bring the longer end of the ribbon down and towards the back, crossing it over the shorter end of the ribbon just like you did with the first side loop.
7. Secure the second side loop by wrapping a small piece of floral wire tightly around the base of the loop. Make sure to hide the wire behind the loops to maintain a clean and seamless appearance.
8. Use wire cutters to trim off any excess wire, leaving a small tail for securing the bow to your floral arrangement.
By creating the second side loop, your bow is now complete. It should have a symmetrical and balanced look, adding a touch of elegance to your floral arrangement. Next, we will move on to securing the bow and preparing it for attachment. Stay tuned!
Step 6: Securing the Bow
Now that you have successfully created the loops of your bow, it’s time to secure it in place. This step ensures that your bow maintains its shape and doesn’t unravel. Follow these steps to securely fasten your bow:
1. Hold the bow firmly in one hand, ensuring that the loops are evenly spread out and symmetrical.
2. Take a piece of floral wire and wrap it tightly around the center of the bow, just below the loops. Make sure the wire is hidden and doesn’t disrupt the overall appearance of the bow.
3. Twist the wire at the back of the bow to secure it tightly. You can use your fingers or a pair of pliers to twist the wire for added security.
4. Once the wire is securely twisted, trim off any excess wire using wire cutters. Be careful not to cut too close to the bow, as you don’t want the wire to come loose.
5. Double-check that the loops are still positioned correctly, and adjust them if needed. Gently fluff up the loops to give your bow a fuller and more voluminous look.
By securing the bow with floral wire, you can be confident that it will hold its shape and remain intact throughout your event. The wire ensures that your hard work in creating the perfect loops doesn’t go to waste.
Now that your bow is securely fastened, it’s time to move on to the next step: trimming the tails for a polished finish. Stay tuned for step 7, where we will give your bow its final touches!
Step 7: Trimming the Tails
Now that your bow is securely in place, it’s time to trim the tails for a clean and polished finish. The length and style of the tails can greatly impact the overall look of your floral arrangement. Follow these steps to trim the tails of your bow:
1. Take a moment to evaluate the desired length of the tails. Consider the proportions of your floral arrangement and the aesthetic you want to achieve.
2. Using a pair of sharp scissors, trim the tails of the ribbon to the desired length. You can opt for a traditional equal-length approach, where both tails are cut to the same length.
3. If you prefer a more dynamic look, you can cut the tails at an angle or create a V-shaped cut. Experiment with different tail lengths and styles to find what suits your floral arrangement best.
4. Make sure to cut the tails cleanly and evenly, giving them a neat and professional appearance. Take your time to ensure that both tails are symmetrical.
5. Double-check the length of the tails once you have made your cuts. If needed, make further adjustments to achieve the desired look.
Trimming the tails is an essential step in completing the look of your bow. It adds a finishing touch of elegance and ensures that your bow complements the overall aesthetic of your floral arrangement.
Now that your bow is beautifully crafted and the tails are trimmed, it’s time to attach it to your floral arrangement. Stay tuned for step 8, where we will guide you through the process of securely attaching your bow for a stunning table decor display!
Read more: How Tall To Make Floral Arrangements
Step 8: Attaching the Bow to the Floral Arrangement
Congratulations! You have successfully crafted a beautiful bow for your floral arrangement. Now, the final step is to securely attach the bow to your arrangement, ensuring it stays in place and becomes the focal point of your table decor. Follow these steps to attach your bow:
1. Assess the best placement: Determine where you want the bow to be positioned on your floral arrangement. Consider the size and shape of your arrangement, as well as any focal points or areas that may benefit from the addition of the bow.
2. Prepare the floral wire: Cut a piece of floral wire, approximately 6-8 inches long. This will be used to attach the bow to the arrangement.
3. Insert the wire: Take one end of the wire and carefully insert it through the back of the bow, beneath the center loop. Make sure the wire is positioned evenly in the middle of the bow.
4. Secure the wire: Twist the two ends of the wire together tightly, creating a secure attachment point for the bow. Ensure that the wire is hidden and does not disrupt the appearance of the bow or the arrangement.
5. Attach the bow: Once the wire is securely twisted, carefully position the bow on your floral arrangement. Insert the twisted end of the wire into the foliage or stems of the flowers, ensuring that it is firmly held in place.
6. Adjust the bow: Take a step back and evaluate the placement of the bow. Make any necessary adjustments to ensure it sits perfectly within your arrangement and complements the overall design.
By following these steps, you can confidently attach your bow to your floral arrangement with ease. The secure attachment will keep the bow in place, allowing it to bring a touch of elegance and sophistication to your table decor.
Now that you have completed all the steps, step back and appreciate your beautifully crafted bow adorning your floral arrangement. Your attention to detail and creativity have truly elevated the overall aesthetics of your table decor.
Whether it’s a wedding, birthday celebration, or any other special occasion, your guests are sure to be impressed by the stunning floral arrangement and the exquisite bow that ties it all together. Enjoy the admiration and the joy that your table decor brings to the atmosphere!
Conclusion
Congratulations! You have now learned how to create beautiful bows for your floral arrangements, adding an elegant touch to your table decor. By following the step-by-step process outlined in this guide, you have gained the skills to craft stunning bows that will elevate any special occasion.
Choosing the perfect ribbon, measuring and cutting with precision, creating the center loop, crafting the side loops, securing the bow, trimming the tails, and attaching it to your floral arrangement – each step plays a vital role in achieving a well-balanced and visually appealing bow.
Remember, the right ribbon selection sets the tone, while accurate measurements and clean cuts ensure a symmetrical bow. The center loop forms the foundation, and the side loops add volume and dimension. Securing the bow and trimming the tails provide a polished finish, and attaching it securely to your floral arrangement ensures a seamless integration.
By mastering the art of bow-making, you have the power to transform any table decor into a captivating display. Your attention to detail and creativity will leave a lasting impression on your guests, creating a welcoming atmosphere and enhancing the overall aesthetic of your event.
So, whether you’re preparing for a wedding, a birthday celebration, or simply want to add a touch of elegance to a dinner gathering, don’t underestimate the impact of a well-crafted bow. Let your imagination run wild and experiment with different ribbon colors, textures, and styles to create bows that reflect your personal taste and the theme of your event.
Now, armed with the knowledge and skills you’ve acquired, it’s time to put them into practice. Gather your materials, select a beautiful ribbon, and start creating your own stunning bows for your floral arrangements. Get ready to impress your guests and make your table decor truly unforgettable!
Frequently Asked Questions about How To Make Bows For Floral Arrangements
Was this page helpful?
At Storables.com, we guarantee accurate and reliable information. Our content, validated by Expert Board Contributors, is crafted following stringent Editorial Policies. We're committed to providing you with well-researched, expert-backed insights for all your informational needs.
0 thoughts on “How To Make Bows For Floral Arrangements”