
Tableware
How To Mail Glassware
Modified: December 7, 2023
Learn the best way to safely mail glassware and tableware. Get expert tips and tricks to protect delicate items during shipping.
(Many of the links in this article redirect to a specific reviewed product. Your purchase of these products through affiliate links helps to generate commission for Storables.com, at no extra cost. Learn more)
Introduction
When it comes to sending delicate items through the mail, such as glassware, it is essential to take extra precautions to ensure that they arrive at their destination in one piece. Glassware items are fragile and can easily break if not properly packaged and protected. Whether you are sending a special gift to a loved one or shipping glassware for business purposes, learning how to properly package and mail glassware is crucial to avoid any damage.
In this article, we will guide you through the steps to safely package and mail glassware, from choosing the right packaging materials to properly sealing and labeling the box. By following these steps, you can have peace of mind knowing that your glassware will reach its destination intact.
Key Takeaways:
- Proper packaging is essential for mailing glassware. Use sturdy boxes, bubble wrap, and packing peanuts to create a protective barrier. Label the package as “Fragile” to alert handlers.
- Take the time to wrap each piece of glassware individually and fill empty spaces with packing materials to prevent movement. Properly sealing and labeling the box is crucial for safe shipping.
Read more: How To Mail Seeds
Choosing the Right Packaging Materials
Before you start packing your glassware, it is important to gather the right materials to ensure the utmost protection during transit. Here are the essential packaging materials you will need:
- Sturdy cardboard boxes: Choose boxes that are specifically designed for shipping and are strong enough to withstand the weight and fragility of glassware.
- Packing tape: Use high-quality, durable packing tape to seal the boxes securely.
- Bubble wrap: This will provide cushioning and protection for your glassware. Opt for bubble wrap with small bubbles for better shock absorption.
- Packing paper: Use plain, unprinted packing paper to wrap each individual piece of glassware. Avoid using newspaper as the print may transfer onto the glass.
- Dividers or cardboard inserts: These are used to separate and cushion each glassware item inside the box.
- Packing peanuts or foam inserts: These will help fill any empty spaces in the box and provide additional cushioning.
- Fragile labels: Clearly mark the packages as ‘Fragile’ to alert the postal service and handlers that special care is required.
By using these packaging materials, you can create a protective barrier around your glassware, preventing any potential damage during transport. Now that you have gathered the necessary materials, let’s move on to the next step: preparing the box.
Step 1: Prepare the Box
Before you begin packing your glassware, it is important to properly prepare the box to ensure its structural integrity during transit. Follow these steps to prepare the box:
- Select a box that is appropriate for the size and quantity of glassware you are shipping. Make sure the box is clean and free from any previous labels or markings.
- Seal the bottom of the box with sturdy packing tape, ensuring that it is securely held together.
- If the box is large or extra fragile glassware, consider reinforcing the sides and corners of the box with additional layers of packing tape.
- For added protection, reinforce the bottom of the box with a layer of packing peanuts or crumpled packing paper.
- Place dividers or cardboard inserts vertically inside the box to create compartments for individual glassware items. This will help to prevent them from bumping into each other during transit.
- Once the box is prepared, it is now ready to be filled with your glassware. Proceed to the next step for wrapping and securing each piece.
By taking the time to properly prepare the box, you are setting a solid foundation for safe transportation of your glassware. Now that the box is ready, let’s move on to the next step: wrapping individual pieces of glassware.
Step 2: Wrap Individual Pieces
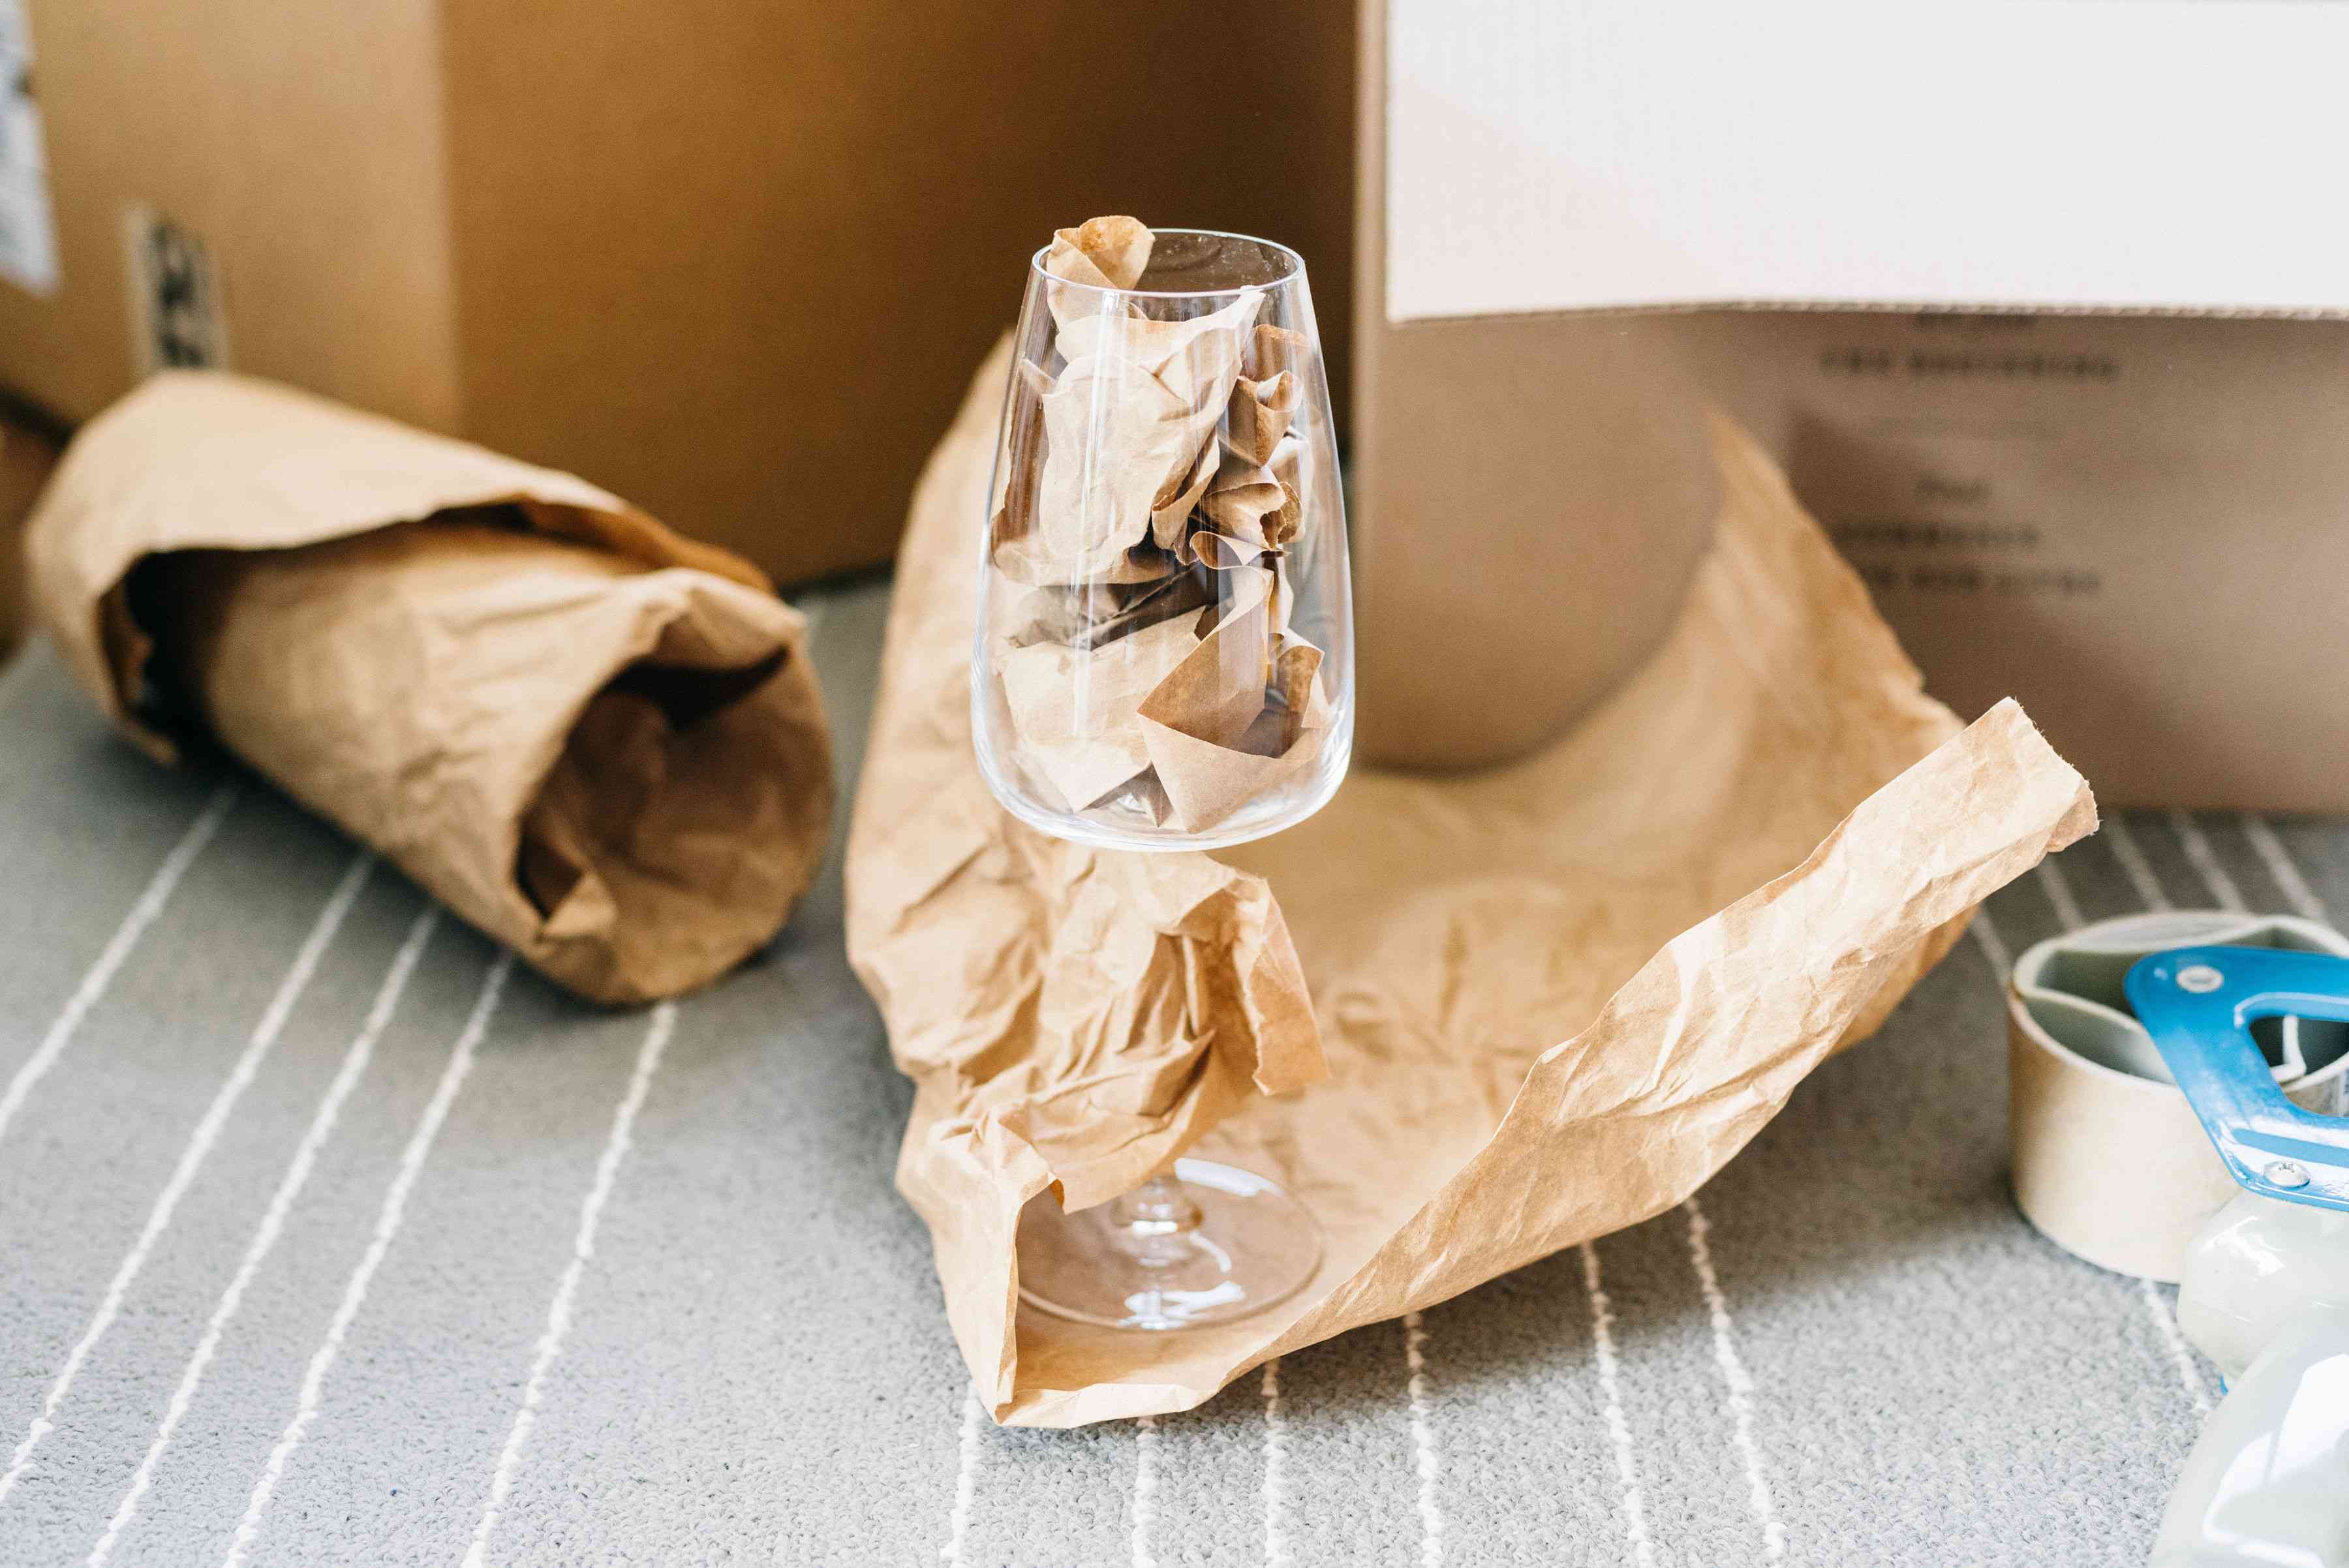
To ensure the safety of your glassware during transit, it is crucial to wrap each piece individually. This will provide an extra layer of protection and prevent any potential damage caused by friction or collision. Follow these steps to properly wrap your glassware:
- Start by placing a stack of plain packing paper on a clean, flat surface. Make sure there is enough paper to completely cover the glassware.
- Gently place one piece of glassware in the center of the stack of packing paper.
- Beginning from one corner, carefully fold the packing paper over the glassware, completely covering it.
- Tuck in the excess paper on the sides and roll the glassware forward, ensuring that it is securely wrapped.
- Secure the wrapping by using a small piece of tape or by tucking in the loose ends of the paper.
- Repeat this process for each individual piece of glassware. For delicate items, such as stemware or delicate crystal, consider wrapping them in an extra layer of bubble wrap for added protection.
By wrapping each piece of glassware individually, you are minimizing the risk of them colliding with one another and reducing the chances of breakage. Now that your glassware is securely wrapped, let’s move on to the next step: placing the glassware in the box.
When mailing glassware, make sure to wrap each piece individually in bubble wrap and place them in a sturdy box with plenty of cushioning material to prevent breakage during transit. Clearly label the package as fragile.
Step 3: Place Glassware in the Box
Now that your glassware is properly wrapped, it’s time to carefully place them inside the prepared box. Follow these steps to ensure the safe placement of your glassware:
- Start by lining the bottom of the box with a layer of packing peanuts or crumpled packing paper. This will provide a cushioning layer for the glassware.
- Place the wrapped glassware inside the box one by one, making sure to arrange them in a way that minimizes movement. For items with fragile stems, position them upright to prevent any bending or snapping.
- Continue placing the glassware, ensuring that there is enough space between each piece to prevent any direct contact. If needed, use additional dividers or cardboard inserts to create compartments and further separate the items.
- Fill any empty spaces with packing peanuts or additional crumpled packing paper to provide further cushioning and prevent shifting during transit.
- Check the top of the box to ensure that the glassware is not touching the lid. If necessary, adjust the placement of the items to create a secure and even layer.
By arranging the glassware securely and providing cushioning between each piece, you are minimizing the risk of them colliding or breaking during transportation. Now that the glassware is safely placed in the box, let’s move on to the next step: filling empty spaces.
Read more: How To Send A Mattress By Mail
Step 4: Fill Empty Spaces
After placing the glassware inside the box, it is important to fill any remaining empty spaces to prevent movement and provide added protection. Follow these steps to properly fill the empty spaces:
- Check the box for any gaps or spaces between the glassware and the sides of the box.
- Fill these spaces with packing peanuts, crumpled packing paper, or foam inserts. This will create a secure barrier and prevent the glassware from shifting during transit.
- As you fill the empty spaces, gently tap the box to ensure that the packing material settles well and evenly distributes the pressure.
- Be careful not to overstuff the box, as this may cause excessive pressure on the glassware.
- Once all the empty spaces are filled, close the box and give it a gentle shake to test for any movement. If you feel any shifting, add more packing material as needed.
By filling the empty spaces, you are providing additional support and cushioning to the glassware, minimizing the chances of breakage. With the empty spaces properly filled, we can now move on to the final step: sealing and labeling the box.
Step 5: Seal and Label the Box
Now that you have safely packed your glassware, it’s time to seal and label the box for shipping. Follow these steps to ensure that your package is secure and clearly marked:
- Start by securely sealing the top of the box with packing tape. Use multiple layers of tape to reinforce the seal and prevent any accidental openings.
- Inspect the box to ensure that all edges and corners are properly sealed.
- Once the box is sealed, carefully turn it over and shake it gently to ensure that the contents are well-secured and do not shift.
- Next, label the box as “Fragile” on multiple sides. Use bright, noticeable labels or adhesive stickers to clearly indicate that the package requires special care.
- In addition to the “Fragile” label, include other necessary shipping labels, such as the recipient’s address and your return address.
- Consider taking a photo of the labeled box for documentation purposes in case any issues arise during shipping.
- Finally, if you are using a shipping service, make sure to follow their guidelines for additional labeling or documentation required for fragile items.
By properly sealing and labeling the box, you are ensuring that your glassware is handled with care throughout the shipping process. With the box securely sealed and labeled, your glassware is ready to be sent off to its destination.
Conclusion
Mailing fragile items like glassware can be a daunting task, but with the right packaging techniques, you can ensure that your delicate items arrive safely at their destination. By following the steps outlined in this article, you can properly package and mail your glassware with confidence.
Choosing the right packaging materials is crucial for protecting your glassware during transit. Sturdy boxes, bubble wrap, packing paper, dividers, and packing peanuts all play important roles in keeping your glassware intact. Remember to label the package as “Fragile” to alert handlers to exercise extra caution.
Preparing the box, wrapping individual pieces, and placing the glassware securely inside are essential steps in ensuring their safety. By filling empty spaces with packing materials, you prevent movement and minimize the risk of breakage. Finally, sealing and labeling the box properly is important for effective shipping and handling.
Remember, when it comes to mailing glassware, taking the time to package it correctly is worth the effort. By following these steps, you can protect your glassware and ensure that it arrives in pristine condition at its destination.
So next time you need to mail glassware, don’t worry! Armed with the knowledge from this article, you can confidently send your delicate items through the mail, knowing they are well-protected throughout the journey.
Frequently Asked Questions about How To Mail Glassware
Was this page helpful?
At Storables.com, we guarantee accurate and reliable information. Our content, validated by Expert Board Contributors, is crafted following stringent Editorial Policies. We're committed to providing you with well-researched, expert-backed insights for all your informational needs.





0 thoughts on “How To Mail Glassware”