Tableware
How To Paint Glassware
Modified: January 18, 2024
Learn how to paint tableware and create stunning designs on glassware. Get expert tips and techniques for transforming ordinary glassware into unique works of art.
(Many of the links in this article redirect to a specific reviewed product. Your purchase of these products through affiliate links helps to generate commission for Storables.com, at no extra cost. Learn more)
Introduction
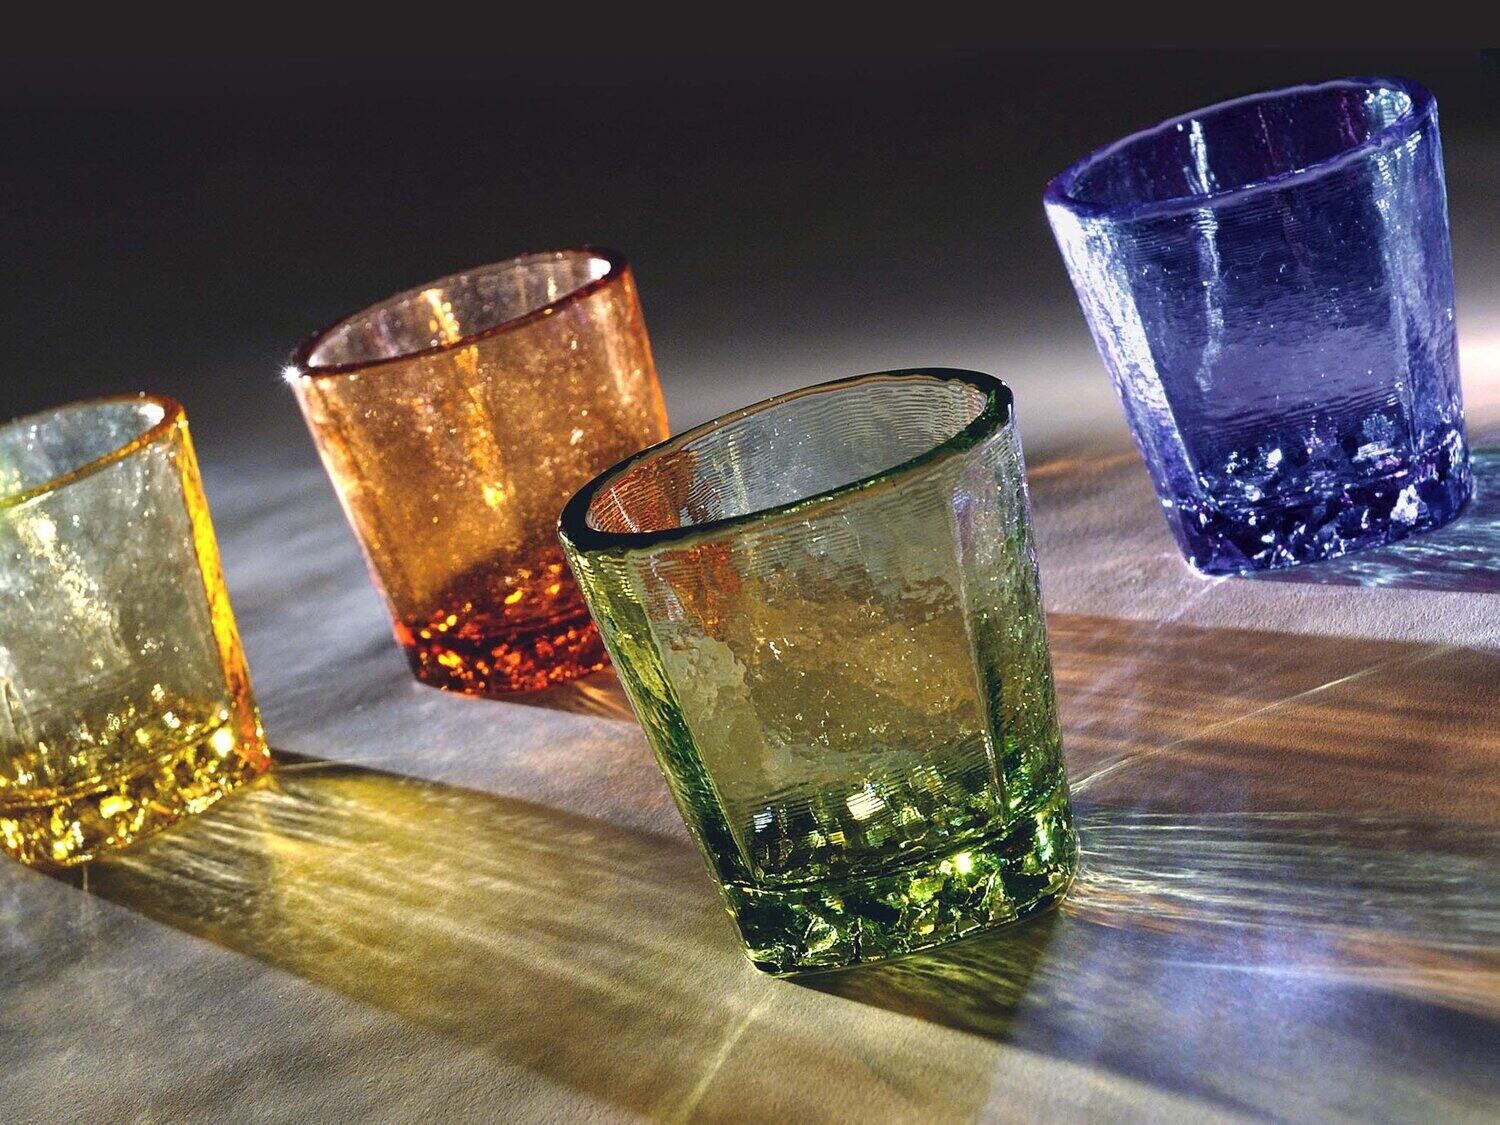
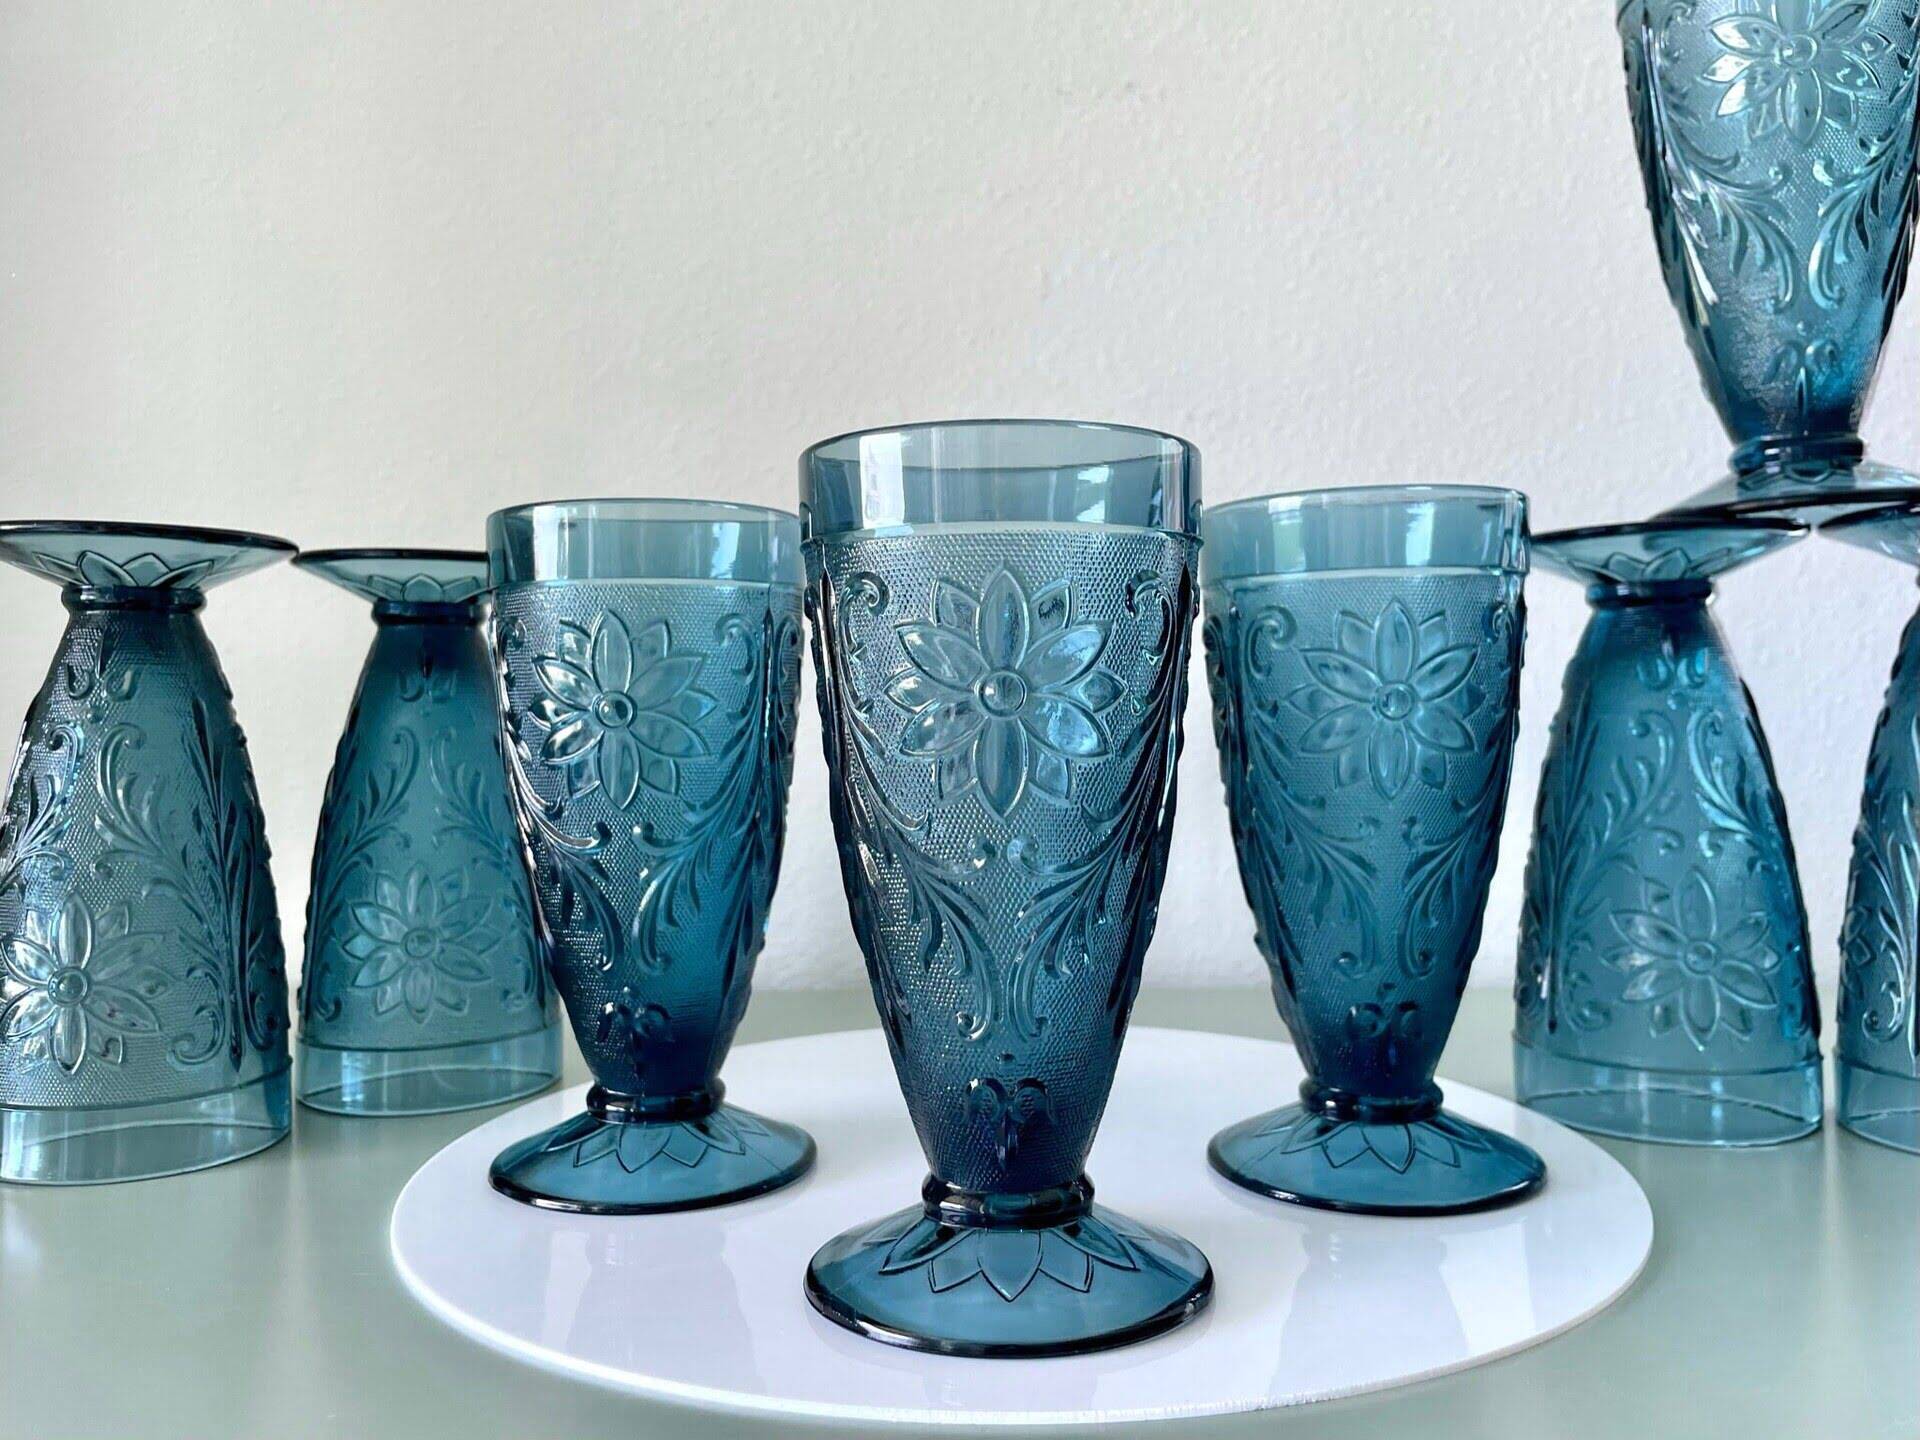
Welcome to the world of glassware painting! Whether you’re a beginner or an experienced artist, painting on glass can be a rewarding and creative endeavor. From wine glasses and mugs to vases and decorative plates, the possibilities are endless when it comes to transforming plain glassware into stunning works of art.
Painted glassware can add a unique touch to your home decor, make thoughtful personalized gifts, or even be sold as handcrafted creations. The beauty of glassware painting lies in its versatility and the freedom it offers to express your creativity.
In this article, we will guide you through the process of painting glassware, from the materials you’ll need to the step-by-step techniques for achieving professional-looking results. So, grab your brushes and let’s get started!
Key Takeaways:
- Transform plain glassware into stunning works of art with the right materials, techniques, and attention to detail. Unleash your creativity and create one-of-a-kind pieces that will impress and delight.
- Properly prepare, paint, cure, and seal your glassware to ensure longevity and resistance to wear and tear. Handwash with care and avoid harsh solvents for beautiful, long-lasting creations.
Read more: How To Store Glassware
Materials Needed
Before you begin painting your glassware, it’s important to gather all the necessary materials. Here’s a list of items you’ll need to get started:
- Glassware: Choose the type of glassware you’d like to paint, such as wine glasses, mugs, vases, or plates. Make sure they are clean and free of any dust or dirt.
- Paints: Select paints specifically designed for glass painting. Acrylic enamel paints or special glass paints work best, as they adhere well to glass surfaces and are dishwasher-safe. Consider using a variety of colors to create vibrant designs.
- Paintbrushes: Have a selection of different-sized brushes on hand to achieve varying brush strokes and details. Round and flat brushes with synthetic bristles are ideal for glassware painting.
- Palette: Use a palette or a disposable plate to mix and blend your paints.
- Palette Knife: A palette knife comes in handy for mixing paint colors and applying them to the glassware.
- Masking Tape: Use masking tape to create straight edges or to cover areas of the glassware that you want to protect from paint.
- Stencil or Transfer Paper: If you’re not confident in your freehand painting skills, stencils or transfer paper can help you achieve more precise designs.
- Sponges or Foam Brushes: Sponges or foam brushes are useful for applying base coats or creating textured effects on the glassware.
- Sealer: To protect your painted design and ensure its longevity, use a sealant specifically formulated for glass painting.
- Disposable Gloves: Wearing disposable gloves will help keep your hands clean and protect the glassware from fingerprints or smudges.
- Clean Cloth or Paper Towels: Have a clean cloth or paper towels nearby for wiping off excess paint, cleaning brushes, or correcting mistakes.
By having these materials readily available, you’ll be well-prepared to start your glassware painting journey. Remember to work in a well-ventilated area, protect your work surface, and always follow the instructions provided with the materials you’re using.
Preparing the Glassware
Before you start painting, it’s essential to properly prepare the glassware to ensure the paint adheres well and creates a lasting finish. Follow these steps to prepare your glassware:
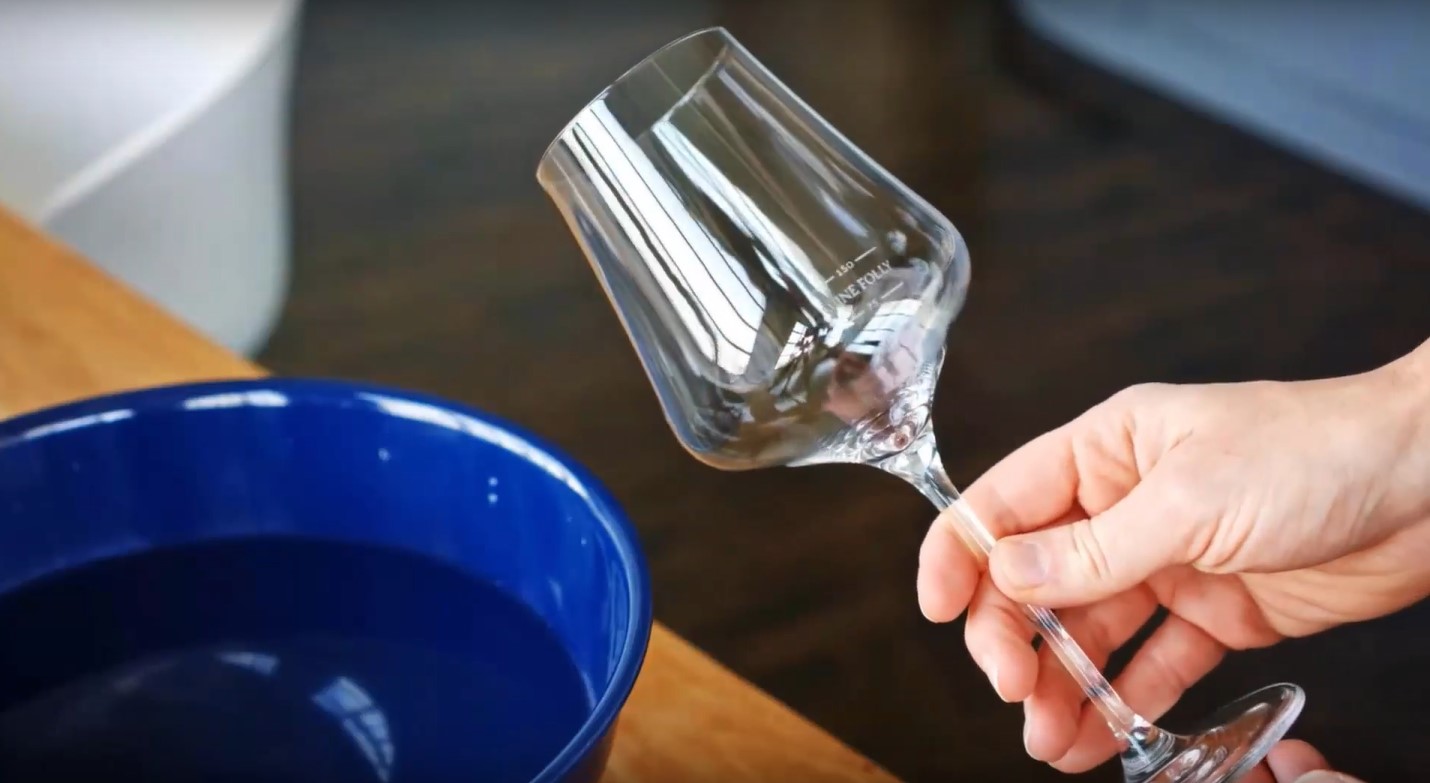
- Clean the Glassware: Start by washing the glassware thoroughly with mild soap and warm water. Rinse well to remove any residue or cleaning agents. Avoid using abrasive cleaners or scrub brushes that may scratch the glass.
- Dry Completely: Use a lint-free cloth or allow the glassware to air dry completely. This step is crucial to remove any moisture that could interfere with the paint’s adhesion.
- Prep the Surface: If you’re painting on a smooth surface, you may need to roughen it slightly to help the paint adhere better. Use fine-grit sandpaper to gently sand the surface of the glass. Be careful not to apply too much pressure or scratch the glass.
- Clean Again: Once you’ve prepped the surface, clean the glassware again to remove any dust or particles from the sanding process. Wipe the glassware with a clean, lint-free cloth or use a tack cloth to ensure it’s free from any contaminants.
- Apply Rubbing Alcohol: To further ensure a clean surface, dampen a cloth with rubbing alcohol and wipe down the glassware. This step helps remove any remaining oils or fingerprints that could interfere with the paint’s adhesion.
By following these preparation steps, you’re creating an ideal surface for the paint to adhere to, resulting in a smooth and durable finish. Once your glassware is properly prepared, you’re ready to move on to the next steps of the painting process.
Choosing the Right Paint
When it comes to glassware painting, selecting the right paint is essential for achieving beautiful and long-lasting results. Here are some factors to consider when choosing the paint:
1. Glass-Specific Paint:
Use paints specifically formulated for glass painting. These paints are designed to adhere well to glass surfaces and withstand washing and handling. Look for acrylic enamel paints or specialized glass paints that are dishwasher-safe.
Read more: How To Mail Glassware
2. Transparency and Opacity:
Consider the transparency or opacity of the paint you choose. Transparent paints allow light to pass through, creating a stained glass effect, while opaque paints provide solid coverage. Depending on the desired effect, you may want to use a combination of transparent and opaque paints.
3. Color and Pigmentation:
Explore a wide range of colors to unleash your creativity. Opt for paints that offer vibrant and rich pigmentation. Consider mixing colors to create custom shades and achieve the desired color intensity.
4. Practicing Mixing:
If you plan to mix paints to create unique hues, it’s essential to choose paints that can be easily mixed together to achieve consistent results. Some brands offer a variety of compatible paint colors that can be blended seamlessly.
5. Application and Drying Time:
Pay attention to the application and drying time of the paint. Look for paints that offer smooth application with minimal brushstrokes and quick drying times. This will allow you to build up layers and add details more efficiently.
Read more: How To Customize Glassware
6. Dishwasher-Safe and Heat-Resistant:
If you intend to use the painted glassware for functional purposes, such as drinking glasses or kitchenware, ensure that the paint is labeled as dishwasher-safe and heat-resistant. This will ensure the longevity of your design, even when exposed to hot water or high temperatures.
When choosing paints, read product descriptions, reviews, and instructions to ensure they meet your specific needs. It’s also a good idea to experiment with different brands and types of paint to find the ones that work best for your painting style and desired outcome.
Applying the Base Coat
Once you have prepared your glassware and chosen the right paint, it’s time to apply the base coat. The base coat serves as the foundation for your design and provides an even and smooth surface for the subsequent layers of paint.
Follow these steps to apply the base coat:
- Masking: If you want to create clean lines and protect specific areas from the base coat, use masking tape to cover those sections. This will ensure that only the intended areas are painted.
- Stir the Paint: Give the paint a good stir to ensure it is well-mixed. This step helps distribute any settling pigments and ensures consistent color.
- Apply the Base Coat: Using a brush or sponge, apply an even layer of the base coat paint to the entire surface of the glassware. Work in smooth and steady strokes, starting from the top and moving downward. Make sure to cover the entire area that will be painted.
- Allow to Dry: Follow the manufacturer’s instructions for drying time. Typically, the base coat will dry within 1-2 hours. Avoid touching or handling the glassware during this time to prevent smudges or fingerprints.
- Apply a Second Coat (Optional): Depending on the opacity and coverage of your base coat, you may choose to apply a second coat for a more solid base. Allow the first coat to dry completely before applying the second coat.
It’s essential to achieve a smooth and even base coat, as it sets the foundation for your design and ensures the subsequent layers of paint adhere properly. Take your time during this step and ensure complete coverage.
Once the base coat is dry, you’re ready to move on to the fun part, adding layers and details to bring your glassware to life!
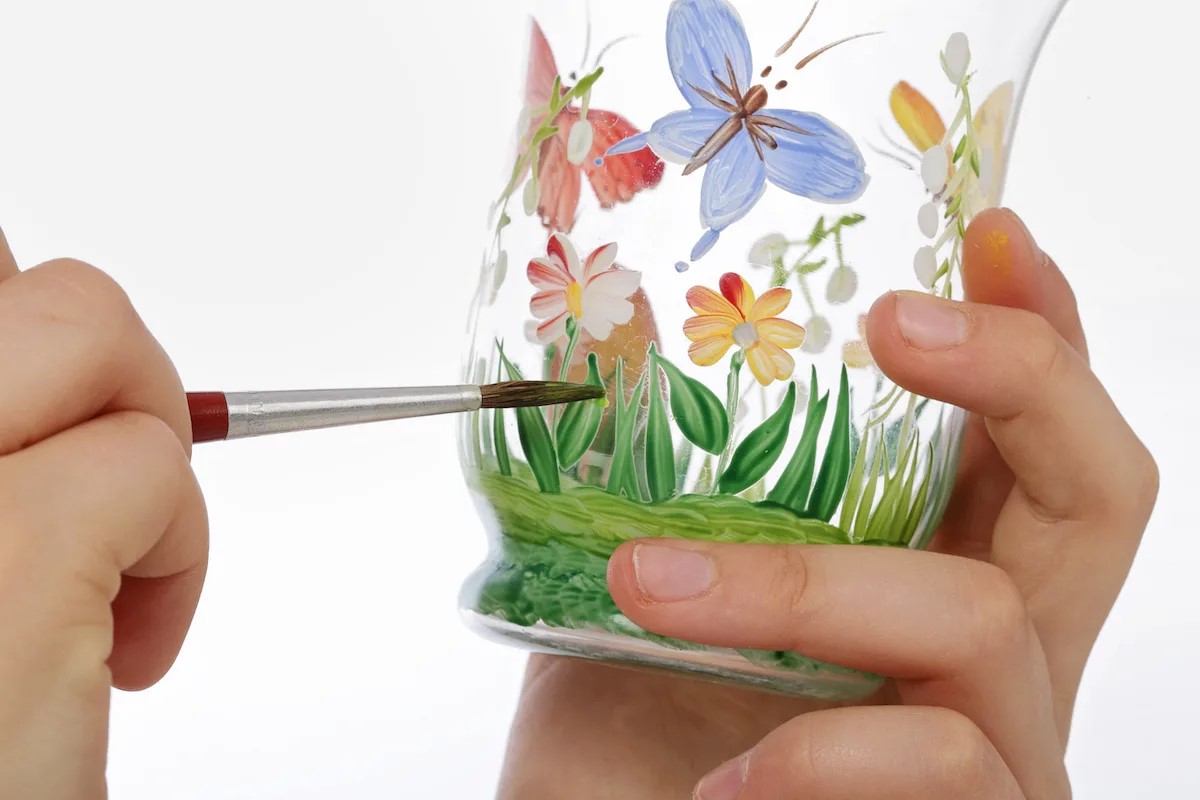
Adding Layers and Details
Now that you have successfully applied the base coat, it’s time to add layers and details to your glassware design. This is where your creativity can truly shine as you create intricate patterns, designs, or images on the glass surface.
Read more: How To Autoclave Glassware
Follow these steps to add layers and details:
- Plan Your Design: Before you start painting, it can be helpful to sketch your design on paper or create a rough outline on the glassware using a washable marker. This will serve as a guide as you paint and help you visualize the final result.
- Mix Colors (if needed): If you want to achieve specific shades or colors, mix your paints on a palette using a palette knife. Experiment with different proportions to get the desired hue.
- Start with Light Colors: Begin by applying lighter colors first, especially if you plan to layer darker colors on top. This will prevent smudging or muddying of the lighter shades later on.
- Use Thin Layers: Apply the subsequent layers of paint in thin, even coats. This will help maintain the transparency or opacity of the colors and prevent heavy buildup that can affect the overall appearance.
- Blend and Shade: Use a dry brush or a natural sea sponge to blend colors together or create gradient effects. This technique adds depth and dimension to your design, making it more visually appealing.
- Add Details: Use smaller brushes or fine-tip markers specifically made for glass painting to add intricate details, such as lines, dots, or textures. This step allows you to enhance your design and make it more intricate and interesting.
- Allow Each Layer to Dry: Let each layer of paint dry completely before applying the next. This will prevent smudging or mixing of colors, ensuring clean and crisp details.
Remember to take breaks during your painting process to step back and assess your work. This will allow you to make any necessary adjustments or corrections along the way. Patience and attention to detail are key to achieving the desired results.
Once you’re satisfied with the layers and details of your design, you can move on to the next step: curing and sealing the paint.
Curing and Sealing the Paint
After you’ve added layers and details to your glassware design, it’s important to properly cure and seal the paint to ensure its longevity and resistance to wear and tear. Curing and sealing the paint also helps protect the design from water, scratches, and fading.
Follow these steps to cure and seal your painted glassware:
- Curing Time: First, allow the painted glassware to dry completely for at least 24 to 48 hours. This curing time allows the paint to fully adhere and harden on the glass surface.
- Oven Curing (optional): Some glass paints require heat curing to achieve maximum durability and dishwasher resistance. Check the instructions provided with your paint to determine if oven curing is necessary. If so, carefully place the glassware in a cool oven, then heat it gradually according to the manufacturer’s recommendations. Allow the glassware to cool down before removing it from the oven.
- Sealing: To protect the painted design, apply a clear sealant specifically formulated for glass painting. This step adds an extra layer of protection and enhances the overall appearance of your glassware. Follow the manufacturer’s instructions regarding application and drying time for the sealant.
Sealing the paint not only provides a protective barrier but also adds a glossy or satin finish, depending on the type of sealant used. It helps to prevent the paint from chipping or scratching while enhancing the vibrancy of the colors.
Keep in mind that the curing and sealing process is crucial for the long-term durability of your painted glassware. Follow the instructions provided by the paint and sealant manufacturers to ensure the best results.
Once the paint is fully cured and sealed, your glassware is now ready to be displayed, used, or given as a thoughtful and handcrafted gift to someone special.
Tips and Tricks for a Professional Finish
Creating a professional finish on your painted glassware is all about attention to detail and employing some helpful tips and tricks. These techniques will elevate your final result and give your glassware a polished and professional appearance.
Read more: How To Polish Glassware
Here are some tips and tricks to achieve a professional finish:
- Practice your strokes: Before applying the paint to your glassware, practice your brushstrokes on a spare piece of glass or paper. This will help you gain confidence and control over the brush, ensuring smoother and more precise application.
- Use light colors as a base: Starting with a light-colored base coat allows you to layer darker colors on top without compromising their vibrancy. This technique enhances the depth and richness of your design.
- Thin layers are key: When layering paint, apply thin and even coats rather than thick, heavy layers. This technique prevents the paint from smudging or appearing too opaque. Build up the colors gradually for a more professional look.
- Blend and soften edges: To create a seamless transition between different colors or shades, use a dry brush or sponge to blend and soften the edges. This technique adds depth and gives your design a more professional and polished finish.
- Keep your brushes clean: Regularly clean your brushes between color changes or whenever needed. Use a mild soap and warm water to remove any excess paint. Clean brushes ensure better color accuracy and prevent unwanted smudges or color mixing.
- Experiment with different brush sizes: Using brushes of different sizes allows you to paint large areas as well as add finer details to your design. Variety in brush sizes helps achieve a more professional and balanced composition.
- Add accents and highlights: After the base layers, consider adding accents and highlights to your design. This can be done by using metallic or glitter paints to add shimmer and dimension, or by carefully applying lighter shades to certain areas to create a focal point.
- Keep a steady hand: Paint with steady and deliberate strokes to ensure clean lines and precise details. Take your time and maintain a relaxed grip on the brush to enhance your control and accuracy.
- Don’t be afraid to make corrections: Mistakes happen, and it’s part of the creative process. If you make a mistake, don’t panic. Use a damp cloth or cotton swab to remove any unwanted paint and make necessary corrections. It’s better to take your time and fix mistakes rather than rush through and end up with a less-than-perfect result.
By incorporating these tips and tricks into your glassware painting process, you’ll be well on your way to achieving a professional-looking finish that will impress everyone who sees your handcrafted creations.
Cleaning and Maintaining Painted Glassware
Once you have finished painting your glassware and achieved a professional finish, it’s important to know how to clean and maintain your creations properly. By following these guidelines, you can ensure the longevity and beauty of your painted glassware:
1. Hand Washing:
To preserve the integrity of the painted design, it’s best to hand wash your painted glassware. Use a mild dish soap and warm water, and gently wash the glassware with a soft sponge or cloth. Avoid scrubbing the painted areas vigorously, as this may damage the design.
2. Avoid Harsh Solvents and Abrasive Cleaners:
Refrain from using harsh solvents or abrasive cleaners on your painted glassware, as these can damage the paint and cause it to fade or peel. Stick to mild dish soap or glass cleaner for cleaning.
Read more: What Is Crystal Glassware
3. Pat Dry with a Soft Cloth:
After washing, carefully pat dry the glassware with a soft cloth or allow it to air dry. Avoid using rough or abrasive towels, as they can scratch the painted surface.
4. Store Properly:
When not in use, store your painted glassware in a safe place that protects it from potential damage. Consider wrapping each piece in a soft cloth or newspaper to prevent scratching or chipping.
5. Avoid Extreme Temperatures:
Avoid exposing your painted glassware to extreme temperatures, as sudden fluctuations can cause the glass to crack or the paint to chip. For example, do not place a painted glass in a freezer or directly from the dishwasher into a hot oven.
6. Handle with Care:
When handling painted glassware, be mindful of gripping it by the base or stem rather than applying excessive pressure on the painted surface. This will help prevent accidental smudging or chipping.
Read more: How To Clean Vintage Glassware
7. Touch-ups and Repairs:
If you notice any minor scratches or chips in the paint over time, you can touch up the design using the same paint colors. Follow the original painting technique and allow the touch-ups to dry and cure properly.
By following these cleaning and maintenance tips, you can enjoy your painted glassware for years to come. With proper care, your beautiful creations will continue to enhance your home decor or delight the recipients of your handcrafted gifts.
Conclusion
Painting glassware is a creative and enjoyable activity that allows you to transform ordinary glass items into stunning works of art. With the right materials, techniques, and a little bit of practice, you can achieve professional-looking results that will impress and delight.
Throughout this article, we’ve covered the essential steps involved in glassware painting, from preparing the glassware to adding layers and details, and finally curing and sealing the paint. We’ve also provided helpful tips and tricks for achieving a polished and professional finish, as well as guidelines for cleaning and maintaining your painted glassware.
Remember to gather all the necessary materials, choose the right paint, and properly prepare your glassware before painting. Take your time during the painting process, adding layers, blending colors, and adding intricate details to create a design that reflects your unique style and creativity.
Once your masterpiece is complete, make sure to properly cure and seal the paint to ensure its longevity and resistance to wear and tear. Handwash your painted glassware with care, avoiding harsh solvents and abrasive cleaners, to maintain its beauty for years to come.
Whether you’re painting glassware for personal use, as gifts, or even to sell, the possibilities are endless. Experiment with different techniques, colors, and designs to unleash your creativity and create one-of-a-kind pieces that will be cherished by all who see them.
So, why wait? Grab your brushes, gather your materials, and let your imagination run wild as you embark on your glassware painting journey. Enjoy the process and have fun expressing your artistic talent on glass surfaces. Happy painting!
Frequently Asked Questions about How To Paint Glassware
Was this page helpful?
At Storables.com, we guarantee accurate and reliable information. Our content, validated by Expert Board Contributors, is crafted following stringent Editorial Policies. We're committed to providing you with well-researched, expert-backed insights for all your informational needs.


0 thoughts on “How To Paint Glassware”