Home>Construction & Tools>Building Materials>How To Paint Interior Brick Wall

Building Materials
How To Paint Interior Brick Wall
Modified: October 20, 2024
Discover the best techniques for painting an interior brick wall with our expert tips and advice. Find the right building materials and tools for your project.
(Many of the links in this article redirect to a specific reviewed product. Your purchase of these products through affiliate links helps to generate commission for Storables.com, at no extra cost. Learn more)
Introduction
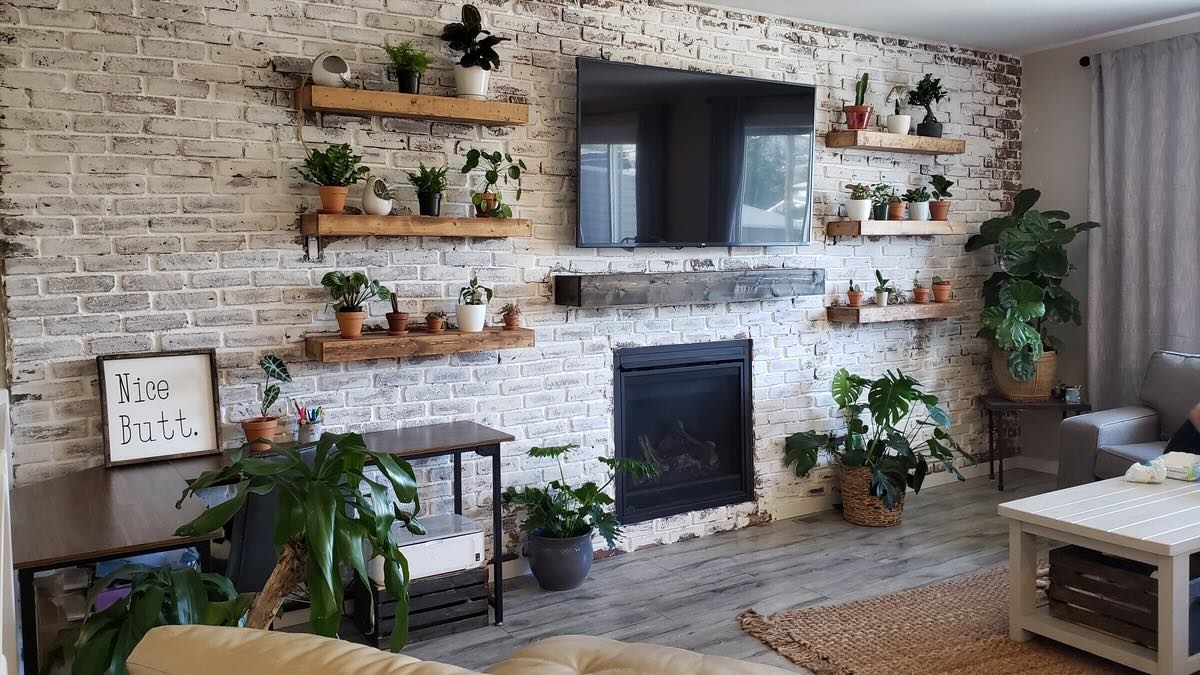
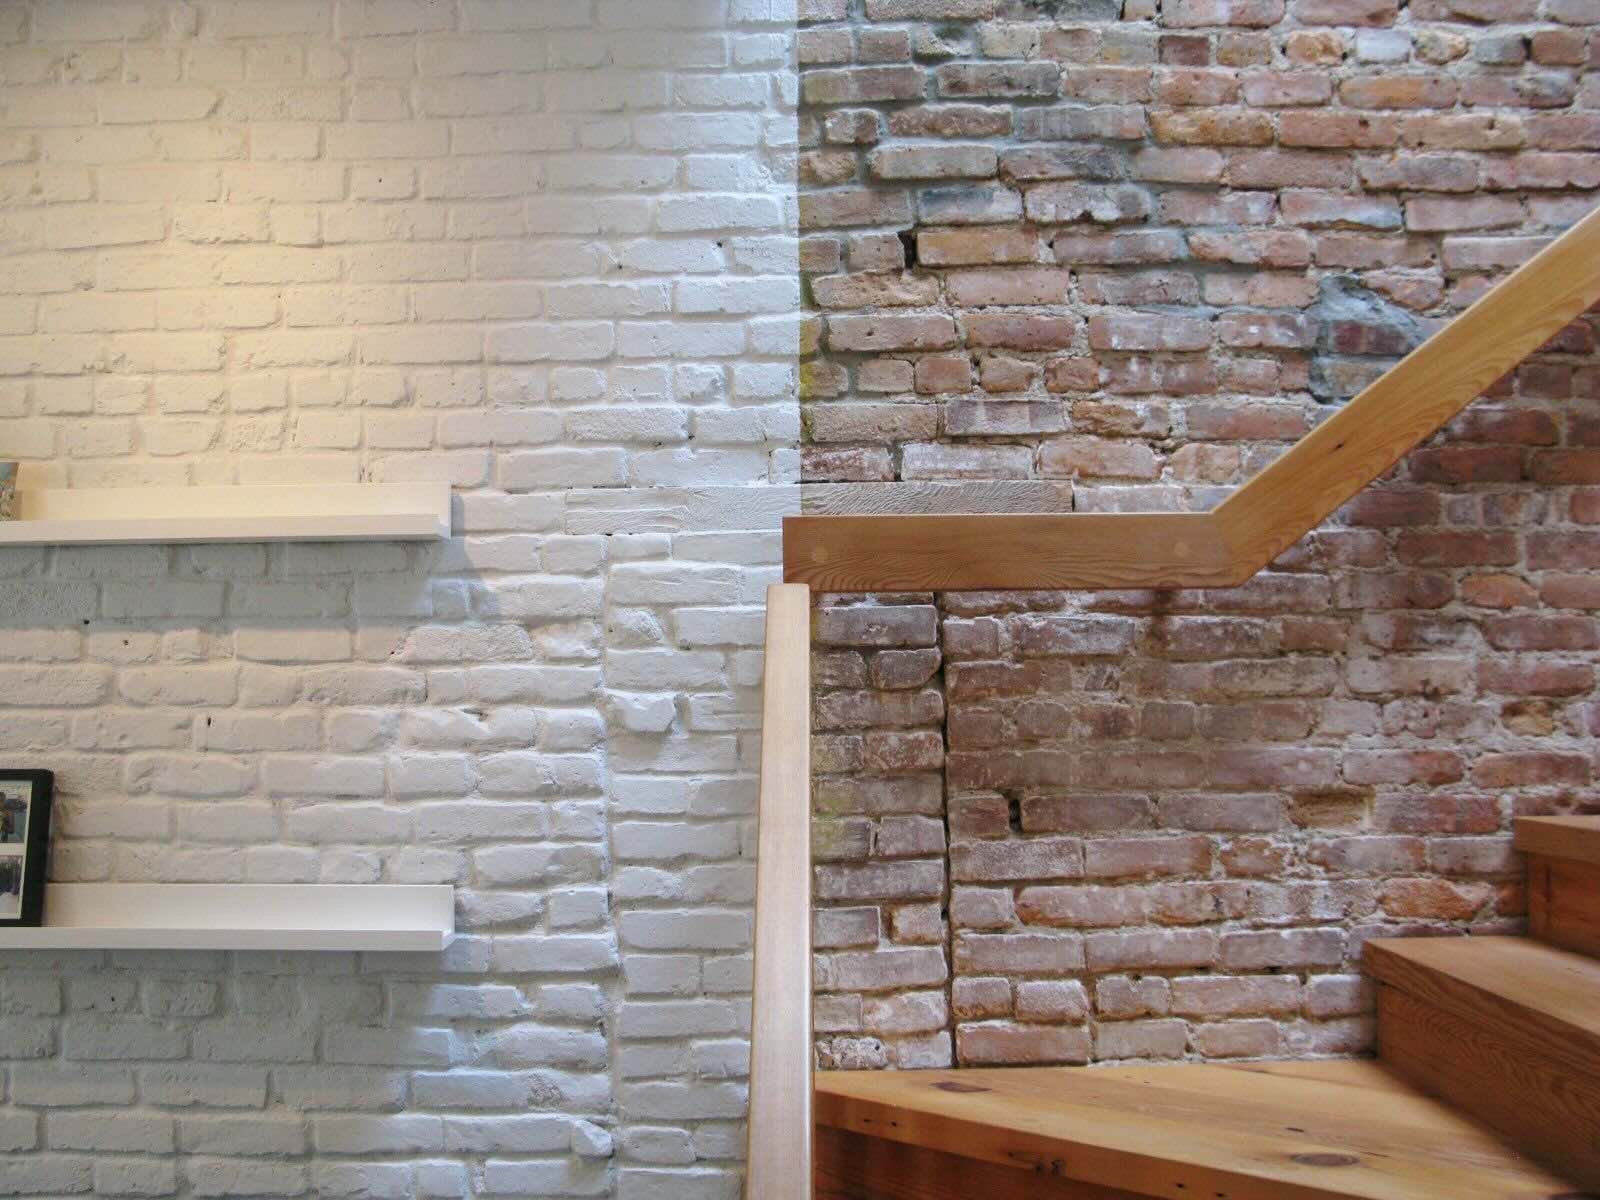
So, you've got an interior brick wall that's looking a bit lackluster, and you're ready to breathe new life into it with a fresh coat of paint. Whether you're aiming to modernize the space or simply want to revamp the aesthetic, painting an interior brick wall can be a transformative and rewarding project. By taking the time to properly prepare the surface and select the right materials, you can achieve a stunning result that enhances the overall ambiance of the room.
In this comprehensive guide, we'll walk you through the step-by-step process of painting an interior brick wall, covering everything from the essential materials and tools needed to the finishing touches that will ensure a professional-looking outcome. By the end, you'll have the knowledge and confidence to tackle this project with finesse and achieve a beautifully painted brick wall that complements your interior décor.
Let's roll up our sleeves and dive into the world of interior brick wall painting, where creativity meets craftsmanship to bring about a remarkable transformation.
Key Takeaways:
- Transform your interior brick wall with a fresh coat of paint using the right materials and step-by-step process for a stunning, professional-looking outcome.
- Elevate your living space by painting your interior brick wall, infusing creativity and craftsmanship to achieve a captivating, personalized feature that reflects your unique style and taste.
Read more: How To Clean Interior Brick Walls
Materials and Tools Needed
Before embarking on your interior brick wall painting project, it's crucial to gather the necessary materials and tools to ensure a smooth and efficient process. Here's a comprehensive list of what you'll need:
Materials:
- Painter's tape
- Drop cloths or plastic sheeting
- Trisodium phosphate (TSP) or a similar cleaning solution
- Primer suitable for masonry surfaces
- Interior paint suitable for masonry surfaces (latex or mineral-based)
- Paint thinner or mineral spirits
- Fine-grit sandpaper
- Clean rags or sponges
- Filler or caulk (if needed)
Tools:
- Paintbrushes (angled and flat)
- Paint roller and roller covers
- Paint tray
- Extension pole for the roller
- Paint sprayer (optional, for larger areas)
- Bucket
- Stir sticks
- Scrub brush
- Putty knife
- Protective gloves
- Safety goggles
- Dust mask
Having these materials and tools on hand will streamline the painting process and help you achieve professional results. Additionally, it’s important to ensure that the area is well-ventilated and that you have access to water for cleaning purposes throughout the project.
Now that you’ve gathered your supplies, it’s time to prepare the brick wall for the painting process. Proper preparation is key to achieving a flawless and long-lasting finish, so let’s move on to the next step: preparing the brick wall.
Preparing the Brick Wall
Before diving into the painting process, it’s essential to prepare the brick wall to ensure optimal paint adhesion and a smooth, professional finish. Follow these steps to get the wall ready for its stunning transformation:
Step 1: Clear the Area
Begin by removing any furniture, decor, or obstructions near the brick wall. Cover the floor with drop cloths or plastic sheeting to protect it from paint splatters and drips.
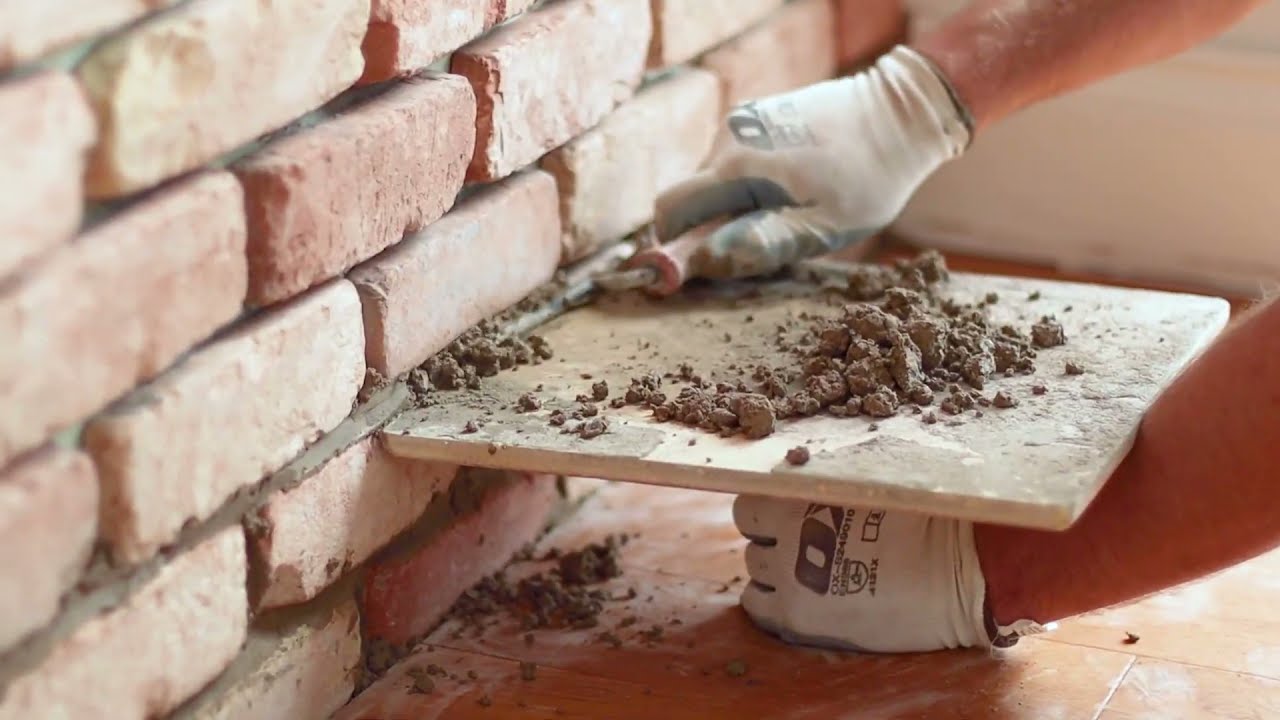
Step 2: Clean the Surface
Brick surfaces can accumulate dust, dirt, and grime over time. Use a trisodium phosphate (TSP) solution or a similar cleaning agent to thoroughly clean the brick. Scrub the surface with a scrub brush, then rinse with clean water and allow it to dry completely.
Step 3: Repair Any Damage
Inspect the brick wall for any cracks, holes, or areas where the mortar may be deteriorating. Use a filler or caulk to repair these imperfections, ensuring that the surface is smooth and even before proceeding.
Step 4: Remove Loose Paint or Debris
If the brick wall has any loose paint or debris, gently sand the surface with fine-grit sandpaper to remove these imperfections. Wipe the wall with a clean rag or sponge to eliminate any dust created during the sanding process.
Step 5: Apply Painter’s Tape
Use painter’s tape to mask off any areas adjacent to the brick wall that you want to protect from paint, such as trim, baseboards, or adjacent walls. This will help create clean, crisp edges and minimize the risk of accidental paint smudges.
By diligently preparing the brick wall, you’ll create an ideal foundation for the paint, setting the stage for a successful and visually appealing transformation. With the surface primed and ready, the next step is to apply a suitable primer to enhance paint adhesion and ensure a durable, long-lasting finish.
Read more: How To Spray Paint Interior Walls
Priming the Surface
Priming the brick surface is a crucial preparatory step that significantly impacts the adhesion and durability of the paint. A high-quality primer formulated for masonry surfaces will help seal the brick, even out its texture, and provide a consistent base for the paint to adhere to. Here’s a detailed guide to priming the brick wall:
Step 1: Select the Right Primer
Choose a primer specifically designed for masonry surfaces. Look for products labeled as masonry or high-build primers, as these are formulated to effectively adhere to and seal porous surfaces like brick. Additionally, consider whether you prefer a water-based or oil-based primer based on your specific project needs.
Step 2: Prepare the Primer
If the primer requires mixing or stirring, follow the manufacturer’s instructions to ensure it’s thoroughly blended and ready for application. Some primers may need to be thinned with water or mineral spirits, so be sure to check the product label for guidance.
Step 3: Apply the Primer
Using a high-quality paintbrush or a paint roller, begin applying the primer to the brick wall. Work in manageable sections, starting from the top and working your way down to ensure thorough coverage. If using a roller, consider using an extension pole to reach higher areas and achieve a more uniform application.
Step 4: Work the Primer into Gaps
Brick surfaces often feature crevices and mortar joints that may require extra attention. Use a brush to work the primer into these gaps, ensuring that the entire surface is adequately coated. This step is crucial for achieving comprehensive coverage and promoting a seamless finish.
Step 5: Allow for Drying Time
After applying the primer, allow it to dry completely according to the manufacturer’s recommendations. This typically ranges from a few hours to overnight, depending on the product and environmental conditions. It’s essential to ensure that the primer is fully cured before proceeding to the next stage of the painting process.
By priming the brick surface, you’re creating an optimized canvas for the paint, enhancing its adhesion and promoting a consistent, professional-looking finish. With the primer in place, the stage is set for the exciting phase of choosing the perfect paint to bring your vision to life.
Choosing the Right Paint
When it comes to painting an interior brick wall, selecting the right type of paint is pivotal to achieving a flawless finish that endures over time. The ideal paint should not only complement your aesthetic preferences but also possess properties that suit the unique characteristics of brick surfaces. Here’s a comprehensive guide to help you choose the perfect paint for your interior brick wall:
Consider the Surface Texture
Brick surfaces are inherently textured, featuring variations in porosity and irregularities. Opt for a paint that can accommodate these nuances, such as a high-quality latex or mineral-based paint designed for masonry surfaces. These types of paint offer excellent adhesion and durability, allowing them to withstand the challenges posed by brick’s rough texture.
Assess the Desired Finish
Determine the finish that best complements your interior design vision. Matte and eggshell finishes are popular choices for interior brick walls, as they provide a subtle sheen while concealing surface imperfections. Alternatively, if you prefer a more pronounced sheen, consider a satin or semi-gloss finish, which can add depth and visual appeal to the brick surface.
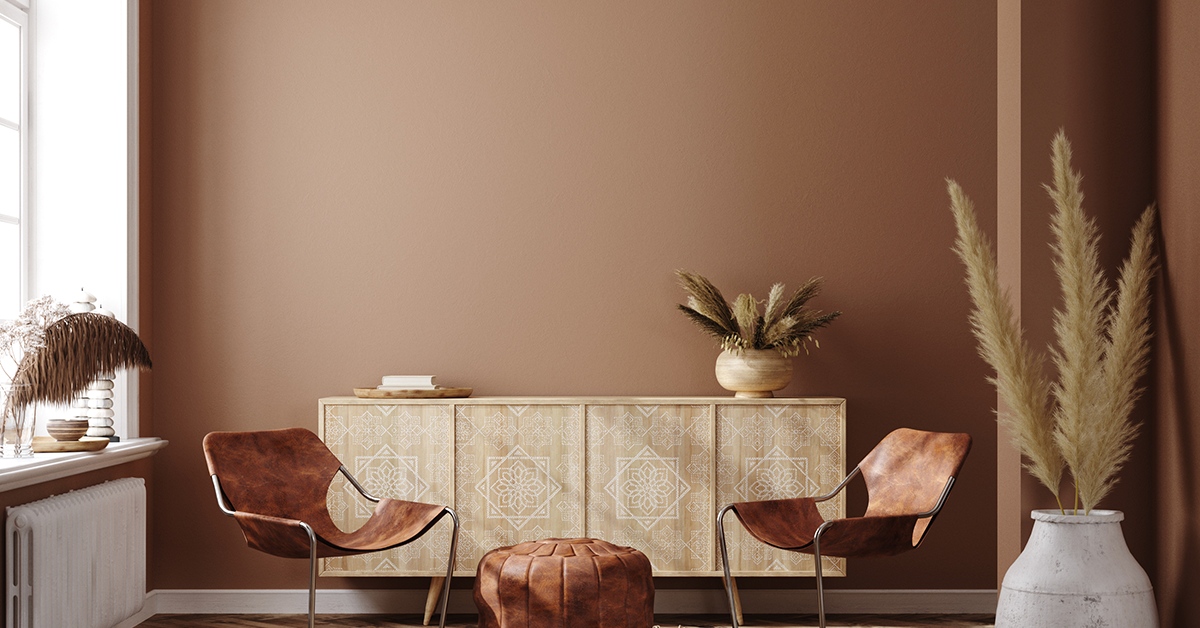
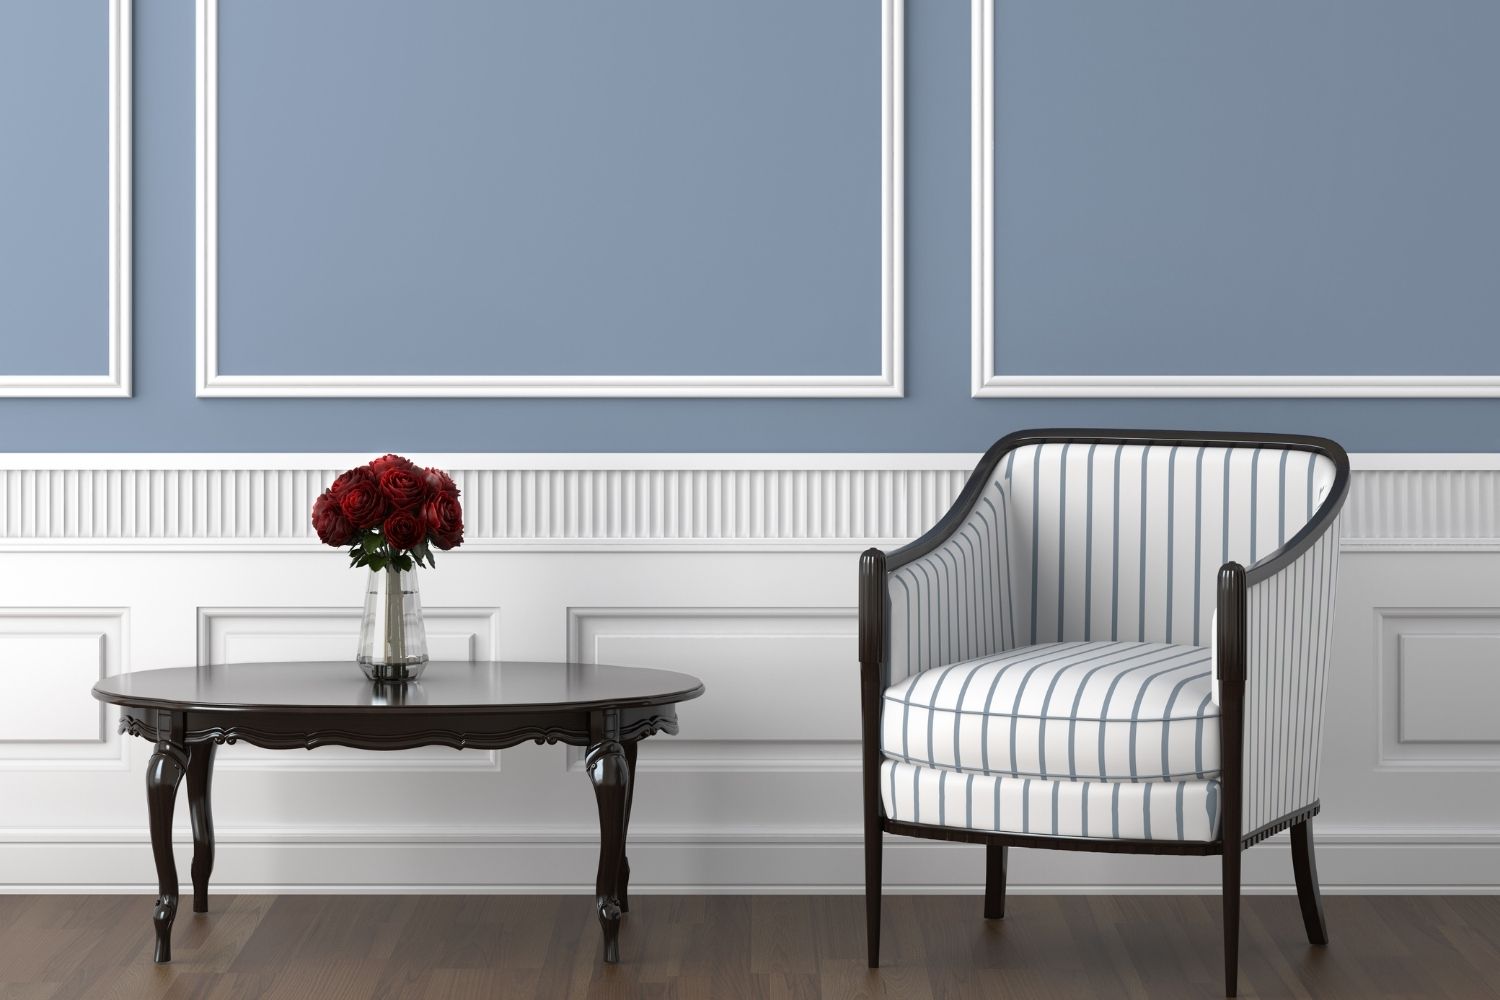
Explore Color Options
The color of the paint can significantly influence the ambiance of the space. Whether you opt for a classic white or off-white hue to impart a timeless charm, or prefer bold, contemporary tones to make a statement, consider how the chosen color will harmonize with the room’s overall aesthetic. It’s advisable to obtain paint samples and test them on a small section of the wall to assess how the color interacts with the brick’s natural tones.
Verify Compatibility with Primer
Ensure that the selected paint is compatible with the primer applied to the brick surface. Some primers may be specifically formulated to enhance adhesion with certain types of paint, so cross-referencing product specifications can help you achieve a cohesive and enduring paint system.
Consult with Paint Professionals
If you’re uncertain about the best paint options for your interior brick wall, don’t hesitate to seek guidance from paint professionals at your local home improvement store or a professional painting contractor. They can provide valuable insights and recommendations based on your specific project requirements and desired outcome.
By thoughtfully considering the surface texture, finish, color, and compatibility with the primer, you can confidently select a paint that will elevate the aesthetic appeal of your interior brick wall while ensuring long-lasting beauty and resilience. With the paint chosen, you’re now ready to embark on the transformative process of painting the brick wall itself.
Before painting an interior brick wall, make sure to clean the surface thoroughly with a wire brush and vacuum. Use a high-quality masonry primer to ensure the paint adheres properly. Apply the paint with a roller for even coverage.
Painting the Brick Wall
With the surface meticulously prepared, primed, and the perfect paint selected, it’s time to embark on the exhilarating phase of painting the interior brick wall. This transformative process involves applying the chosen paint to the brick surface, imparting a fresh and captivating aesthetic to the space. Here’s a detailed guide to help you achieve a stunning result:
Step 1: Prepare Your Workspace
Ensure that the area surrounding the brick wall is adequately protected with drop cloths or plastic sheeting. Remove any obstacles that may hinder your painting progress, and open windows or use fans to promote ventilation during the painting process.
Step 2: Begin with Cutting In
Using a high-quality angled paintbrush, carefully cut in around the edges and corners of the brick wall. This precision work will create clean lines and ensure that the paint reaches areas where a roller may not be able to access effectively.
Step 3: Employ the Paint Roller
Dip a suitable paint roller into the paint tray, ensuring that it’s evenly coated with the chosen paint. Starting from the top of the wall, roll the paint onto the brick surface in a consistent, overlapping motion. Work in manageable sections to maintain a wet edge and achieve uniform coverage.
Step 4: Address Grout and Crevices
Use a brush or smaller roller to ensure that the paint adequately covers the grout lines and crevices between the bricks. This attention to detail will contribute to a polished, professional finish and enhance the overall visual appeal of the painted brick wall.
Step 5: Apply Additional Coats as Needed
Depending on the desired opacity and the characteristics of the chosen paint, you may need to apply multiple coats to achieve the perfect finish. Allow each coat to dry thoroughly before applying the next, following the manufacturer’s recommended drying times.
Step 6: Inspect and Touch Up
Once the paint has dried, inspect the wall for any missed spots, drips, or imperfections. Touch up these areas with a brush or roller as necessary to ensure a flawless and consistent appearance across the entire surface.
By methodically progressing through each step of the painting process, you’ll breathe new life into the interior brick wall, infusing the space with a fresh, personalized aesthetic that harmonizes with your interior design vision. With the paint applied and the wall transformed, the final stage involves adding those finishing touches that elevate the overall impact of the painted brick wall.
Finishing Touches
As the interior brick wall undergoes its remarkable transformation through the application of paint, attending to the finishing touches will elevate the overall impact and ensure a polished, professional result. These final steps encompass refining the details, addressing any residual imperfections, and enhancing the visual cohesiveness of the painted brick wall. Here’s a comprehensive guide to the finishing touches:
Inspect for Imperfections
Carefully examine the painted brick wall for any remaining imperfections, such as uneven coverage, missed spots, or drips. Address these areas by gently sanding any rough spots and applying touch-up paint to achieve a seamless, uniform appearance.
Reinstall Furniture and Decor
Once the paint has fully cured, reposition any furniture, artwork, or decor that was temporarily removed from the vicinity of the brick wall. Consider rearranging these elements to complement the refreshed aesthetic of the space, creating a harmonious and balanced ambiance.
Consider Accentuating Features
If there are architectural details or specific areas of the brick wall that you wish to accentuate, such as a unique texture or pattern, explore the option of strategic lighting to highlight these features. Well-placed lighting can add depth and visual interest, drawing attention to the character of the painted brick surface.
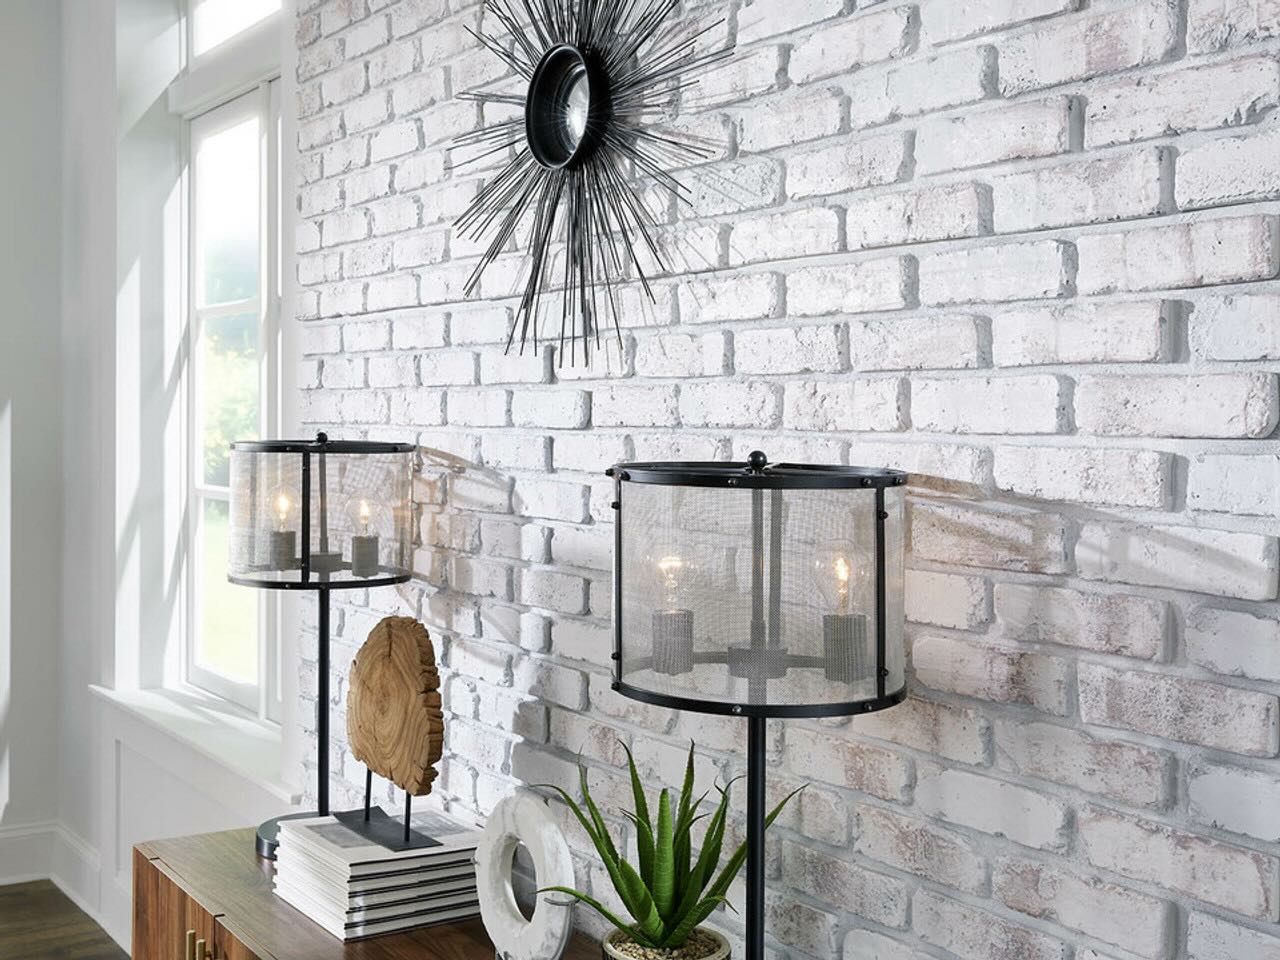
Embrace Complementary Decor
Select decor elements, such as artwork, mirrors, or shelving, that harmonize with the newly painted brick wall. These additions can enhance the visual impact of the space and create a cohesive, inviting atmosphere that showcases the beauty of the painted surface.
Regular Maintenance and Care
To preserve the allure of the painted brick wall, establish a routine for its maintenance and care. This may include periodic dusting, gentle cleaning with a mild solution and soft cloth, and promptly addressing any accidental stains or blemishes to uphold the wall’s pristine appearance over time.
By tending to these finishing touches, you’ll complete the transformation of the interior brick wall, infusing the space with a renewed sense of character and style. The meticulous attention to detail and thoughtful enhancements will culminate in a captivating, professionally finished feature that enriches the ambiance of the room.
Read more: How To Prepare Interior Walls For Painting
Conclusion
Embarking on the journey of painting an interior brick wall is a creative endeavor that offers the opportunity to revitalize and personalize your living space. By following the comprehensive steps outlined in this guide, you’ve acquired the knowledge and insight to undertake this transformative project with confidence and finesse. From meticulously preparing the brick surface to selecting the right materials and applying the perfect paint, each phase has contributed to the evolution of the interior brick wall into a captivating focal point.
As you navigate through the preparation, priming, and painting processes, you’ve witnessed the remarkable metamorphosis of the brick surface, culminating in a fresh, alluring aesthetic that harmonizes with your interior design vision. The finishing touches have added depth and refinement, enhancing the visual impact and ensuring a polished, professional result that enriches the ambiance of the room.
Through this journey, you’ve not only transformed the brick wall but also infused the space with your creativity and craftsmanship, creating a captivating feature that reflects your unique style and taste. The interplay of texture, color, and ambiance has converged to breathe new life into the interior, evoking a sense of warmth and character that resonates throughout the room.
As you admire the newly painted brick wall, take pride in the artistry and dedication you’ve invested in this project. The impact of your efforts extends beyond the surface, enriching the atmosphere and contributing to the overall allure of your living space. Embrace the allure of the painted brick wall as it stands as a testament to your ingenuity and the transformative power of creative expression.
With the completion of this project, you’ve not only enhanced the aesthetic appeal of your interior but also cultivated a sense of accomplishment and connection to the space you call home. The painted brick wall now serves as a captivating canvas, inviting admiration and inspiring a renewed appreciation for the artistry that resides within your living environment.
As you reflect on this journey, may the allure of the painted brick wall serve as a reminder of the transformative potential that lies within your creative endeavors, infusing your living space with beauty, character, and a touch of your unique essence.
Frequently Asked Questions about How To Paint Interior Brick Wall
Was this page helpful?
At Storables.com, we guarantee accurate and reliable information. Our content, validated by Expert Board Contributors, is crafted following stringent Editorial Policies. We're committed to providing you with well-researched, expert-backed insights for all your informational needs.

0 thoughts on “How To Paint Interior Brick Wall”