Home>Dining>Tableware>How To Make Salt And Pepper Shakers From Corona Bottles
Tableware
How To Make Salt And Pepper Shakers From Corona Bottles
Modified: August 17, 2024
Learn how to upcycle your old Corona bottles into unique tableware with this simple DIY tutorial on making salt and pepper shakers. Spice up your dining experience!
(Many of the links in this article redirect to a specific reviewed product. Your purchase of these products through affiliate links helps to generate commission for Storables.com, at no extra cost. Learn more)
Introduction
Tableware plays a vital role in our daily lives, not only serving a functional purpose but also adding style and personality to our dining experiences. From plates and bowls to glassware and cutlery, each item contributes to the overall aesthetic and ambiance of a meal.
One essential tableware accessory that often goes unnoticed is the salt and pepper shakers. These humble containers provide a convenient and elegant way to season our food. While you can easily purchase salt and pepper shakers from a store, why not get creative and make your own?
In this article, we will guide you through the process of crafting salt and pepper shakers from empty Corona bottles. Not only is this project environmentally friendly by repurposing glass bottles, but it also allows you to create unique and personalized tableware that reflects your style.
To embark on this DIY project, you’ll need a few materials and tools. Don’t worry; they are all easily accessible and won’t break the bank.
Key Takeaways:
- Craft your own unique salt and pepper shakers from repurposed Corona bottles, adding a personal touch to your dining experience while reducing waste and embracing sustainability.
- Transforming empty Corona bottles into delightful salt and pepper shakers is a creative and rewarding DIY project, allowing you to showcase your craftsmanship and elevate your dining table with one-of-a-kind tableware.
Materials and Tools Needed
Before diving into the process of making salt and pepper shakers from Corona bottles, let’s gather all the necessary materials and tools. Here’s what you’ll need:
- Empty Corona bottles – You can collect these from your own household or ask friends and family to save them for you. Make sure they are thoroughly cleaned before use.
- Labels – To remove the labels from the bottles, you’ll need some adhesive remover or hot soapy water.
- Cleaning supplies – Grab a sponge or cloth, dish soap, and warm water to clean and dry the bottles properly.
- Bottle caps – Find enough bottle caps that fit the Corona bottles. You can reuse caps from other bottles or purchase new ones.
- Drill – A power drill with a small-sized drill bit will be needed to create holes in the bottle caps.
- Salt and pepper – Of course, you’ll need salt and pepper to fill up your newly crafted shakers. Choose your favorite varieties.
- Decorative materials (optional) – If you want to add a personal touch to your salt and pepper shakers, gather some craft supplies such as paint, stickers, or ribbons.
Now that we have all the necessary materials and tools, let’s move on to the step-by-step process of turning Corona bottles into delightful salt and pepper shakers.
Step 1: Gather Empty Corona Bottles
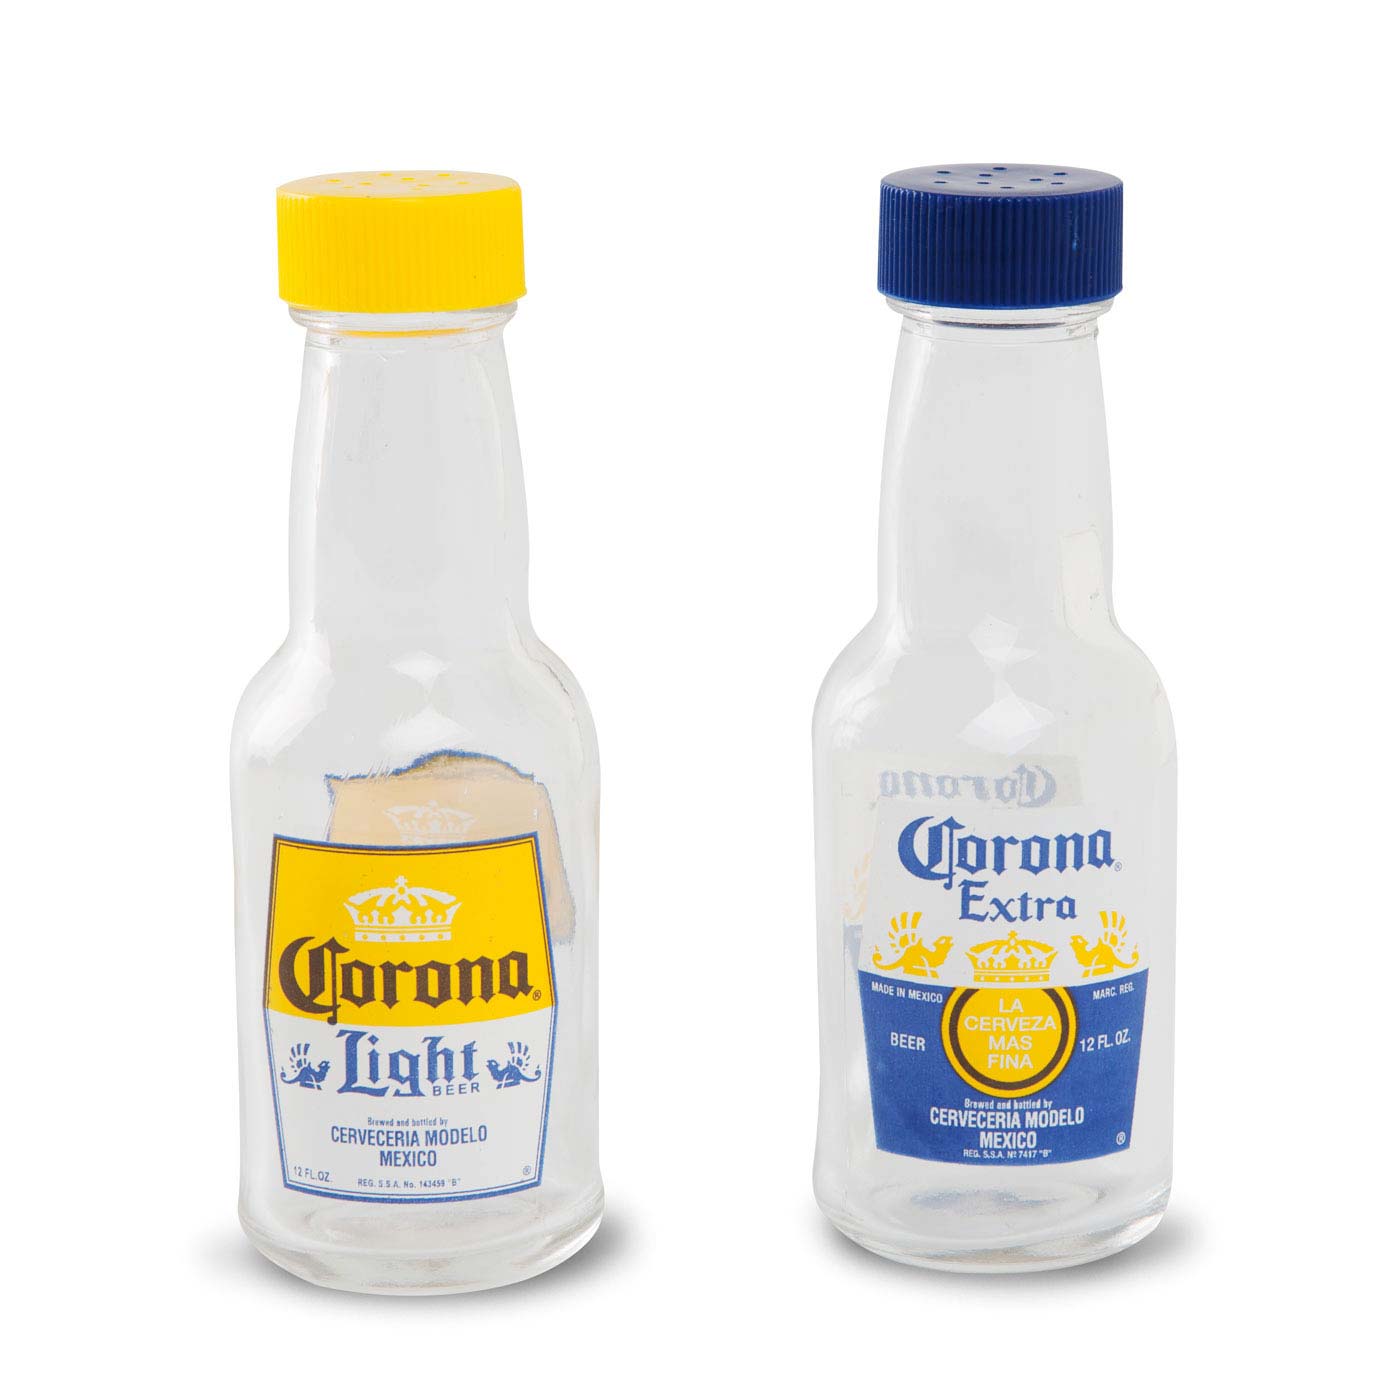
The first step in making your own salt and pepper shakers from Corona bottles is to gather the empty bottles. This can be done by either collecting them from your own household or asking friends and family to save them for you. Corona bottles are a popular choice for this DIY project due to their unique shape and size.
Make sure that the bottles you collect are empty and have been thoroughly rinsed to remove any leftover liquid. It’s important to start with clean bottles to ensure that your final salt and pepper shakers are hygienic and ready for use.
Depending on your needs and the number of guests you typically have, gather an appropriate amount of Corona bottles. You can create matching sets of salt and pepper shakers or mix and match different bottle designs for a more eclectic look.
Remember, the beauty of this DIY project is that you can customize your salt and pepper shakers to suit your personal style. So, take your time to choose bottles that resonate with your aesthetic preferences.
Once you have your empty Corona bottles, let’s move on to the next step: removing the labels.
Step 2: Remove the Labels
Now that you have gathered your empty Corona bottles, it’s time to remove the labels. The labels can be stubborn and leave behind sticky residue, but with the right technique, you can easily get rid of them.
Start by soaking the bottles in hot soapy water for about 10-15 minutes. The hot water will help loosen the adhesive and make it easier to remove the labels. If there are any stubborn labels or residue left after soaking, you can use an adhesive remover or rubbing alcohol to tackle them.
Apply the adhesive remover to a cloth or sponge and gently scrub the labels until they come off. Be patient and take your time to ensure that all the labels and residue are completely removed. Rinse the bottles thoroughly with water to remove any leftover adhesive remover.
Once the bottles are clean, dry them off with a clean cloth or let them air dry completely. This step is crucial to prevent any moisture or residue from affecting the quality of your salt and pepper shakers.
By removing the labels, you are preparing the bottles for the next step: cleaning and drying.
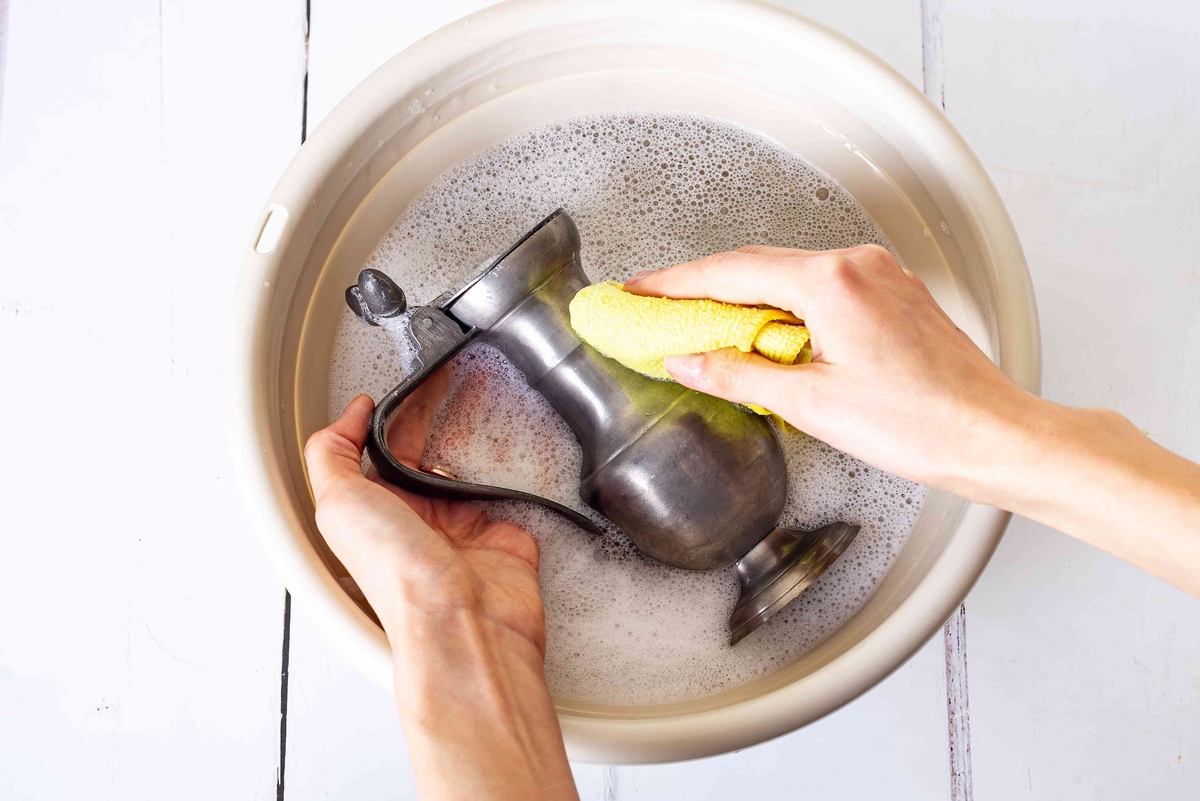
Step 3: Clean and Dry the Bottles
After removing the labels from your Corona bottles, it’s important to give them a thorough cleaning to ensure they are completely free of any dirt or residue. This step will ensure that your salt and pepper shakers are hygienic and ready for use.
Start by filling a sink or basin with warm water and a few drops of dish soap. Place the bottles in the soapy water and use a sponge or cloth to scrub the inside and outside of the bottles. Pay special attention to any hard-to-reach areas or stubborn stains.
Rinse the bottles thoroughly under running water to remove any soap residue. Inspect them to make sure they are completely clean and free of any debris. If needed, you can repeat the cleaning process to ensure the bottles are spotless.
Once the cleaning is done, it’s time to dry the bottles. Use a clean cloth to wipe the bottles inside and out. Make sure to thoroughly dry the rims and necks of the bottles as well. This step is essential to prevent any moisture from affecting the salt and pepper inside.
If you prefer, you can also let the bottles air dry upside down on a clean towel. This will allow any remaining moisture to drip out and evaporate naturally. However, ensure that the bottles are completely dry before moving on to the next steps.
Now that your Corona bottles are cleaned and dried, it’s time to prepare the bottle caps for the salt and pepper shakers.
Step 4: Prepare the Bottle Caps
With the cleaned and dry Corona bottles ready, it’s time to prepare the bottle caps that will serve as the tops for your homemade salt and pepper shakers.
Start by collecting enough bottle caps that fit the Corona bottles. You can either reuse caps from other bottles or purchase new ones. Make sure the caps are clean and free of any residue or dirt.
If the caps have any plastic liners or seals, remove them. This will ensure that the caps fit snugly onto the bottles without any obstructions.
Next, inspect the caps to ensure they are in good condition and do not have any dents or deformities. It’s important for the caps to have a proper seal to prevent salt and pepper from spilling out.
Once you have sorted and prepared your bottle caps, it’s time to move on to the next step: drilling holes in the caps.
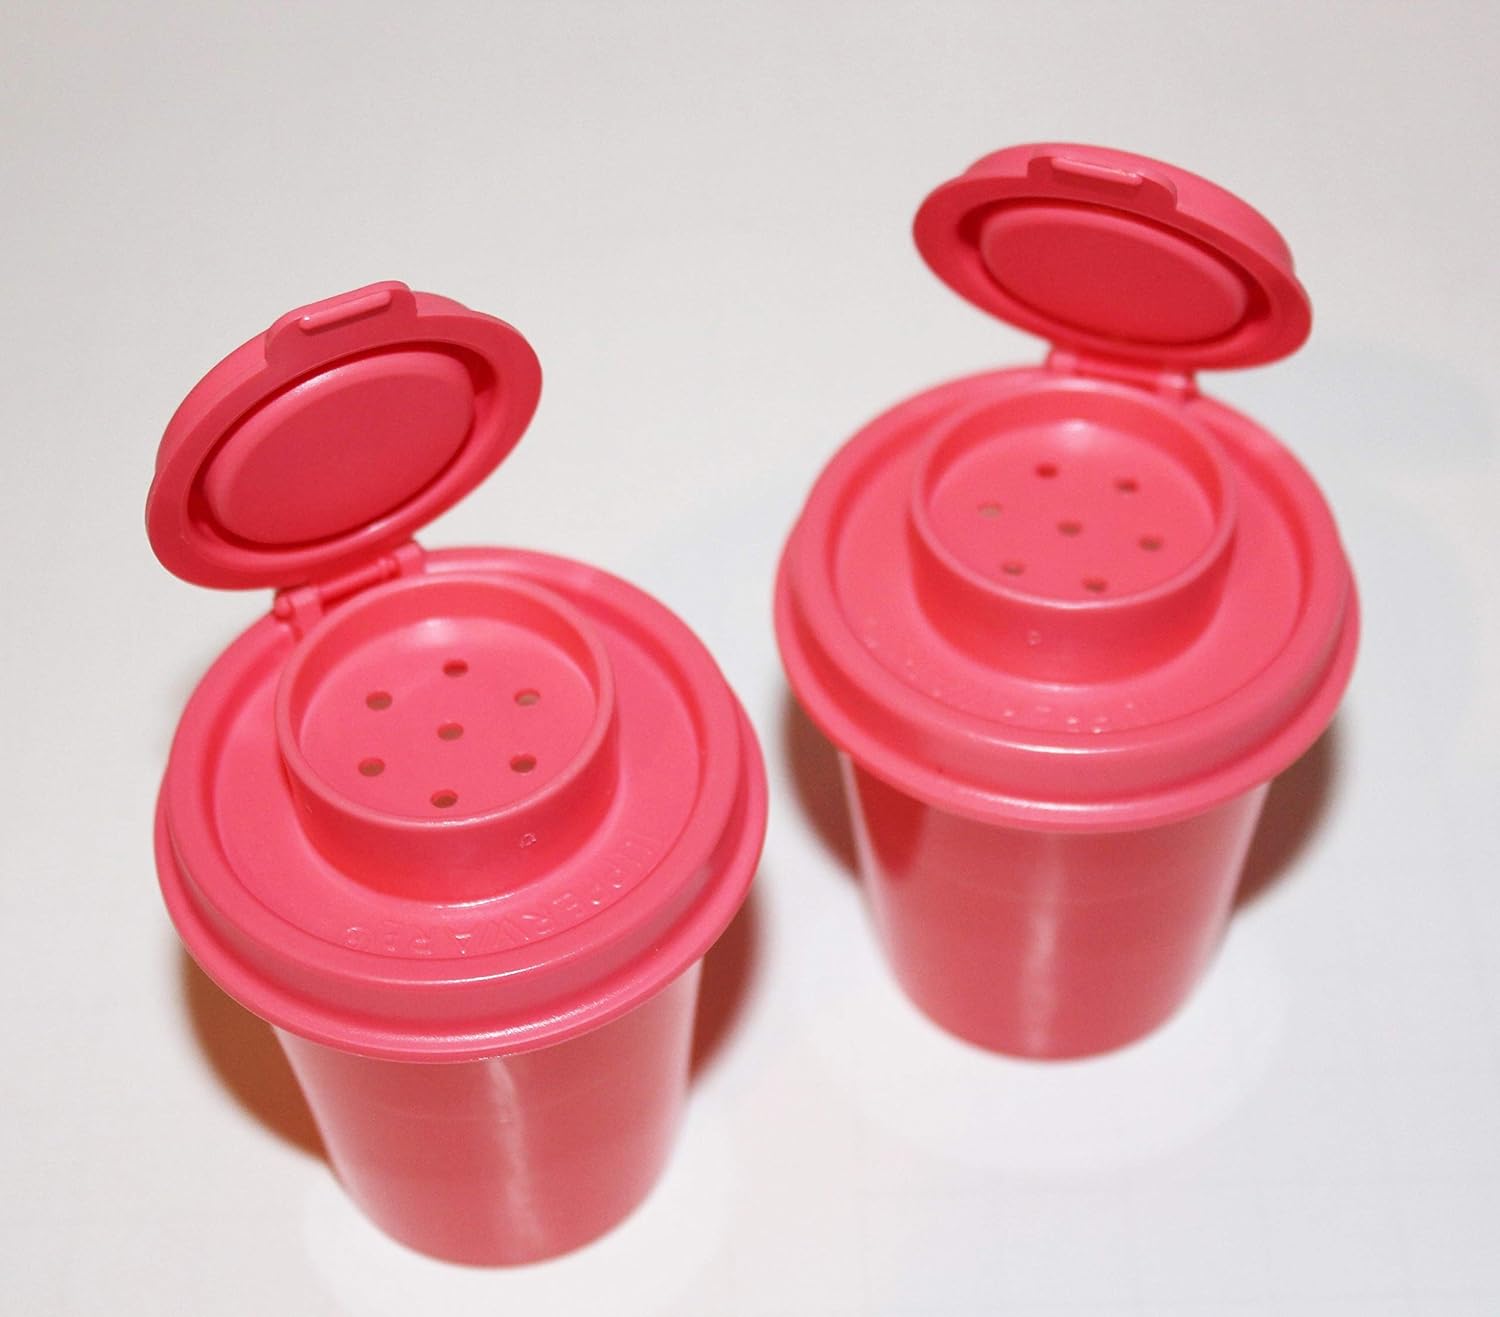
Note: If you prefer a different type of top for your salt and pepper shakers, you can explore alternative options such as cork stoppers or dispenser lids. The bottle caps method is a common and straightforward approach, but feel free to get creative and customize the shaker tops to your liking.
When making salt and pepper shakers from Corona bottles, make sure to thoroughly clean and dry the bottles before repurposing them. This will ensure that no residue or odor remains in the bottles.
Step 5: Drill Holes in the Caps
Now that you have prepared the bottle caps for your salt and pepper shakers, it’s time to create the necessary holes to allow the seasoning to flow out.
For this step, you will need a power drill with a small-sized drill bit. Select a drill bit that is appropriate for the size of the salt and pepper granules. Generally, a 1/8-inch drill bit should work well.
Place the bottle caps on a stable surface, such as a workbench or a piece of scrap wood. Make sure you have a clear and safe area for drilling to avoid any accidents.
Using the power drill, gently and carefully drill a hole in the center of each bottle cap. Start with a slow speed and gradually increase the speed as needed, applying steady pressure to create a clean hole. Make sure to hold the cap firmly to prevent it from slipping or causing any damage.
Once the hole is drilled, remove any sharp edges or burrs by lightly sanding the edges of the hole with fine-grit sandpaper. This will ensure that the salt and pepper flow smoothly without any obstructions.
Repeat this process for each bottle cap that you are using for your salt and pepper shakers.
Now that your caps have holes, it’s time to move on to the next step: filling the bottles with salt and pepper.
Step 6: Fill the Bottles with Salt and Pepper
With the bottle caps prepared and drilled, it’s time to fill the Corona bottles with your favorite salt and pepper. This step is where your personal taste and preference come into play.
Start by selecting the type of salt and pepper you would like to use. There are various options available, such as sea salt, Himalayan salt, kosher salt, and different types of pepper like black pepper, white pepper, or a mix of both.
Carefully pour the salt or pepper into each bottle through the hole in the cap. Use a small funnel if it makes the process easier and avoids any spills or mess. Fill the bottles to a suitable level, leaving enough headspace for shaking and dispensing.
Remember to label your salt and pepper shakers accordingly if you are using different types of salts or peppers. This way, you can easily differentiate between them when seasoning your food.
Ensure that the caps are securely fastened to the bottles to prevent any leakage or spills. Give the bottles a gentle shake to distribute the salt or pepper evenly within the container. If necessary, adjust the amount of seasoning to your liking.
Now that your salt and pepper shakers are filled with your preferred seasonings, it’s time to move on to the next step: placing the caps on the bottles.
Step 7: Place the Caps on the Bottles
With your salt and pepper bottles filled and ready, it’s time to securely place the caps onto the bottles. This step will ensure that your homemade salt and pepper shakers are sealed tight to prevent any moisture or spillage.
Take each bottle cap and align it with the opening of the corresponding bottle. Gently press down on the cap and give it a clockwise twist to screw it onto the bottle securely. The drilled hole in the cap should match up with the opening in the bottle.
Continue this process for each bottle until all the caps are firmly in place. Give each cap a slight tug to ensure it is properly sealed and won’t come off easily during use.
If you find that the caps are not fitting tightly or if there is any leakage, you can use a food-grade adhesive or sealant to create a stronger seal between the cap and the bottle. Be sure to follow the instructions provided by the adhesive or sealant manufacturer.
Once all the caps are securely fastened onto the bottles, give each salt and pepper shaker a final twist to ensure they are tightly sealed. This will prevent any moisture or air from entering the shaker, keeping your seasoning fresh and ready to use.
Now that your salt and pepper shakers are fully assembled, you can move on to the optional step of decorating them to add a personal touch.
Read more: How To Decorate Salt And Pepper Shakers
Step 8: Decorate (optional)
If you want to add a personal and creative touch to your homemade salt and pepper shakers, decorating them can be a fun and rewarding step. This step is entirely optional and gives you the freedom to customize your shakers according to your style and preferences.
There are numerous ways to decorate your salt and pepper shakers, depending on your artistic abilities and available materials. Here are a few ideas to inspire you:
- Paint: Use acrylic paints or glass paints to add colorful designs or patterns to the bottles. Let your creativity flow and create unique designs that reflect your personal style and taste.
- Stickers: Decorative stickers or decals can be an easy and quick way to add visual interest to your shakers. Look for stickers that are waterproof and suitable for use on glass surfaces.
- Ribbons or twine: Wrap ribbons or twine around the neck of the bottles for a charming and rustic look. This simple addition can elevate the aesthetic appeal of your shakers.
- Custom labels: Create your own labels using label-making machines or printable label sheets. You can personalize the labels with handwritten or printed text, adding a stylish and professional touch.
- Hand-drawn designs: If you have artistic skills, consider hand-painting or drawing unique designs directly on the bottles. This will give your salt and pepper shakers a one-of-a-kind look.
Remember to ensure that any decorations you choose to add are food-safe, non-toxic, and won’t interfere with the functionality of the shakers. Avoid placing decorations near the drilled holes or in areas that may come into direct contact with the seasoning.
Once you have finished decorating your salt and pepper shakers, allow any paint, glue, or sealant to fully dry before using them. This will ensure that your creations are not only visually appealing but also safe for use in the kitchen.
Finally, step back and admire your beautifully decorated salt and pepper shakers. They are now ready to be showcased and used in your dining experiences.
Congratulations! You have successfully completed the process of making salt and pepper shakers from Corona bottles. Enjoy seasoning your meals with pride!
Remember to regularly clean and maintain your salt and pepper shakers for optimal use and longevity. Happy seasoning!
Conclusion
Crafting your own salt and pepper shakers from Corona bottles is not only a fun and creative DIY project, but it also allows you to have unique tableware that reflects your style and personality. By repurposing empty bottles, you’re reducing waste and contributing to a more sustainable lifestyle.
In this article, we have walked you through the step-by-step process of creating salt and pepper shakers from Corona bottles. From gathering the materials and preparing the bottles to drilling holes in the caps and filling them with your favorite seasonings, each step has brought you closer to the final result.
Remember to take your time and be mindful of safety precautions while drilling the holes and handling the bottles. Pay attention to cleanliness and hygiene throughout the process to ensure that your salt and pepper shakers are sanitary and ready for use.
Don’t forget, you can also add your personal touch by decorating the shakers with paints, stickers, ribbons, or custom labels. Let your creativity shine and make your salt and pepper shakers truly one-of-a-kind.
Now that you have completed your DIY project, you can proudly display your handcrafted salt and pepper shakers on your dining table, ready to enhance the flavor of your meals. Whether you’re hosting a dinner party or simply enjoying a family meal, your unique shakers will surely spark conversation and admiration.
Remember to maintain and clean your salt and pepper shakers regularly to keep them in the best condition. With proper care, your homemade shakers can be a staple in your kitchen for years to come.
Enjoy the satisfaction of using your own creations and impressing your guests with your craftsmanship. So go ahead, shake up some flavor and elevate your dining experience with your very own handmade salt and pepper shakers!
Frequently Asked Questions about How To Make Salt And Pepper Shakers From Corona Bottles
Was this page helpful?
At Storables.com, we guarantee accurate and reliable information. Our content, validated by Expert Board Contributors, is crafted following stringent Editorial Policies. We're committed to providing you with well-researched, expert-backed insights for all your informational needs.
0 thoughts on “How To Make Salt And Pepper Shakers From Corona Bottles”