Home>Dining>Tableware>How To Decorate Salt And Pepper Shakers
Tableware
How To Decorate Salt And Pepper Shakers
Modified: August 17, 2024
Learn how to beautifully decorate salt and pepper shakers for your tableware collection with our easy step-by-step guide. Enhance the style of your dining table with these personalized and artistic pieces.
(Many of the links in this article redirect to a specific reviewed product. Your purchase of these products through affiliate links helps to generate commission for Storables.com, at no extra cost. Learn more)
Introduction
Welcome to the wonderful world of tableware decoration! If you’re looking to add a touch of personalization and creativity to your dining experience, decorating your salt and pepper shakers is a fantastic way to do it. By transforming these humble condiment containers into unique and eye-catching pieces, you can elevate your table setting and impress your guests.
Decorating your salt and pepper shakers can be a fun and fulfilling DIY project. Not only does it allow you to showcase your artistic abilities, but it also gives you the opportunity to customize your dining experience to match your personal style and preferences.
In this article, we will guide you through the step-by-step process of decorating your salt and pepper shakers. From choosing the right materials to applying different decorating techniques, we’ll cover everything you need to know to create stunning and personalized shakers that will be the envy of your dinner parties.
So, let’s gather our materials, roll up our sleeves, and get ready to unleash our creativity on those plain salt and pepper shakers!
Key Takeaways:
- Unleash your creativity and personalize your dining experience by decorating salt and pepper shakers with a variety of techniques, from painting to decoupage and embellishments. Elevate your table setting and impress your guests with unique and visually captivating designs.
- Transform ordinary salt and pepper shakers into extraordinary works of art by infusing your personal style and creativity. Display your beautifully decorated shakers proudly, and let them become a vibrant and cherished part of your table setting, adding a special touch to everyday meals and memorable occasions alike.
Read more: How To Wash Metal Salt And Pepper Shakers
Gather the Materials
Before diving into the exciting world of salt and pepper shaker decoration, it’s important to gather all the necessary materials. Having everything prepared beforehand will make the process much smoother and allow you to fully focus on your creative endeavors.
Here’s a list of materials you’ll need:
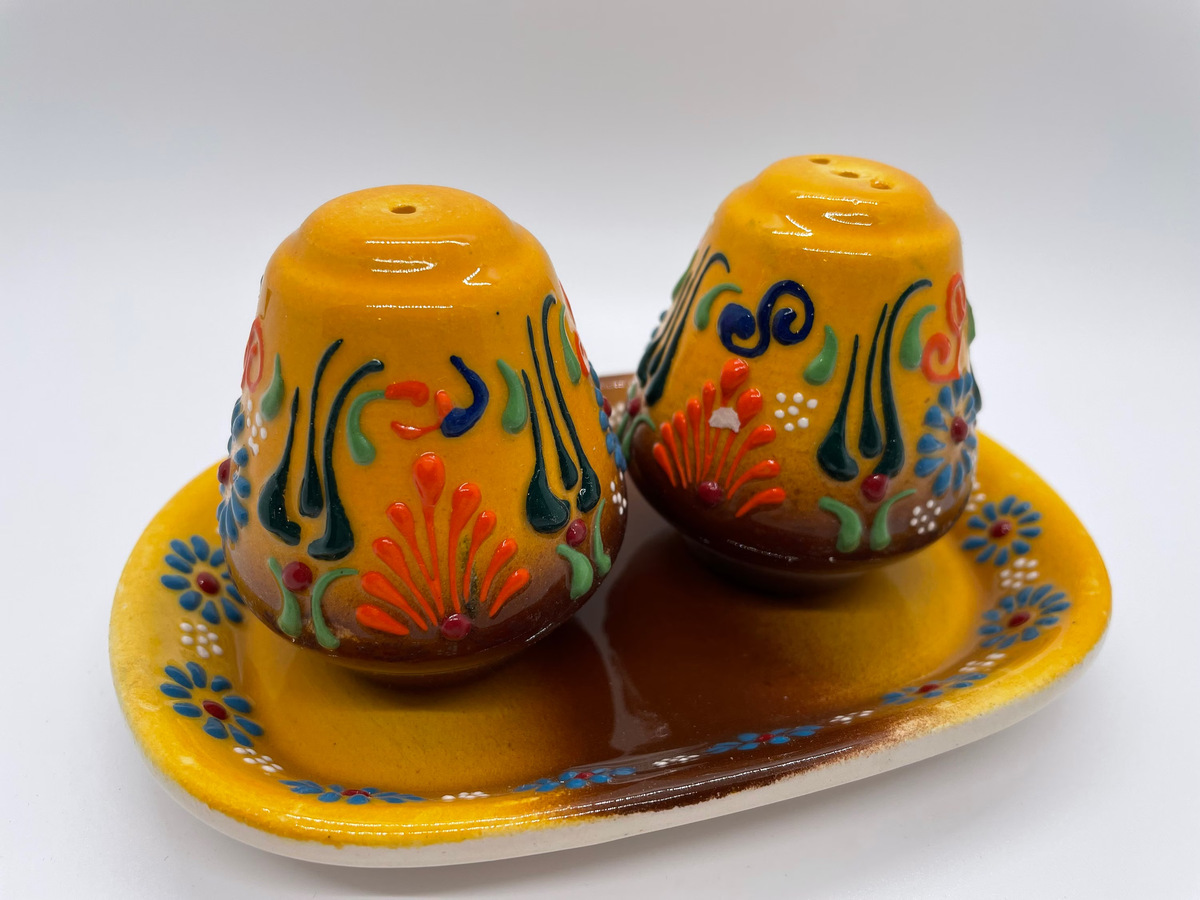
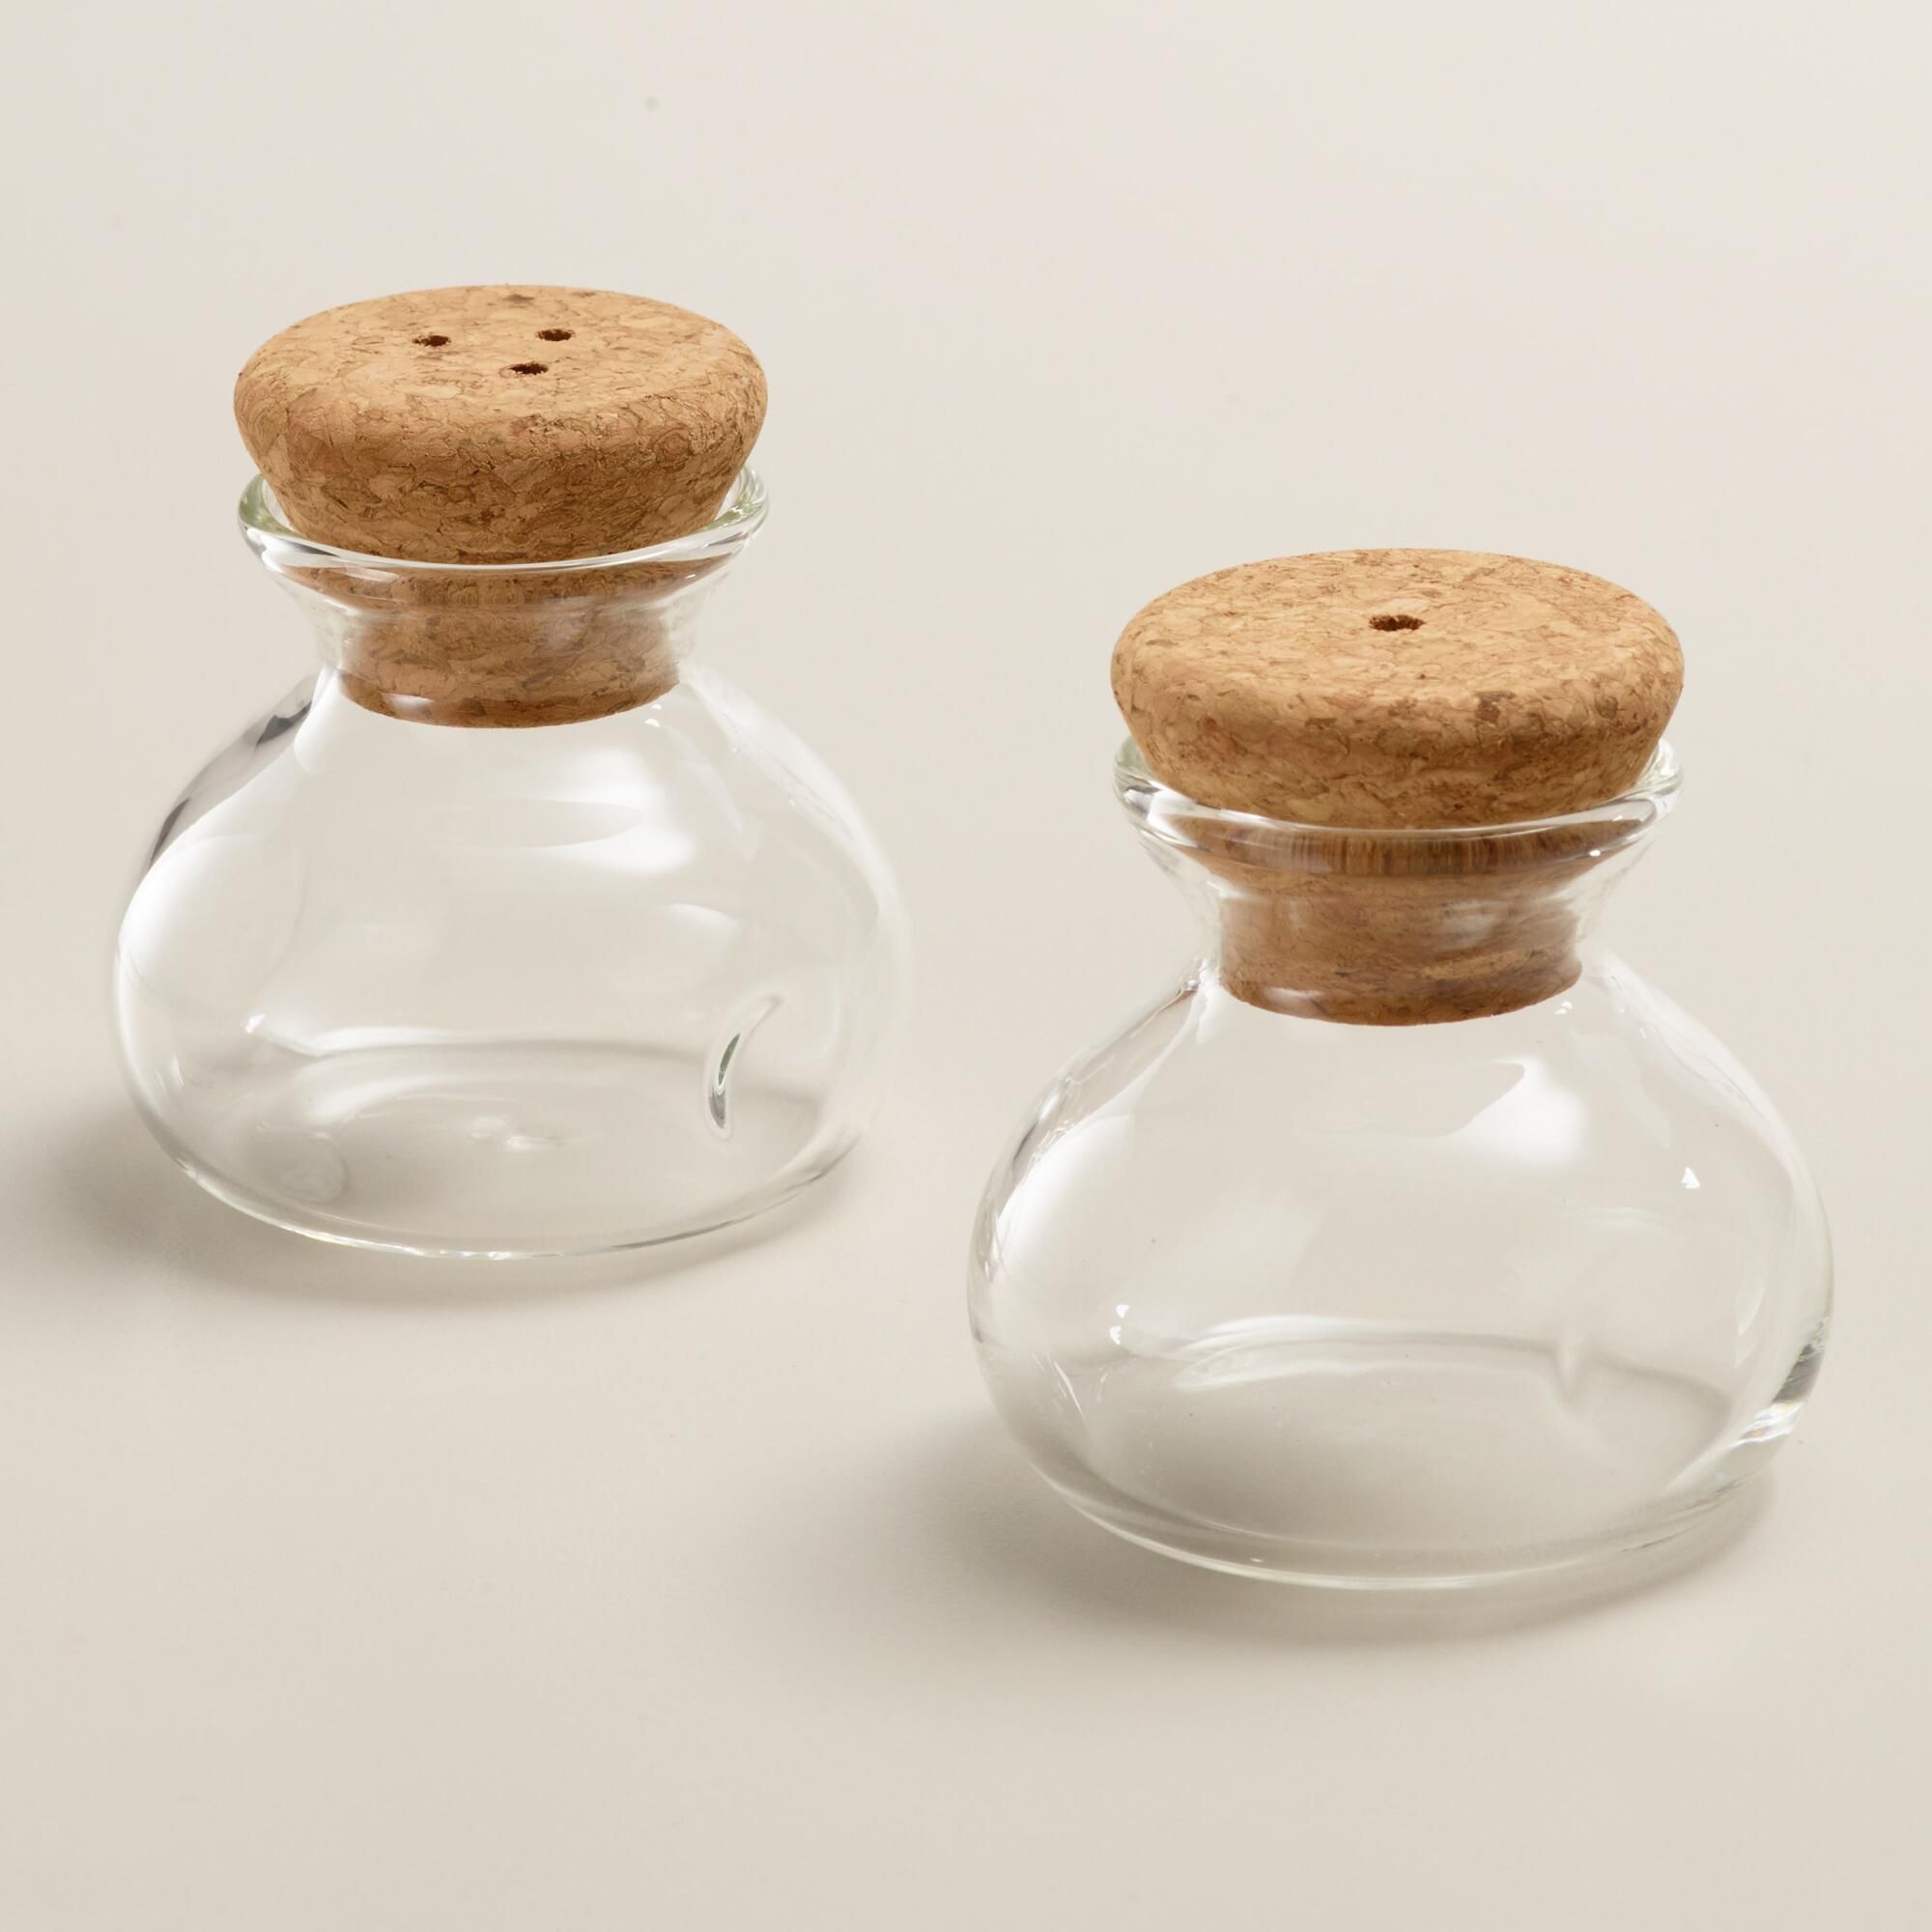
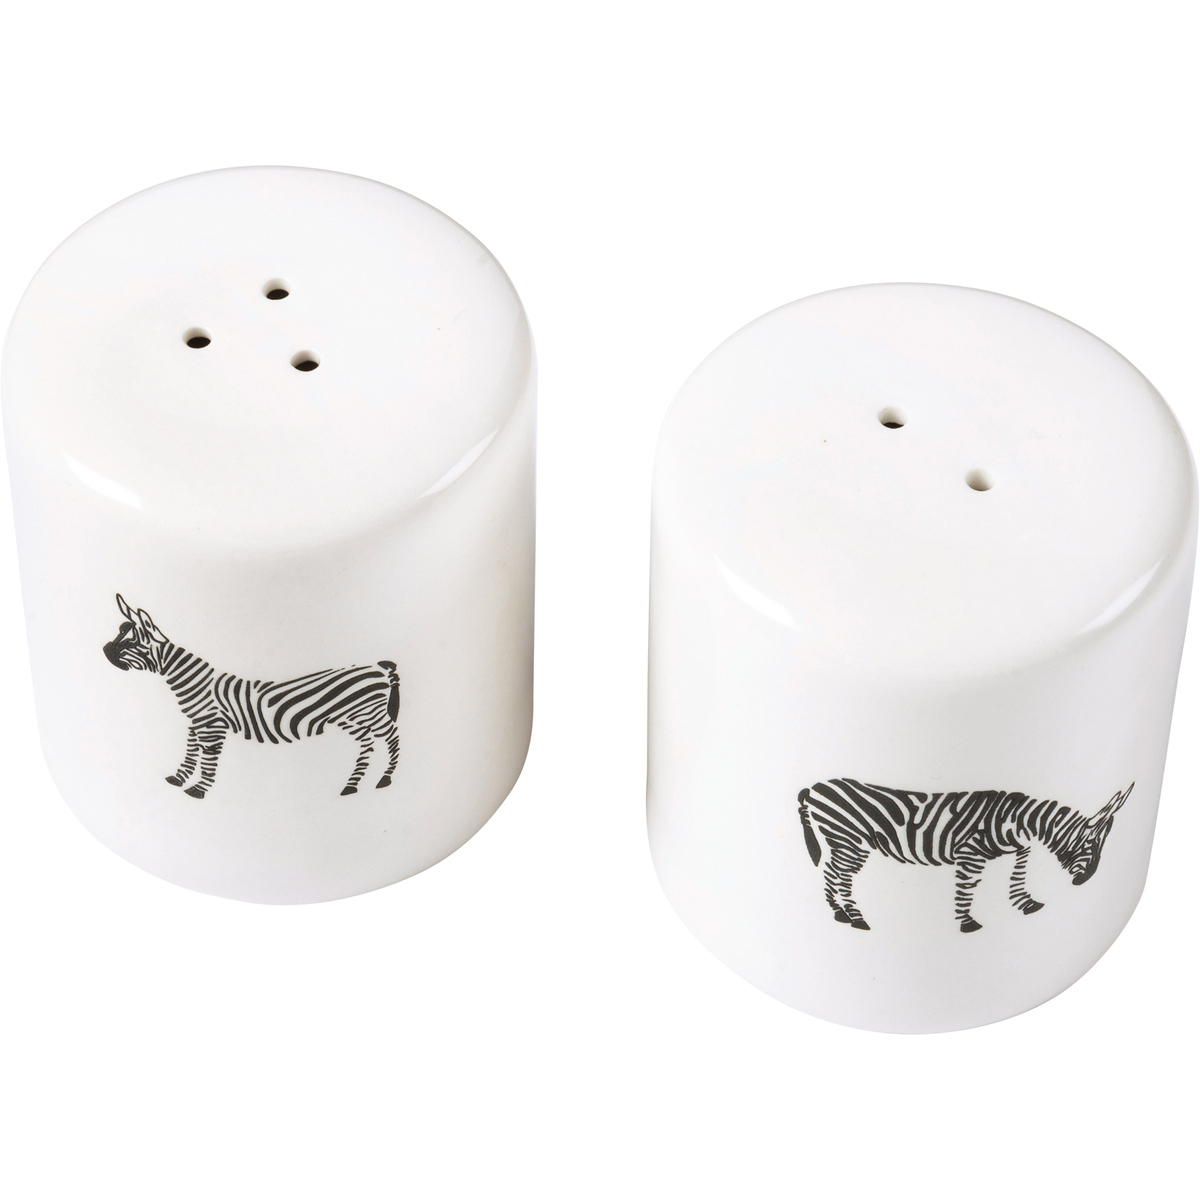
- Plain salt and pepper shakers: Start with a set of plain shakers that are clean and in good condition. You can find them at kitchen supply stores or online.
- Paint: Choose acrylic paint or enamel paint suitable for glass or ceramic surfaces. Select a variety of colors that match your desired design or theme.
- Paintbrushes: Have a set of different brush sizes to accommodate various painting techniques and details.
- Painter’s tape: This will come in handy if you plan on creating clean lines or patterns, as it helps to create sharp edges and protect the areas you don’t want to paint.
- Decoupage medium: If you’re considering a decoupage technique, you’ll need decoupage medium, such as Mod Podge, and a small brush to apply it.
- Decorative materials: Get creative with your choice of decorations. Consider using beads, gems, sequins, or other small embellishments to add texture and visual interest to your shakers.
- Sealer: To protect your design and make it durable, use a sealant or varnish specifically designed for the material you’re working with, whether it’s glass, ceramic, or any other surface.
Make sure to gather all these materials before you begin your project. Having everything within reach will allow you to focus on the creative process and avoid interruptions as you decorate your salt and pepper shakers.
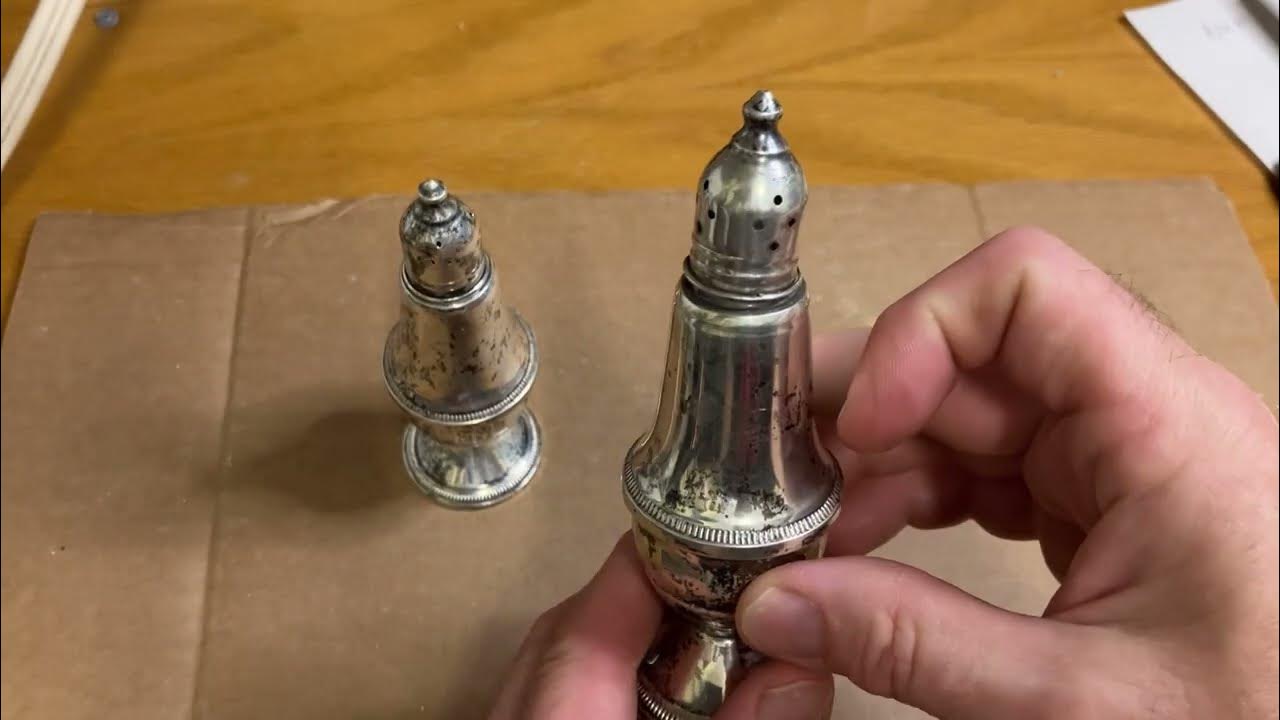
Clean and Prep the Shakers
Before you start decorating your salt and pepper shakers, it’s essential to clean and prepare them properly. This step ensures that the surface is free of dirt, grease, or any residue that could interfere with the adhesion of paint or decorative materials.
Follow these steps to clean and prep your shakers:
- Remove the tops: Take off the lids or stoppers from the shakers so you can access the entire surface area.
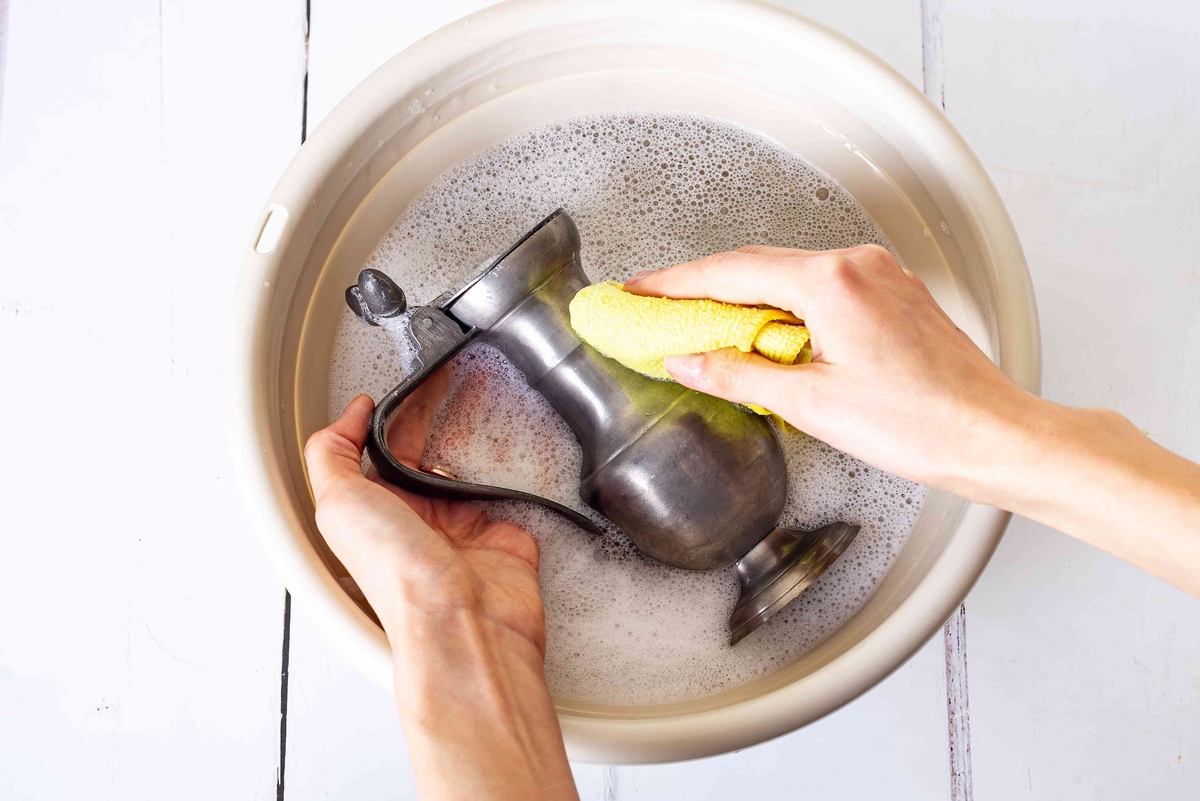
- Wash with mild soap and water: Use gentle dish soap and water to clean the shakers thoroughly. Rinse them well to remove any soap residue.
- Dry completely: Pat the shakers dry with a clean towel or allow them to air dry completely before moving on to the next step. Moisture can affect the adhesion of paints and decorations.
- Sand the surface (optional): If you’re working with shakers made of glass or ceramic, you can lightly sand the surface with fine-grit sandpaper. This step helps roughen the surface slightly, providing better adhesion for the paint or decoupage medium.
- Wipe with rubbing alcohol: To ensure the shakers are completely clean and free of any oils or residues, wipe them down with rubbing alcohol using a clean cloth.
By following these steps, you’ll ensure that your shakers are ready to be transformed into works of art. Cleaning and prepping the surface properly will provide a smooth and clean canvas for your chosen decorating techniques.
Choose a Decorating Technique
Now that your salt and pepper shakers are clean and prepped, it’s time to decide on a decorating technique. There are various methods you can use to add flair and personality to your shakers, so choose the one that resonates with your style and preferences.
Here are a few popular decorating techniques to consider:
- Painting: Painting is a versatile and widely used technique for decorating shakers. You can paint the entire surface or create intricate designs using different brushes and colors. Experiment with patterns, gradients, or even freehand designs to make your shakers truly unique.
- Decoupage: Decoupage involves adhering paper cutouts or fabric onto the surface of the shakers using a decoupage medium. This technique allows you to incorporate various designs, patterns, or even personal photographs onto your shakers for a customized look.
- Embellishments: Enhance the look of your shakers by adding small decorative elements such as beads, gems, sequins, or charms. You can glue them onto the surface or arrange them in specific patterns to create a visually stunning and textured effect.
- Etching: For glass shakers, etching is a popular technique that entails creating designs or patterns by removing layers of glass with an etching cream or etching tool. This method can provide an elegant and professional-looking finish.
- Stenciling: Stenciling allows you to create consistent and well-defined designs on your shakers. Use adhesive stencils and paint or etching cream to transfer intricate patterns or images onto the surface.
Consider the level of difficulty, the materials required, and the desired result when choosing your decorating technique. Feel free to mix and match techniques or come up with your unique approach to make your shakers truly one-of-a-kind.
Once you’ve decided on your preferred technique, it’s time to bring your creative vision to life by applying it to your shakers!
Paint the Shakers
Painting is a popular and versatile technique that allows you to add color and personality to your salt and pepper shakers. Whether you prefer bold and vibrant hues or subtle and sophisticated shades, painting gives you the freedom to showcase your creativity and style.
Follow these steps to effectively paint your shakers:
- Prepare your workspace: Set up a clean and well-ventilated area to work on your shakers. Lay down a protective covering like newspaper or plastic to prevent any accidental paint spills or stains.
- Choose your paint: Select acrylic paint or enamel paint specifically formulated for glass or ceramic surfaces. These types of paint provide better adhesion and durability.
- Prime the surface (optional): If the surface of your shakers is smooth or glossy, it may be beneficial to apply a primer before painting. This step helps the paint adhere better and prevents it from peeling or chipping.
- Apply the base coat: Start by applying a base coat of paint to the entire surface of the shakers. Use a brush that is appropriate for the size of your shakers to ensure even coverage.
- Allow the paint to dry: Follow the manufacturer’s instructions regarding the drying time for the paint. It’s essential to let the base coat completely dry before moving on to the next step.
- Add additional layers: Depending on the opacity and desired color intensity, you may need to apply multiple layers of paint. Allow each layer to dry before applying the next one, ensuring even and consistent coverage.
- Create designs or patterns: Once the base coat is dry, you can get creative by adding designs or patterns to your shakers. Use smaller brushes or stencil tools to achieve intricate details.
- Let the paint cure: After completing your desired design, allow the paint to cure for the recommended time. This step ensures the paint sets properly and becomes more resistant to wear and tear.
Remember to clean your brushes thoroughly between color changes and store any leftover paint properly for future touch-ups or projects.
Painting your salt and pepper shakers allows you to showcase your artistic abilities and add color to your table setting. So, let your creativity flow and have fun while transforming your plain shakers into vibrant works of art!
Read more: How To Clean Small Salt And Pepper Shakers
Add Designs or Patterns
Now that you have painted the base coat on your salt and pepper shakers, it’s time to take your decorating to the next level by adding unique designs and patterns. This step allows you to create visually appealing and personalized shakers that reflect your style and taste.
Follow these steps to add designs or patterns to your shakers:
- Plan your design: Take a moment to brainstorm and plan the design you want to incorporate onto your shakers. Consider elements like shapes, symbols, floral patterns, or any other design that resonates with your aesthetic.
- Sketch it out: If you’re unsure about how your design will look, try sketching it out on paper first. This step allows you to experiment with different variations and find the perfect design for your shakers.
- Choose the right brushes: Select brushes of various sizes depending on the intricacy of your desired design. Fine-tipped brushes work well for small details, while larger brushes are better for bigger patterns.
- Use painter’s tape or stencils: If you want clean lines or precise shapes, consider using painter’s tape or stencils. These tools help create sharp edges and guide your paint application.
- Apply paint with precision: Dip your brush into the desired paint color and carefully apply it to the surface of the shakers. Take your time and work steadily to achieve neat and well-defined designs.
- Experiment with techniques: Don’t be afraid to experiment with different techniques like layering colors, blending, or adding shading to create depth. These techniques can add visual interest and make your designs stand out.
- Let the paint dry: Allow your designs to dry completely before moving on to the next step. This ensures that the paint sets properly and prevents smudging or smearing.
Remember, adding designs or patterns is an opportunity to showcase your creativity and personal touch. Don’t be afraid to let your imagination run wild and create designs that are uniquely yours.
Once your designs have dried and you’re satisfied with the outcome, you can proceed to the next steps of sealing and embellishing your salt and pepper shakers to elevate their visual appeal even further.
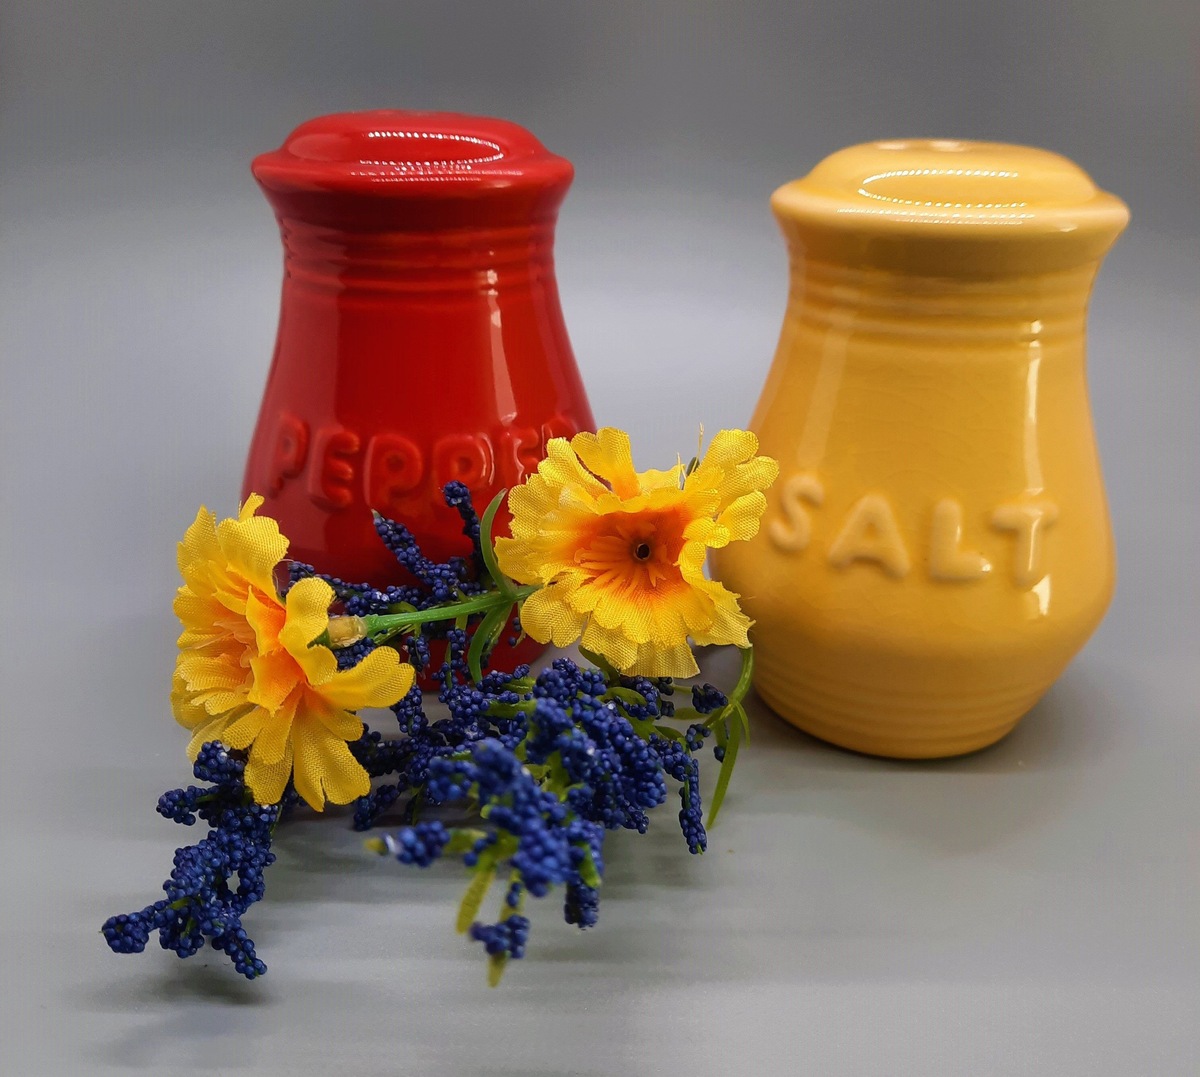
Personalize with Names or Initials
If you want to take your salt and pepper shakers to a whole new level of customization, consider personalizing them with names or initials. Adding this personal touch not only enhances the uniqueness of your shakers but also makes them a meaningful and special part of your tableware collection.
Follow these steps to personalize your shakers with names or initials:
- Choose a font: Select a font style that matches the overall design and theme of your shakers. You can choose a bold and modern font or an elegant, cursive style for a more refined look.
- Plan the placement: Determine where you want to place the names or initials on the shakers. It can be on the front, back, or even along the sides, depending on the shape and size of your shakers.
- Decide on the method: There are several methods you can use to add names or initials to your shakers. You can paint them freehand with a fine-tipped brush, use alphabet stencils for precision, or even use decals or vinyl letters for a professional-looking finish.
- Practice first: If you’re painting the names or initials freehand, it’s a good idea to practice on a piece of paper or a spare surface before applying it to your shakers. This allows you to perfect your technique and ensure that the letters are neat and evenly spaced.
- Apply the names or initials: Once you’re confident in your technique, carefully apply the names or initials to the desired location on the shakers. If using stencils or decals, make sure they are aligned correctly before adhering them to the surface.
- Let it dry or set: Depending on the chosen method, allow the paint or adhesive to dry or set completely before moving on to the next steps. This helps prevent smudging or smearing.
Personalizing your salt and pepper shakers with names or initials adds a special touch and makes them truly one-of-a-kind. It also makes for a thoughtful and unique gift idea for weddings, housewarmings, or any special occasion.
With the names or initials elegantly displayed on your shakers, they become a cherished part of your tableware collection, reflecting your personal style and making a statement on your dining table.
Next, we’ll explore the importance of sealing the paint to protect it and ensure the longevity of your beautifully decorated shakers.
Consider using different colored paints or washi tape to decorate your salt and pepper shakers. You can also add small stickers or decals for a personalized touch.
Seal the Paint
After putting in the time and effort to paint and personalize your salt and pepper shakers, it’s crucial to seal the paint to protect your designs and ensure their longevity. Sealing the paint creates a protective barrier that helps prevent chipping, fading, or peeling over time, allowing you to enjoy your beautifully decorated shakers for years to come.
Follow these steps to effectively seal the paint on your shakers:
- Choose a clear sealant: Select a sealant or varnish specifically designed for the material of your shakers, whether it’s glass, ceramic, or another surface. Look for a clear sealant that won’t alter the appearance of your paint.
- Read the instructions: Carefully read and follow the manufacturer’s instructions on the sealant product. Each sealant may have specific application instructions, drying times, and curing processes.
- Apply the sealant: Using a clean brush or sponge brush, apply a thin and even layer of sealant over the painted surfaces of your shakers. Make sure to cover all the areas where you have paint or designs.
- Allow it to dry: Let the sealant dry completely according to the manufacturer’s instructions. This usually takes a few hours or overnight.
- Apply additional coats (optional): Depending on the level of protection you desire, you may choose to apply multiple coats of sealant. Allow each coat to dry before applying the next, ensuring thorough coverage.
- Cure the sealant (if required): Some sealants may require additional curing time to fully harden and provide maximum protection. Follow the manufacturer’s instructions regarding curing time.
Sealing the paint on your shakers is an essential step to preserve your hard work and maintain the integrity of your designs. It adds an extra layer of protection against daily wear and tear, making your shakers more durable and long-lasting.
Once the sealant is dry and cured, your beautifully decorated and protected salt and pepper shakers are ready to be showcased on your dining table or even given as a thoughtful gift to someone special.
In the final section, we’ll explore additional decorative techniques to further enhance the visual appeal of your shakers.
Use Decoupage for a Unique Look
If you’re looking to achieve a unique and artistic look for your salt and pepper shakers, consider using the decoupage technique. Decoupage involves adhering paper cutouts or fabric onto the surface of your shakers, creating a textured and visually appealing design.
Follow these steps to create a decoupage look on your shakers:
- Select your materials: Choose decorative paper, napkins, or fabric that you’d like to use for the decoupage design. Keep in mind the overall color scheme and the style you want to achieve.
- Cut out the designs: Cut out the desired designs or patterns from your chosen materials. You can create your own shapes or use pre-designed motifs.
- Prepare the surface: Make sure the surface of your shakers is clean and dry. This provides a smooth and receptive base for the decoupage medium.
- Apply the decoupage medium: Use a small brush to apply a thin layer of decoupage medium, such as Mod Podge, on the area where you want to place the cutouts.
- Place the cutouts: Carefully place the cutouts onto the wet decoupage medium and press them gently to ensure they adhere to the surface.
- Smooth out any wrinkles or bubbles: Use a brush or your fingers to smooth out any wrinkles or bubbles in the paper. Start from the center and work your way outward.
- Apply more decoupage medium: Apply another layer of decoupage medium over the cutouts, ensuring that the edges are sealed and the entire surface is covered. This layer helps protect the design and gives it a glossy finish.
- Let it dry: Allow the decoupage medium to dry completely according to the manufacturer’s instructions. This usually takes a few hours or overnight.
- Add additional layers (optional): For a more textured and dimensional look, you can repeat the process of applying cutouts and layers of decoupage medium, allowing each layer to dry before adding the next.
The decoupage technique offers a wide range of possibilities for creating unique, artistic designs on your salt and pepper shakers. You can choose from a variety of papers, such as patterned scrapbooking paper, tissue paper, or even old book pages, to bring your vision to life.
With decoupage, your shakers will have a beautifully textured and customized appearance, making them a standout addition to your tableware collection.
In the next section, we’ll explore how you can further enhance the visual appeal of your shakers by incorporating beads or gems.
Embellish with Beads or Gems
Elevate the visual appeal and add a touch of glamour to your salt and pepper shakers by embellishing them with beads or gems. This decorative technique allows you to incorporate texture, sparkle, and a luxurious look to your shakers, making them truly eye-catching pieces on your dining table.
Follow these steps to embellish your shakers with beads or gems:
- Select your embellishments: Choose beads or gems that complement the style and color scheme of your shakers. Consider the size, shape, and color of the beads or gems to create a visually pleasing design.
- Prepare the surface: Clean the surface of your shakers to ensure proper adhesion of the embellishments. If the surface is smooth or glossy, you may want to lightly sand it to create a better grip for the adhesive.
- Decide on the design: Plan where you want to place the beads or gems on your shakers. You can create symmetrical patterns, borders, or even unique arrangements depending on your desired aesthetic.
- Apply the adhesive: Use a small amount of craft adhesive or jewelry glue to secure each bead or gem onto the shakers. Be careful not to use too much adhesive to avoid it oozing out from under the embellishments.
- Place the beads or gems: Carefully place each bead or gem onto the adhesive, pressing down gently to ensure a secure bond. Arrange them according to your planned design, taking your time to achieve the desired look.
- Let it dry: Allow the adhesive to dry completely according to the manufacturer’s instructions. This ensures that the beads or gems stay in place and the adhesive sets properly.
- Clean up and refine: After the adhesive has fully dried, use a soft cloth or cotton swab to clean any smudges or excess adhesive around the beads or gems. This step helps achieve a polished and professional finish.
Embellishing your salt and pepper shakers with beads or gems adds a touch of elegance and personalization to your table setting. The shimmer and sparkle of the embellishments make your shakers stand out and become conversation starters during meals or gatherings.
Next, we’ll explore how you can experiment with different decorative materials to create truly unique and visually stunning designs on your shakers.
Experiment with Different Decorative Materials
When it comes to decorating your salt and pepper shakers, don’t be afraid to think outside the box and experiment with different decorative materials. By incorporating unique elements, you can create one-of-a-kind designs that truly showcase your creativity and personal style.
Here are some ideas for experimenting with different decorative materials:
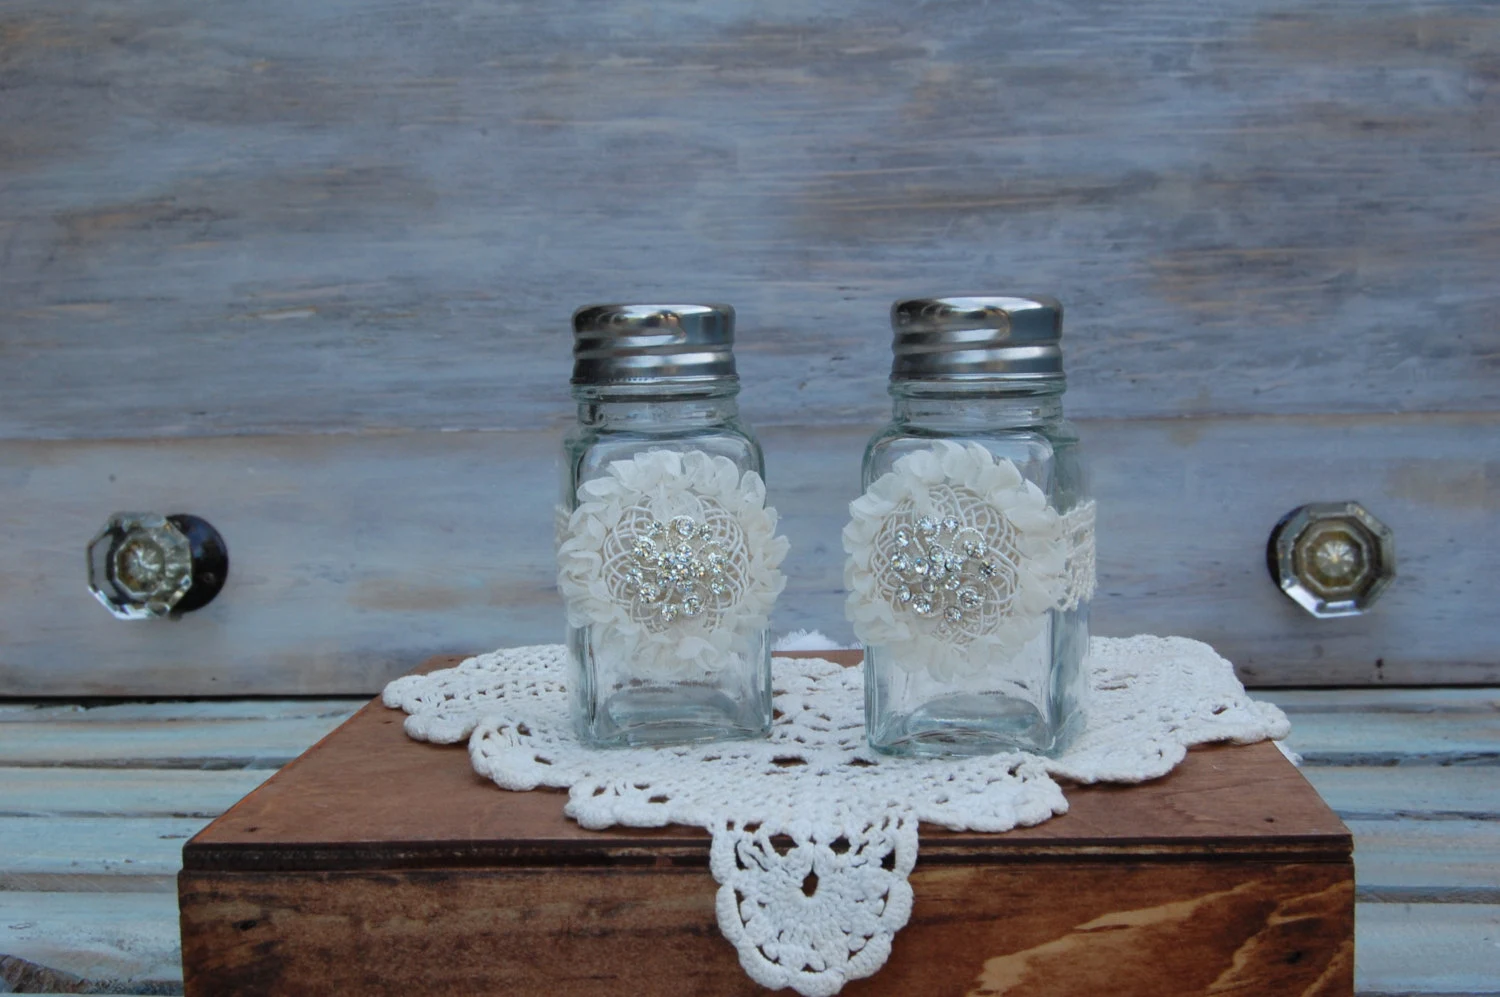
- Ribbon or lace: Add a touch of elegance by wrapping a ribbon or lace around the neck or base of your shakers. Secure it with a small dot of adhesive for a charming and sophisticated look.
- Fabric scraps: Cut small pieces of fabric in different patterns or textures and adhere them to the shakers using decoupage medium. This technique creates a tactile and visually interesting design.
- Feathers: Incorporate feathers for a whimsical and bohemian look. Glue a few feathers onto the tops or sides of your shakers to create a unique and eye-catching display.
- Seashells or pebbles: If you’re going for a beach or nautical theme, glue small seashells or pebbles onto the surface of your shakers. This adds a natural and textured element to your tableware.
- Buttons: Create a playful and quirky design by gluing buttons onto your shakers. Mix and match different colors, sizes, and shapes for an eclectic and visually dynamic look.
- Fabric paint or markers: Instead of using traditional paint, experiment with fabric paint or markers. These specialized materials allow you to create intricate designs, patterns, or even write messages or quotes directly on the shakers.
- Nature-inspired elements: Bring a touch of the outdoors to your shakers by incorporating natural elements like dried flowers, leaves, or twigs. Adhere them with decoupage medium or use them as inspiration for painted designs.
The key to experimenting with different decorative materials is to let your imagination run wild and have fun in the process. Don’t be afraid to mix and match materials, combine various techniques, or create unexpected combinations.
By exploring new materials and design elements, you’ll create salt and pepper shakers that are truly unique and reflect your personality and creative flair.
Finally, we’ll conclude with how to display and enjoy your beautifully decorated salt and pepper shakers.
Display and Enjoy Your Decorated Salt and Pepper Shakers
After putting your creative skills to work and transforming your salt and pepper shakers into stunning pieces of functional art, it’s time to display and enjoy the fruits of your labor. Here are some tips on how to showcase and make the most of your beautifully decorated shakers:
- Select a prominent spot: Choose a visible and accessible location on your dining table, kitchen counter, or display shelf to showcase your shakers. This allows them to be admired and readily available during meals.
- Create a cohesive table setting: Coordinate the colors and style of your decorated shakers with your tableware, placemats, and other table decor. This creates a cohesive and visually appealing table setting.
- Pick a theme or seasonal design: Consider decorating your shakers according to a specific theme or season. For example, you can choose a festive design for holidays or a floral motif for springtime. This adds an extra touch of charm and helps set the ambiance.
- Rotate designs throughout the year: If you have multiple sets of decorated shakers or change designs for different occasions, consider rotating them throughout the year. This keeps your table setting fresh and showcases a variety of styles.
- Accessorize with matching items: To further enhance the visual impact, consider accessorizing your table with other items that complement the design of your shakers. This could include coordinated napkin holders, placemats, or even decorative salt and pepper dishes.
- Engage in conversation: Your beautifully decorated shakers are sure to capture attention and spark conversation among your guests. Share the story behind their creation and the techniques you used. It’s a wonderful way to showcase your creativity and inspire others.
- Use them on special occasions: Don’t be afraid to use your decorated shakers on special occasions. It adds a personal touch and elevates the dining experience, making even the simplest meals feel extraordinary.
- Take care of your shakers: Properly care for your decorated shakers to ensure their longevity. Clean them gently with a damp cloth, avoiding excessive exposure to water, and handle them with care when in use.
Remember, your decorated salt and pepper shakers are more than just functional tableware. They’re a reflection of your creativity and add a unique touch to your dining experience.
So, proudly display your beautiful creations, enjoy their presence during meals, and let them become a conversation piece that brings joy and inspiration to your home.
Congratulations on completing your journey of decorating salt and pepper shakers! It’s time to showcase your artistic talents and impress your guests with your uniquely designed tableware.
Happy decorating and bon appétit!
Conclusion
Congratulations! By embarking on the journey of decorating your salt and pepper shakers, you have taken a step toward transforming ordinary tableware into extraordinary works of art. Throughout this article, we have explored various techniques and methods to help you unleash your creativity and achieve stunning results.
From gathering the necessary materials to cleaning and prepping the shakers, choosing a decorating technique, and adding designs or patterns, you have discovered the steps to create personalized and visually captivating shakers. Whether you opt for painting, decoupage, embellishments, or a combination of techniques, the possibilities are endless.
By personalizing your shakers with names or initials, sealing the paint for long-lasting durability, and experimenting with different decorative materials, you have the opportunity to infuse your own unique style and personality into your creations.
Remember, the beauty of decorating your salt and pepper shakers lies not only in the end result but also in the joy and satisfaction you experience during the creative process. So, allow your imagination to soar, embrace experimentation, and have fun as you bring your vision to life.
Display your decorated shakers proudly, and delight in the conversations and admiration they inspire among your guests. Let them become a vibrant and cherished part of your table setting, adding that special touch to everyday meals and memorable occasions alike.
Now, armed with knowledge, inspiration, and creativity, it’s time to embark on your own salt and pepper shaker decorating adventure. Enjoy the process, let your artistic abilities shine, and relish in the beauty and personalization of your tableware.
May your decorated salt and pepper shakers serve as an expression of your creativity and a testament to your passion for all things tableware.
Happy decorating!
Frequently Asked Questions about How To Decorate Salt And Pepper Shakers
Was this page helpful?
At Storables.com, we guarantee accurate and reliable information. Our content, validated by Expert Board Contributors, is crafted following stringent Editorial Policies. We're committed to providing you with well-researched, expert-backed insights for all your informational needs.
0 thoughts on “How To Decorate Salt And Pepper Shakers”