Home>Dining>Tableware>How To Make Salt And Pepper Shakers From Different Types Of Wood

Tableware
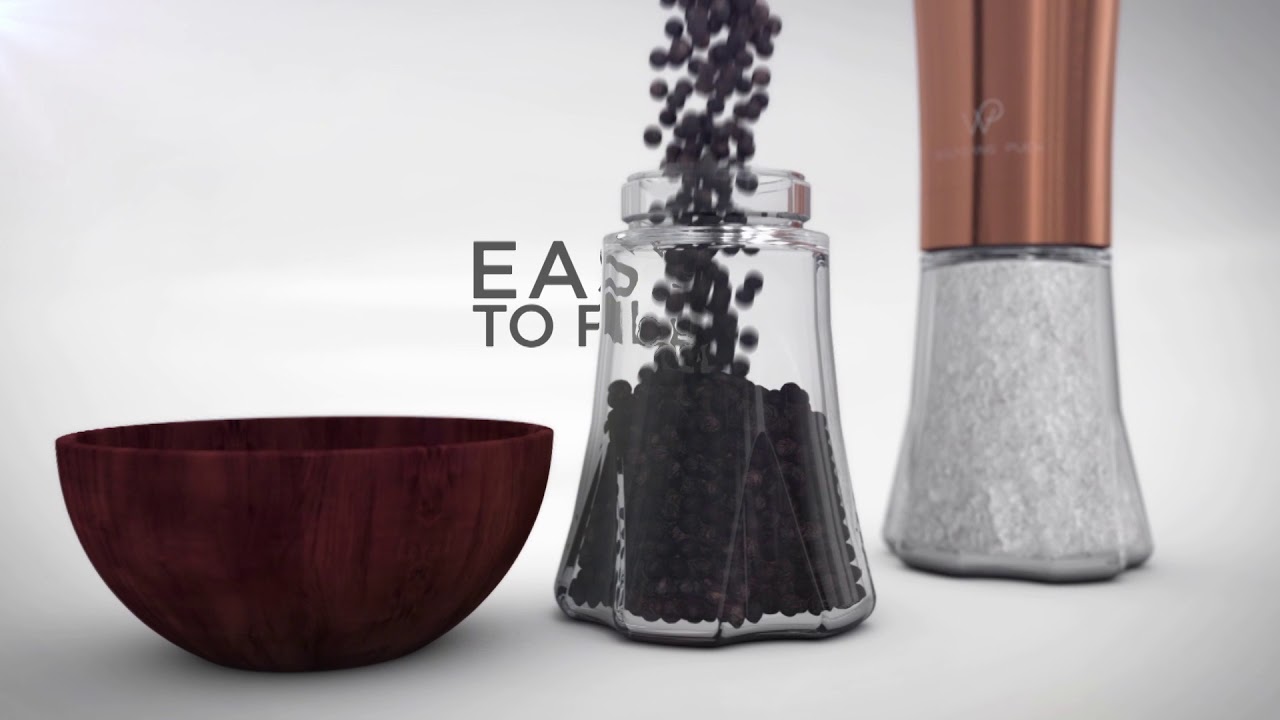
How To Make Salt And Pepper Shakers From Different Types Of Wood
Modified: August 27, 2024
Discover step-by-step instructions on crafting unique salt and pepper shakers from various types of wood. Elevate your tableware collection with these stylish DIY creations.
(Many of the links in this article redirect to a specific reviewed product. Your purchase of these products through affiliate links helps to generate commission for Storables.com, at no extra cost. Learn more)
Introduction
Welcome to the world of tableware craftsmanship! In this article, we will explore the art of making salt and pepper shakers from different types of wood. Whether you are a woodworking enthusiast or simply looking for a unique addition to your dining table, creating your own salt and pepper shakers can be a rewarding and enjoyable project.
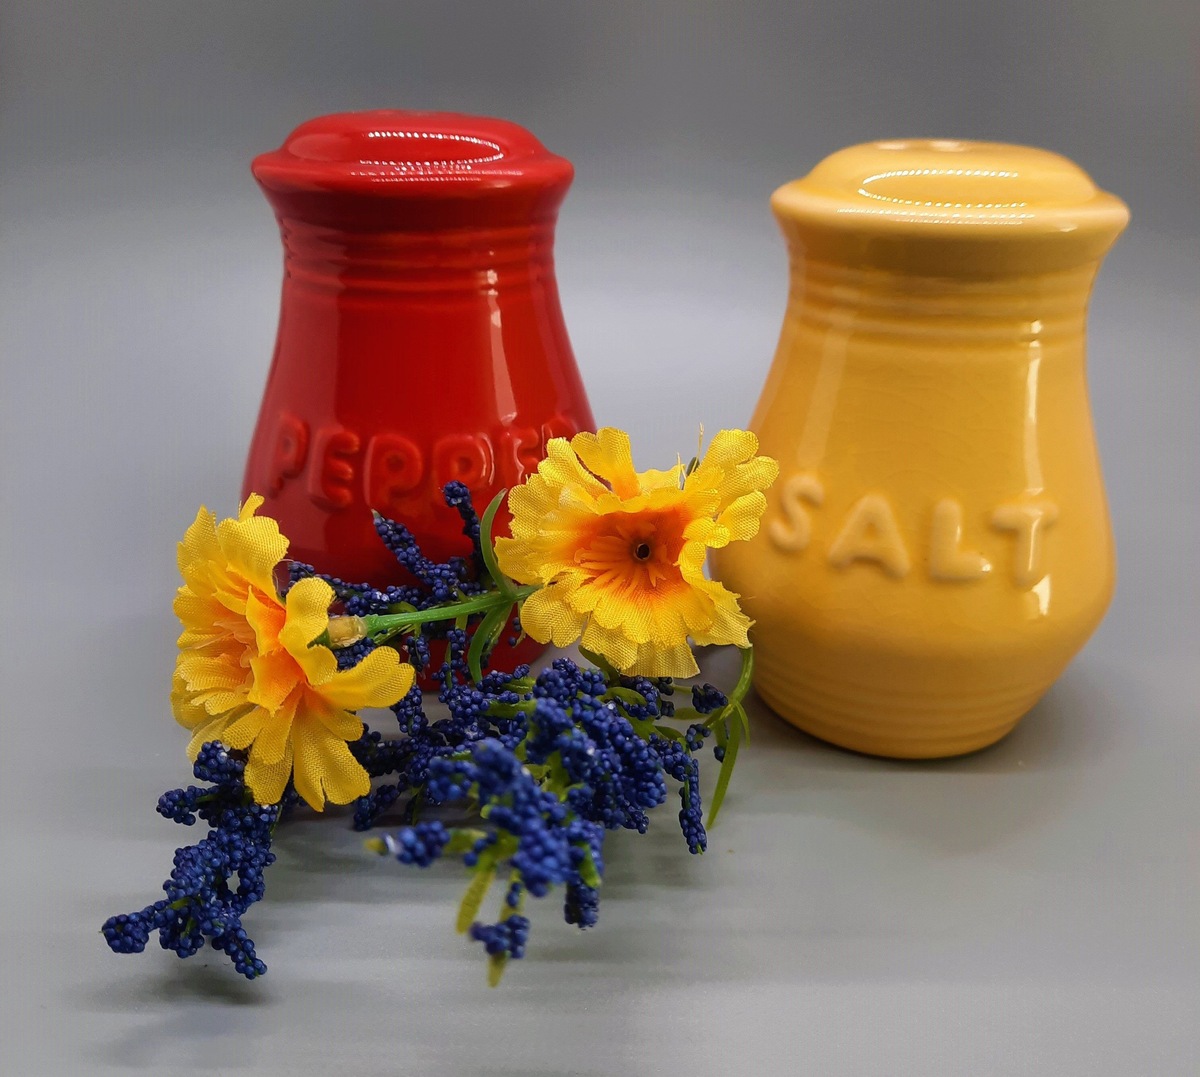
Wooden salt and pepper shakers not only add a touch of elegance to any table setting, but they also provide a natural and eco-friendly alternative to their plastic or metal counterparts. By handcrafting your own shakers, you have the freedom to choose the type of wood, design, and finish that perfectly matches your personal style and preferences.
In this comprehensive guide, we will cover everything you need to know about making your own salt and pepper shakers. From choosing the right type of wood to sanding and finishing techniques, we will walk you through the step-by-step process to create a stunning set of shakers that will impress your guests and elevate your dining experience. So let’s get started!
Key Takeaways:
- Elevate your dining experience by handcrafting salt and pepper shakers from a variety of wood types, adding elegance and personal style to your tableware collection.
- Embrace the art of woodworking and create unique, eco-friendly salt and pepper shakers, showcasing your craftsmanship and adding a touch of creativity to your dining table.
Choosing the Right Type of Wood
The type of wood you choose for your salt and pepper shakers will greatly influence their appearance, durability, and overall quality. Different types of wood have unique grain patterns, colors, and hardness levels, making it important to select a wood that suits your aesthetic preferences and practical needs.
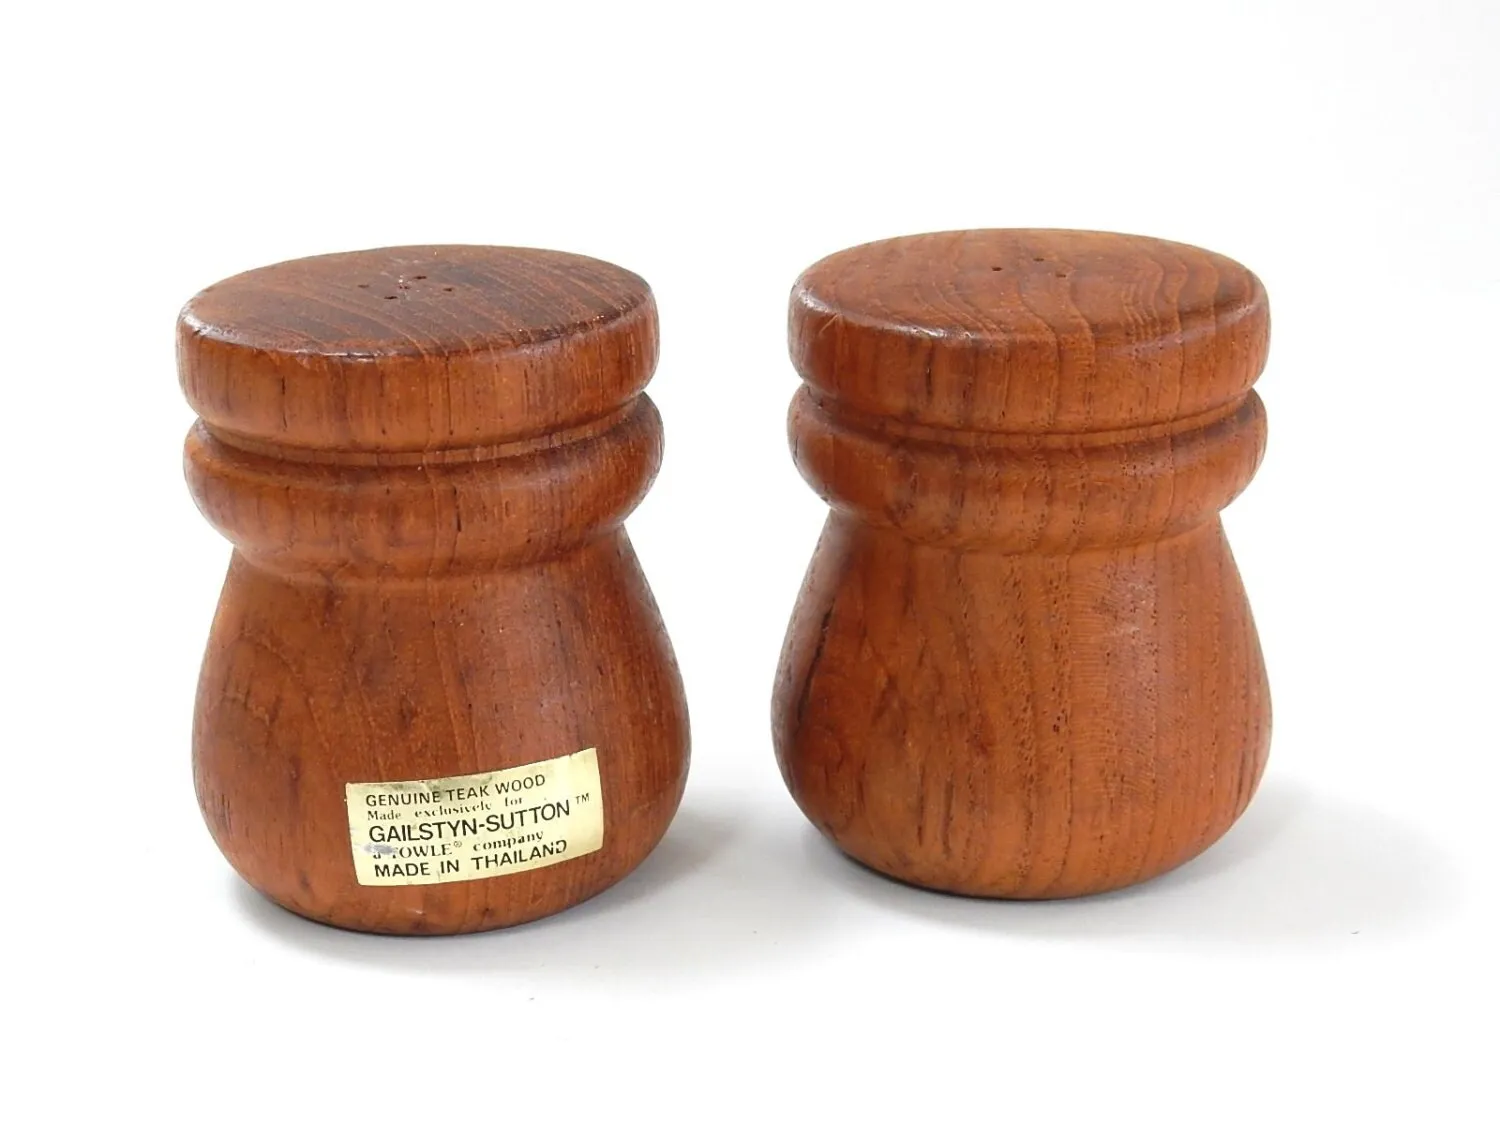
One popular choice for salt and pepper shakers is hardwood. Hardwoods such as maple, oak, cherry, and walnut are known for their durability and beautiful grain patterns. These woods create a classic and elegant look that can complement various table settings and kitchen styles.
Another consideration when choosing wood is its stability. Some woods, like maple and mahogany, are more stable and less likely to warp or crack over time. This is especially important for salt and pepper shakers, as they are exposed to moisture and need to withstand repeated use.
Additionally, you may also consider the sustainability of the wood. Look for woods that are responsibly sourced or certified by organizations such as the Forest Stewardship Council (FSC) to ensure that your choice aligns with eco-friendly practices.
Lastly, think about the type of finish you want to achieve. Some woods, like mahogany or cherry, have a naturally warm and rich hue that can be enhanced with a clear varnish. Others, like oak or walnut, have a distinct grain pattern that can be highlighted with a stain or oil. Consider the final look you want to achieve and choose a wood that will complement your desired finish.
Keep in mind that while exotic woods may offer unique colors and grain patterns, they can be more expensive and harder to source. Domestic hardwoods are usually more readily available and offer a wide range of options to choose from.
Ultimately, the choice of wood for your salt and pepper shakers is a personal one. Consider your taste, the desired aesthetic, durability, and sustainability factors when making your decision. Remember that each wood has its own characteristics and charm, and with the right woodworking techniques, you can turn any type of wood into a stunning set of salt and pepper shakers.
Tools and Materials Needed
To create your own salt and pepper shakers, you will need a few essential tools and materials. Gathering these in advance will ensure smooth progress throughout your woodworking project. Here’s a list of what you’ll need:
- Wood: Choose the type of wood that suits your preferences and project requirements, ensuring it is of sufficient thickness and quality.
- Table Saw: A table saw will be invaluable for cutting the wood into the desired dimensions.
- Wood Lathe: A wood lathe is necessary to turn the wooden blanks into the shape of the shaker bodies.
- Drill Press: A drill press will enable you to create the holes for the tops and bottoms of the shakers.
- Chisels: Chisels are essential for shaping and refining the curves and contours of the shaker bodies.
- Woodturning Tools: Various woodturning tools such as gouges and scrapers are required for creating details and finishing touches on the shaker bodies.
- Sandpaper: Different grits of sandpaper are necessary to smooth and refine the surfaces of the shakers.
- Sanding Blocks: Sanding blocks provide a stable base for evenly sanding the shakers.
- Wood Finish: Choose a suitable wood finish, such as varnish or oil, to protect and enhance the beauty of the wood.
- Brushes and Rags: You’ll need brushes and rags for applying the wood finish.
- Clamps: Clamps are useful for holding the wood securely in place while working on it.
- Protective Gear: Safety goggles, ear protection, and a dust mask are essential to protect yourself from potential hazards.
It’s important to note that the specific tools and materials you require may vary depending on your chosen woodworking techniques and the complexity of your design. Additionally, having sharp and well-maintained tools will greatly contribute to the quality of your work and ensure safer woodworking practices.
Before you begin your project, make sure you have all the necessary tools and materials readily available. This will help you work efficiently and complete your salt and pepper shakers with ease.
Making Salt and Pepper Shaker Bodies
Once you have gathered the necessary tools and materials, it’s time to start making the bodies of your salt and pepper shakers. Follow these steps to create the basic shape:
- Prepare the wood: Cut the wood into appropriately sized blanks using a table saw. Make sure the blanks are slightly larger than the final dimensions of the shakers to allow for shaping and refining.
- Mount the blank onto the wood lathe: Secure the blank onto the lathe using a chuck or faceplate. Make sure it is centered and tightly fastened, ensuring stability during turning.
- Turn the blank into the desired shape: Use woodturning tools such as gouges and scrapers to carefully shape the blank into the desired form of the shakers. Pay attention to the dimensions and proportions, as well as any design details you wish to incorporate.
- Create the cavity for the contents: Using a drill press, carefully drill a hole to create the cavity for the salt or pepper. The size and depth of the hole will depend on the type of tops you plan to use. Consider leaving a space for a removable plug or cork for easy refilling.
- Refine the shape and smooth the surface: Use chisels, sandpaper, and sanding blocks to refine the shape of the shaker bodies. Pay attention to the transitions between different sections and ensure a seamless and smooth surface.
- Sand the shaker bodies: Start with a coarse grit sandpaper and gradually work your way up to finer grits. This will help eliminate any rough spots, scratches, or tool marks, resulting in a polished and professional finish.
- Remove the shaker bodies from the lathe: Once you are satisfied with the shape and finish, safely remove the shaker bodies from the lathe. Take care to avoid any damage or splintering.
By following these steps, you will be able to create the foundational structure of your salt and pepper shakers. Remember to take your time and work with precision, ensuring that the bodies are symmetrical and aesthetically pleasing.
In the next section, we will dive into creating the tops and bottoms of the shakers, adding functionality and style to your handmade creations.
Creating the Tops and Bottoms
With the shaker bodies complete, it’s time to move on to creating the tops and bottoms. These components not only add functionality to your salt and pepper shakers but also provide an opportunity to showcase your woodworking skills and creativity. Here’s how you can make the tops and bottoms:
- Choose the material for the tops: The tops of the shakers can be made from various materials such as wood, metal, or ceramic. Select a material that complements the overall design and aesthetic of your shakers.
- Design the tops: Consider the functionality and ease of use when designing the tops. For example, you may choose to create a grid pattern for the pepper shaker and a single hole for the salt shaker. Sketch out the design and determine the dimensions of the tops.
- Create the tops: Use appropriate tools, such as a lathe or drill, to shape and drill holes into the chosen material. Take your time to ensure precision and smoothness of the tops.
- Choose the material for the bottoms: The bottoms of the shakers can be made from the same or a different material than the tops. Consider using a contrasting material to create visual interest.
- Create the bottoms: Follow similar steps as with the tops to shape and drill holes into the bottom material. Ensure that the bottoms fit securely onto the shaker bodies.
- Refine and finish the tops and bottoms: Use sandpaper to smooth any rough edges and surfaces. Apply a suitable finish, such as varnish or oil, to protect the tops and bottoms and enhance their appearance.
During the process of creating the tops and bottoms, feel free to experiment with different shapes, designs, and materials. Consider incorporating unique elements that reflect your personal style or complement the overall theme of your dining table.
Remember that the tops and bottoms should be functional, allowing for easy dispensing of salt and pepper while keeping them securely contained. Test the fit and make adjustments as necessary to ensure a snug and reliable closure.
With the tops and bottoms complete, you are now ready to move on to the next steps of sanding and finishing your salt and pepper shakers.
When making salt and pepper shakers from different types of wood, make sure to choose woods that are food-safe and have a tight grain to prevent moisture absorption. Sand the wood thoroughly and apply a food-safe finish to protect the wood and make it easy to clean.
Sanding and Finishing
After shaping and assembling the salt and pepper shakers, the next step is sanding and finishing. This crucial stage not only enhances the visual appeal of your creations but also ensures a smooth and pleasant user experience. Here’s how to achieve beautiful and well-finished salt and pepper shakers:
- Sanding the surfaces: Begin by sanding the surfaces of the shakers with a coarse grit sandpaper, such as 80 or 100. This helps to remove any remaining tool marks, scratches, or imperfections. Sand in the direction of the wood grain for a more even and polished result.
- Progress to finer grits: Gradually move to finer grits of sandpaper, such as 150, 220, and 320. This will progressively smooth the surfaces and prepare them for the final finishing.
- Sanding the intricate details: Pay attention to any intricate details or hard-to-reach areas on the shakers. Use sandpaper wrapped around a small wooden dowel or a sanding stick to ensure every corner and curve is properly smoothed.
- Cleaning the surfaces: After sanding, use a soft cloth or a tack cloth to remove any dust or debris from the surfaces. This ensures a clean and uniform application of the finish.
- Choosing the finish: Select an appropriate finish based on your preferences and the type of wood used. Popular options include varnish, oil, or wax. Test the finish on a small inconspicuous area to ensure it complements the wood and achieves the desired effect.
- Applying the finish: Apply the finish following the manufacturer’s instructions. Use a brush, rag, or foam applicator to evenly coat the surfaces of the shakers. Allow sufficient drying time between coats, and sand lightly with a fine grit sandpaper between coats for a smoother finish.
- Buffing and polishing: Once the final coat of finish has dried, you can optionally buff and polish the surfaces for added luster and smoothness. Use a clean cloth or a buffing wheel attached to a drill, and apply a gentle pressure to achieve a glossy and professional finish.
Remember to work in a well-ventilated area when applying finishes, as some products may emit fumes. Additionally, follow the safety guidelines provided by the manufacturer and wear appropriate protective gear, such as gloves or a mask, as necessary.
Sanding and finishing are essential steps in completing your salt and pepper shakers, transforming them from raw wood to polished and refined pieces of functional art. The next step involves assembling the shakers and adding the finishing touches.
Assembling the Shakers
With the sanding and finishing complete, it’s time to assemble your salt and pepper shakers. The assembly process involves combining the shaker bodies, tops, and bottoms to create functional and aesthetically pleasing pieces. Follow these steps to assemble your shakers:
- Prepare the shaker bodies: Ensure that the shaker bodies are clean and free of any dust or debris from the sanding and finishing process.
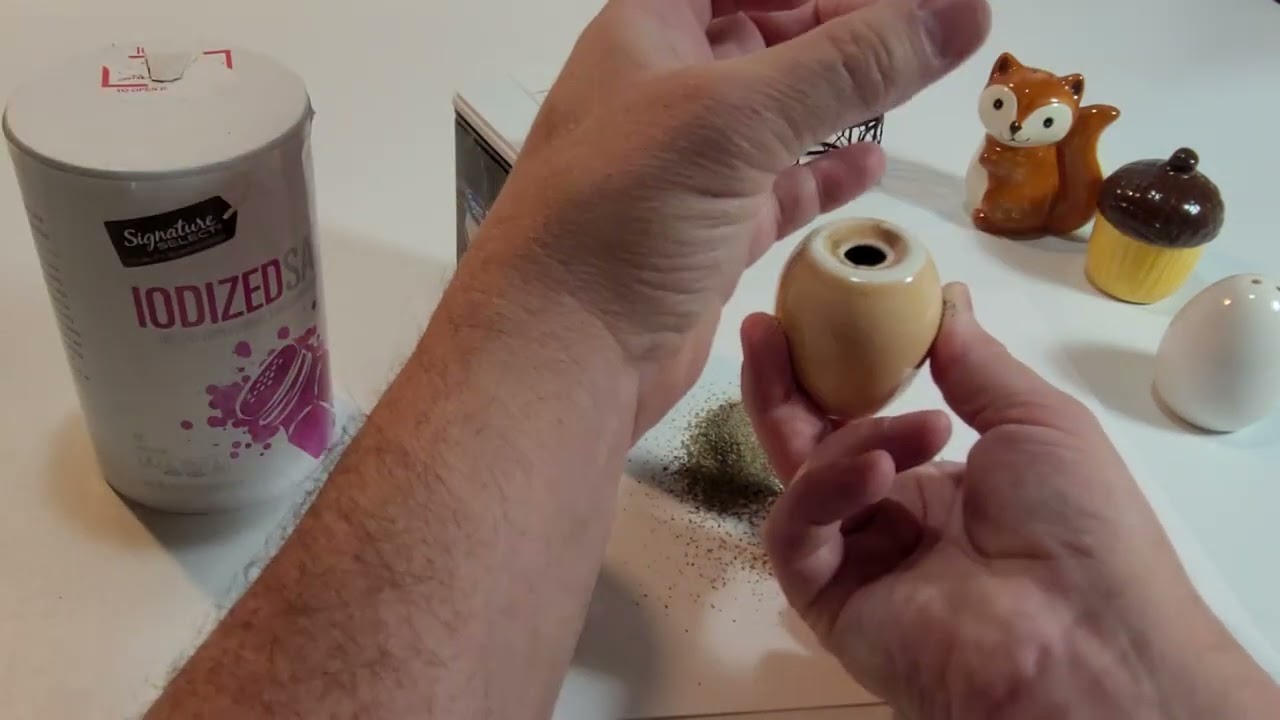
- Add the salt and pepper: Fill the cavities in the shaker bodies with the desired amount of salt and pepper. Consider using funnels or small spoons to avoid spills and allow for precise filling.
- Attach the tops: Carefully place the tops onto the shaker bodies, aligning the holes for dispensing the salt and pepper. Depending on the design, they may screw on, snap into place, or fit tightly over a cork or plug.
- Secure the bottoms: Similarly, attach the bottoms to the shaker bodies, ensuring a secure fit that prevents any leaks or spills.
- Test the functionality: Give the shakers a gentle shake or turn them upside down to ensure that the salt and pepper are dispensing smoothly and controllably. Make any necessary adjustments to the tops and bottoms to ensure a proper fit.
Once the shakers are assembled, give them a final inspection to make sure everything is securely in place and functioning properly. Wipe off any smudges or fingerprints from the surfaces for a clean and polished appearance.
Now, your handcrafted salt and pepper shakers are ready to be showcased and used. Place them on your dining table or kitchen countertop, ready to add flavor and style to your meals.
In the next section, we will provide some additional tips and tricks to help you during the process of making your salt and pepper shakers.
Tips and Tricks
As you embark on your journey to make your own salt and pepper shakers, keep these tips and tricks in mind to enhance your woodworking experience:
- Take your time: Woodworking is a process that requires patience and attention to detail. Take your time to ensure accuracy and precision in each step of the project.
- Measure twice, cut once: Double-check your measurements before making any cuts or drilling any holes. It’s better to be safe than sorry.
- Practice safety precautions: Always wear appropriate safety gear, such as goggles, ear protection, and a dust mask. Use tools responsibly and follow the manufacturer’s guidelines for safe use.
- Choose the right tools for the job: Ensure that you have the necessary tools and that they are in good working condition. Sharp blades and well-maintained tools will make your work easier and safer.
- Sand progressively: Start with coarser grit sandpaper and gradually move to finer grits for a smoother finish. Take the time to sand out any imperfections and achieve a polished look.
- Test the fit: Throughout the process, test the fit of the different components, such as the tops and bottoms, to ensure a secure and functional assembly.
- Experiment with designs: Don’t be afraid to get creative with your designs. Try different shapes, patterns, or wood combinations to make your salt and pepper shakers truly unique and personalized.
- Embrace imperfections: Woodworking is an art, and each piece will have its own unique characteristics. Embrace any natural flaws or imperfections, as they can add character and charm to your final product.
- Seek inspiration: Look for inspiration in books, magazines, or online platforms dedicated to woodworking. Explore different styles and techniques to broaden your knowledge and spark new ideas.
- Enjoy the process: Above all, enjoy the process of creating something with your own hands. Take pride in your craftsmanship and the satisfaction of using your handcrafted salt and pepper shakers.
Remember, practice makes perfect, so don’t be discouraged if your first attempt isn’t flawless. With each project, you’ll gain experience and develop your woodworking skills.
Now that you have a set of beautiful and functional salt and pepper shakers, it’s time to sit back, relax, and enjoy the fruits of your labor. They will not only add flavor to your meals but also serve as a testament to your creativity and craftsmanship.
In the final section, we will conclude our guide on creating salt and pepper shakers and highlight the key takeaways from this rewarding woodworking project.
Conclusion
Congratulations on completing your journey to create your own salt and pepper shakers! Through careful selection of wood, meticulous shaping, and detailed finishing, you have crafted functional and beautiful additions to your tableware collection. These handmade shakers not only showcase your woodworking skills but also bring a touch of elegance and personality to your dining experience.
Throughout this guide, we explored the process of making salt and pepper shakers from different types of wood. From choosing the right wood to shaping the bodies, creating the tops and bottoms, and finally, sanding and finishing, each step has contributed to the creation of truly unique pieces of art.
Remember, woodworking is a craft that requires practice, patience, and attention to detail. As you continue along your woodworking journey, you will develop new skills and techniques, and your creations will become more refined and sophisticated.
Whether you decide to gift your handmade salt and pepper shakers to a friend, use them to enhance your dining table, or even embark on selling your creations, you can take pride in the fact that you have crafted something with your own hands.
Thank you for joining us on this woodworking adventure and exploring the art of making salt and pepper shakers. We hope that this guide has provided you with the knowledge, inspiration, and confidence to create your own stunning tableware pieces. Enjoy the process, embrace your creativity, and let your passion for woodworking continue to flourish!
Frequently Asked Questions about How To Make Salt And Pepper Shakers From Different Types Of Wood
Was this page helpful?
At Storables.com, we guarantee accurate and reliable information. Our content, validated by Expert Board Contributors, is crafted following stringent Editorial Policies. We're committed to providing you with well-researched, expert-backed insights for all your informational needs.

0 thoughts on “How To Make Salt And Pepper Shakers From Different Types Of Wood”